As Halloween approaches, I’m always looking for creative ways to celebrate the season. Whether you want to add a personal touch to your decorations or create fun costumes, DIY projects offer an exciting opportunity to express your creativity. I love how these ideas can cater to different skill levels and ages, making Halloween a fun experience for everyone involved.
From spooky decorations to unique treats, there’s something special about crafting your own Halloween projects. These DIY ideas not only help you save money, but they also allow you to customize your celebrations in a way that reflects your personality and style.
1) Spooky Ghost Garland
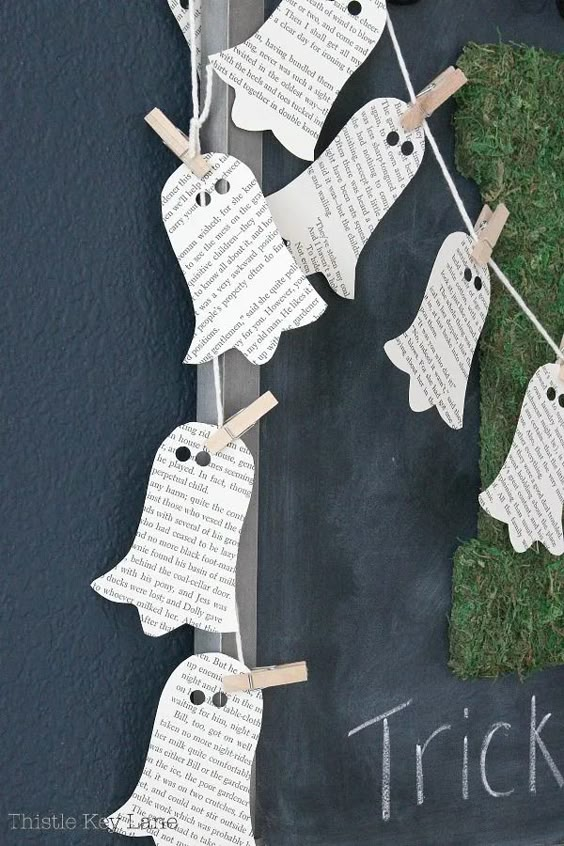
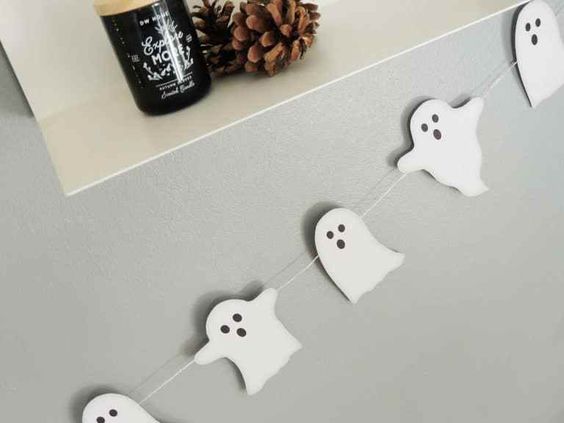
I love creating a spooky ghost garland for Halloween. It’s simple, fun, and adds a festive touch to any space.
To start, I gather some white cheesecloth or lightweight fabric. I cut it into squares, about 12×12 inches. Then, I take a small ball or crumpled paper to use as the ghost’s head.
Next, I drape the fabric over the ball and tie it off with a piece of black string or yarn. The black string adds a nice contrast and keeps everything in place. I like to use a marker to draw eyes and a spooky mouth on the ghost.

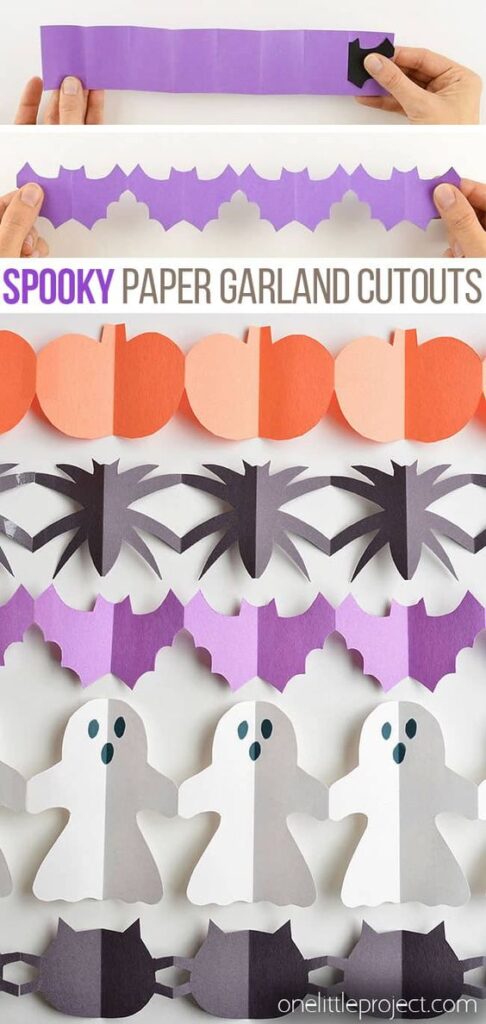
Once I have a few ghosts ready, I string them along a length of twine or fishing line. I space them out evenly, hanging them at different heights for a playful look.
This garland looks great above a fireplace, along a staircase, or even across a window. It’s an easy DIY project that kids can help with, making it a perfect family activity. Plus, it brings a delightful spookiness to my Halloween decor.
2) Glowing Jack-O’-Lantern Jars
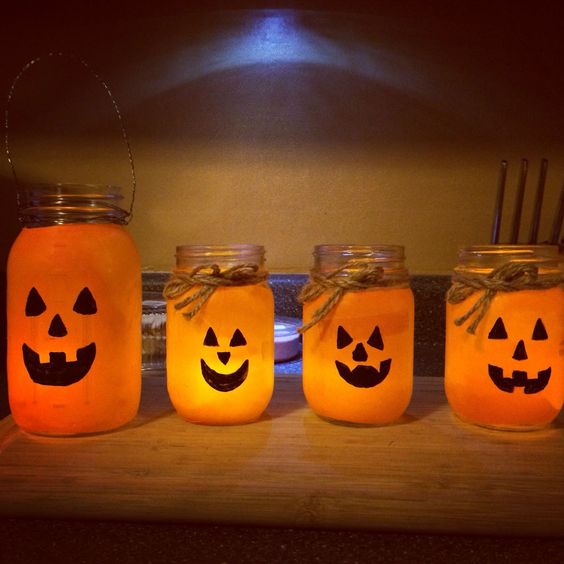
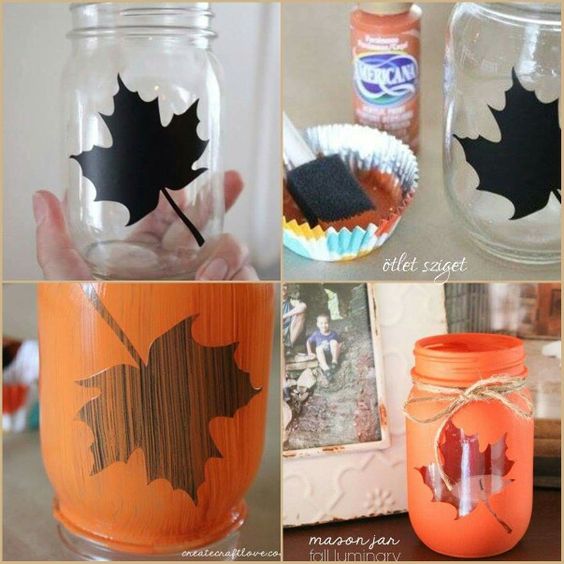
For a fun twist on traditional jack-o’-lanterns, I love making glowing jack-o’-lantern jars. They’re easy to create and add a festive touch to my Halloween decorations.
To start, I gather some empty glass jars, like mason jars or old candle holders. I choose different sizes to create a varied look. Next, I paint the outside of each jar with orange acrylic paint. It’s a simple step that gives them that classic pumpkin color.
Once the paint dries, I use a black marker to draw faces on the jars. I get creative here, experimenting with different expressions. After that, I fill the jars with LED tealight candles. They’re safe and won’t create a fire hazard.
When night falls, I place the jars outside or on my porch. The flickering light shines through the painted glass, creating a warm, inviting glow. It’s a charming way to light up the spooky season and impress trick-or-treaters who come by.
3) Creepy Crawly Candle Holders
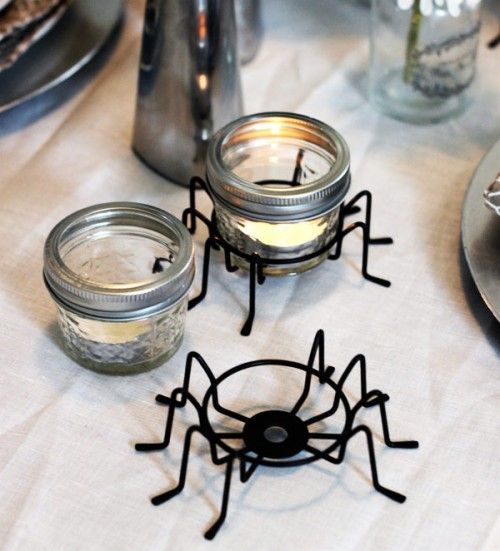
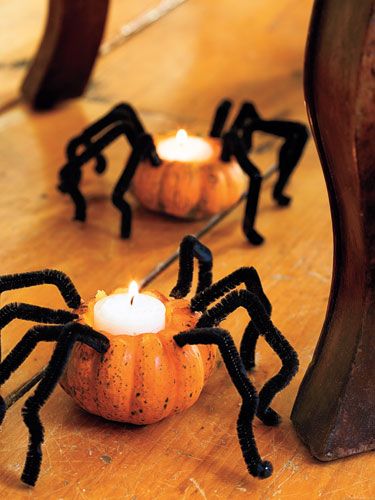
I love creating spooky decorations for Halloween, and these creepy crawly candle holders are a fun project. They add an eerie touch to any room and are surprisingly simple to make.
To start, I gather some basic supplies. You’ll need plain candle holders, plastic spiders or other creepy creatures, and hot glue. I like using a variety of sizes for a more interesting look.
First, I clean the candle holders to ensure good adhesion. Then, I use hot glue to attach the plastic spiders around the outside. I recommend placing them at various angles for a more authentic creepy vibe.
Once the glue dries, I insert my favorite candles. The flickering light combined with the creepy crawlers creates a haunting atmosphere. These candle holders make great centerpieces for a Halloween party or spooky decoration for my home.
I enjoy using my imagination with this project. You can even paint the candle holders for an additional effect. It’s a wonderful way to personalize my Halloween decor!
4) Bat Silhouette Window Clings
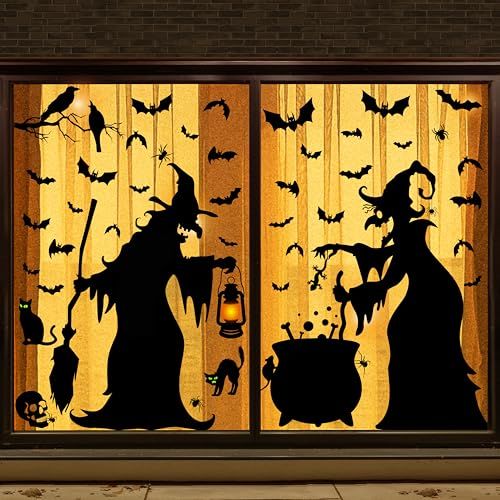
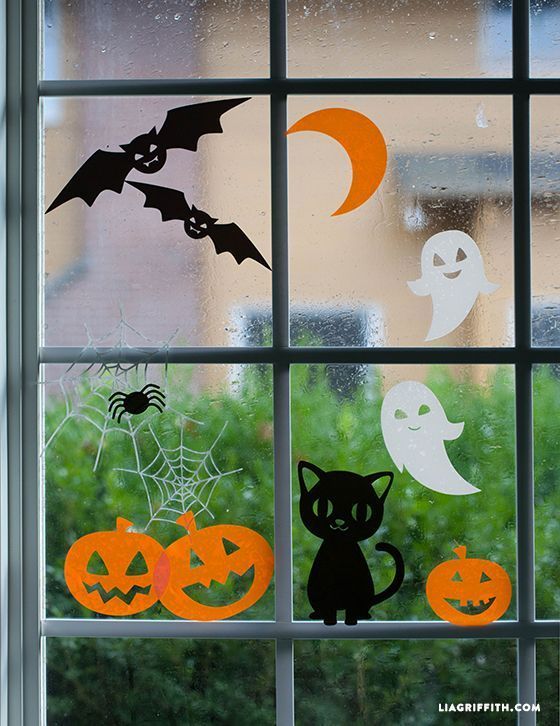
Creating bat silhouette window clings is a fun and simple project. I love how these spooky decorations instantly add a Halloween vibe to my home.
To make them, I start with black construction paper. I trace bat shapes using a template or freehand, then cut them out. Adhering these to my windows is easy—just use a bit of water or double-sided tape for a temporary hold.
I enjoy varying the sizes of the bats for an eye-catching display. They look great both during the day and at night when illuminated by external lights.
This project is perfect for involving kids too. They love seeing their artwork featured prominently in the windows. Plus, cleanup is a breeze since the clings peel off without leaving a mess.
These window clings create a festive atmosphere and are a great way to impress guests. I always get compliments on how simple yet effective the decoration looks.
5) Mysterious Witch Hat Door Decor
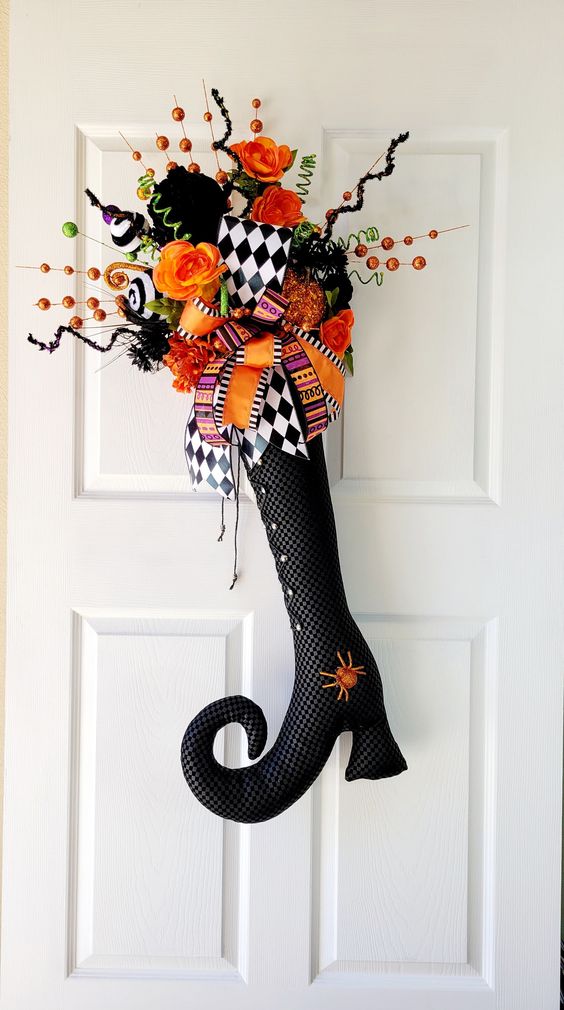
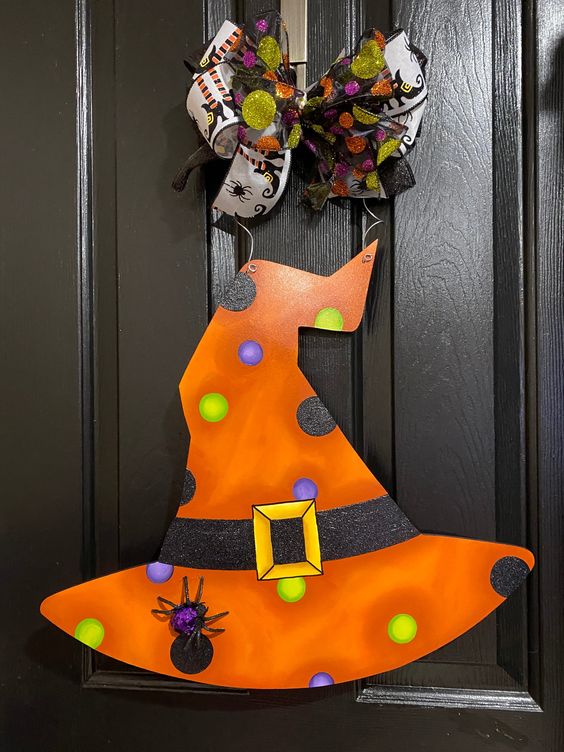
I love the touch a witch hat can add to my Halloween decor. It’s simple yet instantly gives a spooky vibe to my front door.
To create this look, I start by gathering some black felt or a lightweight fabric. I shape the fabric into a classic witch hat, securing it with hot glue.
Next, I add some embellishments. I like to use a bit of glitter or a purple ribbon. This gives the hat an extra flair that catches the eye.
Hanging the witch hat is easy. I use a sturdy wire or a command hook to ensure it stays in place.
To enhance the decor, I sometimes add faux spiders or a broomstick at the base. This brings the witchy theme together beautifully.
I enjoy this project because it’s fun and doesn’t take much time. Plus, it sets the mood for Halloween right at my doorstep.
6) Enchanted Spell Book Box
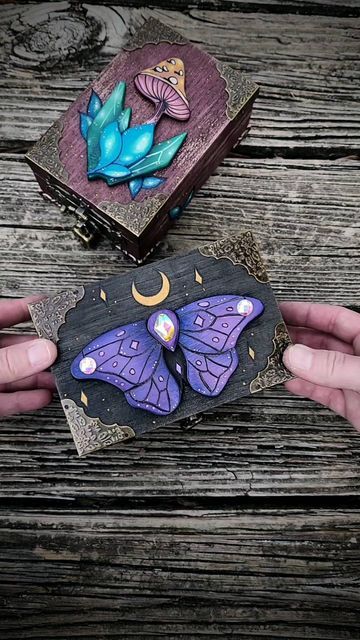
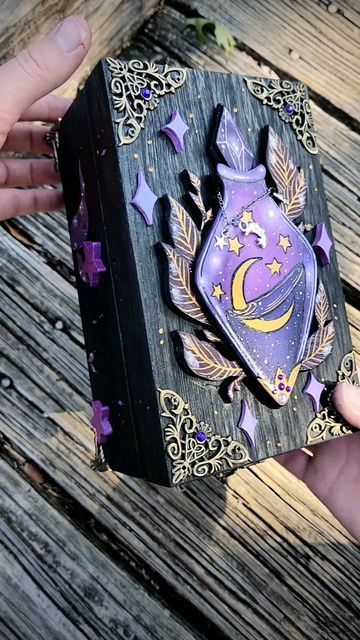
Creating an enchanted spell book box is a fun and magical DIY project. I love how it adds an element of whimsy to my Halloween décor.
To start, I gather a small wooden box and some acrylic paints. I choose dark, mystical colors like deep purple and black. After painting the box, I let it dry completely.
Next, I use a hot glue gun to add embellishments. Ribbons, faux gems, or even dried herbs can create an enchanting effect. I often add a small key or lock to enhance the spell book concept.
Inside, I place blank pages for handwritten spells or a collection of Halloween recipes. It becomes a unique piece where I can jot down favorite spells or notes for guests.
To finish, I sprinkle some glitter for a magical touch. This enchanted spell book box not only looks great but also serves as a fun conversation starter during Halloween gatherings. I enjoy the creative process and love seeing the final product displayed in my home.
7) Eerie Spider Web Wreath
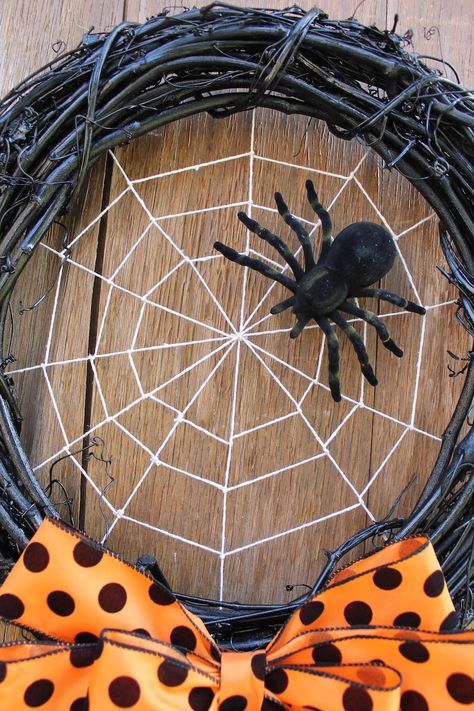
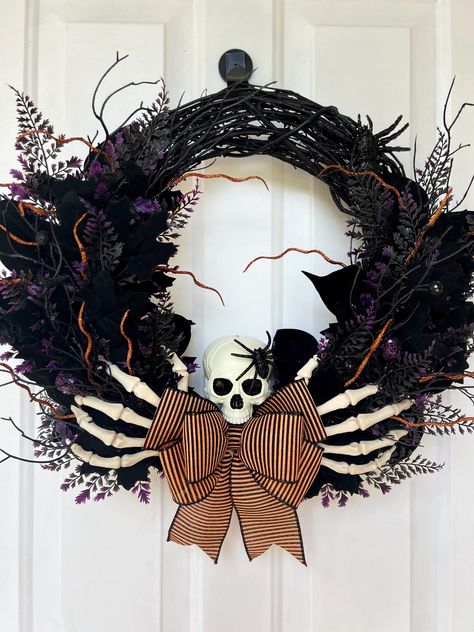
Creating an eerie spider web wreath is a fun way to decorate for Halloween. I love how easy it is to make and how it adds a spooky touch to my front door.
To start, I gather a foam or straw wreath base. I then wrap black yarn or string around it, creating the look of tangled webs. This step doesn’t have to be perfect; the messier, the better!
Next, I accent the wreath with faux spiders. I usually choose a mix of sizes for added effect. I also sometimes add a few plastic bats or other creepy critters to enhance the spooky vibe.
For an extra touch, I spray the wreath lightly with glitter to catch the light. It gives the piece a bit of shimmer while still maintaining the eerie look I desire.
Once it’s all put together, I hang it on my front door. It’s a simple project that never fails to impress my guests. Plus, it’s a great conversation starter!
8) Pumpkin Pallet Porch Sign
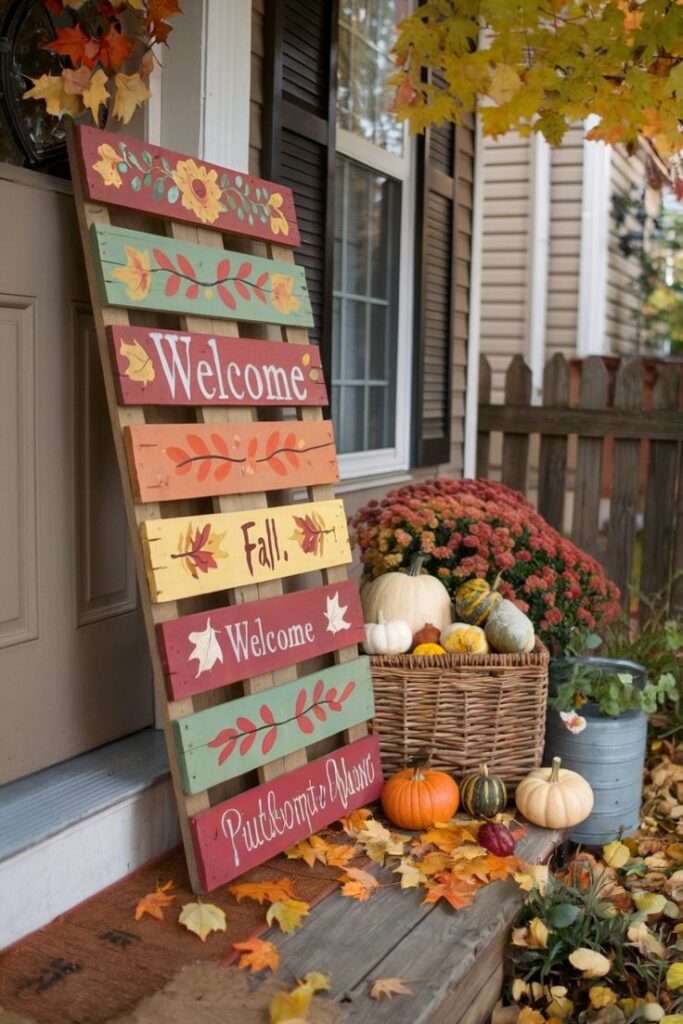
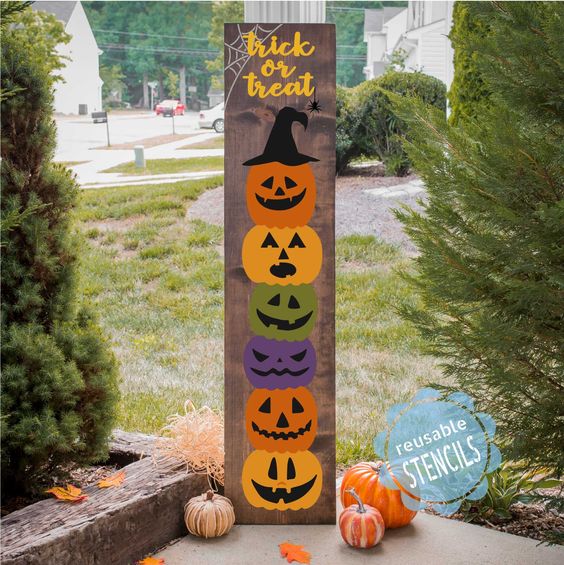
Creating a pumpkin pallet porch sign is a charming way to welcome Halloween guests. I love using recycled wooden pallets for this project, as they add a rustic feel to my porch.
First, I cut the pallets into large pumpkin shapes. I paint them in vibrant orange and green colors to resemble pumpkins. Using brown for the stems adds a nice touch.
Next, I can use stencils or freehand my favorite Halloween phrases like “Welcome” or “Happy Halloween.” I usually finish with a protective coat to withstand the fall weather.
To display my sign, I simply lean it against my porch railing or prop it up with a couple of hay bales. It’s an eye-catching decoration that friends and neighbors appreciate.
This DIY project is simple and allows for personal creativity. I enjoy seeing a mix of different pumpkin styles when I walk past my front door.
9) Hanging Skeleton Mobile
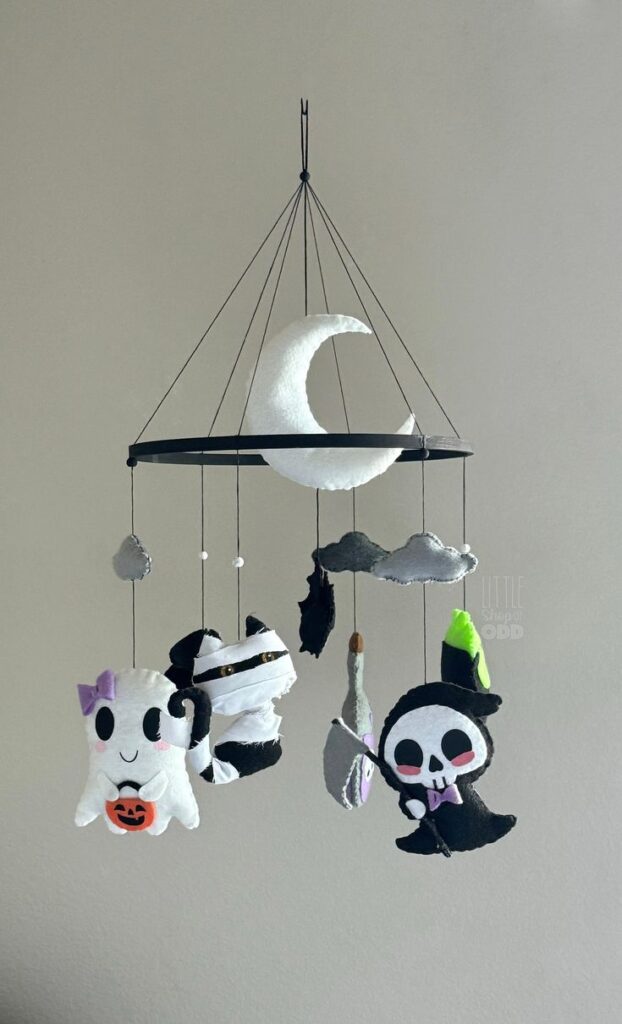
Creating a hanging skeleton mobile is a fun way to add a spooky touch to my Halloween decor. I love how this project combines creativity and crafting.
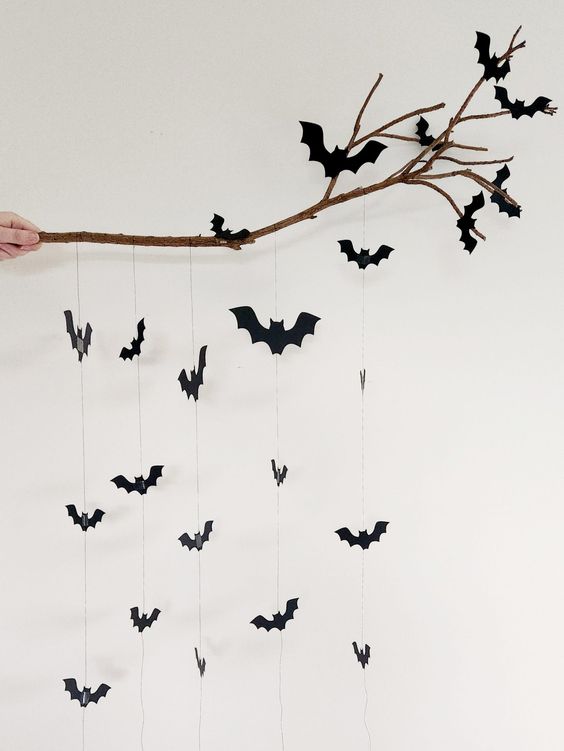
To start, I gather some lightweight plastic skeletons. I can find these at craft stores or online. I also collect fishing line or thin wire to hang them.
Next, I cut the fishing line into various lengths. This allows me to create different heights for the skeletons. I then tie the line to the skeletons and attach the other end to a sturdy branch or a wooden hoop.
Once the skeletons are hanging, I find the perfect spot to display my mobile. It looks great near a window or from the ceiling, where it can gently sway.
Adding some black and orange accents like ribbons or fabric can enhance the look. This simple DIY project brings a festive vibe and is sure to delight guests.
10) Spooky Terrarium Jars
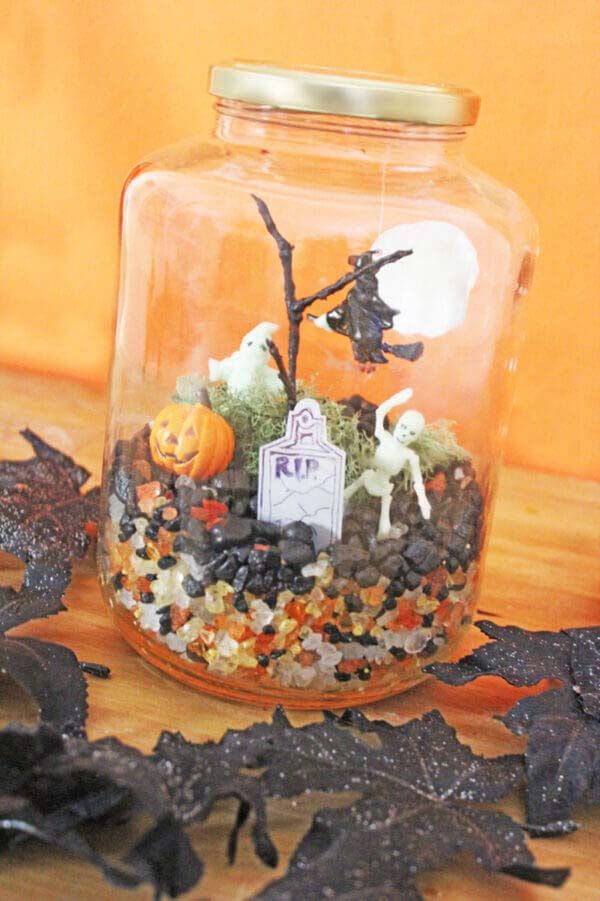
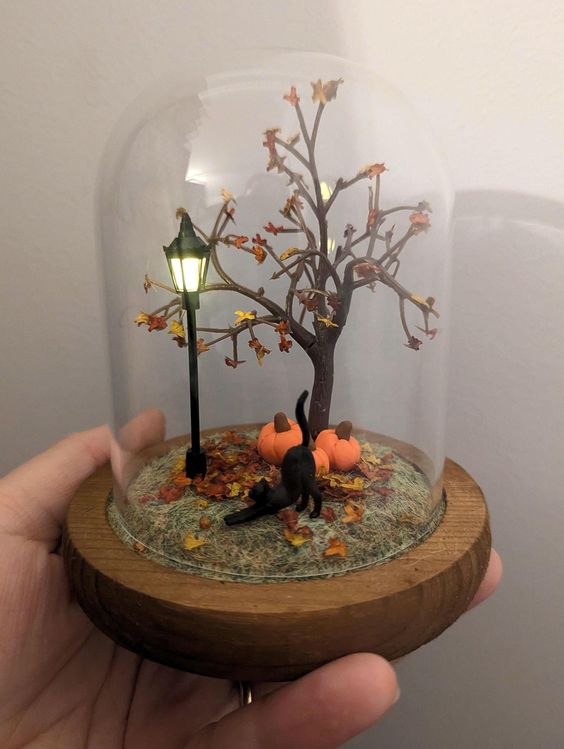
Creating spooky terrarium jars is a fun and creative way to celebrate Halloween. I love using glass containers to bring a little haunted charm indoors.
Start with a clear jar, some potting soil, and small plants. Adding faux spiders, mini skeletons, or Halloween-themed figurines brings the scene to life.
Layer the soil at the bottom, followed by the plants. I enjoy using dark-colored stones or moss to enhance the eerie look.
For a final touch, I might sprinkle some glitter or orange and black sand on top. A few strategically placed LED lights can create an enchanting glow.
These terrariums can serve as unique decorations or thoughtful gifts. The best part? They’re easy to customize for your own spooky theme!
Materials Needed for DIY Halloween Projects


When tackling Halloween DIY projects, having the right materials is key to a successful and enjoyable crafting experience. I’ll outline the essential supplies that can help bring your spooky visions to life.
Basic Craft Supplies
To start crafting, I always stock up on essential supplies. Here’s a quick list of what you may need:
- Scissors: A reliable pair for cutting various materials.
- Glue: Hot glue works wonders for quick adhesion, while craft glue is great for paper projects.
- Paint: Acrylic paints in traditional Halloween colors (orange, black, purple) add flair to decorations.
- Brushes: Different sizes for detailed work and larger areas.
- Markers: Permanent markers are perfect for drawing and writing on various surfaces.
Additionally, having a craft knife and a ruler can be helpful for precise cuts. These items form the foundation for most of my Halloween creations.
Recyclable Materials
I love incorporating recyclable materials into my projects. Not only is it eco-friendly, but it also sparks creativity. Here are some materials I often reuse:
- Cardboard Boxes: Great for making grave markers or spooky props.
- Plastic Bottles: Can be transformed into ghostly figures or potion bottles.
- Egg Cartons: Perfect for creating creepy spiders or monster eyes.
- Old Clothes: These can be used to create unique costumes or frightening decorations.
Using things I already have not only saves money but also encourages innovation. I enjoy exploring how everyday items can be repurposed into Halloween decor.
Specialty Items
For those who want to take their Halloween projects to the next level, specialty items can truly enhance the experience. Here are a few I find particularly useful:
- Glow-in-the-Dark Paint: Adds an eerie touch to decorated items.
- Craft Foam: Perfect for creating lightweight and durable decorations.
- Fake Cobwebs: Ideal for an instant haunted house effect.
- LED Lights: These can illuminate decorations safely and effectively.
Investing in these specialty items can elevate simple crafts into something truly memorable. I always have a few on hand for when I want to add that extra touch to my Halloween projects.
Tips for Designing Spooky Decorations
When I create spooky decorations for Halloween, I focus on color and lighting. These elements can dramatically change the atmosphere and make your space feel more festive.
Color Schemes
Choosing the right color scheme is crucial. Dark colors like deep purple, black, and crimson can evoke a haunting feeling. I often pair these with accent colors like neon green or ghostly white to add contrast.
Consider using a color palette that reflects Halloween themes. For example:
- Black and Orange: Classic combination that screams Halloween.
- Purple and Green: Adds a more mystical vibe.
- Red and White: Gives a gory touch reminiscent of haunted houses.
Incorporating these colors through tablecloths, wall hangings, and even DIY projects makes a significant impact. I like to blend different shades and textures to create depth.
Lighting Effects
Lighting has the power to set the mood for any Halloween decoration. I often use string lights, candles, and lanterns for an eerie ambiance.
Here are some effective lighting ideas:
- String Lights: Use in dark corners or around windows for a soft glow.
- Colored Bulbs: Green or purple bulbs can transform the space instantly.
- Flickering Candles: These create a mysterious atmosphere. Battery-operated ones are safe and practical.
By strategically placing lights, I can highlight specific decorations while creating shadows that enhance the spooky feel. I find that experimenting with different lights often yields surprising and delightful results.
- 338shares
- Facebook0
- Pinterest335
- Twitter3
- Reddit0
