Your car deserves more than a quick rinse at the gas station. Professional-level car detailing might seem intimidating, but with the right approach and techniques, you can transform your vehicle into a showroom-worthy ride from your own driveway.
The key to successful car detailing lies in understanding the proper sequence, using quality tools, and mastering fundamental techniques that protect your investment while delivering stunning results. Whether you’re dealing with swirl marks, water spots, or simply want that head-turning shine, the right knowledge makes all the difference.
From selecting essential products to advanced finishing techniques, this guide will walk you through everything you need to know. You’ll discover how to properly wash, decontaminate, protect, and maintain both your car’s exterior and interior like a seasoned professional.

Key Takeaways
- Quality tools and proper products are essential foundations for achieving professional detailing results
- Following correct washing and decontamination sequences prevents damage while maximizing cleaning effectiveness
- Regular maintenance combined with advanced protection techniques keeps your car looking pristine year-round
Essential Tools and Products for Car Detailing
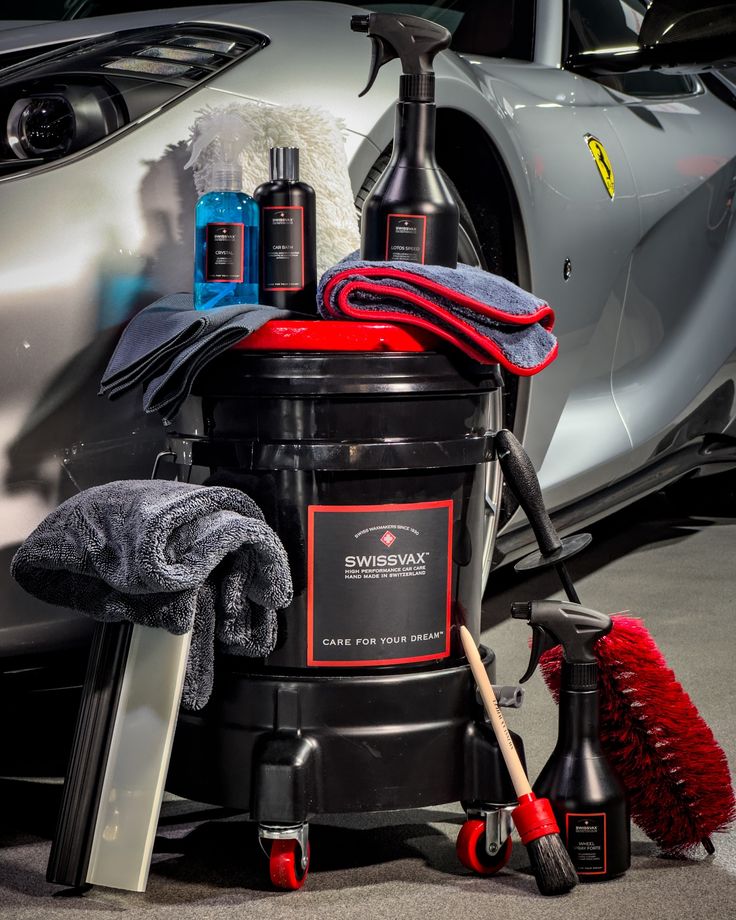
Quality microfiber towels and wash mitts form the foundation of safe car cleaning, while the right cleaners and compounds determine the final results you achieve.
Choosing the Right Microfiber Towels and Cloths
Microfiber towels are your most important detailing investment. Look for towels with a GSM (grams per square meter) rating between 300-600 for optimal cleaning power.
Choose dual-sided microfiber cloths with different pile heights. The longer pile side works best for dusting and applying products, while the shorter pile excels at buffing and final polishing.
Color-coding prevents cross-contamination. Use specific colors for different tasks:
- Blue or gray for exterior paint
- Yellow for wheels and tires
- White for glass and mirrors
- Red for interior surfaces
Size matters for efficiency. Large 16×24 inch towels handle paint surfaces quickly, while smaller 12×12 inch cloths work better for detailed areas and interior work.
Microfiber cloth quality varies significantly. Premium towels feature split fibers that trap dirt particles instead of dragging them across surfaces. Avoid cheap alternatives that can scratch paint.
Must-Have Car Wash Mitts and Applicators
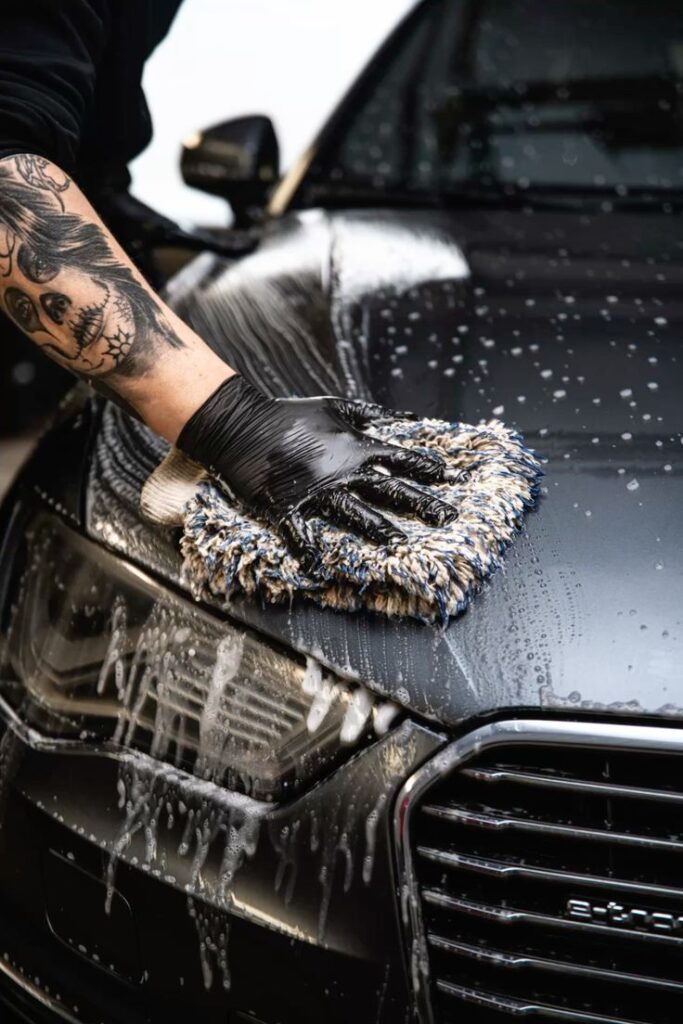
A quality car wash mitt protects your paint better than traditional sponges or rags. Microfiber wash mitts provide excellent dirt encapsulation and release particles easily during rinsing.
Sheepskin mitts offer superior lubrication and gentleness on delicate surfaces. They hold more soapy water and glide smoothly across paint without marring.
Foam applicators are essential for applying waxes, sealants, and tire dressings. Round applicators work well for curved surfaces, while rectangular ones cover flat panels efficiently.
Keep separate mitts for different vehicle sections. Use one mitt for the upper clean areas and another for the lower dirty sections like rocker panels and wheel wells.
Replace mitts when they become excessively dirty or start showing wear. Damaged fibers can scratch surfaces you’re trying to protect.
Key Cleaners and Compounds for DIY Detailing
Car wash soap forms the foundation of safe cleaning. Choose pH-neutral formulas that remove dirt without stripping wax or sealants. Concentrated soaps offer better value and mixing flexibility.
All-purpose cleaner tackles various surfaces from door jambs to engine bays. Dilute according to surface sensitivity – stronger concentrations for heavy soiling, weaker for delicate materials.
Glass cleaner specifically designed for automotive use prevents streaking and film buildup. Ammonia-free formulas protect window tint and rubber seals.
Interior cleaner should be safe for multiple surfaces including leather, vinyl, and plastic. Look for UV protection properties to prevent cracking and fading.
Detailing brushes in various sizes reach tight spaces and textured surfaces. Soft-bristled brushes work for vents and emblems, while stiffer versions handle wheel wells and tires.
Stock wheel-specific cleaners for brake dust removal and tire cleaners for sidewall restoration. These specialized products work more effectively than general cleaners.


Expert Car Washing Techniques
Proper washing techniques prevent scratches and swirl marks while maintaining your car’s finish. The right tools, products, and drying methods protect your paint and ensure professional results.
Two-Bucket Method and Grit Guard Usage
The two-bucket method uses separate buckets for clean car wash soap and rinse water. This prevents dirt from contaminating your wash solution.
Fill one bucket with car wash soap and water. Fill the second bucket with clean rinse water only.
Essential Setup:
- Clean soap bucket with fresh wash solution
- Rinse bucket with plain water
- Grit guard in the bottom of each bucket
The grit guard sits at the bottom of each bucket to trap dirt and debris. When you dip your wash mitt, rub it against the grit guard surface. This releases contaminants below the guard where they stay trapped.
Always rinse your wash mitt in the rinse bucket first. Rub it against the grit guard to remove dirt particles. Then dip into the soap bucket for your next section.
This method keeps your wash solution clean throughout the entire process. Clean soap means less risk of scratching your paint with trapped dirt particles.
Pre-Rinsing and Washing Best Practices
Start with a thorough pre-rinse using your hose or pressure washer. Remove loose dirt, debris, and surface contaminants before touching the paint.
Rinse from top to bottom to let gravity help remove dirt. Pay extra attention to wheel wells, bumpers, and lower panels where dirt accumulates most.
Washing Sequence:
- Rinse entire vehicle thoroughly
- Start washing from the roof
- Work your way down systematically
- Wash wheels and tires last
Use quality wash mitts instead of towels or sponges. Microfiber wash mitts hold more soap and water while being gentler on paint surfaces.
Work in straight lines rather than circles to minimize swirl marks. Keep your wash mitt well-lubricated with soap solution at all times.
Rinse your wash mitt frequently in the rinse bucket. Never let it drop on the ground where it can pick up abrasive particles.
How to Dry Without Causing Water Spots
Water spots form when mineral-rich water evaporates and leaves deposits on your paint. Quick drying in shaded areas prevents this common problem.
Work in sections and dry immediately after washing each area. Never let soapy water or rinse water air dry on your paint surface.
Proper Drying Tools:
- Large microfiber towels (at least 16″ x 24″)
- Chamois or synthetic drying cloths
- Forced air blowers for crevices
Pat and drag your microfiber towel across surfaces instead of wiping in circles. This method absorbs water more effectively while reducing scratching risk.
Change to clean, dry towels when yours become saturated. Wet towels stop absorbing water and start pushing it around instead.
Dry glass surfaces last to avoid streaking from soap residue. Work quickly but thoroughly to prevent water spots from forming on any surface.
Deep Cleaning and Paint Decontamination
Clay bars remove bonded contaminants that washing cannot eliminate, while specialized wheel cleaners tackle brake dust buildup. Proper polishing techniques restore paint clarity and prepare surfaces for protective coatings.
Using a Clay Bar for a Smooth Finish
Clay bars mechanically remove embedded contaminants from your paint surface that regular washing leaves behind. These include industrial fallout, tree sap, and road tar that bond to the clear coat.
Start with a freshly washed and dried vehicle. Work in small 2×2 foot sections using plenty of clay lubricant or soapy water.
Flatten the clay bar into a pancake shape and glide it across the surface with light pressure. The clay will pick up contaminants as you work.
Essential clay bar steps:
- Knead clay frequently to expose clean surfaces
- Drop clay on ground = throw it away immediately
- Use microfiber towels to remove lubricant residue
- Test clay on hidden area first
Your paint should feel glass-smooth after claying. Run your hand over the surface to check for remaining rough spots that need additional attention.
Removing Brake Dust and Wheel Grime
Brake dust contains metallic particles that etch into wheel surfaces if left untreated. Use a dedicated wheel cleaner designed for your specific wheel type.
Apply wheel cleaner to cool wheels away from direct sunlight. Let the product dwell for the recommended time to break down stubborn deposits.
Wheel cleaning process:
- Rinse wheels with water first
- Spray cleaner from bottom to top
- Agitate with wheel brush or microfiber mitt
- Rinse thoroughly with high-pressure water
For heavily soiled wheels, use a separate bucket and wash mitt to avoid transferring brake dust to your paint. Clean wheels before washing the rest of your vehicle.
Iron-removing wheel cleaners turn purple when they contact brake dust, indicating active contamination removal.
Polishing Techniques for Car Shine
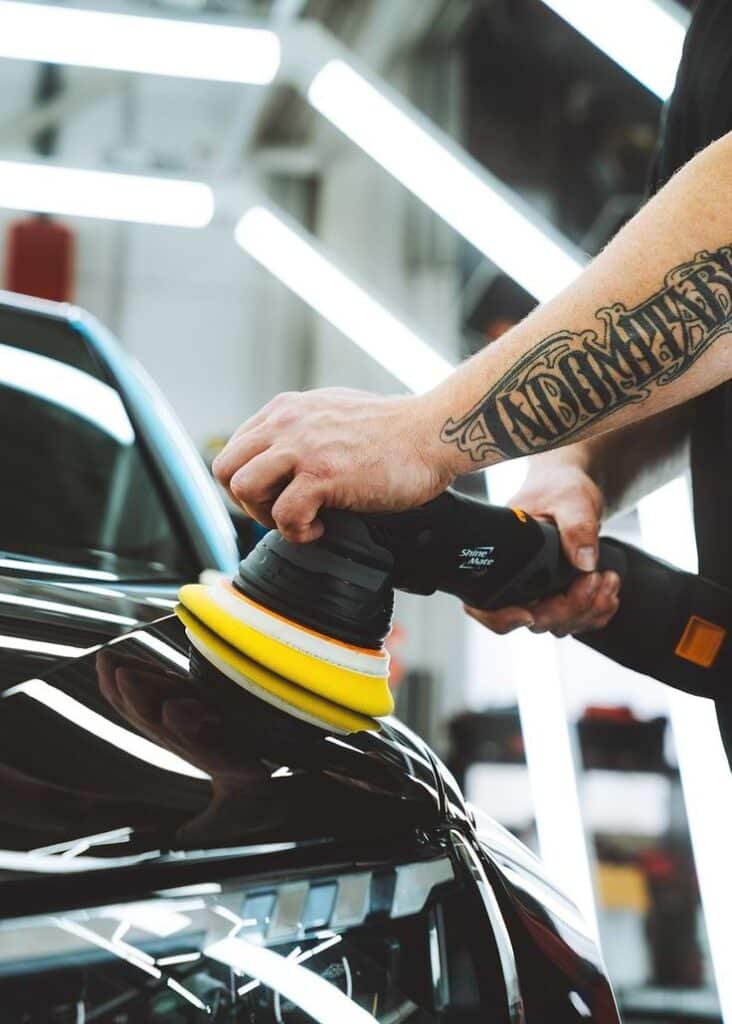
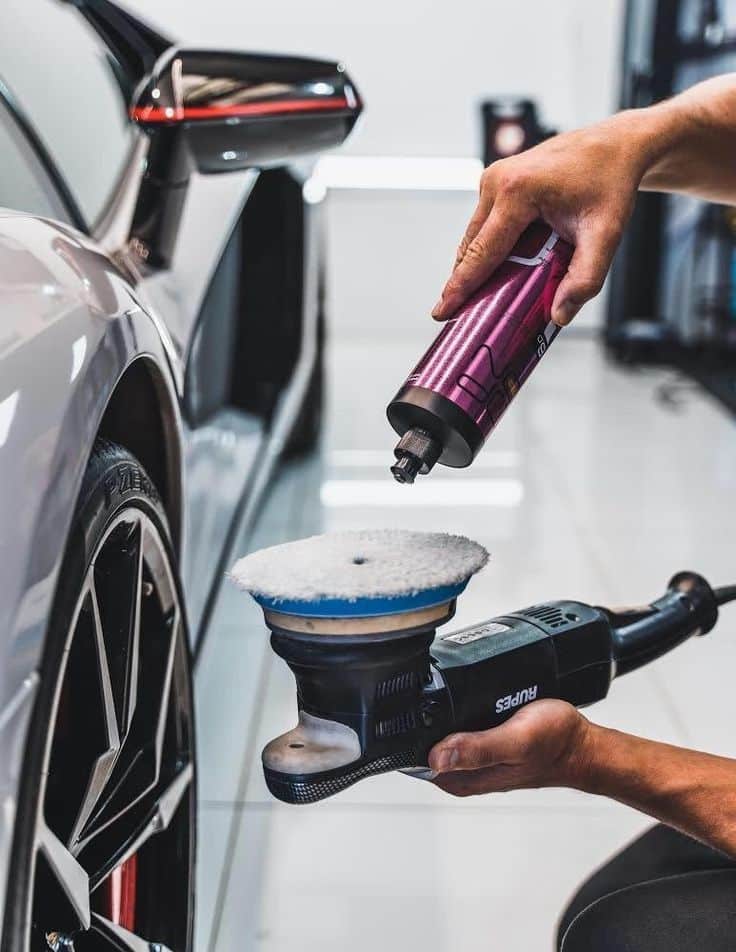
Polishing removes minor scratches and oxidation while restoring paint clarity. Choose between hand polishing for small areas or machine polishing for full vehicles.
Apply polish to a clean microfiber applicator pad in thin, even coats. Work in straight lines rather than circular motions to avoid swirl marks.
Hand polishing technique:
- Use firm, consistent pressure
- Overlap passes by 50%
- Remove residue with clean microfiber towels
- Work in shade on cool surfaces
Machine polishing requires proper pad selection and speed control. Start with lower speeds and increase gradually as needed.
Follow polishing with carnauba wax or synthetic sealant for protection. Polish opens paint pores, so sealing is essential within 24 hours to prevent new contamination from bonding.
Test polish on inconspicuous areas first to ensure compatibility with your paint system.
Paint Protection and Exterior Finishing
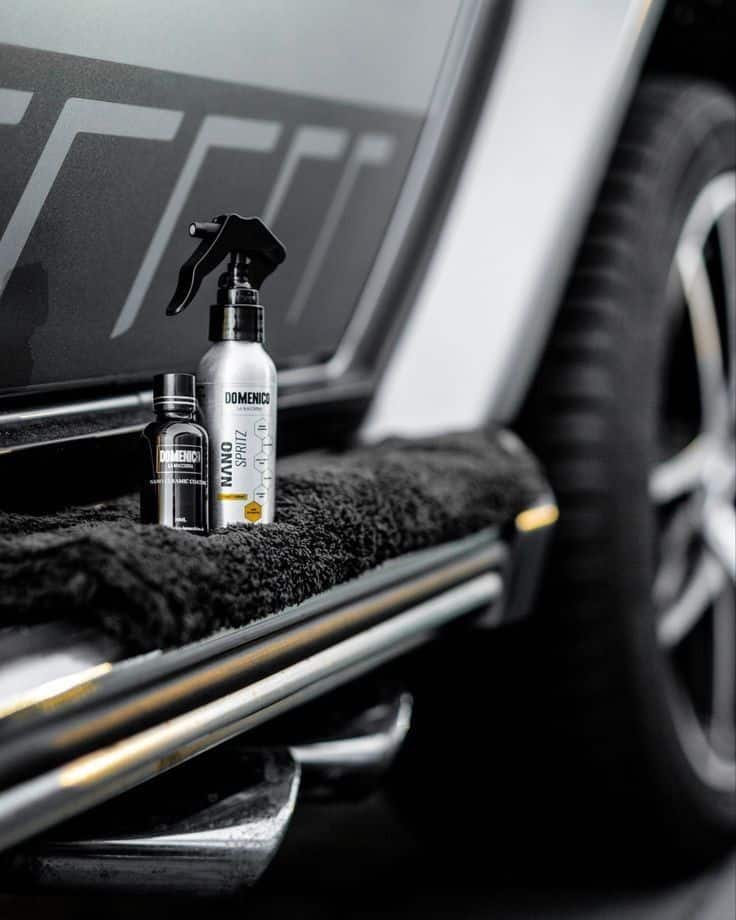
Protecting your car’s paint requires choosing between wax, sealant, or ceramic coating based on your budget and maintenance preferences. Each option offers different levels of durability and protection against UV rays, water spots, and environmental contaminants.
Wax vs. Sealant: What’s Best for You
Carnauba wax provides the warmest, deepest shine but requires reapplication every 2-3 months. Natural carnauba creates an unmatched wet look that car enthusiasts love.
Synthetic wax offers a middle ground with 4-6 months of protection. It’s easier to apply than carnauba and removes more effortlessly.
Paint sealants last 6-12 months and provide superior protection against harsh weather. They contain synthetic polymers that bond strongly to your clear coat.
Choose wax if you enjoy frequent maintenance and want maximum gloss. Pick sealant if you prefer longer intervals between applications and prioritize protection over appearance.
| Product Type | Durability | Shine Quality | Ease of Use |
|---|---|---|---|
| Carnauba Wax | 2-3 months | Exceptional | Moderate |
| Synthetic Wax | 4-6 months | Very Good | Easy |
| Paint Sealant | 6-12 months | Good | Easy |
Applying Wax and Sealant Effectively
Work in shade on cool paint surfaces. Apply thin, even coats using circular motions with a microfiber applicator pad.
Allow the product to haze according to manufacturer instructions. Most waxes need 5-10 minutes while sealants may require 15-20 minutes.
Remove using clean microfiber towels in straight lines. Turn the towel frequently to avoid reapplying removed product.
Work one panel at a time to prevent the product from curing too long. Start with horizontal surfaces like the hood and roof before moving to vertical panels.
Pro tip: Use the swipe test to check if the product is ready for removal. Run your finger across the surface – it should swipe clean without smearing.
Benefits of Ceramic Coating
Ceramic coating provides 2-5 years of protection with superior hydrophobic properties. Water beads and rolls off the surface, taking dirt and contaminants with it.
The coating creates a harder surface than wax or sealant. This reduces the risk of swirl marks and light scratches during washing.
UV protection is significantly better than traditional products. Your paint stays vibrant longer without fading or oxidation.
Maintenance becomes easier with ceramic coating. Regular washing requires less effort since dirt doesn’t bond as strongly to the protected surface.
The initial cost is higher, but ceramic coating offers better long-term value. You’ll spend less on reapplication and achieve consistently better results.
Professional application ensures proper surface preparation and curing. DIY ceramic coatings are available but require careful technique for optimal results.
Interior Detailing and Care
Proper interior detailing requires systematic vacuuming techniques, selecting cleaners that match your car’s materials, and maintaining leather surfaces with appropriate products and conditioning schedules.
Vacuuming and Cleaning Hard-to-Reach Areas
Start by removing all loose items from your vehicle before beginning any interior detailing work. This includes floor mats, personal belongings, and any debris from cup holders and storage compartments.
Use a shop vacuum with multiple attachments to tackle different surfaces effectively. The crevice tool works best for tight spaces between seats and around the center console.
Essential Vacuuming Steps:
- Remove and vacuum floor mats separately
- Use detailing brushes to agitate dirt from fabric seats
- Work the brush tool into carpet fibers in circular motions
- Target areas where crumbs and debris accumulate most
Pay special attention to seat tracks and the space between seat cushions. These areas collect the most dirt and are often overlooked during regular cleaning.
For stubborn debris in air vents and small crevices, use a soft-bristled detailing brush followed by compressed air. This combination loosens particles that your vacuum can then remove effectively.
Choosing Proper Interior Cleaners
Select interior cleaners specifically formulated for automotive surfaces rather than household products. Automotive cleaners are designed to work safely on plastics, vinyl, and electronic components without causing damage.
Cleaner Types by Surface:
| Surface Type | Recommended Cleaner | Key Features |
|---|---|---|
| Fabric/Carpet | Upholstery cleaner | Foam-based, quick-drying |
| Plastic/Vinyl | All-purpose interior cleaner | Non-greasy, UV protection |
| Glass | Automotive glass cleaner | Streak-free, ammonia-free |
Test any new interior cleaner on a hidden area first. This prevents potential discoloration or damage to visible surfaces.
Apply cleaners using microfiber towels rather than paper towels or rags. Microfiber towels trap dirt effectively and won’t scratch delicate surfaces like dashboard trim or touchscreen displays.
For heavily soiled areas, allow the cleaner to dwell for the recommended time before wiping. This gives the product time to break down grime and makes removal easier.
Leather Cleaning and Conditioning
Clean leather surfaces with a dedicated leather cleaner before applying any conditioner. This removes dirt, oils, and previous product buildup that can interfere with conditioning.
Apply leather cleaner to a microfiber towel, not directly onto the leather surface. Work in small sections using gentle circular motions to avoid oversaturating the material.
Leather Care Schedule:
- Cleaning: Every 2-3 months or as needed
- Conditioning: Every 3-4 months
- Protection: Apply UV protectant in summer months
Allow cleaned leather to dry completely before applying leather conditioner. Damp leather cannot absorb conditioner properly, reducing its effectiveness.
Use a separate clean microfiber towel to apply conditioner in thin, even coats. Focus on high-wear areas like seat bolsters and armrests, which tend to dry out faster than other surfaces.
Buff away excess conditioner after allowing it to penetrate for the manufacturer’s recommended time. Leaving excess product on the surface can attract dirt and create a sticky feeling.
Maintenance Tips and Advanced Detailing Tricks
Effective car detailing extends beyond basic washing through strategic maintenance routines, efficient waterless cleaning methods, and advanced techniques that preserve your vehicle’s appearance and market value.
Regular Upkeep for Long-Lasting Results
Consistent maintenance prevents damage and reduces the need for intensive car detailing sessions. You should establish a weekly routine that includes quick inspections and touch-ups.
Check your car’s finish weekly for bird droppings, tree sap, or water spots. These contaminants can permanently damage paint if left untreated for more than a few days.
Apply a spray wax or quick detailer every two weeks to maintain protection between full wax applications. This simple step preserves your car shine and creates a barrier against environmental damage.
Monthly maintenance checklist:
- Deep clean floor mats and vacuum thoroughly
- Condition leather surfaces
- Clean and dress interior plastics
- Inspect and clean door jambs
- Apply tire shine product
Replace microfiber towels every 6-12 months depending on usage. Contaminated towels can scratch surfaces and reduce cleaning effectiveness.
Store your car in shade whenever possible. UV rays fade paint and crack interior surfaces faster than any other environmental factor.
Quick Waterless Wash Methods
Waterless wash products offer convenient car care solutions for light dirt and regular maintenance between traditional washes. These products work best on vehicles that aren’t heavily soiled.
Spray the waterless wash solution on one panel at a time. Never attempt to clean the entire car at once, as the product may dry before you can properly wipe it away.
Use the two-towel method for optimal results. Apply the product with one damp microfiber towel, then immediately buff with a clean, dry towel to prevent streaking.
Start cleaning from the top of your vehicle and work downward. This prevents dirt from being dragged onto already-cleaned surfaces.
Best conditions for waterless washing:
- Vehicle parked in shade
- Surface temperature below 80°F
- Light dust or pollen contamination only
- No visible mud or heavy dirt
Fold your microfiber towels into quarters to create multiple clean surfaces. Flip to a fresh section frequently to avoid redistributing dirt across your car’s finish.
Detailing for Enhanced Car Care and Value
Advanced car detailing techniques significantly impact your vehicle’s resale value and long-term condition. Professional-grade methods require specific products and techniques but deliver superior results.
Clay bar treatment removes embedded contaminants that washing cannot eliminate. Perform this process twice yearly before applying wax or sealant for maximum paint protection.
Apply paint sealant instead of traditional wax for longer-lasting protection. Quality sealants provide 6-12 months of protection compared to 2-3 months for carnauba wax.
Two-stage polishing process:
- Cutting compound – removes scratches and oxidation
- Finishing polish – restores gloss and clarity
Engine bay detailing increases resale value and helps identify potential mechanical issues early. Use appropriate degreasers and protect electrical components with plastic bags.
Headlight restoration prevents safety hazards and improves appearance. Sand progressively from 800 to 3000 grit, then polish and seal with UV-resistant coating.
Document your car detailing efforts with photos and receipts. Maintenance records demonstrate care to potential buyers and support higher resale values.
- 64shares
- Facebook0
- Pinterest64
- Twitter0
- Reddit0
