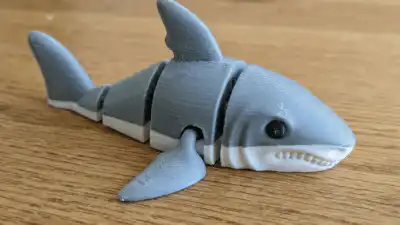
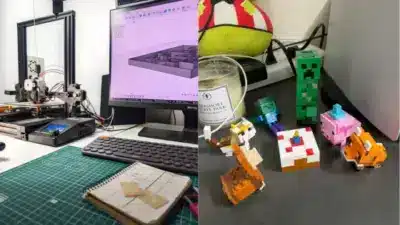
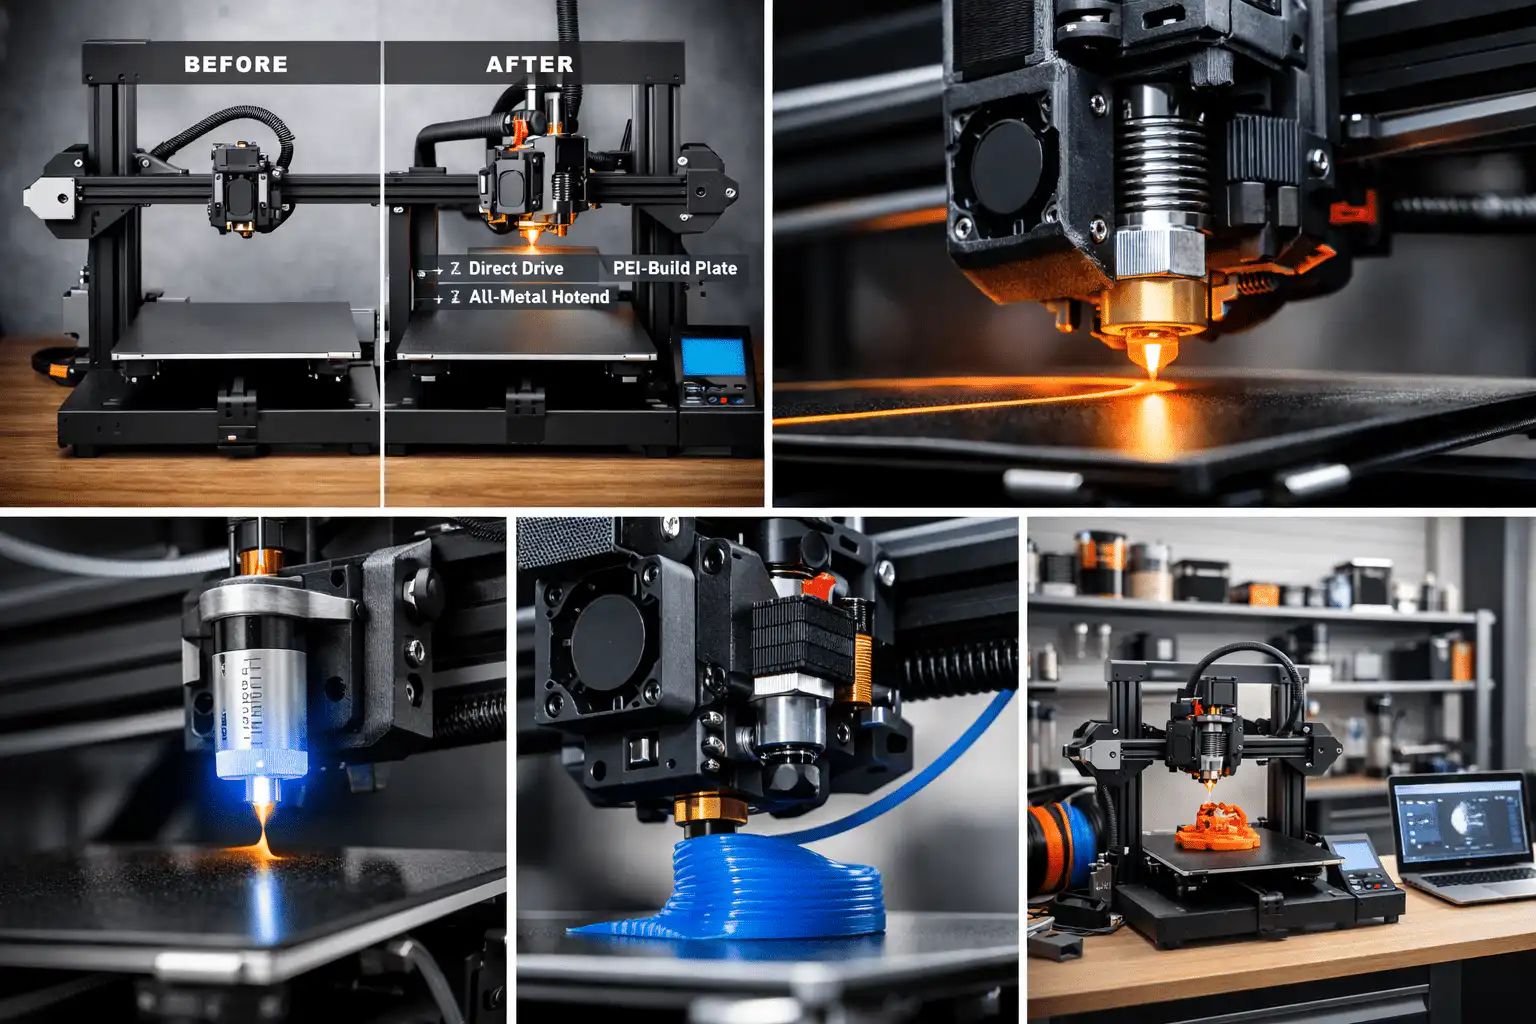
Ever stared at your freshly printed 3D masterpiece, only to feel a tiny pang of disappointment? It looks… okay. But it doesn’t quite have that smooth, professional sheen you envisioned. Maybe there are visible layer lines, pesky support marks, or just a general unfinished vibe. Sound familiar? That’s where the magic of post processing 3d prints comes in! Think of it as the ultimate glow-up for your creations, transforming them from raw plastic to polished perfection.
This isn’t just about making things look pretty; it’s about elevating your 3D printing game, making your models stronger, more functional, and truly something to brag about. Whether you’re a hobbyist dreaming of perfect cosplay props, an artist bringing intricate sculptures to life, or an entrepreneur prototyping a new product, mastering post-processing is a non-negotiable step. It bridges the gap between a print job and a finished product. Ready to ditch the rough edges and embrace flawless finishes? Let’s dive in!
Understanding Your Print’s Starting Point
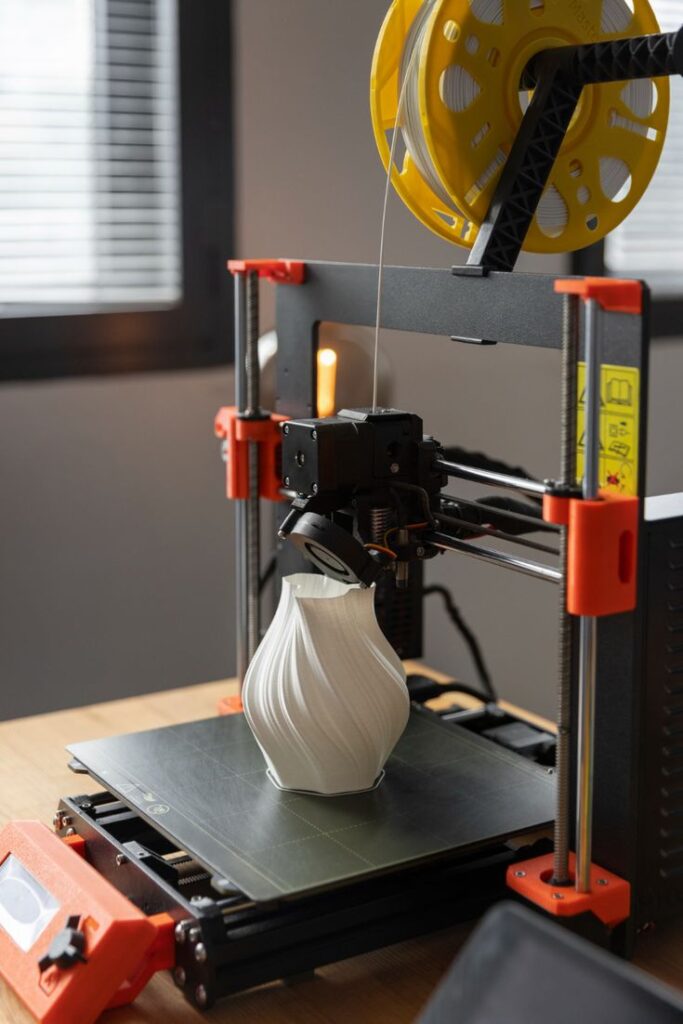
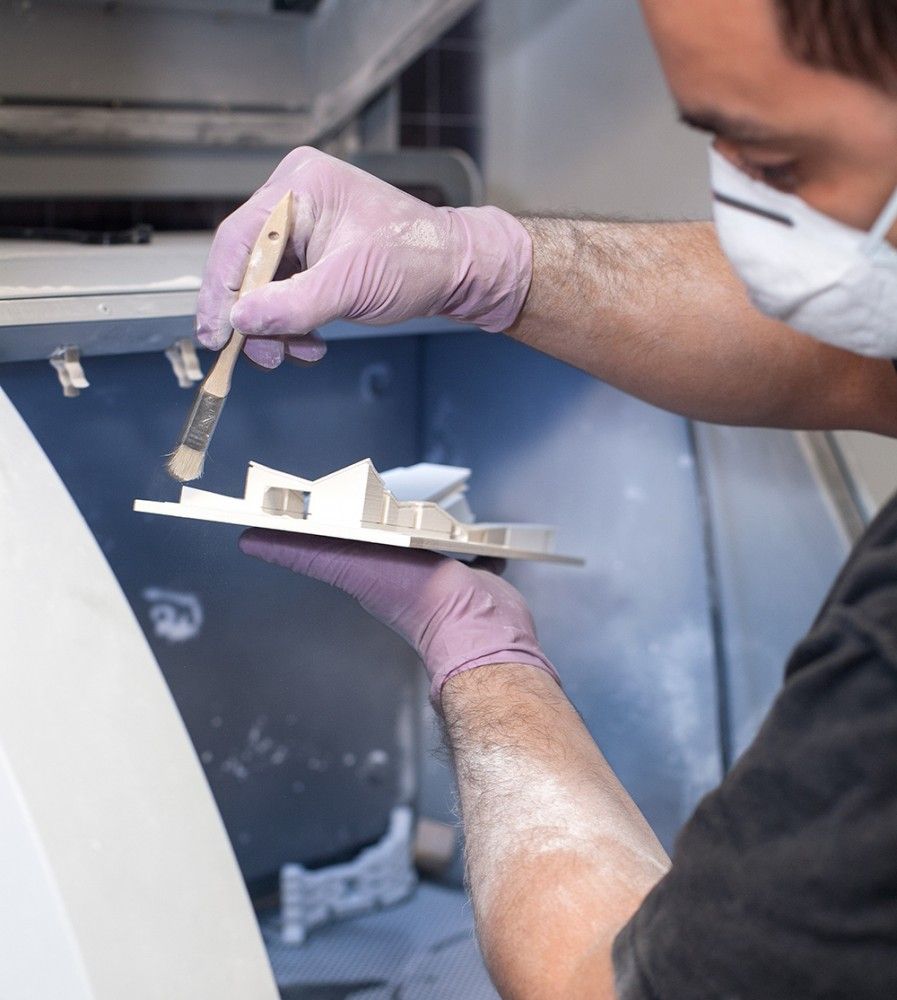
Before we grab any tools, let’s take a quick look at what you’re starting with. The world of 3D printing is vast, but two main technologies dominate the home and small business scene: FDM (Fused Deposition Modeling) and SLA (Stereolithography). Each leaves its own unique marks on a print, which then dictates our post-processing strategy.
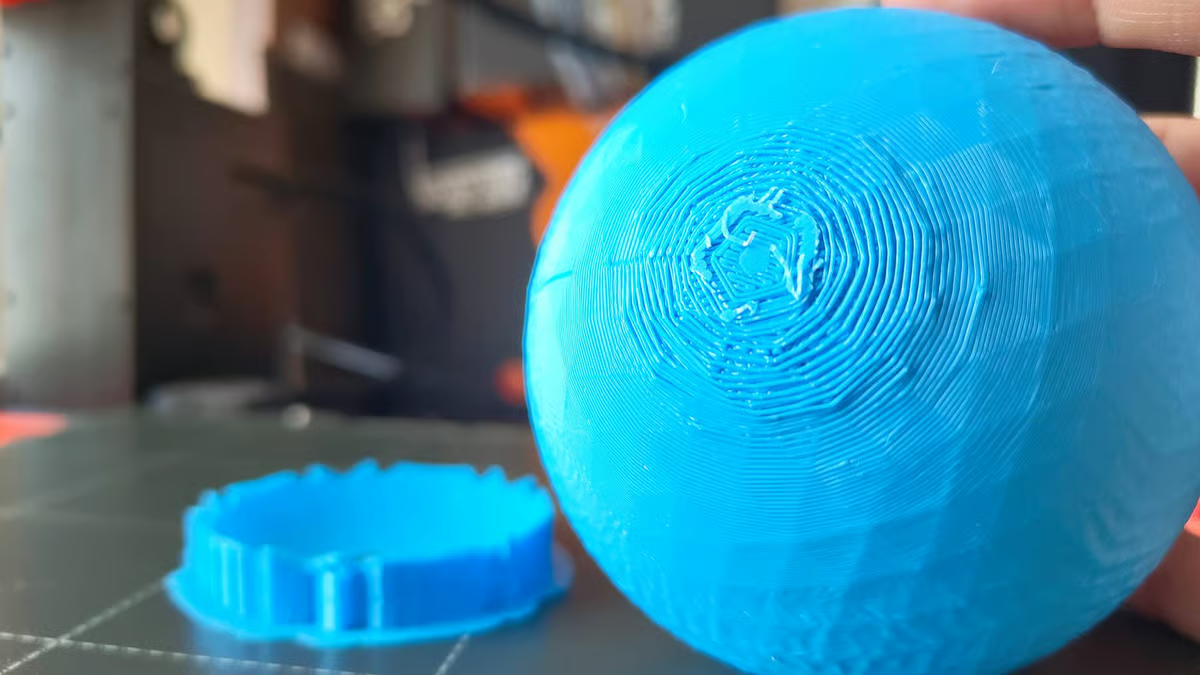
FDM printers, the most common type, build objects layer by tiny layer by extruding melted plastic. This often results in visible layer lines – those subtle (or sometimes not-so-subtle) ridges on the surface. You might also encounter:
- Supports: Necessary evil, these temporary structures hold up overhangs during printing. Removing them often leaves small nubs or rough patches.
- Elephant’s Foot: The very first layers can sometimes spread out slightly, creating a squashed, wider base due to heat and pressure.
- Stringing: Fine wisps of plastic, like spiderwebs, can appear between separate parts of a print when the nozzle travels.
- Warping: Corners lifting off the print bed, causing a distorted base.
SLA printers, on the other hand, use a laser to cure liquid resin layer by layer. These prints are typically much smoother, with incredibly fine details. However, they come with their own set of challenges:
- Resin Residue: Prints emerge sticky, covered in uncured resin that needs careful washing.
- Supports: While often finer than FDM supports, they still leave small attachment points that require removal.
- Curing: The print needs a final UV light cure to achieve full hardness and strength.
Understanding these starting imperfections is key to choosing the right tools and techniques. Don’t worry, every print, no matter how ‘rough’ it looks fresh off the bed, has the potential for a stunning transformation! It’s all about patience and knowing your options, even considering broader design inspiration for the final aesthetic.
Essential Tools for Post Processing
Think of your post-processing toolkit as your arsenal for sculpting perfection. You don’t need everything at once, but having a few key items will make a world of difference. Safety first, always!
Safety Gear: Your Non-Negotiables
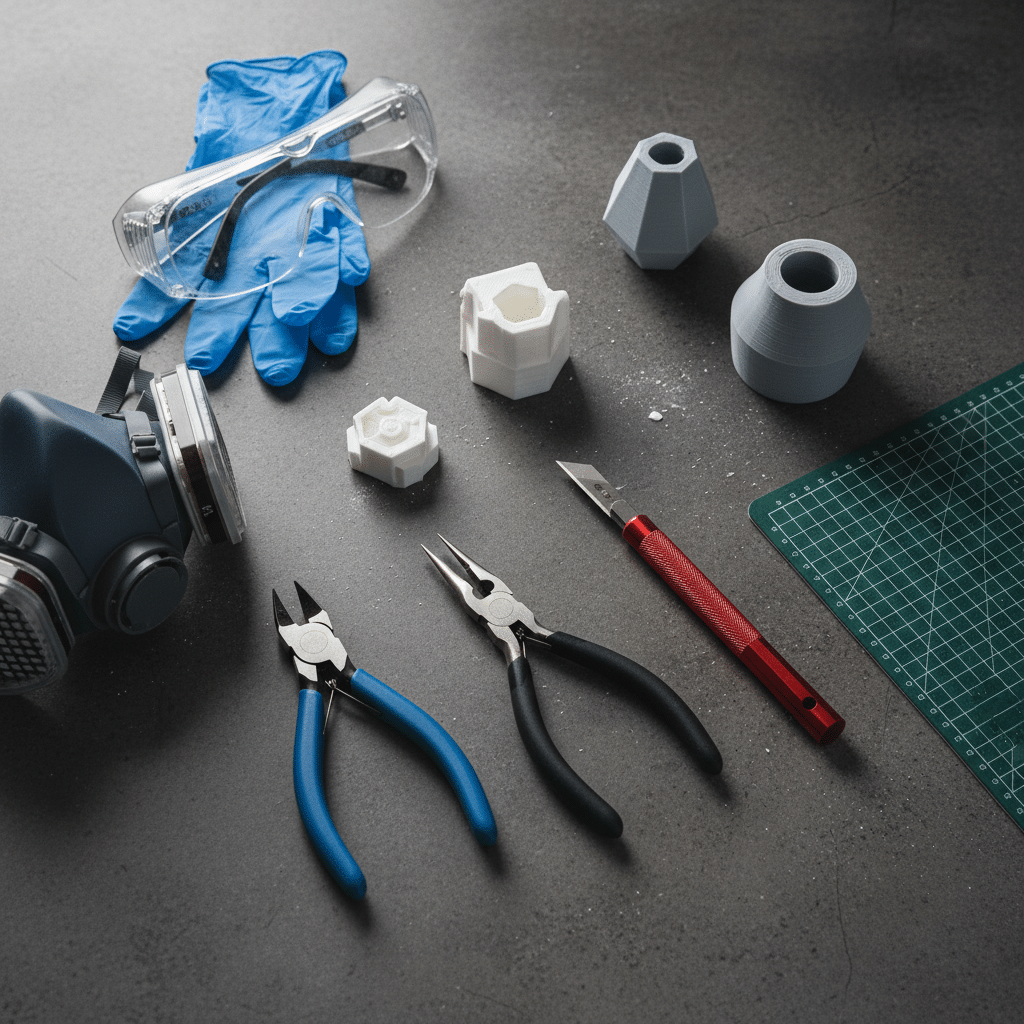
- Gloves: Protect your hands from chemicals, dust, and sharp tools. Nitrile gloves are great for resin, while work gloves are good for sanding.
- Eye Protection: Goggles or safety glasses are crucial. Tiny plastic particles can fly, and you don’t want them in your eyes.
- Respirator/Mask: Especially vital when sanding, using spray paints, or working with resin fumes. A good N95 or even a chemical respirator will protect your lungs.
- Ventilation: Work in a well-ventilated area, preferably outdoors or near an open window with a fan, especially when using chemicals or aerosols.
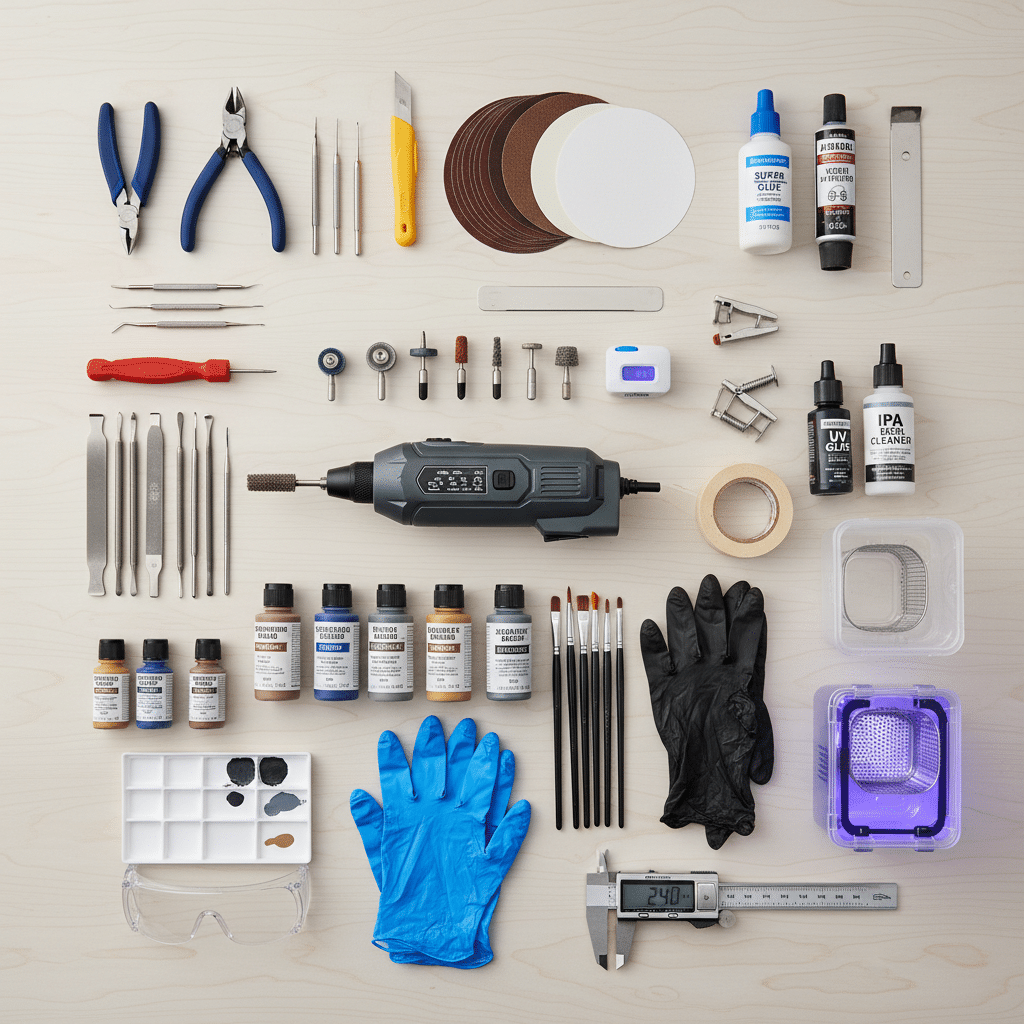
Basic Removal & Cutting Tools
- Flush Cutters/Snips: These are your best friends for removing supports close to the print surface. Look for a pair with a flat edge for clean cuts.
- Hobby Knife/X-Acto Knife: Perfect for trimming small bits of plastic, scraping away stringing, or carefully refining edges. Always cut away from yourself!
- Deburring Tool: While not strictly necessary for FDM, it’s fantastic for quickly smoothing edges and holes.
- Small Pliers: Handy for gripping and twisting off stubborn support pieces.
Smoothing & Shaping Tools
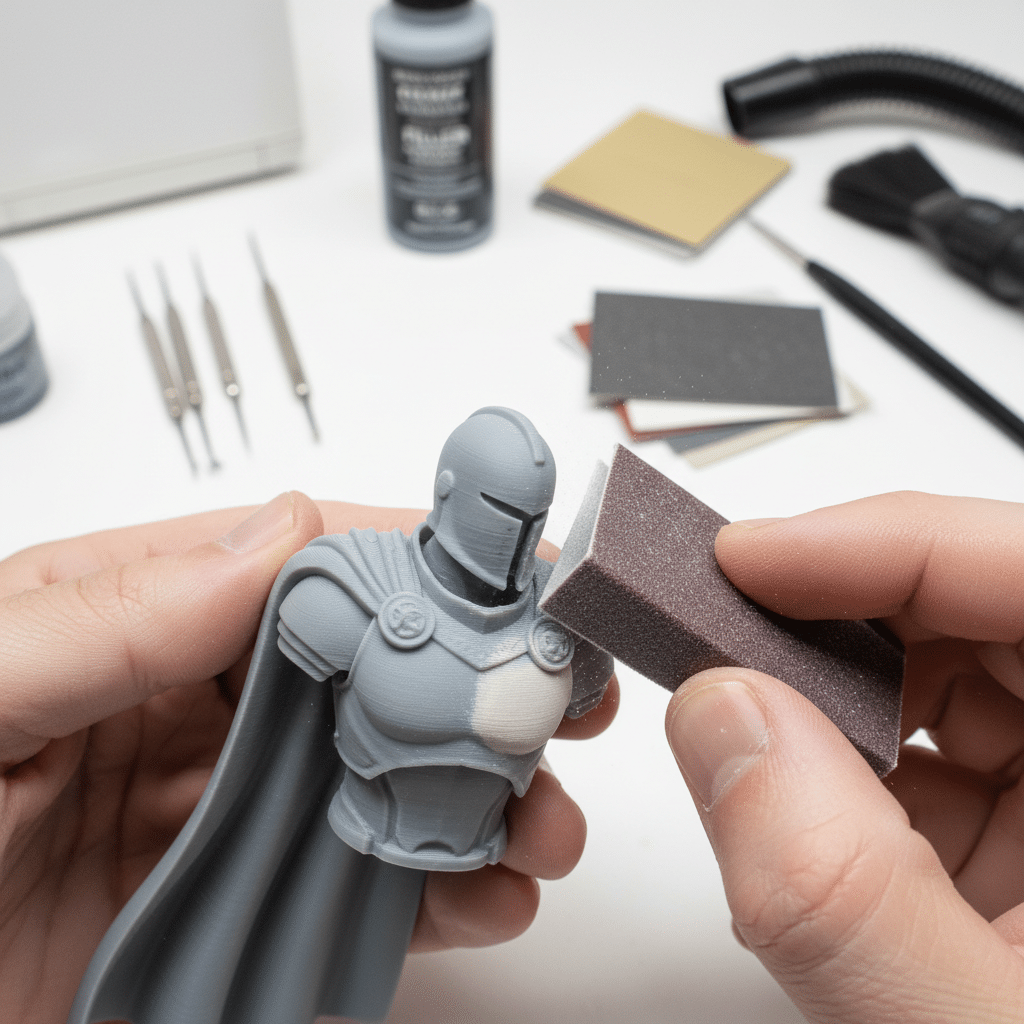
- Sandpaper (Various Grits): This is your bread and butter. Start with coarser grits (120-220) for initial shaping and removing big marks, then progressively move to finer grits (400, 600, 800, 1000, 2000+) for a silky-smooth finish.
- Sanding Sticks/Files: Great for reaching tight corners and intricate details that sandpaper alone can’t tackle. Nail files can even work in a pinch!
- Rotary Tool (e.g., Dremel): A powerful ally for grinding, sanding, and polishing. Various attachments (sanding drums, grinding stones, polishing wheels) make it incredibly versatile.
- Needle Files: Tiny metal files perfect for precise smoothing in small areas or cleaning out holes.
Filling & Finishing Tools
- Body Filler/Wood Filler: Automotive body filler (like Bondo) or fine-grain wood filler can be used to fill larger gaps, layer lines, or deep imperfections.
- Putty Knife/Spatulas: For applying fillers smoothly and evenly.
- Primer (Filler Primer): This magic spray reveals imperfections you might have missed and provides an excellent base for paint.
- Paints: Acrylics, spray paints, model paints – choose based on your desired finish and material.
- Clear Coat/Varnish: To protect your paint job and add a professional sheen.
Cleaning Tools
- Stiff Brushes: To brush away sanding dust.
- Isopropyl Alcohol (IPA): Essential for cleaning resin prints and removing oils/residue before painting.
- Microfiber Cloths: For wiping down surfaces without leaving lint.
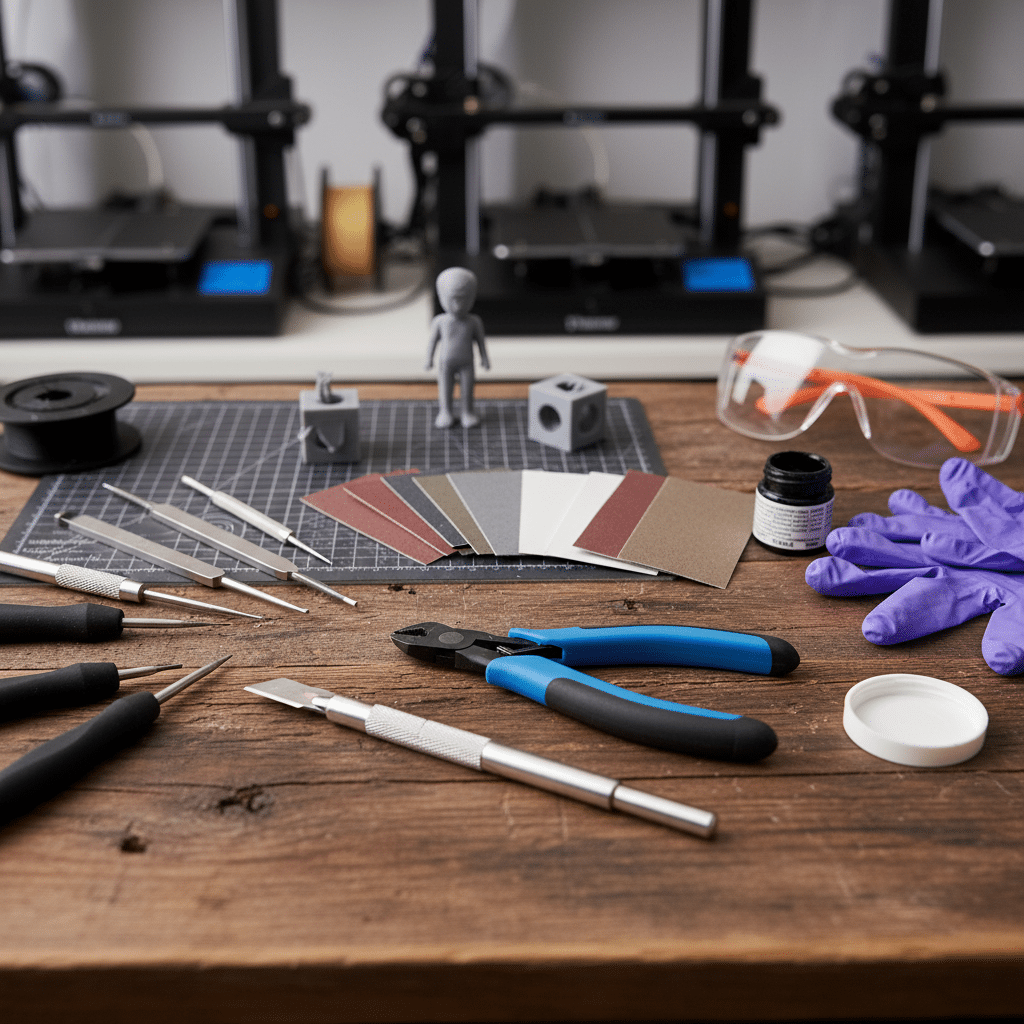
Having a dedicated workspace and keeping these tools organized will streamline your process. Many of these items are also fantastic home remodeling tools you might already have on hand!
Step-by-Step Post-Processing Guide (FDM Focus)
Let’s get practical! This guide focuses primarily on FDM prints, as they often require the most extensive post-processing. We’ll cover everything from support removal to priming.
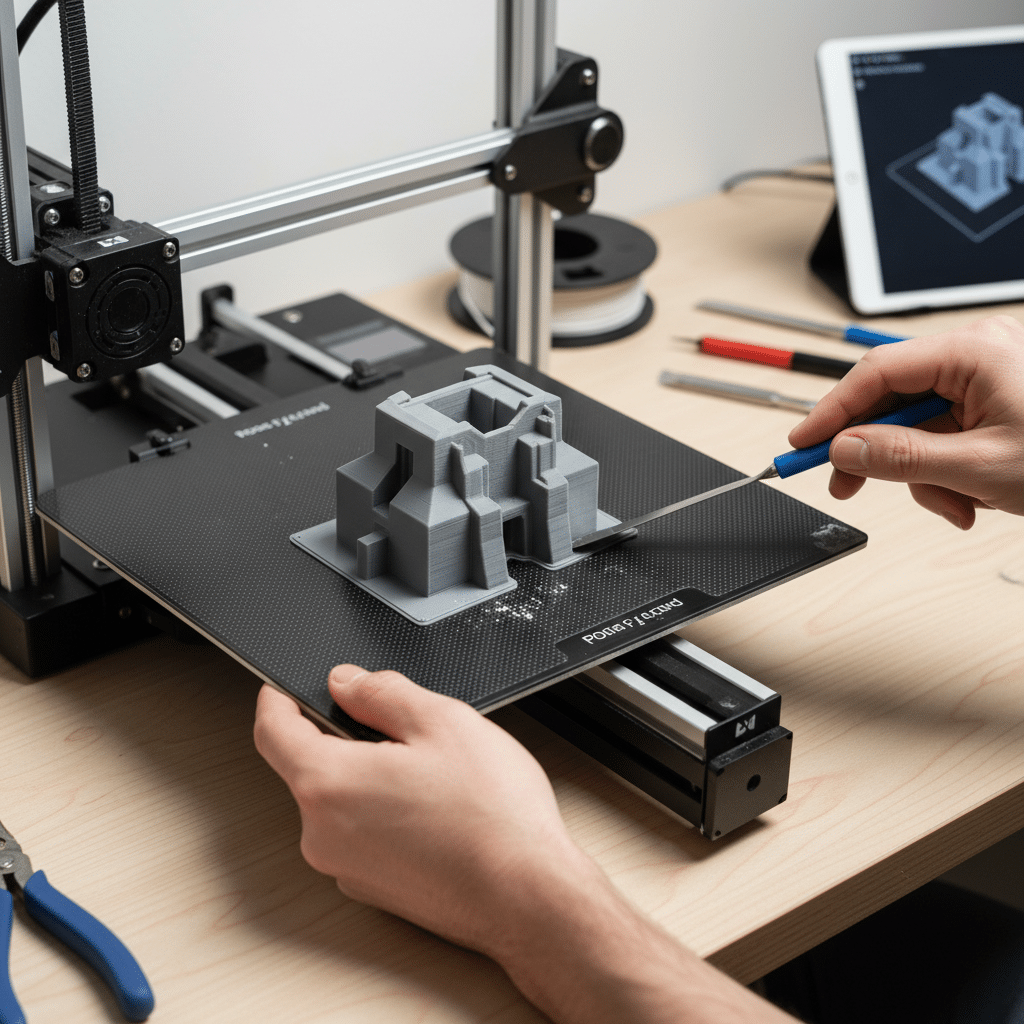
Removing Supports
This is often the first step and can make or break your print’s initial appearance. Patience is key here.
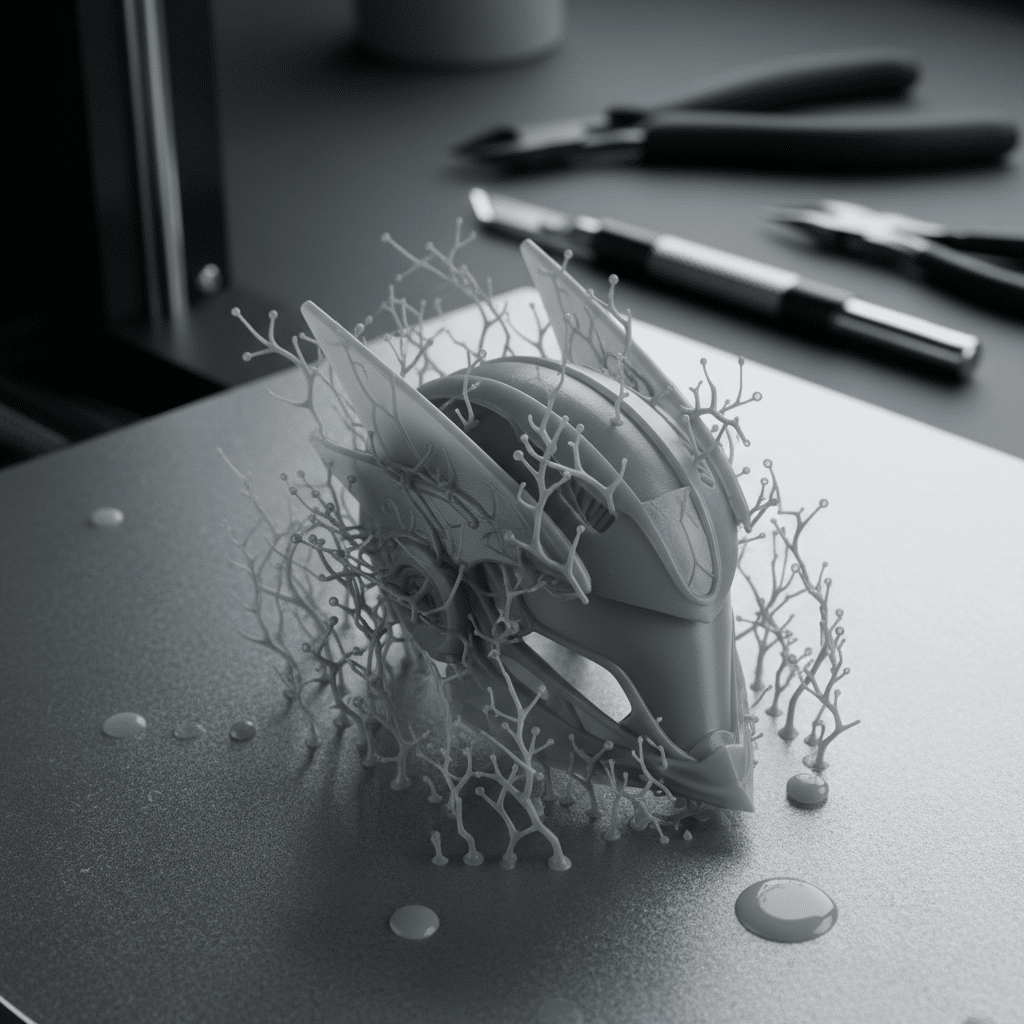
- Identify Support Type: FDM printers use various support structures (tree, standard grid, custom). Tree supports tend to be easier to remove with fewer contact points.
- Gentle Approach: Don’t just yank them off! Especially with delicate prints, aggressive removal can damage the model.
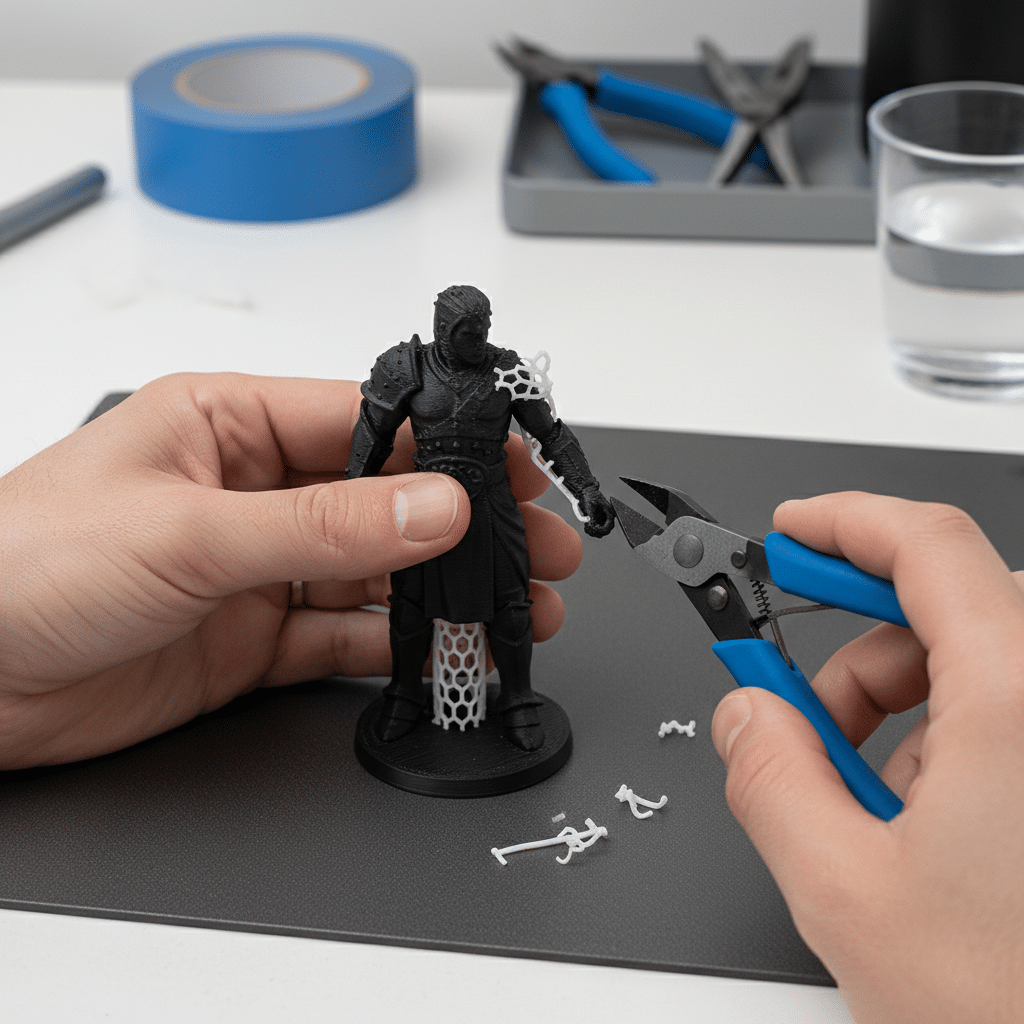
- Flush Cutters First: Use your flush cutters to snip away larger support structures. Position the flat side of the cutter against your print for the closest possible cut. Work from the outside in, removing chunks rather than trying to pull large sections.
- Twist and Pull (Carefully): For smaller supports, sometimes a gentle twist or pull can snap them cleanly away, especially if your print settings for support interface were dialed in well.
- Hobby Knife for Remnants: After the bulk is gone, use a sharp hobby knife to carefully scrape or trim away any small nubs or attached bits left behind. Always cut away from yourself and use light pressure to avoid gouging your print.
- Consider Heat (PLA only): For very stubborn PLA support remnants, a heat gun on a low setting or even a hairdryer can slightly soften the plastic, making it easier to scrape off. Be extremely cautious not to melt or deform your actual print. Don’t use this method for ABS or PETG, as their melting points are higher, and you risk burning them.
The goal is to get the surface as clean as possible before moving to sanding, minimizing the amount of material you’ll need to remove later.
Initial Cleaning and Smoothing
This is where you start to really erase those tell-tale 3D print lines. It’s a progressive process, so don’t rush it.
- Scrape Away Imperfections: Before sanding, use your hobby knife or a deburring tool to scrape off any large bumps, blobs, or stubborn support marks. This prevents your sandpaper from getting clogged or unevenly wearing.
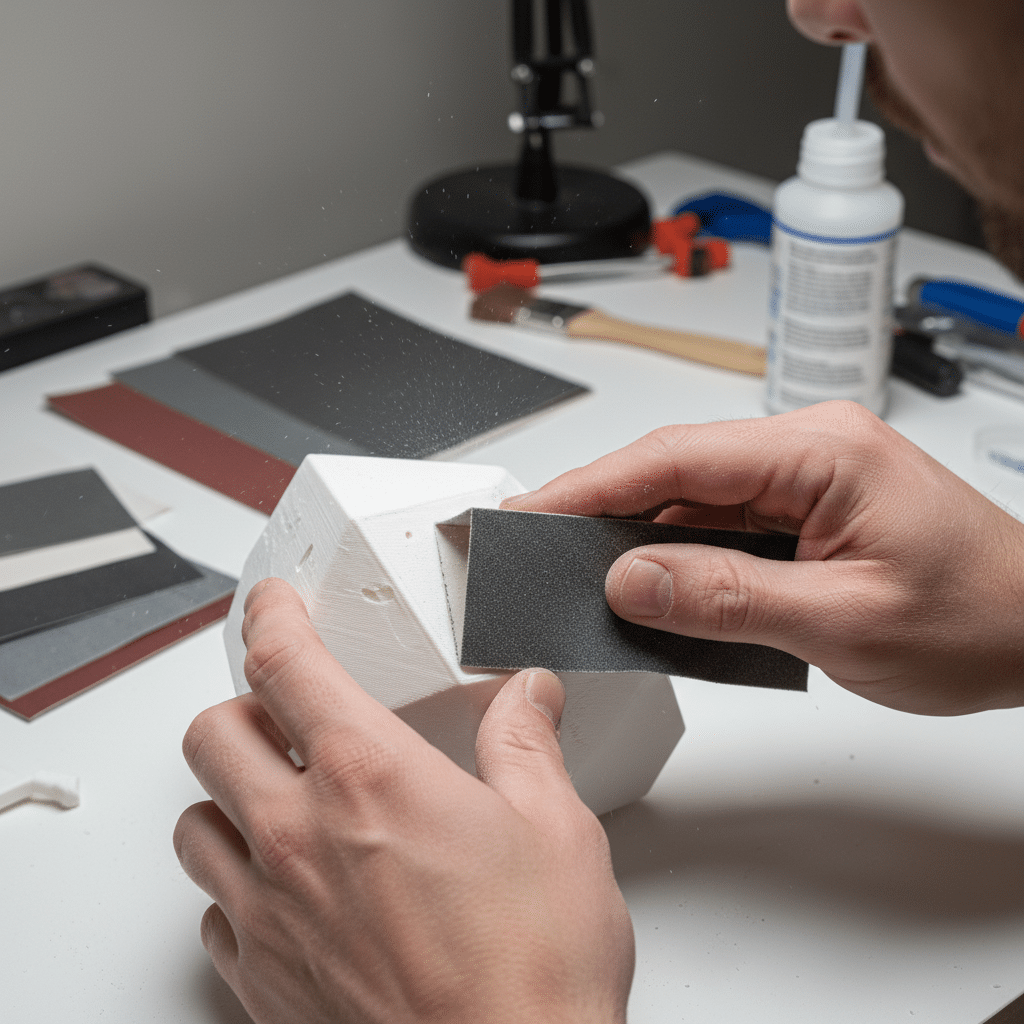
- Start Coarse, Go Fine: Begin with a relatively coarse grit sandpaper, like 120 or 220. This is for removing major layer lines and shaping the print. Work in small sections, applying even pressure.
Pro Tip:* Wrap your sandpaper around a small block of wood or a specialized sanding block. This gives you better control and prevents finger marks or uneven sanding.
- Dry Sanding: For the initial passes, dry sanding is usually fine. Make sure to regularly brush off the plastic dust, as it can interfere with sanding effectiveness.
- Wet Sanding: Once you move to finer grits (400 and above), consider wet sanding. Dip your sandpaper in water before sanding. This helps reduce dust, prevents sandpaper from clogging, and provides a smoother finish. Keep a small bowl of water and a cloth handy.
- Progressive Grits: The key to a truly smooth finish is to progressively move through grits. Don’t jump from 220 to 1000! Go from 220 to 320/400, then 600, then 800, and so on. Each successive grit removes the scratches left by the previous coarser grit.
- Check Your Work: Regularly wipe down your print to remove dust and examine it under good light. Imperfections tend to hide until the dust is gone. Feel the surface – your fingertips are excellent detectors of unevenness.
This stage takes the most time, but it’s the foundation for a professional-looking print.

Filling Gaps and Imperfections
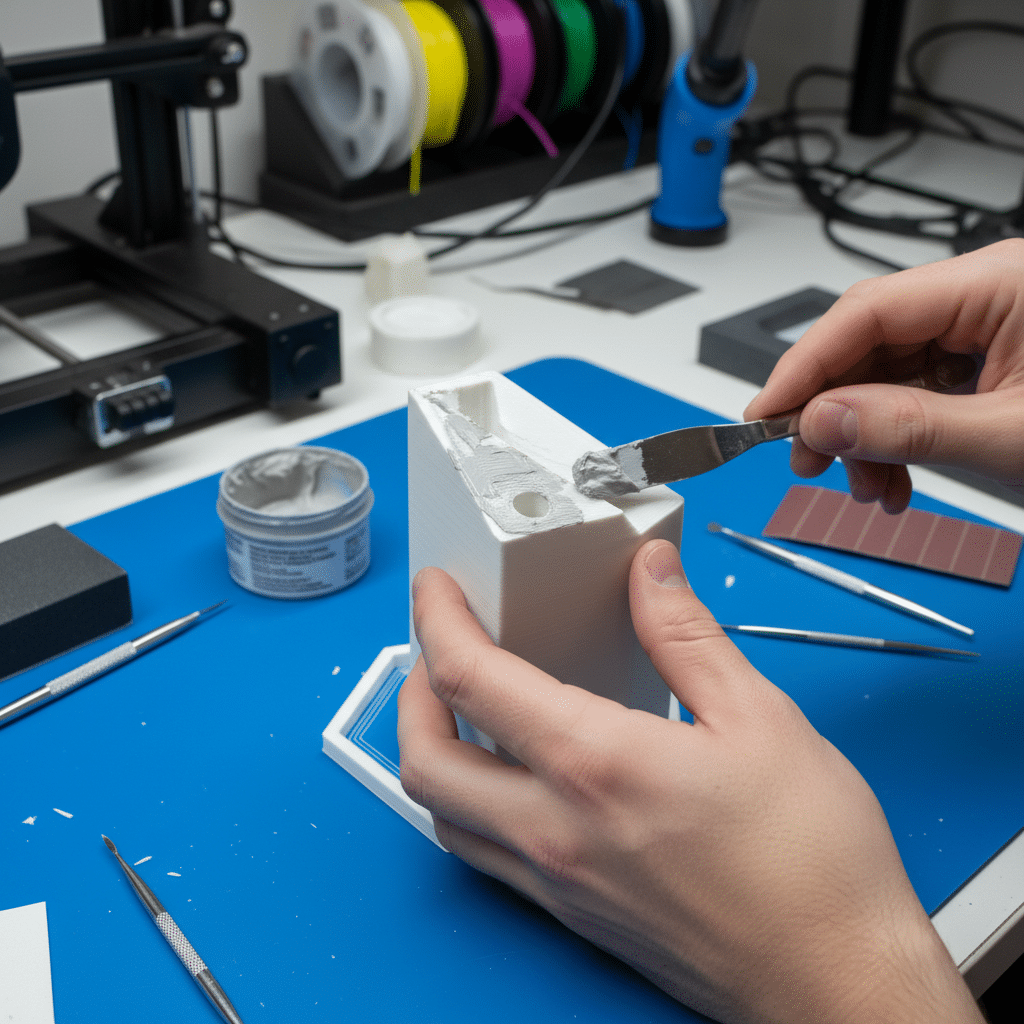
Sometimes sanding alone isn’t enough. For deep layer lines, gaps from poorly joined parts, or significant divots, you’ll need filler.
- Choose Your Filler:
Automotive Body Filler (e.g., Bondo): Excellent for large gaps and achieving a very hard, sandable finish. It’s a two-part epoxy, so mix small batches. Dries quickly. Wood Filler: Often easier to work with, less toxic, and sands well. Great for smaller imperfections. Specialized 3D Print Fillers: Several brands now offer fillers specifically designed for 3D prints, often acrylic-based. 3D Printing Pen/Extruder: For very specific gaps, you can use a 3D printing pen with the same filament as your print to fill in areas, then sand it down.
- Application: Apply a thin, even layer of filler using a putty knife or a small spatula. Don’t slop it on thick – multiple thin coats are always better than one thick one, which can crack or be hard to sand.
- Drying Time: Allow the filler to dry completely according to the manufacturer’s instructions. Rushing this will lead to problems.
- Sanding Filler: Once dry, sand the filled areas smooth, again starting with a coarser grit (e.g., 220) and moving to finer grits. The goal is to blend the filled area seamlessly with the rest of the print.
- Repeat if Necessary: You’ll likely need to apply and sand filler multiple times to achieve a perfectly smooth surface. Don’t be afraid to go back and add more if you find missed spots or sunken areas.
Priming for a Flawless Finish
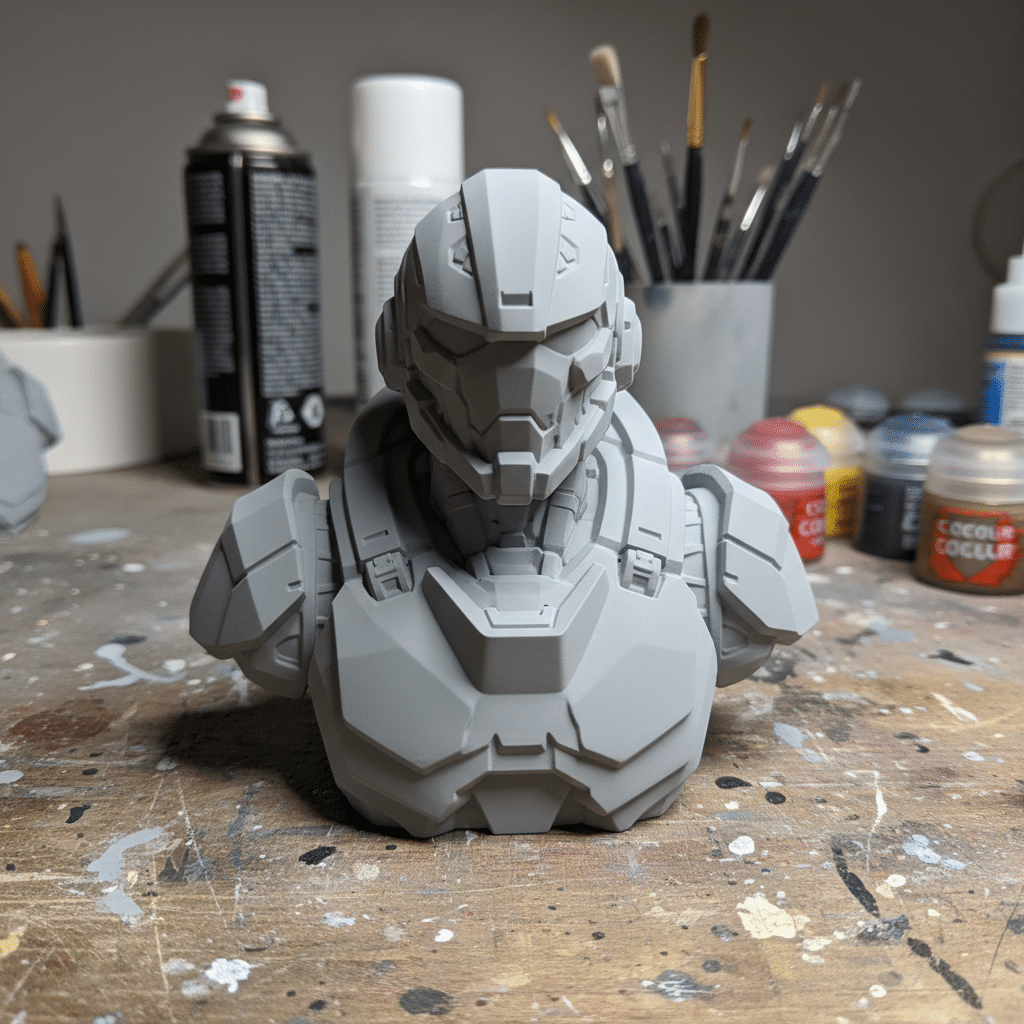
Priming isn’t just for paint adhesion; it’s a critical step for revealing any remaining imperfections and creating a uniform base.
- Clean Your Print: Before priming, thoroughly clean your print. Use a soft brush to remove all sanding dust, and then wipe it down with a damp cloth or isopropyl alcohol to remove any oils or residues. Ensure it’s completely dry.
- Choose Your Primer:
Filler Primer: This is your secret weapon. It’s thicker than regular primer and has micro-fillers that help fill in very fine layer lines and small imperfections you might have missed. Automotive filler primer works wonderfully. Regular Primer: If your print is already super smooth, a standard plastic-compatible primer will do.
- Application:
Work in a well-ventilated area, preferably outdoors. Shake the spray can vigorously for at least a minute. Apply several thin, even coats rather than one thick, heavy coat. Hold the can about 8-12 inches away from the print and use sweeping motions. Rotate the print to ensure even coverage from all angles. * Allow adequate drying time between coats (check the can’s instructions).
- Inspect and Resand: Once the primer is dry, inspect your print under bright light. The primer will highlight any remaining layer lines, scratches, or bumps. If you find them, lightly sand those areas with a fine-grit sandpaper (400-600), clean, and reapply primer. Repeat until the surface is perfectly smooth. This step is crucial for an art base or any project where you want a truly refined look.
Advanced Post-Processing Techniques (Optional but Awesome)
Once you’ve mastered the basics, you might want to explore some more advanced techniques to take your prints to the next level.
Chemical Smoothing (for ABS)
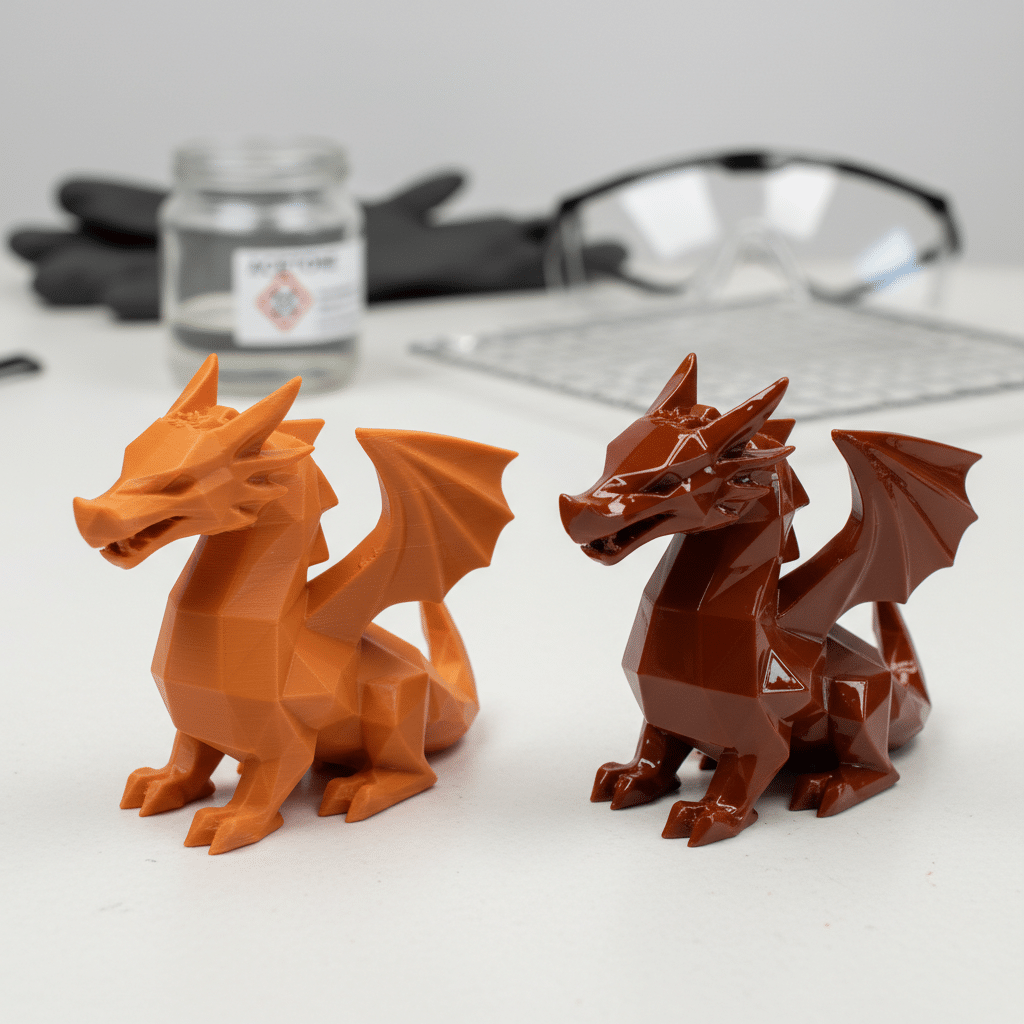
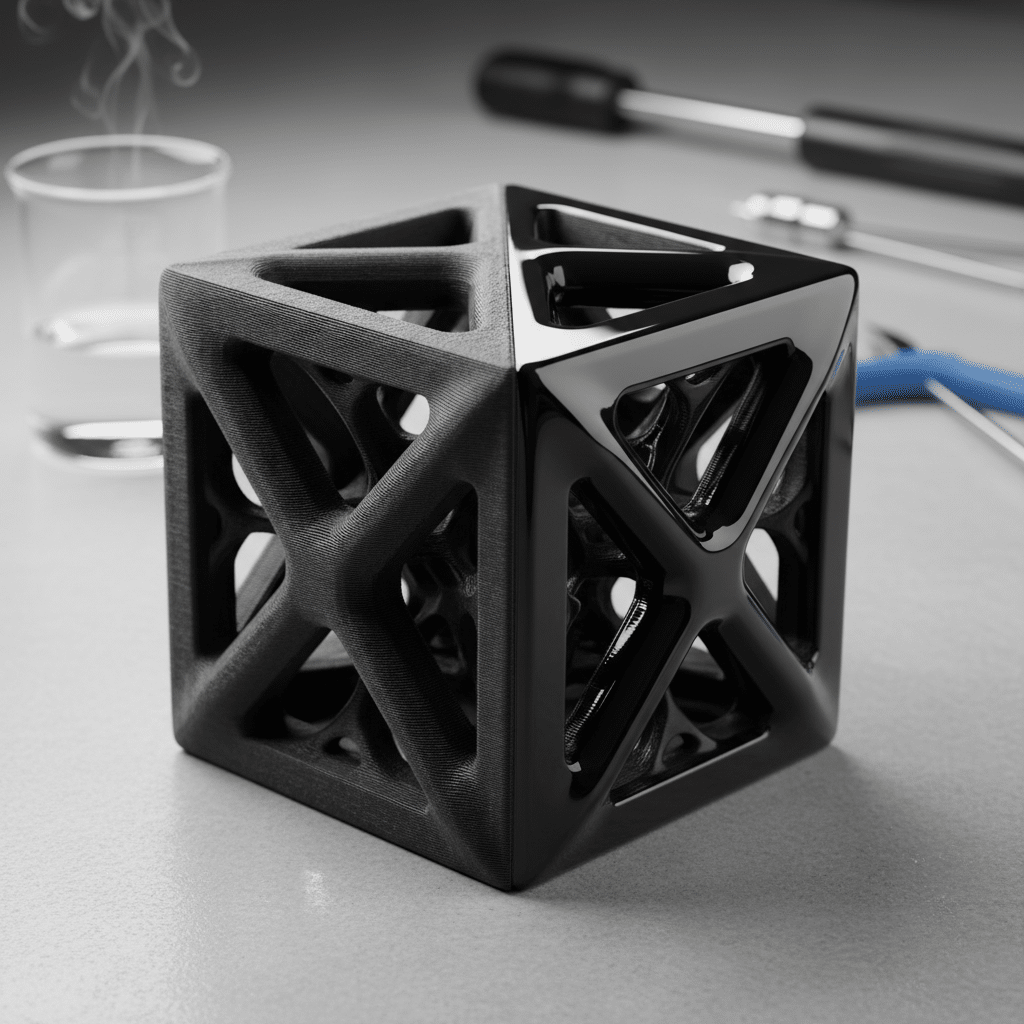
This technique creates an incredibly smooth, glossy finish on ABS prints by selectively dissolving the outer layer with acetone vapor.
- Material Specific: This only works with ABS plastic. Other plastics like PLA will simply melt or distort without smoothing.
- Safety is Paramount: Acetone is highly flammable, and its fumes are harmful. This process must be done in a very well-ventilated area (preferably outdoors), away from any open flames or sparks, and with proper respiratory protection (a chemical respirator, not just an N95).
- How it Works (Briefly): Place a small amount of acetone in a sealed container (like a glass jar or metal tin). Suspend your ABS print inside the container (don’t let it touch the liquid). The acetone vapor will slowly “melt” and smooth the outer layers of the print.
- Control is Key: Monitor the process closely. Too much time in the vapor, and your print can lose detail or become gooey.
- Advantages: Achieves a truly glass-like finish without sanding.
- Disadvantages: Dangerous if not done correctly, only for ABS, can reduce fine details if overdone.
Resin Curing and Finishing (for SLA/DLP)
SLA prints require a different set of post-processing steps due to the nature of liquid resin.
- Washing: After printing, prints are sticky with uncured resin. They must be washed thoroughly in isopropyl alcohol (IPA) to remove this residue. Specialized wash stations make this easy, but you can also use containers and agitate the print manually.
- Support Removal (Resin): Resin supports are often very fine. Use flush cutters or a hobby knife to carefully remove them. Any nubs left behind can be sanded.
- UV Curing: Uncured resin is still soft and brittle. The print needs to be exposed to UV light (either in a dedicated UV curing station or direct sunlight) to fully harden and achieve its final strength.
- Sanding and Polishing: Even though resin prints are smooth, you might still want to sand away support marks or polish the surface for an even higher gloss. Use wet sanding techniques with very fine grits (up to 2000-5000) and then a polishing compound.
Painting Your Prints
This is where your vision truly comes to life. Painting can add incredible realism and depth to your models.
- Surface Preparation: As discussed, a well-primed, smooth surface is essential for a good paint job. Any imperfections will be magnified by paint.
- Choose Your Paint:
Acrylics: Versatile, water-based, and easy to clean up. Great for hand-painting details. Spray Paints (Plastic-specific): Offer even coverage for larger areas. Look for paints designed for plastics. Model Paints: Often formulated for fine detail work and specific finishes (e.g., metallics, matte, gloss). Airbrushing: Provides incredibly smooth, even coats and allows for detailed color blending.
- Application Techniques:
Multiple Thin Coats: Whether spraying or brushing, always apply multiple thin coats rather than one thick one. This prevents drips, maintains detail, and results in a more durable finish. Masking: Use painter’s tape or liquid masking fluid to protect areas you don’t want to paint while working on adjacent sections. Detail Brushes:* Invest in good quality brushes for intricate work.
- Clear Coat/Varnish: After your paint has fully dried, apply a clear coat (matte, satin, or gloss) to protect the paint job from wear, UV damage, and add a professional finish.

Electroplating and Other Coatings
For the truly ambitious, there are even more advanced techniques:
- Electroplating: Applying a thin layer of metal (like copper, nickel, or chrome) to your plastic print, giving it a real metallic feel and conductivity. This involves conductive primers and a specialized electroplating bath.
- Vapor Deposition: Creating thin, uniform metallic or other coatings in a vacuum chamber.
- Flocking: Applying fine fibers to give a fuzzy, velvet-like texture.
These often require specialized equipment or services but can result in truly unique finishes.
Safety First: Always Protect Yourself
We’ve mentioned safety throughout, but it bears repeating. Working with tools, chemicals, and fine dust can be hazardous if proper precautions aren’t taken.
- Always Wear PPE: Gloves protect your hands from cuts, chemicals, and skin irritation. Safety glasses are non-negotiable for protecting your eyes from flying debris and splashes. A respirator or mask protects your lungs from fine plastic dust (which isn’t good to inhale) and chemical fumes.
- Ventilation is Key: When sanding, painting, or using any chemicals (like IPA or acetone), ensure you are in a well-ventilated area. Outdoors is best. If indoors, use open windows and a fan to create airflow away from you.
- Handle Chemicals Responsibly: Read the safety data sheets (SDS) for any chemicals you use. Store them properly, away from heat sources and out of reach of children and pets. Dispose of chemical waste according to local regulations.
- Sharp Tools: Be mindful of where your hands and fingers are when using hobby knives, snips, or rotary tools. Always cut away from your body.
- Clean Workspace: A tidy workspace is a safer workspace. Clear away clutter, clean up spills promptly, and properly store tools after use.
Prioritizing safety ensures you can enjoy your hobby without any unwelcome incidents.
Common Pitfalls and How to Avoid Them
Even seasoned makers can sometimes fall into these traps. Being aware of them can save you headaches and wasted effort.
- Rushing the Process: This is probably the biggest mistake. Post-processing is a marathon, not a sprint. Trying to speed through sanding grits, drying times, or curing processes will almost always lead to a sub-par finish that you’ll regret.
Solution:* Be patient. Break the process into manageable steps. Enjoy the meditative aspect of sanding!
- Skipping Grits: Going from 120 grit directly to 800 grit leaves deep scratches that the finer grit can’t fully remove. Each grit refines the surface by removing the scratches from the previous one.
Solution:* Always progress through grits sequentially (e.g., 220 -> 400 -> 600 -> 800).
- Applying Too Much Filler/Paint: Thick layers of filler can crack or be impossible to sand smoothly. Thick layers of paint will obscure details, leave drips, and take forever to dry.
Solution:* Apply multiple thin coats, whether it’s filler, primer, or paint. Build up layers gradually.
- Not Cleaning Between Steps: Dust from sanding, oils from your hands, or residue from chemicals can interfere with adhesion and finish quality.
Solution:* Thoroughly clean your print before applying filler, primer, or paint. Use brushes, compressed air, and isopropyl alcohol.
- Ignoring Proper Ventilation and Safety: As mentioned, this isn’t just about aesthetics; it’s about your health.
Solution:* Always wear appropriate PPE and work in a well-ventilated area. No excuses!
- Over-Sanding Details: Getting carried away with sanding can soften sharp edges or erase fine details, especially on intricate models.
Solution:* Use finer grits and lighter pressure around detailed areas. Switch to sanding sticks or needle files for precision work.
- Not Inspecting Under Good Light: Imperfections love to hide in dim lighting. You might think a surface is smooth until you hit it with a bright light.
Solution:* Use a strong LED light or natural sunlight to inspect your print at every stage, especially after sanding and priming.
Avoiding these common missteps will dramatically improve your success rate and the quality of your finished prints, turning your projects into something worthy of a cozy desk setup.

The Joy of the Finished Product
There’s a unique satisfaction that comes from holding a beautifully post-processed 3D print. It’s no longer just a piece of plastic that came off a machine; it’s a creation, an object that feels intentional and expertly crafted. The hours you spent sanding, filling, and painting might seem tedious in the moment, but they pay off immensely when you see the final result – a print that rivals injection-molded products in smoothness and aesthetic appeal.
This isn’t just about making things look good; it’s about adding durability, enhancing functionality, and allowing your true artistic vision to shine through. From custom gaming miniatures to functional prototypes or even unique home decor items, the transformation is truly rewarding. So, don’t shy away from the extra effort. Embrace the process, learn from each print, and enjoy the incredible journey from raw filament to refined masterpiece. Each project is an opportunity to hone your skills, much like any other DIY projects.

Conclusion
Post processing 3D prints might seem like an extra chore, but it’s truly where the magic happens. It’s the difference between a decent print and a professional-grade product that commands attention. By understanding your starting material, arming yourself with the right tools, and patiently following the steps of support removal, sanding, filling, and priming, you can achieve stunning results.
Remember, practice makes perfect. Your first few attempts might not be flawless, but with each print, you’ll gain confidence and refine your techniques. Don’t be afraid to experiment with different fillers, paints, and finishing methods. The world of 3D printing is all about creation and innovation, and mastering post-processing is a crucial step in bringing your wildest ideas to polished, tangible reality. So, go forth, unleash your inner artisan, and transform those rough diamonds into dazzling gems! Your 3D prints are waiting for their glow-up.
What is the importance of post-processing in 3D printing?
Post-processing enhances the appearance, durability, and functionality of 3D printed models, transforming raw prints into polished, professional-looking objects.
What are the main differences between FDM and SLA 3D prints, and how do they affect post-processing?
FDM prints often have visible layer lines and support marks requiring sanding and support removal, while SLA prints are smoother with fine details but need resin cleaning and curing; each demands specific post-processing techniques.
What essential safety equipment should I use for post-processing 3D prints?
Always wear gloves, safety glasses, and a respirator or mask, especially when sanding, painting, or working with chemicals, and ensure good ventilation in your workspace.
- 24shares
- Facebook0
- Pinterest24
- Twitter0
- Reddit0

