The holiday season is a magical time of year, filled with twinkling lights, festive carols, and the joy of giving. But what if you could add a personal, unique touch to your celebrations that truly stands out? Enter the wonderful world of 3D printing! This incredible technology allows you to bring your creative visions to life, crafting bespoke decorations, gifts, and even functional items right from your desktop. Forget the last-minute dash to crowded stores for generic decor. This year, you can infuse your home with unparalleled charm and character, all thanks to the power of a 3D printer. We’re about to dive into a treasure trove of inspiration, exploring 10 Christmas 3D prints that are sure to deck your halls with wonder, spark conversations, and make your festive season truly unforgettable. Get ready to unleash your inner maker and transform your holiday spirit into tangible, delightful objects!
1. Festive Tree Ornaments
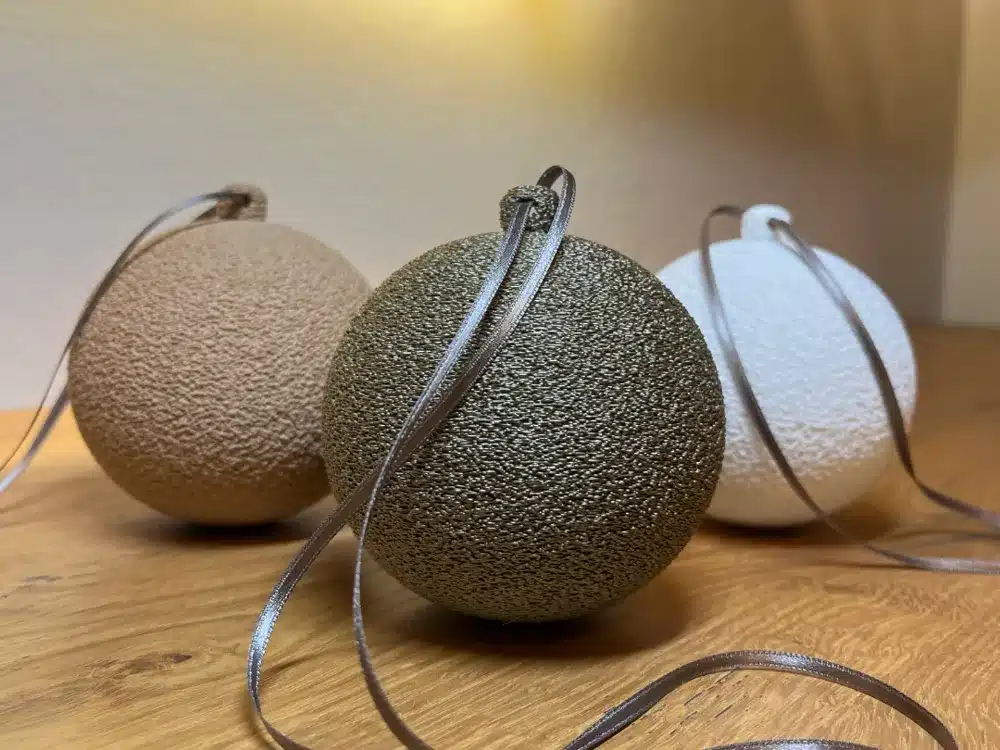
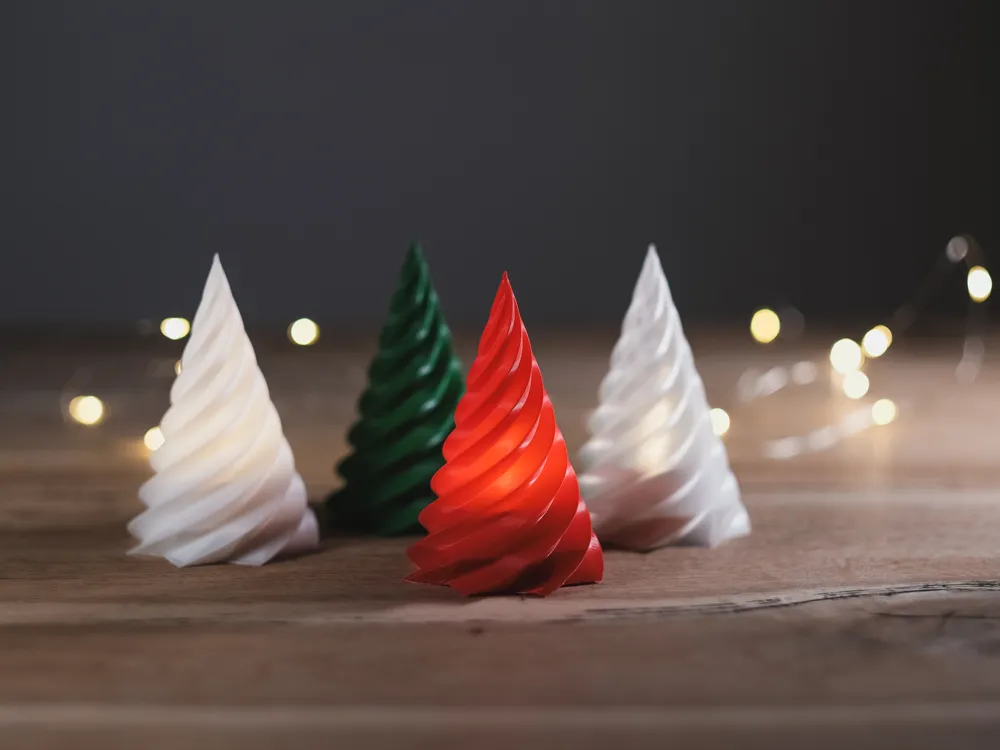
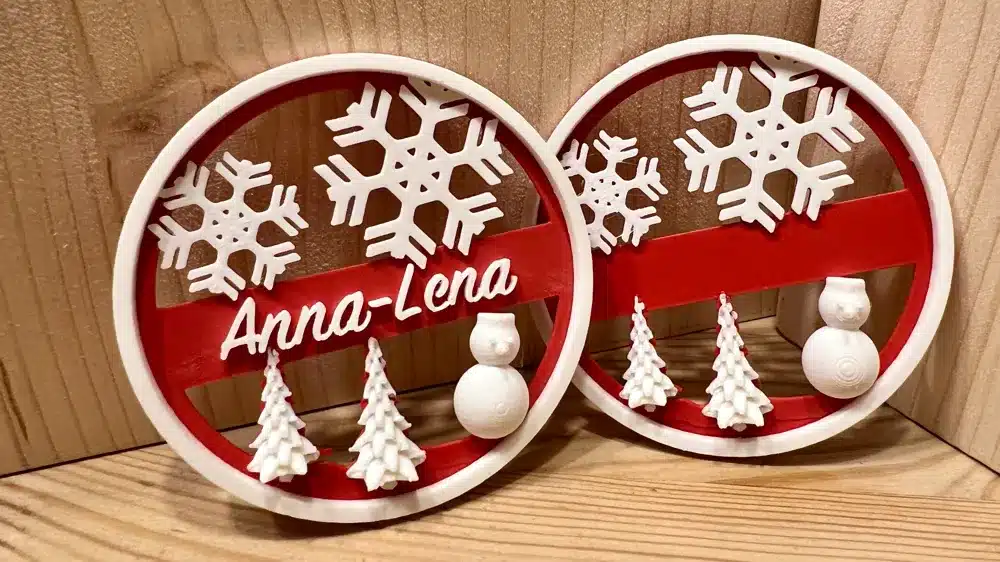
There’s something truly special about a Christmas tree adorned with unique, handcrafted ornaments. While store-bought baubles have their charm, 3D printing offers an endless canvas for creativity. Imagine a tree sparkling with custom-designed ornaments that reflect your family’s hobbies, favorite characters, or even personalized messages. This is where the magic begins!
Why They’re Great:
- Personalization: Design ornaments with names, dates, or even miniature photos. Each one can tell a story.
- Variety: From delicate snowflakes and intricate stars to whimsical animals and classic baubles, the design possibilities are limitless. You can find thousands of free or paid models online.
- Durability: Unlike fragile glass ornaments, 3D printed ones are generally more robust, making them perfect for homes with pets or small children.
- Thematic Decor: Easily create a consistent theme across your tree, whether it’s vintage, modern, whimsical, or nature-inspired.
Printing Tips:
- Filament Choice: PLA is an excellent choice for ornaments due to its ease of printing and wide range of colors. For a bit of sparkle, consider glitter-infused or silk PLA filaments. PETG offers more durability if you’re worried about accidental drops.
- Layer Height: For fine details and a smoother finish, use a lower layer height (e.g., 0.12mm or 0.16mm).
- Infill: Most ornaments don’t need high infill. 10-20% infill is usually sufficient to maintain structural integrity while saving filament and print time.
- Supports: Many ornament designs are printable without supports. If a design has complex overhangs, use minimal supports to avoid scarring the surface. Tree supports can be particularly effective.
- Hanging Loops: Don’t forget to incorporate a small loop or hole into your design for hanging twine or hooks.
Customization Ideas:
- Print a different ornament for each family member every year, creating a growing collection of memories.
- Design mini versions of iconic landmarks from places you’ve visited, like a tiny Eiffel Tower or Big Ben for a travel-themed tree.
- Engrave holiday greetings or inside jokes on flat ornaments.
- Print multi-part ornaments that snap together, perhaps a snow globe effect or a tiny elf peeking out.
- After printing, you can paint them, add glitter, or even glue on small embellishments like beads or rhinestones to truly make them pop.

2. Decorative Cookie Cutters
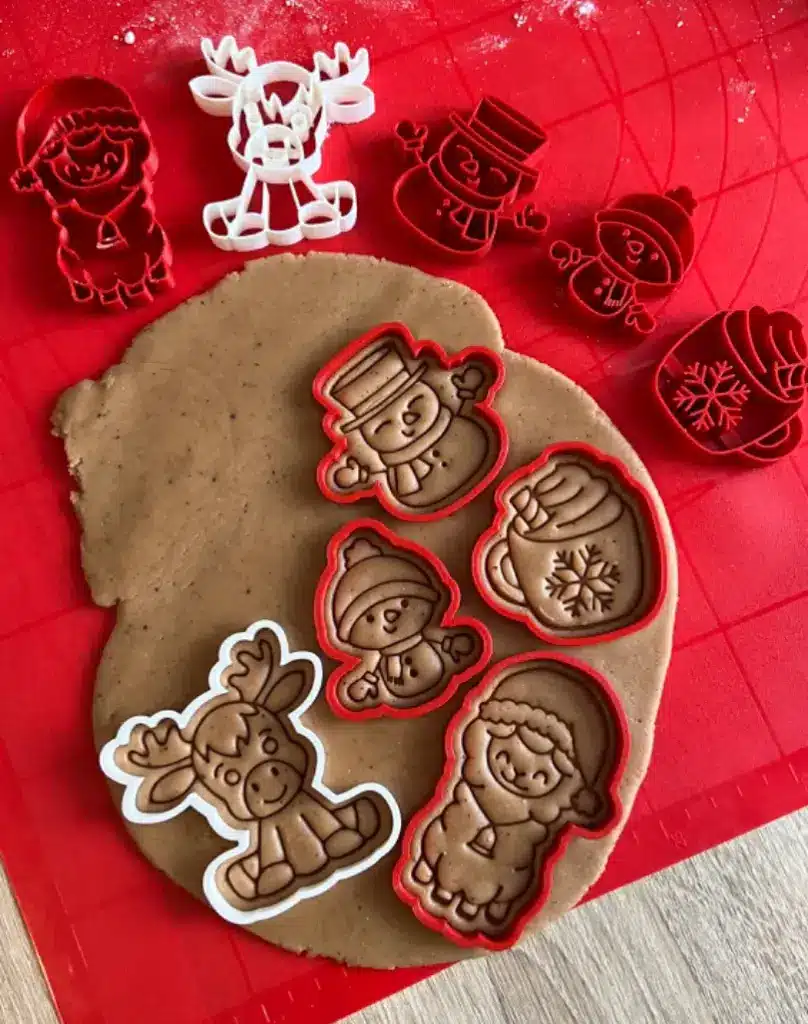
Baking cookies is a beloved Christmas tradition, and 3D printing can take your festive treats to the next level. Move beyond standard stars and gingerbread men by creating custom cookie cutters that reflect your unique holiday style. From intricate snowflake patterns to quirky reindeer and even custom monograms, the possibilities for your Christmas baking just expanded exponentially.
Why They’re Great:
- Unique Shapes: Produce cutters in shapes unavailable in stores, like specific cartoon characters, complex geometric designs, or even your pet’s silhouette.
- Personalized Gifts: Bake custom-shaped cookies as thoughtful gifts, or even gift the cookie cutters themselves to fellow baking enthusiasts.
- Themed Parties: Host a holiday party with cookies cut into designs that perfectly match your decor or theme.
- Cost-Effective: Once you have the design, you can print as many cutters as you need, often at a fraction of the cost of buying specialized cutters.
Printing Tips:
- Food Safety: This is paramount! While PLA is generally considered food-safe, direct contact with food can be an issue. 3D prints have tiny crevices where bacteria can harbor.
Best Practice: Line your cookie cutters with cling film or use them to cut dough that will be baked immediately. Alternative: Print the cutter, then make a mold from food-safe silicone using your printed cutter as the master. Material:* If you absolutely must use the print directly, PETG is often preferred over PLA for its higher heat resistance and slightly less porous surface, but still exercise caution. Always wash thoroughly before and after use with soap and water, and avoid dishwashers which can degrade PLA.
- Wall Thickness: Ensure the cutting edge is thin enough (e.g., 0.8mm) to cut cleanly, but the body of the cutter is thick enough (e.g., 2-3mm) to be sturdy and comfortable to press.
- Layer Height: A standard 0.2mm layer height works well for cookie cutters.
- Infill: 15-20% infill is usually sufficient.
- Orientation: Print with the cutting edge facing up to minimize supports and maximize print quality on the critical edge.
Customization Ideas:
- Design cutters shaped like winter animals: penguins, polar bears, or even a tiny yeti.
- Create cutters that spell out “JOY” or “NOEL” for edible word art.
- Make mini cutters for decorating larger cookies, like tiny stars to put on a gingerbread house roof.
- Combine shapes to make complex scenes – imagine a sleigh with reindeer, all cut from separate, custom pieces.
- Check out existing useful 3D prints for inspiration on functional items you can adapt for your kitchen.

3. Modular Advent Calendars
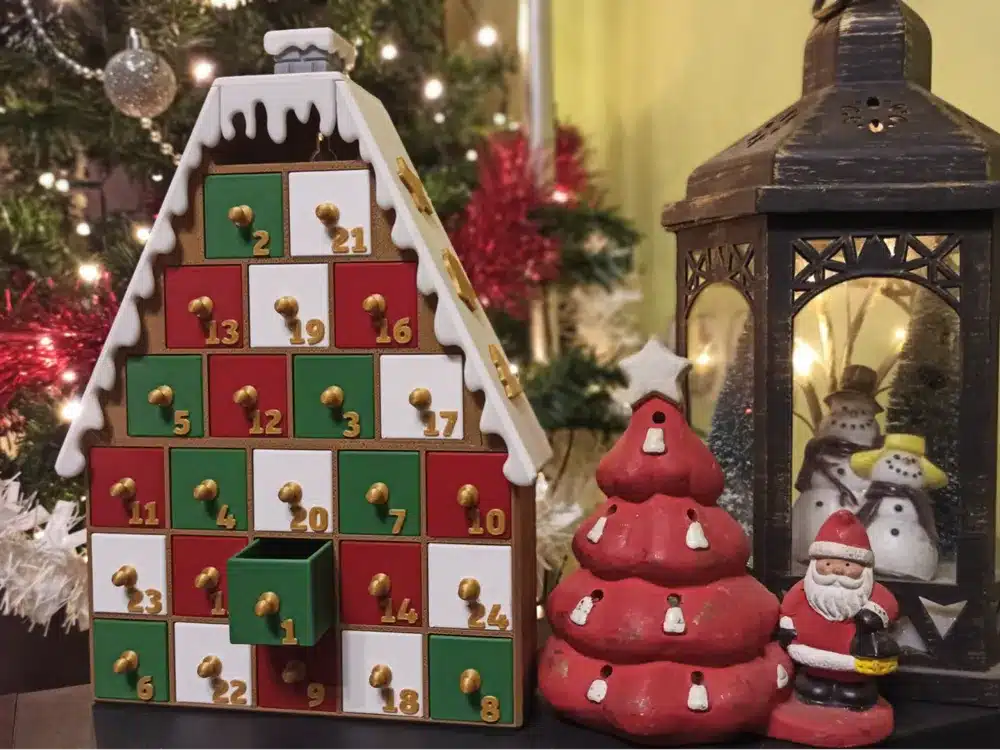
The countdown to Christmas is almost as exciting as the day itself, and an Advent calendar makes that wait even more special. Instead of buying a disposable cardboard calendar each year, imagine a beautiful, reusable, and customizable 3D printed version! A modular Advent calendar allows you to print individual drawers or compartments that fit into a larger frame, filling each with tiny treats, messages, or miniature gifts.
Why They’re Great:
- Reusability: Print it once, use it year after year. This is a sustainable and cost-effective option.
- Customization: Design the size and shape of each compartment, the overall structure, and even the numbers. You can match it perfectly to your home’s aesthetic, perhaps fitting it into your existing cozy room ideas for the holidays.
- Personalized Fillers: Tailor the contents to the recipient – small toys, chocolates, tiny notes, or even daily activity suggestions.
- Display Piece: A well-designed 3D printed Advent calendar can be a stunning decorative item in itself, adding a touch of elegance to your holiday display.
Printing Tips:
- Accuracy is Key: For parts to fit together smoothly (drawers into slots), your printer needs to be well-calibrated. Pay attention to dimensional accuracy.
- Filament Choice: PLA is ideal for its wide color range and ease of printing. Consider different colors for the frame and drawers to create contrast. Wood-filled PLA can give a rustic, traditional look.
- Layer Height: 0.2mm is generally fine, but for very smooth drawer movements, you might opt for 0.16mm.
- Infill: 15-20% infill for both the frame and drawers is sufficient.
- Supports: Most modular designs are optimized for minimal supports, but check your specific model.
- Assembly: Plan your print order, potentially printing a few drawers first to test fit before committing to the entire frame.
Customization Ideas:
- Create a “town” Advent calendar where each day reveals a new building that pops into place.
- Design drawers with different festive motifs on the front – snowflakes, stars, tiny trees.
- Incorporate a mechanism where turning a key or pulling a lever reveals the day’s treat.
- Make it interactive: print small 3D printed toys or puzzles to put inside each day, building up to a larger scene by Christmas Eve.
- Add LED lights to illuminate specific days or the entire calendar as Christmas approaches.
4. Nativity Scenes and Figurines
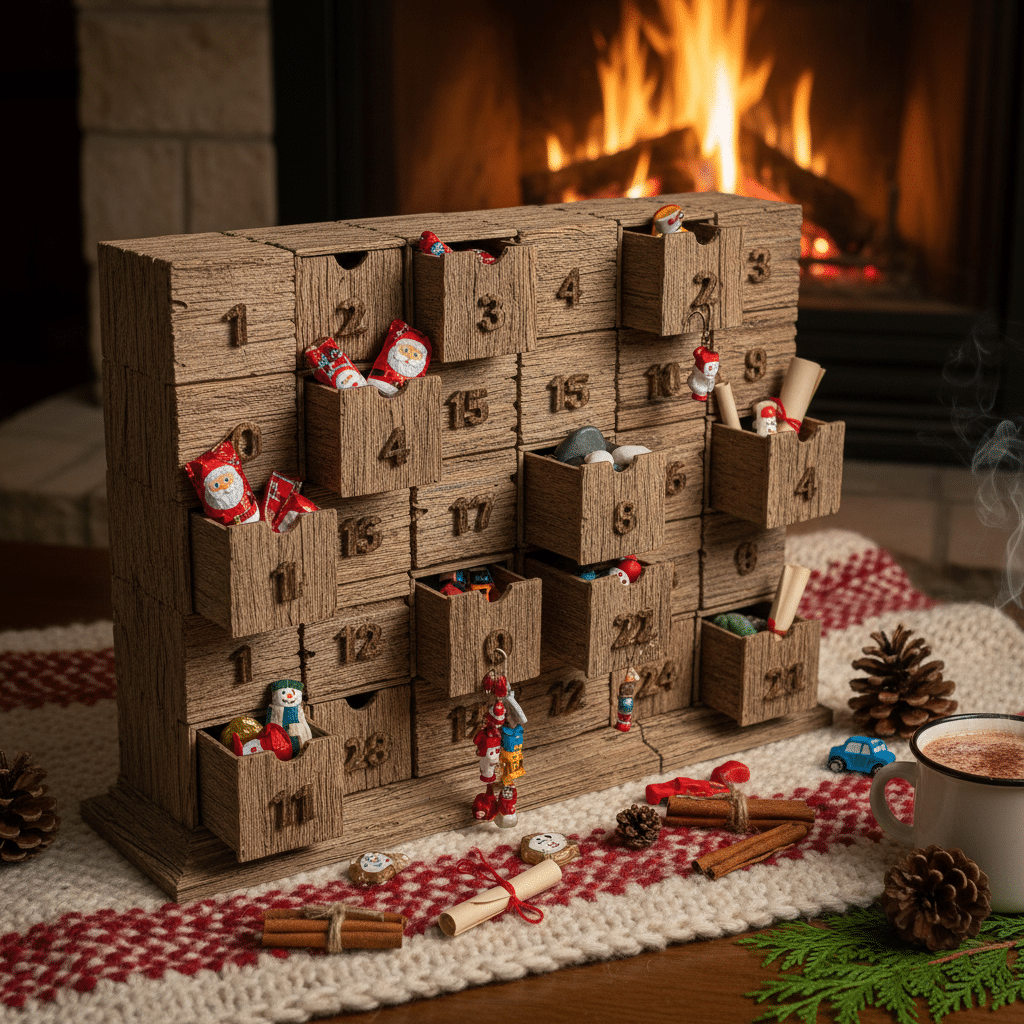
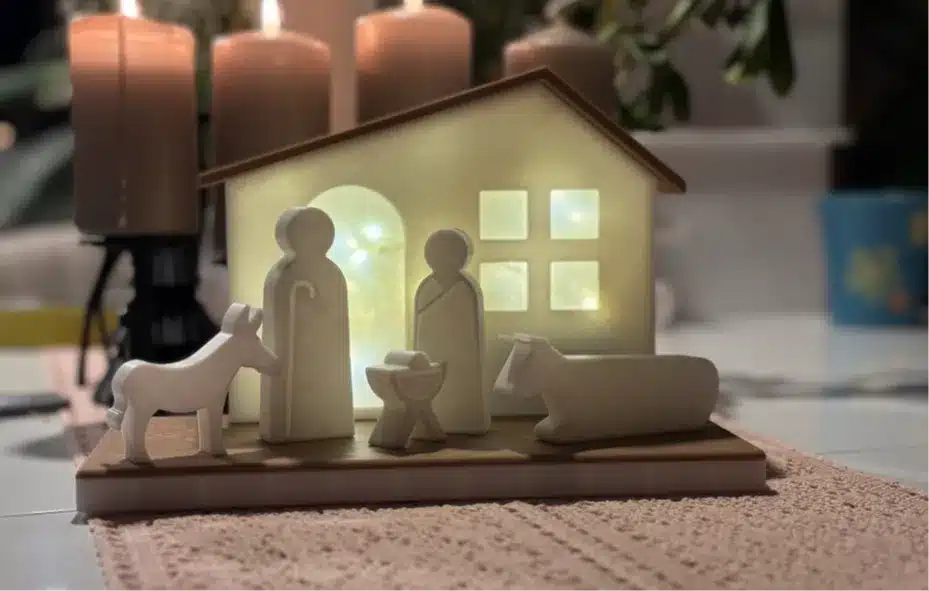
For many, a Nativity scene is the true heart of Christmas decor, representing the spiritual essence of the season. 3D printing allows you to create a unique and meaningful display, whether you prefer a traditional, intricate set or a modern, minimalist interpretation. This is a wonderful opportunity to involve the whole family in assembling and painting these cherished pieces.
Why They’re Great:
- Heirloom Quality: A 3D printed Nativity set can become a cherished family heirloom, passed down through generations.
- Artistic Expression: Choose designs that range from highly detailed and realistic to abstract and stylized, perfectly matching your personal taste.
- Durability: Unlike ceramic or porcelain sets, 3D printed figurines are less prone to breaking if accidentally knocked over.
- Educational: It can be a great way to engage children in the Christmas story by having them help print, paint, and arrange the figures.
Printing Tips:
- Detail Resolution: For intricate facial features or delicate clothing folds, a smaller nozzle (0.2mm or 0.3mm) and a low layer height (0.1mm-0.12mm) will yield the best results.
- Filament Choice: Standard PLA is excellent for painting. For a stone-like finish, consider marble-filled PLA. If you plan to leave them unpainted, choose filaments in appropriate colors (e.g., beige for skin, brown for wood elements).
- Supports: Figurines often require supports, especially for arms, heads, and cloaks. Use tree supports or soluble supports if your printer supports them, as they are easier to remove and leave fewer marks.
- Infill: 10-20% infill is generally sufficient for most figurines, providing enough strength without adding excessive weight or print time.
- Post-Processing: Be prepared for some sanding, filling, and painting to achieve a refined, finished look. Primer is your friend before applying acrylic paints.
Customization Ideas:
- Print a larger, central piece (like the stable) and smaller, detailed figures for the Holy Family and wise men.
- Design figures in different scales to create a sense of depth and perspective.
- Experiment with different filament colors for different figures – perhaps gold for the crowns of the wise men.
- Add texture to clothing by using specialized filaments or by post-processing with texture paints.
- Consider printing accessories like tiny hay bales, miniature gifts for the wise men, or even tiny animals to complete the scene.

5. Personalized Gift Tags and Box Decor
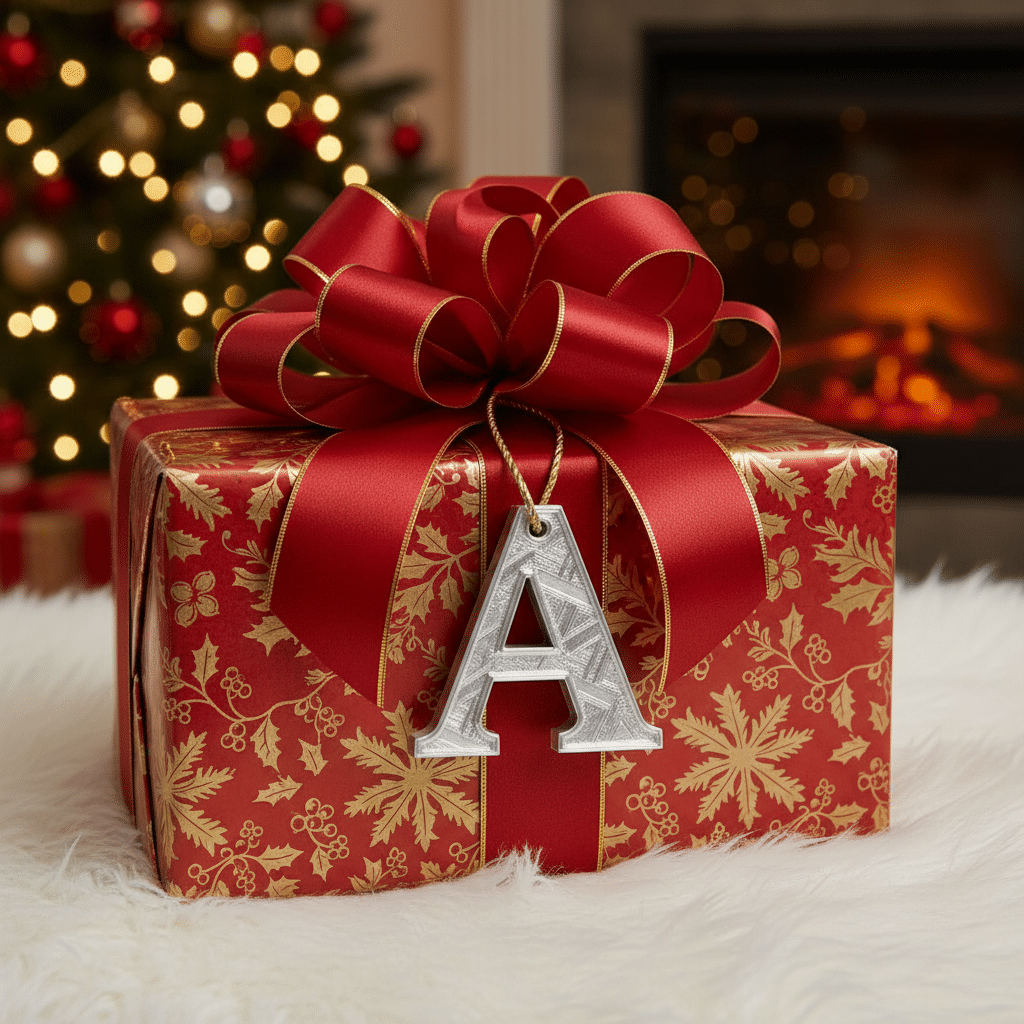
Presentation is everything when it comes to gift-giving. While wrapping paper and ribbons are standard, 3D printed gift tags and box decorations elevate your presents from ordinary to truly memorable. Imagine a tag with the recipient’s initial, a miniature festive motif, or even a tiny piece of their favorite hobby incorporated into the design.
Why They’re Great:
- Thoughtful Touch: A personalized tag shows you put extra effort and thought into the gift.
- Eco-Friendly: Reusable tags can be a nice touch, reducing waste from disposable paper tags.
- Branding: If you’re giving gifts for a small business or event, custom tags can reinforce your brand.
- Versatility: Use them not just for gifts, but also as small ornaments, keychains, or place settings for a holiday dinner.
Printing Tips:
- Filament Choice: PLA is perfect for tags due to its wide color range. For a luxurious feel, try silk or metallic PLA. Transparent PLA can be used for interesting light effects.
- Layer Height: For crisp details on text or small images, use a lower layer height (0.12mm-0.16mm).
- Infill: Very low infill (5-10%) or even 0% infill (printing as a hollow shell if the design allows) is fine for most tags, as they don’t require much structural strength.
- Nozzle Size: A standard 0.4mm nozzle is good, but a 0.25mm or 0.3mm nozzle can create incredibly fine details for intricate designs.
- Adhesion: Ensure good bed adhesion, especially for smaller tags, to prevent them from detaching during printing.
Customization Ideas:
- Print tags with the first letter of each family member’s name.
- Design a tag that doubles as a mini puzzle or a tiny game for the recipient to solve before opening the gift.
- Create multi-color tags using a printer with multiple extruders or by manually swapping filament at specific layers.
- Print small decorative elements like snowflakes, bows, or miniature bells to glue onto gift boxes.
- For a truly unique touch, consider designing custom packaging design trends inspired by your 3D prints, integrating them seamlessly into your gift presentation.
6. Window Decorations and Silhouettes
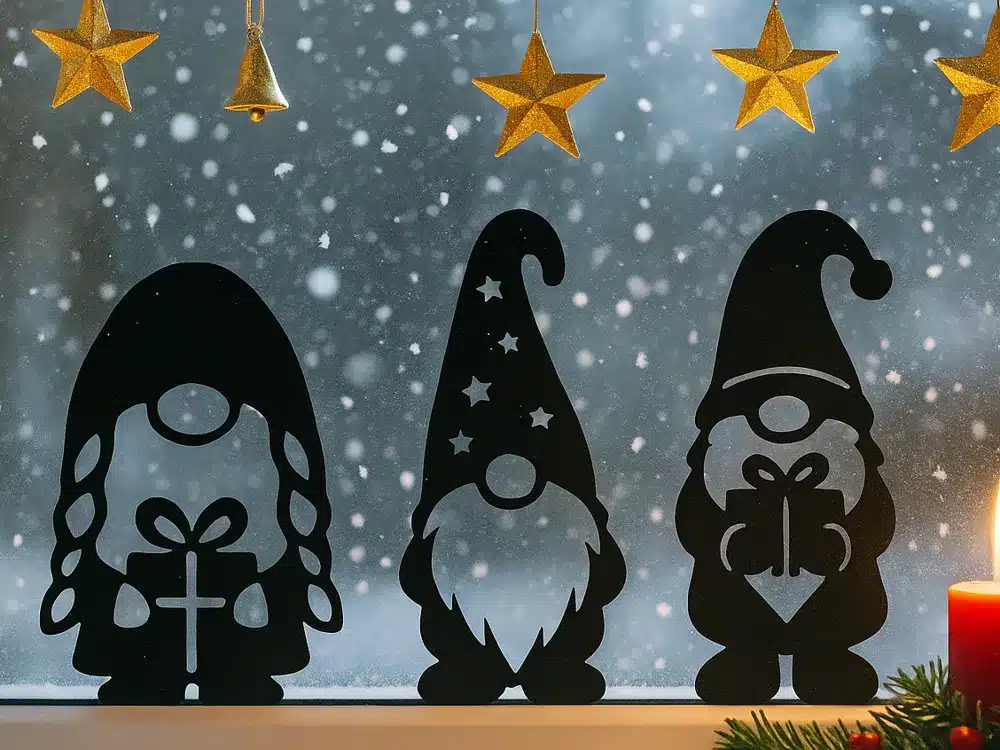
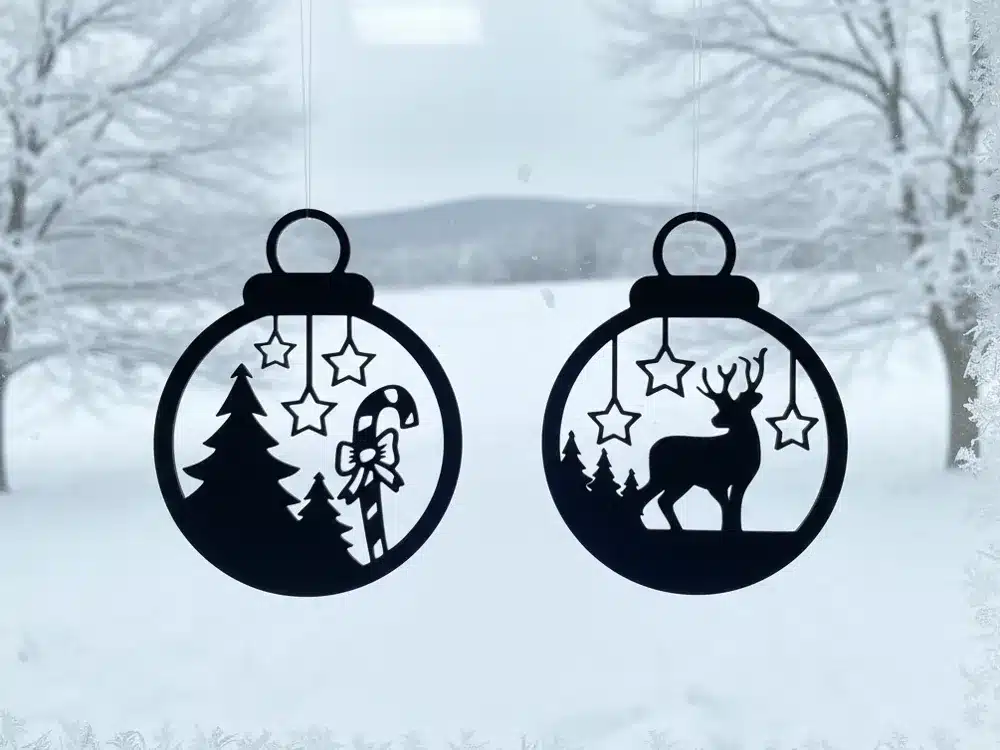
Transform your windows into captivating festive displays that can be admired both from inside and outside your home. 3D printing allows you to create unique window decorations and silhouettes that can be easily hung or attached to glass, casting enchanting shadows or reflecting light. Think beyond traditional cling-ons and discover a new dimension of window decor.
Why They’re Great:
- Curb Appeal: Enhance your home’s exterior with eye-catching designs visible from the street.
- Interior Ambiance: Cast interesting shadows when illuminated by indoor lights, or refract sunlight during the day.
- Seasonal Versatility: While perfect for Christmas, the concept can be adapted for other holidays or seasons.
- Non-Damaging: Unlike adhesive decor that can leave residue, 3D printed decorations can often be hung with suction cups or removable hooks, leaving no trace.
Printing Tips:
- Filament Choice: Transparent or translucent filaments (like clear PLA, PETG, or even specialty window-tint filaments) are fantastic for allowing light to pass through. For solid silhouettes, black or white PLA/PETG works well. Glitter or glow-in-the-dark filaments can add extra sparkle.
- Thickness: Print designs relatively thin (e.g., 2-3 layers thick for very light pieces, or 5-10 layers for sturdier ones) to save filament and ensure they are lightweight enough to hang easily.
- Infill: Minimal to no infill (0-10%) is often suitable for flat or silhouette designs.
- Supports: Flat designs typically require no supports. For more complex shapes, use supports strategically.
- Mounting: Design small holes or loops into your prints so they can be hung with fishing line or attached to suction cups.
Customization Ideas:
- Print a series of interlocking snowflakes or icicles to create a frosty border around your windows.
- Design silhouettes of Santa’s sleigh and reindeer to give the illusion of them flying across your window.
- Create intricate stained-glass effect panels using transparent colored filaments, or by painting transparent prints with glass paints.
- Personalize with your family’s initial or a festive message that glows when back-lit.
- Consider creating custom wall art design ideas that extend the window theme to your interior walls, creating a cohesive decorative scheme.
7. Festive Coasters and Table Settings
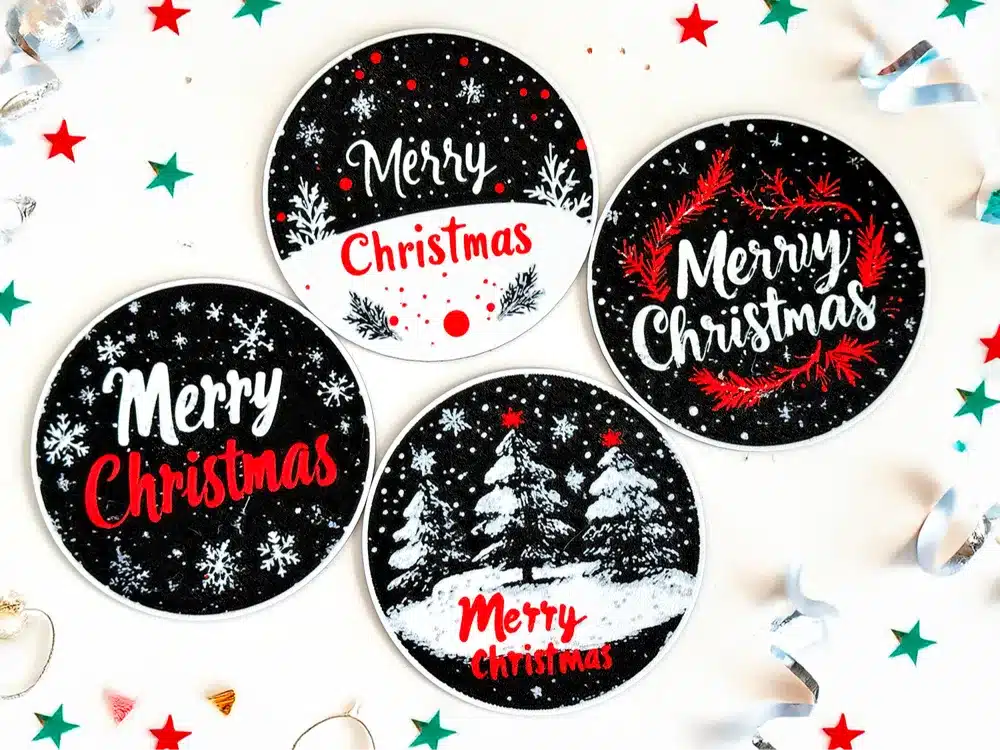
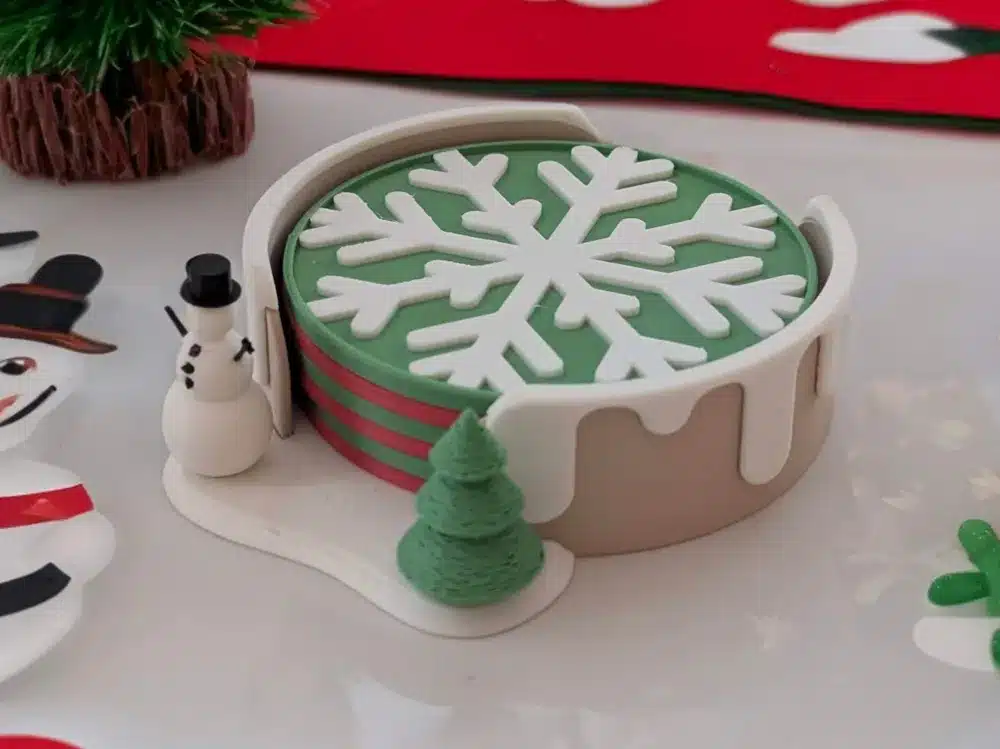
Christmas dinners and holiday gatherings are central to the festive season. Elevate your table decor with custom 3D printed coasters and unique table settings. Not only do these prints protect your furniture, but they also add a touch of sophistication and whimsy that store-bought items simply can’t match. From snowmen coasters to place card holders shaped like tiny gifts, your guests will be delighted by the attention to detail.
Why They’re Great:
- Functional Decor: Combine practicality with aesthetic appeal. Protect your surfaces while enhancing your festive theme.
- Conversation Starters: Unique coasters and place settings are sure to get your guests talking.
- Party Favors: Guests can take their personalized coaster or place card holder home as a memorable party favor.
- Thematic Cohesion: Easily match your table decor to your overall Christmas theme, creating a harmonious and polished look.
Printing Tips:
- Filament Choice: PLA is a solid choice for coasters. For a more sophisticated look, consider wood-filled or marble-filled PLA. If you want heat resistance for hot drinks, PETG or ABS would be better, but ensure proper ventilation when printing ABS.
- Thickness: Coasters should be sturdy, typically 3-5mm thick, with a slightly raised edge to contain condensation.
- Infill: 20-30% infill for durability, especially if they will be handled frequently.
- Layer Height: 0.2mm layer height usually provides a good balance of detail and print time.
- Surface Finish: Consider using a textured build plate (like a PEI sheet) to give the top surface of your coasters a unique finish without post-processing.
- Food Contact: While coasters don’t directly contact food, ensure clean practices if they might come into contact with drinking glasses.
Customization Ideas:
- Design coasters shaped like Christmas sweaters, complete with intricate patterns.
- Print place card holders that incorporate a small slot for a name card, perhaps shaped like mini stockings or presents.
- Create a set of coasters featuring different holiday characters or symbols.
- Incorporate text like “Merry Christmas” or “Happy Holidays” directly into the coaster design.
- For an extra touch, you can also print decorative napkin rings in festive shapes like stars, holly, or reindeer antlers.
- When thinking about setting the mood for your holiday gatherings, remember that designing with what you already own can be beautifully complemented by adding a few custom 3D printed elements.
8. Santa’s Sleigh and Reindeer Models
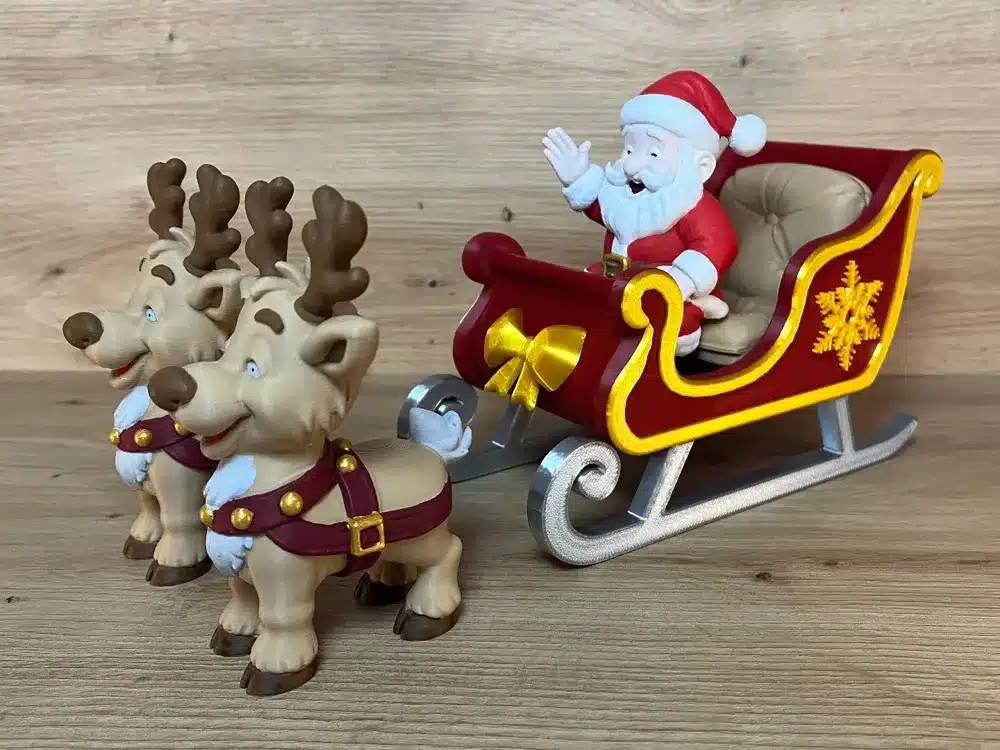
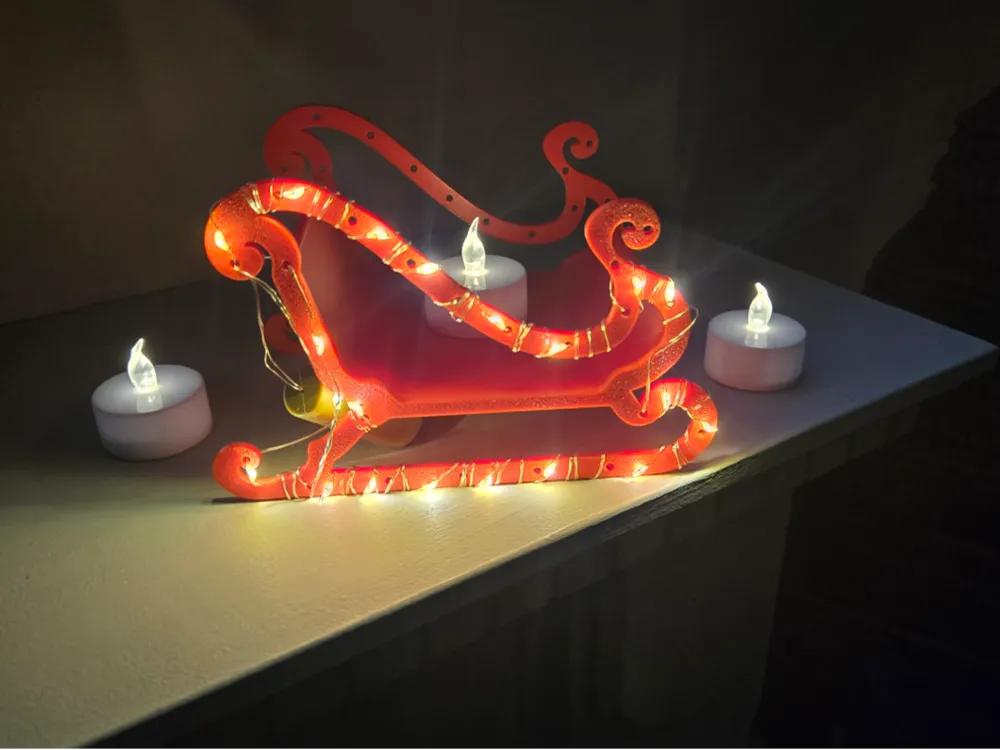
Few images capture the magic of Christmas quite like Santa’s sleigh soaring through the night sky, pulled by his team of trusty reindeer. With 3D printing, you can bring this iconic scene to life in miniature form, creating intricate models that serve as captivating centerpieces, shelf decor, or even playful additions to your Christmas village.
Why They’re Great:
- Iconic Decor: A classic symbol of Christmas, instantly recognizable and beloved by all ages.
- Interactive Fun: Depending on the design, models can be articulated or part of a larger scene, encouraging imaginative play.
- Skill Showcase: Printing complex models like Santa’s sleigh can be a rewarding challenge for intermediate to advanced 3D printer users.
- Display Versatility: Perfect for mantels, shelves, under the Christmas tree, or as part of a larger festive diorama.
Printing Tips:
- Detail is Key: Reindeer antlers, sleigh runners, and Santa’s figure require attention to detail. A smaller nozzle and lower layer heights will improve definition.
- Filament Choice: Brown, red, and gold PLA are excellent for the reindeer, sleigh, and accents. Silk or metallic filaments can give a luxurious finish. Wood-filled PLA for the sleigh can create a rustic feel.
- Supports: Complex models with many overhangs will definitely require supports. Experiment with tree supports for easier removal, or use a soluble support material if you have a dual-extruder printer.
- Infill: 15-25% infill is generally good for structural integrity without making the models too heavy.
- Multi-Part Prints: Many sleigh and reindeer models are designed in multiple parts that you print separately and then assemble (e.g., individual reindeer, a sleigh body, presents). This can make printing easier and allow for multi-color designs.
- Post-Processing: Be prepared for careful support removal, sanding, and potentially painting to highlight details.
Customization Ideas:
- Print a personalized sleigh with your family name embossed on the side.
- Design a “flying” effect by suspending the reindeer and sleigh from thin, transparent fishing line.
- Create miniature presents to fill Santa’s sleigh, perhaps with tiny printed labels.
- Print different poses for the reindeer to show movement and dynamism.
- For an advanced project, integrate tiny LED lights into the sleigh or reindeer noses for a magical glow.
9. Christmas Village Components
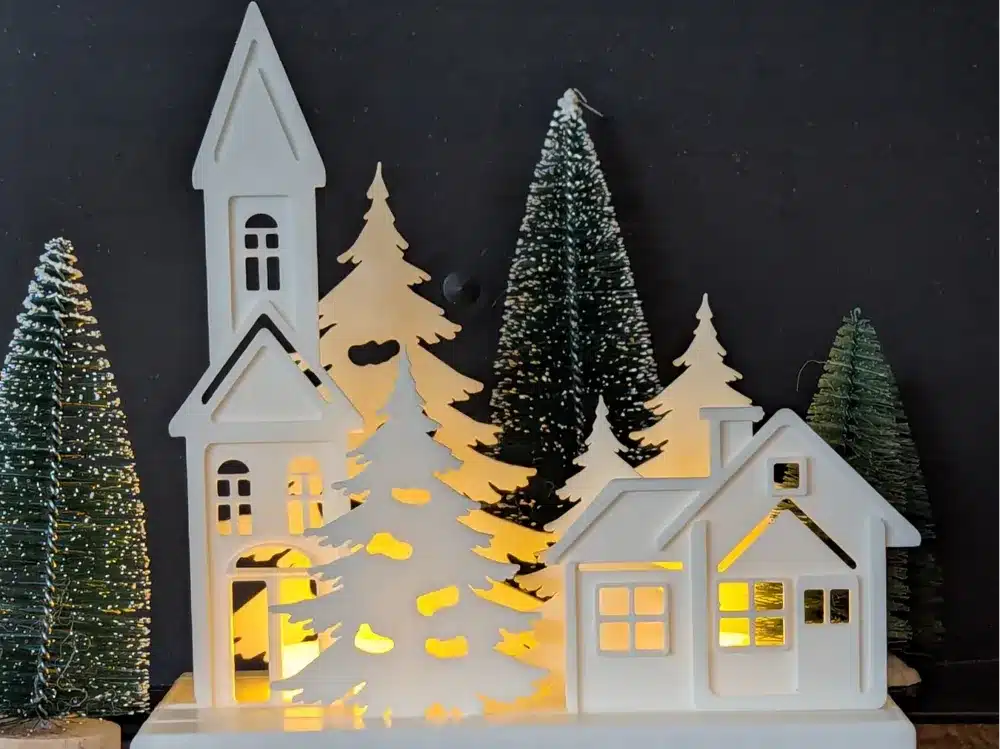
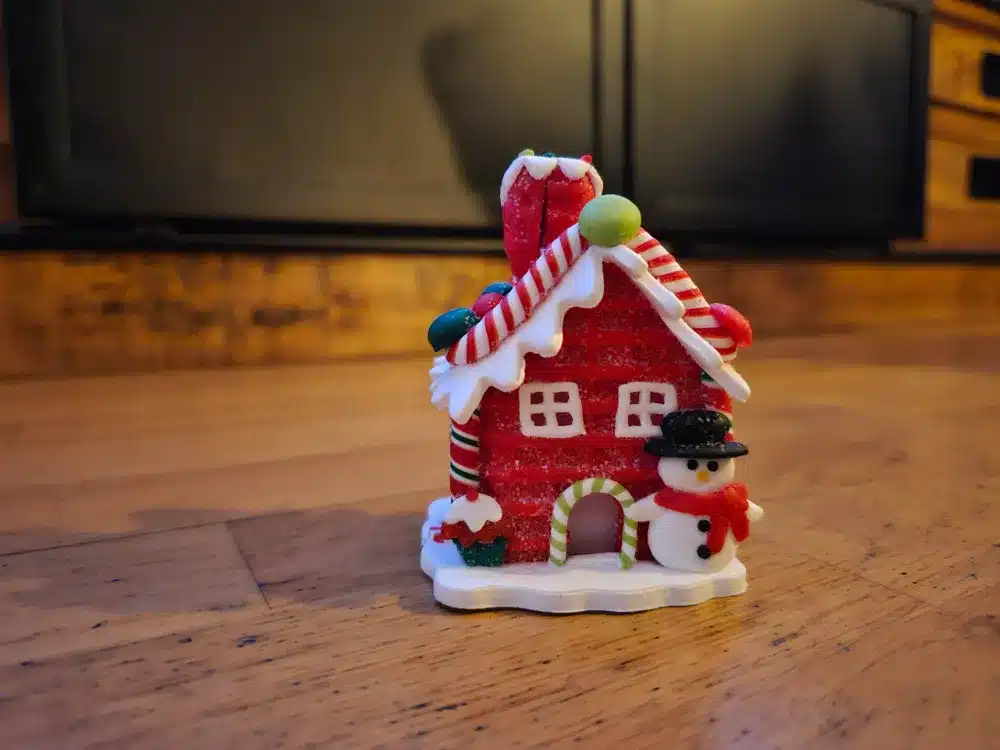
Creating a miniature Christmas village is a beloved tradition for many, allowing them to construct an entire festive world on a tabletop or mantelpiece. 3D printing opens up a new frontier for these charming displays. Instead of relying on pre-made, often expensive sets, you can print custom buildings, landscapes, figures, and accessories, truly making your village unique.
Why They’re Great:
- Unmatched Customization: Design every aspect of your village, from quaint cottages to bustling market stalls and snow-covered trees.
- Cost-Effective Expansion: Print new components year after year to expand your village without breaking the bank.
- Personal Storytelling: Create buildings that represent places special to your family, or add whimsical elements not found in store-bought sets.
- Educational Project: A fantastic project for families, teaching design, printing, and even basic electronics if you add lighting.
Printing Tips:
- Scale Consistency: Decide on a scale (e.g., N scale, HO scale) and stick to it for all your components to ensure they look cohesive.
- Filament Choice: PLA is versatile. White, red, green, and brown are essential colors. For snow effects, white or clear translucent PLA. For realistic textures, consider wood-filled or stone-filled PLA.
- Layer Height: 0.16mm-0.2mm is usually a good balance for buildings, providing enough detail without excessively long print times. For very fine details on figurines, go lower.
- Infill: 10-20% infill for buildings is usually sufficient, as they are mostly decorative. Figurines might benefit from slightly more.
- Supports: Many buildings can be printed with minimal supports. Complex roof lines or intricate details on figures will likely require them.
- Post-Processing: Painting is almost essential for a realistic or vibrant village. Use acrylic paints, weathering powders, and clear coats to bring your buildings to life.
Customization Ideas:
- Print miniature versions of your own home or local landmarks for a truly personal touch.
- Design and print unique shops for your village, like a tiny bakery with detailed bread models or a toy store filled with miniature 3D printed toys.
- Create landscape features like snowdrifts, frosted trees, and tiny park benches.
- Integrate LED lighting into your buildings to make windows glow and create a magical nighttime scene. You can even design specific channels for wiring within your prints.
- Explore new interior design trends like patio door trends 2025 and adapt miniature versions for your village architecture, adding a contemporary touch.
10. Functional Holiday Organizers and Holders
Beyond purely decorative items, 3D printing shines in creating functional objects that help organize the holiday chaos. Think custom remote control holders shaped like Santa’s boots, candy dispensers designed as miniature chimneys, or elegant holders for Christmas cards and festive candles. These prints don’t just look good; they serve a practical purpose, making your holiday season smoother and more enjoyable.
Why They’re Great:
- Clutter Control: Keep holiday items, remote controls, or even gift-wrapping supplies neatly organized.
- Practical Gifts: A custom organizer can be a thoughtful and highly useful gift for friends and family.
- Theme Integration: Ensure even your functional items blend seamlessly with your holiday decor.
- Problem Solving: Design specific holders for items that always seem to get lost during the holidays.
Printing Tips:
- Strength and Stability: For functional items, consider higher infill (20-30% or even higher for very sturdy items) and thicker walls (2-3 perimeters) to ensure durability.
- Filament Choice: PLA is generally sufficient. If the item will hold heavy objects or needs more resilience, PETG or ABS might be better. Consider food-safe PETG for candy dispensers.
- Layer Height: 0.2mm is usually adequate, but for very smooth surfaces on contact areas, you might go slightly lower.
- Supports: Depending on the design, supports might be needed for internal cavities or complex shapes.
- Tolerance: When designing parts that fit together (e.g., a lid for a container), ensure proper tolerances (e.g., 0.2mm gap) for a smooth fit.

Customization Ideas:
- Design a multi-tiered stand for displaying Christmas cards, perhaps shaped like a spiral tree.
- Print a remote control holder that looks like a festive hearth or a miniature gift box.
- Create a bespoke holder for various sized candles, with decorative cutouts that cast interesting light patterns.
- Design a unique dispenser for small candies or chocolates, perhaps in the shape of a jolly Santa or a friendly elf.
- Print a winding spool holder for ribbons or a compartmentalized box for small ornaments to keep them safe until next year.

Conclusion
There you have it – ten incredible ways to infuse your holiday season with creativity, personality, and the undeniable magic of 3D printing. From delicate ornaments that tell your family’s story to functional organizers that simplify the festive chaos, the possibilities are truly endless. 3D printing empowers you to move beyond mass-produced items and create a Christmas celebration that is uniquely yours, filled with bespoke decorations and heartfelt, personalized gifts.
Not only is it a fantastic way to express your creativity, but it also allows you to make sustainable choices by creating reusable decor and thoughtful, durable presents. This holiday season, why not make it an opportunity to unleash your inner maker?
Start Your Festive 3D Printing Journey Today!
So, what are you waiting for? Dust off your 3D printer, explore the vast libraries of online models, or even try your hand at designing your own. The joy of creating something with your own hands (or rather, your own printer!) adds an unparalleled layer of warmth and wonder to the most wonderful time of the year. Get printing, get festive, and make this Christmas your most personalized and memorable one yet!
- 4shares
- Facebook0
- Pinterest4
- Twitter0
- Reddit0

