
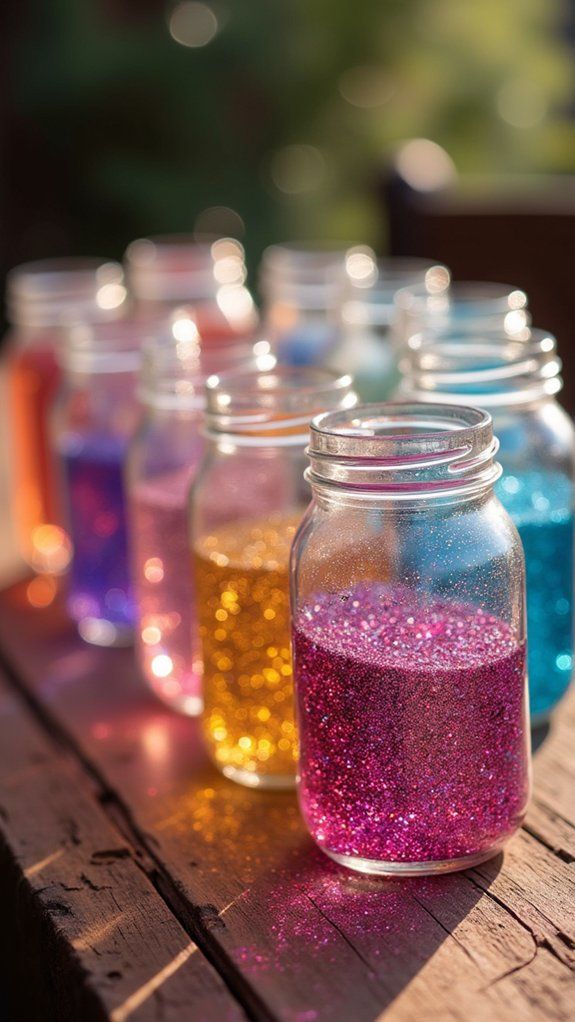
Small fragments of glass can become tiny treasures with a little care and thought. This guide shows simple ways to reuse small glass pieces safely and creatively. You will find step by step tips for sorting cleaning and planning projects that suit tight budgets. Readers learn how to prepare materials protect surfaces and shape pieces into lasting items that catch light. The tone remains practical and clear to help beginners and more skilled makers complete projects with confidence. Each idea focuses on basic tools easy steps and low cost supplies that are simple to follow at home and lasting charm.
Mosaic Basics
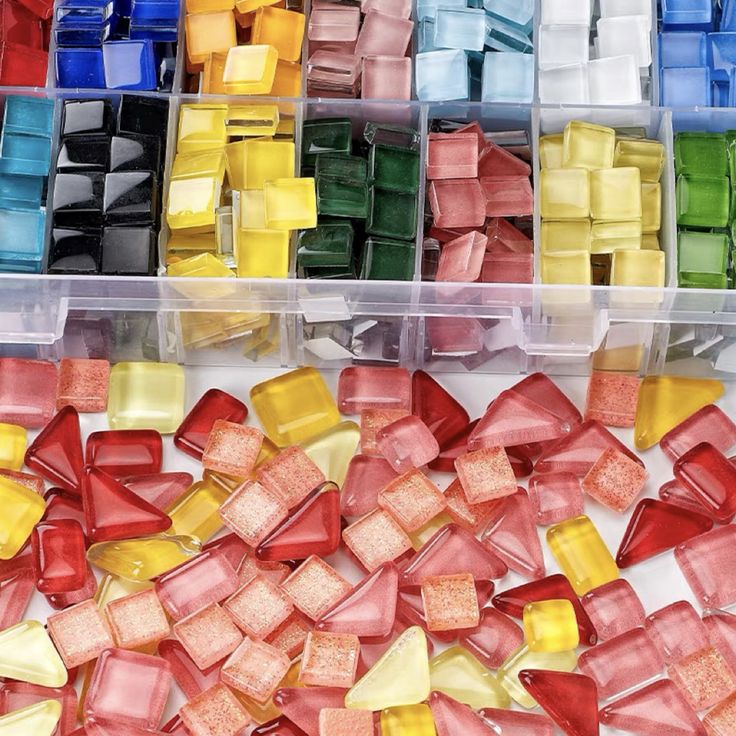
Start by sorting small pieces by color size and translucency to plan strong designs. Use a safe mat and soft gloves when you clean and trim fragments. Arrange pieces into a simple pattern on a base that can be tile wood or sturdy board. Adhesives work best when surfaces are dry and free of dust so take time to clean. Using stained glass sheets adds depth and color choices for mosaic bands and edges. Seal the final work with a clear coating to hold fragments firmly in place for years. Experiment with repeating a small motif to build rhythm across larger panels. Try mixing tiny clear bits with colored fragments to create fresh highlights under light. Keep a simple toolkit with pliers a sponge and clear adhesive for quick fixes. Try small practice mosaics to learn spacing without wasting good pieces. Keep templates for repeat shapes to speed layout work and improve uniformity. Store spare pieces in clear jars sorted by tone size opacity.
Color Play
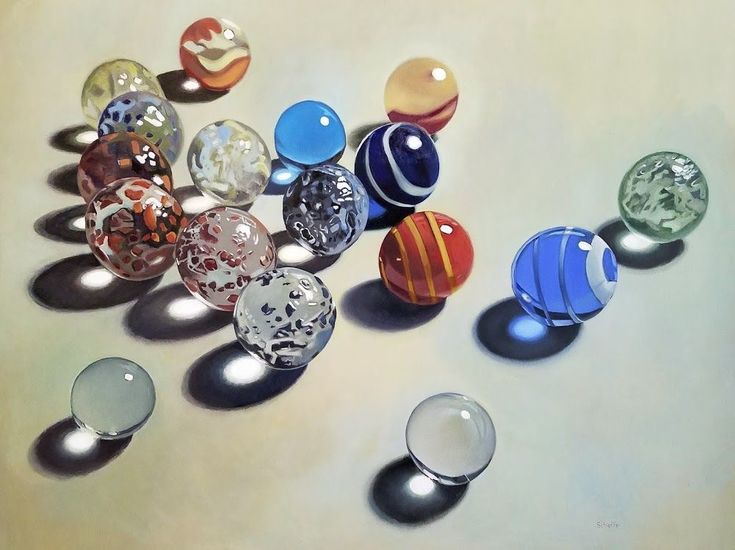
Explore color combos to change mood of any small project. Think about contrast and tone when you pick pieces for a bold or soft result.
· Choose warm shades for a cozy gentle glow against cooler tones.
· Mix bright fragments with muted panes to create lively visual motion.
· Group similar hues to make smooth gradients that guide the eye.
· Pair deep tones with pale fragments to set bold focal points.
Texture Tricks

Add texture with rough edges and layered fragments to make tactile panels. Use clear pieces to let light pass through and textured bits to scatter shafts. Combine smooth chips with frosted fragments to create pleasing contrast in the same panel. Light placement affects how surfaces glint so test panels near windows or lamps at night. Try backing a piece with fabric mesh to soften glare while keeping a luminous effect. Small adjustments to spacing will change highlights and depth without adding more materials. Consider thin grout lines to keep pieces distinct without heavy filler. Work in small sections so placement stays tidy and edges align well. Experiment with thin backing layers to add contrast and reduce weight for wall hangings. Small changes in angle will alter shine so rotate samples often while you work. Test different light angles outside at various times to capture desired shimmer. Keep notes on which tints brighten at night and which soften in low light.
Functional Art

Think beyond wall art and make items that serve a daily role. Simple projects can become useful tools that show small glass pieces to best effect.
· Create coaster sets that protect surfaces and display delicate reflective patterns.
· Craft small trays that hold keys while playing with light across the base.
· Design candle holders that let soft color filter through tiny patterned gaps.
· Build small lampshades that glow from inside and feature subtle color layers.
Outdoor Accents
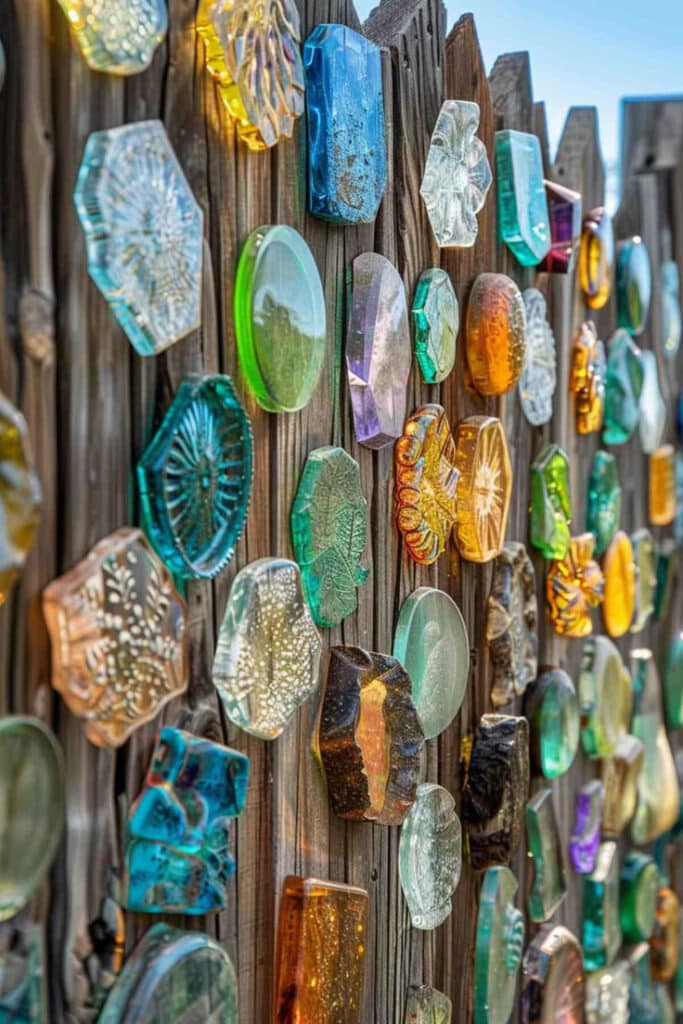
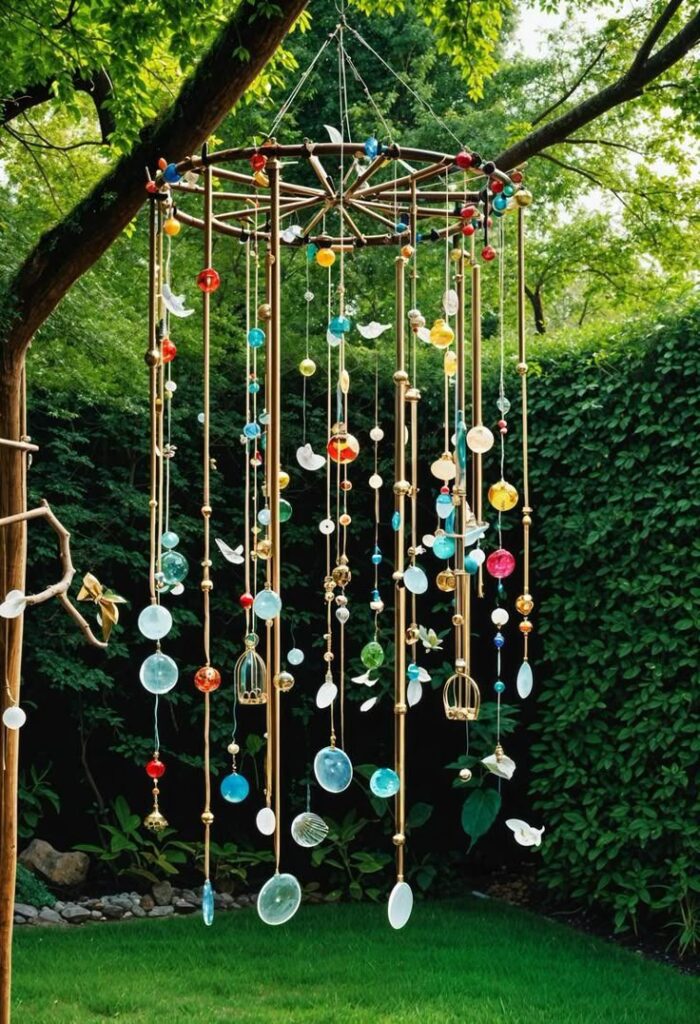
Choose stable glues and weather safe sealers for pieces used outside. Place accents where wind will not toss them and where sun brings gentle sparkle.
· Attach fragments to stone steps to catch morning rays and add charm.
· Embed bits into cement pots for a subtle brightening at the rim.
· Create small hanging suncatchers from sturdy frames for gentle movement outdoors.
· Secure pieces with stainless anchors where ground contact is likely.
Gift Ideas
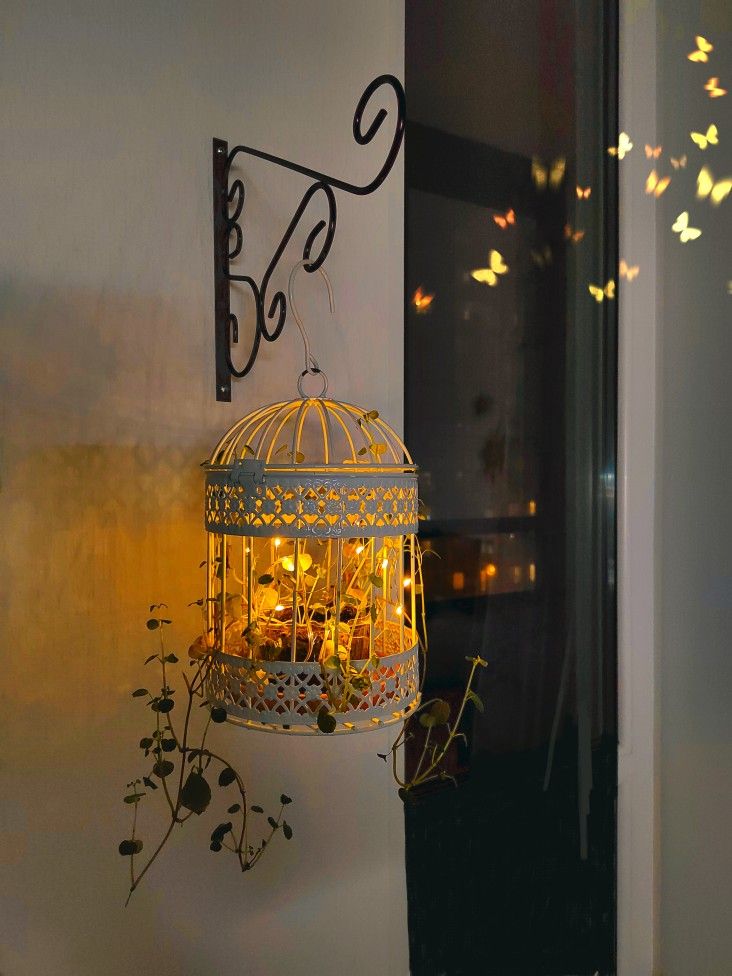

Turn small glass pieces into keepsakes like framed panels and tiny pendants. Personalize a small scene in a compact frame that can sit on a desk or shelf. Wrap a set of coasters with soft cloth and a simple note for a warm present. Use tiny samples to make a pair of matching jewelry charms for family members. Small hand made items carry a story and show that time went into each chosen detail. Keep labels that explain techniques so recipients know how to care for each piece. Add small notes that name colors used to make gifts feel more personal. Try simple mounting methods so items arrive ready to display with little fuss. Consider tiny presentation boxes that protect edges and add a tidy reveal. Include a short care note that lists safe cleaners and gentle handling tips. Encourage recipients to display items where soft indirect light can enhance color. Label final pieces with maker name date and simple care notes for future use.
Care Tips

Keep items dust free with gentle dusting and avoid harsh chemical cleaners. Repair small loose pieces quickly to prevent further damage with clear adhesive.
· Store unused fragments in labeled bins to prevent chips and loss.
· Protect finished works from hard knocks by placing on stable level surfaces.
· Avoid long direct heat that could loosen adhesives and warp bases over time.
· Label adhesives with dates to track cure times for future reference.
Sparkle Solutions
Small makers can refine skills by testing simple layouts before final work. Keep notes on adhesives drying times and placement choices to repeat what works. Focus on clean joins and steady pressure for long lasting bonds. Use safe containers to sort scraps and label jars by hue for faster work sessions. Consider using stained glass sheets sparingly to anchor a design with bold color panels. Share finished items with peers to gather tips and to stay motivated while improving methods one project at a time. Document each change and enjoy watching small efforts become polished useful works over months gracefully.
- 0shares
- Facebook0
- Pinterest0
- Twitter0
- Reddit0


