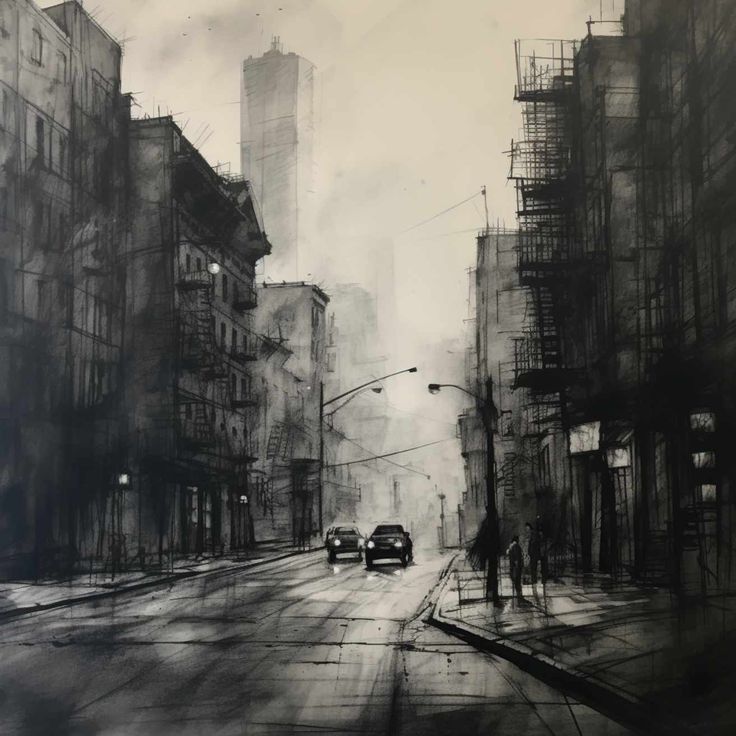
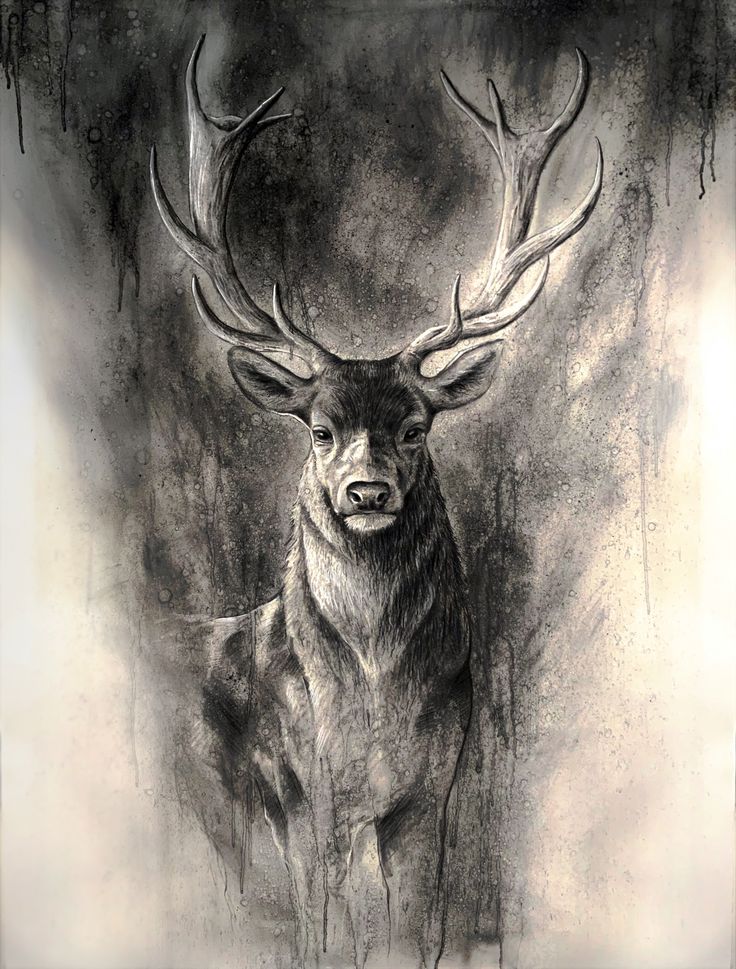
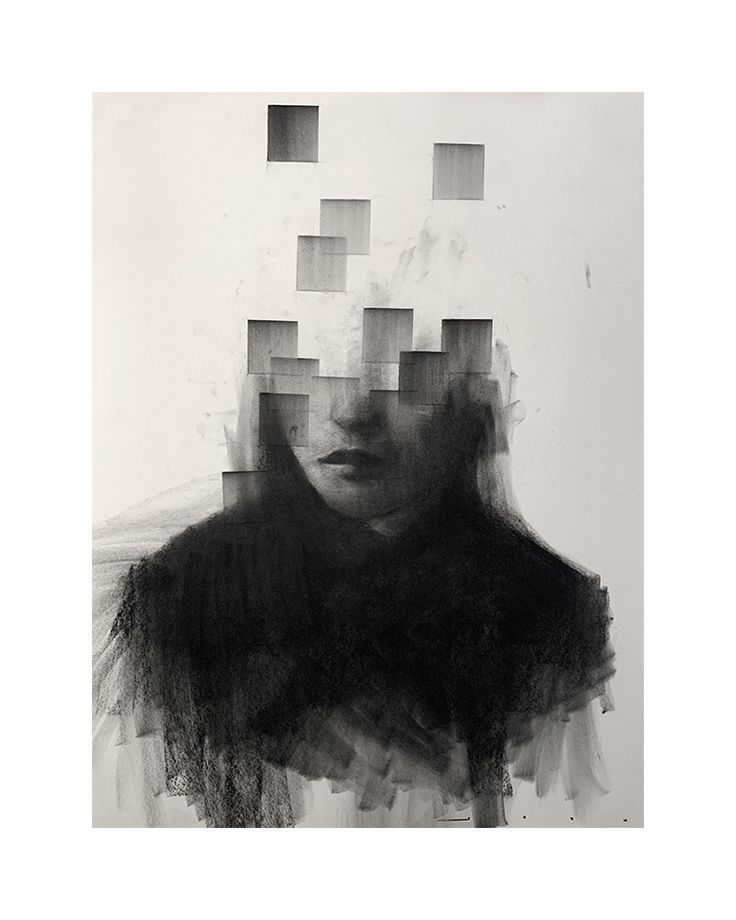
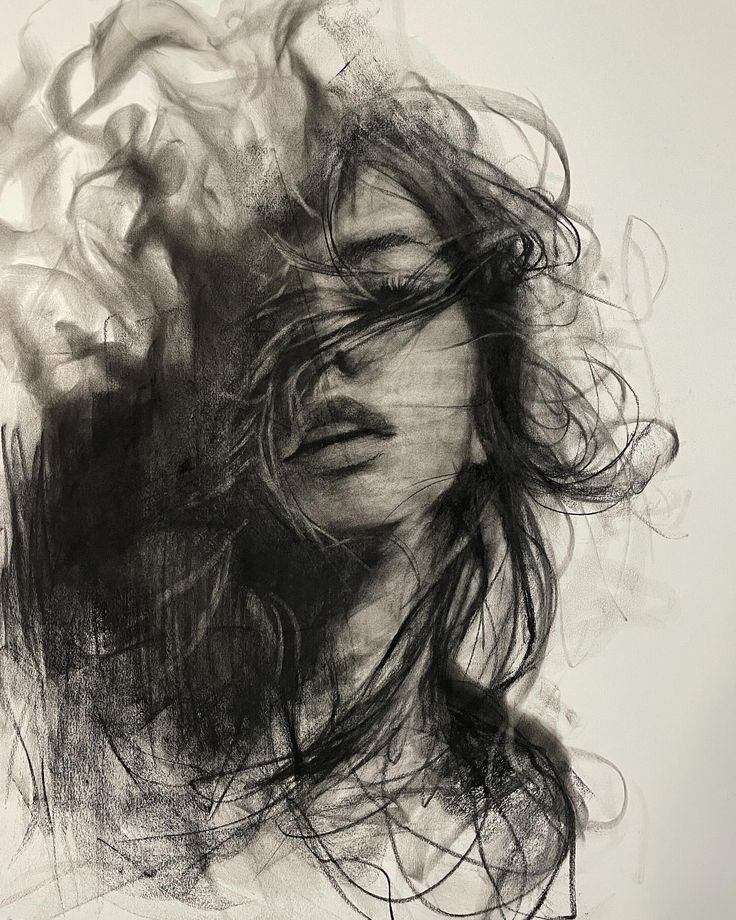
Charcoal drawing offers a unique blend of drama and depth that can elevate your artistic creations. By mastering various charcoal techniques, you can unleash your creativity and produce expressive artworks that resonate with emotional intensity. Whether you are an experienced artist or just starting, understanding the capabilities of charcoal can transform your approach to drawing.
Engaging with charcoal allows for dynamic marks and contrasts, enabling the capture of light and shadow in striking ways. The medium provides a tactile experience that can enhance the creative process, inviting experimentation and spontaneity. As you learn to manipulate charcoal, you’ll discover the potential for depth in your compositions and details.
Artistic expression goes beyond technique; it’s about conveying emotion through your work. This blog post explores essential tips and practices that will help you fully embrace the potential of charcoal drawing and create impactful pieces.
Key Takeaways
- Charcoal can create dramatic and expressive artworks.
- Mastering key techniques enhances your creative process.
- Proper finishing touches preserve the longevity of your work.
Getting Started with Charcoal
Charcoal drawing offers unique textures and expressive qualities. Familiarizing yourself with the types of charcoal and essential materials will help you embark on your artistic journey.
Understanding Charcoal Types
There are several types of charcoal you can choose from, each offering distinct characteristics.
Vine Charcoal: Made from charred willow branches, this type is soft and easily blends, allowing for subtle shading and rich tones. It’s perfect for beginners seeking to create soft lines and smooth gradations.
Compressed Charcoal: This type is denser and produces darker marks. It is more challenging to erase compared to vine charcoal but is ideal for detailed work and bold contrasts. Compressed charcoal is often available in sticks or pencils for more precision.
Willow Charcoal: Similar to vine charcoal, willow charcoal is soft and offers a smoother application. It is less dusty and burns more evenly, making it an excellent choice for large areas and expressive strokes.
Essential Materials for Charcoal Drawing
Gathering the right materials enhances your charcoal drawing experience. Start with these essentials:
Charcoal: A mix of vine and compressed charcoal is ideal to achieve a range of textures and depths in your artwork.
Drawing Paper: Look for heavyweight paper with a bit of texture to hold charcoal better. Options like pastel or watercolor paper work well.
Erasers: A kneaded eraser can lift charcoal gently, while a vinyl eraser is effective for more precise corrections.
Blending Tools: Stumps and tortillons help smooth out your marks, allowing you to create soft transitions.
Fixative: Use a workable fixative to preserve your artwork and prevent smudging.
With the right tools and knowledge of charcoal types, you are prepared to start your drawing journey effectively.
Mastering Charcoal Techniques
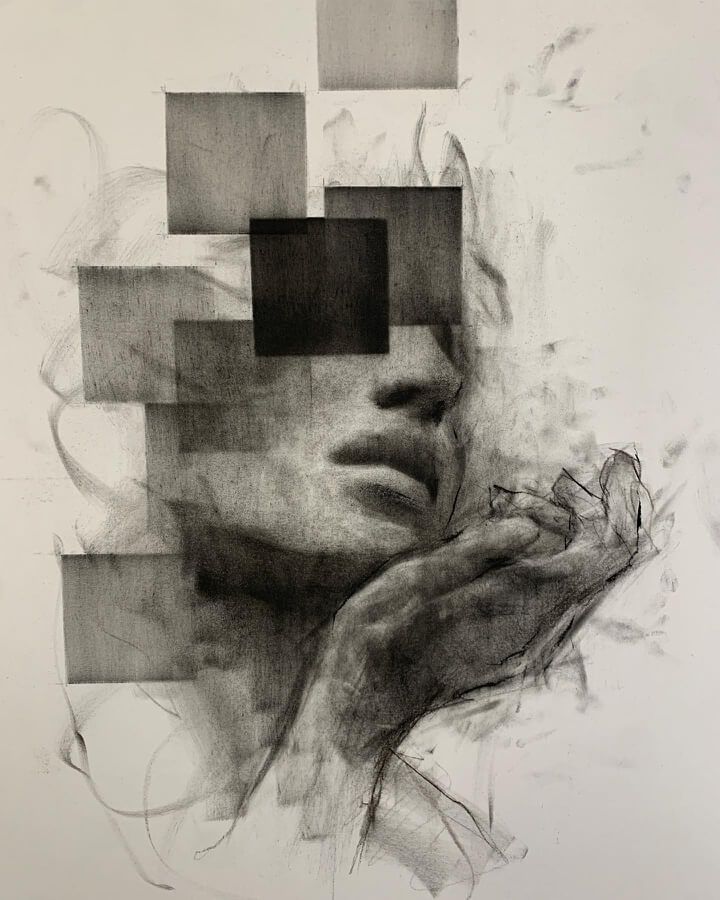
Effective use of charcoal requires mastering various techniques to bring your artwork to life. Focus on shading, creating depth, and harnessing light for expressive results.
Shading and Texturing Methods
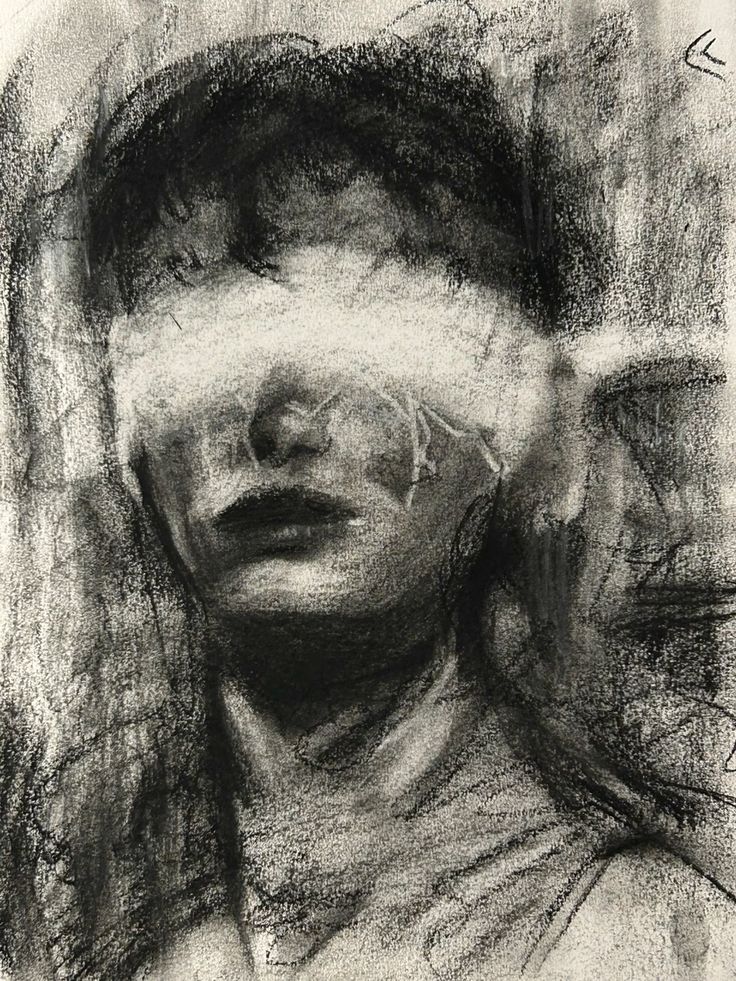
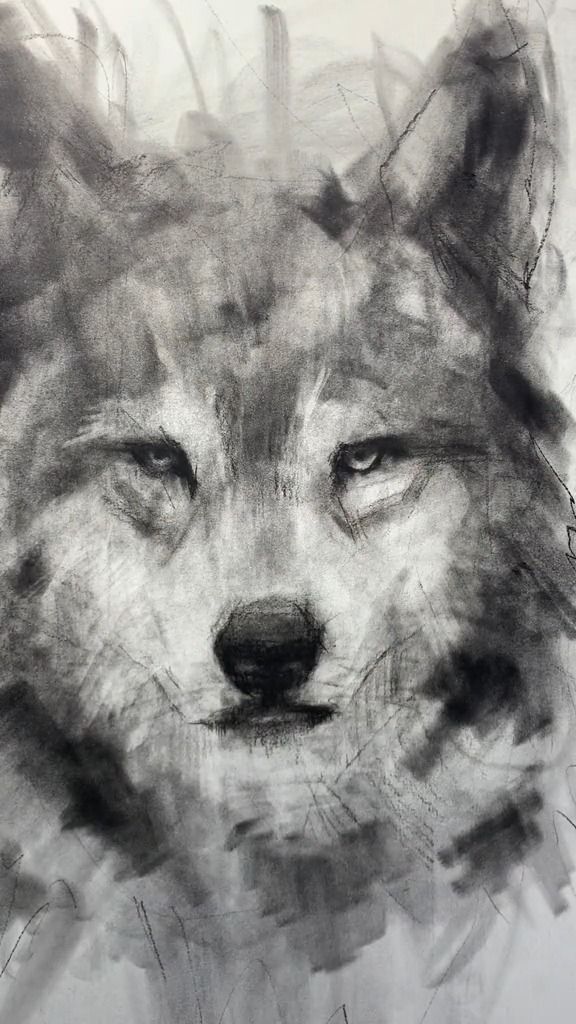
Shading is fundamental in charcoal drawing. You can achieve different effects using techniques like blending, hatching, and cross-hatching. Blending with a tortillon or your fingers produces soft transitions between values, giving a smooth appearance.
Hatching involves drawing parallel lines to create shadow. Adjusting the spacing and pressure determines the darkness. Cross-hatching, layering lines in different directions, adds complexity and depth. Experiment with these methods to develop your unique textural effects, enhancing the piece’s overall richness.
Creating Depth and Dimension
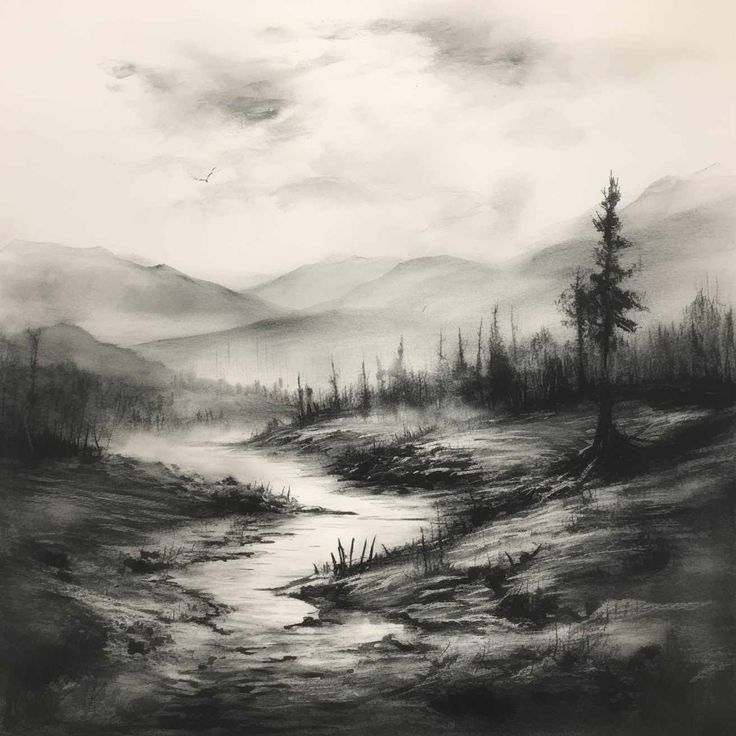
To create depth, consider the composition, focusing on foreground, middle ground, and background. This hierarchical approach draws the viewer’s eye. Use variations in charcoal sketching techniques to establish layers.
Darkening areas of the foreground with stronger lines or more intense shading can create a sense of space. Lighter, softer strokes in the background suggest distance. Incorporate overlapping elements and varying sizes to reinforce the illusion of three dimensions in your drawing.
Harnessing Light and Shadow
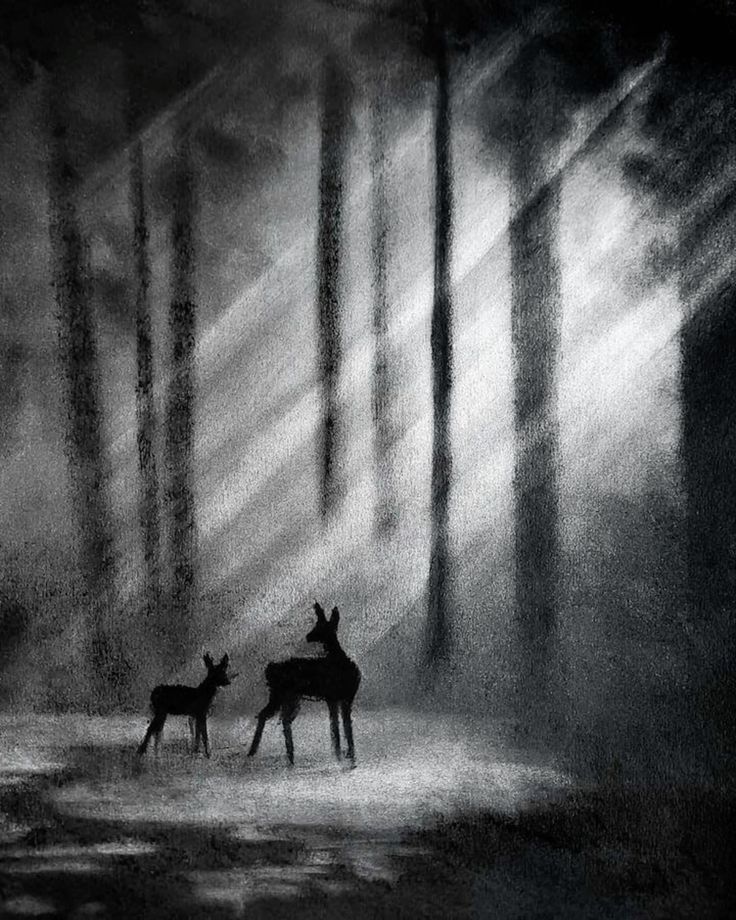
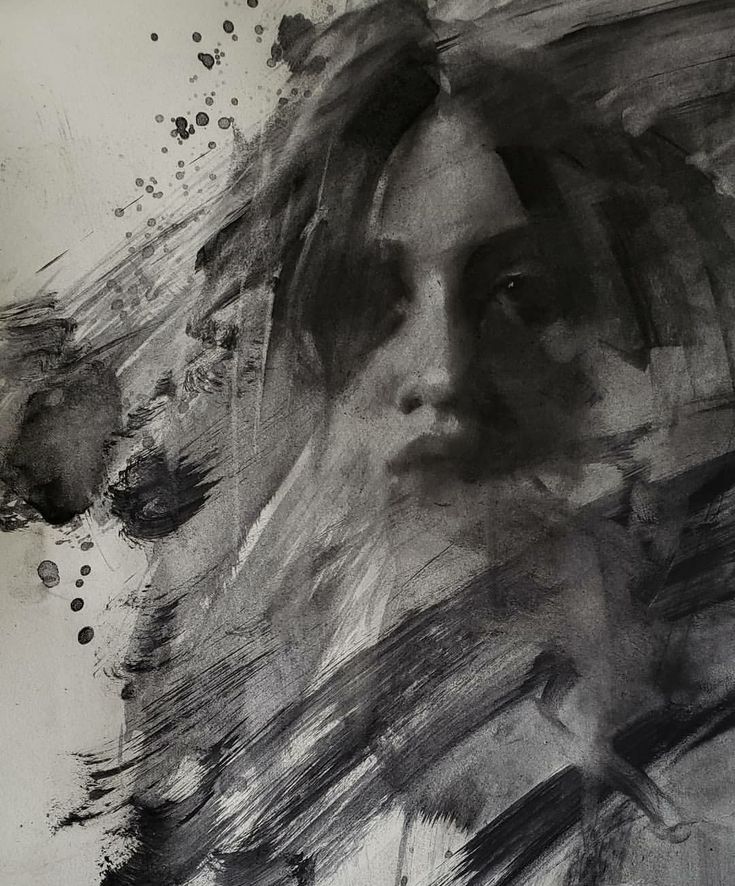
Light and shadow dramatically influence the mood and perception of your charcoal pieces. Observe how light interacts with your subject, noting highlights and shadows. Use erasers or a kneaded eraser to lift charcoal for bright highlights.
Balance light and shadow by paying attention to contrast. Dark areas should feel rich and textured, while lighter areas provide visual relief. This interplay enhances dynamism, adding emotional resonance to your artwork. By mastering these techniques, you significantly elevate your charcoal artistry.
The Art of Composition and Detail
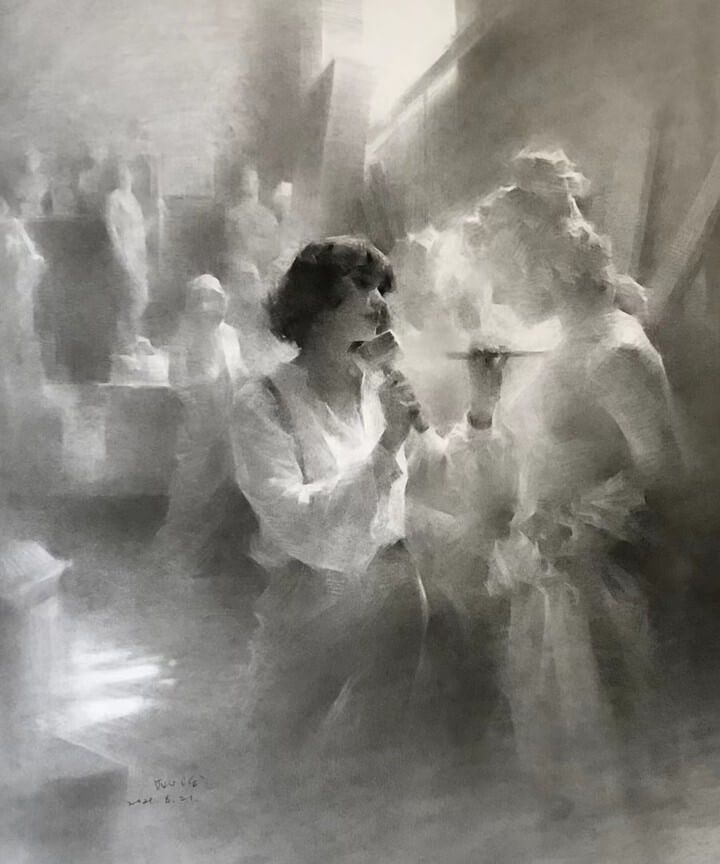
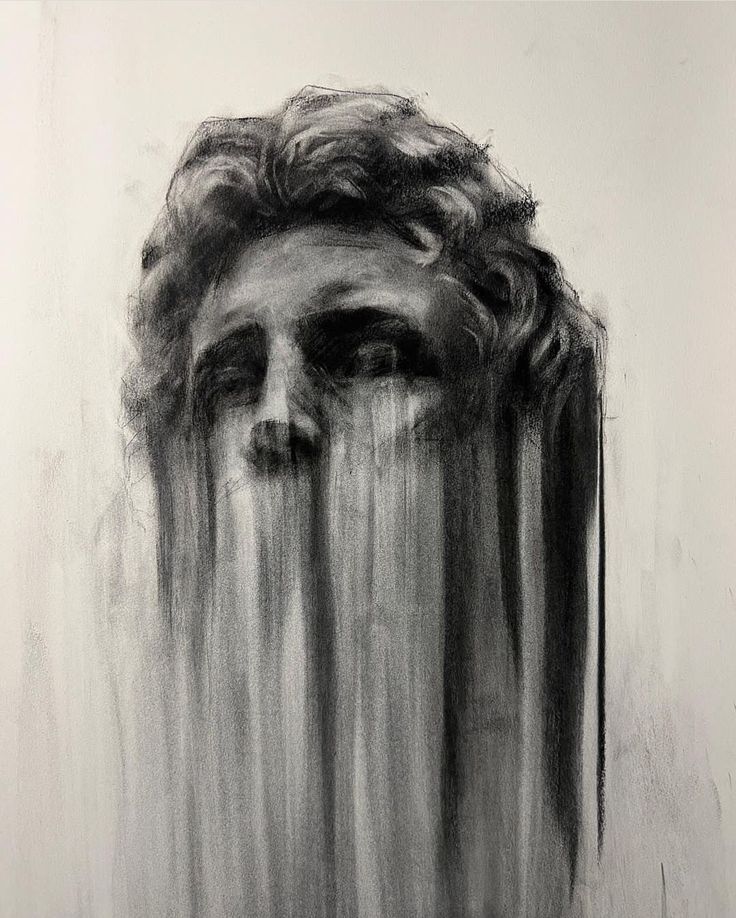
Mastering composition and detail in charcoal drawing allows you to create depth and visual interest. These skills enhance the expressiveness of your artworks and guide the viewer’s eye effectively.
Crafting Visual Interest with Composition
Begin by understanding basic shapes and how they interact within the space. Use geometric or organic forms to create a framework. You can establish a focal point using the rule of thirds, placing key elements along these lines to draw attention.
Negative space is crucial. It helps to balance your composition and emphasizes the main subject. Incorporate atmospheric perspective by altering detail and contrast to suggest depth. Objects that recede into the background can become less detailed. This technique enhances the illusion of space while making the foreground pop.
Focusing on Fine Details and Textures
Incorporating fine details and textures significantly elevates your work. Pay attention to the surface quality of objects; for example, use varied pressure on your charcoal to represent different textures, from smooth skin to rough bark.
When illustrating textures, focus on layering techniques. Gradually build up tones using both hatching and cross-hatching. This not only adds depth but also invites the viewer to explore the intricacies of your drawing.
Ensure to keep some areas intentionally less detailed to create contrast. This practice draws the eye toward the intricately rendered sections. Balancing detail with simplicity enhances the overall aesthetic of your composition.
Finishing Touches and Preservation
When completing your charcoal drawings, the right techniques for final touches and preservation play a vital role in enhancing and protecting your artwork. Two key aspects are the effective use of fixatives and exploring mixed media to elevate your creations.
Effective Use of Fixatives
Fixatives are essential for preserving your charcoal artwork. They help prevent smudging and fading, ensuring that your hard work remains intact. You can choose between workable and final fixative sprays.
Workable Fixative: Allows for additional layering without interfering with previous work. This is useful when you want to add depth or correct mistakes.
Final Fixative: Applied after you finish drawing to lock in colors. It offers a protective layer against dust and moisture.
When applying fixative, ensure that you do so in a well-ventilated area. Hold the spray can about 12-18 inches away from your artwork. Light, even coats will help avoid drips. Move in a consistent pattern to ensure complete coverage without saturating the paper.
Elevating Artwork with Mixed Media
Incorporating mixed media can enhance your charcoal drawings, adding depth and texture. You might consider using:
Blending Stumps: For smoother transitions between shades. They help in smudging and blending, creating a more realistic feel.
Kneaded Erasers: Effective for both erasing mistakes and creating highlights. They lift charcoal without damaging the paper.
Layering different materials, like colored pencils or pastels, can create stunning results. Be mindful of how materials interact with charcoal, as some may smudge or disrupt your work. Experiment with applying highlights after fixative or mixing colors before sealing with a final coat to achieve unique textures.
- 414shares
- Facebook0
- Pinterest414
- Twitter0
- Reddit0
