Drawing flowers can be simple and enjoyable with the right steps. Many beginners feel unsure about where to start, but breaking the process down makes it easier to create beautiful blooms. A step-by-step flower drawing guide helps anyone, regardless of skill level, draw flowers clearly and confidently by using basic shapes and easy techniques.
This guide shows how to build a flower drawing from simple circles and lines, adding details as you go. It uses clear instructions that make the whole process feel manageable and fun. With practice, anyone can learn to sketch roses, tulips, and other flowers without feeling overwhelmed.
By following simple steps, artists can focus on each part of the flower, making the drawing look neat and balanced. This helps build confidence and encourages more creativity in floral art. Readers will find the process straightforward, making it a great way to start drawing or improve their skills.
Essential Materials for Flower Drawing
To draw flowers well, having the right tools makes the process easier and more enjoyable. Important items include pencils that offer different shades, paper that suits sketching or coloring, and extra tools for adding color and detail.
Pencils and Erasers
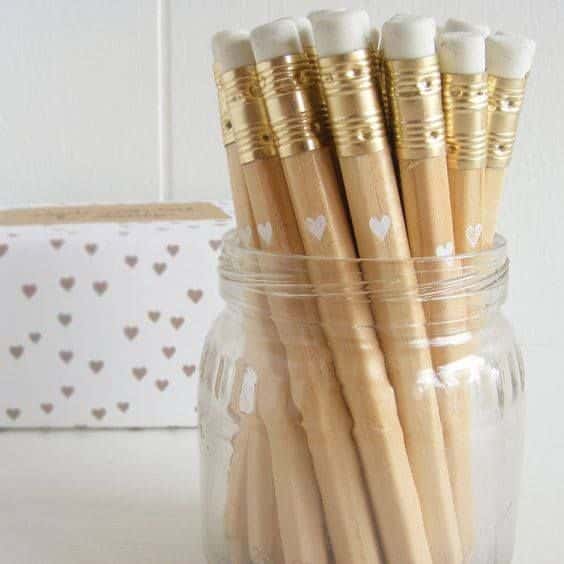

A range of pencils helps create different tones and lines needed for flower drawing. Artists usually start with an HB pencil for light sketching. Softer pencils like 2B to 6B work well for shading and adding depth.
Using a good eraser is important to clean up mistakes or lighten areas. A kneaded eraser is gentle and can be shaped for precise erasing. A regular rubber eraser also works for bigger corrections but can damage paper if used too hard.
Keeping pencils sharp helps with drawing small details on petals and leaves. Mechanical pencils can also be useful for fine lines without needing constant sharpening.
Paper Types
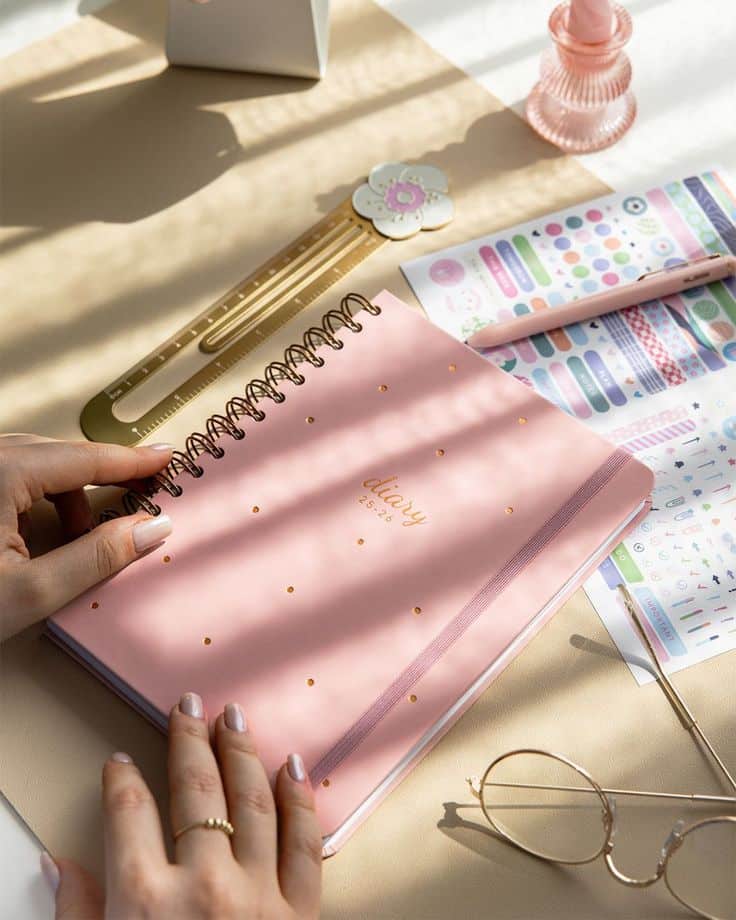
The choice of paper affects how pencils interact with the surface. For pencil sketches, smooth sketch paper with medium thickness (about 70-100 lb) is best because it holds detail without too much texture.
If blending or shading is part of the plan, paper with a slight tooth (texture) like cold-pressed paper works well. This texture helps pencils grip the surface better.
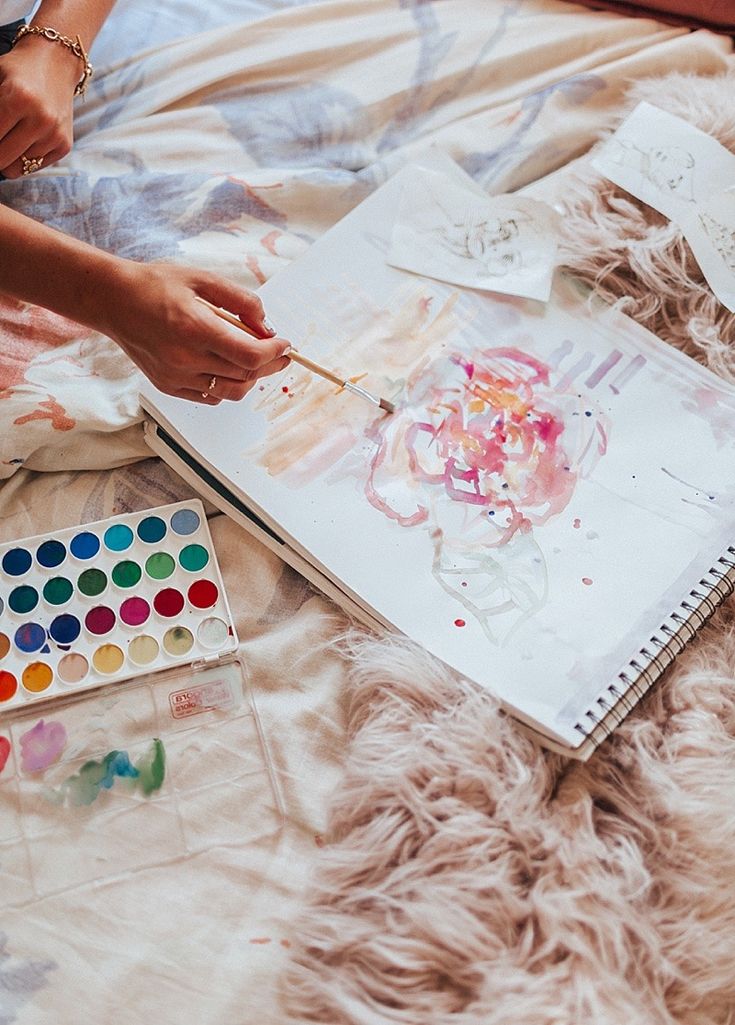
For artists who want to add color later, thicker papers like mixed media or watercolor paper give more options. These handle wet tools without warping or tearing.
Optional Coloring Tools
Many flower drawings become more vivid with color. Colored pencils are popular because they layer easily and add brightness. Brands with soft cores blend well to create smooth color transitions.
Watercolors are also a favorite for a soft, natural look. If using watercolors, one needs brushes and watercolor paper that will not buckle when wet.
Markers and pastels offer different textures and styles. Markers give bold colors, but care must be taken to avoid bleed-through on thinner paper.
Choosing coloring tools depends on the style and finish the artist wants for their flower drawing.
Planning Your Flower Sketch
Planning a flower drawing helps make the process easier and the final sketch clearer. It involves picking the type of flower, starting with simple shapes, and deciding how everything fits on the paper.
Choosing a Flower Style
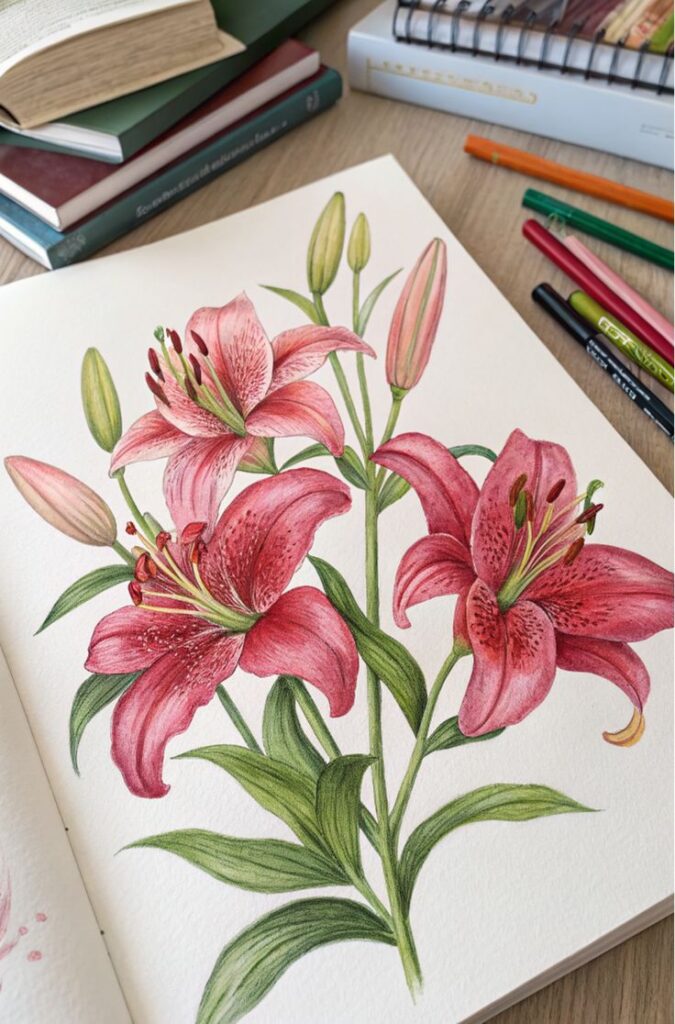
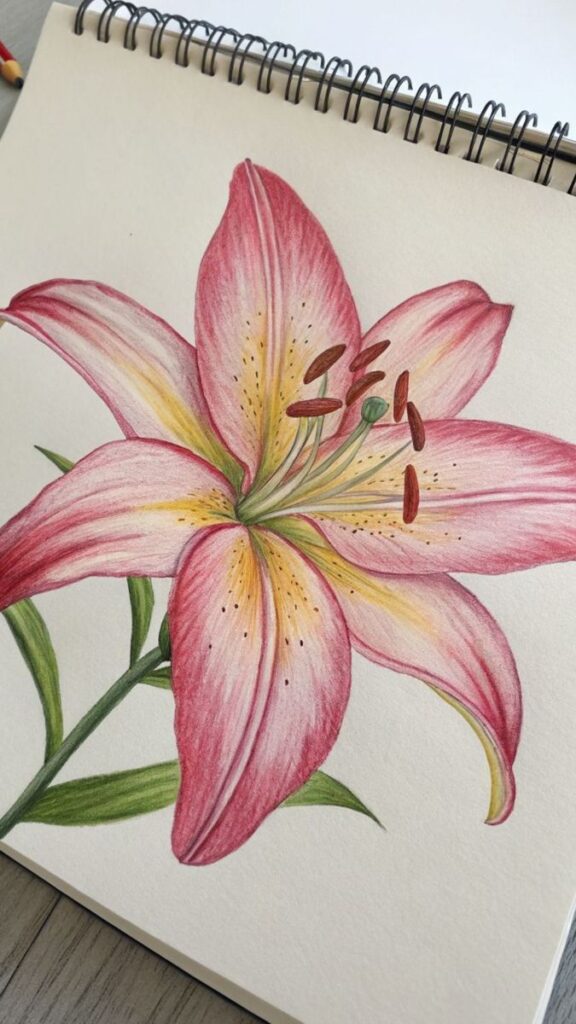
The first step is choosing which flower to draw. Some flowers like daisies or tulips have simple shapes, while roses and orchids are more detailed. Beginners often start with easier flowers because they have clear parts, like petals and stems.
Deciding on style means also choosing between realistic or stylized flowers. Realistic drawings focus on details and natural colors. Stylized flowers might use simpler shapes or bold lines. Picking the style early helps keep the drawing focused and organized.
Creating Basic Shapes
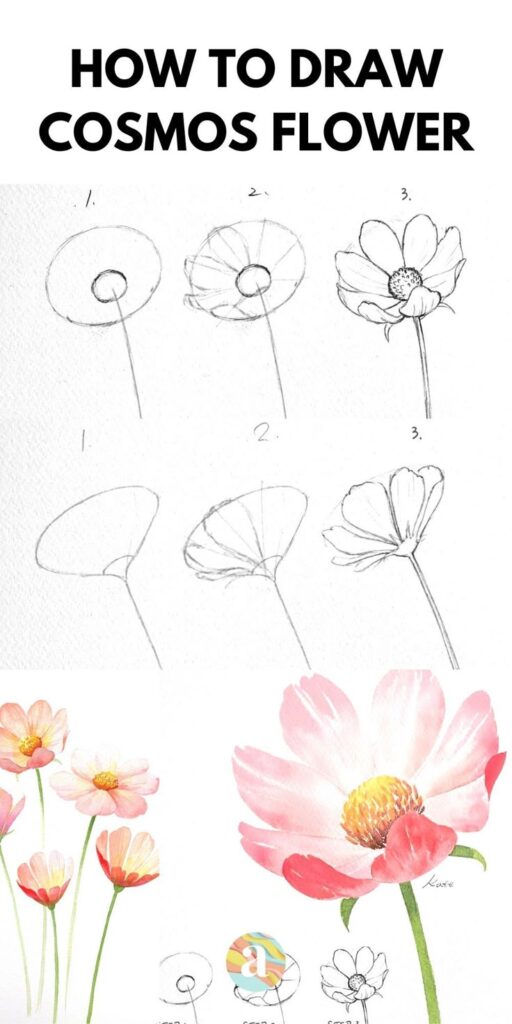
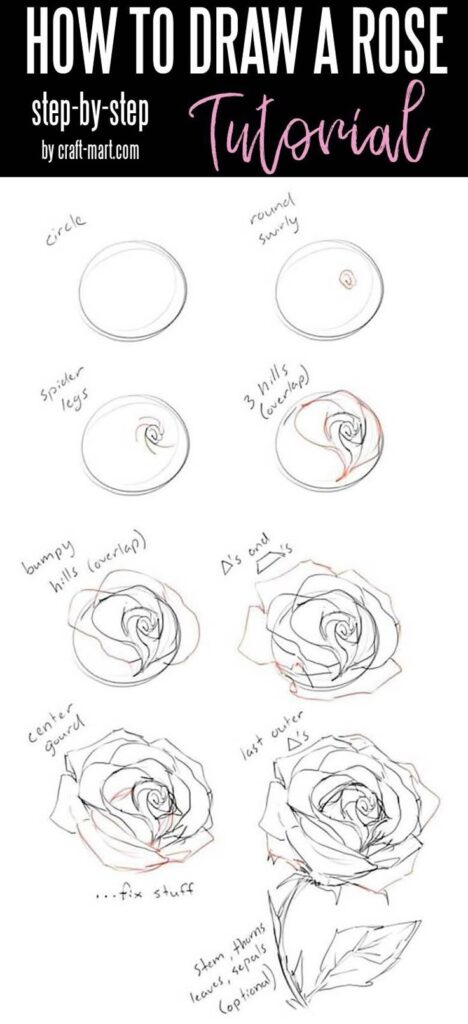
Starting with basic shapes keeps the drawing balanced. Most flowers can begin with circles, ovals, or simple lines to outline petals and the center. For example, a sunflower might start as a large circle for the center with ovals around it for petals.
Using a pencil to sketch these shapes lightly allows for changes. These shapes act like a guide to build the flower’s structure step by step. This method prevents mistakes and makes the drawing clearer.
Arranging Composition


Composition means how the flower is placed on the page. It’s important to leave enough space for the whole flower and any leaves or stems. Centering the flower makes it the focus, but placing it slightly off-center can look more dynamic.
Spacing between petals and parts also matters. If petals are too close together, the drawing can look crowded. A good tip is to imagine a frame around the flower and keep all parts inside this area. This prevents cutting off parts of the flower by accident.
Step-by-Step Flower Drawing Process
Drawing a flower involves breaking it down into simple parts and building it up carefully. Starting with the shape of the petals, adding the stem and leaves, then working on depth and final line details helps make a clear, natural-looking flower.
Outlining Petals

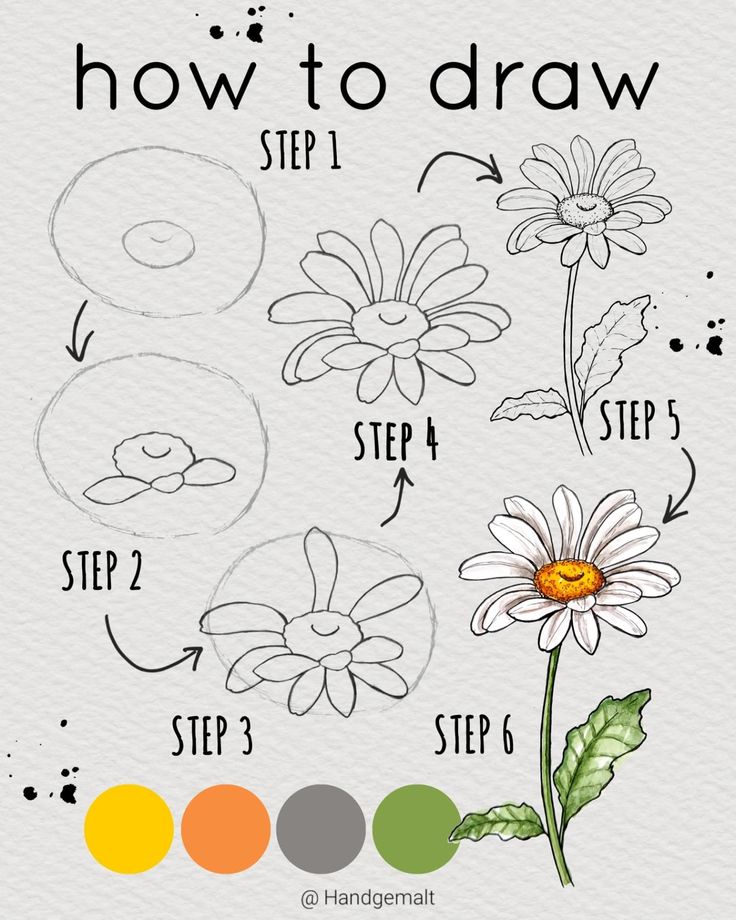
The first step is to sketch the petals by drawing simple shapes. Most flowers have petals arranged in circles or layers. Begin with a light pencil to draw rounded or pointed petal shapes around a center point.
It helps to draw three overlapping circles lightly to guide where the petals will go. The petals should vary slightly in size and curve, not all look the same. This makes the flower look more natural.
Keeping the lines soft and loose at this stage lets corrections happen easily. The goal is to capture the overall form of the petals before adding any detail.
Adding Stem and Leaves
Once the petals look good, the next step is to add the stem and leaves. Start with a straight or slightly curved line under the flower for the stem.
Leaves usually grow from the stem, so draw them coming from this line. They often have oval or lance shapes with pointed tips. Use simple lines to mark the middle vein of each leaf.
Keep the stem thinner near the top and a bit thicker near the base for realism. Placing the leaves evenly on either side of the stem gives good balance.
Building Depth with Layers

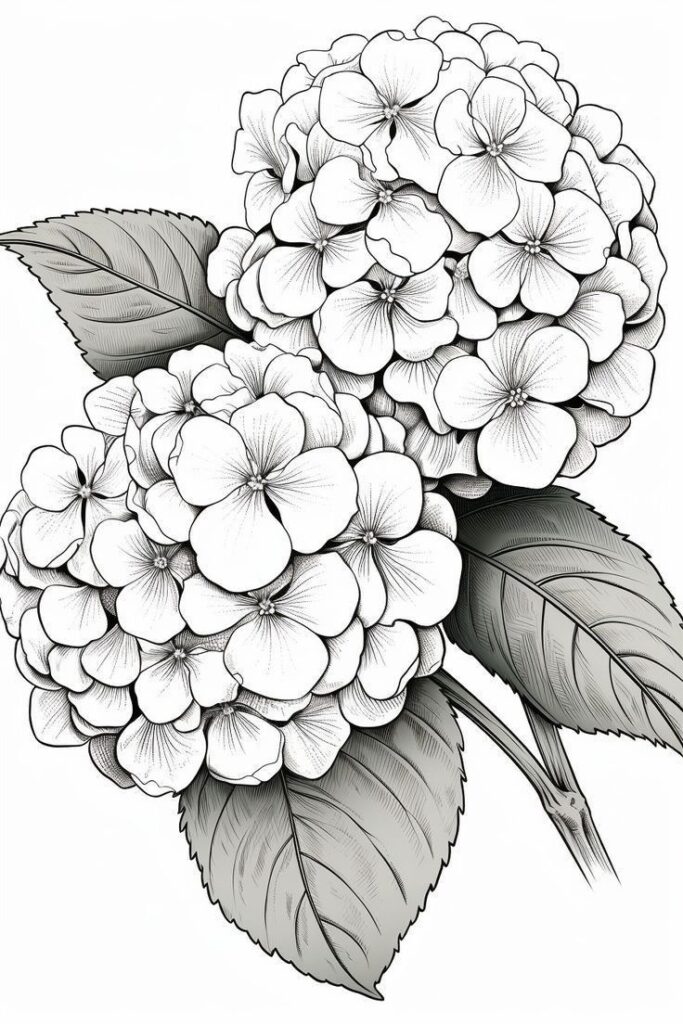
Depth gives the flower a 3D look. Start by drawing petals and leaves in layers to show which parts are closer or farther away.
Overlap petals with some behind others, and shade lightly on the petals underneath to create shadows. This makes the flower look fuller and less flat.
Use soft smudging or cross-hatching techniques to add light and shadow. Darker lines or shading on edges show the curves of petals and leaves.
Refining Line Details

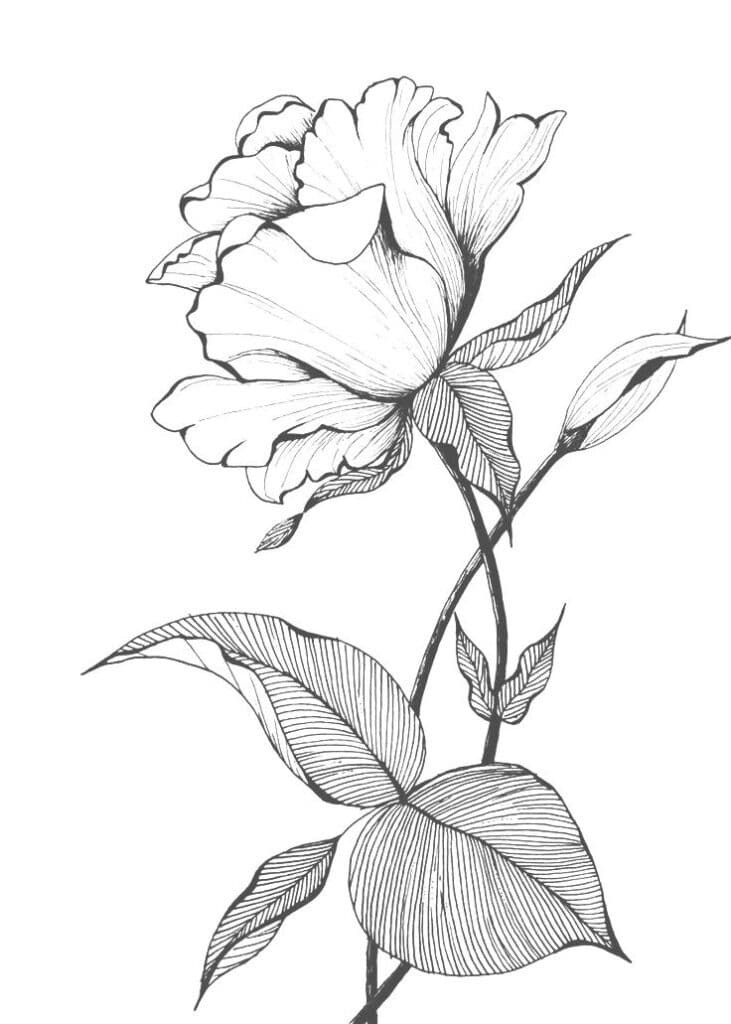
The last step is cleaning up and adding final lines for detail. Darken the main petal outlines and veins on leaves.
Add small lines to show texture on petals. These include thin lines from the base of petals going outward.
Erase extra sketch lines gently to keep the drawing neat. This step makes the flower look sharp and ready for coloring or display.
Techniques for Realistic Petals and Leaves
Drawing petals and leaves realistically needs attention to light, texture, and fine details. Using different shading methods shows how light hits surfaces. Adding veins and texture makes petals and leaves more natural. Highlighting edges helps create a lifelike look.
Shading for Dimension

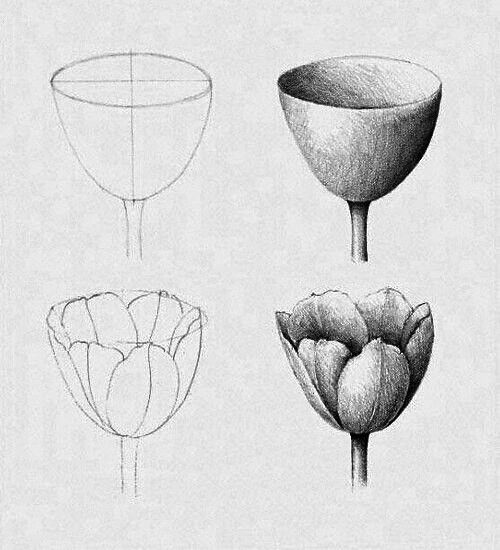
Shading gives petals and leaves a three-dimensional feel. Start by identifying the light source. Areas closer to the light stay lighter, while farther parts get darker.
Use soft, gradual shading to show smooth curves on petals. Avoid harsh lines unless the petal edge is sharp. For leaves, use strokes that follow the shape’s direction to add volume.
Try layering shading with different pencil pressures. Light pressure builds gentle shadows, and heavier pressure darkens deeper areas. This layering creates a realistic depth and makes petals and leaves pop from the page.
Texture and Veins
Texture adds a natural look to petals and leaves. To draw veins, start by sketching thin, branching lines from the center outward. These lines should vary in length and thickness.
For petals, subtle texture can be shown with tiny, light strokes or dots following the petal’s shape. Leaves often have more defined veins, so use stronger lines for those.
Texture helps break up smooth areas, making surfaces less flat. Avoid overdoing it—too many lines or heavy marks can look messy. Keep it light and build gradually.
Highlighting Petal Edges

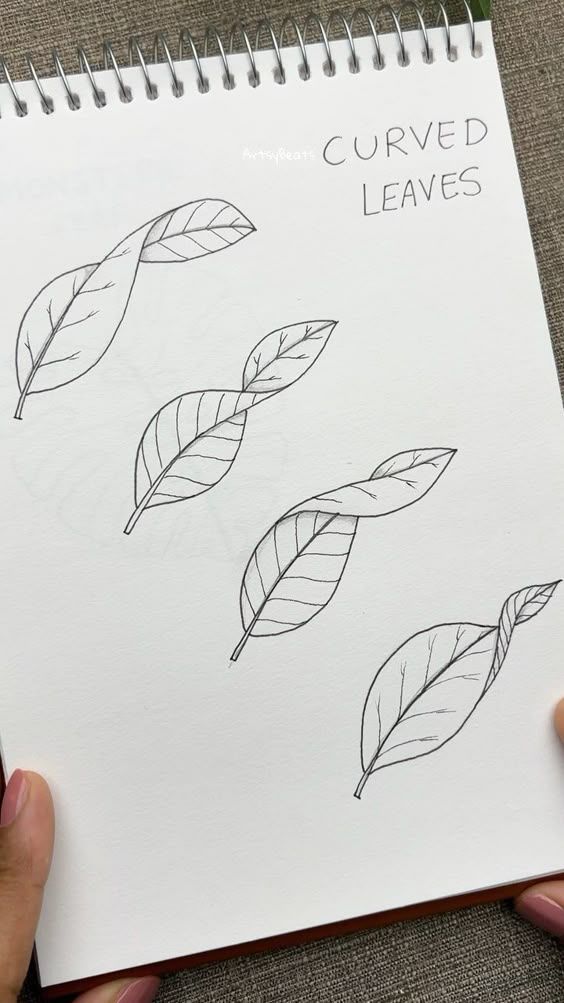
Edges of petals catch light differently than flat surfaces. To show this, leave thin, clean lines or very light shading along the edges. This technique separates the petal from the background or other petals.
Use an eraser lightly to lift graphite from edges or create small highlights. A sharp pencil helps keep petal edges crisp and defined.
Highlighting edges makes the petals look delicate and realistic. It also helps show how petals overlap, adding depth to the drawing.
Adding Color and Finishing Touches
Color brings a flower drawing to life. Choosing the right colors, blending them smoothly, and refining details help create a more realistic and polished image.
Choosing a Color Palette
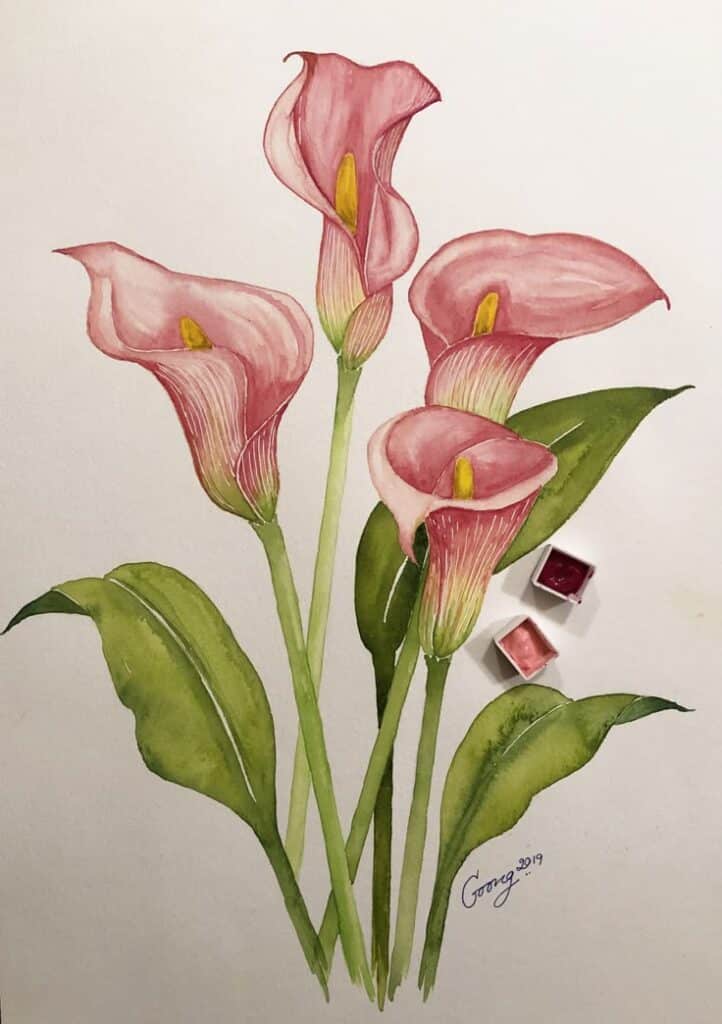
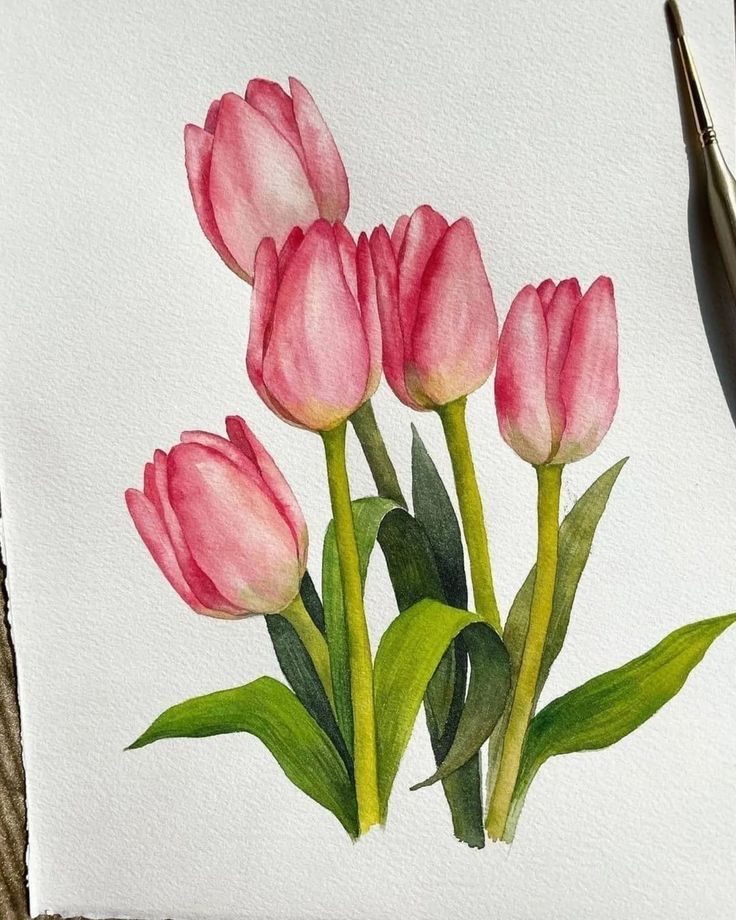
The first step is picking a color palette that fits the flower type. It’s best to use colors found in nature for a realistic look. For example, reds, pinks, and yellows work well for roses, while blues and purples suit irises.
Limiting the number of colors prevents the drawing from looking messy. Start with a few main colors for petals, leaves, and shadows. Later, accent shades can be added to create depth.
Using a color wheel can help to select complementary or analogous colors. This ensures harmony between petals, the background, and leaves.
Blending and Layering Colors
Layering means applying light colors first, then adding darker shades on top. This builds depth and richness. Using gentle, small strokes avoids harsh lines and keeps edges soft.
Blending colors with a blending stump or a soft cloth smooths out rough transitions. Blending pencils or watercolor can also create smooth gradients.
Patience matters here. It’s better to add several thin layers than one heavy one to prevent the paper from tearing or the colors from looking blotchy.
Final Details and Cleaning Up
Fine details make the drawing stand out. Adding tiny lines, dots, or veins on petals and leaves gives texture. Shadows under petals add realism by showing layers and overlap.
Use an eraser to clean unwanted smudges or lighten areas for highlights. A kneaded eraser is great for gentle corrections without damaging the paper.
Review the entire drawing for any spots missing color or detail. Small touch-ups go a long way in polishing the artwork and balancing the overall look.
- 7.9Kshares
- Facebook0
- Pinterest7.9K
- Twitter0
- Reddit0
