Drawing flowers is a timeless art form that lets you explore creativity and capture the beauty of nature with just a pencil and paper. Whether you’re just starting out or looking to improve your skills, learning how to draw flowers can be both relaxing and rewarding. You’ll quickly discover that with a few simple steps, you can create stunning flower drawings that express your own unique style.
From simple daisies to elegant roses, each type of Flower offers new techniques and challenges for artists of all levels. Online resources and tutorials make learning even easier, giving you endless inspiration and practical guides right at your fingertips. Experimenting with various tools and styles can help you find your personal approach to flower drawing.
Key Takeaways
- Learn easy steps and techniques for drawing flowers.
- Use helpful resources to find inspiration and improve your skills.
- Share and showcase your finished flower drawings confidently.
Essential Tools and Materials for Drawing Flowers
When drawing flowers, the right tools make a noticeable difference. High-quality pencils, suitable paper, and a thoughtful approach to colors all help you capture details and bring your drawings to life.
Choosing Graphite Pencils
Selecting the proper graphite pencils is one of the first steps in drawing flowers. Most artists benefit from a range of pencil grades, such as 2H for fine details and outlines, HB or B for sketching petals, and 2B-4B for shading and depth. Mixing hard and soft pencils helps create delicate lines as well as bold shadows.
A good approach is to keep several pencils on hand and test them on a scrap piece of paper. This allows you to see how different grades interact with your chosen surface. Consider a pencil set from a reputable brand, as consistent quality can make a difference in line control.
A kneaded eraser is essential for adjusting highlights and cleaning up lines. A precision eraser can also help with small details, especially in the fine veins or edges of petals.
Selecting Quality Drawing Paper
Your choice of drawing paper influences the final appearance and durability of your flower drawings. For graphite work, select an acid-free, medium-texture paper to provide enough tooth for pencil to grip, but not so much that you lose fine details. Popular weights are usually in the range of 90-120 lb (190-260 gsm).
If you plan to add water-based media, such as watercolor, or multiple layers of color, use heavy, mixed-media paper that resists warping. Smooth Bristol paper is excellent for detailed, crisp botanical drawings.
Test a small section with your pencils to observe how the paper responds to erasing and blending. A quality surface makes layering smooth and subtle, which is key for realistic floral artwork.
Recommended Color Composition Techniques
Integrating color into your flower drawings adds vibrancy and enhances detail. Start by observing the true colors of your subject. Layering colored pencils or soft pastels can help you achieve realistic petal gradients and transitions.
Try building up color gradually, using light pressure and multiple layers. Burnishing with a colorless blender or a light shade creates smooth transitions between hues. If you use watercolor pencils, apply a small amount of water with a fine brush to blend colors gently and retain detail.
Keep a limited palette to avoid muddy colors. Refer to a color wheel for balanced combinations, and test color blends on spare paper before applying them to your main drawing. Aim for accuracy in color placement to represent the unique features of each flower finely.

Step-by-Step Guide to Drawing Popular Flowers
Drawing flowers is a practical way to build your confidence and skills as a beginner artist. Each flower shape brings its own unique lines and details, making them perfect for learning new techniques and practicing observation.
Drawing a Rose
Start with a small spiral for the center of the rose, keeping the lines loose and relaxed. Add a few curved lines around the spiral to create the first layer of petals. Try to alternate the shapes and sizes to keep your rose looking natural.
Gradually draw more petals, working outward and allowing them to overlap slightly. Focus on the uneven, wavy edges typical of rose petals. Use light strokes at first so you can adjust the petals as needed.
For the outer petals, use wider arcs and let the lines curl away from the center. You can finish your rose by adding a simple stem and a pair of leaves. Pay attention to the leaf’s serrated edges for realism.
Tips:
- Layer petals from inside out
- Use soft lines for initial sketch
- Leave some petals less defined for a more organic feel
Sketching a Sunflower
Begin with a small circle in the center of your page for the sunflower’s seed head. Around this, add a larger ring to set the boundary for the petals. The petals should extend outward in a repeating pattern.
Draw each petal as a long, slightly pointed oval. Alternate the placement so that each new petal fits between two from the previous layer. This overlapping effect gives fullness and depth.
Add details to the seed head with small dots or tiny circles to mimic the sunflower’s texture. Draw a thick, straight stem below, and sketch out broad, slightly jagged leaves on each side.
List of features:
- Central disk is filled with dots
- Petals radiate outward, slightly overlapping
- Leaves are large and tooth-edged
Depicting a Daisy
To draw a daisy, start by marking a small circle for the center. From this, draw straight lines radiating out—like a clock face—to guide petal placement.
Attach narrow, rounded petals to each guideline. Make sure the petals are evenly spaced and similar in shape, but allow for minor variations. Daisies typically have long, slender petals that may curve slightly at the tips.
Add a thin, smooth stem under the bloom. For details, sketch a few thin, elongated leaves, and add subtle dots or short dashes to the flower’s center to suggest texture.
Daisy checklist:
- Center is small and clearly defined
- Petals are thin, elongated, and evenly spaced
- Stem is slender with minimal curve
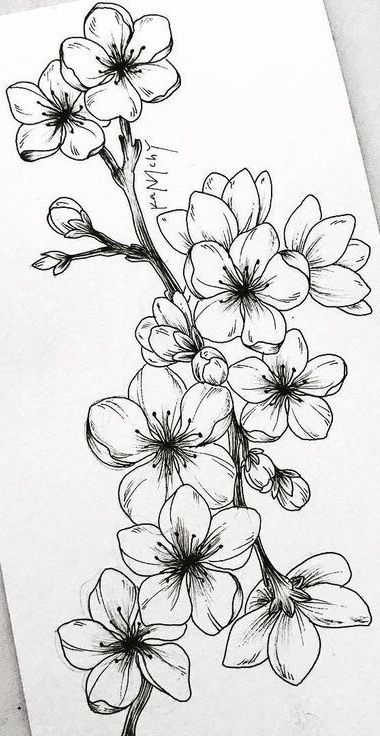
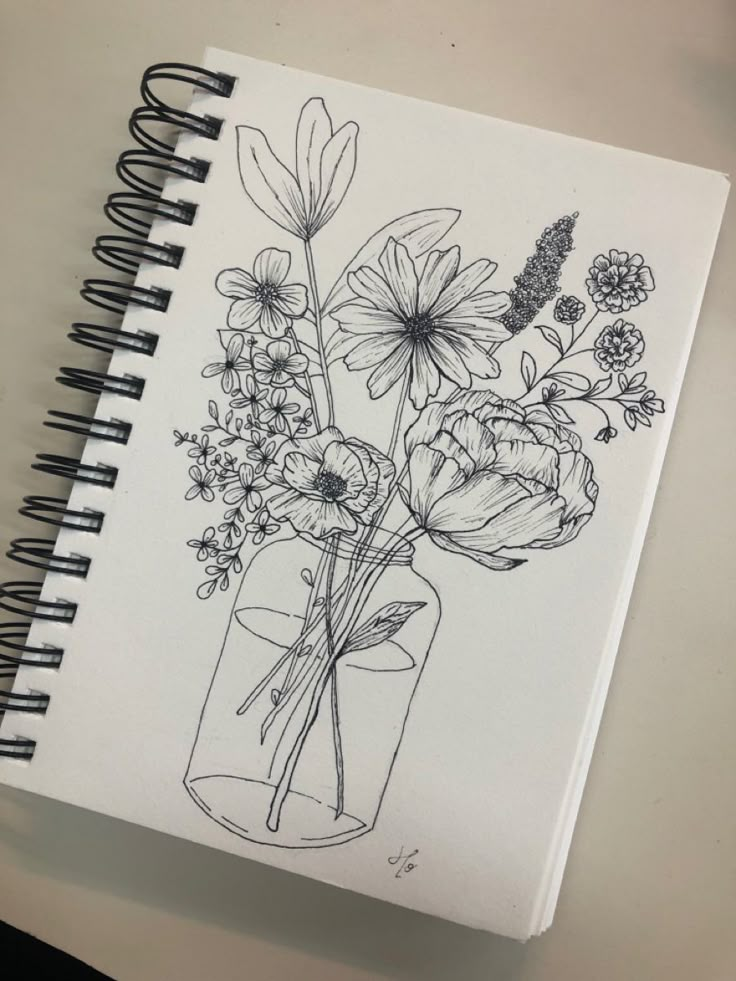
Advanced Techniques for Flower Illustrations
Mastering advanced flower illustration means exploring shading, petal overlap, and detailed study of unique species. You’ll notice how subtle techniques can transform your drawings and make your floral illustrations more lifelike.
Creating Stunning Visuals with Shading
Shading is essential in making your flower illustrations appear three-dimensional. Begin by identifying your light source. Gently build layer by layer with pencils or digital brushes, using lighter strokes in highlighted areas and pressing firmer into shadow zones.
Blend edges where petals curve, using blending stumps or soft tissue for a smooth gradient. Use hatch marks or stippling where texture is visible, such as on rose petals or daffodil trumpets. Contrast is key—don’t be afraid to add deep shadows under petals or behind stems for realistic depth.
Keep an eye on reflected light. Sometimes, the edge of a petal will catch a soft glow, adding dimension. Small touches like this bring your drawings of flowers to a polished finish.
Mastering Overlapping Petals
Overlapping petals are a defining characteristic of many flowers, and accurately capturing them adds complexity to your illustrations. Begin by lightly sketching the basic shapes and positions.
Use thin lines to mark which petal sits in front. As you add detail, darken the outlines of the top layer and soften the lines beneath, which recede in space. Focus on how shadows from the top petals fall onto those below and blend these shadows naturally.
Here is a tip:
- List for Clarity
- Identify which petal overlaps
- Apply heavier lines or contrast
- Shade beneath the top layer
- Use varied thickness to show depth
Practice is key. You’ll notice improved accuracy in your flower drawings if you regularly study real blooms or reference photos that clearly show overlapping.
Aster and Bird of Paradise Drawings
Asters have numerous thin petals radiating from a central disc. To illustrate them, sketch a circle for the center and mark even spokes as guidelines. Draw each petal with variations in length and direction, as asters rarely look perfectly symmetrical.
For shading, press slightly harder at petal bases and fade toward the tips. Add little lines to the center for texture. Bird of paradise flowers, on the other hand, feature upright, angular petals in vibrant shades. Start with the central, beak-like area and build outward. Use contrasting colors and crisp edges to capture their exotic appearance.
Table: Key Features
| Flower | Key Petal Trait | Main Technique |
|---|---|---|
| Aster | Thin, radiating | Radiating spokes, texture lines |
| Bird of Paradise | Angular, upright | Sharp outlines, vivid colors |
Both flowers benefit from sharp, clean linework and attention to unique petal formations.
Tulips and Daffodils in Detail
Tulip illustrations stand out with smooth, overlapping petals and simple shapes. Sketch each petal with a gentle curve. Shading is most effective along the outer edges and where petals overlap, helping to show the flower’s cup-like form.
Add a highlight along the center of each tulip petal to emphasize its gentle fold. For daffodils, sketch the trumpet-shaped corona first, and then add the outer petal ring. Daffodil shading needs to show the trumpet’s cylindrical form. Use short, curved lines to simulate the texture of both the trumpet and saw-edged petals.
Focus on subtle color changes for realism; for instance, daffodils’ centers are often slightly darker than the surrounding petals. These details bring your drawings of tulips and daffodils to life with depth and clarity.
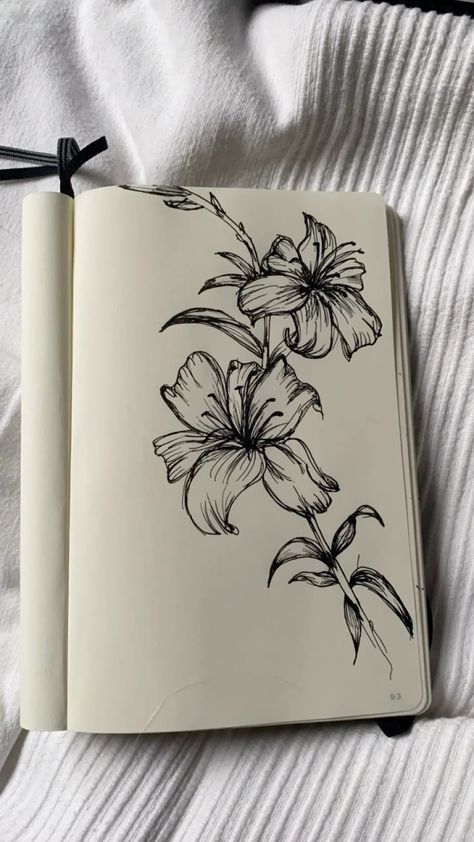

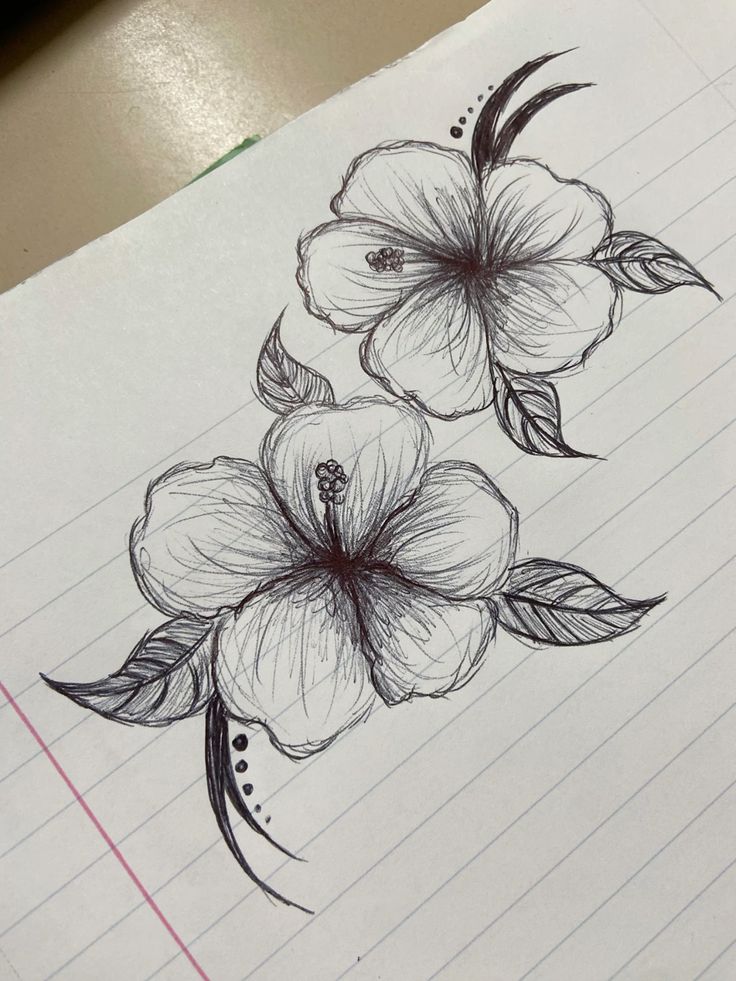
Exploring Flower Drawing Resources Online
You can find an impressive range of flower drawing materials online, from photographs to vector illustrations and instructional videos. Many platforms organize these resources and tailor them to artists’ needs, offering various licenses and browsing tools.
Finding References: Photos, Vectors, and Videos
Quality references are fundamental for improving your flower drawings. You can search for high-resolution photos to capture realistic textures, colors, and botanical details. Vectors are useful for studying clean lines, simple shapes, or stylized designs, often with customizable elements.
Instructional videos guide you step-by-step through sketching, shading, or coloring techniques. Several websites and creative platforms let you filter your results by type, making it easy to find the exact kind of flower image or tutorial you want.
Sources often include traditional photos, digital art, and AI generated content. This gives you the option to choose between natural, realistic, or creative and abstract reference material.
Browsing Platforms like Dreamstime
Platforms such as Dreamstime make it simple to browse thousands of flower-related resources. You can use keyword searches to locate exclusive photos, vectors, or even videos contributed by artists and photographers worldwide.
Dreamstime and similar platforms let you filter by file type (photos, vectors, AI renders), license, and contributor. This helps you quickly compare different styles or content submitted by particular artists. You can create collections of favorite images or refer to public categories such as “most popular” or “newly added.”
Look for options marked as exclusive or editorial—these offer unique images that you won’t find on other sites. Dreamstime also provides access to both free samples and paid premium content.
Understanding Editorial and Royalty-Free Uses
When downloading drawing references, it’s important to understand how licensing works. Royalty-free images let you use the content for art, portfolio pieces, and certain commercial projects after a one-time purchase, without paying additional royalties.
Editorial images, on the other hand, are for non-commercial use like blogs or educational materials. They often show real-world brands, people, or events and can’t be used in advertisements.
Some sites offer extended licenses if you need broader rights, such as redistribution or merchandise printing. Always check what’s allowed before using reference materials in your own art, and carefully review contributor and platform terms to ensure compliance.
Optimizing and Sharing Your Flower Drawings
How you present and share your flower drawings can affect how others view your work and how easily your art gets discovered. Paying attention to image orientation, technical quality, and share settings can improve both the look and safety of your drawings online.
Image Orientation: Portrait, Landscape, Square, and Panorama
The orientation of your image impacts its composition and how viewers experience your drawing.
Portrait orientation adds height and is great for single tall flowers like lilies or snapdragons. Landscape orientation works well for wide arrangements and bouquets, giving your art a spacious feel.
A square format fits many social media platforms, such as Instagram, with each edge offering equal focus. Panorama orientation is ideal for scenes with fields of flowers or garden layouts.
Choosing the correct format ensures your drawing’s subject fits comfortably and draws the viewer’s eye to the most important details.
| Orientation | Best For | Common Platforms |
|---|---|---|
| Portrait | Tall flowers, stems | Print, framing |
| Landscape | Bouquets, gardens | Web, galleries |
| Square | Social media, mixed arrangements | Instagram, Canva |
| Panorama | Flower fields, landscapes | Blogs, presentations |
Enhancing Resolution and Quality
High resolution is crucial if you want your flower drawings to look crisp and clear, especially for prints or digital displays. Scanning at 300 DPI (dots per inch) or higher retains details without visible pixelation.
Before uploading, check for washed-out colors, jagged edges, or unwanted artifacts. Adjust contrast, brightness, and sharpness if needed. Common free editors like GIMP or paid solutions like Adobe Photoshop can improve image clarity.
Saving your image as PNG or high-quality JPEG helps preserve fine lines and delicate shading. Always keep an original backup in case you need future edits or resizing.
Setting Safe Search Filters and Pricing Levels
When sharing your flower drawings online, setting safe search filters ensures your artwork appears in appropriate contexts and avoids being grouped with mature or inappropriate content. Many sites, such as Etsy, DeviantArt, and Redbubble, let you flag your posts as “safe” or suitable for all ages.
If you plan to sell your art, pricing levels matter. You might want to research what other artists charge for similar work. Set a clear price based on size, resolution, and usage rights (personal, commercial, etc.).
Label your images with simple, accurate titles and add keywords like “flower drawing,” “botanical art,” or “floral illustration” to help users find your drawings while respecting community and marketplace rules.
- 672shares
- Facebook0
- Pinterest672
- Twitter0
- Reddit0
