Drawing outfits can transform your character sketches and bring your artistic ideas to life. Whether you enjoy designing casual streetwear or intricate fantasy costumes, learning how to illustrate clothing adds depth and personality to your drawings. Mastering outfit drawing gives you the creative tools to develop distinctive looks and authentic styles for your characters.
Figuring out how to render different fabrics, folds, and textures helps your artwork feel more dynamic and believable. You’ll also discover which drawing materials and techniques fit your style best, making your outfit illustrations stand out.
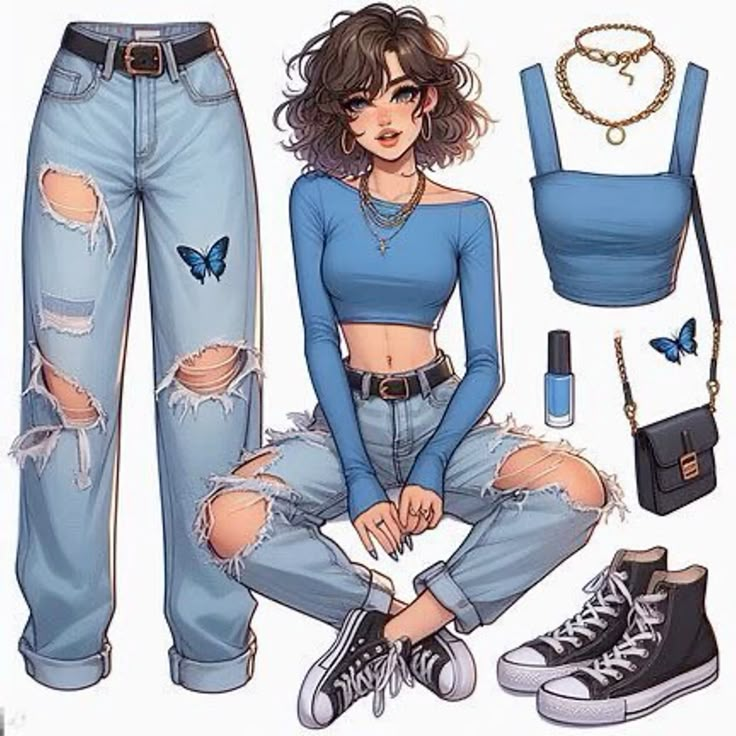
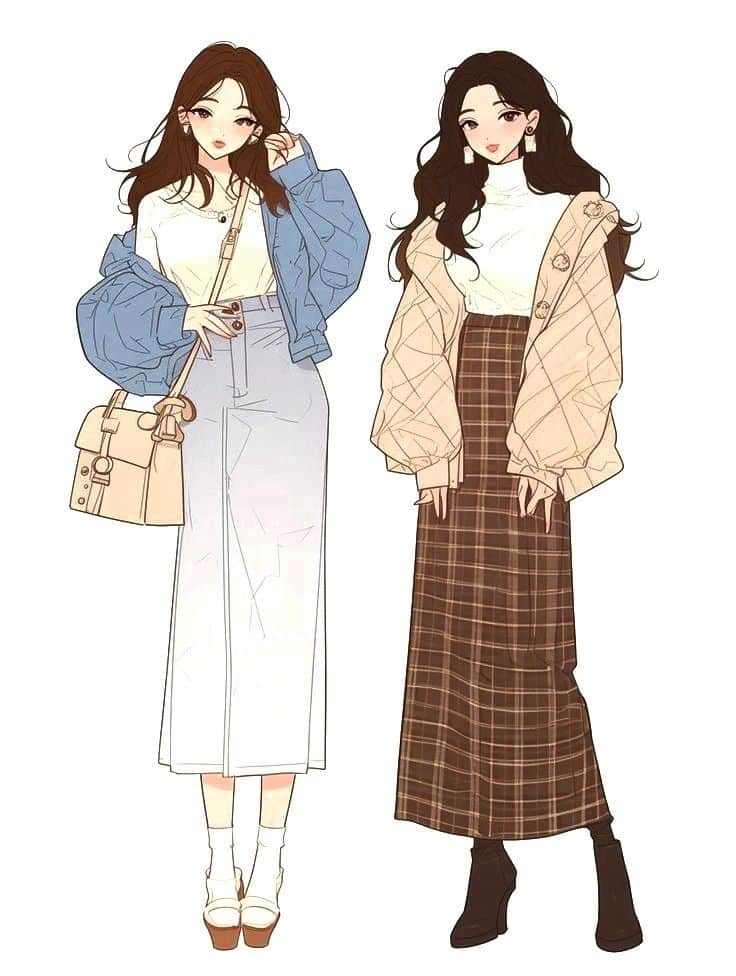
Key Takeaways
- Strong outfit drawings start with fundamental sketching skills.
- Knowing basic tools and fabric textures enhances your art.
- Refine and present your work for a polished final look.
Fundamentals of Drawing Outfits
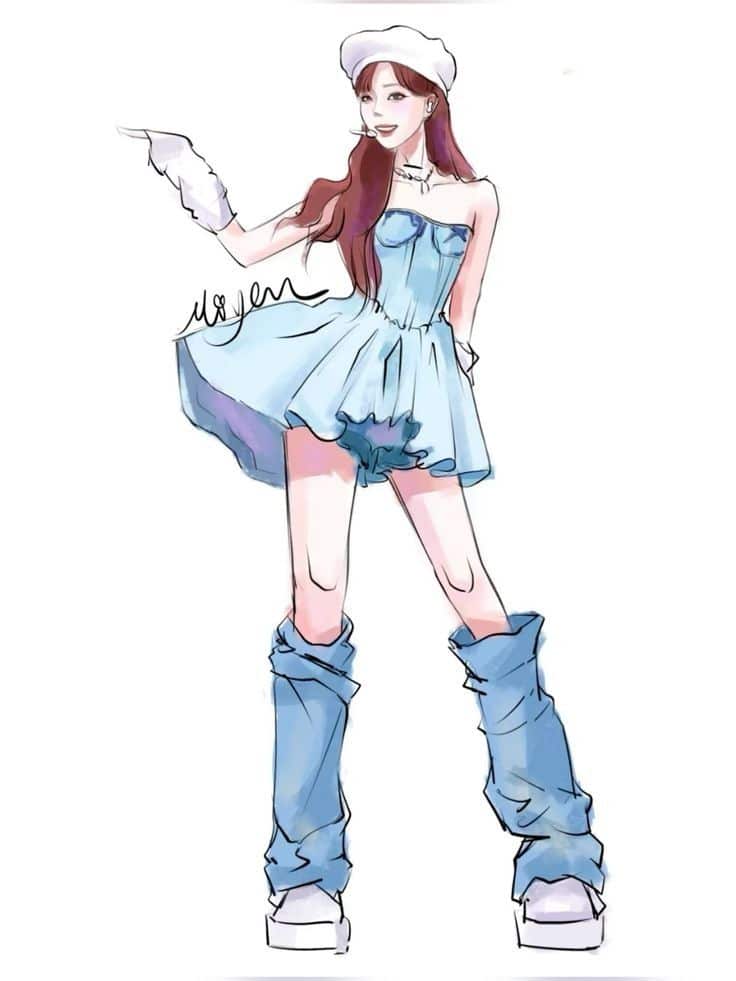
When you draw outfits, getting the basics right helps your illustrations look natural and expressive. Paying attention to accurate human proportions, the movement of fabric, and clear foundational shapes will make your clothing convincing and lively.
Understanding Proportions in Clothing
Proper proportions are the backbone of any successful outfit illustration. Clothing must follow the body’s natural shapes and sizes, so it’s important to study body landmarks—like shoulder width, waistline, hips, and limbs. Misplaced joints or uneven lengths can make your outfit look awkward.
Use guidelines or a light sketch of the figure beneath the clothing to keep things lined up. Adjust areas like sleeves, pant legs, and collars so they match the modeled pose. Checking proportions as you go by comparing your drawing to references or standardized figure charts can help you spot mistakes early.
Here’s a quick checklist for proportion accuracy:
- Make sure clothes follow the angles of the pose
- Compare left/right symmetry for both sides of the outfit
- Align main seams (such as side seams or waistbands) with the underlying form
Staying mindful of these ensures your clothing matches the figure and “sits” on the body realistically.
Capturing Movement and Fabric Flow
Outfits come alive when you capture how fabric responds to motion and gravity. Different materials behave in distinct ways—stiff denim folds less than light cotton, and thick coats drape differently from loose dresses. Observing and sketching fabric from real life or good photo references is invaluable.
Pay attention to the way fabric stretches over joints, bunches around elbows and knees, or hangs loosely from the arms. Movement creates tension areas and relaxed folds, often radiating from points where the body bends or supports weight.
To show flow, follow these steps:
- Note tension points and where fabric pulls tight
- Mark the general path of folds and wrinkles
- Shade or add line variation to show depth and direction
Using curved lines and varying line weights can make your illustration look more dynamic and dimensional.
Sketching Basic Clothing Shapes
Start drawing clothing by blocking in big, simple shapes—like rectangles for shirts, tubes for sleeves, or cylinders for pant legs. This step keeps you from getting distracted by details too soon and helps make sure the overall silhouette reads clearly.
Look at how different types of outfits—dresses, pants, jackets—fit around the body. The initial shape should echo the underlying figure, whether the clothing is tight or loose. For example, a fitted shirt hugs the torso shape, while a hoodie billows out past the arms and waist.
After shaping the major forms, add openings (necklines, cuffs, waistbands) and structural elements (pockets, seams, collars). This approach helps you build up the design in steps, making your final drawing both accurate and visually pleasing. Practice with a variety of outfits to become more comfortable with breaking down complex looks into simple shapes.

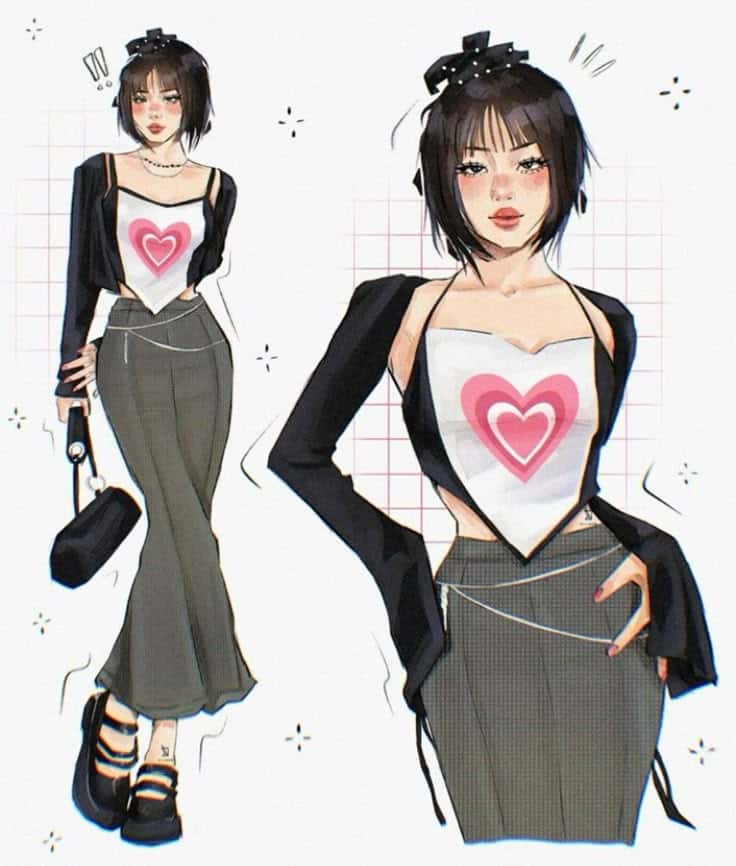
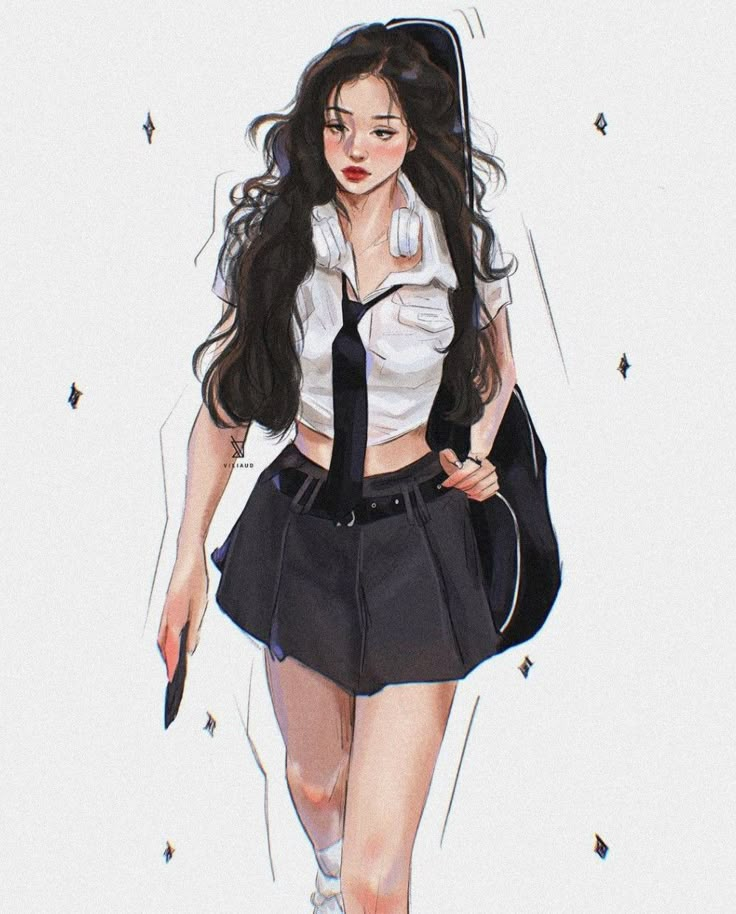
Choosing Materials and Tools for Outfit Sketching
The tools you choose directly affect the quality, precision, and vibrancy of your outfit sketches. Selecting reliable pencils, the right colored media, and a suitable paper surface makes illustrating details and textures easier.
Best Pencils and Inking Tools
For sketching outfits, start with an HB or 2B graphite pencil. These grades let you build light outlines and add deeper shades without leaving harsh marks. Many fashion illustrators keep both for flexibility.
Consider a fine-tip black pen or fineliner for crisp inking. Brands like Micron and Staedtler offer pens that don’t smudge and can highlight fabric seams or folds.
It’s helpful to use a kneaded eraser, which lets you adjust outlines without damaging the paper. Mechanical pencils can also give you strong, steady lines for finer detailing.
| Tool | Usage |
|---|---|
| HB Pencil | Light sketching |
| 2B Pencil | Shading, depth |
| Fineliner | Bold outlines |
| Eraser | Clean corrections |
Using Coloured Pencils for Depth
Coloured pencils bring dimension and vibrancy to your outfit sketches. A basic set of high-quality colored pencils, like Faber-Castell or Prismacolor, provides smooth blending and strong pigment.
Layering is key for realistic fabric effects. Try shading lightly at first, then build up color gradually. For highlights, leave small areas of the paper white or use a white pencil to soften edges.
Mix colors to achieve depth, especially when representing textured fabrics or gradients. Coloured pencils also let you control the intensity of each hue, helping your outfits look dynamic rather than flat.
Tip: Use a sharp tip for precise edges and a side stroke for broad areas.
Selecting the Right Paper and Surface
Choosing the right paper affects how your pencils and colors appear. For outfit sketching, a medium-weight sketchbook (around 80–130 gsm) works well with both graphite and colored pencils.
Look for paper labeled as smooth or fine-grain to avoid excessive texture that can break up lines. Some illustrators prefer bristol board for its uniform surface, especially when using ink.
Acid-free papers are best, as they prevent yellowing over time. Make sure your surface lies flat and has enough tooth to accept layering without tearing. Consider using a sketchbook that allows you to remove and scan your finished drawings easily.
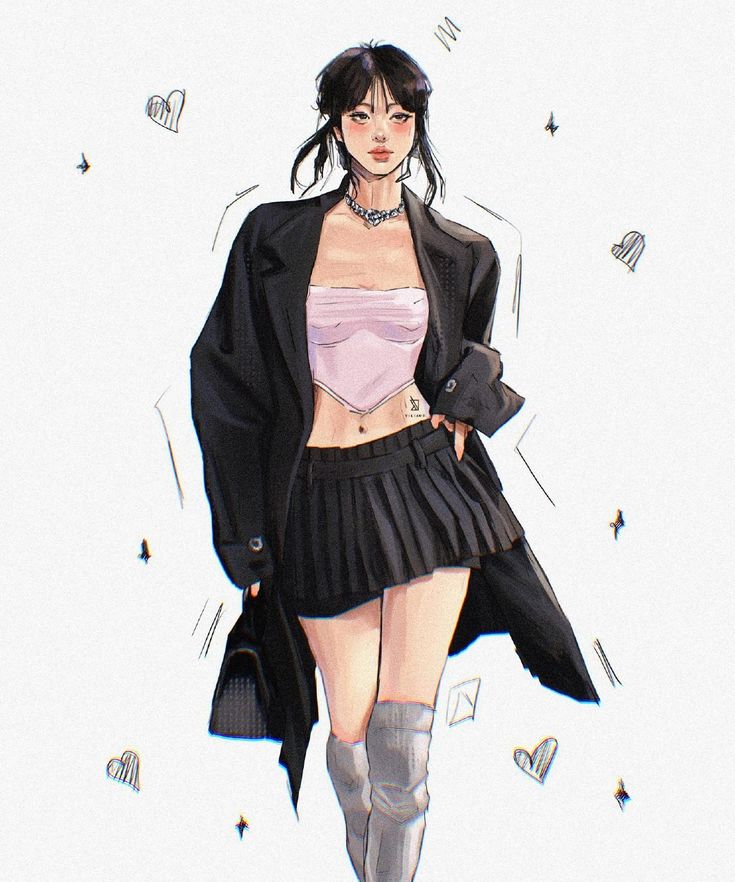
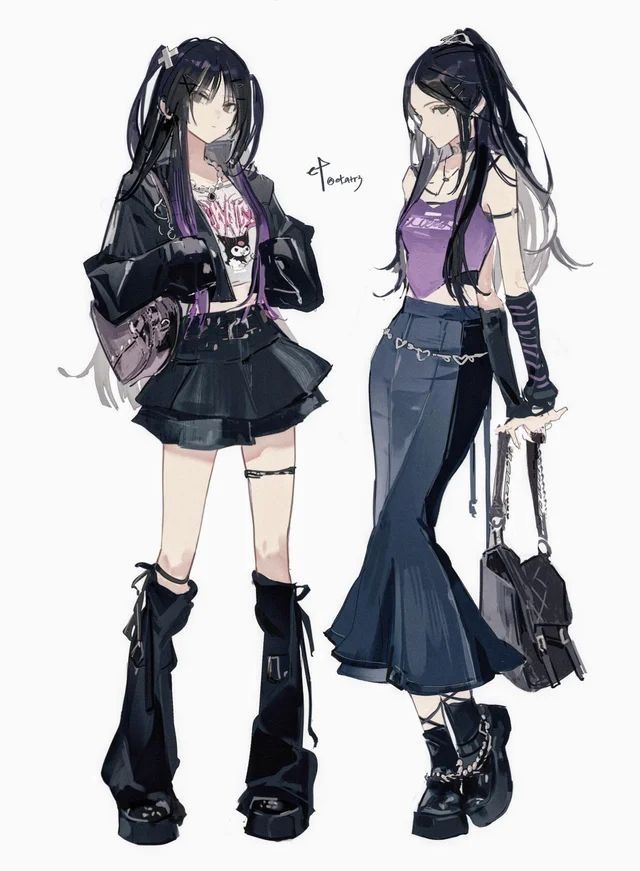
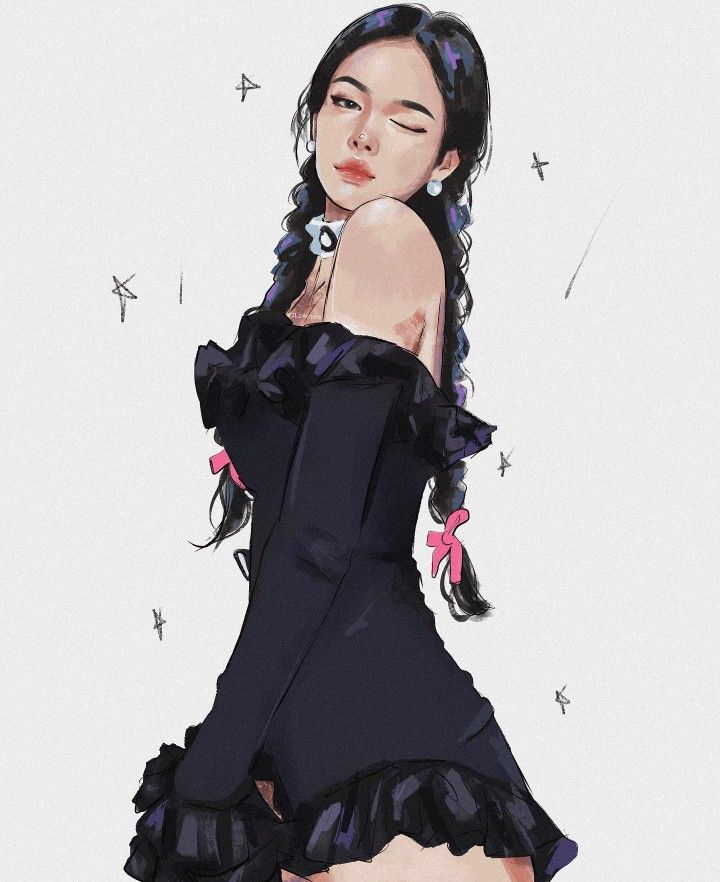
Techniques for Rendering Texture and Fabric
Bringing texture and fabric to life helps your outfits look more realistic and expressive. Each fabric type has unique qualities, so using the right tools and approaches makes a big difference when you draw clothes.
Drawing Texture in Different Fabrics
To show texture, start by studying real garments. Notice the weave of wool, the smoothness of satin, or the stiffness of denim. Use short, light strokes for soft materials like cotton or jersey, and crisp lines for structured fabrics like leather.
For lace or tweed, mark patterns and repetitions. Sketching tiny dots, dashes, or crosshatches works well for rougher or patterned surfaces. You can add visual interest by varying the pressure and direction of your pencil or brush to imitate the texture.
A helpful practice is to create a reference chart. Draw small swatches showing hatching for linen, soft blending for silk, and stippling for knits. Comparing these side by side lets you quickly choose the correct treatment as you design.
Shading for Volume and Realism
Shading gives depth to clothing and helps the viewer understand the fabric’s weight and structure. Identify where the light source hits and where shadows fall, especially in the folds and creases of the garment.
Use gradients to suggest volume. Apply gentle transitions with pencils or digital brushes for smooth fabrics like satin, and layer lines tightly for heavier materials. Technique can change depending on the fabric: soft transitions for flowing skirts and harder edges for crisp shirts or denim jeans.
Remember that overlap and layering affect shadows. Areas under collars, in sleeves, or behind folds should be darker. Maintain consistency with your shadows for believable, realistic clothing.
Adding Highlights and Details
Highlights are essential for shiny and reflective fabrics, such as silk, satin, or leather. Use a kneaded eraser or white gel pen to lift or draw in reflective spots after shading. Keep highlights sharp and controlled to avoid overuse.
Add detailed patterns or stitching with fine-tipped pens or sharp pencils. Include small elements like seams, pockets, buttons, and zippers. Repeat subtle textures along hemlines or edges to show wear or special finishes.
For fabrics with embellishment, such as sequins or beads, mark out individual pieces and add tiny dots of highlight. Details like these help set your illustrations apart and give outfits a finished look.
Developing Unique Outfit Illustrations
Creating distinctive outfit illustrations relies on both design technique and personal perspective. You can make your artwork stand out by combining knowledge of clothing styles with your own style and interests.
Designing Original Clothing Styles
To draw original outfits, study various fashion trends without copying them directly. Analyze different eras, cultures, and everyday street wear. Use reference images, but combine elements in new ways—mixing silhouettes and details not typically seen together.
A useful method is to sketch small thumbnails. This lets you quickly try out different shapes and combinations before committing to a full illustration. Experiment with layering, accessories, and fabric textures to add depth.
Consider function as well as appearance. Ask yourself how the clothing works: Where would someone wear it? Which materials make sense for the setting or character? Balancing creativity with practical design can make your outfits more believable.
Tip Table:
| Aspect | Example |
|---|---|
| Silhouette | Wide pants, fitted top |
| Texture | Denim with silk details |
| Accessories | Layered necklaces |
Incorporating Personal Style and Inspiration
Infusing your personal style helps make your outfits unique. Draw from your favorite colors, shapes, or fabrics. Look at your wardrobe or favorite fashion brands for inspiration, but interpret them in your own way.
Keep an inspiration folder of art, magazines, or even photos you’ve taken—anything that sparks an idea. When you work, reference these visuals to develop concepts rather than copying outright.
Try blending unrelated inspirations, like merging retro patterns with futuristic accents. Experimentation can lead to fresh ideas that express your unique artistic identity.
Reflect on what excites you as an author or illustrator. Let your interests and personality guide your fashion choices to create memorable outfit illustrations.
Tips for Refining and Presenting Outfit Drawings
Careful linework and thoughtful presentation can elevate your outfit illustrations from rough ideas to polished works. Focusing on precision and thoughtful composition ensures your drawings stand out to viewers and potential clients alike.
Finalizing Linework and Clean-Up
After your initial sketch, it’s important to refine your linework for clarity. Use a clean, steady hand or digital tools like stabilizers to remove unnecessary marks and make sure outlines are crisp.
Check every fold and seam in the clothing for accuracy. Pay close attention to overlapping fabrics and the shape of shadows to enhance realism. If working digitally, use separate layers for linework and color to make adjustments easier.
Zoom in to fix any stray lines or inconsistencies, but also review your drawing at its intended display size. For traditional art, erase leftover pencil marks once the ink is dry to prevent smudging. Include signature or identifying marks as the author to claim your work.
Preparing Illustrations for Portfolios
Select your best finished illustrations to showcase a range of styles, garment types, and technical skills. Make sure each drawing is cleanly scanned or photographed, with even lighting and true-to-life colors.
Arrange artwork on portfolio pages with consistent spacing and simple backgrounds to avoid distractions. Use labels for piece titles, media, and your name as the author. If applicable, add short descriptions that explain the inspiration or techniques used.
Present both full outfits and close-up details of important elements, like fabric textures or accessories. Export digital portfolios in high resolution and common formats (PDF, JPEG) to ensure easy sharing with clients or schools.
- 11shares
- Facebook0
- Pinterest8
- Twitter3
- Reddit0
