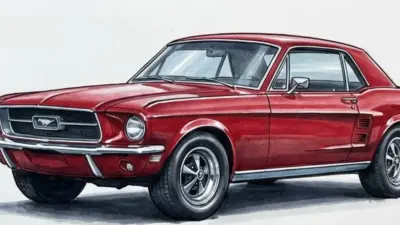
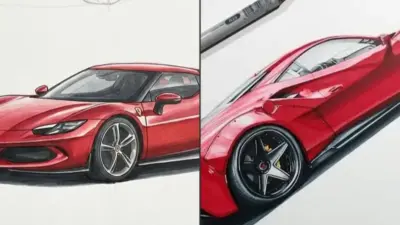
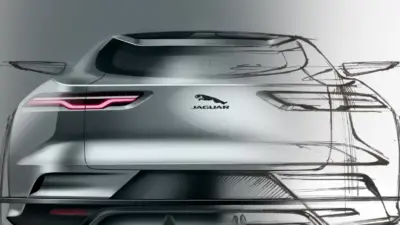
Drawing cars can be an absolute blast, & also really rewarding if you’re into art or cars. Whether you’re a total newbie or you’ve been at this a bit already, learning to draw a decent car is a skill that’s only going to make you a better artist/enthusiast – & trust us, it’s worth the effort even if at first it feels a bit like trying to tackle a massive hill.
The good news is that getting started drawing cars isn’t as tough as it might seem at first – a basic grasp of how to draw & the right gear will get you off the starting line in no time.

Understanding the basics of a car is key to drawing one that looks decent . You really need to get your head around the different bits of a car – wheels, body, windows and all that – as well as how they all fit together and look in proportion to one another. Once you feel pretty confident with the basic layout you can start adding in more details and get your drawing looking more like an actual car.
Choosing the right drawing tools for the job is just as important as figuring out how to draw it in the first place . You cant go wrong with good old pencils, erasers and a bit of paper but theres loads of other stuff you can use to bring in some extra texture and depth to your drawings. And of course practice is the best teacher when it comes to getting better at drawing. Dont be afraid to chase after some step-by-step tutorials and keep at it regularly & you’ll be creating more detailed and realistic drawings of cars in no time.
Key Takeaways
- Understanding the basic structure of a car is essential to drawing it accurately.
- Choosing the right drawing tools can help add texture and depth to your drawings.
- Practicing regularly and following step-by-step tutorials can help improve your car drawing skills.
Understanding Basic Car Structure


To draw a car, it is important to understand its basic structure. This section will cover the basic shapes, proportions, and forms that make up a car.
Car Proportions

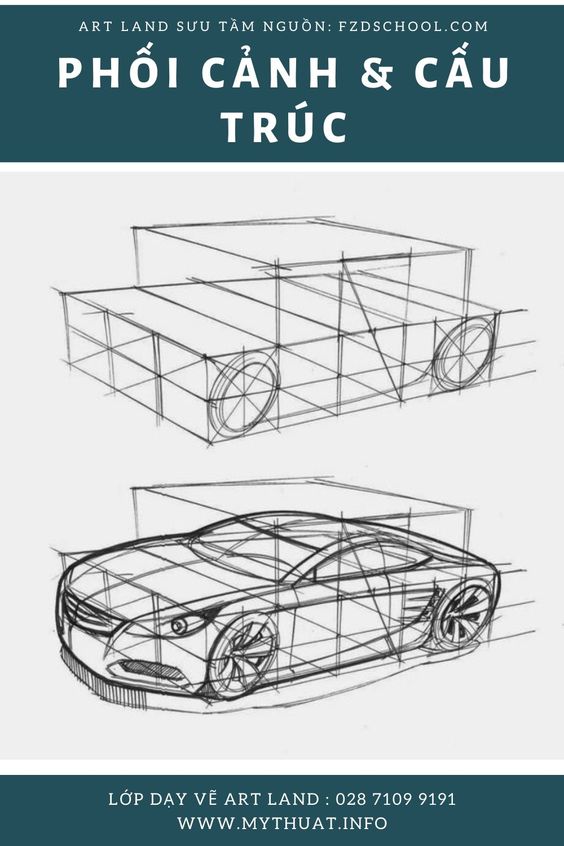


Cars come in different shapes and sizes, but they all have some basic proportions that remain the same. These proportions are important to keep in mind when drawing a car. Here are some of the basic proportions of a car:
- The length of the car is usually about 4 times the height of the wheels.
- The distance between the front and rear wheels is usually about 2.5 times the height of the wheels.
- The height of the car is usually about 1.5 times the height of the wheels.
Keeping these proportions in mind will help you draw a car that looks realistic.
Identifying Basic Shapes in Cars
Cars are made up of basic shapes like circles, rectangles, and ovals. Here are some of the basic shapes you will find in a car:
- The wheels are usually circles.
- The body of the car is usually a rectangle or oval shape.
- The windows are usually rectangles or ovals.
- The headlights and taillights are usually circles or ovals.
Identifying these basic shapes will help you break down the car into smaller, more manageable parts.

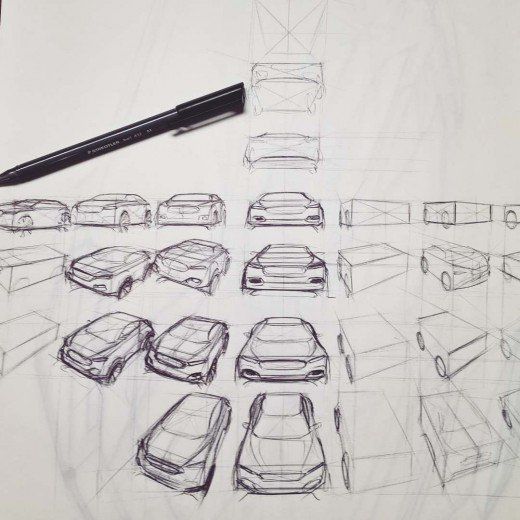
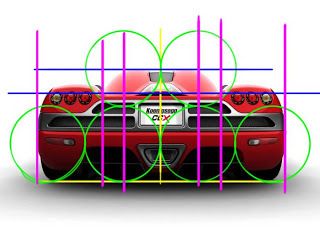
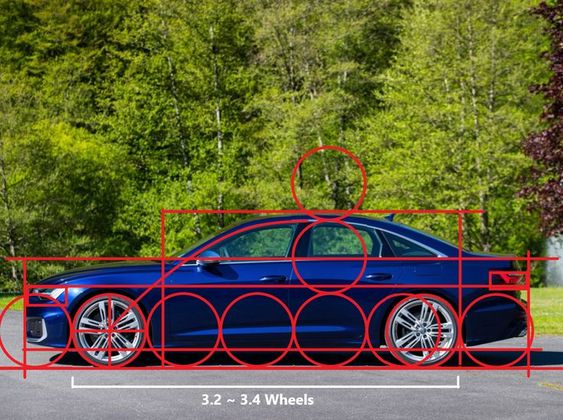
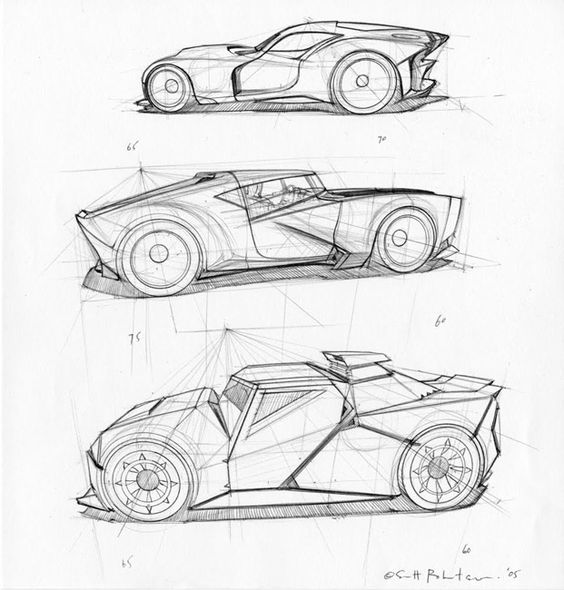
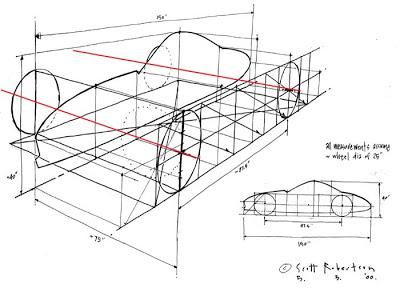
In conclusion, understanding the basic structure of a car is essential to drawing it accurately. By keeping the proportions and basic shapes in mind, you can create a realistic and detailed drawing of a car.
Choosing the Right Drawing Tools
Drawn to the world of cars drawing? Getting the right tools is where it all starts. Different drawing tools really are suited to different styles, so choosing the ones that fit your vibe is going to make all the difference in the quality of the stuff you produce.

First off, pencils are pretty much a non-negotiable for any serious artist – they’re super versatile & come in all sorts of grades, from rock hard to nice & soft. Hard pencils (the H grade) give you a light line, while the softer ones (B grade) give you a darker line. If you can get your hands on a set with a good mix of different grades, you’ll be all set to create some pretty realistic & detailed drawings of your fave cars.


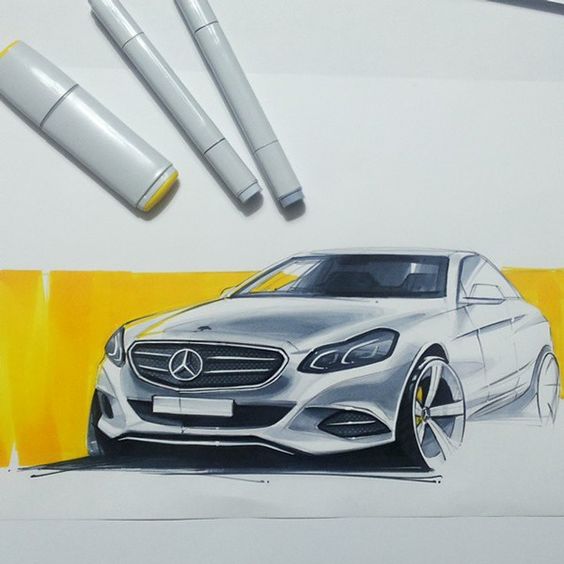
Markers are another popular tool for drawing cars. They are excellent for creating bold lines and adding color to your drawings. However, they can bleed through paper, so it’s essential to use a high-quality paper that can handle the ink.
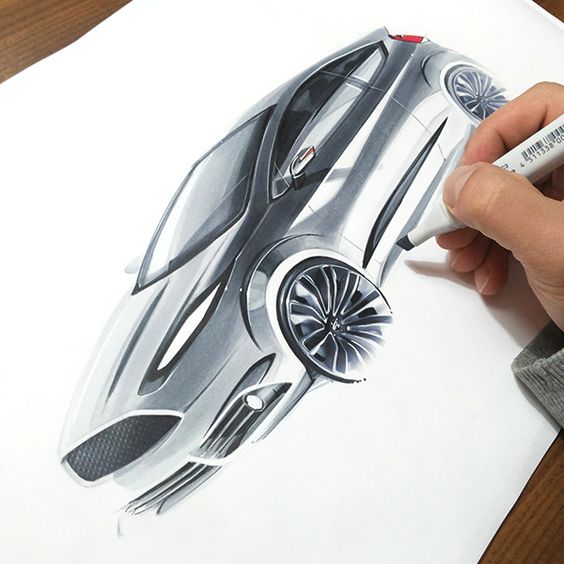
Colored pencils are also a great option for adding color to your drawings. They are easy to use and come in a range of colors. They can be used alone or in combination with other drawing tools to create unique effects.


When it comes to paper, you really need to pick one that’s up to the task at hand – a high-quality paper that can handle whatever drawing tools you’re planning to use. Heavy weight paper is generally best for markers and colored pencils since it can handle the kind of colour and pressure they put out. On the other hand, lighter weight paper is what you want for pencils – it allows for a smoother line and doesn’t show every tiny scratch.
A good old fashioned ruler is also a vital tool for anyone who wants to draw cars that look like the real thing. It helps you draw those straight lines that are so crucial and makes sure your drawings are in proportion – no wonky wheels or wobbly axles, thanks to a trusty ruler.
And then there are digital tools, which are really taking off for people who want to draw cars. They offer a ton of features and can be a great option for artists who are totally comfortable working on a computer. That said, digital drawing tools can be pretty pricey, and getting to know how to use them can be a bit of a learning curve – it’s not something you can just pick up overnight.
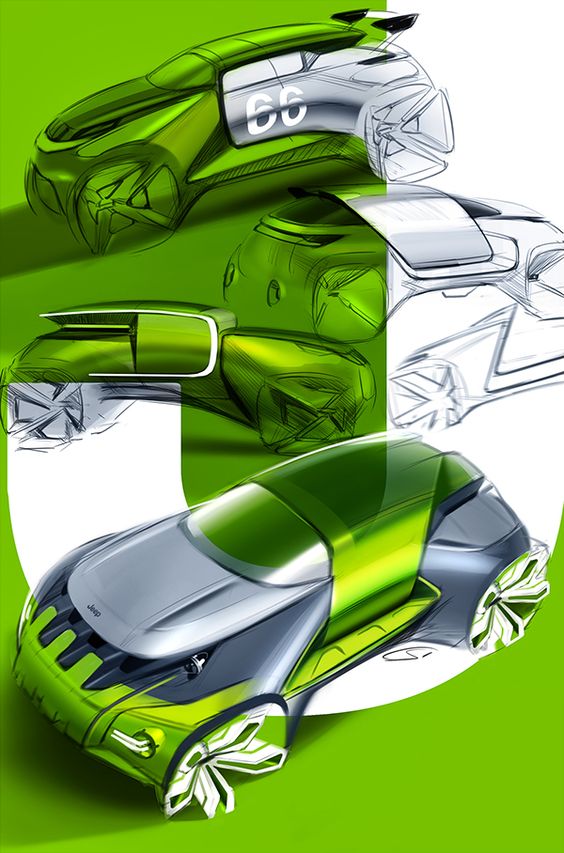
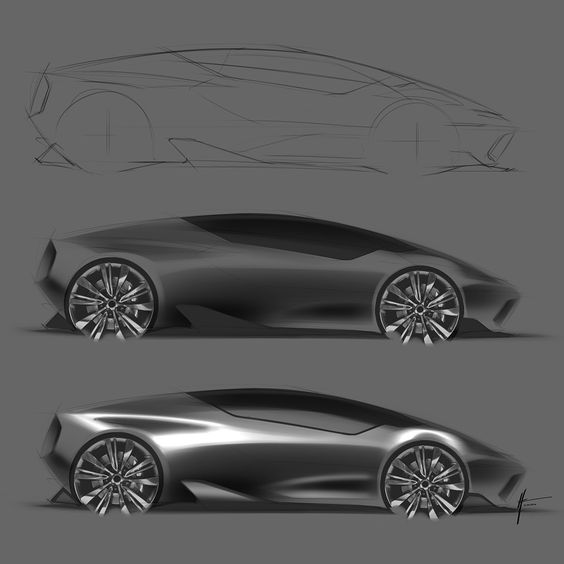
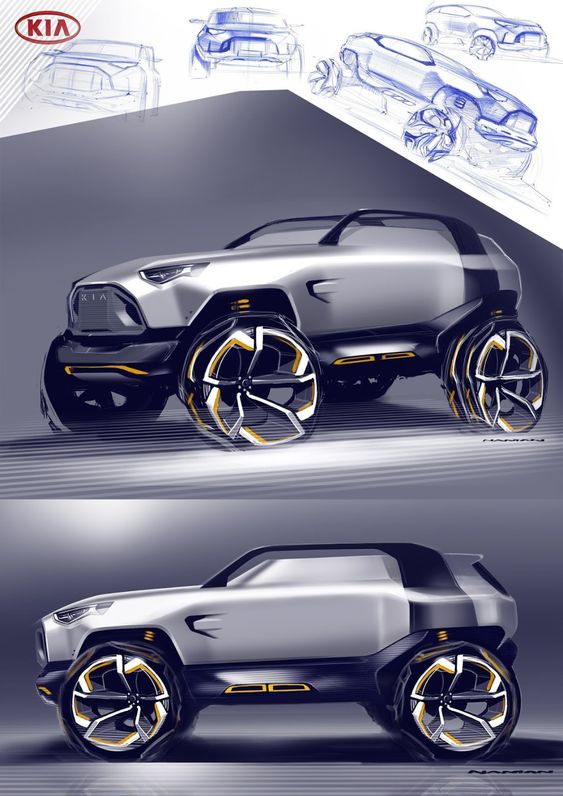
In summary, choosing the right drawing tools is essential for creating high-quality car drawings. Pencils, markers, colored pencils, paper, rulers, and digital tools are all great options, depending on your style and preferences.
Drawing Cars Step by Step
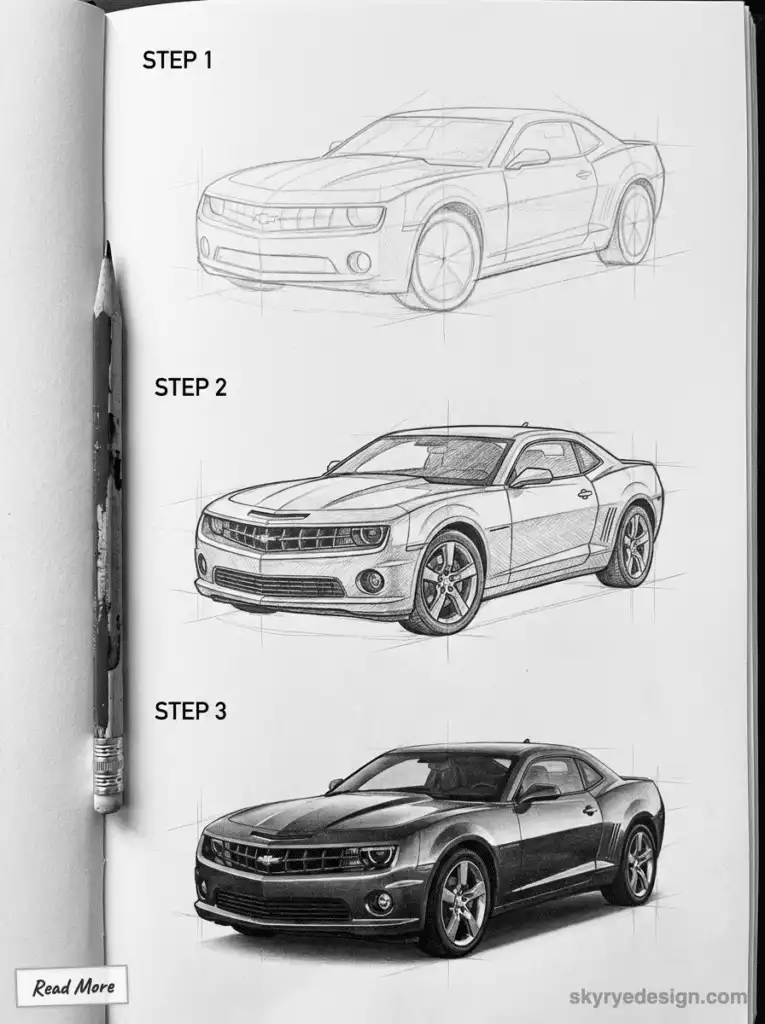

Drawing a car can seem like a daunting task, but with the right steps, it can be a fun and rewarding experience. Here is a step-by-step guide on how to draw a car.
Drawing the Outline
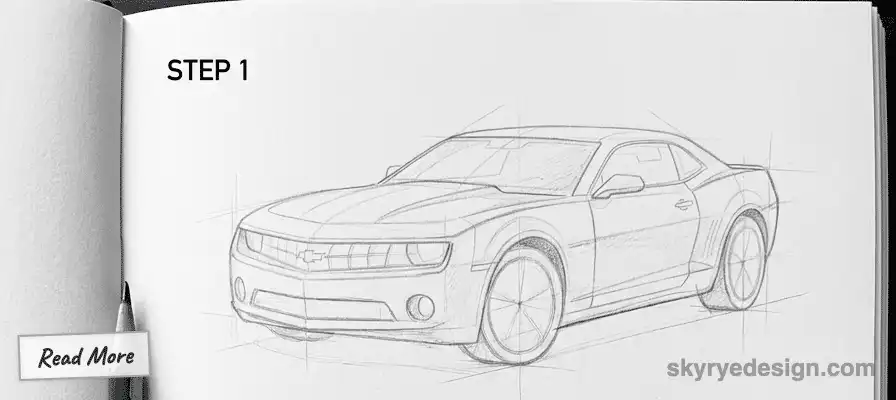
The first step in drawing a car is to establish its basic shape and proportions. Start by drawing a rectangular shape for the body of the car. Then, add circles for the wheels. The size and placement of the wheels will depend on the type of car you are drawing.


Next, sketch the outline of the car. Pay attention to the curves and angles of the car’s body. Use reference images or a real car to help guide you in this step.
Adding Details
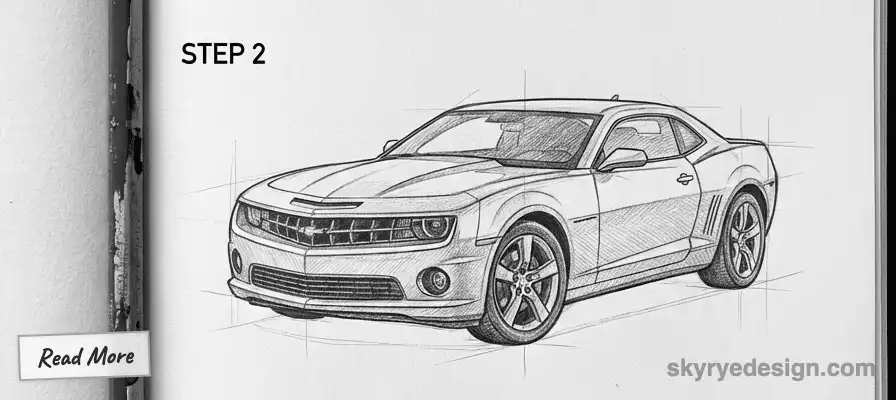
Once you have the basic outline of the car, it’s time to add some details. Start by drawing the windows and doors. Then, add the headlights, taillights, and other features such as mirrors, grilles, and spoilers.


Don’t forget to add the details inside the car, such as the seats, dashboard, and steering wheel. Again, reference images or a real car can be helpful in this step.
Shading and Coloring
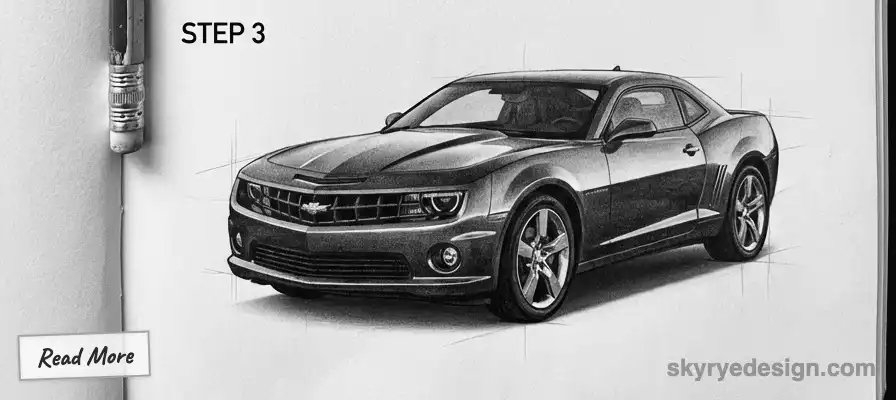
The final step in drawing a car is to add shading and color. Use shading to create depth and dimension in the car’s body. Pay attention to the light source and add shadows accordingly.


When it comes to coloring, choose colors that complement the car’s design. You can use colored pencils, markers, or digital tools to add color to your drawing.
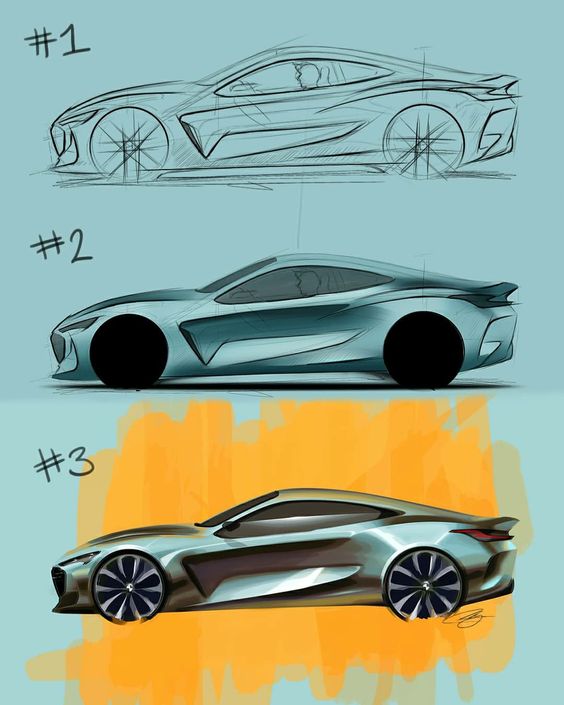
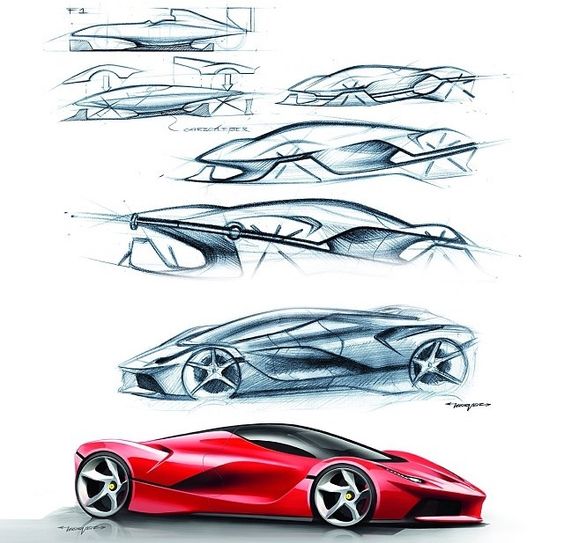
Remember, practice makes perfect when it comes to drawing cars. Don’t be afraid to make mistakes and try again. With time and patience, you’ll be able to draw a car like a pro.
Specific Car Types

When it comes to drawing cars, there are many different types to choose from. Here are some tips on how to draw a few specific car types.
How to Draw a Sports Car
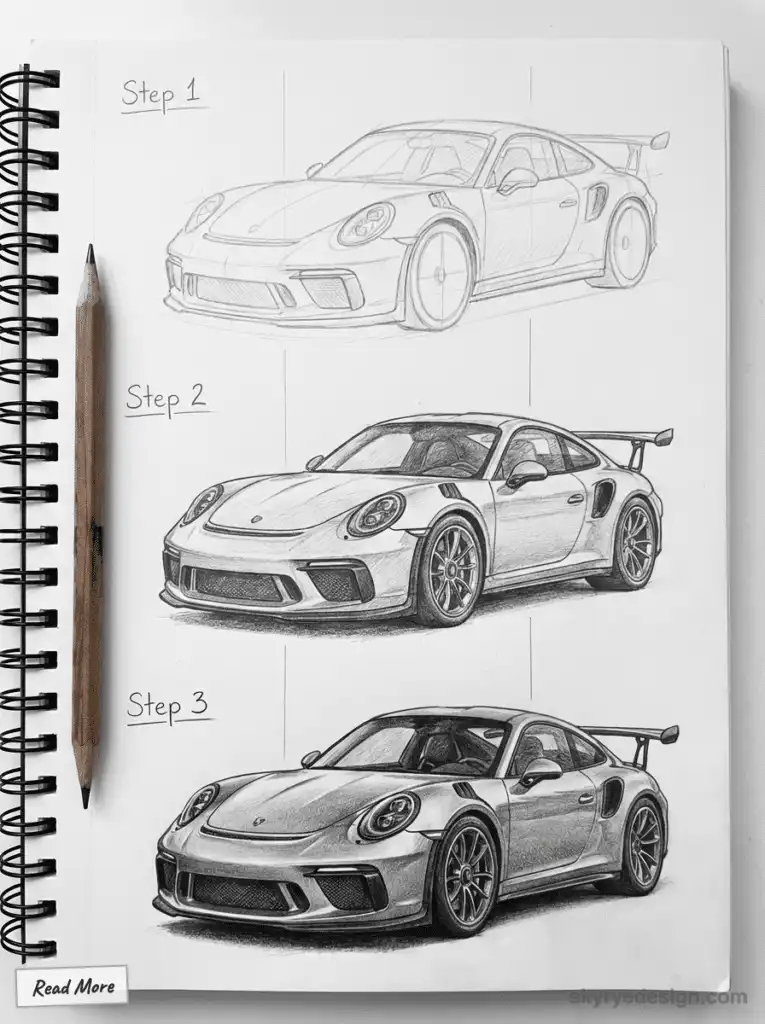
Sports cars are known for their sleek, aerodynamic designs. To draw a sports car, start with a long, curved line for the roof and body.
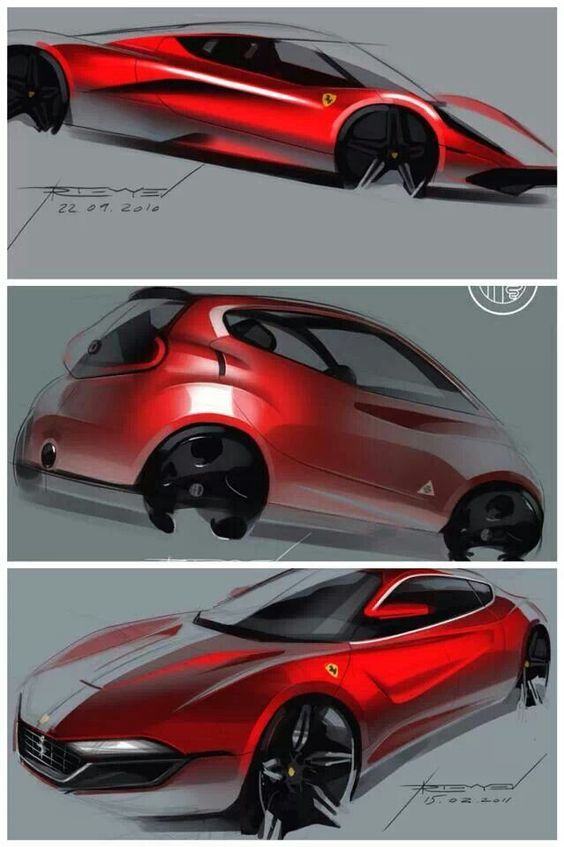
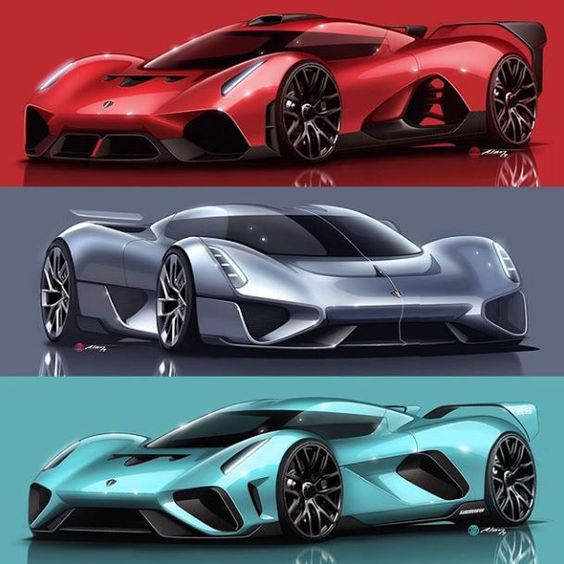
Then, add the wheels and windows. Make sure to pay attention to the proportions and keep the lines clean and sharp. Use shading and highlights to add depth and dimension.
Drawing Classic Cars
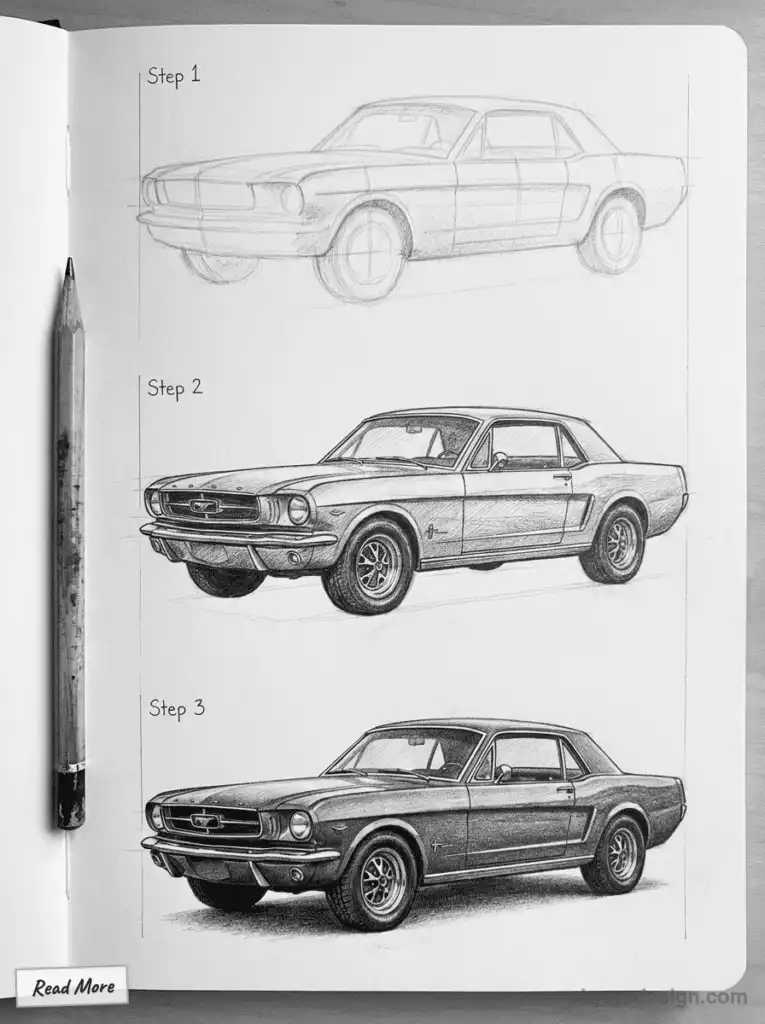
Classic cars have a timeless style that is still popular today. To draw a classic car, start with a boxy shape for the body and add the wheels and windows. Pay attention to the details, such as the grille and headlights, and use shading to add depth and texture.

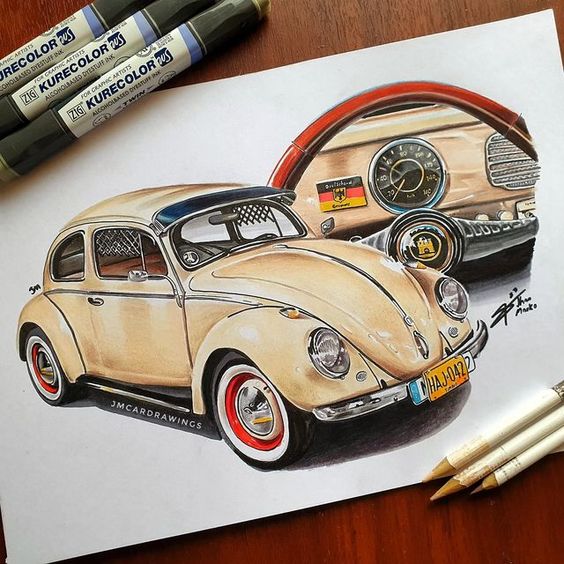
Classic cars often have unique features, so make sure to research the specific car you want to draw for inspiration.
Sketching Trucks and SUVs
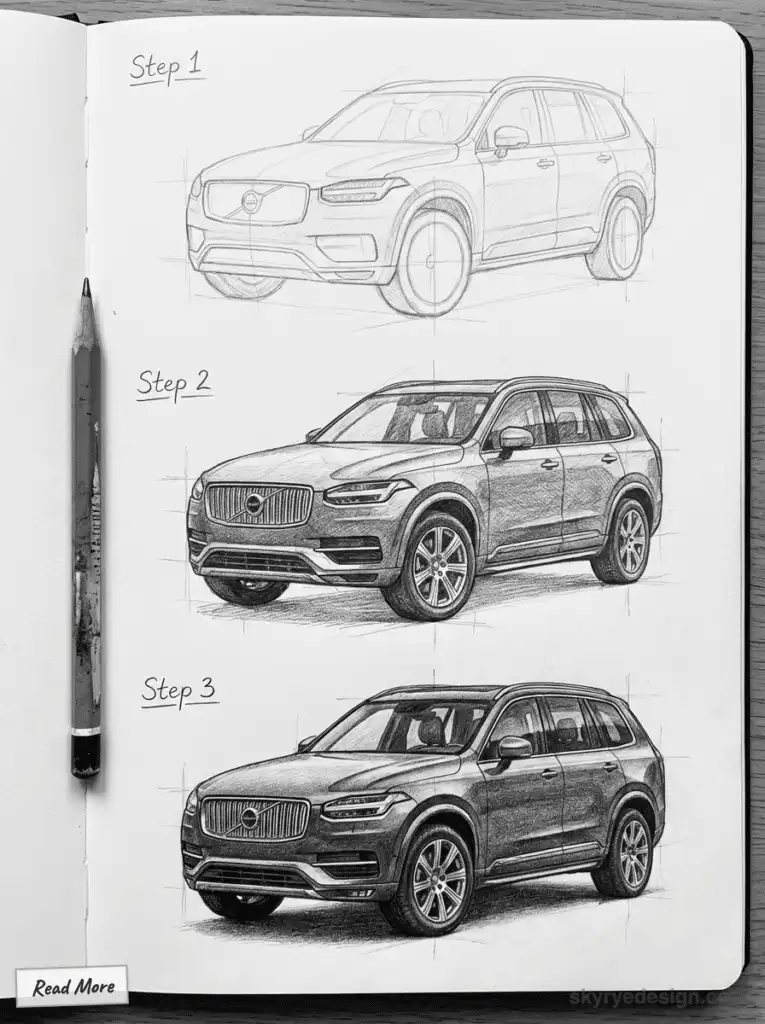
Trucks and SUVs are larger vehicles with more angular shapes. To draw a truck or SUV, start with a rectangular shape for the body and add the wheels and windows. Use straight lines and sharp angles to create the boxy shape. Pay attention to the details, such as the grille and headlights, and use shading to add depth and texture.
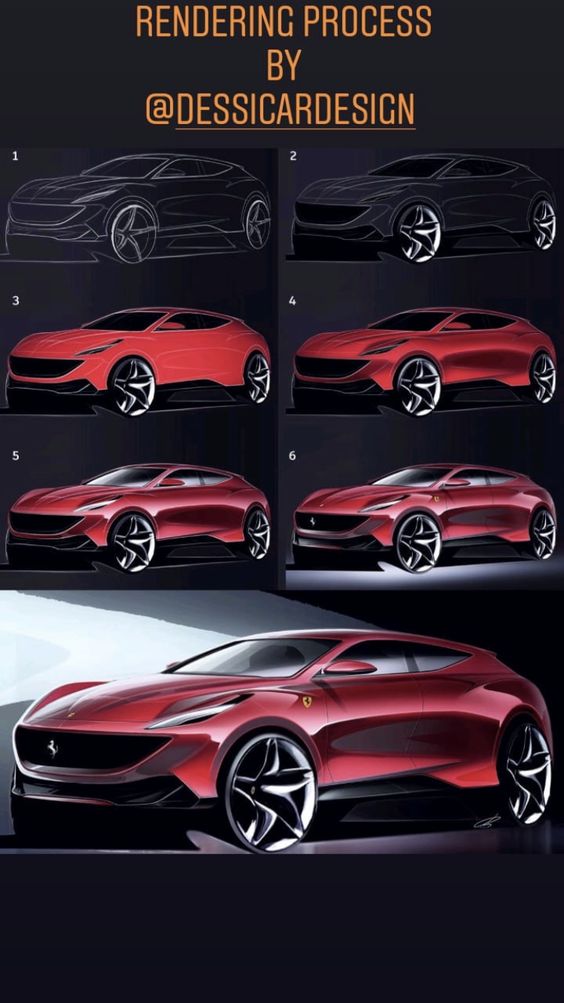
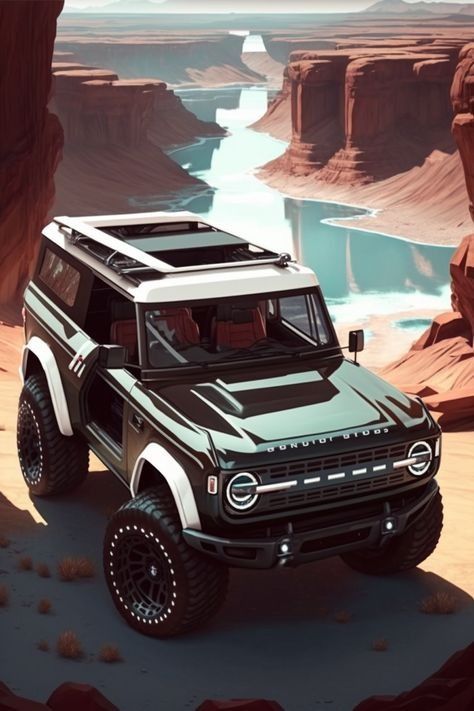
Overall, drawing cars requires attention to detail and a steady hand. By following these tips and practicing regularly, anyone can learn how to draw their favorite car models, whether it’s a Ferrari, Lamborghini, minivan, or any other type of vehicle.
Adding Realistic Details

To make a car drawing look more realistic, it’s important to add details that make the car look like a real vehicle. Here are some tips on how to add realistic details to your car drawing:
Windows and Lights
Start by drawing the windows and lights of the car. The windows should be drawn as straight lines, with the front and back windows being slightly curved. The headlights and taillights should be drawn using circles or ovals, depending on the shape of the car’s lights.
Bumpers and Doors
The front and rear bumpers of the car should be drawn as straight lines, with the front bumper being slightly wider than the rear bumper. The doors of the car should be drawn as rectangles, with a small curve at the top to represent the window.
Mirrors and Wheels
The side mirrors of the car should be drawn as small rectangles, with a slight curve at the bottom to represent the mirror’s shape. The wheels of the car should be drawn as circles, with the hubcap drawn as a smaller circle in the center of the wheel.
Roof and Fenders
The roof of the car should be drawn as a flat rectangle, with a slight curve at the front and back to represent the shape of the car’s roof. The fenders of the car should be drawn as curved lines, with the front fenders being slightly wider than the rear fenders.
Grille
The grille of the car should be drawn as a series of small rectangles or squares, depending on the shape of the grille. The grille should be placed between the headlights and should be slightly wider than the headlights.
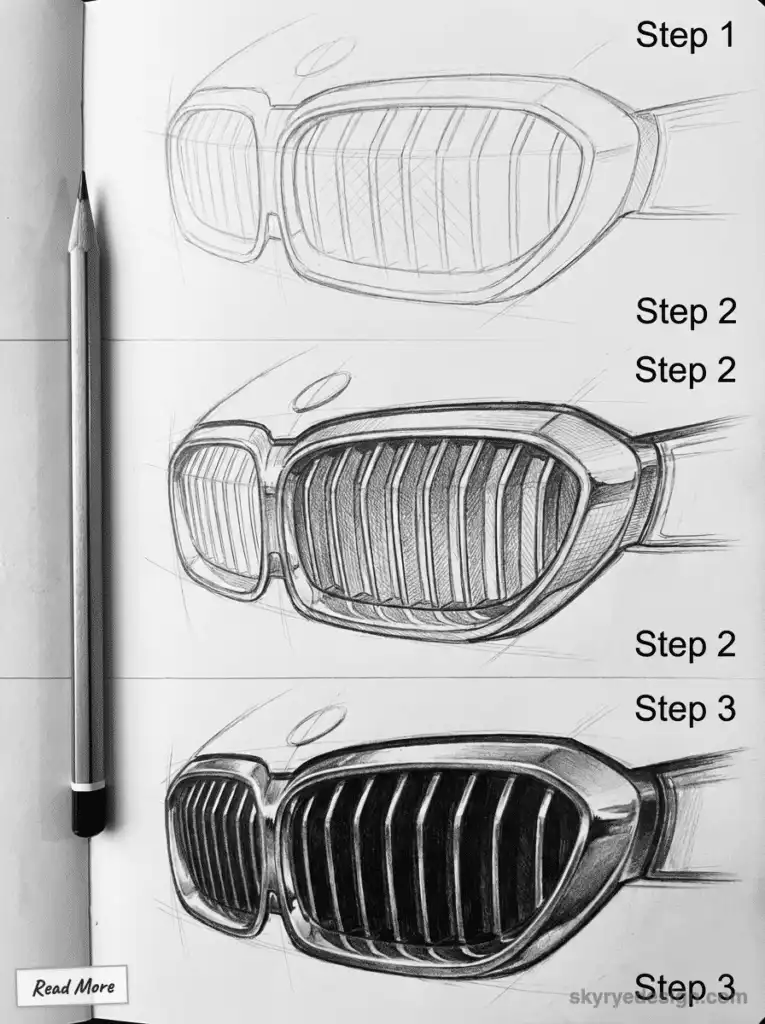
By following these tips, you can add realistic details to your car drawing and make it look like a real vehicle. Remember to take your time and pay attention to the details, as they can make all the difference in the final result.
Practicing and Improving Your Skills

Becoming a skilled car artist takes time and practice and there’s no way around it. Spending hours honing your craft is what it takes to master the art of drawing cars – it’s just the way it is. Of course, having access to some good drawing tutorials and lessons can be a huge time saver and really help you improve your skills over time.
You’ll find loads of online resources that walk you through step-by-step how to draw cars – loads of them in fact. These tutorials are perfect for beginners who don’t have a clue where to start, or need a refresher on the basics. They can really help you learn the ropes & take your skills to the next level.
Don’t get impatient when you’re trying to draw a car, just remember that it’s a skill that takes time to develop. You’ve got to be willing to put in the time to figure it out, and it’s okay to make a few mistakes along the way. They say you’ve got to move fast if you want to make mistakes, but in this case its more about a steady pace and the knowledge that with each practice session you get a little better at drawing cars.
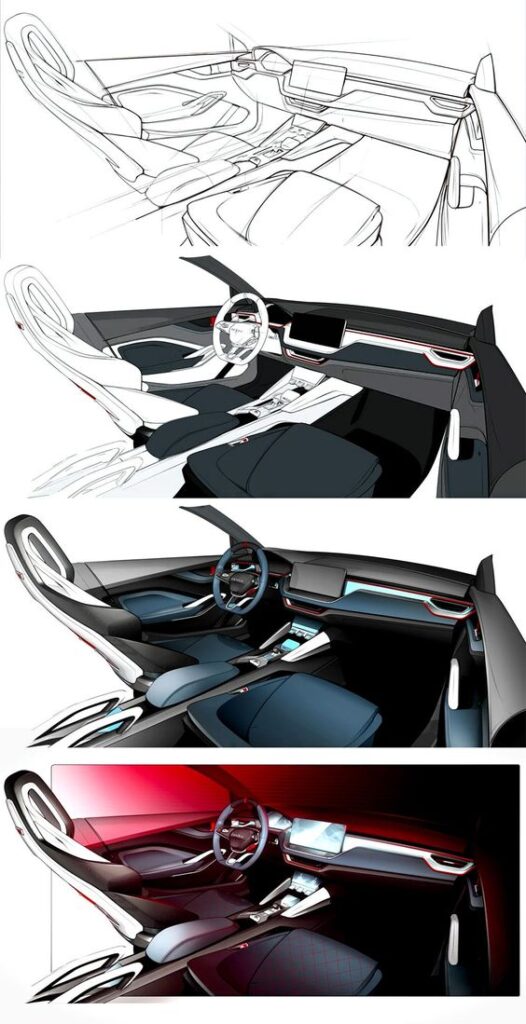
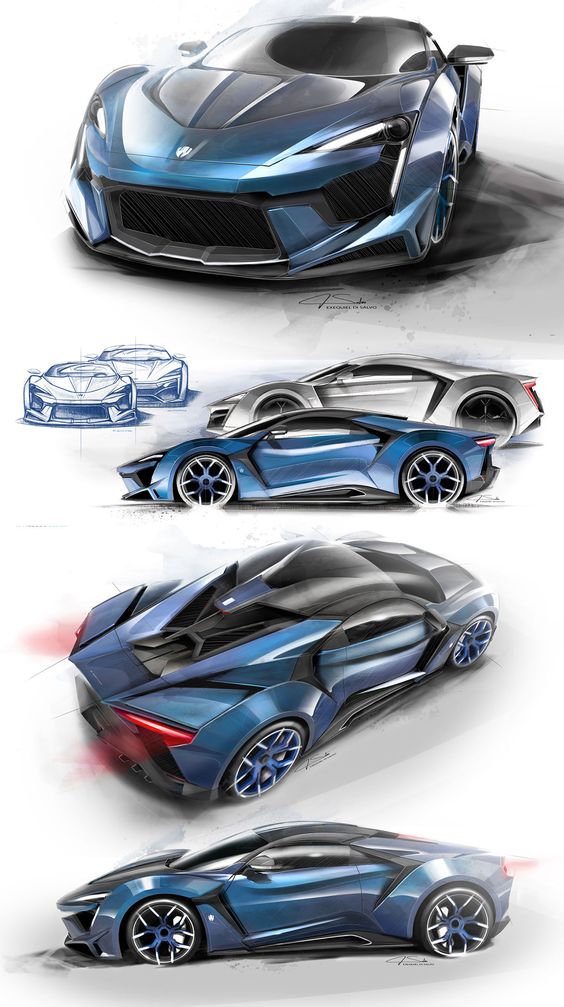
There are various techniques that one can use to improve their car drawing skills. For example, starting with basic shapes and then adding details can help beginners learn how to draw cars. Another technique is to observe real-life cars for inspiration. This can help one understand the proportions and details of different car models.
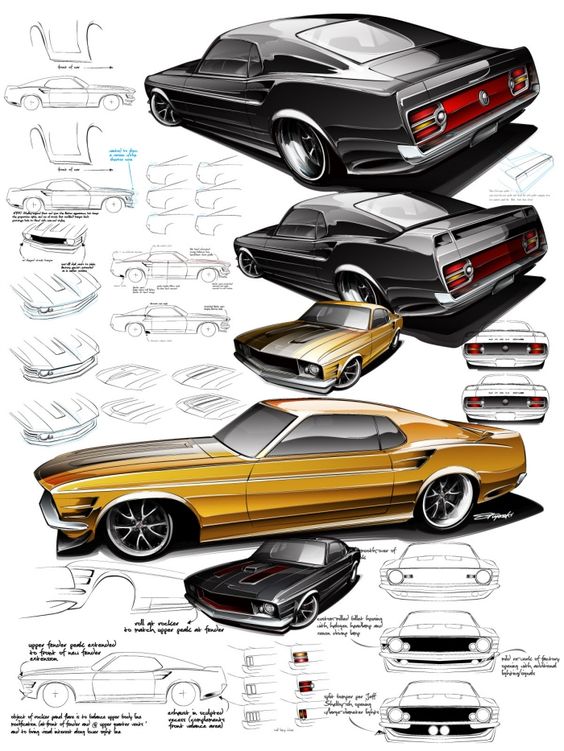
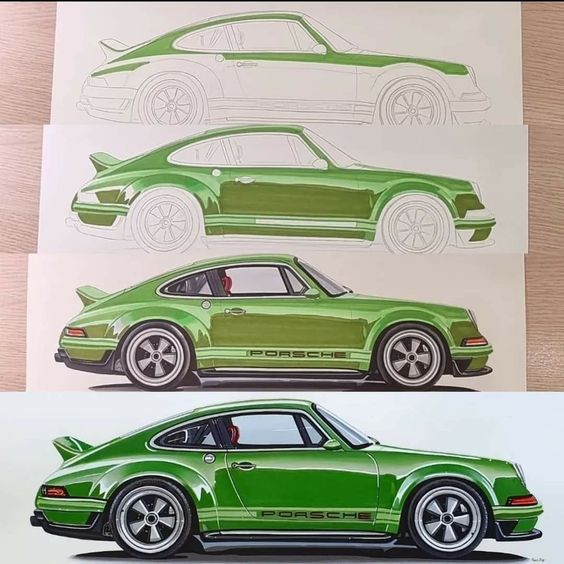
In conclusion, practicing regularly, taking drawing tutorials and lessons, having patience, and using different techniques can all help improve one’s car drawing skills. With time and effort, anyone can become skilled at drawing cars.
How to Draw Cars in Different Perspectives

Drawing cars in different perspectives is an essential skill for anyone interested in automotive design. The ability to accurately depict a car from different angles and viewpoints is crucial to creating visually appealing and realistic designs.
One of the most important aspects of drawing cars in different perspectives is understanding perspective itself. Perspective refers to the way that objects appear to change in size and shape as they move closer or farther away from the viewer. In order to accurately draw a car in perspective, it is important to understand how the car’s various parts will appear at different distances from the viewer.
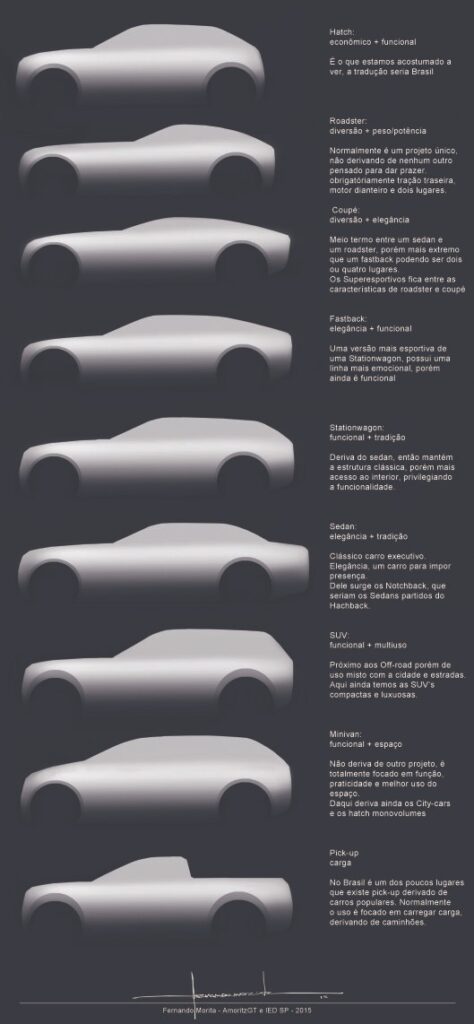
Another important consideration when drawing cars in different perspectives is the side view. The side view of a car is one of the most commonly used angles in automotive design, and it is important to be able to accurately depict this angle in order to create realistic and visually appealing designs.
To draw a car in side view, it is important to start with the basic shape of the car. This can be done by drawing a rectangle to represent the car’s body, and then adding in details such as the wheels, windows, and doors. It is important to pay attention to the proportions of the car, as well as the placement of the various details, in order to create a realistic and visually appealing design.
In addition to the side view, there are many other perspectives from which a car can be drawn. These include front view, rear view, three-quarter view, and more. Each of these perspectives presents its own unique challenges and requires a different approach in order to accurately depict the car.
Overall, drawing cars in different perspectives is a challenging but rewarding skill that is essential for anyone interested in automotive design. By understanding perspective and paying close attention to the details of the car, it is possible to create visually appealing and realistic designs that will impress and inspire others.
Advanced Car Drawing Techniques

For those who have already mastered the basics of car drawing, there are several advanced techniques that can be used to create more realistic and detailed drawings. These techniques include shading, light and shadow, and the use of layers.
Shading is an important technique that can be used to add depth and dimension to a car drawing. By using different shades of pencil or charcoal, an artist can create the illusion of light and shadow on the surface of the car. This can help to make the drawing look more realistic and three-dimensional.
Light and shadow are also important elements to consider when drawing a car. By understanding how light interacts with different surfaces, an artist can create the illusion of depth and texture. For example, the surface of a car’s body may appear smooth and shiny, while the tires and windows may appear more matte and reflective.

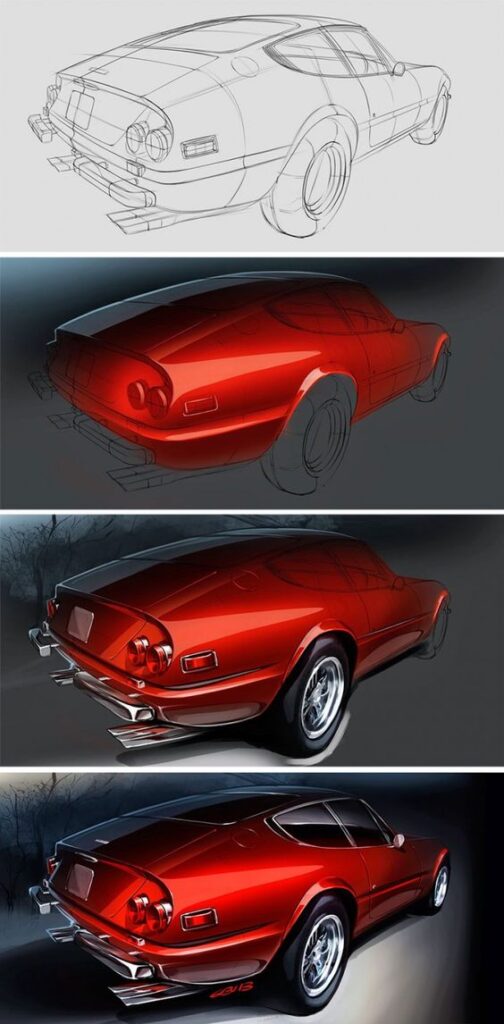
Another advanced technique that can be used in car drawing is the use of layers. By building up layers of pencil or charcoal, an artist can create a more detailed and complex drawing. This can be particularly useful when trying to capture the intricate details of a car’s design, such as the curves and angles of the bodywork.
Overall, advanced car drawing techniques require a combination of skill, practice, and patience. By mastering these techniques, an artist can create more realistic and detailed car drawings that truly capture the essence of these beautiful machines.
Conclusion
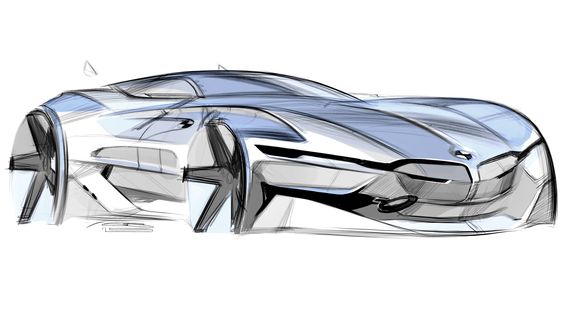
Drawing cars can be a fun and rewarding process for anyone who wants to learn. With practice and dedication, you can create a realistic and visually appealing drawing of your favorite car. Whether you want to draw a race car or an awesome car, this comprehensive guide has got you covered.
Car designers often start by sketching their ideas on paper before creating a digital model. By following the step-by-step instructions provided in this guide, you can learn how to draw a race car or any other car of your choice. You can also experiment with different styles and techniques to create your own unique designs.
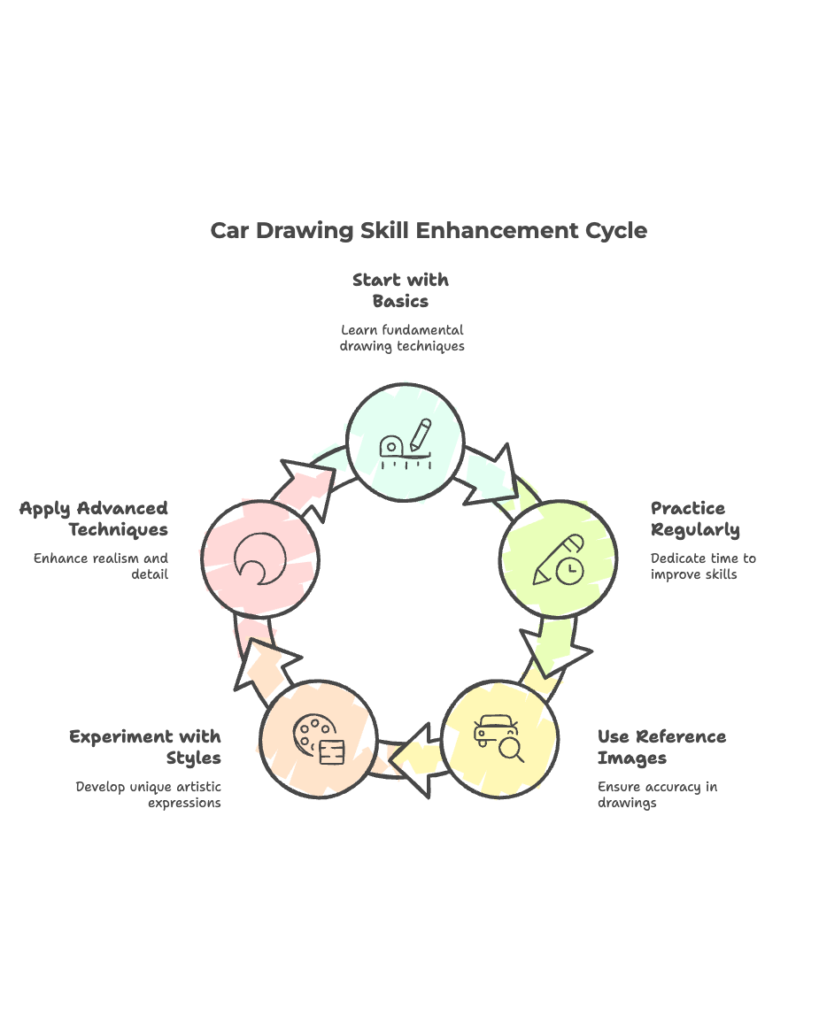
Remember to always use reference images to ensure accuracy and pay attention to details such as the shape of the body, the position of the wheels, and the placement of accessories. By doing so, you can create a drawing that captures the essence of the car you are trying to recreate.
In conclusion, drawing cars is a skill that can be learned and improved upon with practice. Whether you are a beginner or an experienced artist, this guide provides valuable tips and techniques for drawing cars that are sure to impress. So grab your pencil and paper and start drawing today!
- 9.1Kshares
- Facebook0
- Pinterest9.1K
- Twitter4
- Reddit0

