Drawing flowers is a popular subject in the world of art. Flowers are beautiful and intricate, making them an interesting and challenging subject to draw. Whether you are a beginner or an experienced artist, drawing flowers can be a rewarding experience that allows you to express your creativity and hone your skills.

There are many different techniques and styles for drawing flowers. Some artists prefer to draw from life, while others use photographs or their imagination. Some artists focus on the overall shape and form of the flower, while others pay close attention to the details of the petals, leaves, and stem. Whatever your approach, drawing flowers requires patience, observation, and attention to detail.


If you are interested in learning how to draw flowers, there are many resources available to help you get started. Online tutorials, instructional books, and classes at local art centers can all provide valuable guidance and inspiration. With practice and dedication, you can develop your skills and create beautiful flower drawings that capture the essence of these natural wonders.
Understanding the Basics of Flower Drawing

Anatomy of Flowers
To draw a flower, it is essential to understand its anatomy. A flower consists of the petals, stem, and leaves. The petals are the most prominent part of the flower and come in different shapes and sizes. The stem supports the flower and is usually green in color. The leaves are attached to the stem and are responsible for producing food for the plant through photosynthesis. Understanding the anatomy of flowers is crucial to draw them realistically.
Drawing Supplies and Tools
To draw flowers, one needs basic drawing supplies and tools. A pencil, eraser, and paper are the most important tools. Use a pencil with a sharp point to create precise lines. The eraser should be soft and gentle to avoid smudging the paper. The paper should be of good quality and have a smooth surface to prevent the pencil from smudging. Other supplies that may be useful include colored pencils, markers, and watercolors.
Setting Up Your Drawing Space
Before starting to draw, it is essential to set up a comfortable and well-lit drawing space. A table or desk with a comfortable chair is ideal. Ensure that there is enough light to see the details of the flower clearly. Natural light is preferable, but if it is not available, use a bright lamp. Keep all the necessary supplies within reach to avoid interruptions while drawing.
Drawing a flower requires an understanding of its anatomy, the right supplies and tools, and a comfortable drawing space. Start with a basic flower and simple shapes before moving on to more complex ones. With practice, one can create beautiful and realistic flower drawings.
Getting Started with Simple Flower Shapes

Drawing Simple Flowers
Drawing flowers can be a fun and relaxing activity, and it all starts with simple shapes. To draw a flower, begin with a circle for the center and add petals around the circle. Try drawing different sized circles for the center to create variety in your flowers.


Once you have the basic shape of the flower, you can add details such as lines on the petals or shading. Don’t worry about making it perfect, as doodles and imperfections can add character to your drawings.
Practicing Basic Petal and Leaf Shapes
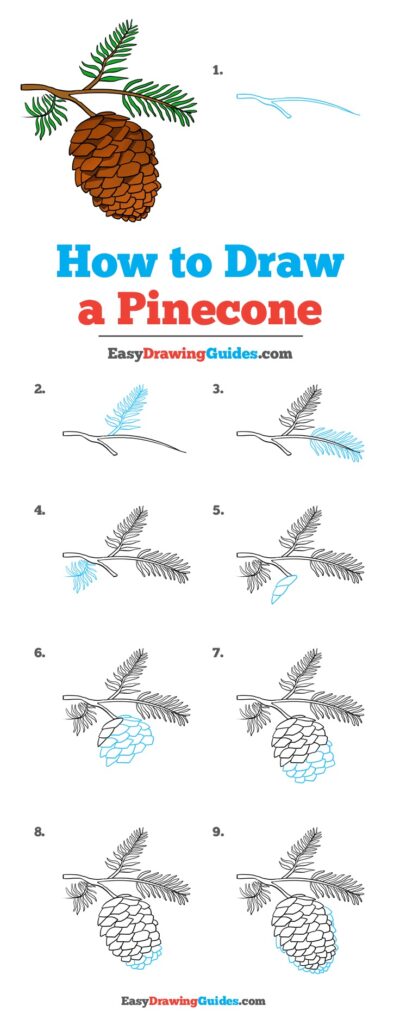


To improve your flower drawing skills, it’s important to practice basic petal and leaf shapes. Start with simple shapes such as ovals and triangles, and experiment with different sizes and angles.
Try drawing petals that overlap each other or leaves that curve in different directions. You can also use reference images to help you understand the shapes and proportions of different types of flowers.
Remember, the key to improving your flower drawing skills is to practice regularly. Set aside some time each day to draw simple flower shapes and experiment with different techniques. With practice, you’ll be able to create beautiful and unique flower drawings.
Step-by-Step Flower Drawing Guides

Drawing flowers can be a fun and rewarding experience for artists of all levels. With a little practice and some helpful guidance, anyone can learn to draw beautiful flowers with ease. In this section, we’ll provide step-by-step instructions for drawing some of the most popular flowers, including roses, tulips, sunflowers, and daisies.
Drawing a Rose


Roses are a classic flower often associated with love and beauty. To draw a rose, start by sketching the basic shape of the flower, including the stem and leaves. Next, add details such as the petals and thorns. Use shading and highlighting techniques to give your rose depth and dimension. With a little practice, you’ll be able to create a stunning rose drawing that captures the essence of this beloved flower.
Drawing a Tulip

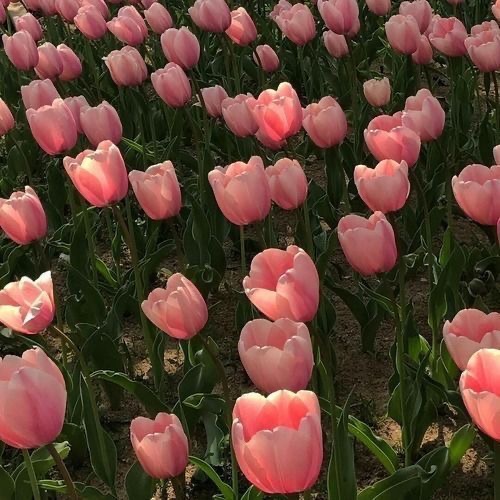
Tulips are known for their bright colors and elegant shape. To draw a tulip, begin by sketching the stem and leaves. Next, add the petals, paying close attention to the unique shape of each one. Use shading and highlighting to add depth and dimension to your drawing. With practice, you’ll be able to create a tulip drawing that is both beautiful and realistic.
Drawing a Sunflower
Sunflowers are a cheerful and vibrant flower often associated with summer and happiness. To draw a sunflower, start by sketching the stem and leaves.
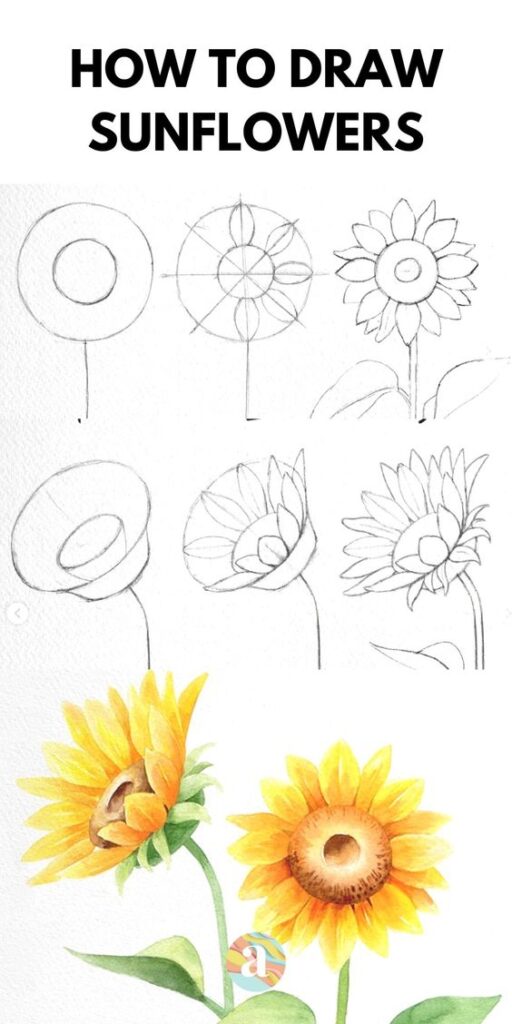

Next, add the large, circular petals that make up the flower head. Use shading and highlighting to give your sunflower drawing depth and dimension. With practice, you’ll be able to create a sunflower drawing that captures the joyful spirit of this beloved flower.
Drawing a Daisy
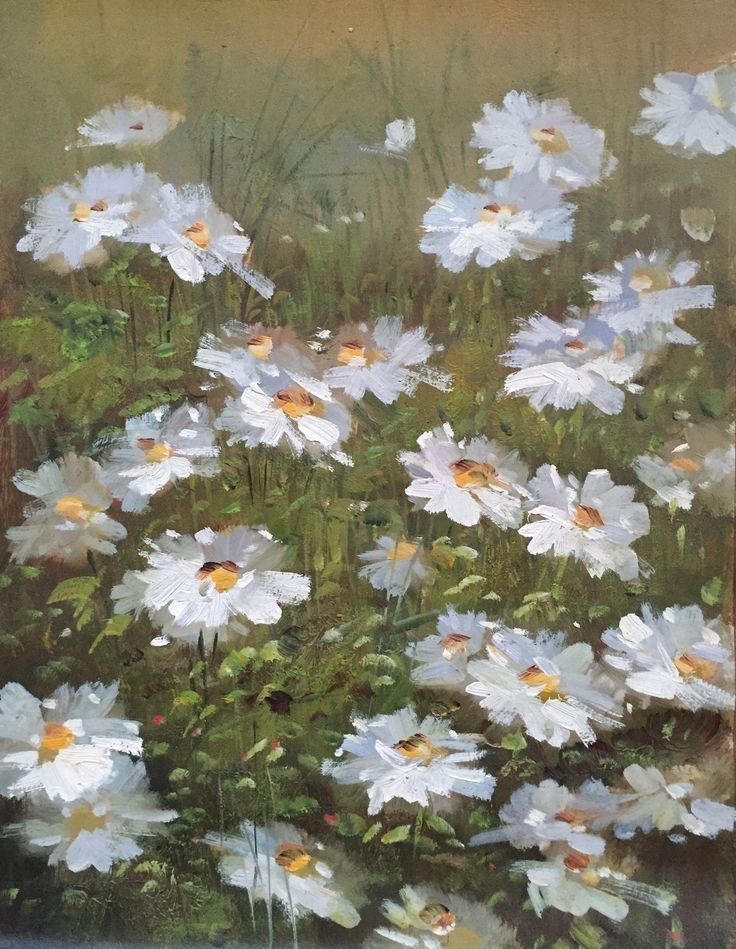
Daisies are a simple yet charming flower often associated with innocence and purity. To draw a daisy, begin by sketching the stem and leaves. Next, add the petals, paying close attention to the unique shape of each one. Use shading and highlighting to add depth and dimension to your drawing. With practice, you’ll be able to create a daisy drawing that is both beautiful and delicate.
In conclusion, drawing flowers is a wonderful way to express your creativity and showcase your artistic skills. With the step-by-step instructions provided in this section, anyone can learn to draw beautiful flowers with ease. So pick up a pencil and start drawing today!
Exploring Different Flower Types

When it comes to drawing flowers, there are a wide variety of types to choose from. Here are a few popular options to consider:
Exotic Flowers
Exotic flowers are a great choice for those looking to add a unique touch to their artwork. One option is the orchid, which comes in a variety of colors and shapes. Another option is the chrysanthemum, which is known for its intricate petals and bold colors.
Seasonal Blooms
Seasonal blooms are a great choice for artists looking to capture the beauty of nature throughout the year. Some popular options include the daffodil flower, which is often associated with spring, and the poppy flower, which is often associated with summer.
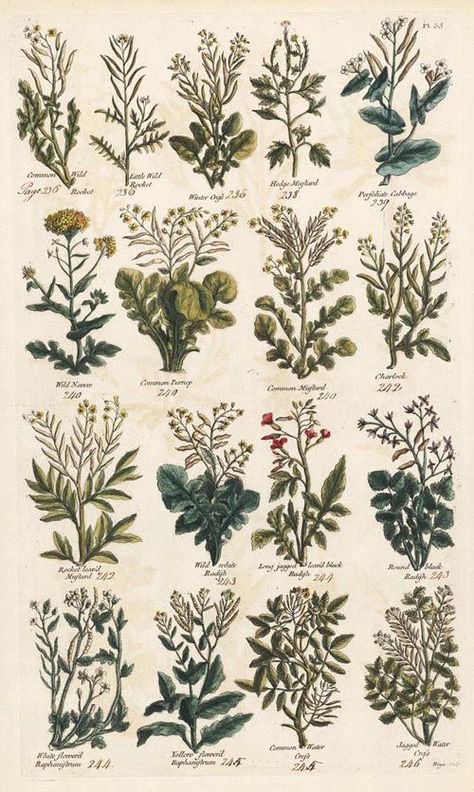
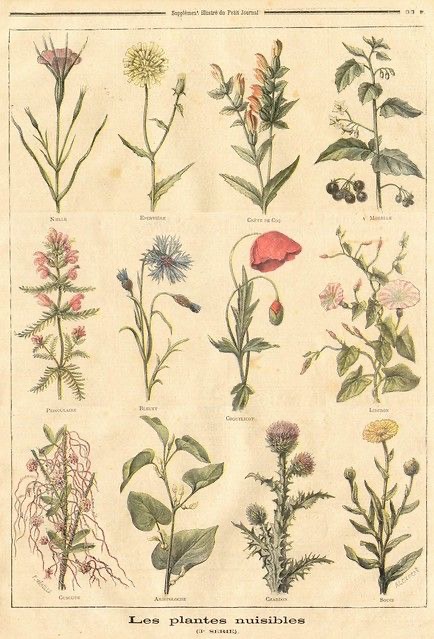
Other popular seasonal blooms include the hydrangeas, peony, lavender, calla lily flower, camellia flower, iris, azaleas, and water lilies. Each of these flowers has its own unique characteristics and can add a beautiful touch to any drawing.
Overall, exploring different flower types is a great way to add depth and variety to your artwork. Whether you choose an exotic flower or a seasonal bloom, there are plenty of options to choose from that can help bring your drawings to life.
Techniques for Realistic Flower Drawings

Shading and Texture
Shading and texture are essential for creating a realistic flower drawing. To achieve this, it is important to observe the flower carefully and identify the areas that are darker or lighter. Use a range of pencils from light to dark to create the different shades.

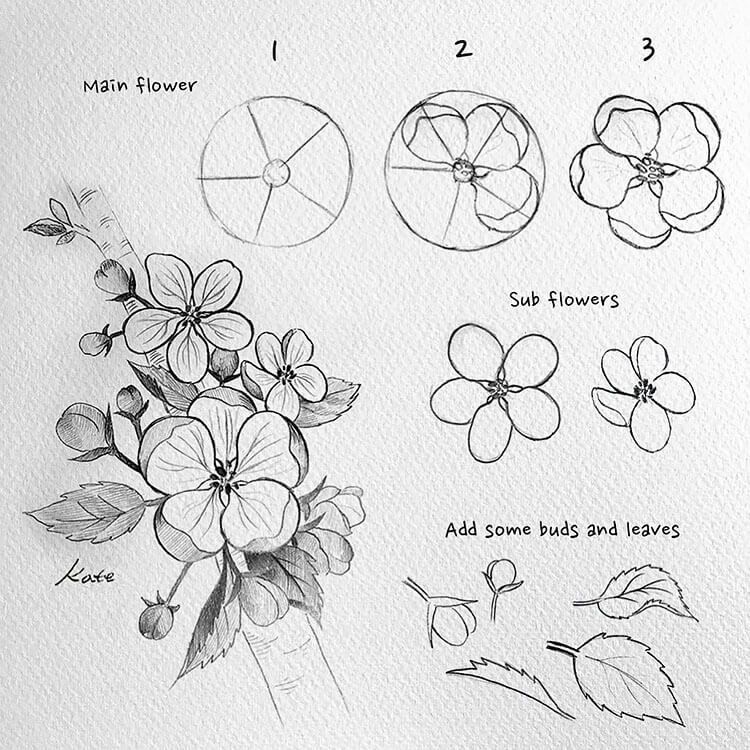
Texture can be created by using different techniques such as cross-hatching, stippling, or smudging. Cross-hatching involves drawing parallel lines in different directions to create texture, while stippling involves using dots to create texture. Smudging can be used to blend the different shades together to create a smooth transition.
Adding Highlights and Shadows


Adding highlights and shadows can add depth and dimension to your flower drawing. To create highlights, use an eraser to remove some of the graphite in areas where the light is hitting the flower. Shadows can be created by using a darker pencil or by cross-hatching in the areas that are in shadow.
Creating Depth with Folds and Overlaps
To create a realistic flower drawing, it is important to pay attention to the folds and overlaps in the petals. This can be achieved by carefully observing the flower and identifying the areas where the petals are overlapping or folding. Use shading and texture to create the illusion of depth and dimension.
When drawing flowers, it is important to pay attention to the proportions and perspective. This can be achieved by using a reference photo or by observing the flower carefully. Use a ruler or other measuring tool to ensure that the proportions are accurate.
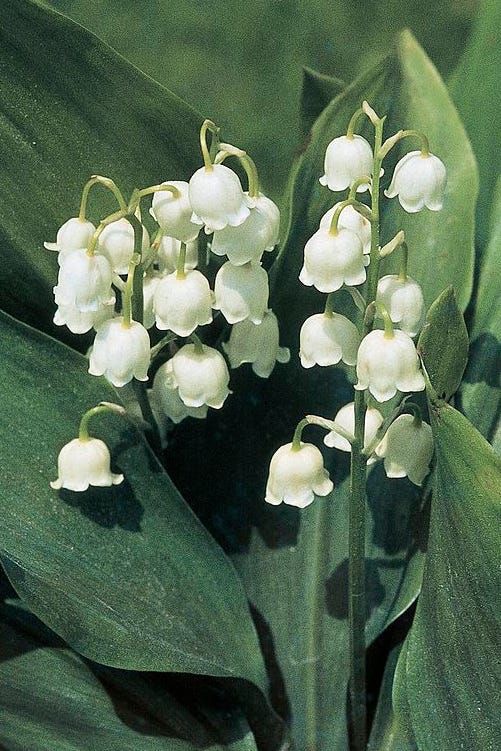
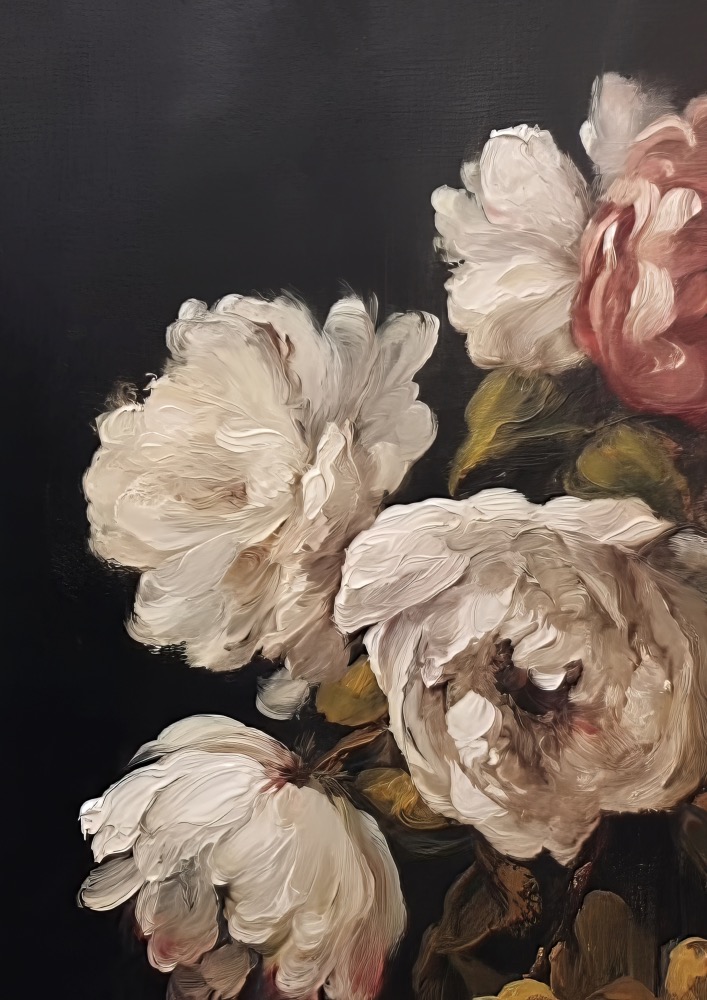
To create a realistic flower drawing, it is important to pay attention to the details. This can include the texture of the petals, the shape of the leaves, or the color of the flower. Use a range of pencils and techniques to capture these details and create a drawing that is both accurate and beautiful.
Incorporating Color in Flower Drawings
When it comes to drawing flowers, incorporating color is an essential aspect that can bring the artwork to life. There are various techniques that artists can use to add color to their flower drawings, including watercolor and colored pencils.
Watercolor Techniques
Watercolor is a popular medium for adding color to flower drawings because of its ability to create a delicate, translucent effect. To create watercolor flowers, the artist can use a wet-on-wet technique, where the paper is first wet with water and then the paint is applied. This technique allows the colors to blend together, creating a soft, flowing effect that is perfect for depicting petals and leaves.


Another watercolor technique that can be used is the wet-on-dry technique, where the paint is applied to dry paper. This technique allows for more control over the placement of the colors, which is useful for creating detailed flower drawings.
Using Colored Pencils
Colored pencils are another popular medium for adding color to flower drawings. They are excellent for creating vibrant, detailed artwork that can capture the intricate details of petals and leaves. One of the benefits of using colored pencils is that they can be layered to create a range of colors and shades.
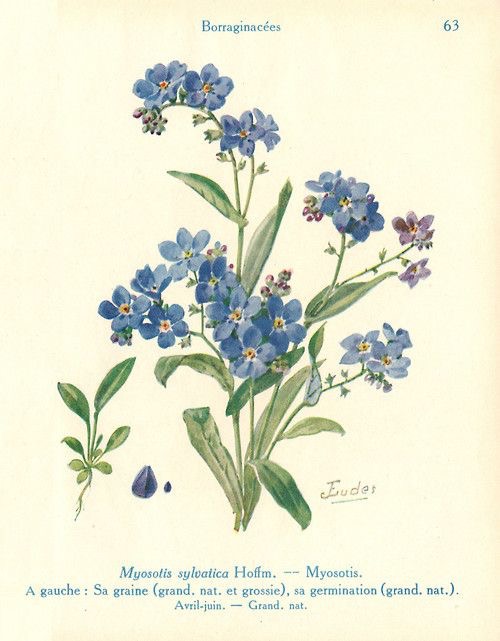
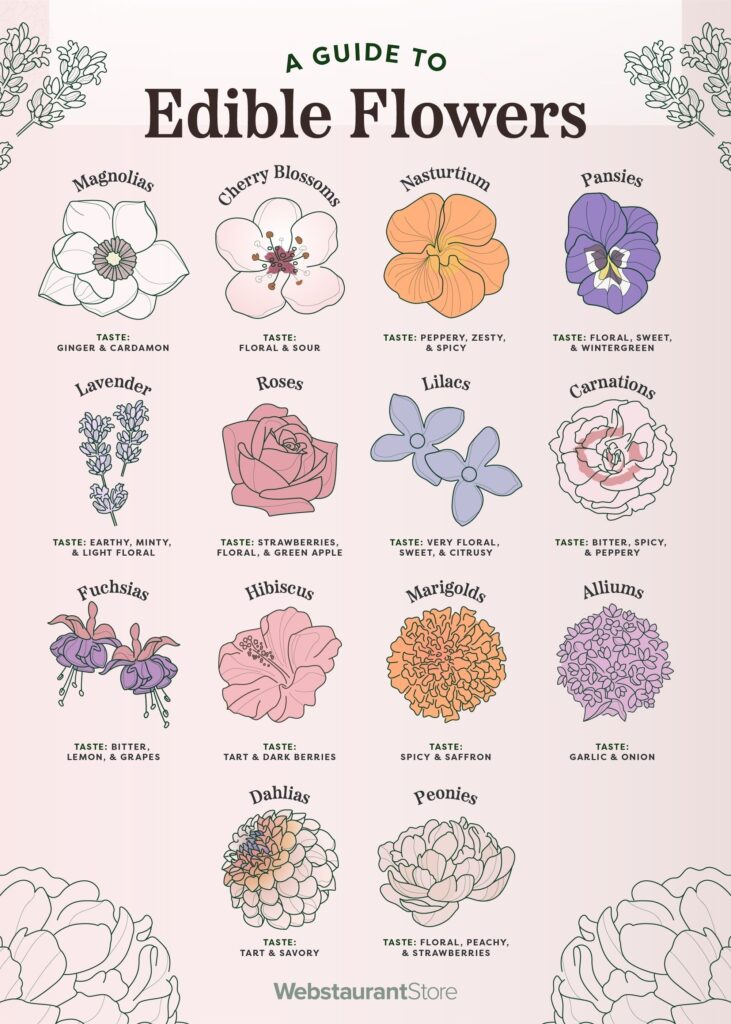
To create a colored pencil flower drawing, the artist can start by sketching the outline of the flower with a light pencil. They can then use the colored pencils to fill in the details and add depth and dimension to the artwork. It is essential to use a light hand when applying the colored pencils to prevent the colors from becoming too heavy and overwhelming.
In conclusion, incorporating color in flower drawings is a crucial aspect that can bring the artwork to life. Artists can use various techniques such as watercolor and colored pencils to add color and create stunning flower drawings.
Enhancing Your Skills

Practice Exercises
One of the most important aspects of improving your drawing skills is to practice regularly. Start with simple exercises like drawing basic shapes and lines. Gradually, move on to more complex shapes and patterns. This will help you develop your hand-eye coordination and muscle memory.
Another useful exercise is to draw the same object from different angles. This will help you understand how the object looks from different perspectives and improve your spatial awareness. You can also try drawing from memory or imagination, which will help you develop your creativity and visualization skills.
Learning from Professionals
Learning from professionals can be a great way to improve your drawing skills. There are many resources available online, including video tutorials and Instagram accounts of professional artists. One such artist is Kate Kyehyun Park, who is known for her beautiful flower drawings. Her Instagram account is a great source of inspiration and tips for aspiring artists.
In addition to online resources, you can also attend workshops and classes to learn from professionals in person. This will give you the opportunity to ask questions and receive feedback on your work. You can also learn from other artists by joining a drawing group or community.
By practicing regularly and learning from professionals, you can enhance your drawing skills and create beautiful flower drawings.
Presentation and Sharing

Creating a Flower Drawing Wreath
Once you have drawn several flower sketches, you can create a beautiful flower wreath by combining them together. To do this, simply choose a few of your favorite flower drawings and arrange them in a circular pattern. You can use a pencil and paper to sketch out a rough draft of your wreath before committing to the final design. Once you are happy with the arrangement, you can use a pen or marker to trace over the pencil lines and add any additional details or shading.
Sharing Your Work on Social Media
Once you have finished your flower drawing, you may want to share it with others on social media platforms like Instagram. To do this, take a high-quality photo of your drawing using natural lighting and a neutral background. You can use editing tools to enhance the colors and contrast of your photo before posting it to your account.
When sharing your work on social media, it is important to use relevant hashtags and tags to increase visibility and engagement. Some popular hashtags for flower drawings include #botanicalillustration, #floraldrawing, and #flowerart. You can also tag other artists or art communities to connect with like-minded individuals and gain inspiration for future projects.
By presenting and sharing your flower drawings with others, you can showcase your creativity and bring joy to those who appreciate the beauty of nature.
- 12.3Kshares
- Facebook0
- Pinterest12.3K
- Twitter3
- Reddit0


