Visual programming has become an essential tool for enhancing productivity within the Revit environment. This approach allows users to automate tasks, manipulate data, and create designs with greater efficiency. By exploring visual programming through Dynamo, you can unlock new capabilities and streamline your design process.
In this article, you will find five tutorials specifically tailored for Revit users interested in harnessing the power of Dynamo. These resources will guide you through the basics and introduce more advanced techniques that can elevate your project workflows. Each tutorial is designed to build your skills and confidence in utilizing visual programming effectively.
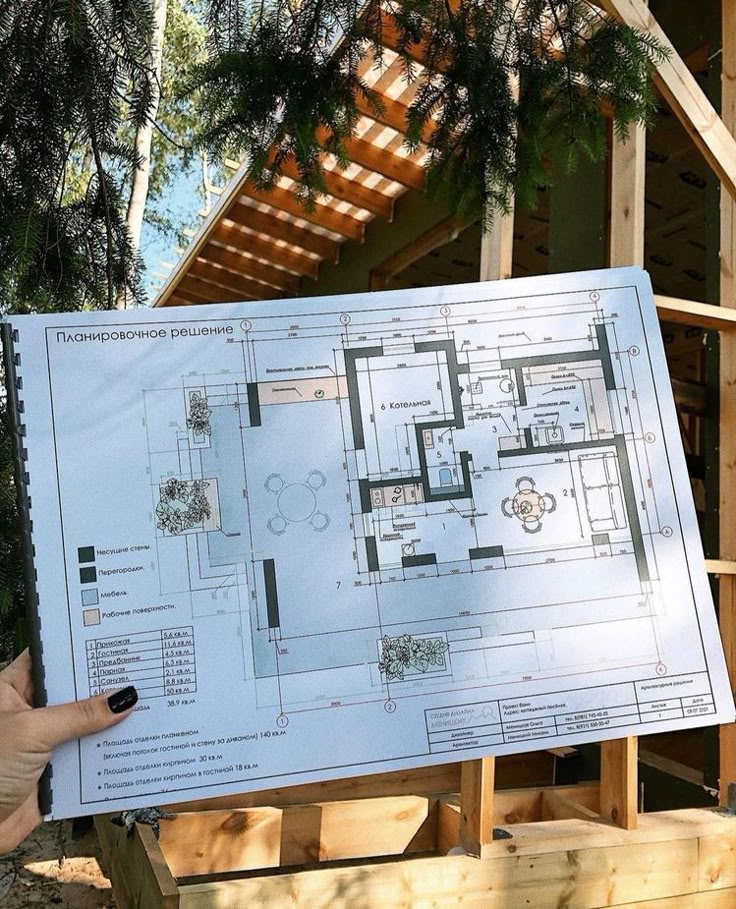


1) Transform Geometry with Python Scripts
In this tutorial, you will learn how to use Python scripts to manipulate geometry in Dynamo for Revit. Python offers powerful tools to automate tasks and enhance your workflows.
Start by familiarizing yourself with the Python scripting environment within Dynamo. You can access it through the Python Script node, which allows you to execute Python code directly.
Next, explore simple geometric transformations. You can create, move, rotate, or scale objects programmatically. This flexibility enables you to apply complex modifications with minimal effort.
To manipulate geometry, you’ll need to understand the basic geometry types in Revit, such as points, lines, and curves. Use Python to create these elements and modify their properties.
Practice with examples like creating a grid of points or rotating a shape around a defined axis. Experimenting with different transformations will solidify your understanding of the scripting process.
As you progress, consider integrating user inputs to make your scripts more dynamic. This allows you to customize the geometry based on specific project requirements.
By learning these basic scripting techniques, you can significantly enhance your efficiency and creativity in Revit projects.


2) Create Adaptive Components
To create adaptive components in Dynamo, start by defining the parameters that will influence your design. These parameters can include size, shape, and placement criteria.
Next, utilize Dynamo’s graphical interface to create nodes that represent these parameters. Connect nodes to establish relationships that dictate how your component adapts to different conditions.
You will need to employ family types within Revit to ensure your adaptive component behaves correctly. This allows for flexibility in design, responding dynamically to changes in the project environment.
Test your adaptive components in various scenarios. This step helps verify that they adjust properly and maintain their intended functionality.
By mastering adaptive components, you enhance your ability to create more complex and responsive designs tailored to unique project requirements.

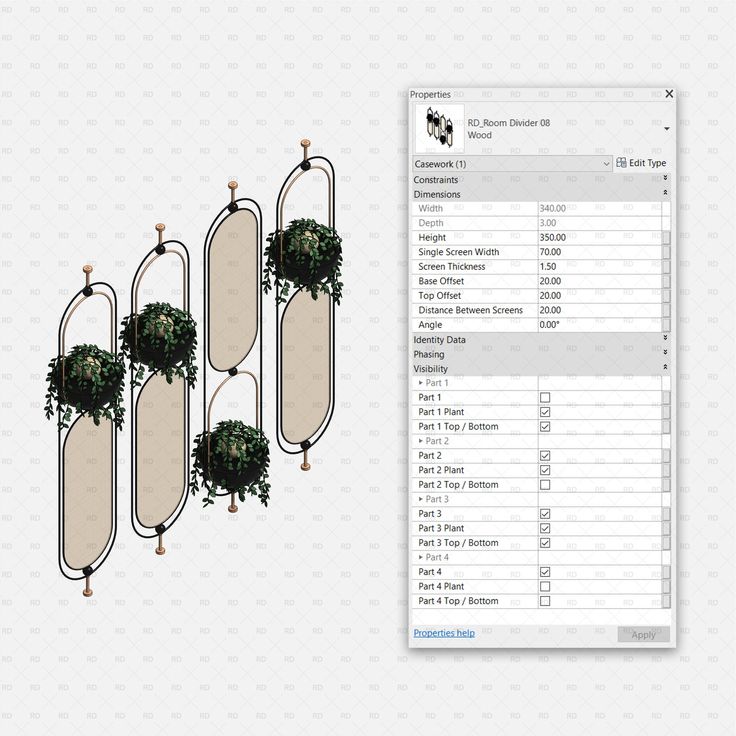
3) Automate Tasks with Custom Nodes
Custom nodes in Dynamo enhance your ability to automate repetitive tasks in Revit. These nodes allow you to encapsulate a sequence of actions into a single, reusable unit.
By creating custom nodes, you can simplify complex operations. Instead of repeating the same series of steps for different projects, you can invoke your custom node whenever needed. This saves time and reduces the risk of errors.
You can tailor custom nodes to meet specific project requirements. Whether it’s adjusting parameters or generating geometry, having a tailored solution can streamline your workflow.
In addition, sharing custom nodes with your team can promote consistency across projects. It ensures everyone is using the same logic and methods, improving collaboration and efficiency.
By utilizing custom nodes, you can turn your Dynamo scripts into powerful tools that enhance your productivity in Revit.
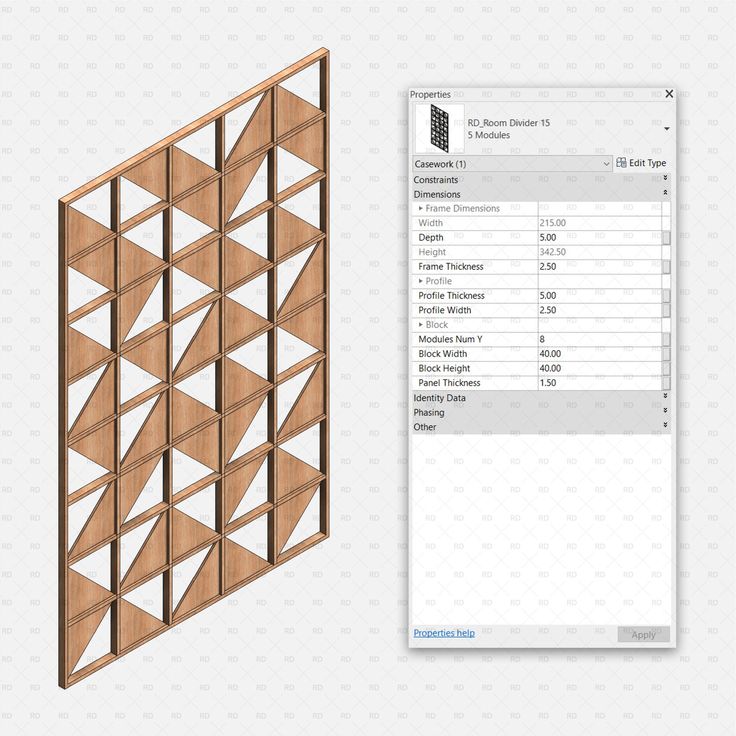

4) Integrate with Excel – Techniques for linking and managing data between Dynamo and Excel
Integrating Dynamo with Excel allows you to manage and manipulate data efficiently. You can import and export data between the two applications seamlessly.
To start, use the “Excel.ReadFromFile” and “Excel.WriteToFile” nodes. These nodes enable you to read data from an Excel sheet and write data back into it. Ensure that your Excel file is closed when performing these actions to avoid any errors.
Arrange your data in Excel appropriately. Structured rows and columns will help you retrieve the information you need quickly. Consider using headers for your columns to maintain clarity.
You can also utilize Dynamo’s capabilities for data manipulation. Use nodes like “List.Map” or “List.Combine” to transform your data as needed. This functionality enhances your ability to analyze data effectively.
For dynamic updates, consider setting up a live link. You can refresh your Excel data in Dynamo, ensuring your model always reflects the latest information. This live integration minimizes errors and enhances productivity.
Managing data between Dynamo and Excel provides immense flexibility. It allows you to utilize the strengths of both tools for better project outcomes.


5) Visualize Data with Dynamo Player – Best practices for using Dynamo Player for interactive data visualization
Using Dynamo Player for data visualization enhances your ability to interact with Revit elements. Start by ensuring that your Dynamo scripts are optimized for performance. Simple operations run faster and provide a smoother user experience.
Make use of clear naming conventions for your inputs and outputs. This transparency helps you and others understand what each variable represents, streamlining the visualization process.
When setting up your scripts, include user-friendly interfaces. Incorporate sliders, drop-down lists, and buttons to allow users to manipulate data easily.
Save commonly used scripts for quick access. This organization helps you manage your workflows effectively and makes the player accessible to team members who may not be familiar with Dynamo.
Lastly, test your scripts before sharing them. This practice ensures that they function correctly and deliver the expected results, minimizing potential issues during presentations or collaborative sessions.


Understanding Visual Programming in Dynamo
Visual programming in Dynamo enables you to create complex designs with a straightforward approach. This section breaks down the fundamental concepts of a node-based workflow and its integration with Revit.
The Basics of Node-Based Workflow
Dynamo operates on a node-based system, where each node represents a specific function or action. You can think of nodes as components that can be connected to form workflows.
Typically, nodes can be categorized into:
- Input Nodes: Gather data from various sources.
- Action Nodes: Perform operations or calculations.
- Output Nodes: Display results or manipulate the Revit environment.
You connect these nodes with wires that represent the flow of information. The visual interface allows you to see how data moves through the workflow, making it easier to understand complex processes.
The benefits of this approach include increased efficiency and flexibility in your design work. You can easily modify the logic of your scripts without extensive coding knowledge.
Integration with Revit
Dynamo seamlessly integrates with Revit, enhancing your design capabilities. With this integration, you can manipulate Revit elements directly through your Dynamo scripts.
Key features include:
- Automating Tasks: You can automate repetitive design tasks, saving time and reducing errors.
- Customizing Data: Access and modify parameters of Revit elements, allowing you to tailor your projects to specific needs.
- Improving Collaboration: Share Dynamo scripts with team members, enhancing collaboration across different stages of design.
To start integrating, open Revit and access Dynamo through the Manage tab. This relationship allows for real-time updates in Revit as you modify your script in Dynamo, facilitating a dynamic workflow between design and execution.
Advanced Techniques in Dynamo
Exploring advanced techniques in Dynamo enhances your ability to automate tasks and streamline workflows in Revit. You can leverage custom scripting and performance optimization strategies to elevate your projects.
Custom Scripting with Python
Using Python in Dynamo allows for greater flexibility and functionality. You can create custom nodes that cater specifically to your project’s needs, which standard nodes may not support.
Key benefits include:
- Expanded Functionality: Use libraries like Revit API to access and manipulate elements.
- Control Structures: Implement loops and conditionals for more complex logic.
- Data Structures: Utilize lists, dictionaries, and other structures to manage data efficiently.
Getting started involves adding a Python script node in Dynamo and writing scripts that interact directly with Revit elements. You can determine which elements to target based on parameters, filter views, or create new geometries.
Optimizing Performance
Performance optimization is critical for handling large models in Dynamo. By focusing on efficient node usage and minimizing unnecessary computations, you can significantly enhance responsiveness.
Consider these strategies:
- Avoiding Inefficient Nodes: Limit the use of nodes that process large data sets in a single operation.
- Batch Processing: Break down tasks into smaller subsets to enable Dynamo to handle them more easily.
- Data Caching: Use cached data to prevent repetitive calculations and improve processing times.
Additionally, regularly testing your scripts can help identify bottlenecks. Performance monitoring is essential to ensure that your workflows remain efficient as project scopes increase.
- 6.6Kshares
- Facebook0
- Pinterest6.6K
- Twitter0
- Reddit0


