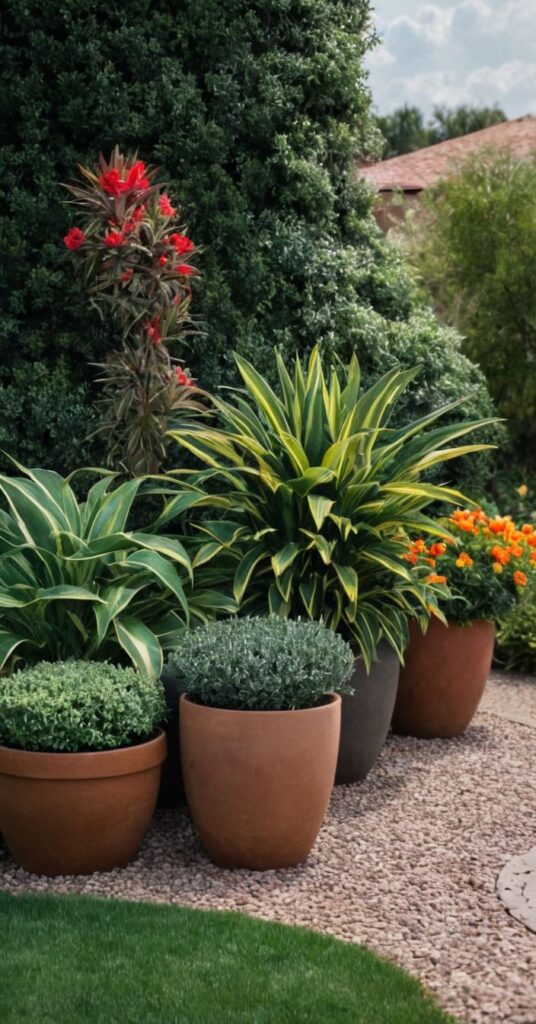
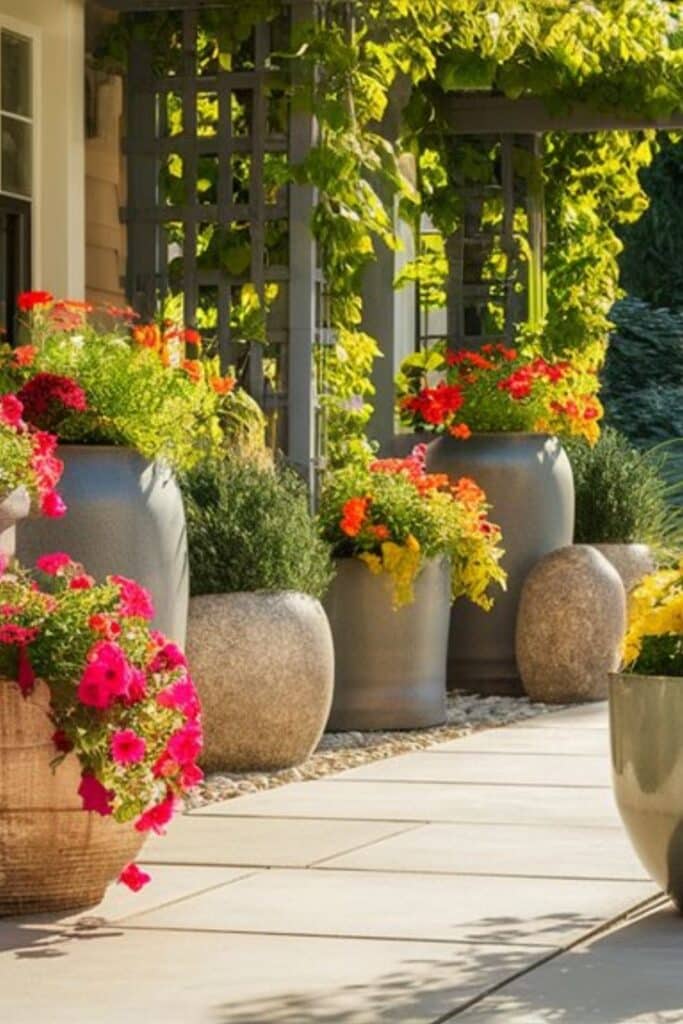
Large outdoor planters can make a strong first impression. They can frame a front door, line a patio, or add height and life to a garden. But without the right approach, filling them can become a challenge. Knowing what to put inside, how to arrange it, and how to keep it all balanced can make a big difference. With a few simple steps, a large planter can be transformed into a striking and low-maintenance display.
Choose the Right Container and Location
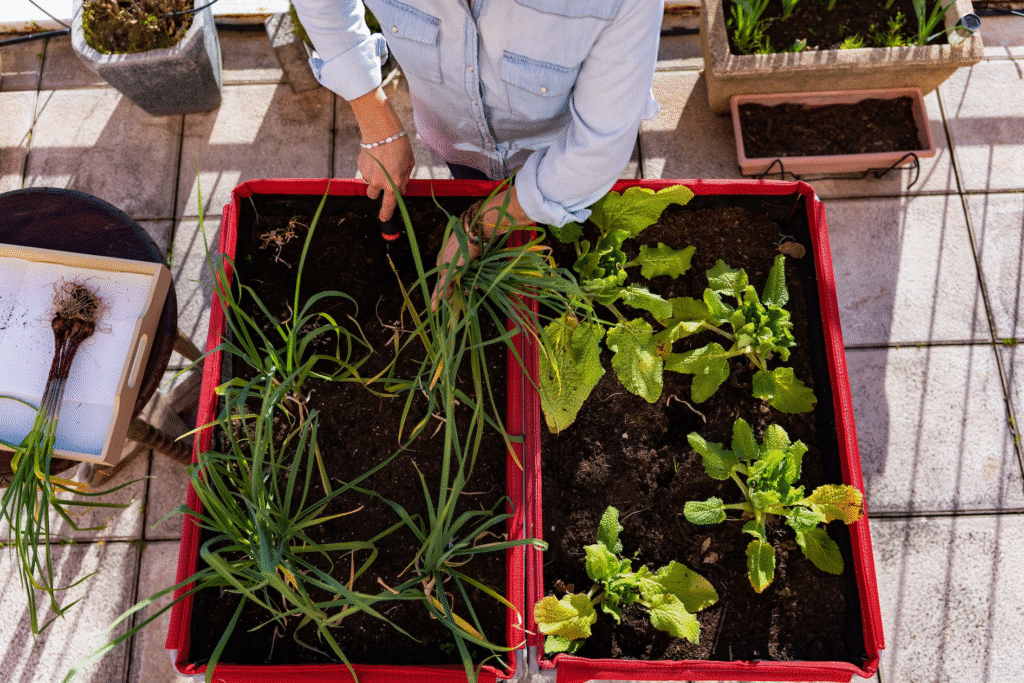
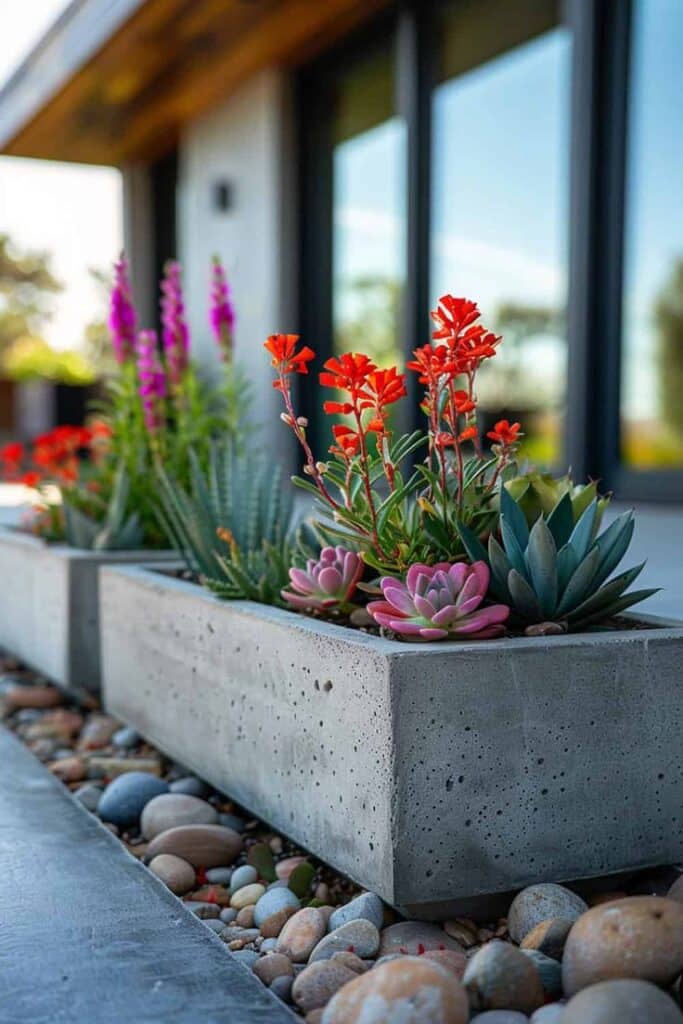
Before adding your preferred type of soil or plants, it’s important to pick the right planter. For a durable and stylish option, consider using PVC planters—they’re lightweight, weather-resistant, and come in many modern designs. Consider the size, material, and drainage. A container made of durable materials like ceramic, concrete, or resin is best for the outdoors. Make sure it has a drainage hole to prevent water from pooling at the bottom. Next, think about where the planter will go. Is the spot sunny or shaded? Windy or sheltered? Knowing this helps you choose the right plants later.
Start With a Base Layer
Large planters need more than just soil. Filling the entire container with potting mix is expensive and unnecessary. Start by filling the bottom third with lightweight filler. This can be foam blocks, empty plastic bottles, crushed cans, or even broken terra cotta pieces. These materials create good and proper drainage and reduce the weight of the planter. Cover the filler with landscape fabric to keep the soil from sinking into it.
Add Quality Potting Mix
Once the base layer is in place, fill the rest of the planter with potting mix. Choose a high-quality mix made for outdoor containers. Avoid using garden soil, which can be too heavy and hold too much excess water. If the planter is in a dry spot, consider mixing in water-retaining crystals or compost to help keep moisture in.
Choose a Planting Style
There are many ways to arrange plants in a large container. One popular approach is the “thriller, filler, spiller” method:
- Thriller: A tall plant that stands out. This could be a small shrub, ornamental grass, or flowering spike.
- Filler: Mid-height plants that add bulk and color. Think of bushy flowers or leafy greens.
- Spiller: Trailing plants that drape over the edge, softening the look.
This method creates height, depth, and flow. For example, a tall purple fountain grass (thriller), surrounded by petunias (filler), with ivy cascading over the sides (spiller), makes a balanced and eye-catching arrangement.
Pick the Right Plants
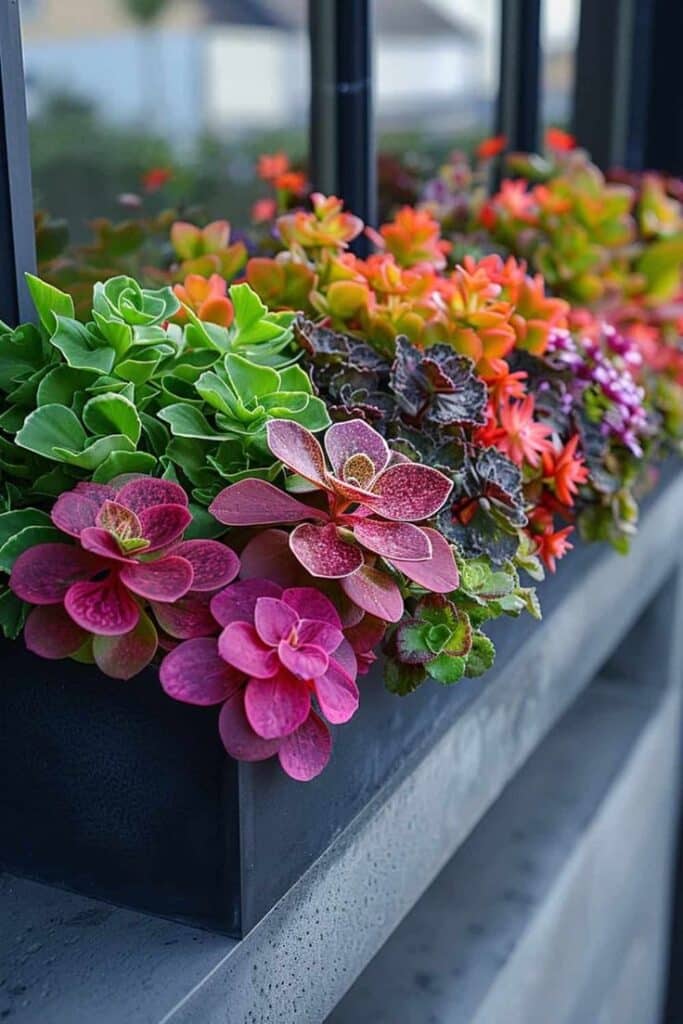
Once a planting style is chosen, it’s time to select the actual plants. Choose ones that suit the location—sun-loving varieties for bright areas and shade-tolerant ones for darker spots. Also, match plants with similar watering and care needs. Mixing a cactus with a fern, for example, will make it harder to keep both healthy. Aim for a mix of textures and colors to add interest. Flowers, foliage, and even herbs can all work well together.
Plant With Care
Start planting from the center if using a thriller plant. Dig a hole deep enough to hold the root ball and gently press it in. Then, place the filler plants around it, spacing them evenly. Add the spiller plants last, near the edge of the planter. Press the soil firmly around each plant and water thoroughly. This helps settle the roots and remove air pockets.
Top It Off With Mulch
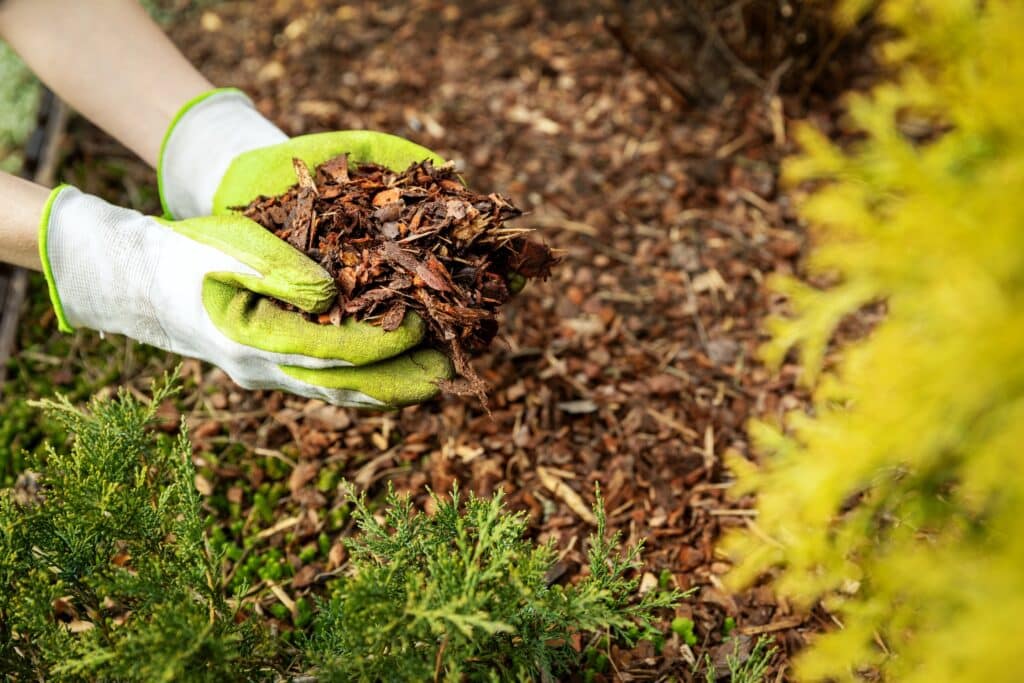
A layer of mulch on top of the soil keeps moisture in and gives a clean look. Use bark chips, decorative stones, or cocoa hulls. Mulch also helps reduce weeds and keeps a layer of soil from washing away when watering.
Water and Maintain
Large containers can dry out faster than garden beds. Check the moisture often, especially during hot days. Water deeply until it runs out of the drainage hole. As plants grow, trim back any overgrowth and remove dead leaves or blooms. This keeps the planter looking fresh and encourages new healthy growth.
Refresh With the Seasons
Planters don’t have to stay the same year-round. Change out plants with the seasons. Bright annuals in spring and summer can be replaced with mums or ornamental cabbages in fall. In winter, evergreen branches or decorative twigs can add charm even without blooms.
Final Thoughts
Filling a large outdoor planter doesn’t need to be difficult. With the right container, proper layering, and thoughtful plant choices, it can become a highlight of any outdoor space. A balanced mix of structure, color, and care brings style with ease. Whether near a front step or along a backyard wall, a well-planted container can add life and beauty to any setting. And with a bit of attention, it will continue to thrive season after season.
- 413shares
- Facebook0
- Pinterest410
- Twitter3
- Reddit0

