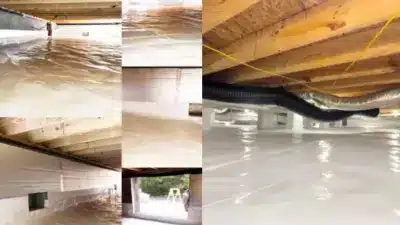

DIY home improvement lets people fix or upgrade their homes without hiring professionals. It saves money and gives a sense of pride by improving spaces with your own hands. Many projects, like painting walls or adding shelves, are simple and do not need advanced skills.
Planning is important to avoid mistakes and wasted time. Choosing the right tools and materials makes the work easier and results better. From small repairs to bigger upgrades, anyone can improve their home with some patience and effort.
Learning new skills also helps with maintaining the home in the future. Even basic changes, like better lighting or organizing spaces, can make a big difference in comfort and value.
Key Takeaways
- Planning helps make projects easier and more successful.
- Using the right tools and materials improves the results.
- Learning skills supports future home care and upgrades.
Planning Your DIY Home Improvement Project
Good planning helps avoid mistakes and delays. Choosing clear goals, knowing costs, and setting a timeline are key steps.
Setting Realistic Goals


He should decide exactly what he wants to improve. Goals should be clear and practical, like painting a room or fixing cabinets.
Avoid aiming for too much at once. Breaking big tasks into smaller parts makes the project easier to handle.
It helps to write down the goals. This keeps the plan focused and prevents unnecessary work.
Prioritize the most important changes first, especially those that boost safety or function.
Budgeting and Cost Estimation

She needs to list all materials, tools, and any help she might pay for. Research prices online or in stores for accuracy.
Include costs for permits or inspections if needed. These fees can add up quickly and delay the project if forgotten.
Add about 10-20% extra to the budget for unexpected expenses.
Use a simple table to track expenses:
| Item | Estimated Cost | Actual Cost |
|---|---|---|
| Paint | $50 | |
| Tools | $100 | |
| Labor Help | $0 | |
| Permit Fees | $25 |
This helps keep the budget on track.
Timeline Creation


He should estimate how long each task will take. It is better to add a little extra time than to rush.
Break the project into steps and assign a start and finish date for each.
Consider work hours, weather, and drying times for paints or adhesives.
A simple timeline could look like this:
- Day 1-2: Prep and cleanup
- Day 3-5: Painting
- Day 6: Final touches and cleanup
With a timeline, progress is easier to track and manage.
Essential Tools and Materials
A successful home improvement project depends on having the right tools, materials, and safety gear. Knowing what to use for each task helps save time and avoid mistakes.
Must-Have Basic Tools

Every DIYer needs a core set of tools to handle common tasks. These include a hammer, a tape measure, and a level to ensure accuracy.
A cordless drill with drill bits speeds up work when making holes or driving screws. Screwdrivers, both flathead and Phillips, are essential for many tasks.
Other tools like pliers, a utility knife, and adjustable wrenches help with cutting, gripping, and turning nuts and bolts. Having a tool box or bag to keep these items organized is helpful.
Choosing the Right Materials
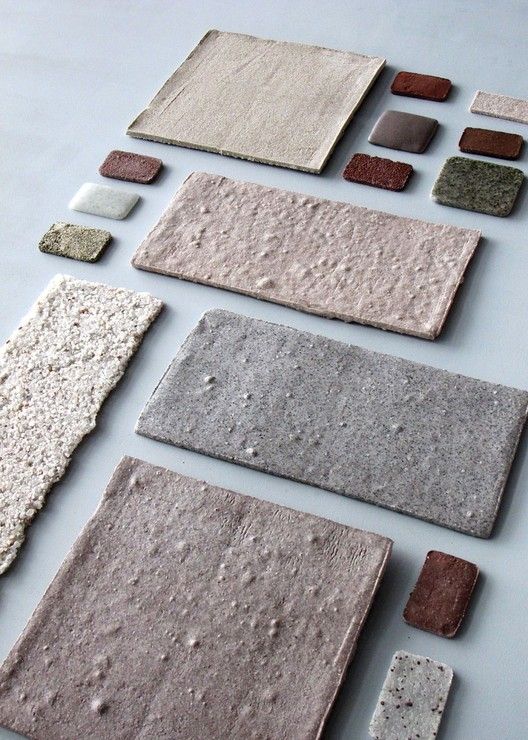

Selecting quality materials is key for durability and good results. For wood projects, type and grade matter. Pine is good for simple projects, while hardwoods like oak work better for furniture.
For painting, choose primers and paints designed for the surface type—walls, wood, or metal. Using the correct screws, nails, or adhesives designed for your materials improves strength.
Home improvement stores often offer expert advice, so it’s smart to check with staff about what fits a specific project. Buying slightly more material than needed prevents delays if mistakes happen.
Safety Equipment

Safety gear protects against injuries during DIY projects. Goggles shield eyes from dust, metal shavings, or paint splatter.
Work gloves protect hands from cuts and splinters. Ear protection, like earplugs or earmuffs, helps when operating loud tools.
Respirators or dust masks prevent inhaling harmful particles. Wearing sturdy, closed-toe shoes reduces risks from falling objects or stepping on nails.
Using the right safety equipment reduces accidents and lets DIYers work with confidence.
Interior Upgrades
Upgrading the inside of a home can improve its look and value. It often involves changes to walls, floors, and decorative details. Knowing the right methods and materials is key to good results.
Painting Techniques and Color Selection


Choosing paint colors affects the mood and style of each room. Lighter colors make small spaces feel bigger, while darker tones add warmth and depth. It’s best to test paint samples on walls before buying gallons.
For painting, prep work is important. Clean the walls and fill holes with spackle. Use painter’s tape to protect trim and edges.
Apply primer if covering dark colors or damaged surfaces. Use a roller for flat areas and a brush for corners and trim. Two coats ensure even coverage.
Flooring Installation Basics
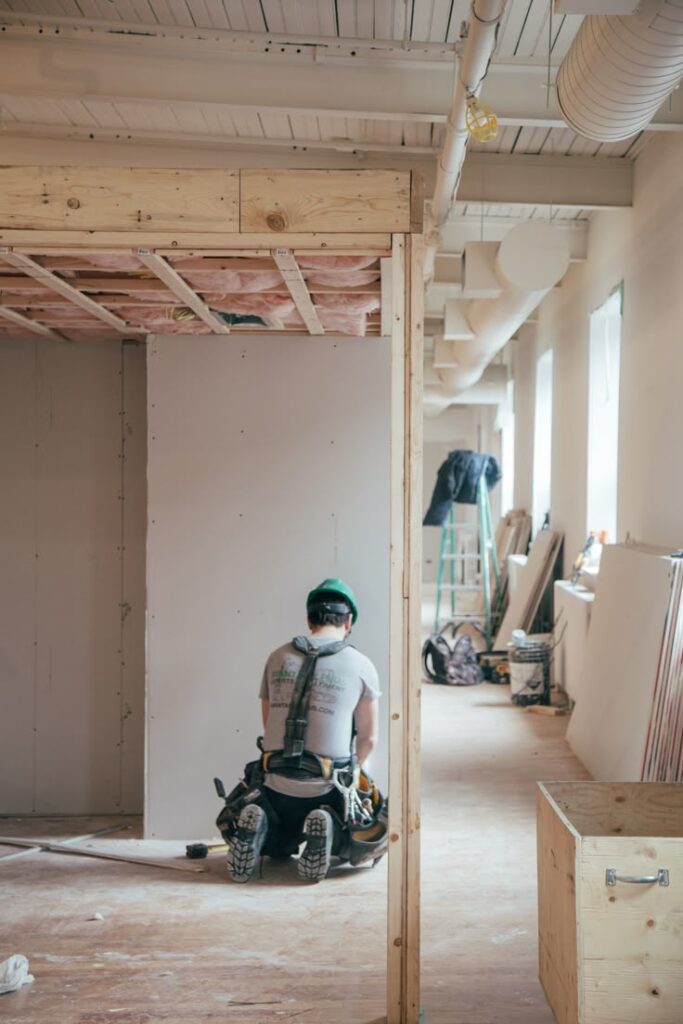

Choosing flooring depends on the room’s use and style. Options include hardwood, laminate, vinyl, and tile. Each type needs different tools and skills to install.
Before installing, measure the space carefully and remove old flooring if needed. The subfloor must be clean and level.
For floating floors like laminate and vinyl planks, pieces click together without glue. Nail-down floors like hardwood need nails or staples. Use spacers to leave a small gap around edges for expansion.
Cutting pieces to fit corners and doorways requires a saw and accurate measuring. Follow the manufacturer’s instructions closely.
Crown Molding and Trim Work

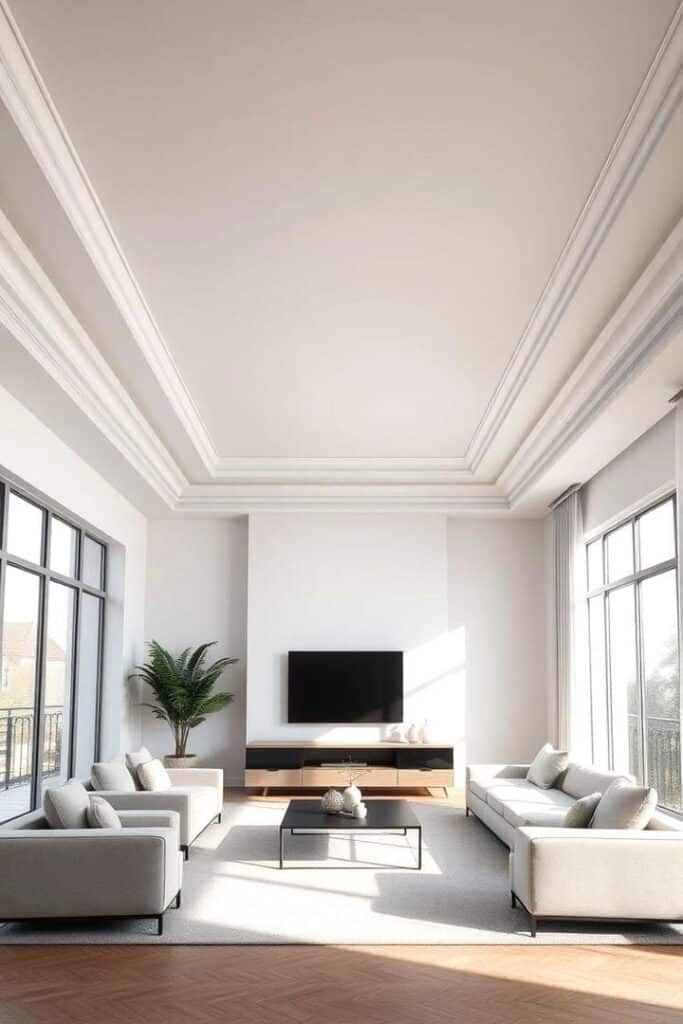
Crown molding adds a finished look between walls and ceilings. Selecting the right profile matches the home’s style, whether simple or ornate.
Measuring for crown molding requires noting wall lengths and angles. Miter cuts, usually at 45 degrees, fit corners together neatly.
Install molding using finishing nails or adhesive. Use nail fillers to cover holes and then sand before painting or staining.
Trim work around doors and windows frames completes the look. Measure each piece carefully, cut straight or mitered, and fit snugly before securing in place.
Kitchen and Bathroom Improvements
Kitchen and bathroom upgrades often focus on improving both function and style. Small changes like updated cabinet surfaces or new fixtures can make these spaces feel fresh without a full remodel. Adding features like tile backsplashes can protect walls and add personality.
Cabinet Refacing and Replacement
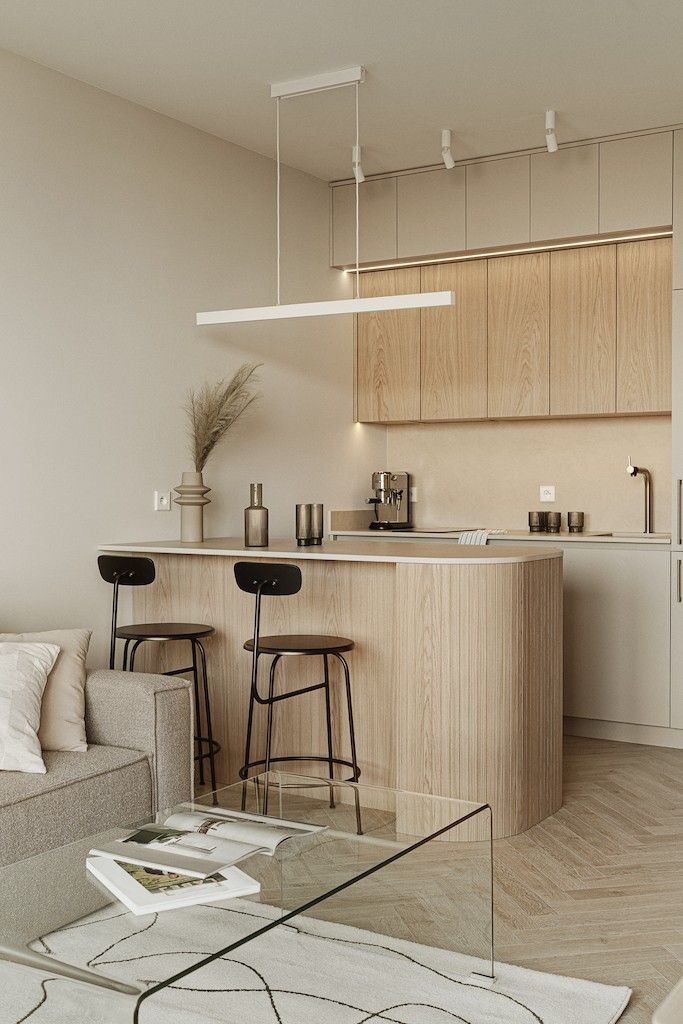

Cabinet refacing involves covering cabinet frames with new veneer or laminate, replacing doors and drawer fronts. It is less expensive and faster than full cabinet replacement. Refacing works well if the cabinet frames are sturdy and in good shape.
Full cabinet replacement removes old cabinets and installs new ones. This option gives more design freedom but costs more and takes longer. It is best when cabinets are damaged or outdated beyond repair.
Both options improve storage and appearance. Proper measurement and choosing the right materials ensure a good fit and longer life.
Tile Backsplash Installation

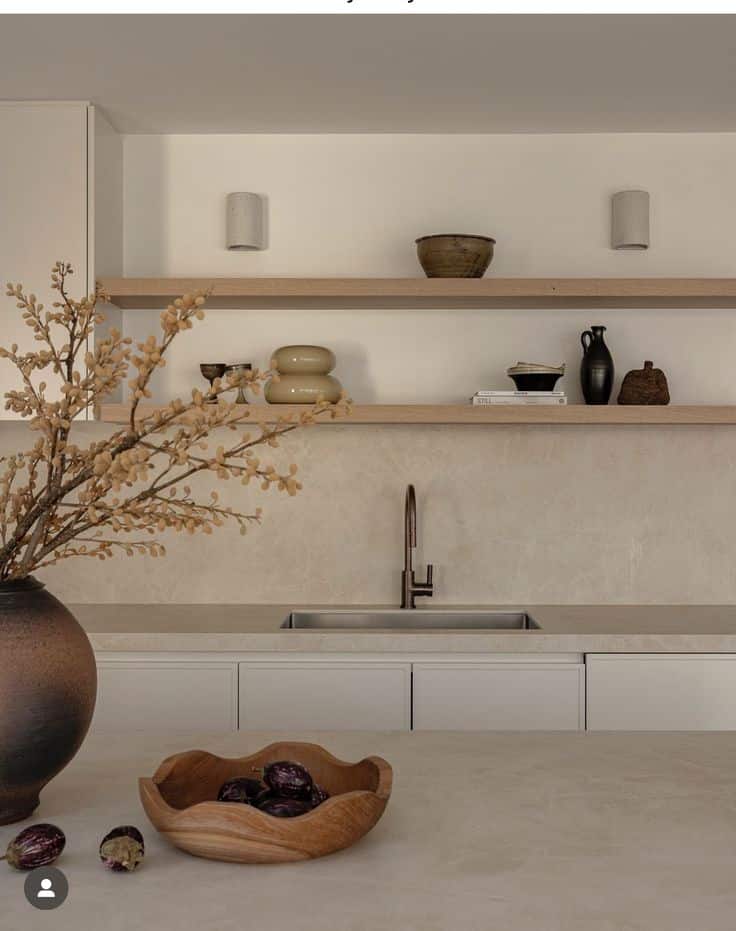
Installing a tile backsplash protects walls from water, grease, and stains near sinks and stoves. Tiles come in ceramic, glass, and stone, with various colors and sizes.
Preparation includes cleaning and leveling the wall. Thin-set mortar or tile adhesive holds tiles in place. Grout fills the gaps and seals the surface.
Basic tools needed are a tile cutter, trowel, sponge, and level. Careful spacing and applying sealant improve durability. Backsplashes add style and make cleaning easier.
Upgrading Fixtures

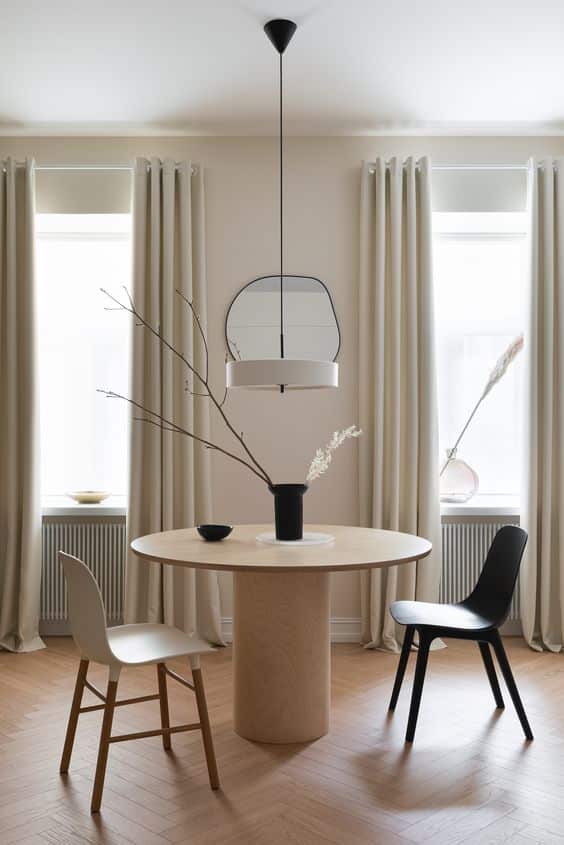
Replacing sinks, faucets, and lighting improves both function and appearance. New faucets can save water and reduce leaks. Choosing fixtures that match the room style gives a cohesive look.
Installation usually involves turning off water, removing old fixtures, and attaching new ones with proper seals. Some fixtures may need plumbing adjustments.
Modern fixtures often include features like pull-out sprayers or touch control. Proper tools and reading instructions help avoid common installation mistakes.
Lighting and Electrical Updates
Updating lighting and electrical components can improve both the look and function of a home. Proper installation, choosing the right switches and outlets, and using energy-efficient options are key points to consider.
Installing Light Fixtures
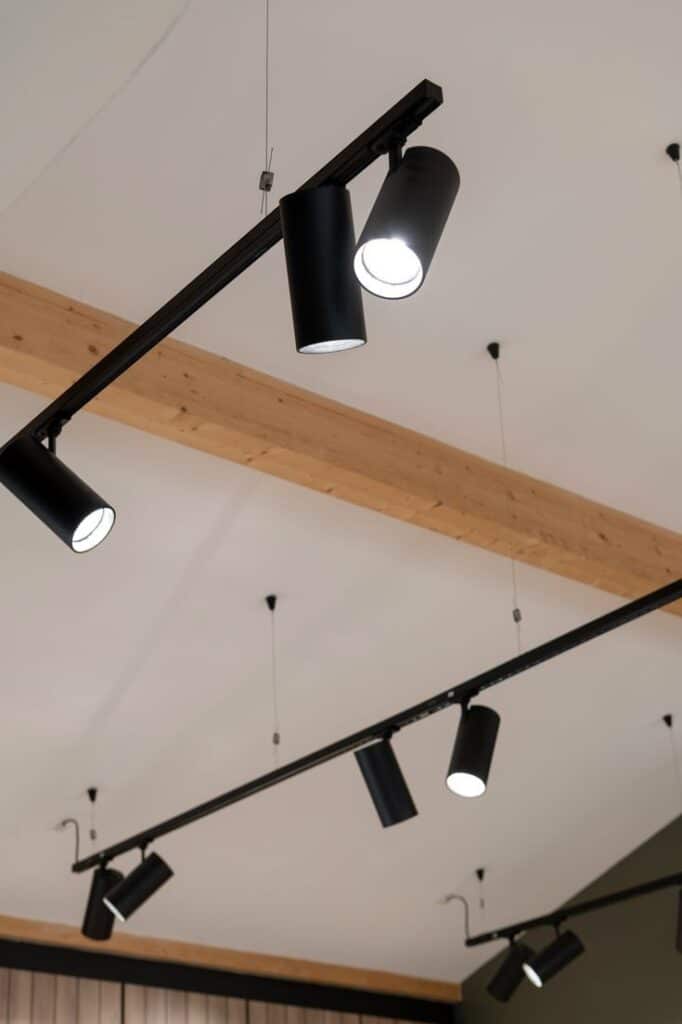

Installing light fixtures requires careful planning to match the room’s purpose. It is important to turn off the power before beginning any work. Using a voltage tester ensures wires are safe to handle.
Mount the fixture bracket securely to the electrical box. Connect wires by matching colors: black to black, white to white, and ground wires together. Secure connections with wire nuts and wrap them with electrical tape.
Use a level to ensure the fixture hangs straight. Finally, attach bulbs recommended for the fixture’s wattage to avoid overheating. Follow local codes and consider consulting a professional if unsure about wiring.
Switch and Outlet Upgrades

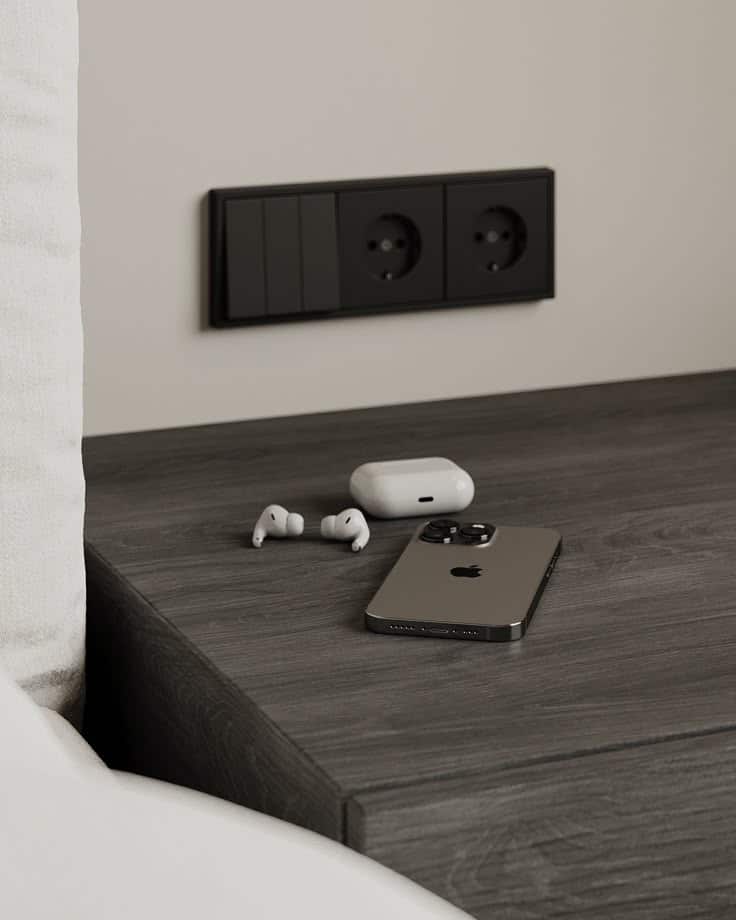
Upgrading switches and outlets can increase safety and convenience. Replace old two-prong outlets with three-prong grounded versions. Install GFCI outlets in kitchens, bathrooms, and outdoor areas to prevent shocks.
Modern switches include dimmers and smart options. Dimmer switches control light brightness and save energy. Smart switches connect to apps for remote control and scheduling.
Always cut power before working on switches or outlets. Use a voltage tester to confirm no electricity is flowing. Secure wires properly and attach covers. Tightening screws ensures stability and prevents hazards.
Energy-Efficient Lighting Solutions

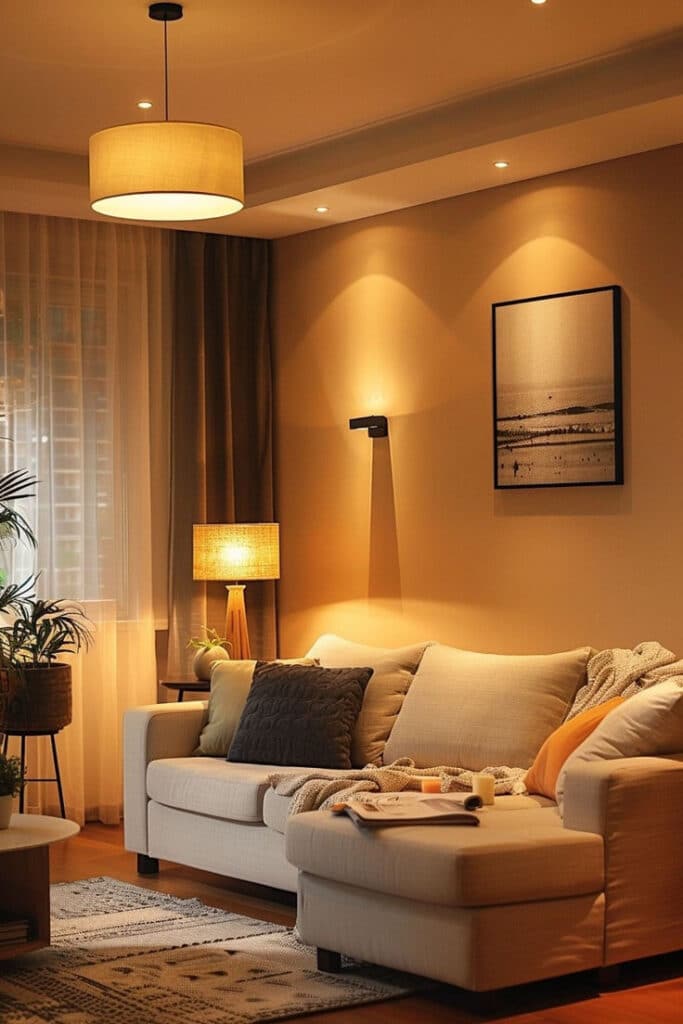
Switch to LED bulbs for long life and low energy use. LEDs use up to 75% less energy than traditional incandescent bulbs. They produce less heat, making them safer and cooler for rooms.
Consider daylight bulbs for areas needing bright, natural light. Soft white or warm bulbs work well in living spaces to create a cozy feel. Use motion sensors or timers to reduce wasted lighting.
Energy-efficient fixtures and bulbs lower electric bills and need less frequent replacement. Check for ENERGY STAR labels to find certified products. Proper lighting choice can improve mood and productivity indoors.
Exterior Home Enhancements
Improving the outside of a house can increase its value and curb appeal. This includes fixing the siding, updating paint, building or repairing decks, and enhancing the yard.
Painting and Siding Repairs


Properly painting and fixing siding protects a home from weather damage. Before painting, surfaces should be cleaned and any loose or damaged siding replaced.
Choosing the right paint type matters. Exterior latex paint is durable and easy to apply. Using a primer can help paint stick better and last longer.
Small holes or cracks in siding can be filled with caulk or wood filler. For larger damage, replacing whole siding panels may be necessary.
Painting should be done on dry days with mild temperatures. This helps paint dry evenly and prevents peeling.
Deck Building and Repair
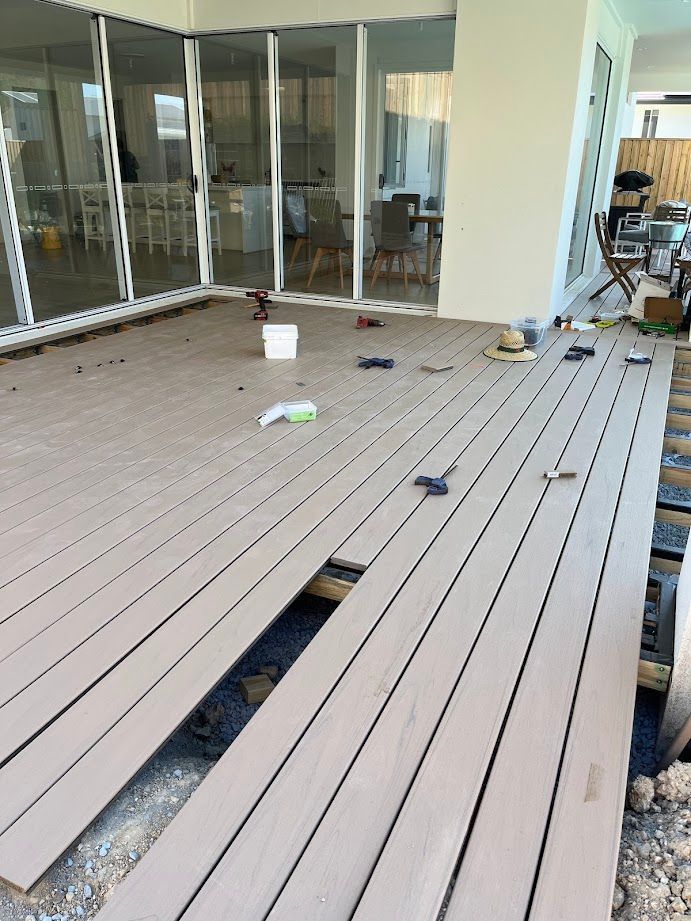
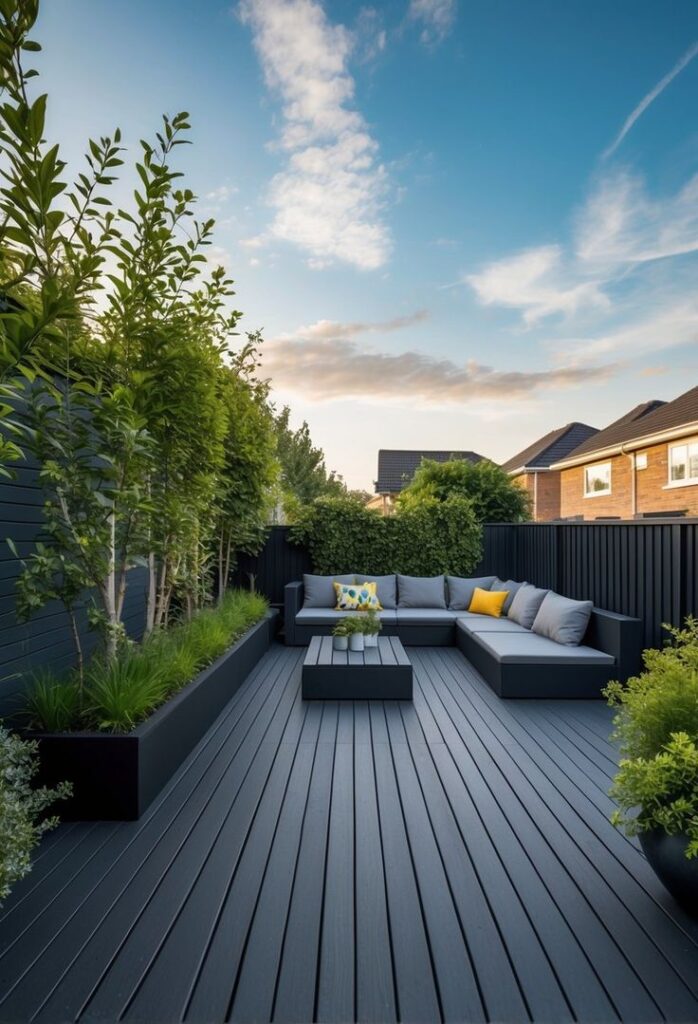
Building a deck starts with planning a solid frame using pressure-treated wood or composite materials. Properly spaced joists prevent sagging.
Repairs often involve replacing rotten boards, tightening loose screws, and sanding rough surfaces. Regular staining or sealing helps decks last longer by protecting wood from moisture.
Safety is key. Checking railings and steps for stability can prevent accidents. Adding non-slip paint or mats can improve grip.
Simple tools like drills, saws, and levels are essential for deck work. A detailed plan before starting saves time and money.
Landscaping Ideas


Landscaping can make a yard more inviting and increase a home’s value. Adding flower beds, shrubs, or trees improves curb appeal.
Using mulch around plants conserves moisture and reduces weeds. Creating paths with stone or gravel can guide guests and protect grass.
Lawn care involves regular mowing, watering, and fertilizing. Proper watering means deep, infrequent watering rather than daily light sprays.
Lighting can highlight features and improve safety. Solar lights are easy to install and energy-efficient.
Storage and Organization Solutions
Good storage and organization help keep spaces clean and make items easy to find. Proper planning and using the right systems can save time and reduce clutter.
Custom Shelving Systems


Custom shelving fits specific spaces and needs. It uses available wall space to store items vertically. Shelves can be built from wood, metal, or plastic depending on the room and weight capacity needed. Adjustable shelves offer flexibility for different sized items like books, tools, or decorations.
To build shelves, measure the wall area carefully and decide on the number of shelves needed. Use brackets or wall anchors to support the weight safely. Painting or staining shelves can improve aesthetics and protect wood surfaces. Custom shelves are practical for living rooms, kitchens, and offices.
Closet Makeovers


Closet makeovers improve space by adding shelves, drawers, and hanging rods. A simple step is to install double hanging rods to double the hanging space for clothes. Drawer units or wire baskets can create storage for smaller items such as socks and scarves.
Using clear bins or labeled boxes keeps goods visible and organized. A closet system kit can be purchased for easy installation without custom carpentry. This change makes it easier to find clothes and keeps the closet tidy, avoiding wasted space.
Garage Organization
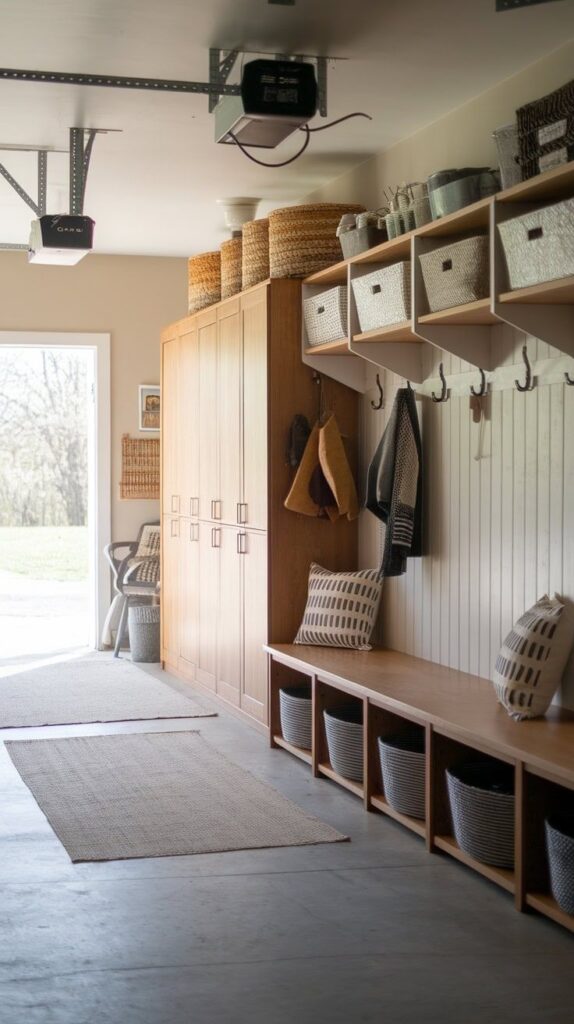
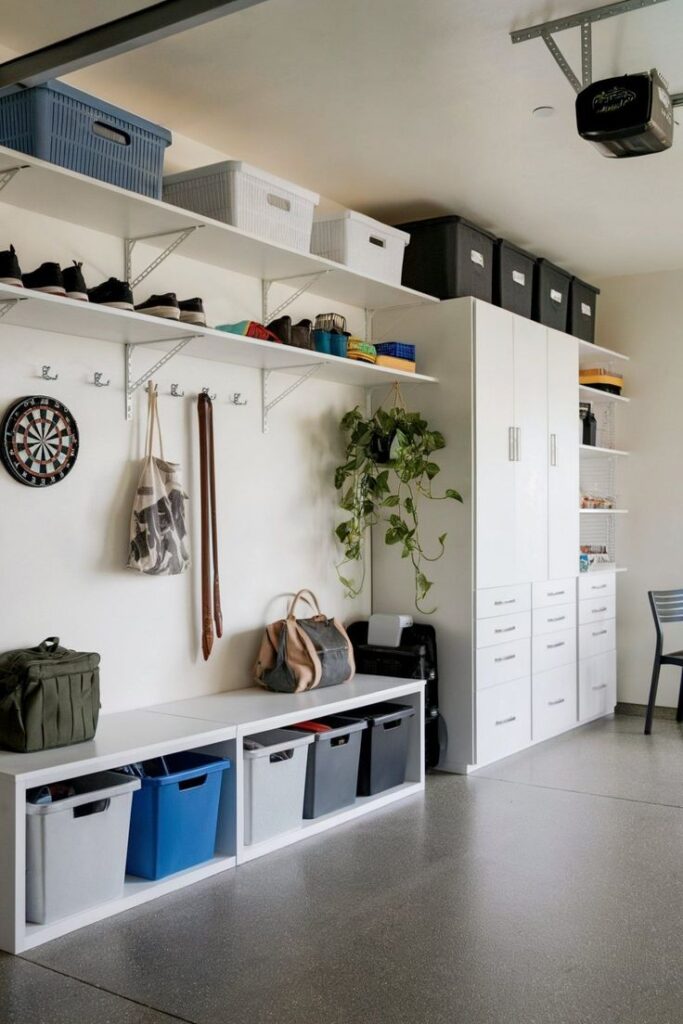
Garage organization systems maximize space and control clutter from tools and sports gear. Heavy-duty shelving, pegboards, and hooks are common solutions. Pegboards allow tools to be hung and easily reached. Shelving units made from metal or plastic can hold heavier items like paint cans or power tools.
Using labeled bins helps separate small hardware. Overhead storage racks free up floor space by holding seasonal items or bulky boxes. Planning zones by item type can make the garage more efficient and safe for daily use.
Maintaining DIY Home Improvements
Proper care helps keep home projects working well and looking good for years. Regular checks and timely fixes prevent small problems from becoming costly repairs. Simple tips for upkeep and spotting issues early protect the value of DIY work.
Seasonal Maintenance Tasks

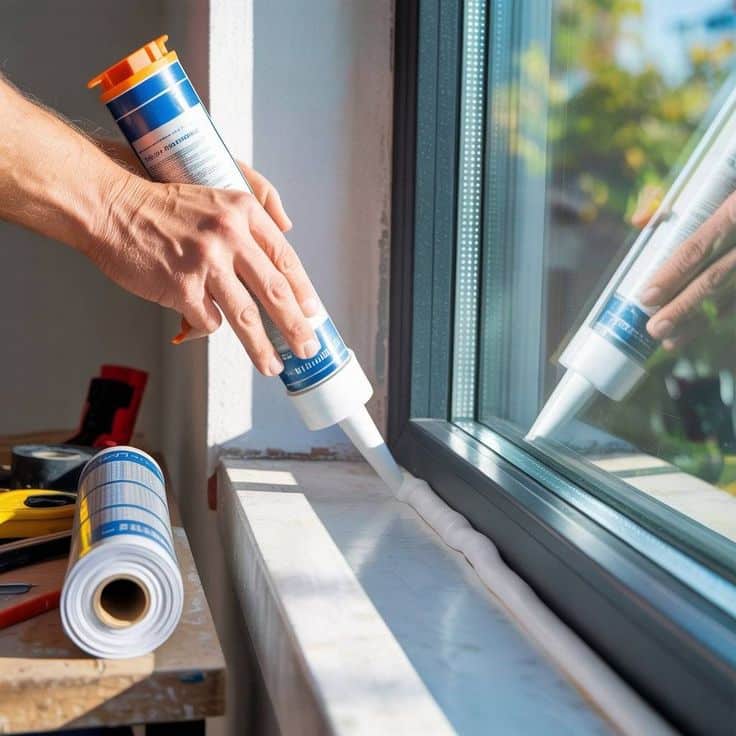
Seasonal checks ensure that improvements like painting, sealing, or roofing stay in good condition. In spring, it’s important to clear gutters of leaves and debris to prevent water damage. Summer is a good time to inspect decks for loose boards or faded stain.
Fall maintenance includes cleaning outdoor furniture and sealing cracks in walkways before winter cold causes more damage. In winter, checking heating systems and insulation around windows saves energy and protects against drafts. Writing a list of seasonal tasks helps keep track of what needs to be done.
Identifying Common Issues

Home improvements can show signs of wear that need quick attention. Cracks in painted walls or loose tiles can point to structural movement or poor installation. Moisture stains inside walls often mean leaks or poor ventilation.
Watch for doors or windows that stick, which might signal swelling wood or frame problems. Faded or bubbling paint on exterior walls indicates sun or water damage. Routine inspections help catch these problems early, avoiding major repairs later. Using a flashlight and simple tools like a screwdriver for testing firmness can help spot weak areas.
Sustainable and Eco-Friendly DIY Projects
Many home projects focus on reducing energy use and finding new purposes for old materials. These efforts save money and help limit waste.
Energy-Saving Upgrades


Upgrading to energy-efficient lighting like LED bulbs lowers electricity bills. Installing weather stripping around doors and windows stops air leaks, which improves heating and cooling efficiency.
Adding a programmable thermostat helps control energy use by adjusting temperatures when no one is home. Low-flow showerheads and taps reduce water waste. Sealing gaps in the attic and walls prevents heat loss.
These upgrades often require simple tools and basic skills but create big savings over time. They also reduce the home’s impact on the environment by using less power and water.
Repurposing Materials

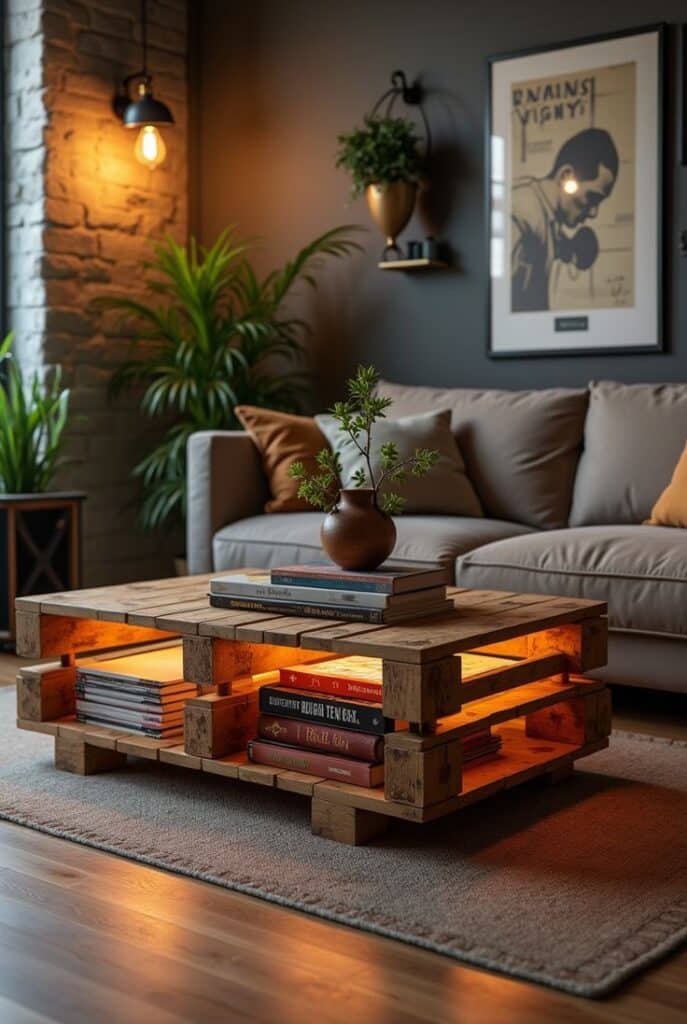
Using leftover or old materials helps cut waste and saves money. Wood pallets can be transformed into shelves or garden furniture. Old doors can become headboards or tables with some sanding and paint.
Scrap fabric turns into curtains or cushion covers. Broken tiles can be used for mosaics or decorative accents.
Repurposing requires creativity but little expense. It also avoids throwing things in the trash and supports a more sustainable home. Planning carefully helps ensure these projects fit well and look good.
Resources for Continued Learning


Many people find that learning more about DIY home improvement helps them feel confident in their skills. There are several reliable resources to explore.
Books offer detailed instructions on a wide range of projects. Titles such as The Complete Do-it-Yourself Manual provide step-by-step guidance for beginners and experts alike.
Online tutorials on websites like YouTube give visual lessons. Watching someone do the task can make complex steps easier to understand.
Home improvement blogs often share tips and tricks. These blogs can offer updates on new tools and trends.
Here is a list of some popular resources:
| Resource Type | Examples | Notes |
|---|---|---|
| Books | The Complete Do-it-Yourself Manual | Good for detailed learning |
| Video Tutorials | YouTube channels like “This Old House” | Visual and easy to follow |
| Blogs | The Spruce, Family Handyman | Practical advice and updates |
Community workshops and local hardware stores sometimes offer free or low-cost classes. These can be hands-on and allow people to ask questions in person.
Using a mix of these resources helps improve skills faster and makes DIY projects less stressful.
- 3shares
- Facebook0
- Pinterest0
- Twitter3
- Reddit0


