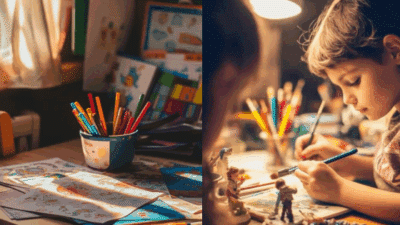
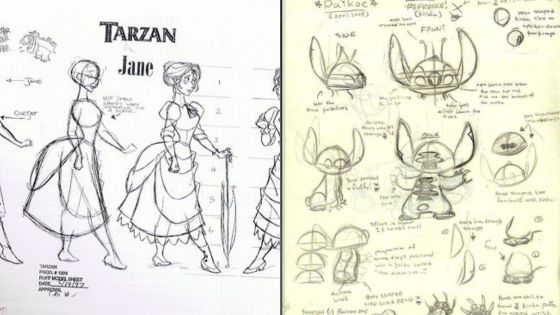
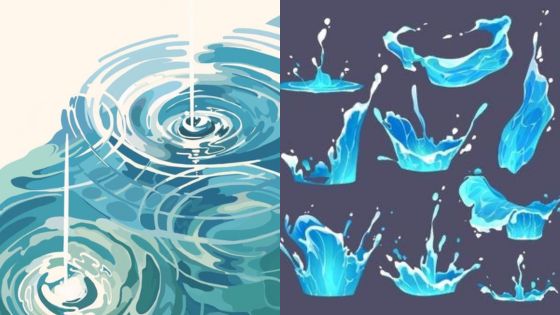
Ever wanted to dive into the exciting world of digital art, specifically focusing on creating your own manga and comics? Then you’ve likely stumbled upon the term “manga studio drawing.” While the software known as “Manga Studio” has evolved and is now more widely recognized as Clip Studio Paint, its legacy as a powerhouse for comic and manga artists lives on. This isn’t just another drawing program; it’s a dedicated workspace designed from the ground up to empower artists, whether you’re sketching your first character or inking a multi-page graphic novel. If you’re looking for a casual guide to unlock its potential, you’re in the right place. We’re going to walk through everything you need to know, from setting up your digital canvas to mastering advanced techniques, all to help you create stunning digital art that truly pops. Get ready to transform your artistic vision into reality!
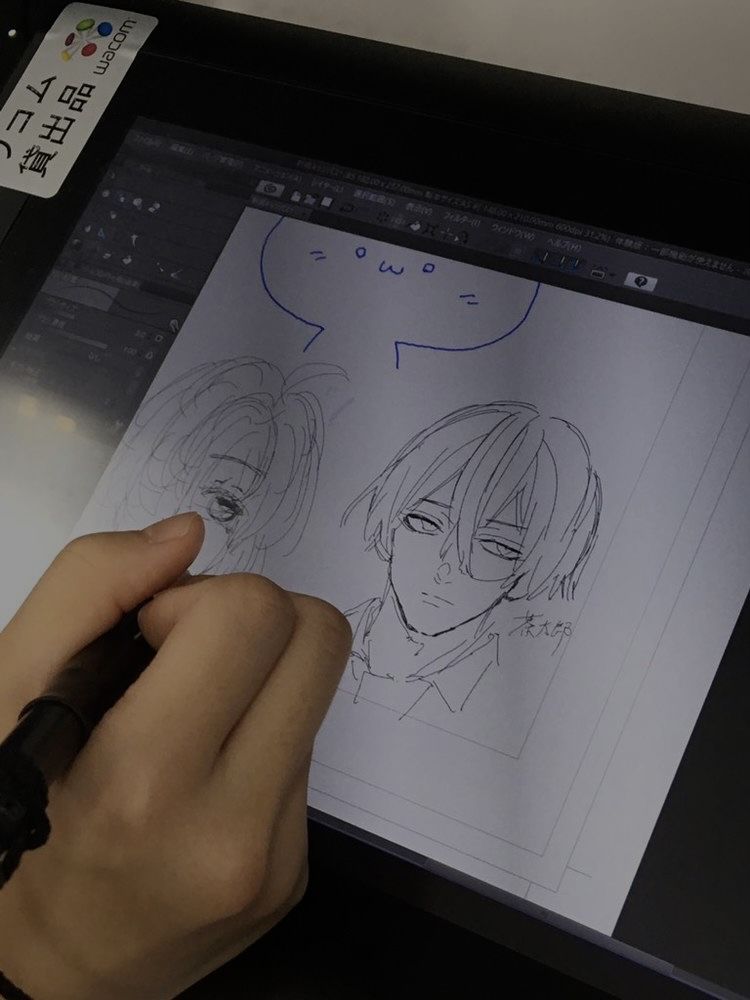
Understanding Manga Studio (Clip Studio Paint): A Quick Overview
Before we get our hands “dirty” with digital ink, let’s clear up the name game. What most artists fondly remember as Manga Studio is now officially known as Clip Studio Paint (CSP). Celsys, the Japanese company behind the software, rebranded it several years ago to better reflect its broader capabilities beyond just manga – it’s fantastic for illustration, animation, and concept art too. However, its roots and arguably its strongest suit remain in comic and manga creation.
Why is CSP considered the industry standard for so many digital artists, especially those venturing into comics? Simple: it’s built by artists, for artists. While other programs can certainly handle digital drawing, CSP offers an unparalleled suite of tools specifically tailored to the comic workflow. Think advanced pen stabilization for super smooth lines, customizable screentones, precise perspective rulers, and even built-in 3D model importers that make figure drawing a breeze.
This isn’t just hype; it’s why professionals and aspiring artists alike gravitate towards it. From indie comic creators to major manga publishers, CSP is a go-to. It offers both a one-time purchase (Pro and EX versions) and a monthly subscription, making it accessible to various budgets. The EX version, in particular, comes packed with features for multi-page projects, making it ideal for creating entire graphic novels. Don’t worry if you’re just starting; the Pro version has everything you need to get going with stunning single illustrations and shorter comics.
Getting Started: Setting Up Your Digital Canvas
Jumping into digital art requires a few foundational steps. Let’s make sure you’re properly equipped and set up for success before you even draw your first line.
Essential Hardware for Digital Drawing
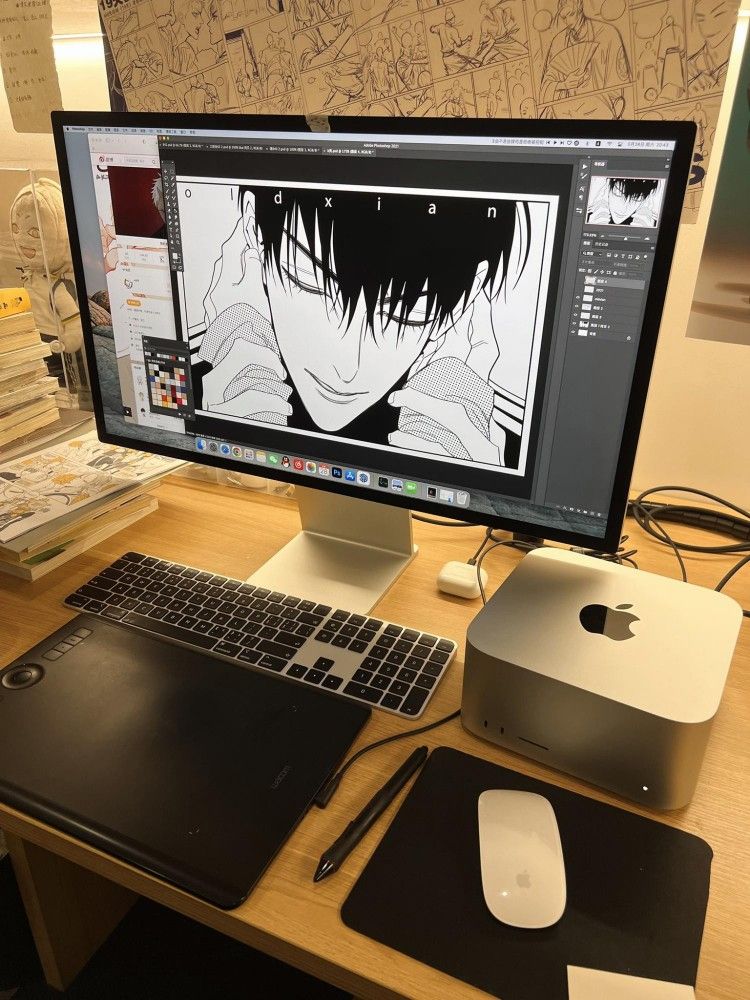
You don’t need a supercomputer, but a few key pieces of hardware will make your manga studio drawing experience much smoother.
- A Computer: A desktop or laptop with decent processing power and RAM (at least 8GB, 16GB is better) is essential. CSP runs well on Windows, macOS, and even iPad/Android tablets, so choose what works best for you.
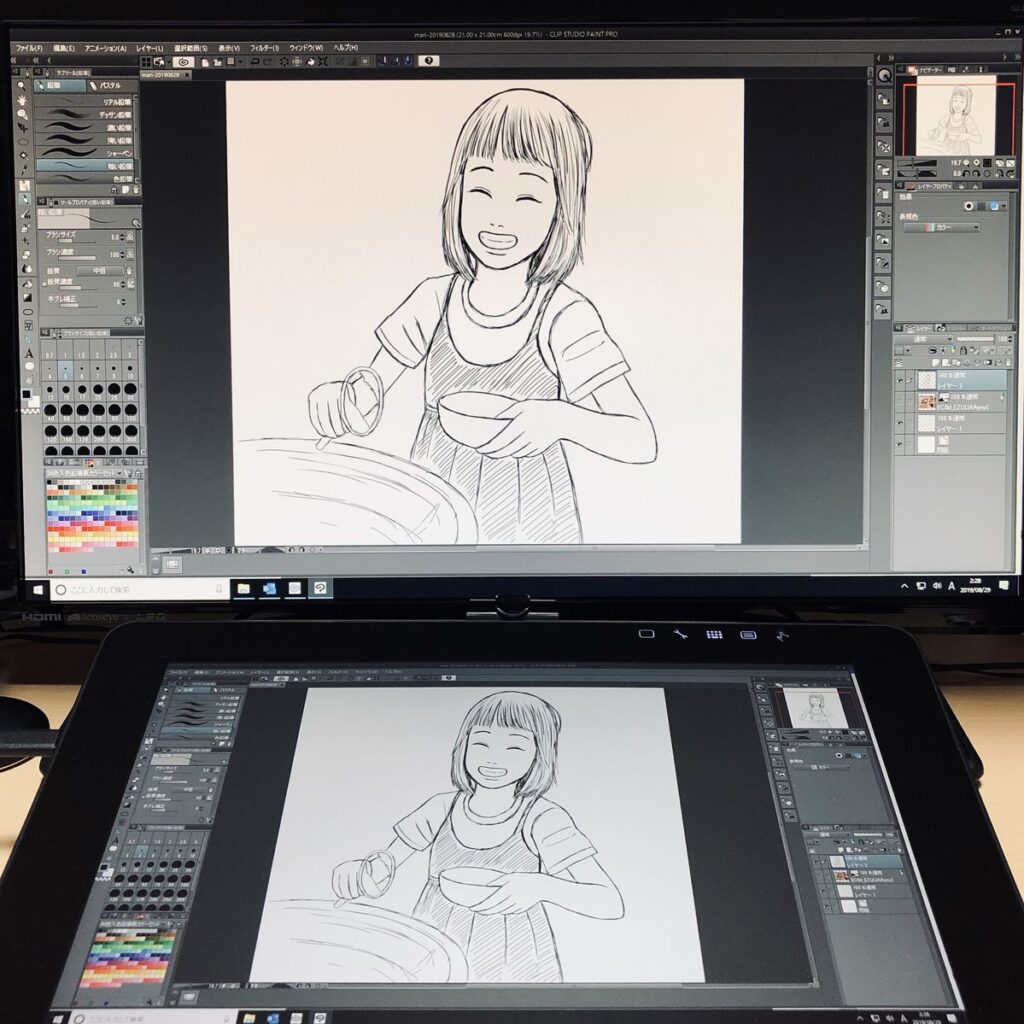
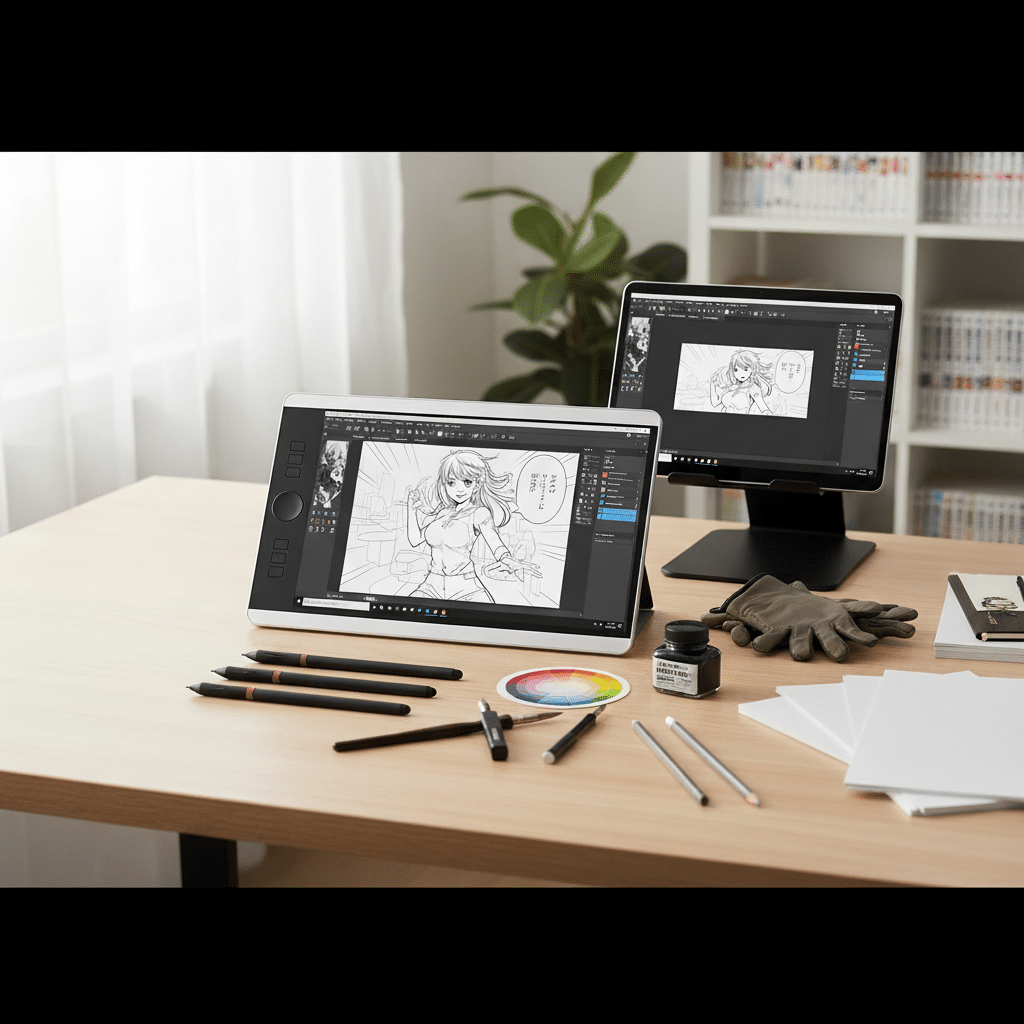
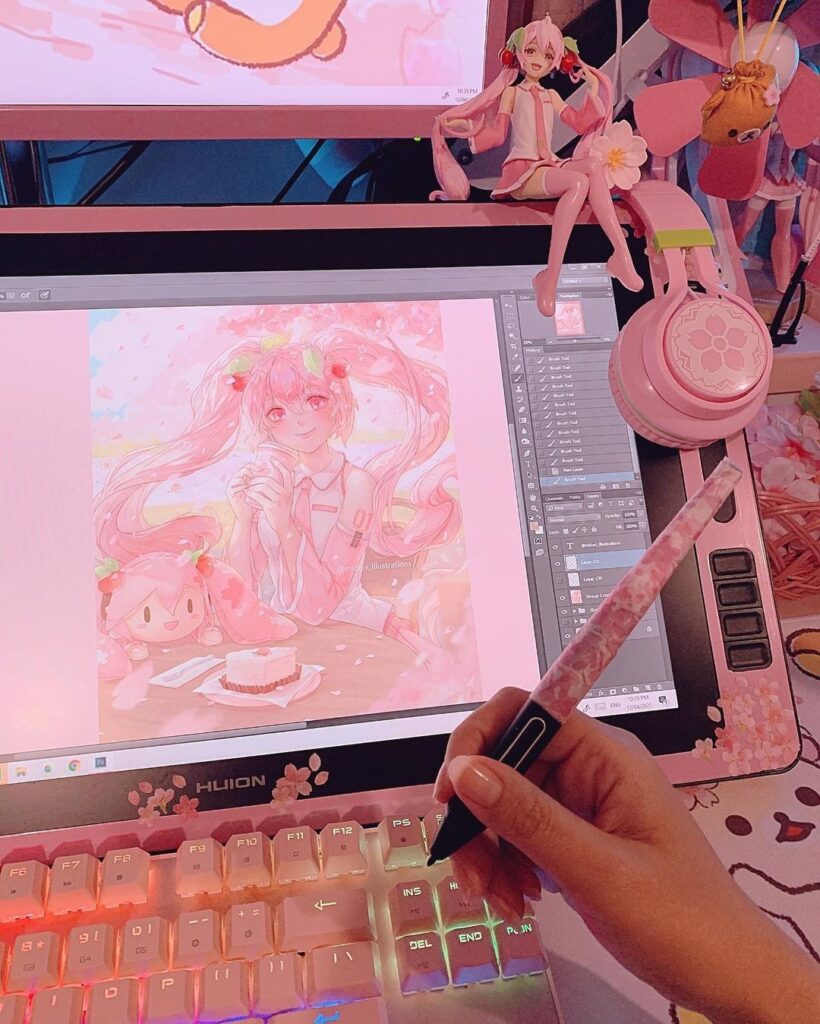
- A Drawing Tablet: This is non-negotiable. While you can technically draw with a mouse, it’s like trying to paint a masterpiece with a brick. A pressure-sensitive drawing tablet allows you to control line thickness and opacity based on how hard you press, mimicking traditional art tools. Wacom is the industry leader, but brands like Huion and XPPen offer excellent, more budget-friendly alternatives.
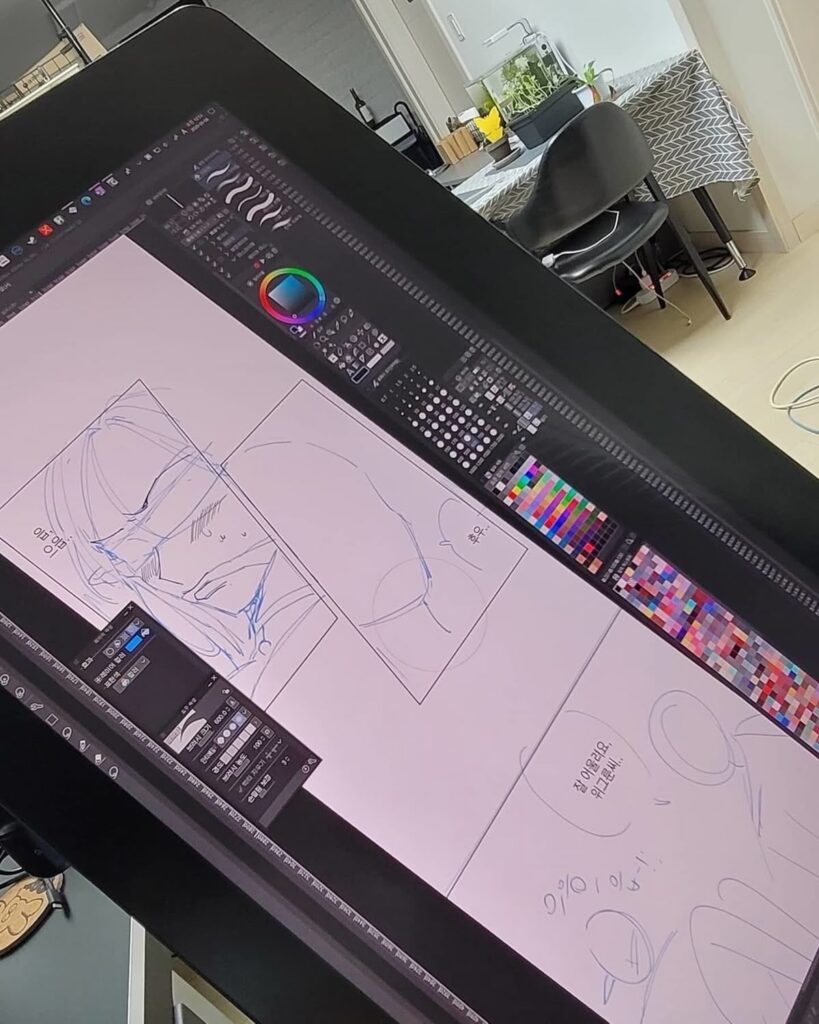
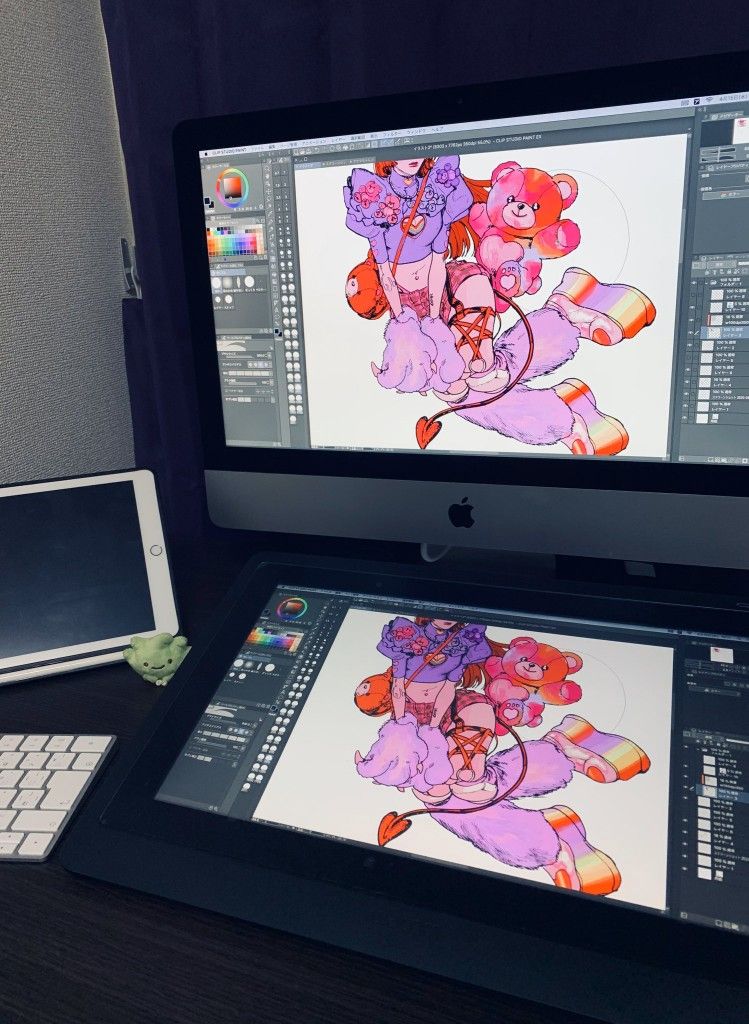
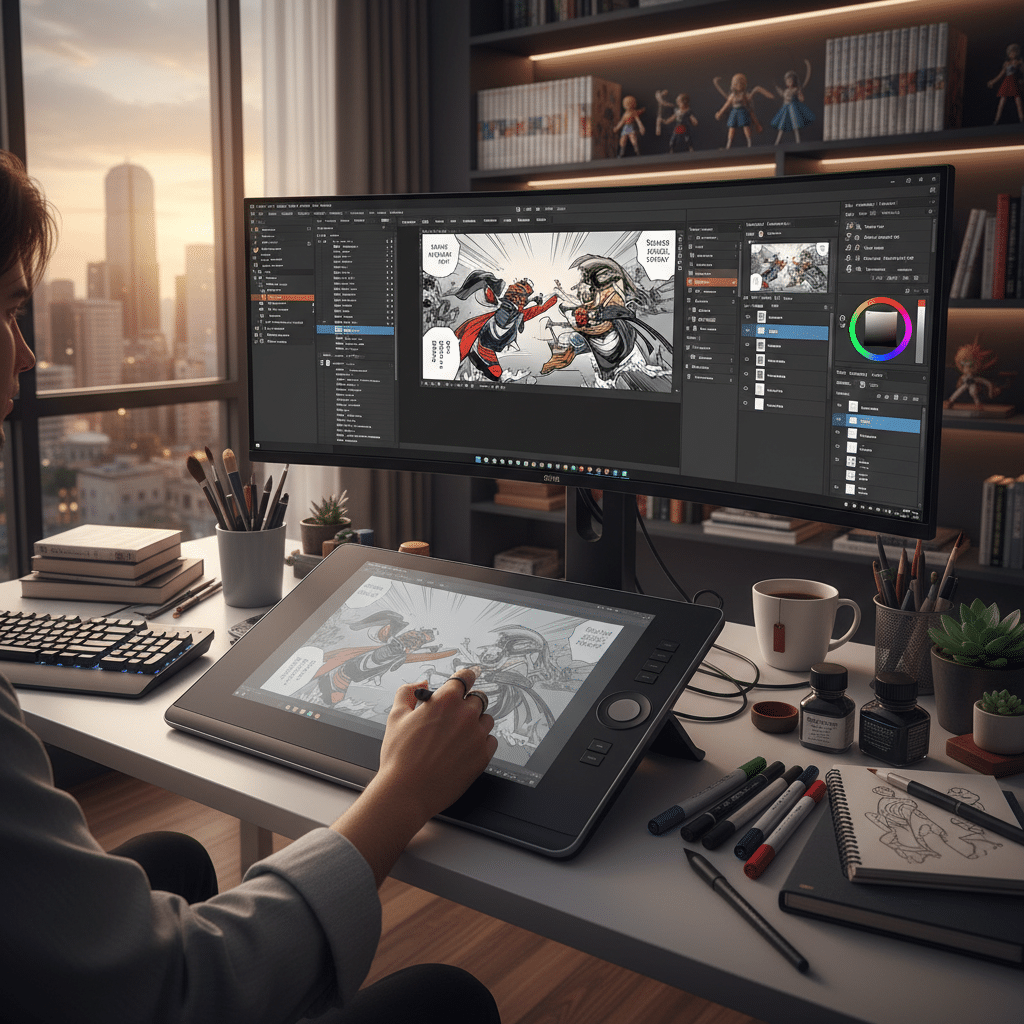
Screen vs. Screenless Tablets:* Screenless tablets (like Wacom Intuos) are more affordable and work by drawing on the tablet while looking at your computer monitor. Screen tablets (like Wacom Cintiq or iPad Pro) allow you to draw directly on the screen, offering a more intuitive, paper-like experience. For a truly immersive experience, a screen tablet can be a game-changer, but many incredible artists started and continue to work with screenless tablets.
- A Stylus: Your tablet will come with one. Ensure it’s comfortable to hold, as you’ll be spending hours with it!
Software Installation and Initial Setup
Once you’ve got your hardware, it’s time to install Clip Studio Paint. 1. Download and Install: Head to the official Celsys website to download the installer. Follow the on-screen instructions. 2. Registration/Activation: You’ll need to enter your serial key or log into your account to activate the software. 3. Driver Installation: Crucially, install the latest drivers for your drawing tablet. This ensures pressure sensitivity and all custom buttons work correctly. Restart your computer after installing drivers. 4. Initial Settings: When you first open CSP, you might see a default workspace. Don’t be overwhelmed! We’ll explore it next.
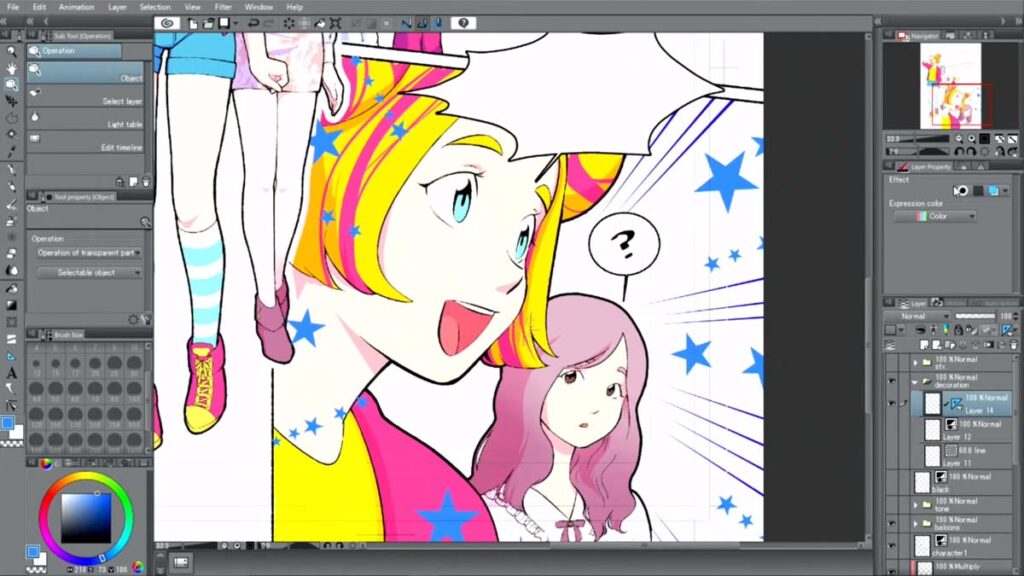
Navigating the Interface: Your Digital Command Center
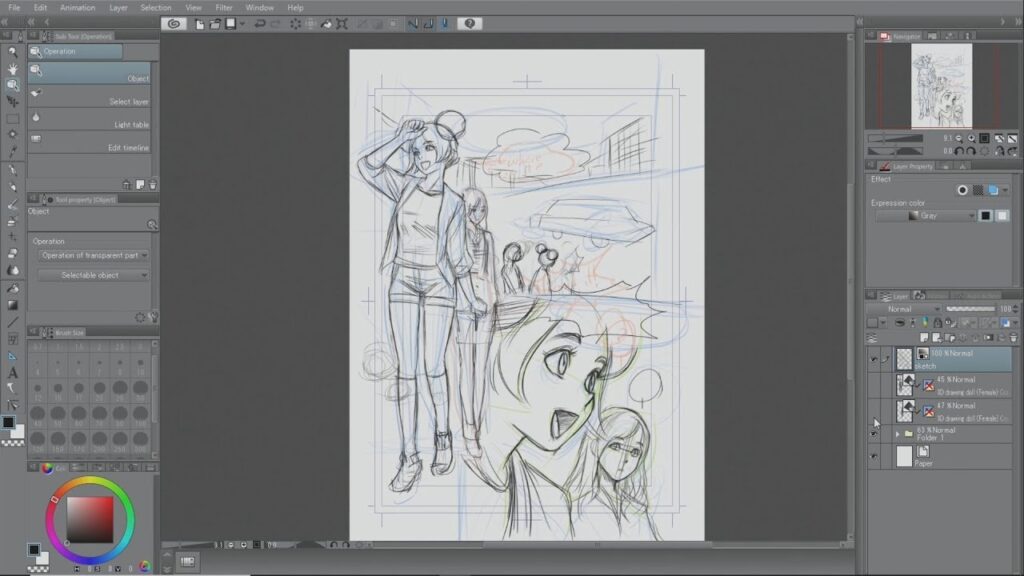
The CSP interface can look a bit busy at first glance, but it’s logically organized.
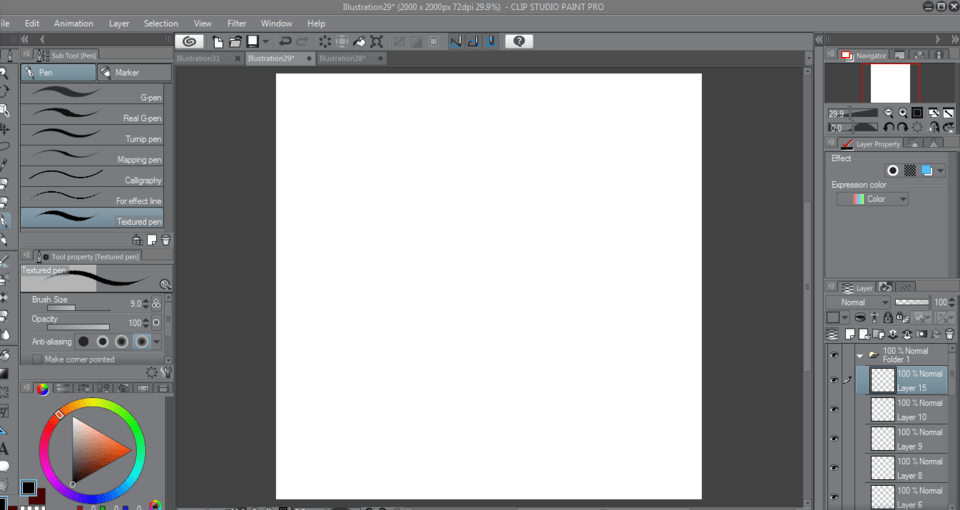
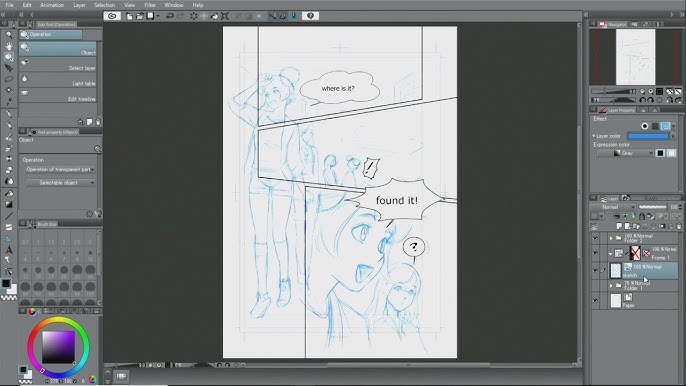
- Tool Bar (Left Side): This is where you’ll find your main tools: pens, pencils, erasers, fill tools, selection tools, text, rulers, and more.
- Tool Property Palette (Below Tool Bar): When you select a tool, this palette changes to show its specific settings. For a pen, you’ll see size, opacity, stabilization, etc.
- Sub Tool Palette (Below Tool Property): This shows different variations of the selected tool category. For example, if you select the Pen tool, this palette will show G-Pen, Mapping Pen, Calligraphy Pen, etc.
- Layer Palette (Right Side): Absolutely crucial! Digital art is built on layers. This palette lets you create, delete, organize, and adjust properties for each layer.
- Color Palettes (Right Side): Various ways to select colors: Color Wheel, Color Slider, Color Set, History.
- Navigator Palette: Shows a miniature view of your canvas, useful for zooming and panning, and flipping the canvas horizontally (a great way to spot mistakes!).
- Menu Bar (Top): Standard file, edit, view, layer, etc., menus.
Feel free to drag these palettes around to create a workspace that feels comfortable for you. You can save custom workspaces too!
Creating Your First Canvas: Size Matters
Ready to make some art? Let’s open a new file. 1. Go to `File > New`. 2. Use of Work: Choose “Illustration” for single images or “Comic” for multi-page works. The “Comic” option gives you specific comic page templates, including print margins and safe zones. 3. Canvas Settings: Width & Height: For digital use, 1920×1080 pixels (Full HD) is a good starting point for illustrations. For print, you’ll need much larger dimensions. Resolution (DPI): This is critical. For web-only art, 72-150 DPI is fine. For print, aim for 300 DPI (dots per inch) for color and 600 DPI for black and white line art to ensure crisp lines. Expression Color: Choose “Color” for full-color work or “Monochromatic” for pure black and white line art (often used for traditional manga tones). Paper Color: Usually white, but you can change it.
Hit “OK,” and voilà! Your digital canvas awaits.
Essential Tools for Manga Studio Drawing
Clip Studio Paint is brimming with tools, and knowing your way around the most important ones will significantly speed up your workflow and improve your art.
Pencil and Pen Tools: Your Digital Ink
These are the bread and butter for any line artist. You’ll find them under the “Pen” or “Pencil” tool categories.
- G-Pen: Mimics a traditional G-pen nib, offering thick and thin lines, perfect for dynamic outlines and inking. It’s a go-to for many manga artists.
- Mapping Pen: Provides a more consistent, finer line, ideal for details, delicate hair, or technical drawings.
- Turnip Pen: A specialty pen that gives a distinctive, almost calligraphy-like stroke, good for expressive lines.
- Pencil Tools: Mimic traditional pencils with varying degrees of texture and softness. Great for sketching and initial roughs.
Customization is King:
- Brush Size: Adjust on the `Tool Property` palette.
- Opacity: Controls how transparent your lines are.
- Stabilization: This is where CSP shines! Increase the stabilization setting to smooth out shaky lines, making it much easier to draw clean curves and long strokes. This feature alone is a huge reason artists love this software for manga studio drawing.
- Brush Shape, Texture, Anti-aliasing: Dive into these settings for ultimate control over how your lines look.
Brush Tools: Painting and Texturing
Beyond pens, CSP offers a rich collection of brushes for painting, shading, and adding textures.
- Watercolor/Oil Brushes: For painterly effects, blending colors, and adding atmospheric touches.
- Airbrush: Creates soft, diffused color or shadows, great for smooth gradients and light effects.
- Decoration Brushes: These are pre-made patterns or shapes that you can “stamp” onto your canvas. Think grass, chains, flowers, or even speech bubbles. They are massive time-savers.
- Custom Brushes: You can create your own brushes or download thousands from the Clip Studio Asset store, which leads us to a crucial point: leverage the community! Many artists share incredible resources.
Eraser Tools: Precision and Correction
Just as important as drawing tools are the ones for erasing.
- Hard Eraser: For clean, precise removal.
- Soft Eraser: For subtle blending or fading effects.
- Vector Eraser: If you’re drawing on a vector layer (more on this soon!), this eraser is magic. It can erase up to an intersection, or simply part of a line without affecting the rest, making line art cleanup incredibly efficient.
Fill Tools: Quick Color Application
- Fill (Bucket) Tool: Fills enclosed areas with color. Be mindful of gaps in your line art!
- Lasso Fill: Select an area with the lasso, and it instantly fills it. Great for complex shapes or areas with open lines.
- Close and Fill: A smart fill tool that tries to close small gaps in your line art before filling.
Selection Tools: Isolating Areas
- Lasso Selection: Freehand selection for irregular shapes.
- Magic Wand: Selects areas of similar color or tone.
- Selection Pen/Eraser: Paint your selection with a brush-like tool. Perfect for precise selection of intricate areas.
- Auto Select (Refer to Layer): This tool is brilliant. You can set it to refer to a specific line art layer, meaning it will only select within those lines, even if you’re working on a different coloring layer.
Text Tool: Adding Dialogue and Sound Effects
For comics and manga, text is vital.
- Text Tool: Simply click and type. Customize font, size, color, and spacing.
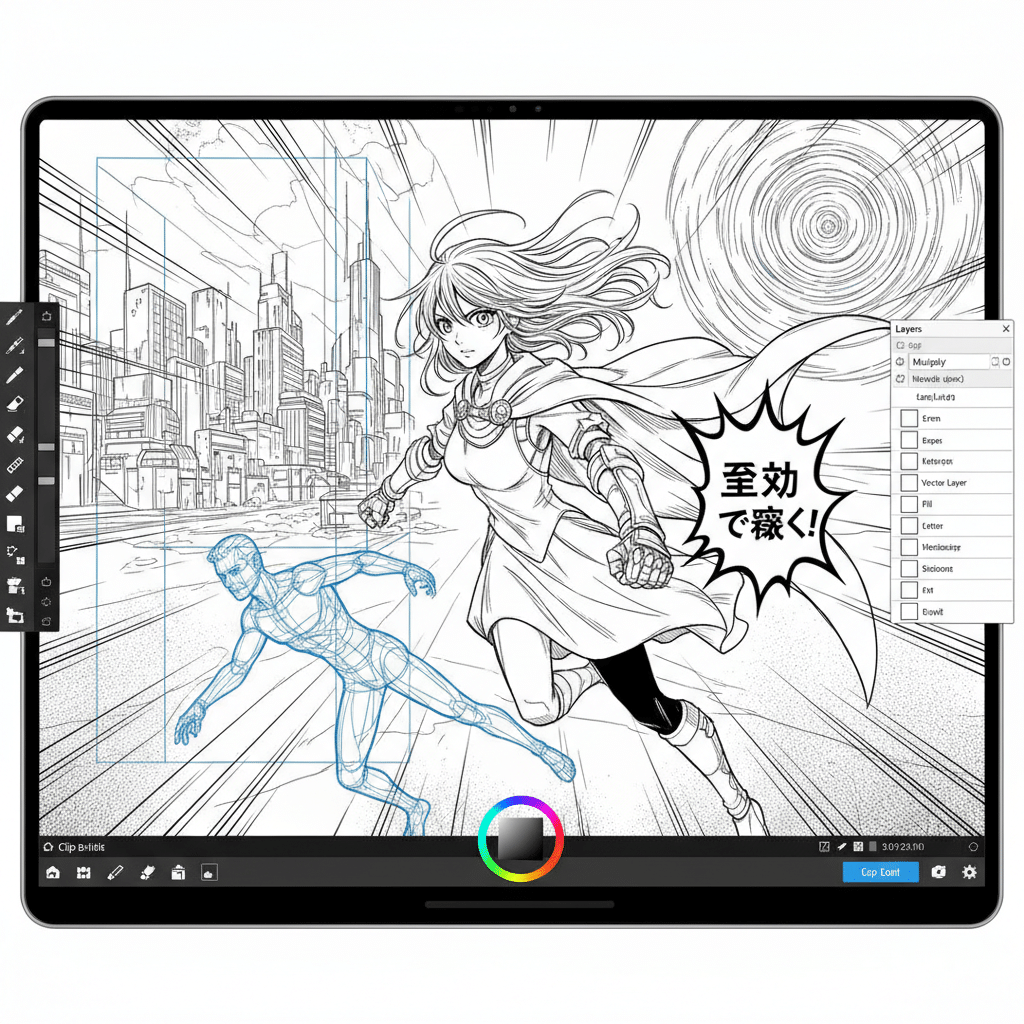
- Speech Bubble Tool: CSP has dedicated tools for creating speech bubbles, thought bubbles, and even panel frames, making comic layout much faster. You can draw the bubble shape, and it automatically creates a text box within it.
Ruler Tools: Precision and Perspective
This is another area where CSP truly shines for manga studio drawing.
- Linear Ruler: For perfectly straight lines.
- Curve Ruler: For smooth, customizable curves.
- Figure Ruler: For drawing perfect circles, squares, and ellipses.
- Perspective Rulers: This is a game-changer for backgrounds. Set up 1-point, 2-point, or 3-point perspective grids, and your drawing tools will snap to those lines, ensuring accurate perspective every time. This tool alone can save hours of tedious manual perspective drawing.
Mastering Line Art: The Foundation of Manga
In manga and comics, line art is the backbone. Clean, expressive lines define characters, objects, and emotions. Clip Studio Paint offers incredible features to perfect this crucial step.
Vector Layers vs. Raster Layers: Why Vectors are a Game-Changer
Understanding the difference between these two layer types is fundamental in CSP.
- Raster Layers (Standard): Most digital art programs primarily use raster layers. When you draw on a raster layer, you’re essentially coloring pixels. If you zoom in too much or try to resize elements, they can become pixelated or blurry. This is fine for painting, but less ideal for crisp line art.
- Vector Layers: This is where CSP elevates manga studio drawing. When you draw on a vector layer, the program records the mathematical path of your lines, not just pixels.
Scalability: You can resize, transform, and rotate vector lines without any loss of quality or pixelation. Editability: You can easily adjust line thickness, change the brush shape after drawing, and most importantly, use the `Correct Line` tool and `Vector Eraser` for incredibly precise cleanup. Cleanup Power:* The `Vector Eraser` can erase lines up to an intersection, or you can use `Correct Line > Adjust Line Width` to thicken or thin parts of a line with surgical precision. This is a massive time-saver for refining line art.
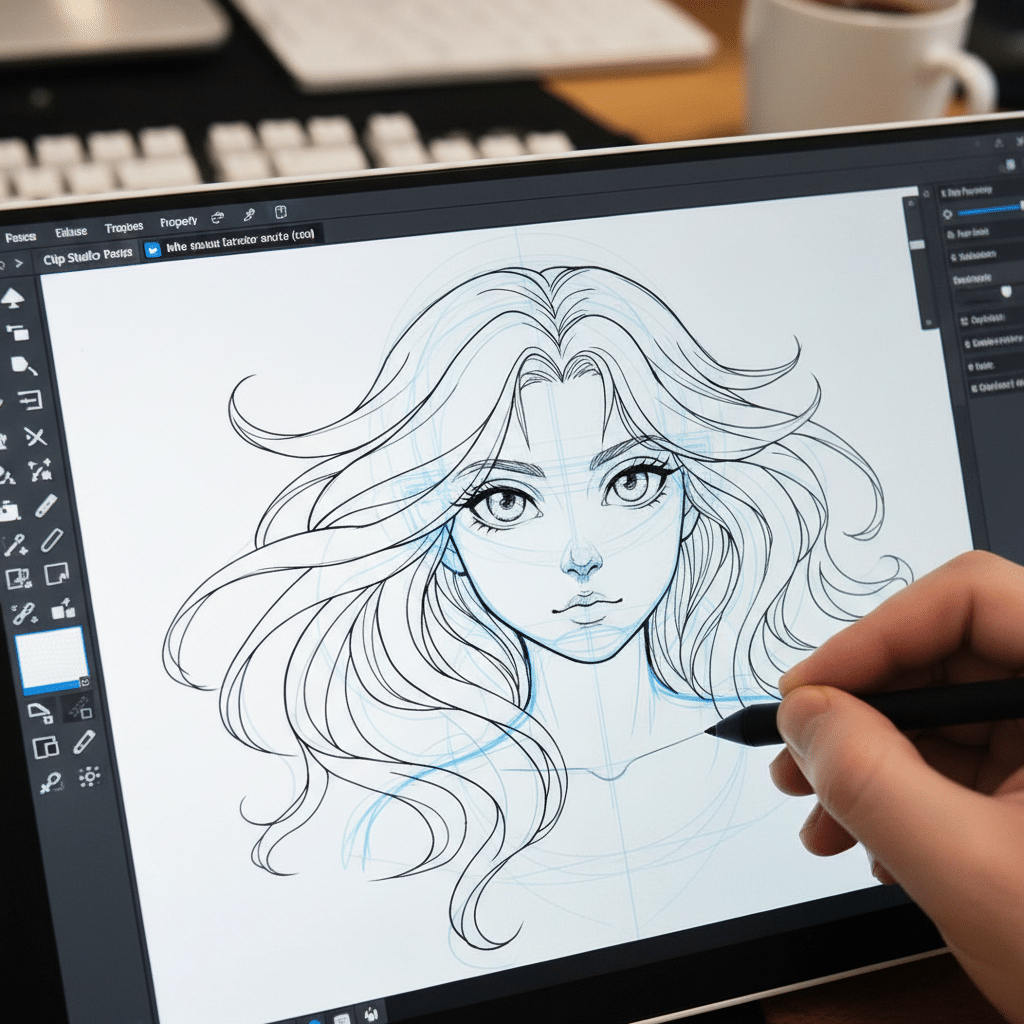
Pro-Tip: Always do your final line art on vector layers. Sketch on a raster layer underneath, then create a new vector layer for inking.
Ink Stabilization Settings: Smooth Operator
We mentioned stabilization earlier, but it’s worth reiterating its importance for line art. In the `Tool Property` palette for your pen tools, crank up the stabilization setting (usually between 50-90, depending on your hand steadiness and desired effect). This filters out minor hand tremors, resulting in much smoother, more confident lines. Experiment to find a level that works for you without making your lines feel sluggish or unresponsive.
Line Weight and Control
Varying line weight adds depth, emphasis, and dynamism to your art.
- Outer Lines: Generally thicker to define forms and separate them from the background.
- Inner Details: Thinner lines for features, textures, and internal details.
- Shadow Sides: Often slightly thicker lines on the side where light isn’t hitting.
- Pressure Sensitivity: Your drawing tablet’s pressure sensitivity is key here. Practice controlling your stylus pressure to naturally create varied line weights.
Cleaning Up Lines
Even with stabilization, you’ll need to clean up your line art.
- Vector Eraser: Use it to remove overlapping lines at intersections or to refine edges.
- Correct Line Tool: This amazing tool, found under the `Eraser` section, has several functions for vector layers:
Adjust Line Width: Select this, then drag along a line to thicken or thin it. Simplify Vector Line: Reduces the number of control points, making lines smoother. Connect Vector Line:* Joins two nearby line segments.
- Zoom In: Don’t be afraid to zoom in closely (up to 800-1200%) to spot tiny imperfections.
Inking Tips and Tricks
- Don’t Rush: Take your time with each stroke.
- Long Strokes: For smooth curves and lines, try to draw them in one confident stroke rather than many small, choppy ones. Rotate your canvas (hotkey `R` then drag) to find the most comfortable angle for your hand.
- Practice Curves: Use a large canvas and just practice drawing smooth curves and circles. This builds muscle memory.
- Layer Up: For complex characters or objects, consider inking different elements on separate vector layers (e.g., hair on one layer, face on another) for easier editing.
Coloring Techniques for Vibrant Illustrations
Once your line art is sparkling, it’s time to bring your creation to life with color. Clip Studio Paint offers a versatile toolkit for everything from flatting to intricate shading.
Flatting: Laying Down Base Colors
Flatting is the process of applying solid, base colors to each distinct area of your illustration. This is typically done on a new layer underneath your line art layer.
- Refer to Line Art Layer: Use the `Fill Tool` and set its `Refer to multiple` setting to “Reference Layer.” Then, specify your line art layer as the reference layer. This allows the fill tool to fill up to your line art, even if you’re on a different coloring layer.
- Close and Fill Tool: This variation of the fill tool is excellent for quickly coloring areas, even if your line art has tiny gaps. It attempts to “close” the gap before filling.
- Lasso Fill Tool: For more complex or irregular shapes, or if your line art has significant gaps, use the `Lasso Fill` tool to define the area and fill it in one go.
- Selection & Fill: Alternatively, use a `Selection Tool` (like the Lasso or Selection Pen) to select an area, then hit `Ctrl+F` (or `Cmd+F` on Mac) to fill with your foreground color.
Clipping Masks: Keeping Colors Within Lines
Clipping masks are one of the most powerful features for efficient coloring.
- How it Works: Imagine you have a base color layer (e.g., skin tone). Create a new layer above it, then click the “Clip to Layer Below” icon (a square with a downward arrow) in the `Layer` palette. Now, anything you draw or paint on this new layer will only appear within the boundaries of the pixels on the layer directly below it.
- Benefits: This means you can add shadows, highlights, or textures to your base colors without worrying about painting outside the lines. It’s incredibly neat and saves immense time.
- Example: Base skin color on Layer A. Create Layer B above A, clip it to A. Now, paint shadows on Layer B, and they’ll magically stay within the skin area.
Gradient Tools: Smooth Transitions
Gradients are perfect for smooth color transitions, backgrounds, or even shading.
- Gradient Tool: Found in the `Fill Tool` sub-palette. You can choose from various types (linear, radial) and customize the colors.
- Foreground to Background: A common setting that blends your current foreground color to your current background color.
- Transparency: You can also create gradients that fade from a color to transparent.
Layer Modes: Shading, Lighting, and Special Effects
Layer blend modes change how the colors on one layer interact with the colors on the layers below it. They are essential for professional-looking illustrations.
- Multiply: This is your go-to for shadows. Painting with a neutral gray or blue on a layer set to `Multiply` over your base colors will darken them realistically.
- Screen/Add (Glow): Ideal for highlights and light sources. Painting with a light color on a `Screen` or `Add (Glow)` layer will brighten and add luminosity.
- Overlay/Soft Light: Good for adding color shifts, warmth, coolness, or subtle lighting effects. `Overlay` is more intense, `Soft Light` is more subtle.
- Hard Light/Vivid Light: For more dramatic lighting and color effects.
- Luminosity/Color: Useful for adjusting the brightness or hue of underlying layers without affecting their saturation or value.
Experiment with different blend modes to see their effects. It’s an artist’s secret weapon for adding depth and mood.
Using Color Palettes
- Color Wheel: The most common way to pick colors, showing hue, saturation, and value.
- Color Slider: Adjust individual R, G, B, H, S, V values.
- Color Set: Create and save your own custom color palettes. This is fantastic for maintaining color consistency across multiple illustrations or comic pages. You can even download pre-made palettes from the Asset Store.
Harnessing 3D Models and Reference Tools
One of Clip Studio Paint’s most groundbreaking features for manga studio drawing is its integration of 3D models and robust reference capabilities. These tools simplify complex tasks like figure drawing and perspective, letting you focus more on creativity.
Importing and Posing 3D Models for Figures and Objects
Struggling with anatomy, foreshortening, or drawing a complex object from an unusual angle? CSP’s 3D models are your answer.
- Default 3D Models: CSP comes with a library of poseable 3D figures (male, female, child), various objects (furniture, vehicles), and even architectural elements. You can find these in the `Material` palette under `3D`.
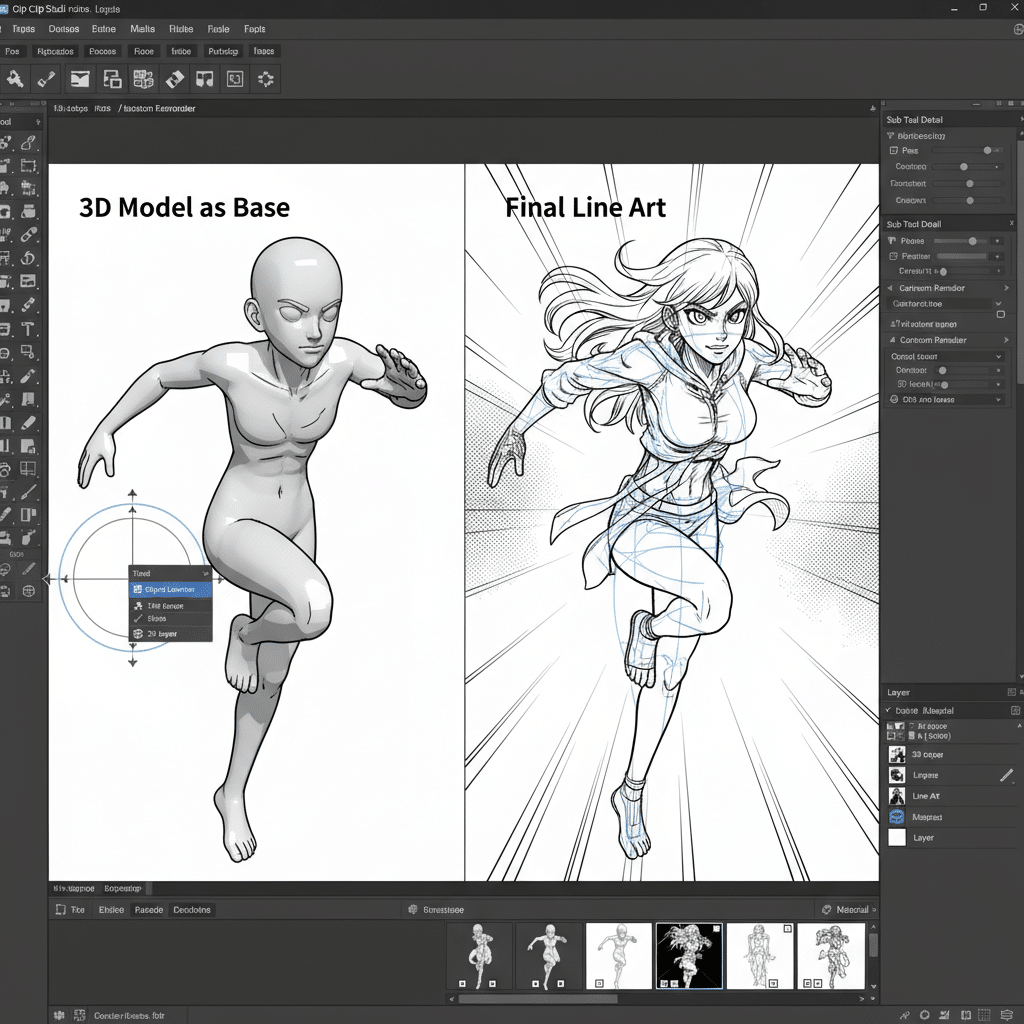
- Posing Figures: Drag a 3D figure onto your canvas. You can then manipulate its joints to create any pose imaginable. You can adjust limb lengths, body proportions, and even hand gestures. This is an incredible tool for dynamic action poses or tricky angles.
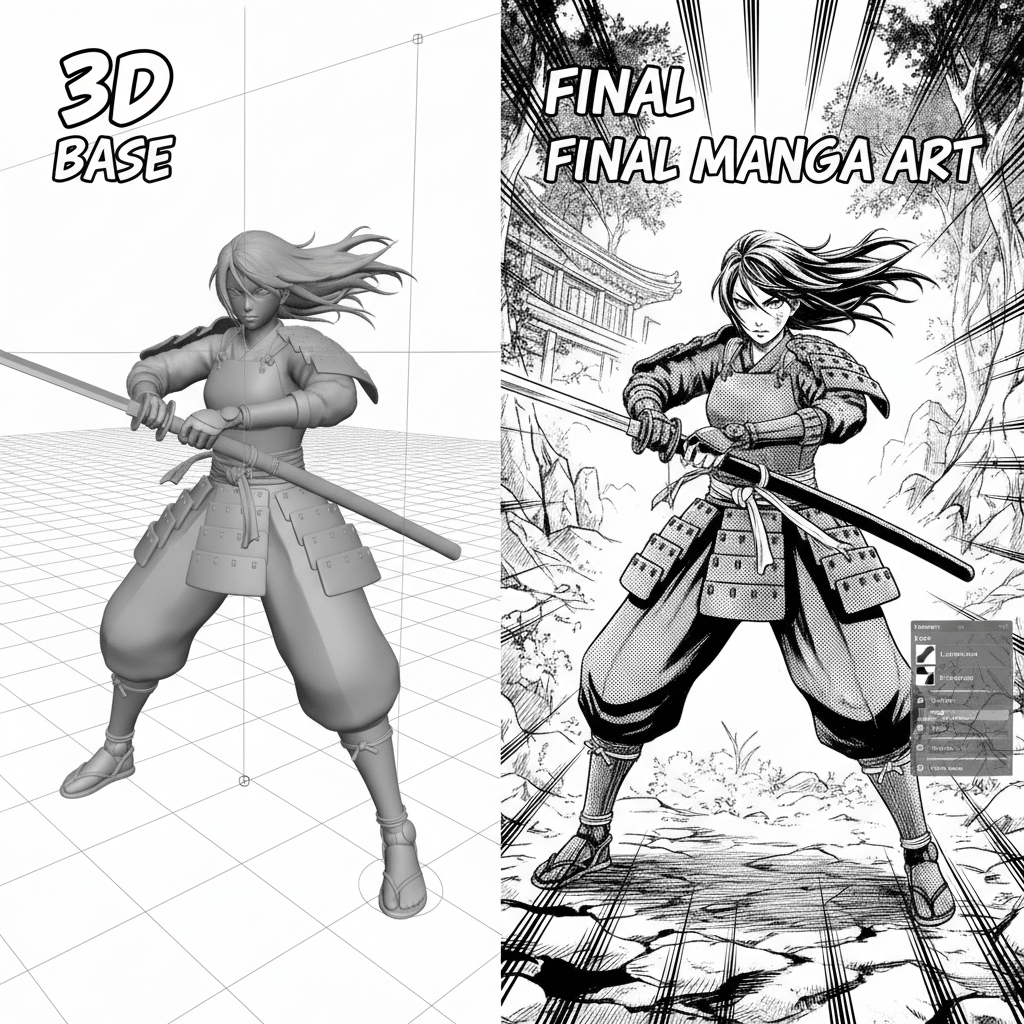
- Drawing from 3D Models: Once your model is posed, you can reduce its opacity and draw directly over it on a new layer. This helps you get the proportions and perspective correct, serving as a robust scaffold for your drawing.
- Saving Poses: Save your custom poses for later use! This is a huge time-saver if you frequently draw characters in similar positions.
- Importing Custom 3D Assets: You can also import your own 3D models (in formats like FBX, OBJ) or download models from the Clip Studio Asset store or other 3D marketplaces. This is great for specific props, elaborate costumes, or unique environments.
- Extract Line and Tone: CSP can even automatically generate line art or screentones from your 3D models, providing an instant base for your drawings. While usually needing refinement, it’s a fantastic starting point. This feature is especially powerful for drawing backgrounds, saving countless hours on perspective and detail.
Image References and Sub-View Palette
Beyond 3D models, having easy access to image references is vital.
- Sub-View Palette: This palette (usually found on the right side) is dedicated to reference images. Drag and drop any image file (photos, other artwork, anatomical diagrams) into it.
- Benefits:
Always Visible: Your reference image stays open in the sub-view palette, so you don’t have to switch between windows or tabs. Color Picker: You can easily pick colors directly from your reference image using the eyedropper tool within the sub-view. Rotation/Zoom: Manipulate the reference image within the palette without affecting your main canvas. Flipping: Flip the reference horizontally to check for symmetry or fresh perspectives.
Using a combination of 3D models for pose and structure, and 2D image references for details, textures, and mood, significantly enhances your drawing process and accuracy. Remember, using references isn’t cheating; it’s smart artistry. It’s how you learn and improve! For drawing human figures, combining 3D models with anatomical references from resources like drawing people can be incredibly effective.
Conclusion: Your Journey into Manga Studio Drawing Awaits
Diving into manga studio drawing, or rather, mastering Clip Studio Paint, is an exciting and rewarding journey. We’ve covered a vast landscape, from the foundational hardware and software setup to the intricate dance of line art, vibrant coloring techniques, and the revolutionary power of 3D models and precise rulers. You’ve learned how to leverage screentones for that authentic manga feel, how to manage your workflow like a pro, and even touched upon advanced features that can elevate your art to new heights.
Clip Studio Paint isn’t just a program; it’s an ecosystem designed to support your creative process at every step. Its robust set of tools, tailored specifically for comic and manga creation, empowers you to bring your stories and characters to life with unparalleled precision and expression. Remember that mastery doesn’t happen overnight. It comes with consistent practice, fearless experimentation, and a willingness to explore new features. Don’t be afraid to make mistakes; they are just stepping stones to discovering new techniques and refining your style. Many artists find that having an inspiration wall helps keep them motivated and creative during this journey.
So, fire up Clip Studio Paint, grab your stylus, and let your imagination run wild. Whether you dream of creating the next big manga series, illustrating stunning character art, or simply enjoying the process of digital creation, the tools are now at your fingertips. The world of manga studio drawing is expansive and full of possibilities. Start drawing today, and watch your artistic vision come to life!
What is Clip Studio Paint and why is it considered the industry standard for manga and comic creation?
Clip Studio Paint, formerly known as Manga Studio, is a powerful digital art software tailored for comic and manga artists, featuring tools like advanced pen stabilization, screentones, perspective rulers, and 3D model importers that streamline comic workflow. It’s favored because it’s built by artists for artists and offers comprehensive features suitable for both beginners and professionals.
How do I set up my digital canvas for manga or illustration work in Clip Studio Paint?
To set up your canvas, go to File > New, choose ‘Illustration’ or ‘Comic’ depending on your project, select appropriate dimensions such as 1920×1080 pixels for digital art or larger sizes for print, set the resolution to 72-150 DPI for web or 300 DPI for print, and pick the color mode. After clicking OK, your workspace will be ready to start drawing.
What are the essential tools I need for creating manga in CSP?
Essential tools include the Pen and Pencil tools for inking and sketching, the Layer palette for organizing your artwork, color tools such as the color wheel and palettes, selection tools like Lasso and Magic Wand, and rulers like perspective grids for accurate backgrounds. Mastering these will greatly improve your workflow.
What are the differences between raster and vector layers, and why should I use vector layers for inking?
Raster layers store pixel information, which can pixelate when resized, while vector layers record mathematical paths, allowing you to resize and transform lines without quality loss. Using vector layers for inking provides better editability, scalability, and the ability to refine lines precisely with tools like Correct Line and Vector Eraser.
- 15shares
- Facebook0
- Pinterest15
- Twitter0

