Ever gazed up at the moon, its pockmarked surface a testament to billions of years of cosmic collisions? Those enigmatic circles are more than just dents; they’re geological masterpieces, each telling a story of ancient impacts. And if you’ve ever felt the urge to recreate that otherworldly beauty on paper, you’re in the right place. Learning how to draw a moon crater might seem daunting at first, with all those intricate shadows and rugged textures, but it’s a wonderfully rewarding artistic challenge. By breaking it down, you’ll discover that capturing the moon’s iconic features is not only achievable but also incredibly fun. So grab your pencils, get comfy, and let’s embark on this artistic journey to draw a moon crater like a seasoned lunar explorer!
Understanding the Lunar Landscape: What Makes a Crater?
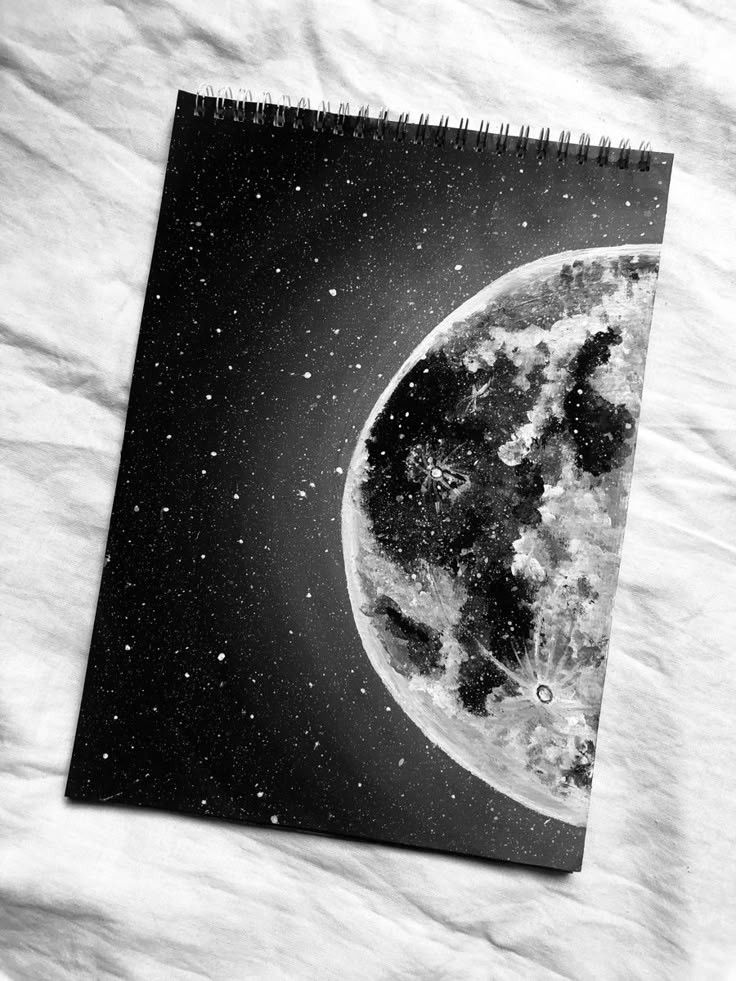
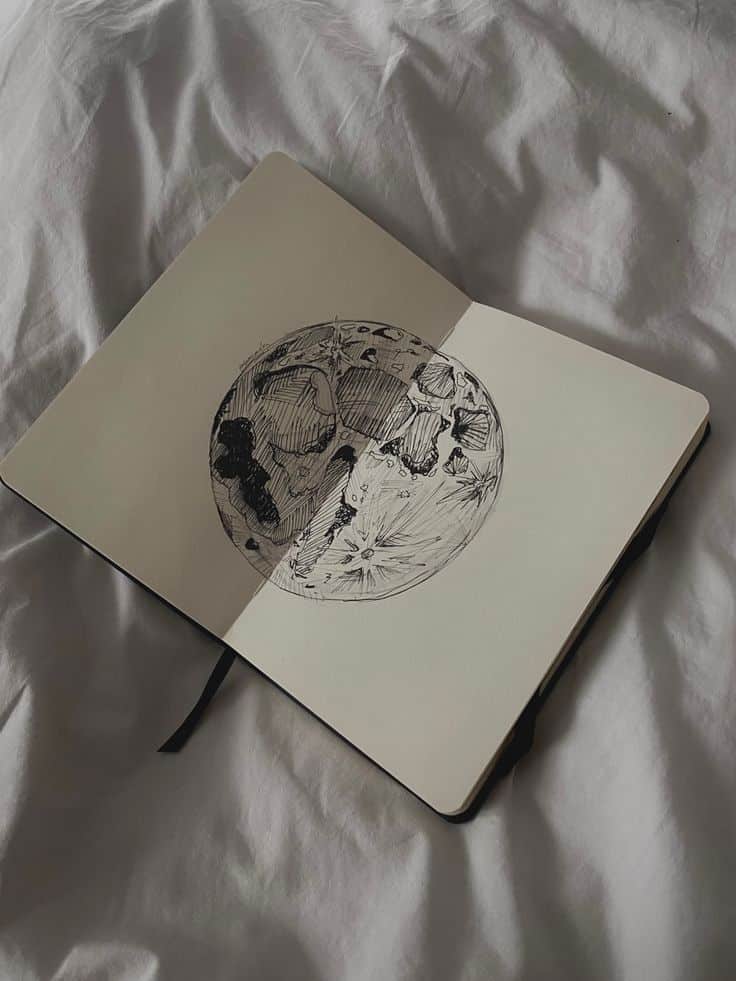
Before we even touch a pencil, let’s get a little scientific. Understanding what makes a moon crater tick in real life will drastically improve your drawing. Craters are primarily formed by impacts from meteoroids, asteroids, and comets. When these objects slam into the lunar surface, they create a bowl-shaped depression with a raised rim. The sheer force of impact vaporizes rock, melts some, and ejects huge amounts of debris, which then falls back to create what’s known as an ‘ejecta blanket’ around the crater.
Key features you’ll want to think about when drawing:
- The Rim: This is the raised edge, often jagged and irregular, surrounding the crater. It casts prominent shadows, especially when the sun is low on the lunar horizon.
- The Crater Floor: This can be flat, undulating, or even contain smaller, subsequent impact craters.
- Central Peaks: Larger craters (generally over 20 km in diameter) often have one or more peaks in their center. These form when the immense pressure of the impact causes the crater floor to rebound upwards, like a droplet of water splashing back up.
- Ejecta Blanket: The material thrown out during the impact. It often forms a rough, radial pattern around the crater, extending for many times the crater’s diameter.
- Rays: Bright streaks of pulverized rock that radiate outwards from very fresh, young craters, sometimes for hundreds or thousands of kilometers. Think of Tycho or Copernicus.
- Shadows: Ah, the magic ingredient! Because the moon has no atmosphere, shadows are incredibly sharp and distinct. They are crucial for giving your crater depth and form. The angle of the sun plays a massive role here, creating long, dramatic shadows across the crater floor or illuminating the inner walls.
Why does this matter for drawing? Because realism comes from understanding. If you know why a shadow falls in a certain way, or what causes that central peak, you’ll draw it with more conviction and accuracy. You’re not just copying shapes; you’re interpreting geology.
Essential Tools for Your Lunar Artistic Journey

You don’t need a lunar rover to start drawing craters, but having the right tools makes a world of difference. Think of these as your astronaut gear for artistic exploration!
- Pencils: A good range of graphite pencils is paramount.
- HB: Your all-around workhorse for initial sketches and general shading.
- 2B, 4B, 6B: These are softer pencils that lay down darker values. Crucial for those deep, dramatic lunar shadows.
- 8B (or even 9B): For the absolute darkest areas, adding intense contrast and depth.
- Paper:
- Smooth drawing paper: Great for detailed work and fine textures, as graphite glides easily.
- Slightly textured paper (e.g., Bristol board): Can hold more graphite, allowing for richer darks and a subtle grainy texture that mimics the lunar surface. Experiment to see what you prefer!
- Erasers:
- Kneaded Eraser: This is your best friend for lifting graphite gently, softening edges, and creating subtle highlights. You can mold it into a point for precise work.
- Vinyl (Plastic) Eraser: For sharper, more aggressive erasing, especially if you need to clean up edges or remove unwanted lines.
- Pencil Eraser (or stick eraser): Excellent for tiny details and sharp highlights.
- Blending Tools:
- Tortillons (paper stumps) or Blending Stumps: Tightly rolled paper tools that help you smoothly blend graphite, creating gradual transitions of tone.
- Cotton Swabs or Cotton Balls: Good for blending larger areas for a soft, diffused look.
- Your Finger: Be cautious with this one! While tempting, the oils from your skin can transfer to the paper and make blending uneven or create smudges that are hard to remove.
- Reference Images: This is perhaps the most important “tool.” You simply must use high-quality reference photos of the moon. NASA, ESA, and other space agencies have incredible images available online. Look for craters with varying sun angles to see how shadows change.
- Optional but Handy:
- Charcoal or Carbon Pencils: If you want even deeper blacks than graphite can offer.
- White Gel Pen or Acrylic Paint: For those super bright, pinprick highlights that might be hard to achieve with just an eraser.
- Drawing Board/Clip Board: To keep your paper steady.
The Foundational Shapes: Starting Your Crater Sketch
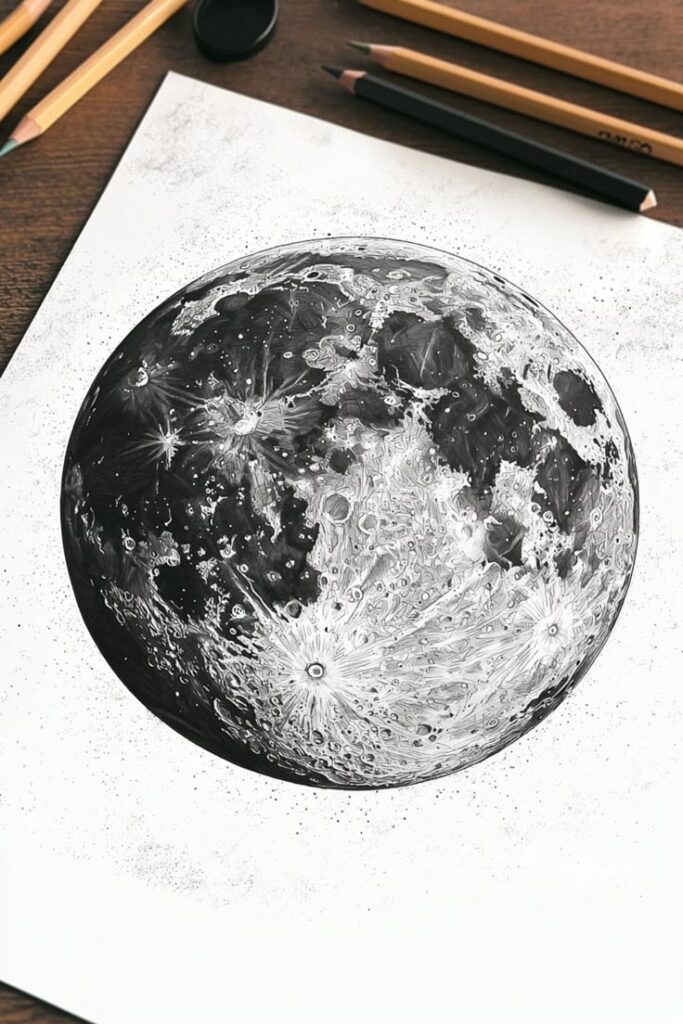
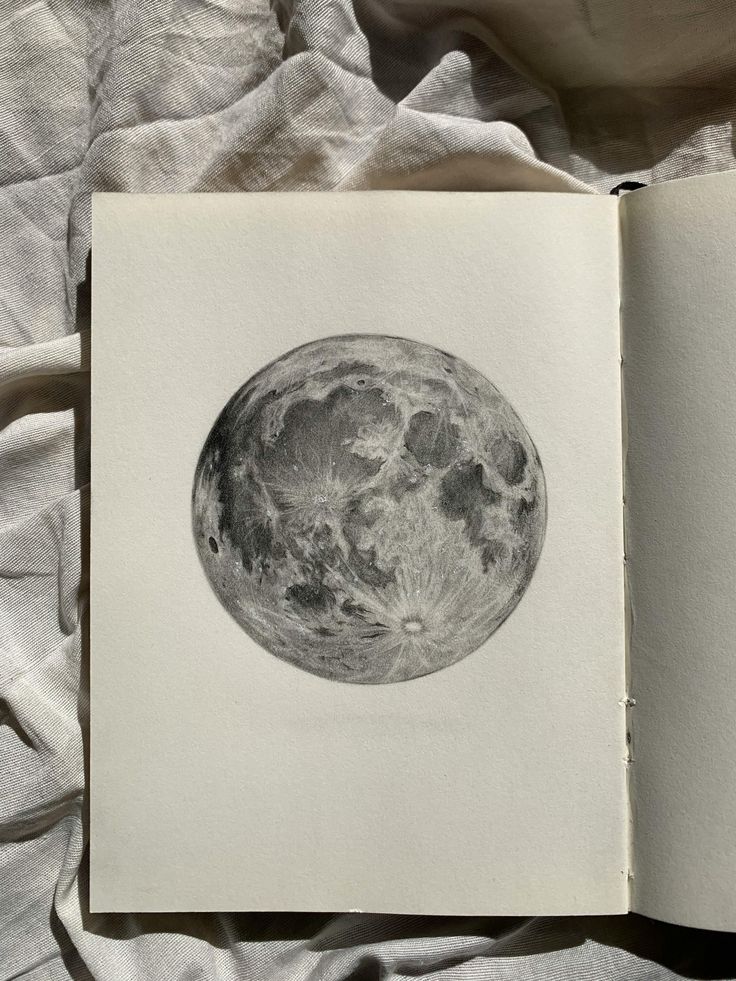
Every great drawing begins with a solid foundation. For a moon crater, that means getting the basic shape and perspective right. Think of it like building a house – you wouldn’t start with the roof!
- Start with a Light Outline: Grab your HB pencil and draw a very light circle or oval. Don’t press hard! This is just a guide. Remember, craters aren’t always perfectly circular, especially if they’re old or have been impacted by other craters. For a quick refresher on foundational drawing skills, sometimes it helps to practice with general subjects like how to draw people which emphasize basic shapes and proportions.
- Consider Perspective: How you draw that initial shape depends on your viewing angle.
- If you’re looking straight down at the crater, it’ll be more circular.
- If you’re viewing it from an angle (as we often see the moon from Earth), it will appear as an ellipse or an oval. The more extreme the angle, the narrower the oval.
- Define the Rim: Once you have your basic shape, lightly draw a second, slightly smaller oval or circle inside the first one. This space between the two lines represents the thickness of the crater’s rim. The rim is rarely perfectly even; it’s often irregular and might be thicker or higher in some spots than others due to the impact’s dynamics or subsequent erosion. Think of it as a raised lip around the bowl.
- Establish the Crater Floor: Inside your inner oval, lightly sketch the general shape of the crater floor. For a simple crater, it might just be another, smaller oval. For more complex ones, you might hint at a central peak or other internal features. Keep it extremely light. These initial lines are like whispers on the paper, easy to adjust or erase later.
- Placement and Overlap: If you’re drawing multiple craters, decide which ones are in front and which are behind. Objects that are closer will overlap and obscure parts of objects further away. This helps create a sense of depth and scale.
Mastering Light and Shadow: The Key to Depth
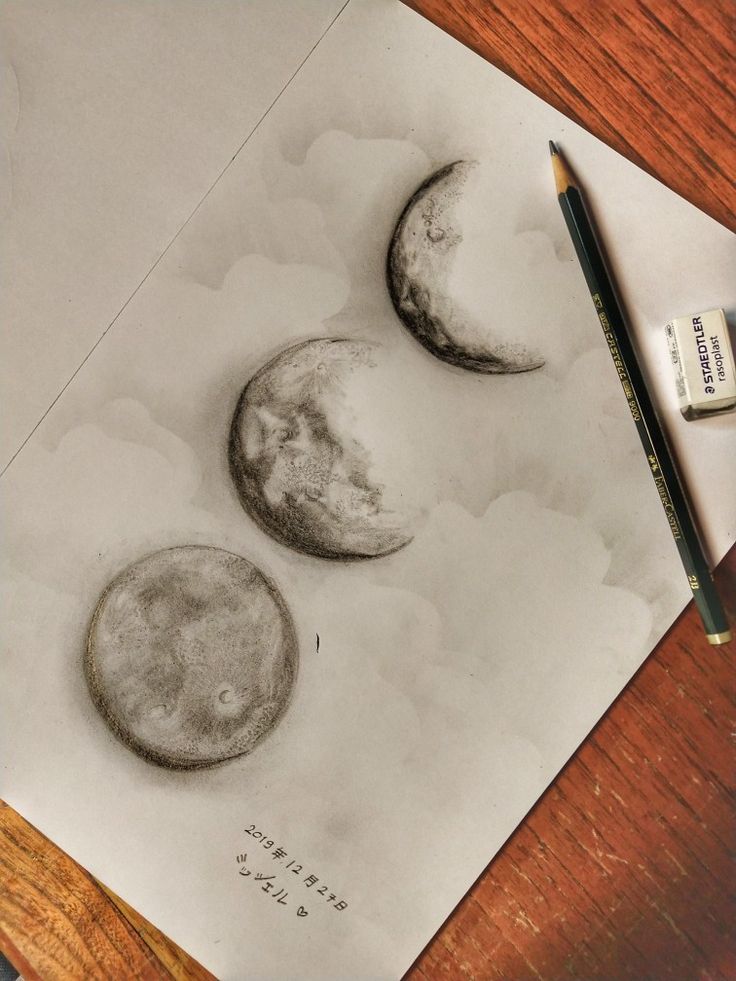
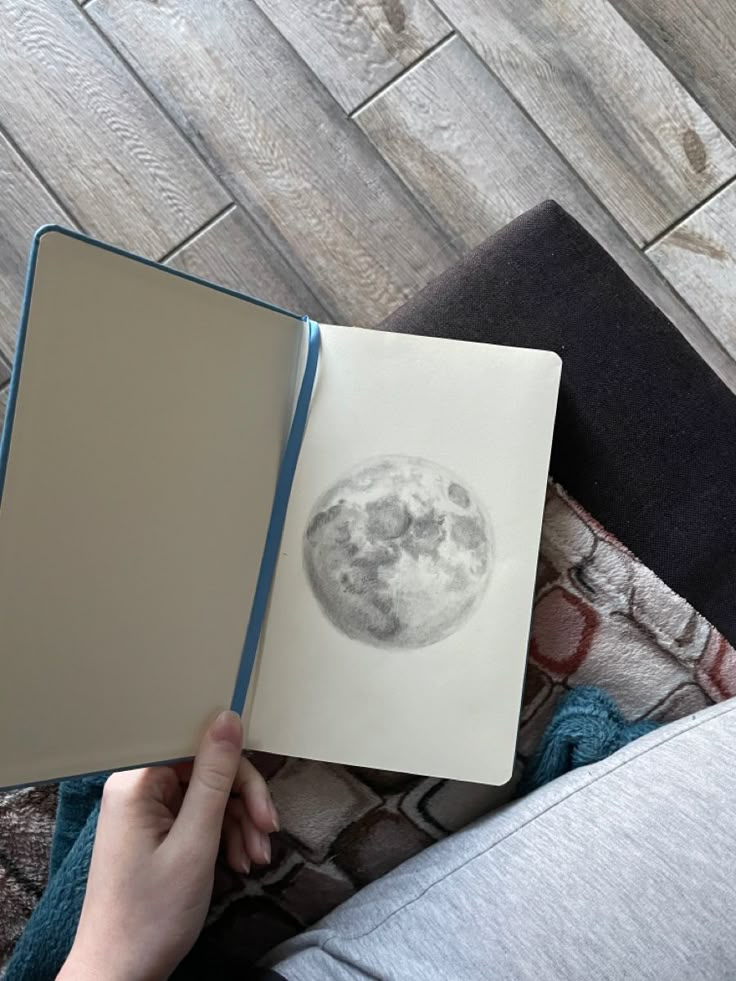
This is where your moon crater truly comes to life. Shadows are not just dark areas; they define the form, depth, and drama of the lunar landscape. Without an atmosphere, the moon’s shadows are incredibly sharp, almost like cutouts.
- Identify Your Light Source: This is the most critical step. Imagine where the sun is. Is it directly overhead (high noon on the moon, resulting in very short shadows and less dramatic relief)? Or is it low on the horizon, creating long, raking shadows that highlight every bump and crevice? For dramatic craters, a low sun angle is your best friend. Draw a tiny arrow off to the side of your paper indicating the direction of light.
- Block in the Core Shadows: Once you know your light source, start by identifying the darkest areas.
- Inside the Crater: The interior wall of the crater opposite the light source will be in deep shadow. This is because the raised rim and the curvature of the crater wall block the light. Use your softer pencils (4B, 6B) to lay down these dark tones.
- Cast Shadows: The rim itself will cast a long, distinct shadow across the crater floor. Observe your reference image carefully to see the shape of this shadow. It won’t be a perfect arc; it will follow the contours of the floor.
- Develop Mid-Tones and Gradual Shading: The lunar surface isn’t just black and white. There are many shades of grey.
- Curvature: As the crater wall curves away from the direct light, its illumination will gradually lessen. Use lighter pressure with your pencils (HB, 2B) and blending tools to create a smooth transition from light to dark. This subtle gradient is vital for showing the spherical nature of the moon and the bowl shape of the crater.
- Ejecta Blanket: The material around the crater will also have areas of light and shadow, creating subtle bumps and depressions.
- Add Highlights: These are the areas where the light hits directly and intensely.
- Rim: The side of the rim facing the light source will be brightest.
- Central Peak: If present, the side of the central peak facing the light will be illuminated.
- Edges of Shadows: Sometimes, the very edge of a shadow or a slight rise might catch the light. Use your kneaded eraser to gently lift graphite and create soft highlights, or your vinyl eraser for sharper ones.
- Contrast is Key: Don’t be afraid to push your values! The moon’s harsh environment means very bright whites and very dark blacks with a wide range of greys in between. Strong contrast makes your drawing pop and gives it that authentic lunar feel.
Texture and Detail: Bringing Your Crater to Life
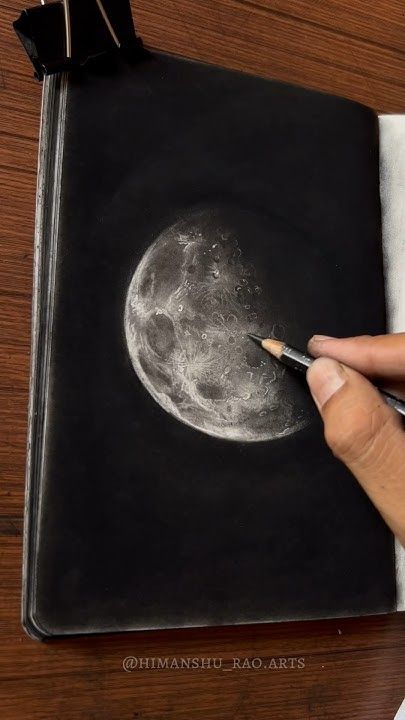
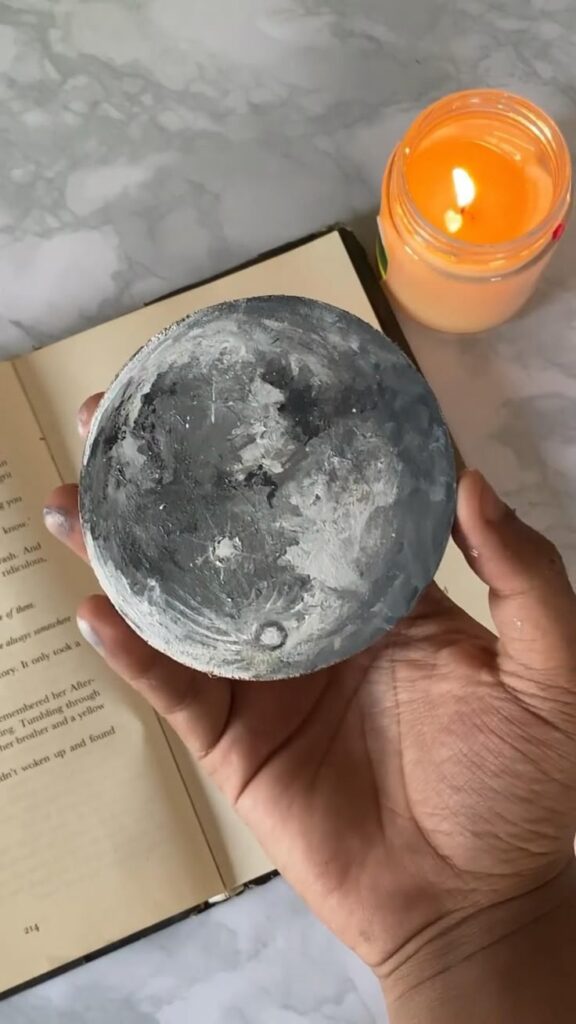
Once you have your basic shapes and light/shadow established, it’s time to add the gritty details that make your crater believable. The moon isn’t smooth; it’s covered in a fine, dusty layer called regolith, scattered with rocks and boulders of all sizes.
- The Lunar Regolith: This is the fine, powdery soil that covers the moon. When drawing, you don’t need to draw every grain, but you want to convey its general texture.
- Stippling: Using tiny dots with your pencil can create a granular, dusty effect, especially in areas of mid-tone.
- Short, Irregular Strokes: Instead of smooth lines, use many tiny, broken, and varied strokes to suggest a rough surface.
- Randomness: Avoid perfectly uniform textures. Nature is chaotic.
- Rocks and Debris: Within the crater, on the rim, and especially in the ejecta blanket, there will be countless rocks and boulders.
- Vary Size and Shape: Draw some larger, angular rocks, and many smaller, irregular pebbles.
- Shadows for Form: Even small rocks will cast tiny, sharp shadows, which instantly gives them three-dimensionality. This is crucial for making them look like solid objects rather than just dark smudges.
- Placement: Scatter them randomly. They won’t be evenly distributed.
- The Ejecta Blanket: This is the material thrown out during the impact. It’s often rough and can have radial patterns extending outwards from the crater.
- Radial Scratches/Lines: Lightly draw lines radiating outwards from the crater’s rim. These shouldn’t be perfectly straight but follow the general direction of the ejected material.
- Subtle Bumps and Depressions: Use light and shadow to create undulating terrain within the ejecta, suggesting small hills and valleys formed by falling debris. Think about how materials like reclaimed stone and wood have natural textures and variations that add character – the moon’s surface is full of such character.
- Cracks and Fissures: Especially in older, larger craters or around central peaks, you might see subtle cracks or fault lines. These are usually very fine and require a sharp pencil and a delicate touch.
- Foreshortening: As you move away from the immediate foreground, features will appear smaller and more compressed. Apply this to distant craters or features in the ejecta blanket to maintain a sense of scale and depth.
Step-by-Step Guide to Drawing a Realistic Moon Crater
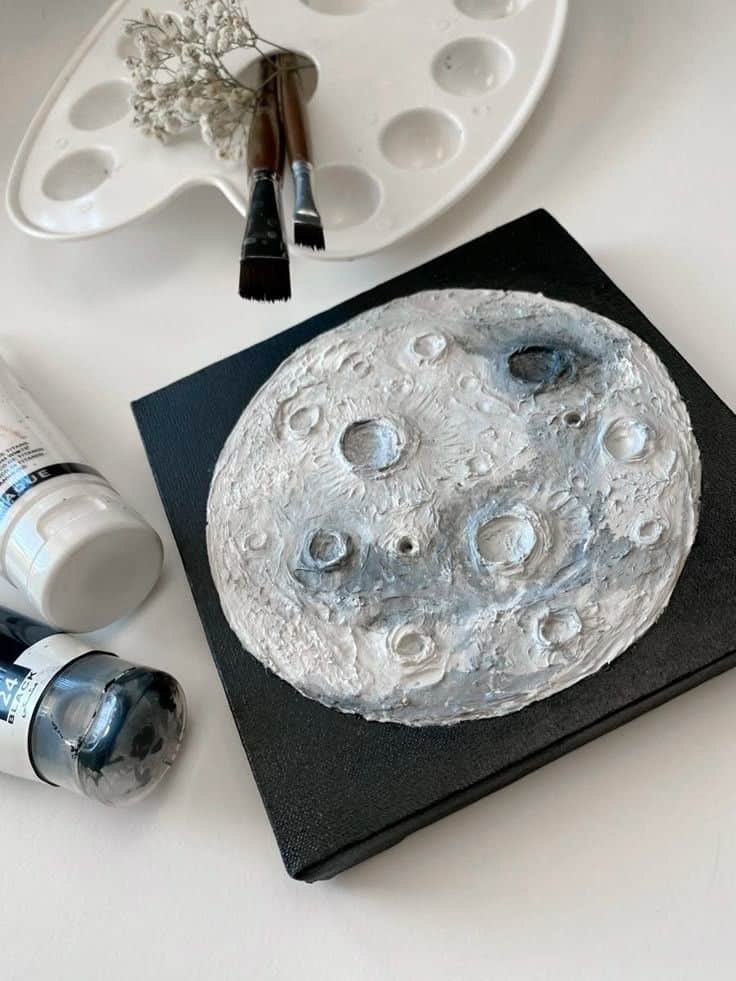
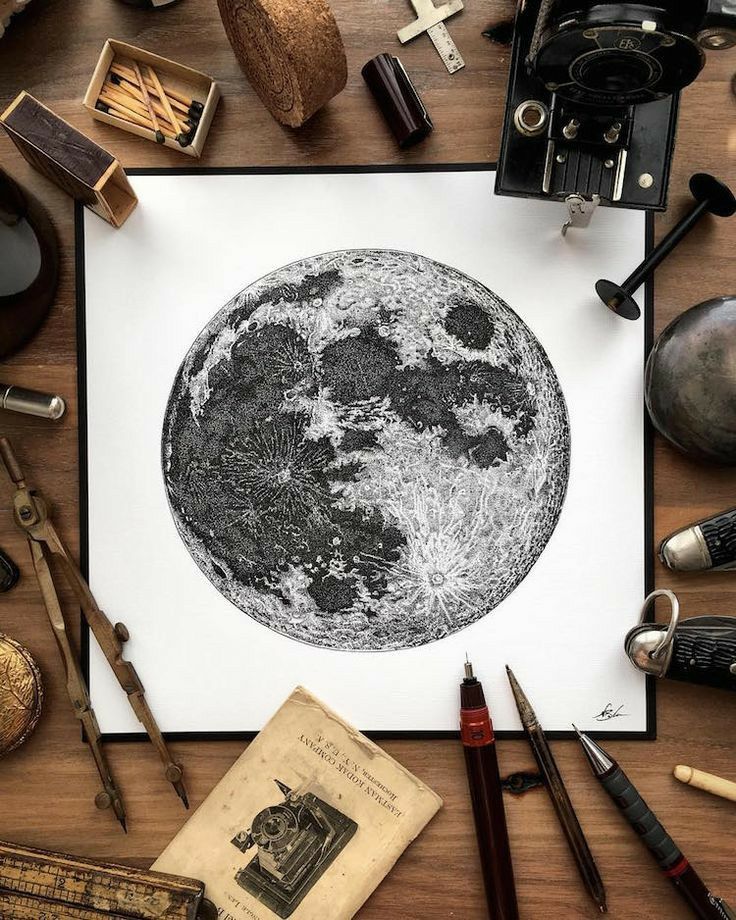
Ready to put it all together? Here’s a streamlined process to help you draw a moon crater that looks out of this world.
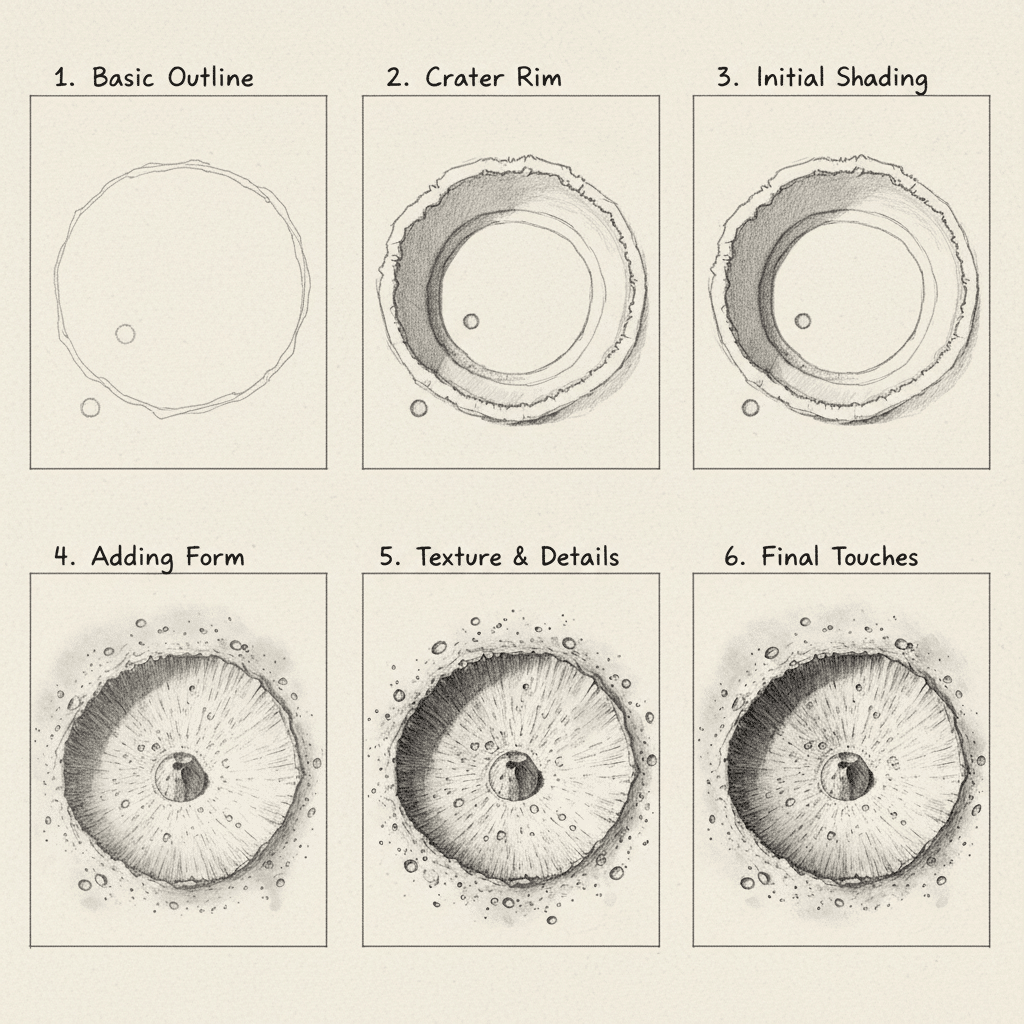
Step 1: The Initial Outline
Using your HB pencil, lightly sketch a circle or an oval for the main shape of your crater. Don’t worry about perfection; lunar craters are rarely perfectly round. Keep it faint – these are just guides.
Step 2: Defining the Rim
Draw a second, slightly smaller oval inside your first, creating a gap that will be the crater’s raised rim. Make this rim irregular, perhaps a bit wider in some spots than others, to add naturalism.
Step 3: Indicating the Light Source
Decide where your sun is coming from. Draw a small arrow or sun icon outside your drawing to consistently remember your light direction. For maximum drama, imagine the sun low on the horizon.
Step 4: Blocking in Core Shadows
Now, start defining the darkest areas with a 4B or 6B pencil.
- Crater Interior: The inner wall of the crater that is opposite your light source will be in deep shadow. Fill this area in with a consistent dark tone.
- Cast Shadow: The rim will cast a sharp shadow across the crater floor. Sketch the shape of this shadow and fill it in.
- Don’t blend yet; just establish the dark shapes.
Step 5: Developing Mid-Tones
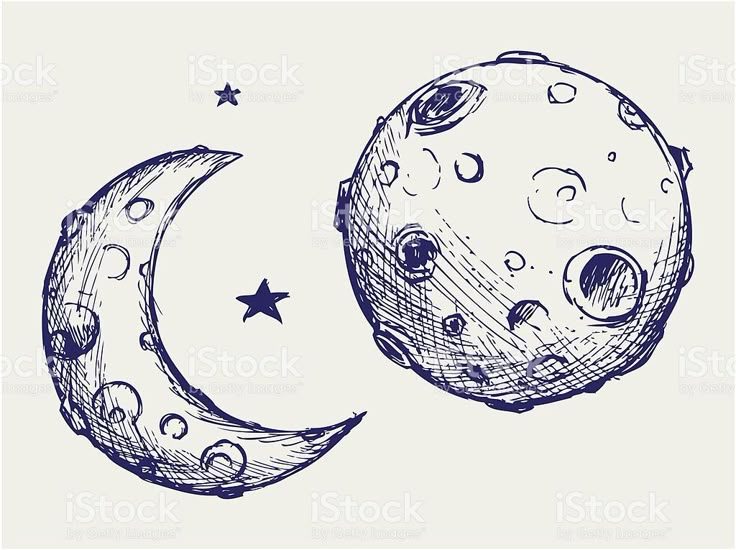
Switch to your 2B or HB pencil.
- Curvature: Begin to shade the interior walls of the crater that are partially illuminated, creating a gradual transition from the bright rim down into the deep shadow. Use blending tools to smooth these transitions, showing the curve of the crater wall.
- Outer Rim: Shade the outer slope of the rim, considering how it catches or reflects light.
Step 6: Adding Highlights
Use your kneaded eraser to gently lift graphite on the areas that are most brightly lit, such as the edge of the rim facing the sun, or any prominent bumps. For sharper highlights, use your vinyl or pencil eraser. These bright spots provide crucial contrast.
Step 7: Creating Texture
This is where the moon’s surface comes alive.
- Regolith: In the mid-tone areas, use tiny, irregular strokes, stippling, or very light scribbling to suggest the dusty, rocky texture of the lunar regolith. Vary the pressure and direction.
- Rocks: Sketch small, irregular shapes (rocks) within the crater and on the ejecta blanket. Crucially, add tiny, sharp shadows directly adjacent to them to give them dimension.
Step 8: The Ejecta Blanket
Extend the drawing outwards from the rim. Lightly sketch the rough, uneven terrain of the ejecta blanket. Use short, radial lines (not too many, keep it subtle) emanating from the crater to suggest the thrown-out material. Add scattered debris and subtle undulations using light and shadow.
Step 9: Refinement and Contrast
Step back and assess your drawing.
- Push Darks: Are your deepest shadows dark enough? Use your 8B pencil to intensify the very darkest areas for maximum impact.
- Brighten Lights: Are your highlights crisp enough? Use your eraser to make them pop.
- Details: Add any final small cracks, tiny craters within the main one, or more defined rock details. Ensure a wide range of values from pure white to deep black for a realistic look.
Advanced Techniques for Lunar Artists
Once you’ve mastered the basics, you might want to explore more complex lunar scenes or alternative artistic approaches.
- Multiple Craters and Overlapping Forms: The moon’s surface is a mosaic of craters. Practice drawing scenes with craters of varying sizes, some overlapping others. This introduces challenges in perspective and in defining which crater is older (and thus often more eroded) or newer (sharper features, brighter rays). Remember to consider how shadows from one crater might fall into another.
- Central Peaks and Terraced Walls: For larger craters, you’ll encounter central peaks (which also cast their own shadows) and terraced inner walls (steps descending into the crater). These add complex geometric forms and more intricate shadow play. Carefully observe how light hits and recedes on these features.
- Rays Systems: Fresh, large impact craters like Tycho or Copernicus are famous for their bright ray systems – streaks of ejecta that radiate for hundreds of miles. To draw these, use a very light touch with your pencil or even lift graphite with a clean kneaded eraser over a darker background. They appear brighter because they are composed of recently exposed, fresh lunar material.
- Lunar Rilles and Maria: Beyond craters, the moon has other fascinating features.
- Rilles: Long, winding depressions, often thought to be ancient lava tubes or collapsed lava channels. They present a different textural challenge.
- Maria (Seas): The dark, relatively flat plains are solidified ancient lava flows. These areas generally have fewer large craters but can still have subtle textures and smaller impacts.
- Digital Drawing: If you’re into digital art, platforms like Procreate on an iPad offer incredible flexibility. Layers allow you to build up tones and textures without committing, while various brushes can mimic stippling, blending, and fine detail work with ease. Digital tools can also make it easier to experiment with different light sources or to adjust contrast. Exploring tutorials on iPad illustration could really boost your digital lunar art game.
Common Mistakes to Avoid

Even experienced artists make mistakes. Being aware of common pitfalls can help you steer clear of them.
- Flat Shadows: The moon’s surface is curved. Shadows shouldn’t just be flat, dark shapes. They should ideally conform to the curvature of the crater floor or walls. Watch how they interact with internal bumps or depressions.
- Lack of Contrast: A common issue is a drawing that looks too “grey.” The moon, with its harsh, airless environment, features extreme lights and darks. Don’t be afraid to make your darkest shadows truly dark and your brightest highlights truly bright. Push those values!
- Too Perfect Circles: Unless you’re drawing a very specific, young, small crater, most lunar craters are not perfect circles. They become eroded, modified by subsequent impacts, or distorted by perspective. Embrace irregularity.
- Ignoring the Ejecta Blanket: The area immediately surrounding the crater is crucial for context and realism. Neglecting the ejecta blanket makes the crater look isolated and less integrated into the lunar surface.
- Not Using Reference Images: This is perhaps the biggest mistake. While you can draw from imagination, real lunar images provide invaluable information about how light behaves, how textures appear, and the sheer variety of crater forms. Always keep good references handy.
Conclusion

Drawing a moon crater is a fantastic exercise in observation, understanding light and shadow, and building texture. It’s a journey into astrophysics and art, all rolled into one. From that initial light sketch to the final, detailed textures, each step brings you closer to recreating a piece of our majestic celestial neighbor. Remember, practice is key. The more you draw, the more you observe, and the more you experiment with your tools and techniques, the better your lunar landscapes will become.
Don’t be discouraged if your first attempt isn’t perfect. Every stroke is a lesson. Keep those reference images close, enjoy the process, and soon you’ll be rendering craters with confidence and a pro’s touch. Now, what are you waiting for? Grab your pencils and start exploring the lunar canvas! Share your creations and inspire others to look up and start drawing.
- 20shares
- Facebook0
- Pinterest20
- Twitter0
- Reddit0
