Ever felt that undeniable urge to create, to capture a moment, a mood, or an idea with nothing but your hands and a simple tool? If so, you’re in for a treat, because we’re diving headfirst into the wonderfully messy, incredibly expressive world of drawing with charcoal. Forget about complicated techniques for a moment; charcoal is all about raw emotion, bold strokes, and the beautiful interplay of light and shadow. It’s a medium that lets you get really tactile, to feel the grit and dust, and to truly connect with your artwork. Whether you’re a seasoned artist looking for a new challenge or a complete beginner who just wants to doodle, charcoal offers an accessible and deeply satisfying experience. We’re going to explore what makes this ancient tool so special, how to get started, and how to make some amazing art without feeling overwhelmed. So grab a comfy seat, maybe a snack, and let’s get creative!
The Undeniable Magic of Charcoal
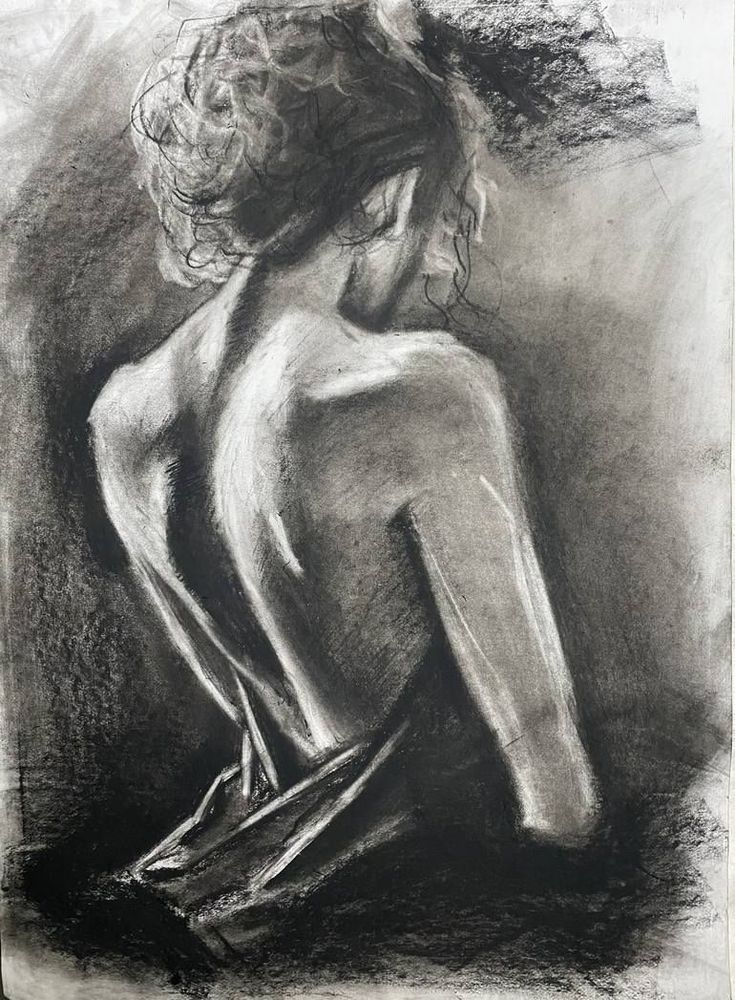
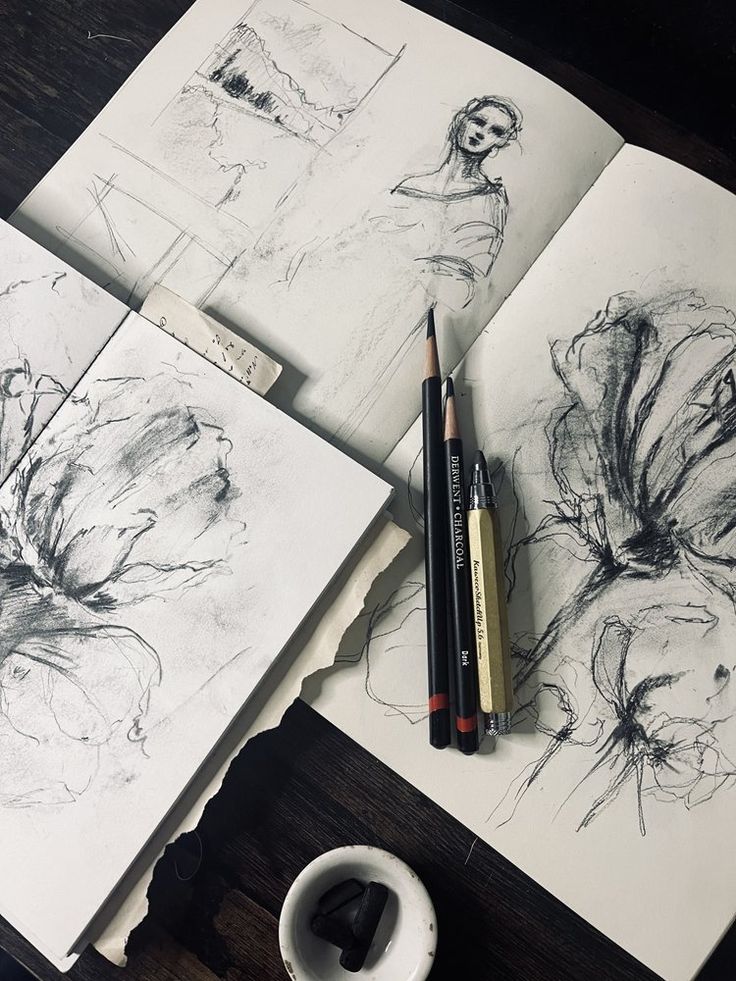
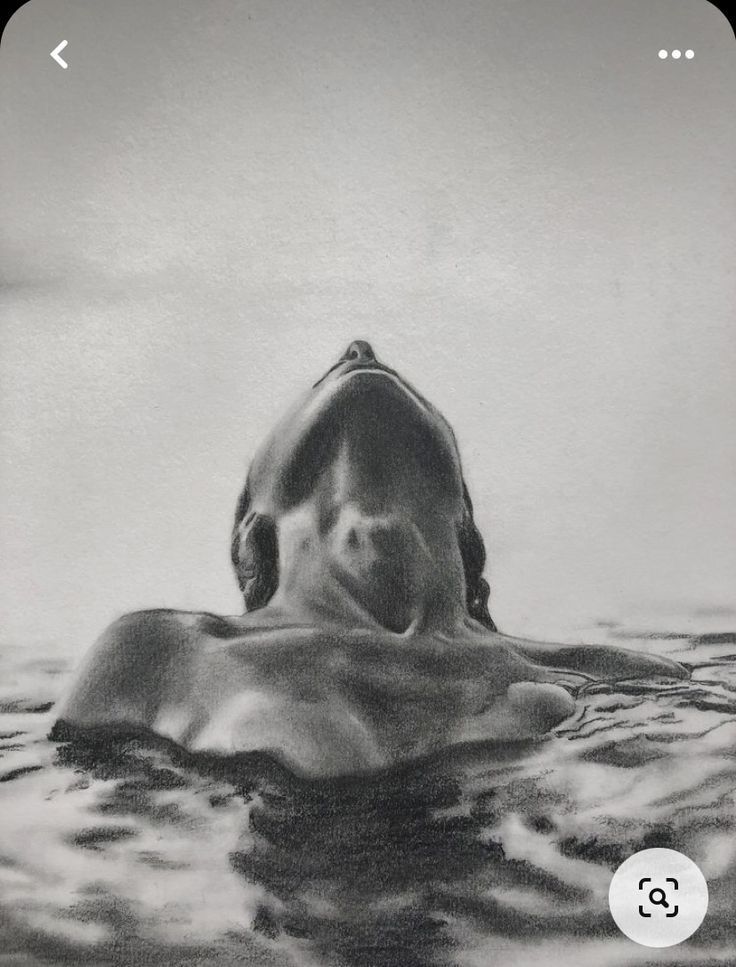
Charcoal isn’t just another drawing tool; it’s practically a conversation starter. Think about it: this humble black stick has been used by artists for thousands of years, from cave paintings to Renaissance masterpieces. There’s a reason for its enduring appeal, and it’s not just its availability. Charcoal offers a unique range of expression that other mediums struggle to match.
One of its biggest superpowers is its incredible versatility. You can go from the softest, whisper-thin lines to deep, velvety blacks in an instant. This dramatic range of values allows for powerful contrasts and a profound sense of depth in your drawings. It’s perfect for capturing moods, creating atmosphere, and building form. Unlike a pen or a fine-tipped pencil, charcoal allows for broad, sweeping gestures, encouraging a looser, more expressive style. This freedom often leads to more dynamic and energetic artwork.
Another fantastic aspect is its forgiving nature. Made primarily from burned wood, charcoal is essentially carbon, which means it’s relatively easy to smudge, blend, and even lift off the paper. This makes it a great medium for experimentation. Don’t like a line? Blend it out! Want to add light? Erase some charcoal away! This isn’t like ink, where a mistake can feel permanent. Charcoal invites you to play, to layer, and to discover. It encourages you to think subtractively as much as additively, treating your eraser as a drawing tool in itself. This exploratory process can be incredibly liberating, especially if you’re used to more rigid mediums.
Plus, there’s a certain primal satisfaction in working with charcoal. It’s a direct connection to nature, and the tactile experience of the dust on your fingers and the sound of it gliding across paper is deeply grounding. It’s raw, immediate, and utterly captivating.
Getting Started: Your Essential Charcoal Toolkit
Before you dive in, let’s talk about what you’ll need. The good news is, charcoal doesn’t require a massive investment or a daunting list of supplies. You can get started with just a few key items.
Different Types of Charcoal
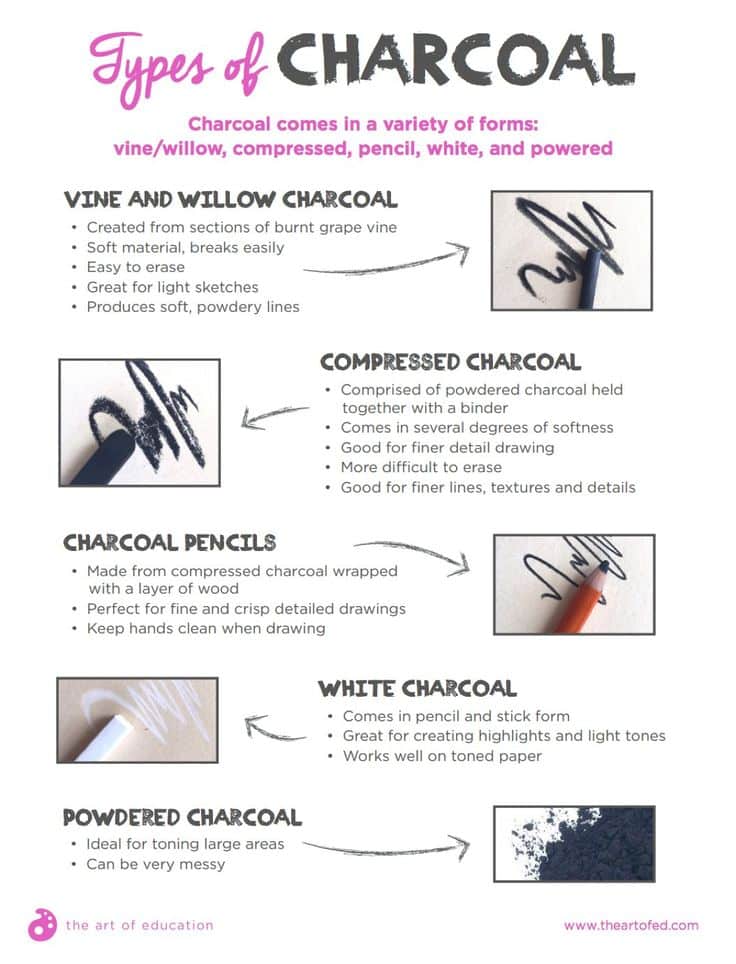
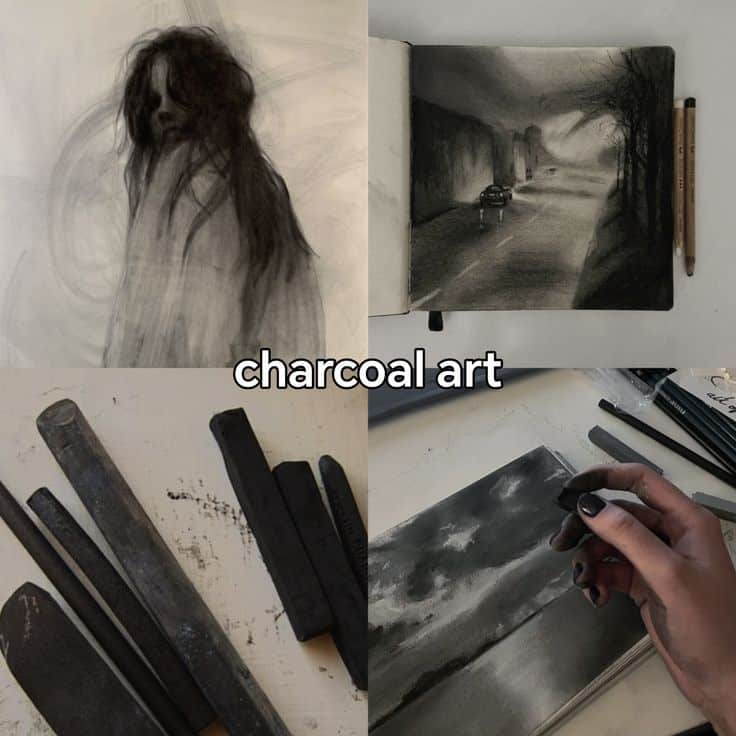
Charcoal comes in various forms, each with its own personality:
- Vine Charcoal: This is basically just burned willow sticks. It’s very soft, light, and easy to smudge and erase. It produces light, airy marks and is fantastic for initial sketches, gesture drawings, and laying down large areas of tone. Think of it as your gentle giant.
- Compressed Charcoal: This type is charcoal powder mixed with a binder, then compressed into sticks or pencils. It’s much darker, harder, and less easy to erase than vine charcoal. It’s perfect for rich blacks, sharp lines, and creating strong contrasts. Compressed charcoal pencils offer more control, while sticks cover larger areas quickly. They usually come in different hardness levels, much like graphite pencils (HB, 2B, 4B, 6B, etc.), with higher ‘B’ numbers indicating softer, darker charcoal.
- Charcoal Pencils: These are essentially compressed charcoal encased in wood, just like a regular pencil. They provide excellent control for details, fine lines, and precision work. If you’re used to drawing with graphite pencils, these will feel very familiar. They’re great for adding texture or for areas where you need crisp edges.
- Charcoal Powder: This is exactly what it sounds like – loose charcoal dust. You can apply it with brushes, cloths, or even your fingers to create smooth, even tones over large areas or subtle atmospheric effects. It’s incredibly versatile for blending and building layers of value without harsh lines.
Paper Choices Make a Difference
The surface you draw on significantly impacts your charcoal art. You’ll want paper with a bit of “tooth” or texture. This texture helps the charcoal particles grip the surface, allowing for richer tones and layers.
- Newsprint: Super cheap and great for practice and quick sketches. It’s thin and won’t hold much charcoal, but it’s perfect for warm-ups.
- Drawing Paper: A step up, usually 60-80 lb (90-130 gsm), with a moderate tooth. Good all-around paper for studies and finished pieces.
- Charcoal Paper: Specifically designed for charcoal and pastels, it has a more pronounced texture, often referred to as “laid” paper. This allows for excellent layering and rich darks.
- Toned Paper: Drawing on a mid-tone paper (like grey or sepia) can add a whole new dimension. You can then use white charcoal or pastels for highlights, pushing your values even further.

Essential Blending and Erasing Tools
These tools are your best friends when working with charcoal:
- Kneaded Eraser: This pliable, putty-like eraser is a must-have. You can mold it into different shapes to lift charcoal gently, create highlights, or clean up edges without smudging. It doesn’t leave crumbs like a plastic eraser.
- Gum Eraser: A softer, crumbly eraser that’s good for large areas and for cleaning up loose dust.
- Vinyl/Plastic Eraser: Good for sharper, more defined highlights, but use it carefully as it can smudge if you’re not precise.
- Blending Stumps (Tortillons): Tightly rolled paper tools used to smudge and blend charcoal smoothly. They come in various sizes for different areas.
- Chamois Cloth: A soft piece of leather or synthetic material, excellent for blending large areas of charcoal to create very smooth, subtle transitions.
- Cotton Swabs/Q-tips/Fingers: Don’t underestimate these! Your fingers are fantastic for blending, especially for a raw, expressive look. Cotton swabs offer more control for smaller areas.
Don’t Forget the Fixative!
Charcoal is dusty and easily smudged. To preserve your masterpieces, you’ll need a fixative. This is a spray that creates a protective layer over your drawing, preventing smudges and making it more durable. Make sure to use it in a well-ventilated area, and apply it in light, even coats from a distance.
Mastering the Basics: Fundamental Charcoal Techniques
Okay, supplies are sorted. Now for the fun part: making marks! Charcoal drawing is all about understanding how to manipulate this versatile medium.
Holding Your Charcoal
How you hold your charcoal dramatically affects the marks you make.
- The Tripod Grip (like a pencil): Best for detail, fine lines, and precise control, especially with charcoal pencils.
- The Overhand Grip (like holding a paintbrush): This grip encourages broad, sweeping strokes and allows you to use the side of the charcoal stick. It’s fantastic for laying down large areas of tone and for more expressive work. Experiment with the angle of the stick to get different effects.
Basic Strokes and Mark-Making
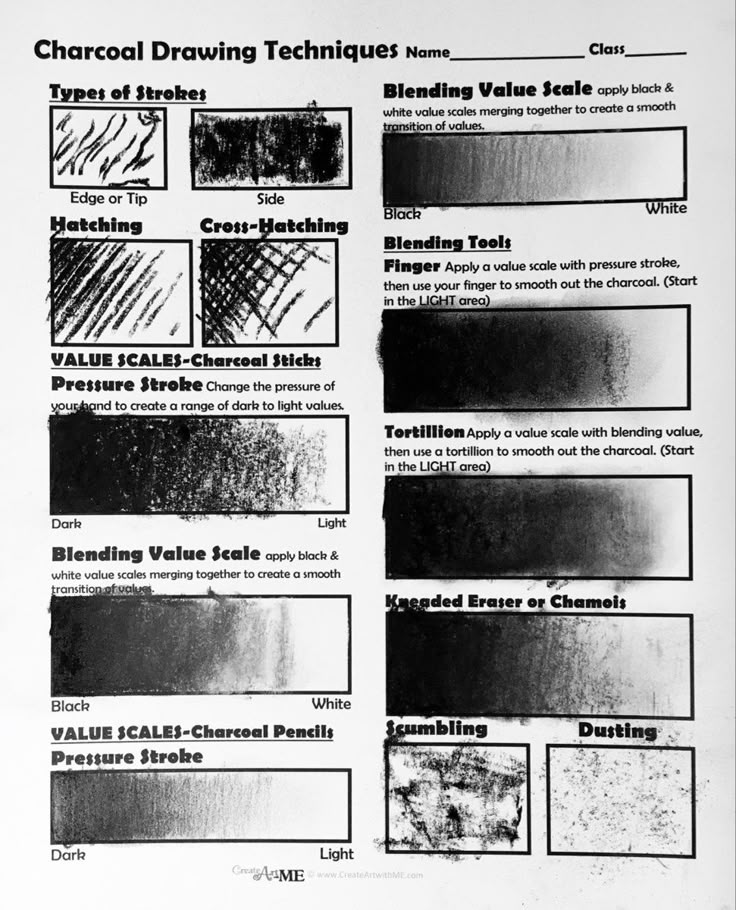
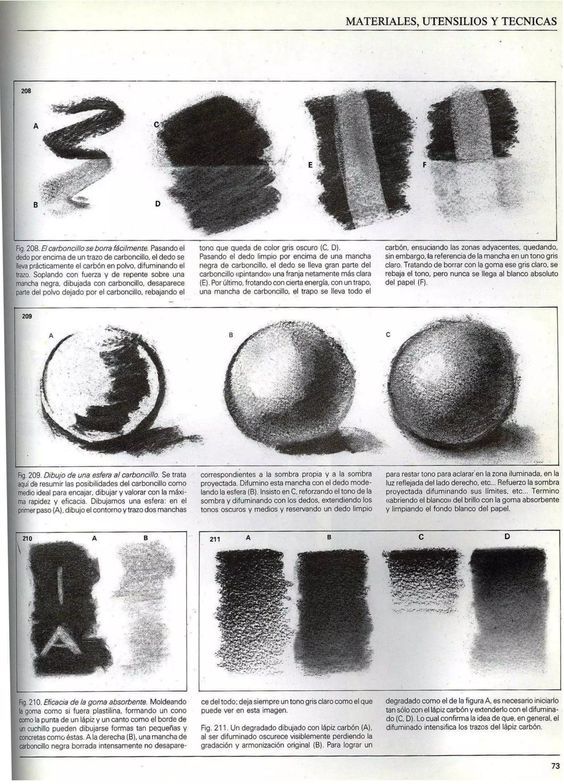
Play around with different marks to see what your charcoal can do:
- Lines: Experiment with varying pressure. Light pressure for soft, delicate lines; heavy pressure for bold, dark lines. Use the tip for crisp lines, and the side of the stick for thicker, textured lines.
- Hatching: Drawing parallel lines in one direction. The closer the lines, the darker the tone.
- Cross-hatching: Layering sets of parallel lines in different directions (e.g., horizontal over vertical). This builds up tone quickly and adds texture.
- Scribbling/Circulism: Loosely overlapping circular or swirling marks to build up tone and texture. This creates a very organic, energetic feel.
- Smudging/Blending: Use your fingers, a blending stump, or a chamois to spread the charcoal and create smooth gradients or soft transitions. This is where charcoal truly shines.
Spend some time on a scrap piece of paper just making marks. Get comfortable with how the charcoal feels and responds to different pressures and angles. This exploratory phase is crucial for building confidence.
Embracing the Dark Side: Understanding Value and Contrast
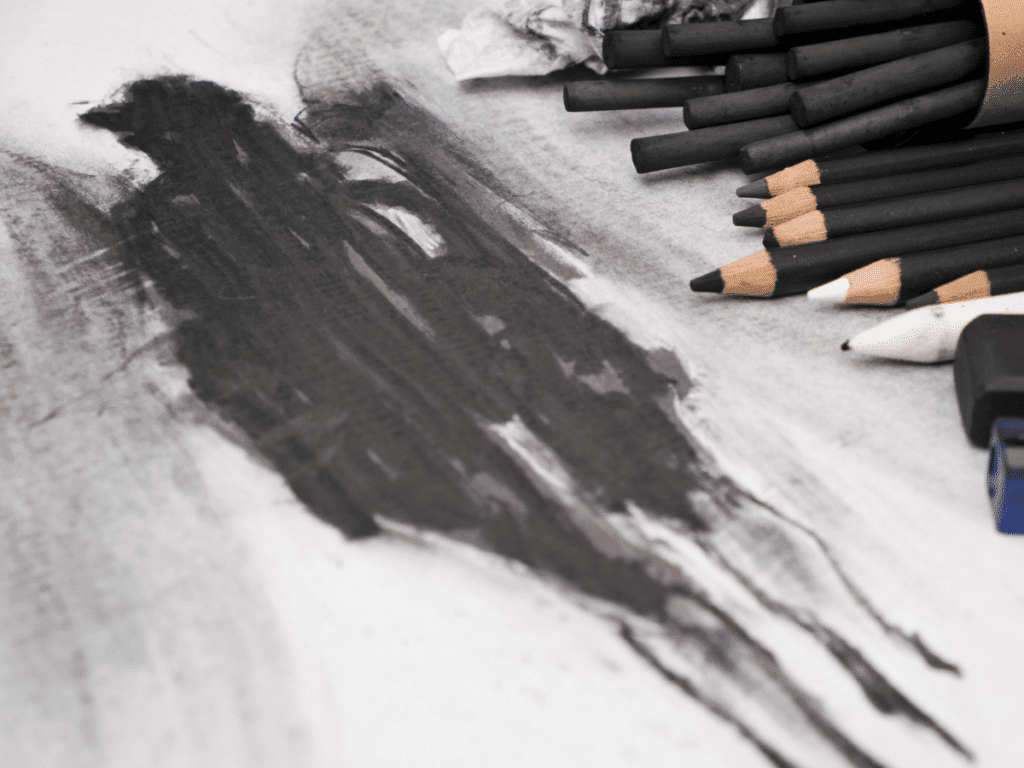
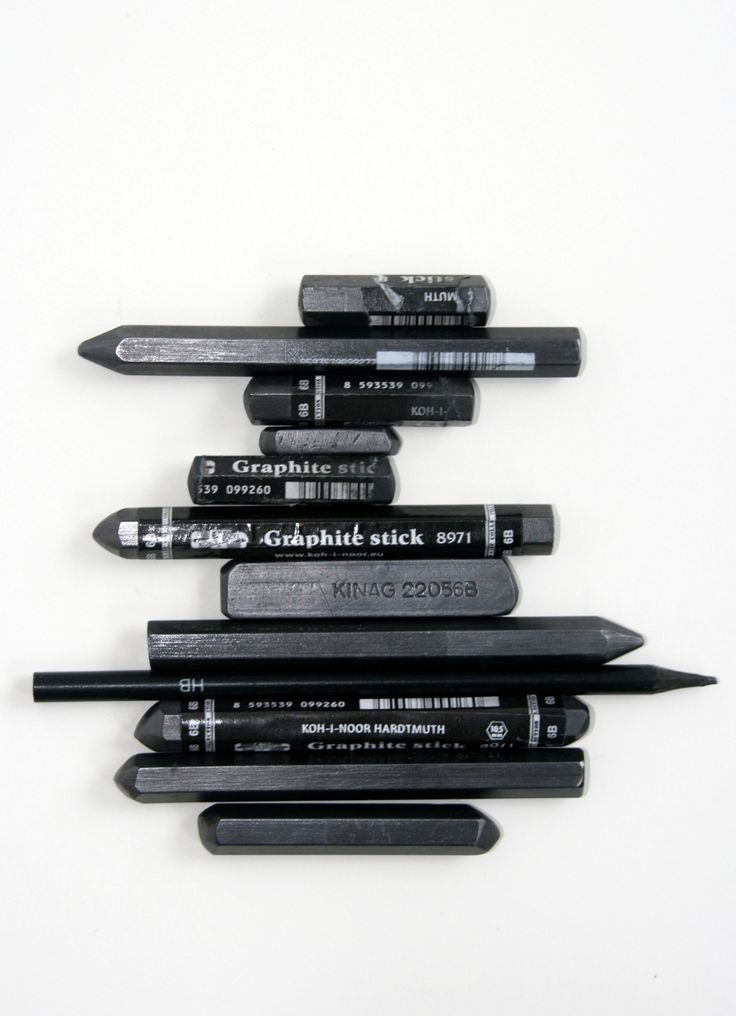
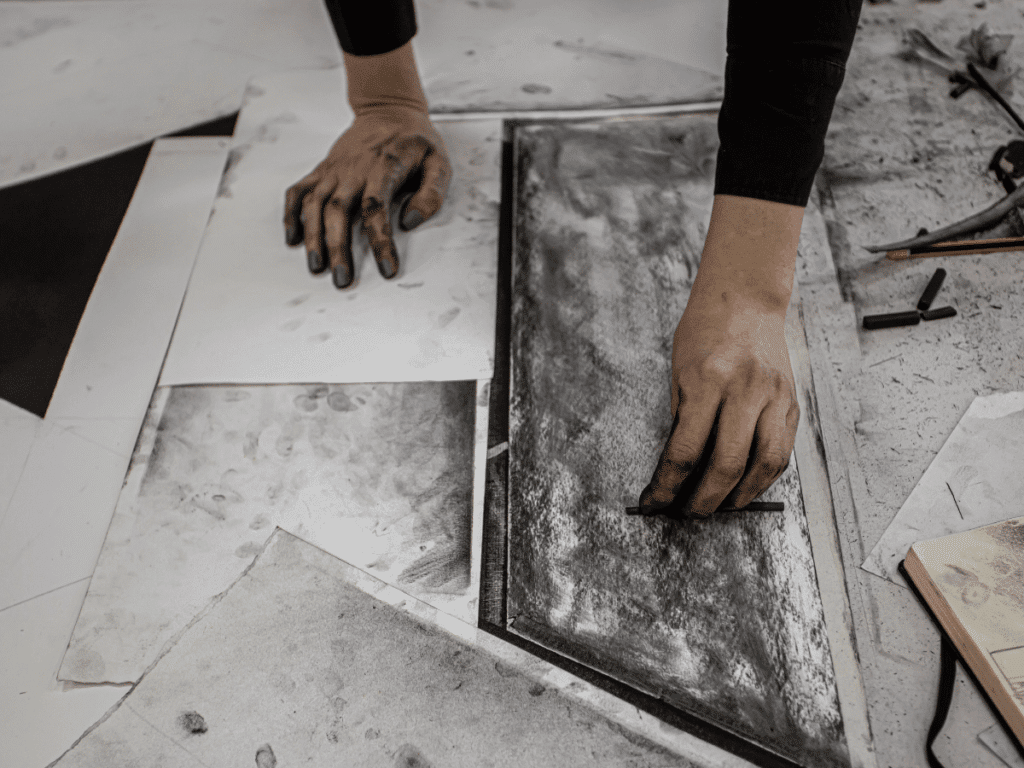
Value refers to the lightness or darkness of a color or tone. In charcoal drawing, where color is absent, value is everything. It’s what creates form, depth, and drama in your artwork. Learning to control your values is the single most important skill you’ll develop.
Think of a full value scale, from pure white (the paper itself, or lifted highlights) to the deepest, darkest black your charcoal can produce. Your goal is to utilize this entire range to make your drawings pop.
- Light Values: These are your highlights and mid-tones. Use vine charcoal, light pressure with compressed charcoal, or lift charcoal with a kneaded eraser. These areas bring light into your drawing and often define the illuminated surfaces of your subject.
- Mid-tones: The transition areas between light and dark. These are essential for creating smooth, realistic forms. Blending stumps and chamois cloths are great for mid-tones.
- Dark Values: These are your shadows and deepest tones. Use compressed charcoal sticks or pencils with firm pressure. Rich darks are what give charcoal its power and create a sense of weight and substance.
The magic happens when you push the contrast. Juxtaposing a dark value against a light value creates visual impact and makes objects appear to recede or come forward. For instance, a very dark shadow immediately next to a bright highlight can dramatically define an edge or emphasize a form. Don’t be afraid to go really dark! Many beginners shy away from true blacks, but embracing them will unlock a whole new level of expression in your work.
Consider light sources. Where is the light coming from? How does it hit your subject? Where do the shadows fall? Observing these relationships in real life or from reference photos will greatly improve your ability to render convincing values. A strong understanding of value can make even simple subjects incredibly compelling.
Blending and Smudging: Creating Smooth Transitions
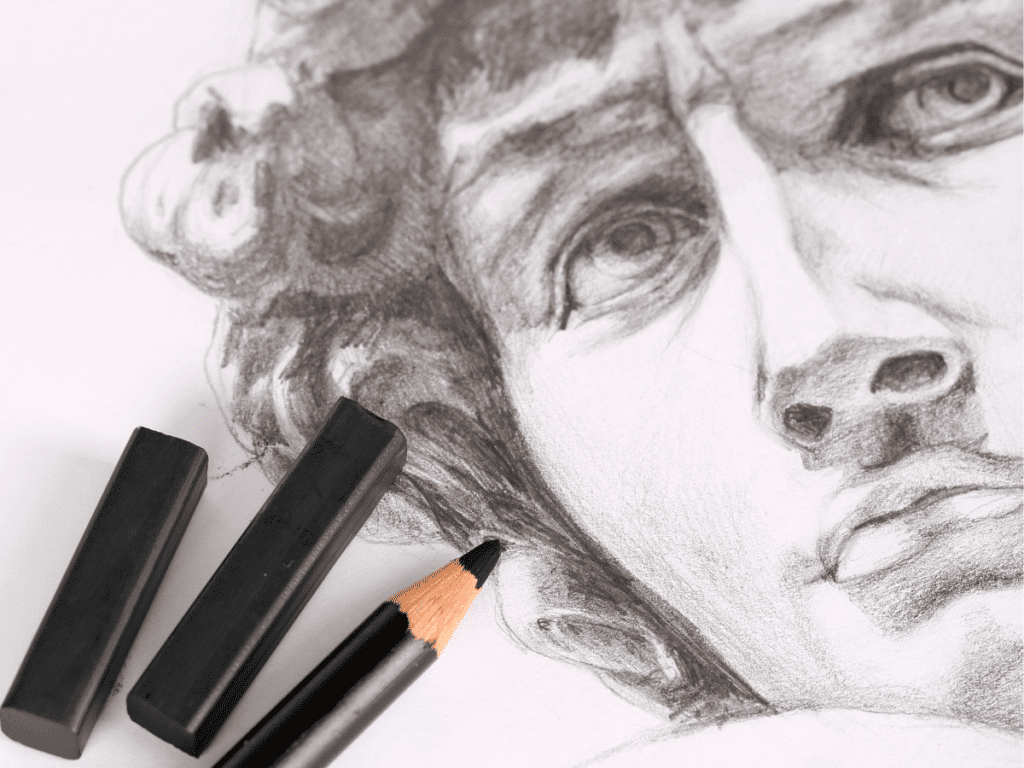
One of charcoal’s most beloved characteristics is its blendability. This allows you to create seamless transitions between values, smooth textures, and soft atmospheric effects. But there’s an art to it!
- Fingers: The most direct method! Your fingers are excellent for broad, soft blending. Be aware that finger oils can sometimes leave marks, especially on lighter areas, so keep them clean or use gloves if you’re concerned. They create a very organic, painterly feel.
- Blending Stumps (Tortillons): These tightly rolled paper tools are fantastic for more controlled blending, especially in smaller areas or for creating smooth gradients. They come to a point, allowing for precision. You can even use the tip of a blending stump to draw light lines by picking up charcoal from one area and depositing it elsewhere.
- Chamois Cloth: For covering large areas with incredibly smooth, even tones, a chamois cloth is your secret weapon. Gently rub it over a charcoal-covered area to create soft, cloud-like textures. This is especially useful for backgrounds or skies.
- Cotton Swabs/Q-tips: Excellent for blending tiny details, such as in portraits, or for reaching awkward spots.
- Brushes: A soft brush (like a makeup brush or a soft paintbrush) can be used with charcoal powder or gently brushed over laid-down charcoal to create very subtle blends and atmospheric effects. You can also pick up charcoal powder with a brush and apply it directly to the paper for an airbrushed look.
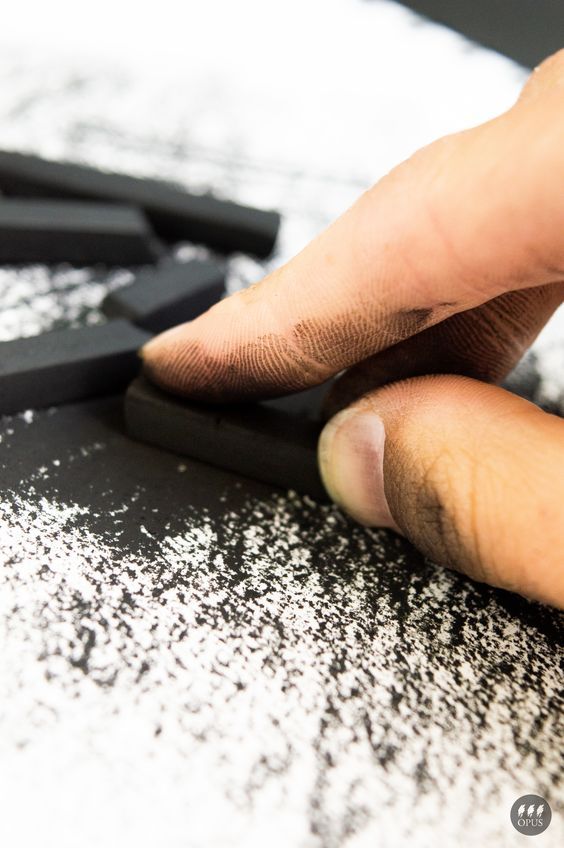
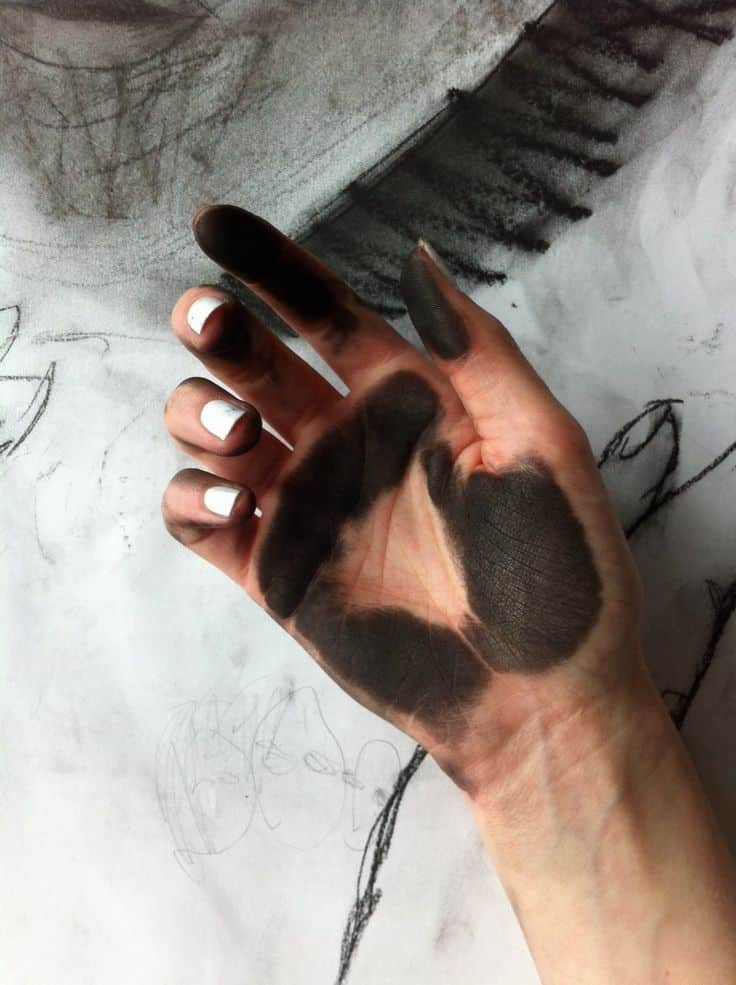
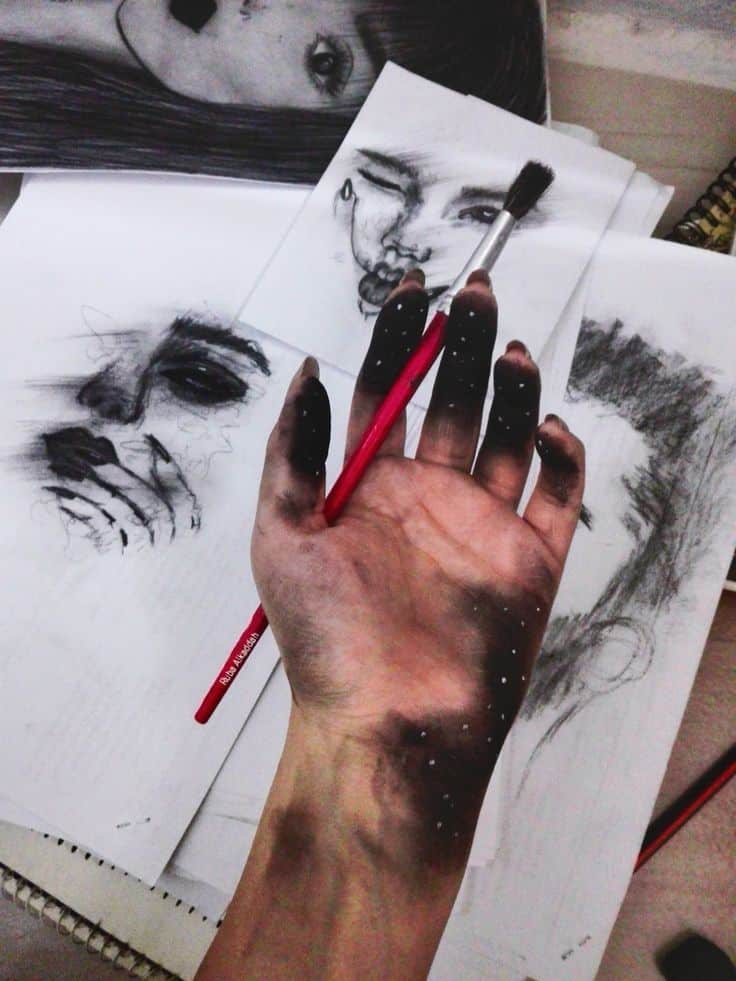
When blending, always work from lighter areas towards darker areas to avoid dragging too much dark charcoal into your highlights. Build up your tones gradually, blending in layers rather than trying to achieve the perfect blend in one go. Remember, blending isn’t always about making everything perfectly smooth. Sometimes, leaving some visible texture or intentional smudges adds character and energy to your drawing.
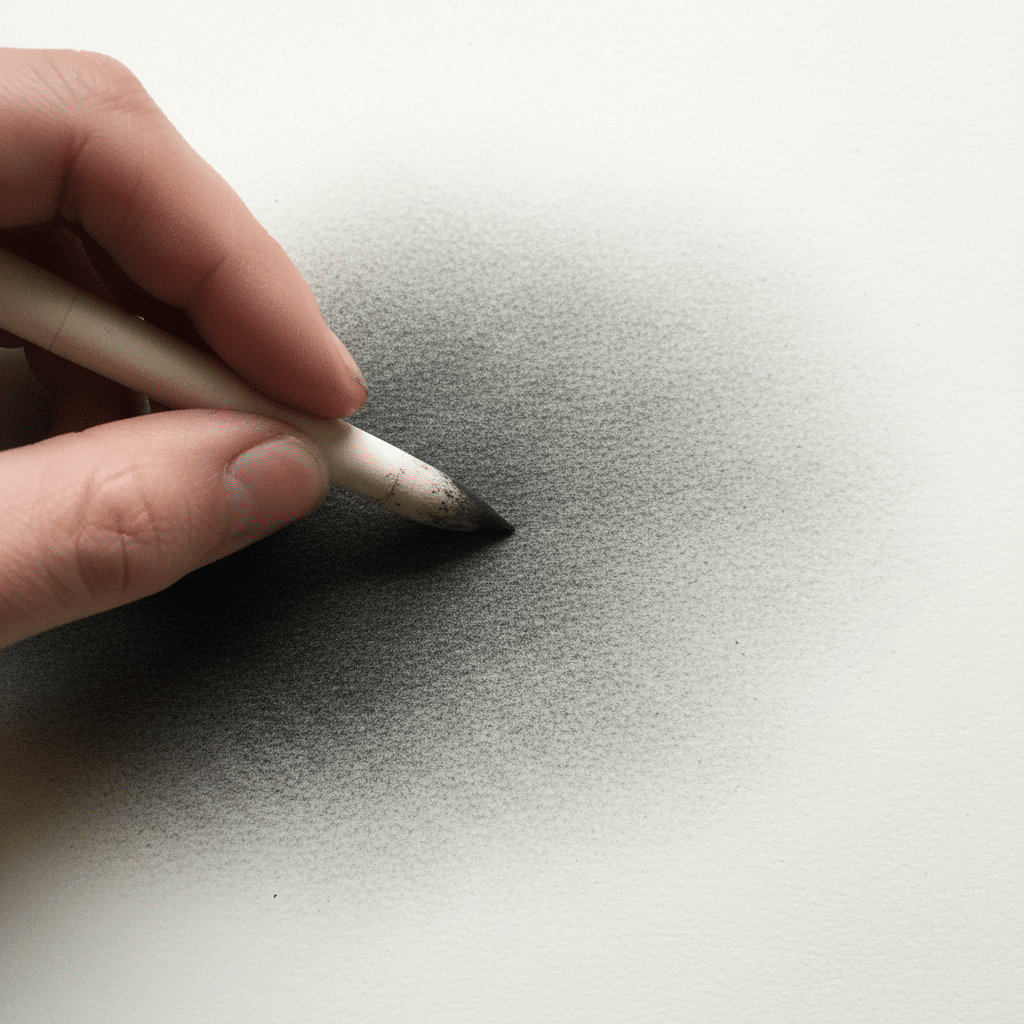
The Art of Erasing: Not Just for Mistakes!
In charcoal drawing, your eraser isn’t just for fixing errors; it’s an active drawing tool. This subtractive approach is unique and incredibly powerful.
- Lifting Highlights: The most common use of an eraser in charcoal is to create highlights. After laying down a darker tone, you can gently press a kneaded eraser onto the area to lift charcoal, revealing the paper underneath or a lighter tone. You can mold the kneaded eraser into a fine point for sharp highlights (like the sparkle in an eye) or flatten it for broader, softer highlights (like light glancing off a rounded surface).
- Creating Texture: By dabbing or lightly dragging a kneaded eraser, you can create interesting textures, mimic skin pores, or suggest rough surfaces. This technique adds visual interest and realism.
- Softening Edges: A lightly dabbed or rolled kneaded eraser can soften harsh edges, making objects recede into the background or creating a sense of atmosphere.
- Correcting and Refining: Of course, erasers are still great for corrections! But instead of erasing completely, try to lift charcoal away gradually. This prevents damaging the paper and allows for smoother transitions when you reapply charcoal. A vinyl eraser can be useful for sharper, more precise corrections, but be mindful of its smudging potential.
Think of your eraser as a white charcoal pencil, allowing you to draw with light. It’s a game-changer for building dimension and contrast.
Form and Structure: Building Your Subjects with Charcoal
Now that you’ve got a handle on the tools and basic techniques, let’s talk about applying them to actual subjects. Charcoal is fantastic for exploring form and structure, largely because of its strong value capabilities.
Portraits and Figures
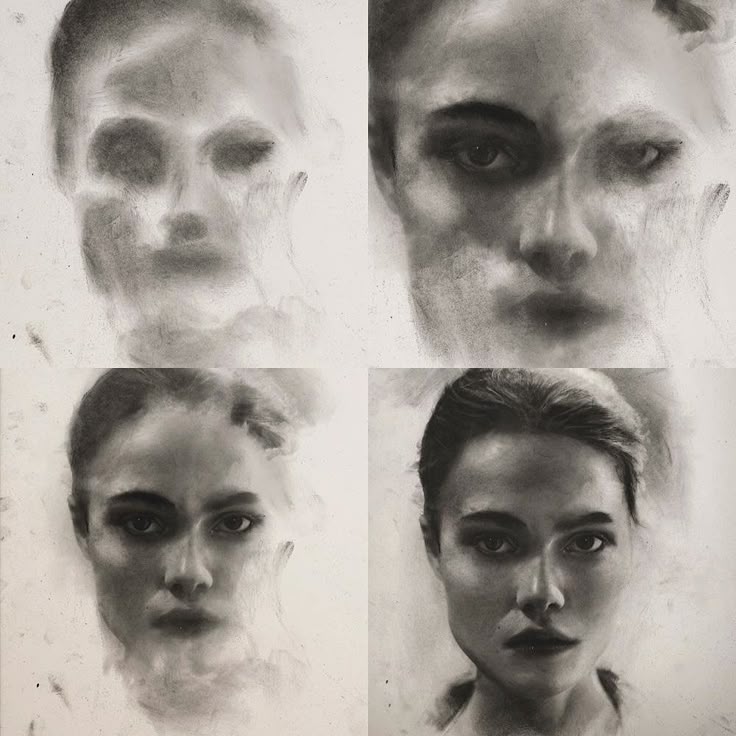
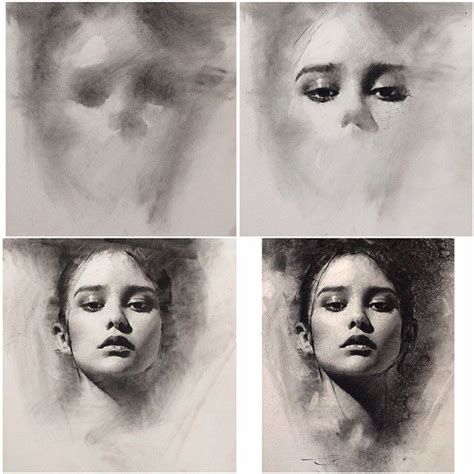
Drawing faces and figures with charcoal is a rewarding experience. The medium’s ability to create subtle shifts in tone and deep shadows makes it ideal for capturing the nuances of the human form.
- Start with Gestures: Begin with light vine charcoal to capture the overall gesture and proportions. Don’t press hard, just block in the major shapes and angles. Think about the flow and movement. This is similar to the foundational steps in drawing faces from different angles.
- Block in Major Values: Once the gesture is solid, start blocking in the major light and shadow areas. Don’t worry about details yet. Identify where the darkest shadows are and where the brightest highlights fall.
- Build Form with Blending: Use your blending tools to create smooth transitions and model the form of the face or body. Pay close attention to how light falls across curves and planes. For instance, creating soft, gradual shifts in value can help depict the roundness of a cheek or the curve of an arm.
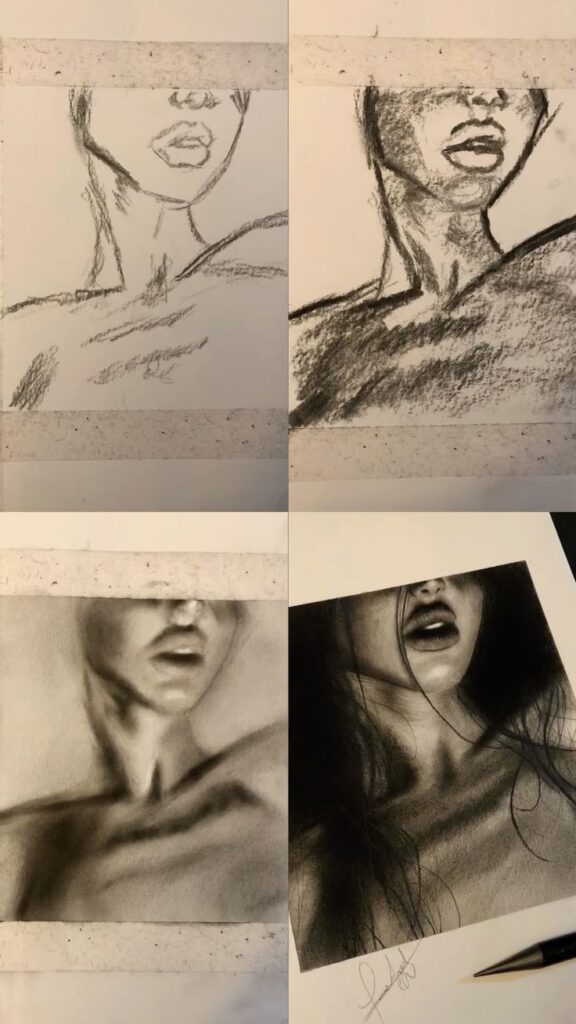
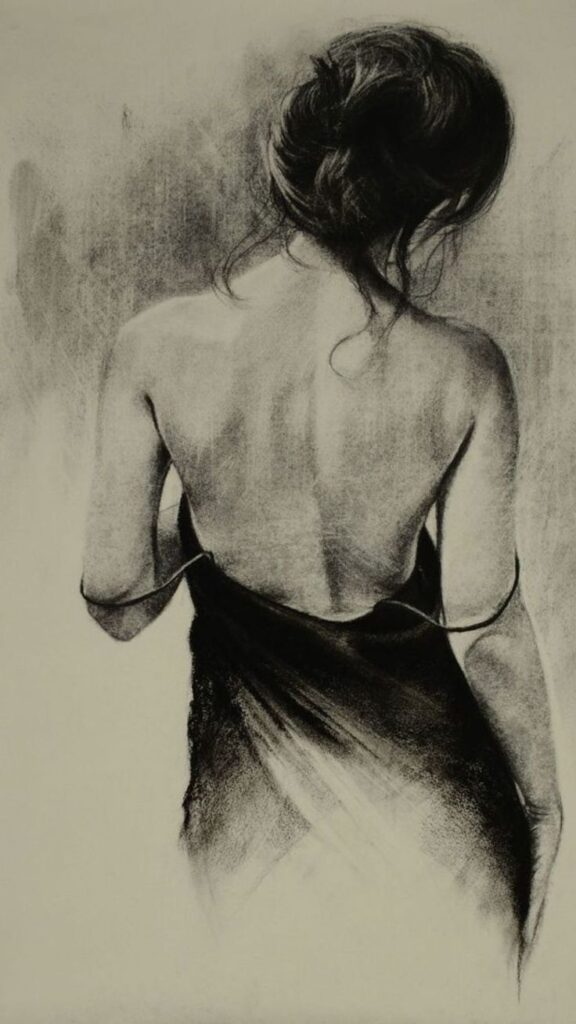
- Add Details and Contrast: Introduce charcoal pencils for finer details like eyes, lips, or hair strands. Use compressed charcoal for the deepest shadows (e.g., under the chin, in the eye sockets) to give the drawing dimension. Use your kneaded eraser for sharp highlights to bring out the sparkle in eyes or the sheen on skin. Remember to consider how clothing flows and moves if you’re depicting a full figure, using shadows and folds to enhance realism.

Landscapes and Still Life
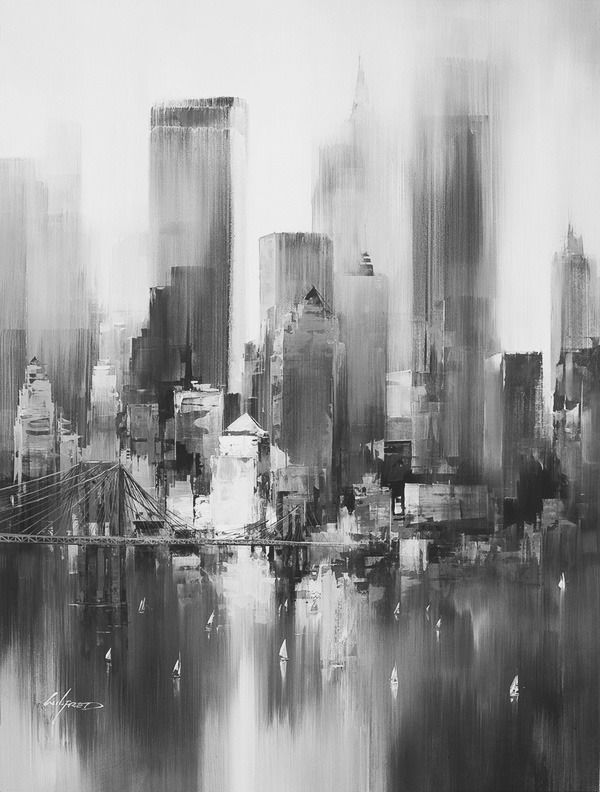
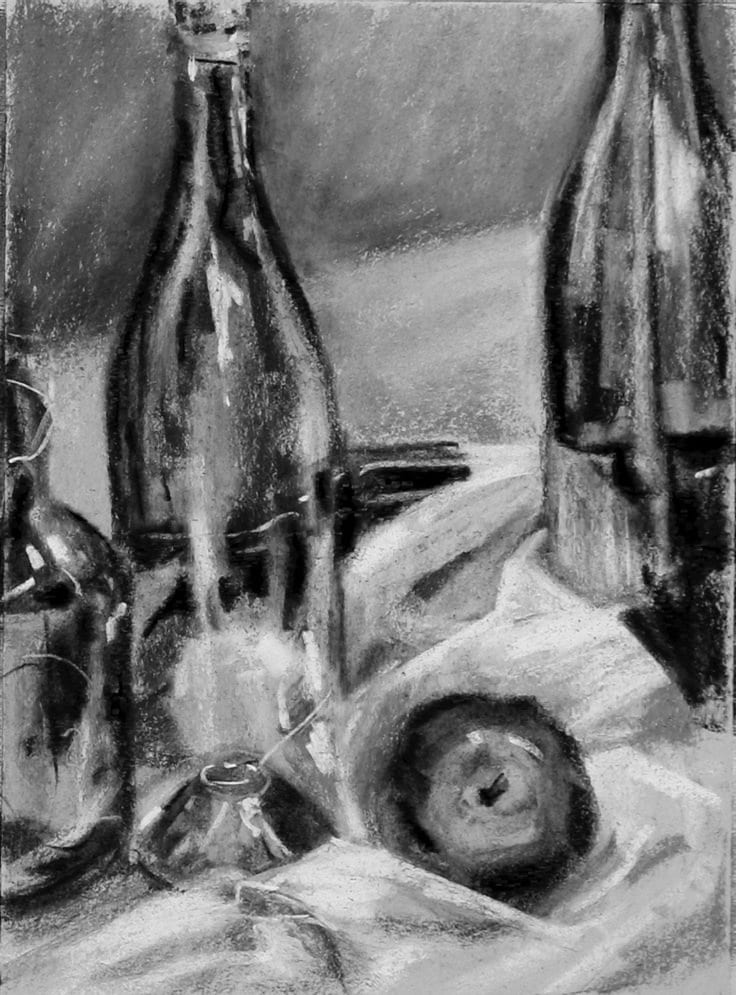
Charcoal is equally powerful for non-human subjects, allowing you to create dramatic landscapes or evocative still life compositions.
- Landscapes: For landscapes, charcoal excels at capturing atmospheric effects, dramatic skies, and the textures of nature.
- Composition First: Start with a light sketch to establish your horizon line, major elements (trees, mountains, buildings), and overall composition.
- Sky and Background: Use charcoal powder or vine charcoal and a chamois cloth to lay down broad, soft washes for skies and distant elements. Blend smoothly for hazy skies or use bolder strokes for stormy clouds.
- Midground and Foreground: Gradually introduce darker values and more defined textures as you move towards the foreground. Use compressed charcoal for the trunks of trees, rocks, or buildings. Explore different urban landscape sketching techniques to capture cityscapes with charcoal.
- Texture: Experiment with different strokes to create textures: stippling for foliage, broken lines for rough surfaces, or deep darks for dense shadows.
- Still Life: Charcoal is fantastic for still life because it emphasizes form, texture, and light.
- Observe Your Setup: Carefully observe your objects. Pay attention to their basic geometric shapes, how light hits them, and the cast shadows.
- Light Sketch: Use vine charcoal for a loose, accurate sketch of proportions and placement.
- Build Values Gradually: Work from general to specific. Block in the overall light and shadow areas for each object.
- Define Form: Use blending and layering to create the illusion of three-dimensional form. Notice how values change across curved surfaces.
- Texture and Detail: Charcoal pencils are great for adding the textures of fabric, the smoothness of glass, or the roughness of fruit. Use your kneaded eraser for reflections and highlights.
Beyond the Basics: Advanced Charcoal Techniques
Once you’re comfortable with the fundamentals, you can start pushing the boundaries of what charcoal can do.
Mixed Media with Charcoal
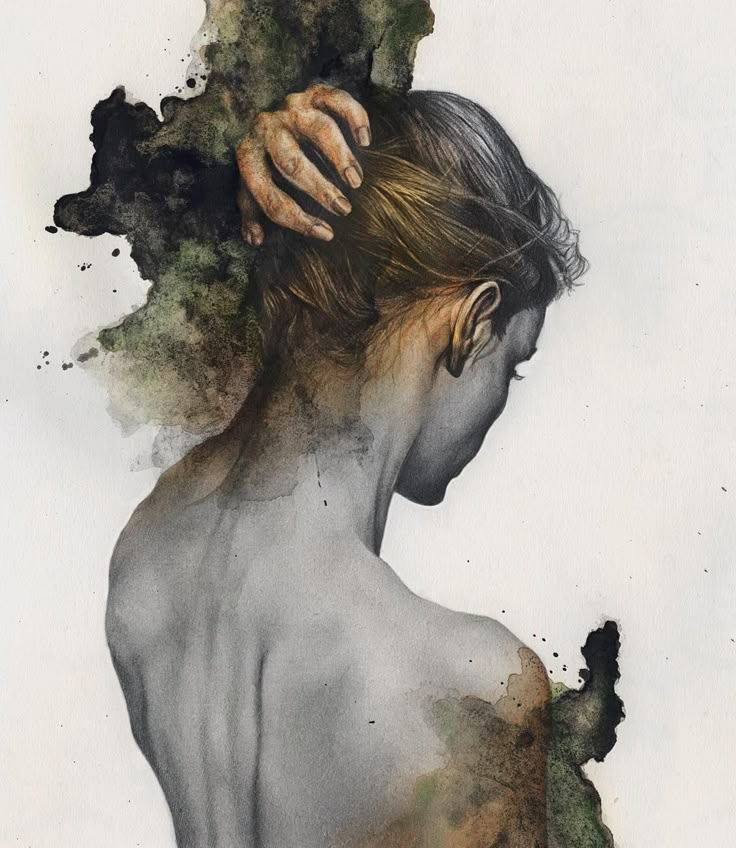
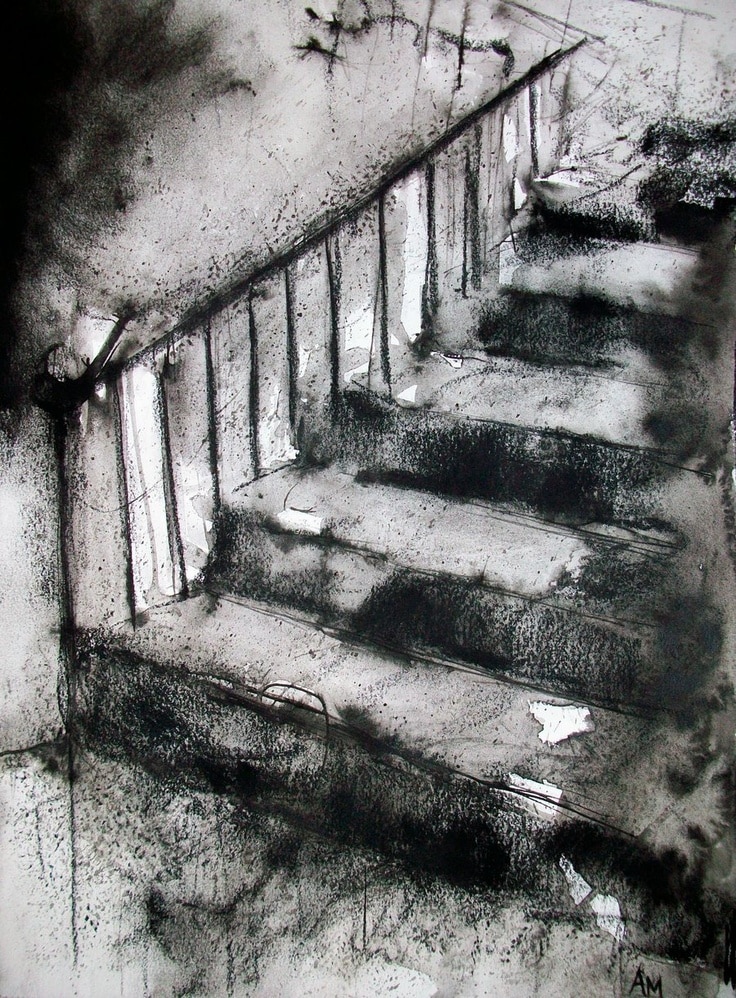
Charcoal plays surprisingly well with other mediums.
- Charcoal and Pastel: Combine charcoal’s darks with the vibrant colors of soft pastels. You can lay down a charcoal drawing and then add pastel color over it, or use white pastel to create intense highlights on toned paper.
- Charcoal and Watercolor/Ink Wash: Start with a light watercolor wash or ink wash to establish basic colors or atmospheric backgrounds, then add charcoal on top for definition, shadows, and strong lines. Just make sure the wash is completely dry before applying charcoal. This can create truly striking effects.
- Charcoal and Graphite: While they are both carbon-based, they have different sheens. Graphite has a reflective quality, while charcoal is matte. Used together, you can achieve interesting textural contrasts and a wider range of darks.
Lifting and Subtraction
This technique truly utilizes the forgiving nature of charcoal. Instead of adding marks, you focus on removing them.
- Using a Stencil/Mask: Lay a stencil or a cut-out shape over a charcoal-covered area and then gently dab with a kneaded eraser or rub with a clean cloth. This will lift charcoal in the shape of your stencil, creating crisp, defined forms or patterns.
- Creating ‘Negative’ Spaces: Cover your paper with a middle tone of charcoal. Then, “draw” into it with your kneaded eraser to create your subject. This forces you to think about the light areas as the primary form, rather than the darks. It’s an excellent way to train your eye to see shapes in light.
Using Charcoal Powder
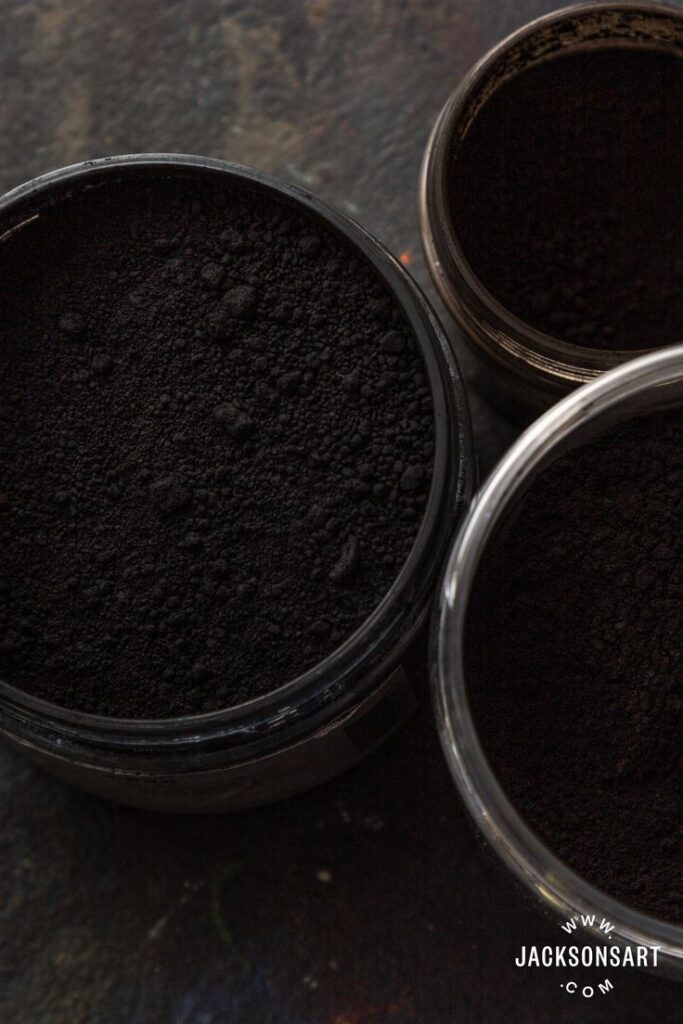
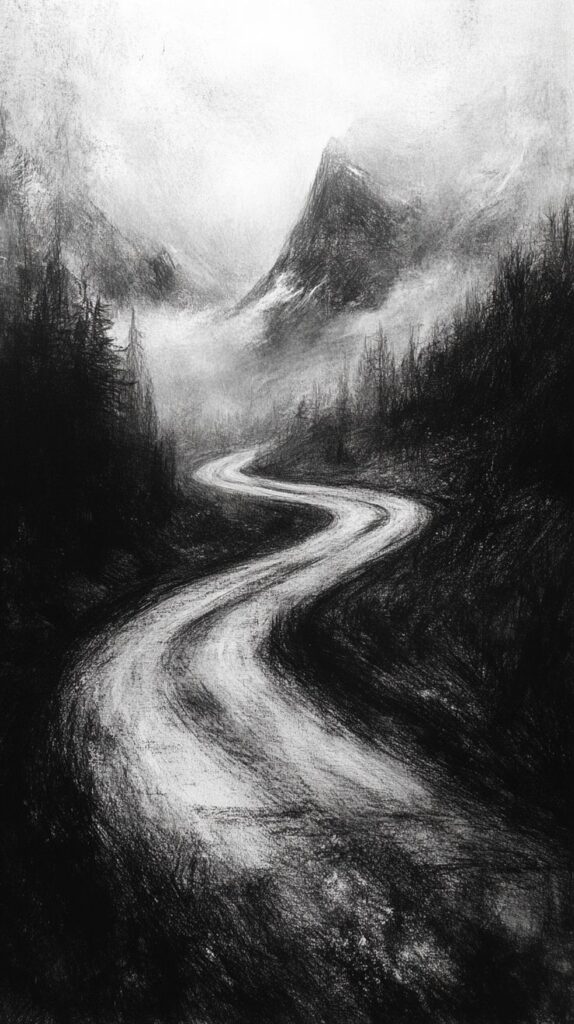
Charcoal powder isn’t just for covering large areas; it’s a versatile tool for advanced effects.
- Atmospheric Effects: Apply powder very lightly with a soft brush to create subtle haze, fog, or a sense of distance in landscapes.
- Texture Mapping: You can use stencils and apply charcoal powder through them with a brush for intricate textures or patterns.
- Controlled Blending: Use a brush with a tiny amount of charcoal powder to blend areas without introducing fingerprints or harsh lines. This is great for very realistic drawing techniques where smooth transitions are paramount.
Common Challenges and How to Overcome Them
Every artist faces hurdles, and charcoal has its own unique quirks. Don’t get discouraged!
- The Mess Factor: Yes, charcoal is dusty. Embrace it! Work in a dedicated space, lay down newspaper, and keep a damp cloth handy. Don’t blow on your drawings, as this spreads dust and can damage the paper. Instead, gently tap the back of your drawing or use a soft brush to remove excess dust.
- Smudging Issues: While smudging is part of the appeal, unwanted smudges are frustrating.
- Bridge: Use a bridge (a ruler or piece of wood elevated by blocks) to rest your hand on while working, keeping it off the drawing surface.
- Glassine/Tracing Paper: Place a sheet of glassine or tracing paper under your working hand.
- Fixative: Use light coats of fixative periodically throughout the drawing process, not just at the end. This “sets” layers, allowing you to work on top without disturbing previous ones.
- Achieving True Darks: Many beginners are hesitant to go really dark. Practice applying firm pressure with compressed charcoal. Layering compressed charcoal over vine charcoal can also build up deep, rich blacks. Don’t be afraid to push the value!
- Overworking: It’s easy to keep blending and adding until your drawing looks muddy. Learn to step away! Take breaks and look at your drawing from a distance or in a mirror. This helps you see it with fresh eyes and identify areas that might be overworked. Sometimes, less is more.

Ready to Make Your Mark?
Drawing with charcoal is an incredibly rewarding journey, offering a direct and powerful way to express yourself. From the humble stick of burned wood, you can conjure vast landscapes, intimate portraits, or abstract explosions of light and shadow. It’s a medium that challenges you to see the world in terms of value and texture, while also being remarkably forgiving and open to experimentation.
So, what are you waiting for? Pick up some charcoal, grab some paper, and don’t be afraid to get a little messy. Embrace the process, enjoy the tactile experience, and let your creativity flow. There are no strict rules, only endless possibilities. The most important step is simply to begin. Happy drawing!
What are some basic techniques for creating form and shading in charcoal?
Basic techniques include holding your charcoal in different grips for detailed or broad strokes, experimenting with lines, hatching, cross-hatching, scribbling, and blending. Practice applying varying pressure to create different values and use blending tools for smooth transitions to build realistic forms.
How can I control light, shadows, and contrast to make my charcoal drawings stand out?
Controlling values through a full range from white highlights to deep blacks is key. Focus on observing light sources, placing dark shadows next to bright highlights to enhance depth, and pushing contrast. Use firm pressure with charcoal for darks and lifting or erasing for highlights to create dynamic, impactful images.
How can I effectively use erasers in charcoal drawing?
In charcoal drawing, erasers are used not only to fix mistakes but also to create highlights, add texture, soften edges, and refine details. Tools like kneaded erasers are great for lifting charcoal gently and shaping highlights, while vinyl erasers can produce sharper highlights or corrections.
What are the essential materials needed to start drawing with charcoal?
To get started with charcoal, you need different types of charcoal such as vine charcoal, compressed charcoal sticks or pencils, charcoal powder, suitable paper with texture, and various blending and erasing tools like kneaded erasers, blending stumps, chamois cloth, cotton swabs, and fixative spray for protection.
What makes charcoal a unique and powerful medium for drawing?
Charcoal offers a wide range of expression with its ability to produce soft, delicate lines and deep, velvety blacks, making it ideal for capturing mood, atmosphere, and depth in artwork. Its forgiving nature and tactile quality encourage experimentation and energetic, dynamic art.
- 186shares
- Facebook0
- Pinterest186
- Twitter0
- Reddit0
