Ever dreamt of rocking a convention with a costume so authentic, so detailed, it looks like it jumped straight out of the screen? Or maybe you’re just tired of struggling with EVA foam and craft knives, wishing for an easier, more precise way to bring your favorite characters to life. If you’re a casual cosplayer looking to elevate your game, then buckle up, because the world of 3D printing for cosplay is about to become your new best friend.
Once seen as a futuristic tech marvel, 3D printing has become incredibly accessible, transforming how we approach prop and armor making. It’s no longer just for the pros with massive budgets; even if you’re just doing a few conventions a year or enjoy dressing up for photoshoots, this technology can unlock levels of detail and complexity you never thought possible. Say goodbye to wonky edges and endless sanding (well, maybe less endless sanding) and hello to custom-made pieces that fit perfectly and look professionally crafted. This guide is your casual walkthrough to understanding, using, and loving 3D printing in your cosplay journey.
Why 3D Printing is a Game-Changer for Cosplay
Imagine holding a prop that feels solid, looks incredibly accurate, and required less elbow grease than traditional methods. That’s the power of 3D printing. It’s revolutionizing cosplay for creators of all skill levels, from beginners to seasoned veterans.
Unmatched Customization and Accuracy
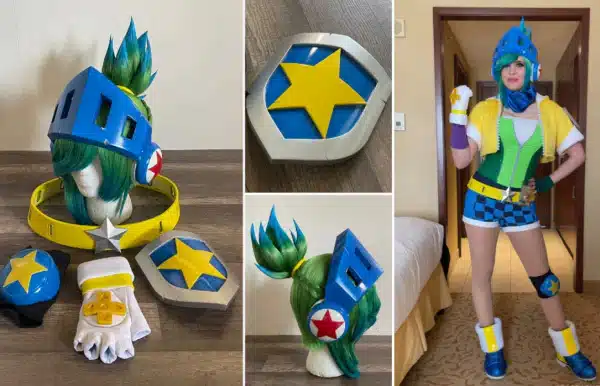
One of the biggest hurdles in cosplay is nailing those intricate details. From a character’s unique shoulder pauldrons to a fantastical weapon with elaborate engravings, these elements often require advanced sculpting skills or expensive commissioned work. 3D printing sidesteps this challenge entirely. You can find or design models with pixel-perfect accuracy, ensuring your finished piece is an exact replica of its in-game or on-screen counterpart. This allows for an incredible degree of personalization, letting you scale pieces to your exact body measurements for a custom fit that traditional crafting often struggles to achieve.
Speed and Efficiency in Production
Let’s be honest, cosplay takes time. Lots of it. Traditional methods like carving, sculpting, or even extensive foam work can stretch over weeks or months. While 3D printing isn’t instant, it significantly cuts down the active crafting time. Once your model is prepared, the printer handles the grunt work, often overnight or while you’re at work. This frees you up to focus on other parts of your costume, like sewing fabric components or perfecting your wig. What might take days of hand-shaping can be printed in a matter of hours, or across a couple of print sessions.
Cost-Effectiveness in the Long Run
While the initial investment in a 3D printer might seem daunting, think of it as an investment in your cosplay future. Once you own a printer, the cost per prop becomes remarkably low, often just the price of the filament or resin used. Compare this to continuously buying new sheets of foam, specialized adhesives, carving tools, and potentially making mistakes that lead to wasted materials. With 3D printing, if a print fails, you might lose a small amount of filament, but the digital file remains, ready for another attempt. You can also reuse designs for different costumes, adapting them as needed. This long-term saving makes it incredibly appealing.
Accessibility for All Skill Levels
Gone are the days when 3D printers were reserved for engineers and industrial designers. Today, consumer-grade printers are user-friendly, affordable, and supported by massive online communities. There’s a wealth of free and paid 3D models available online, meaning you don’t even need to be a 3D modeling expert to get started. Many software tools are intuitive, and troubleshooting advice is just a forum post away. This accessibility truly democratizes complex costume creation, allowing anyone to bring their wildest cosplay dreams to life.
Real-World Applications: Beyond Just Props
Think beyond just swords and staffs. 3D printing excels at creating:
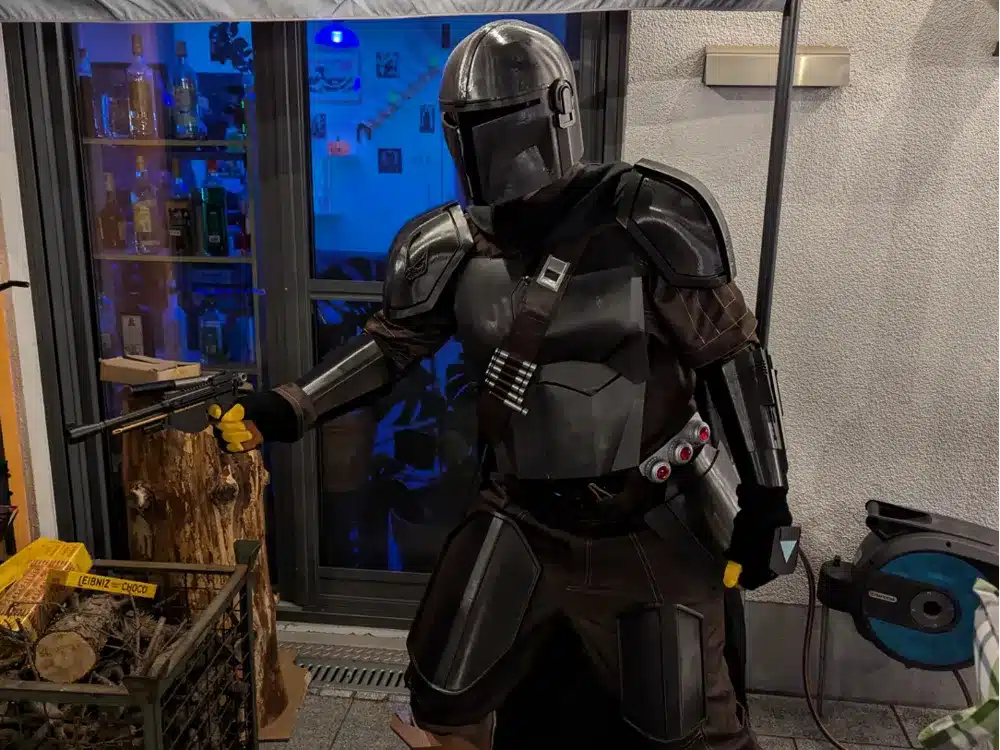
- Intricate Armor Details: Gauntlets, bracers, buckles, complex pauldrons.
- Character Accessories: Goggles, emblems, jewelry, specific belt details.
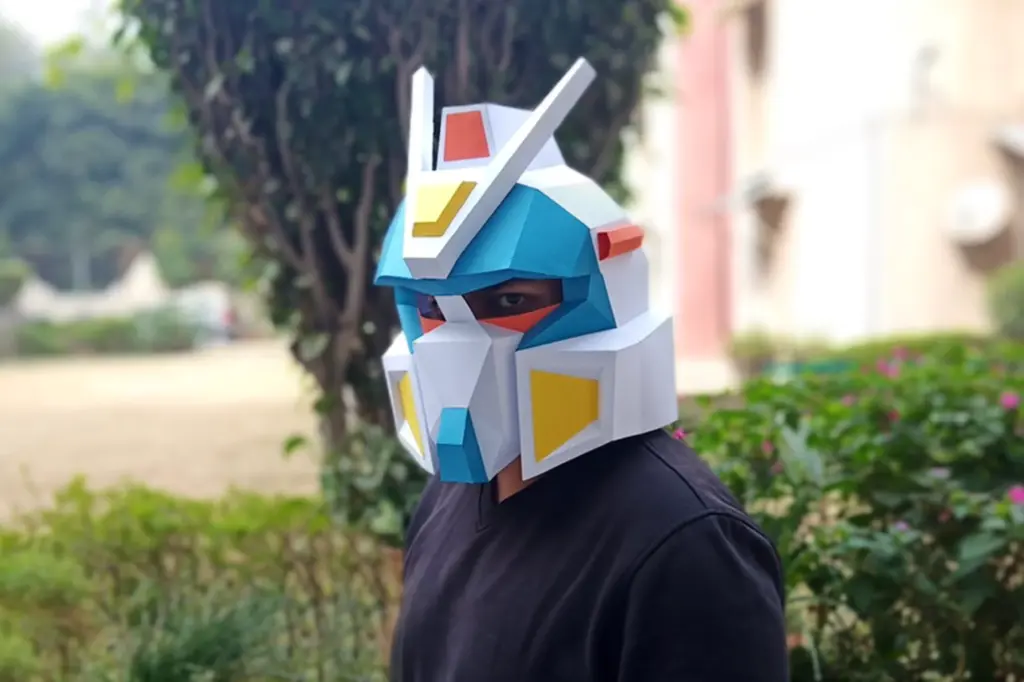
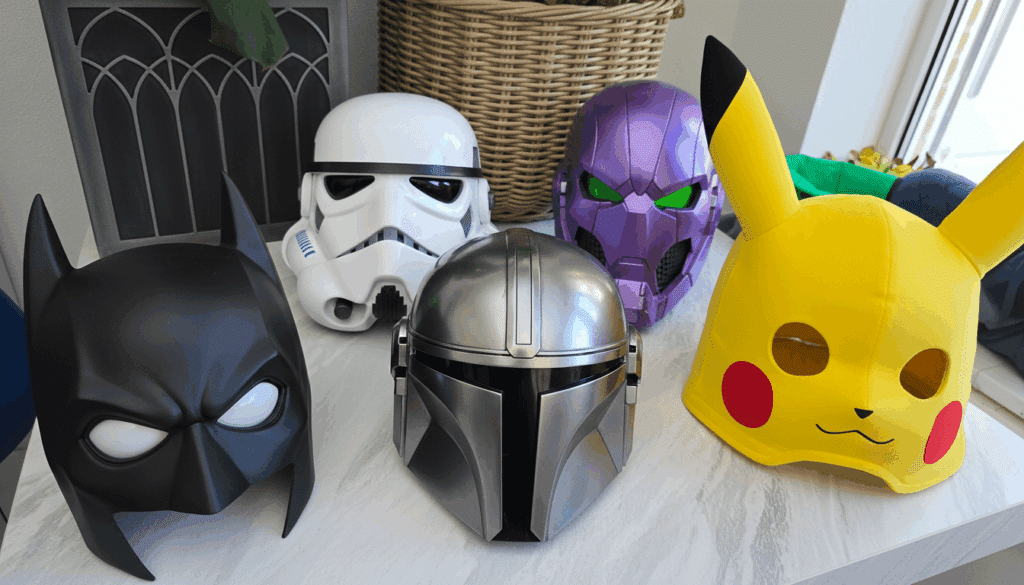
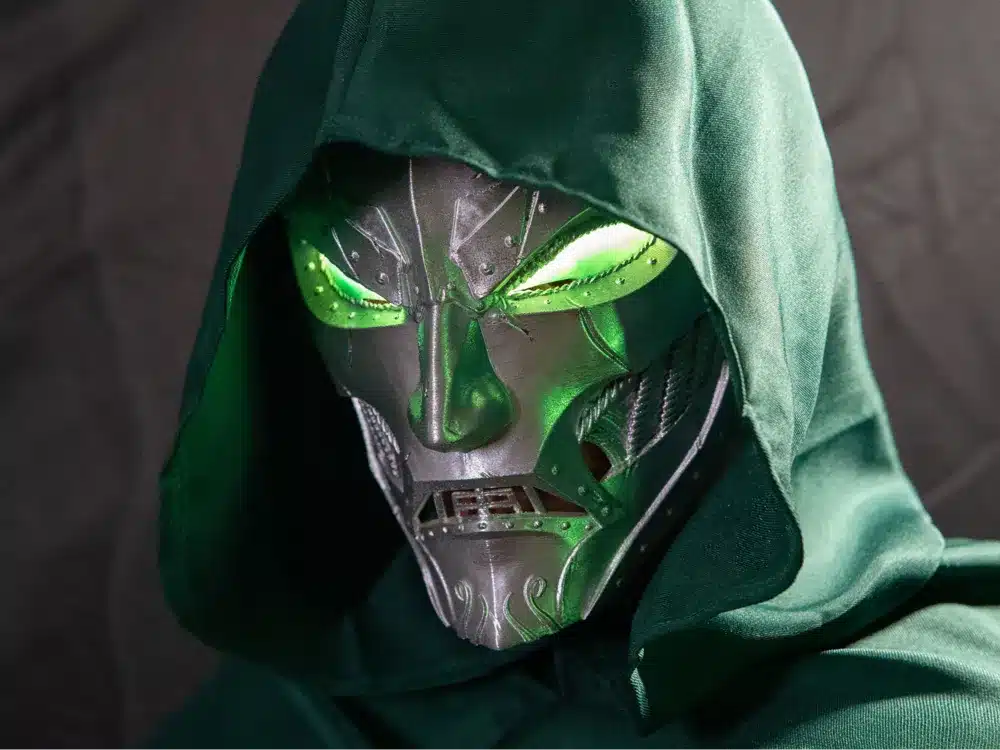
- Masks and Helmets: Custom-fit and perfectly symmetrical.
- Mechanical Components: Hinges, clasps, movable parts that are difficult to craft otherwise.
- Textured Surfaces: Imprinting patterns, scales, or battle damage directly onto the print.

Getting Started: What You Need for Your 3D Printing Journey
Diving into 3D printing for cosplay might seem like a lot, but breaking it down into essential components makes it much easier. You don’t need to buy the most expensive gear right away; a solid starter setup can get you far.
Choosing Your First 3D Printer
This is arguably the biggest decision. There are two main types of printers casual cosplayers typically consider: FDM and Resin.
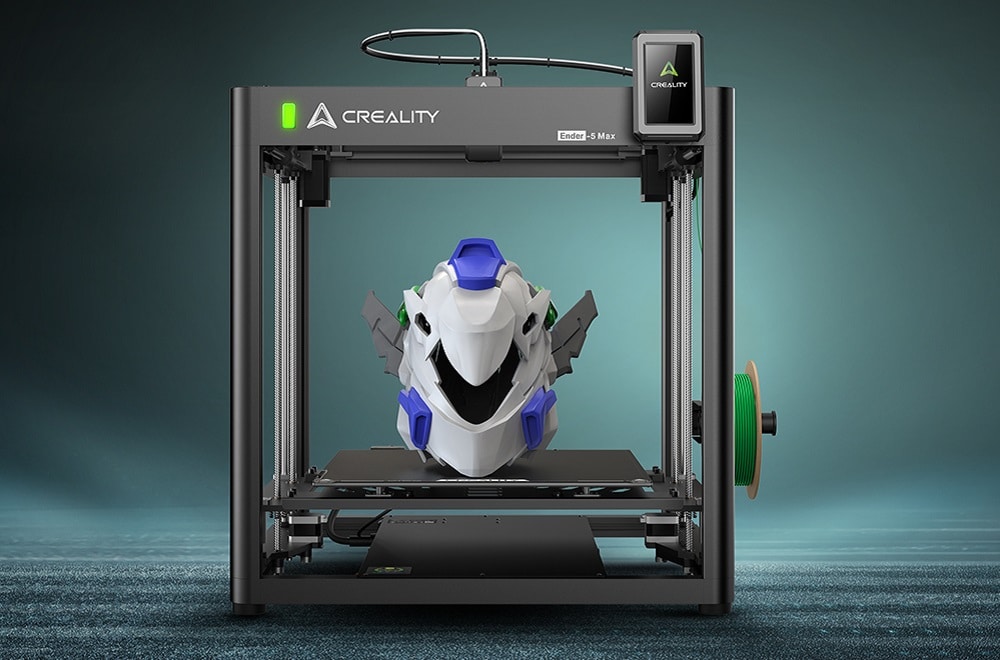
#### FDM (Fused Deposition Modeling) Printers
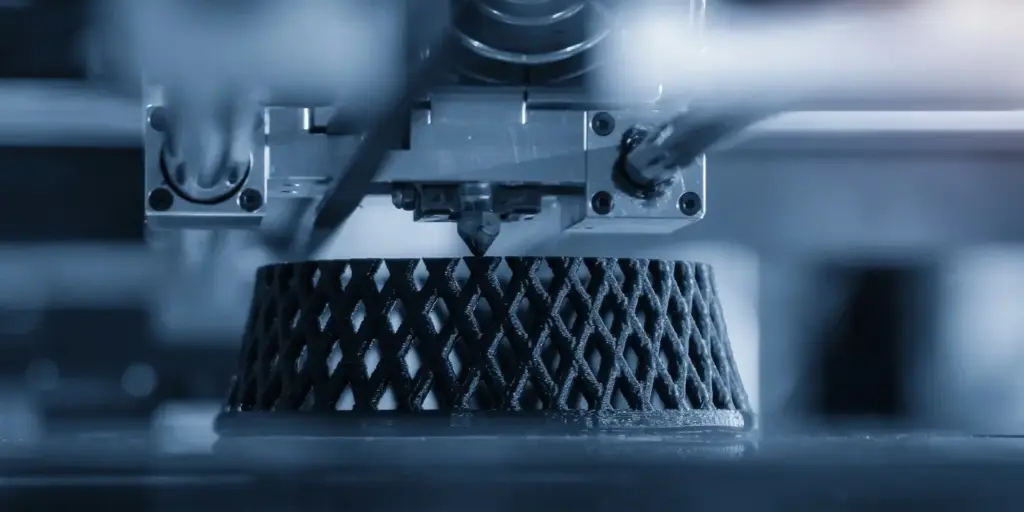
- How they work: These printers build objects layer by layer by extruding melted plastic filament through a nozzle. Think of it like a hot glue gun that precisely traces shapes.
- Pros for Cosplay: Generally more affordable, larger build volumes (great for armor and large props), uses durable plastics like PLA and PETG, and easier cleanup. They’re robust workhorses.
- Cons: Visible layer lines (which need post-processing), can struggle with very fine details, and sometimes require more calibration.
- Best for: Armor pieces, large props (swords, shields, staves), helmets, structural components.
- What to look for: A decent build volume (at least 200x200x200mm), auto-bed leveling or assisted leveling, open-source firmware for flexibility, and a strong community for support. Brands like Creality (Ender 3 series), Anycubic, and Prusa offer excellent entry-level options.
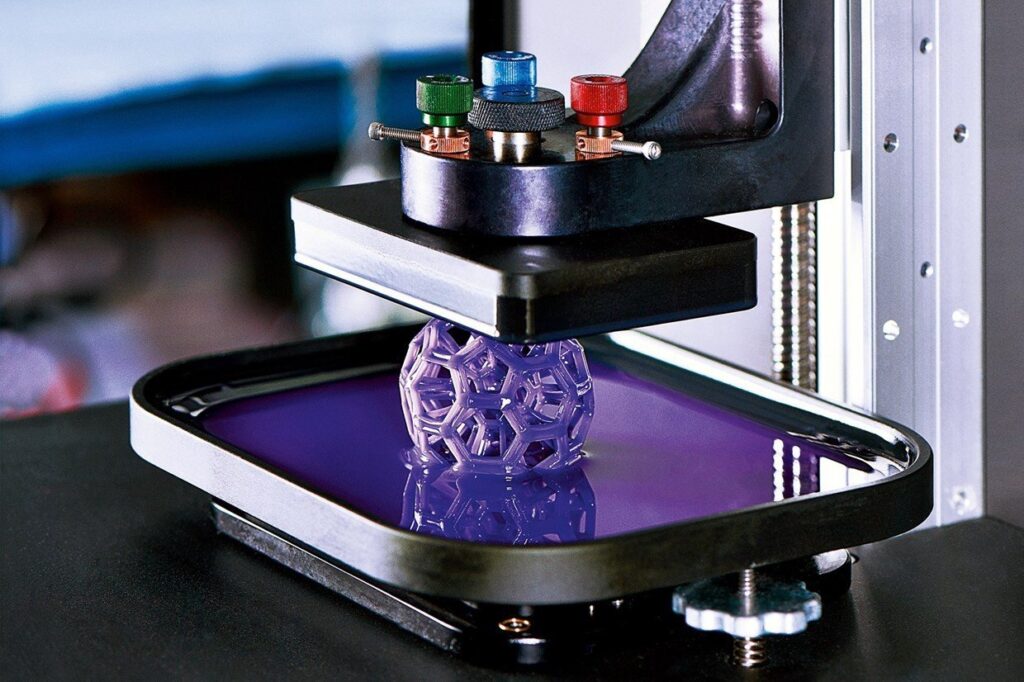
#### Resin (SLA/DLP) Printers
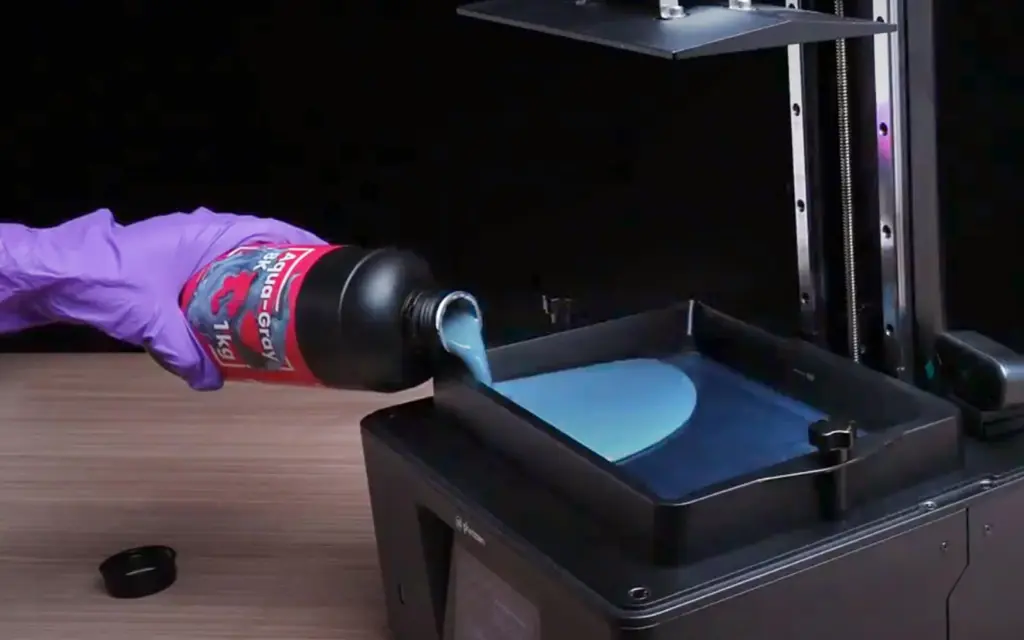
- How they work: These printers use a UV light source to cure liquid resin layer by layer. They essentially ‘grow’ the print out of a vat of resin.
- Pros for Cosplay: Unbelievable detail and smooth surfaces, perfect for small, intricate parts. Layer lines are virtually invisible.
- Cons: Smaller build volumes, resin is more expensive and requires careful handling (it’s toxic and messy), post-processing involves washing with alcohol and UV curing, and prints can be brittle if not handled correctly.
- Best for: Jewelry, intricate emblems, small costume accessories, highly detailed masks, prop components with tiny textures.
- What to look for: Good resolution (often measured in K), a reliable light source, and a decent build plate size for your needs. Elegoo Mars/Saturn and Anycubic Photon lines are popular choices.
For a casual cosplayer starting out, an FDM printer is often the more versatile and beginner-friendly choice due to its larger print area and easier-to-handle materials.
Filament & Resin Basics
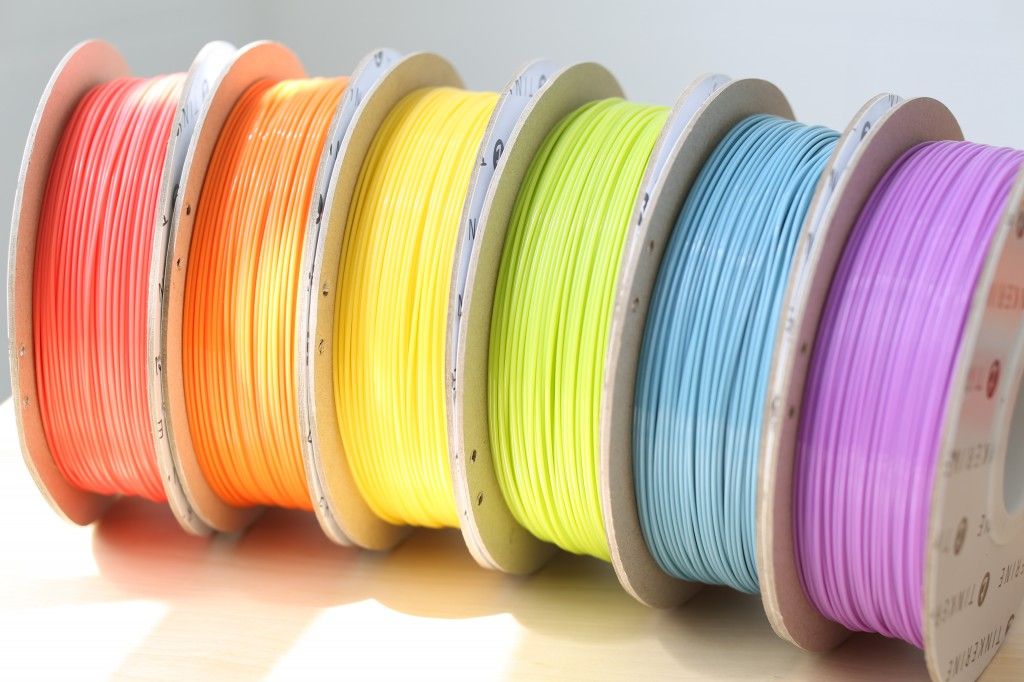
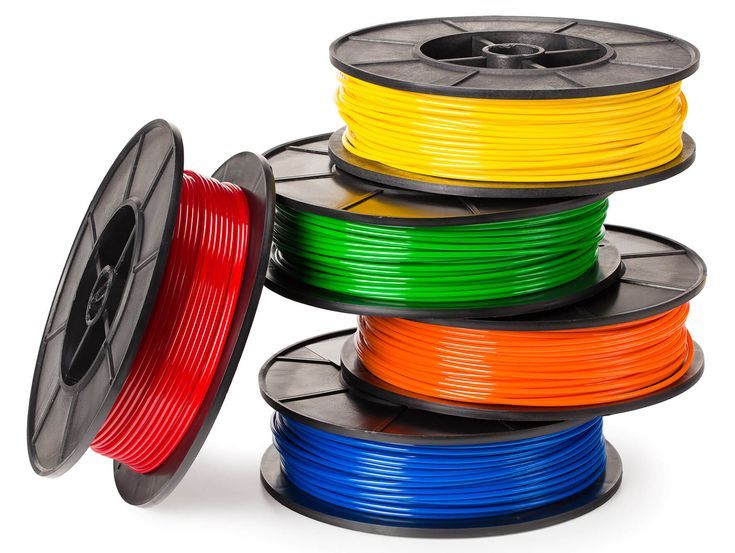
#### Filaments (for FDM printers)
- PLA (Polylactic Acid): Your go-to for most cosplay prints. It’s easy to print, biodegradable, comes in a huge range of colors, and has minimal fumes. Perfect for prototypes and general props.
- PETG (Polyethylene Terephthalate Glycol): A step up from PLA in terms of durability and heat resistance, making it good for outdoor wear or props that might take a bit more abuse. It’s slightly trickier to print than PLA but still very manageable.
- ABS (Acrylonitrile Butadiene Styrene): Strong and heat-resistant, but more challenging to print (prone to warping) and emits strong fumes, requiring good ventilation. Less common for casual cosplay due to these challenges.
- Specialty Filaments: Wood-filled (looks and feels like wood), metal-filled (can be polished), flexible TPU (for flexible parts like gaskets or armor joints). These are fun to experiment with once you’re comfortable.
#### Resins (for Resin printers)
- Standard Resin: Great for detail but often brittle. Good for display pieces or parts that won’t see much handling.
- Tough/ABS-like Resin: Offers more flexibility and durability, making prints less prone to breaking. A good choice for cosplay parts that need a bit more resilience.
- Flexible Resin: For parts that need to bend without breaking.
Essential Software
You’ll need software to prepare your 3D models for printing.
- Slicer Software: This is crucial. A slicer takes your 3D model and “slices” it into thin layers, generating the G-code instructions your printer understands. Popular free options include Cura (for FDM), PrusaSlicer (for FDM), and Chitubox (for Resin). Learn your slicer inside out – it’s where you control print quality, speed, and supports.
- 3D Modeling Software: While you can download many pre-made models, learning basic 3D modeling allows for ultimate customization.
Tinkercad: Free, browser-based, and super beginner-friendly. Great for simple shapes and modifications. Fusion 360: More powerful CAD software, free for hobbyists. Excellent for precise, mechanical parts. Blender: Free and open-source, powerful for organic sculpting and complex models. Has a steeper learning curve. If you’re inspired by various artistic designs or character concepts, exploring resources on drawing aesthetic can actually fuel your modeling ideas.
- Online Model Repositories: Before you design, check these out!
Thingiverse: Massive library of free user-submitted models. MyMiniFactory: Curated models, many free, some premium. Cults3D: Both free and paid models, often with a focus on quality. Etsy/Gumroad: Many independent artists sell high-quality cosplay-specific 3D print files here.
Tools & Safety
- Basic Toolkit: A good set of flush cutters (for removing supports), a spatula or scraper (for removing prints from the bed), needle-nose pliers, and maybe some small files or hobby knives.
- Adhesives: Super glue (cyanoacrylate), 2-part epoxy, or plastic-specific glues for assembly.
- Safety Gear:
Ventilation: Essential, especially for resin printers or when printing with ABS. A well-ventilated space or even an enclosure with an exhaust fan. Gloves: For handling resin and sometimes for filament (to keep oils off). Masks:* An N95 mask for sanding 3D prints (plastic dust is bad for your lungs) and a respirator with organic vapor cartridges for handling resin.

From Screen to Stage: The 3D Printing Workflow for Cosplay
The journey from a digital file to a tangible costume piece involves several key steps. Understanding this workflow will empower you to tackle any project.
Step 1: Finding or Creating Your 3D Model
This is where your cosplay vision starts to take shape.
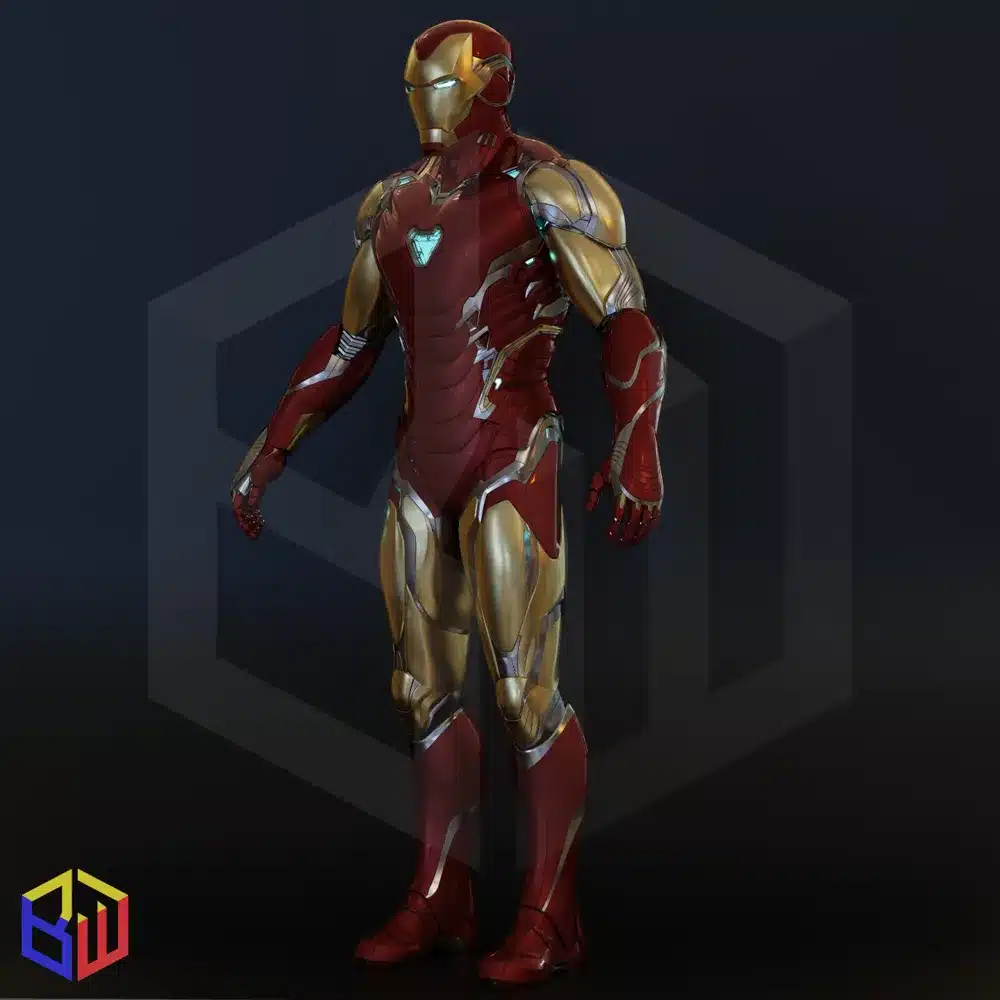
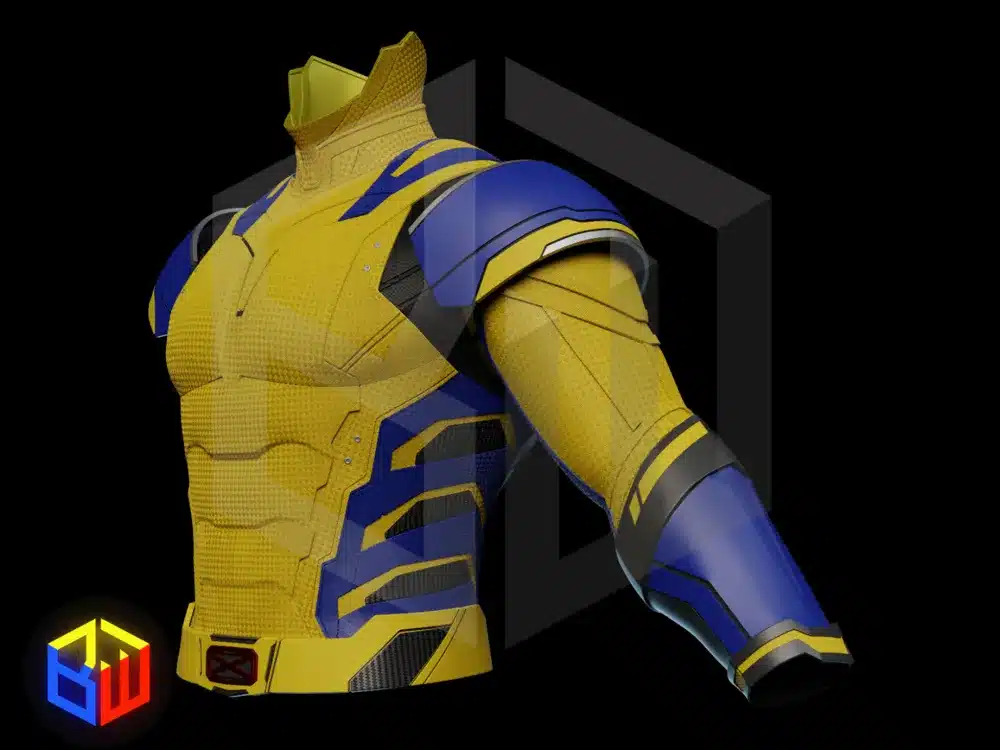
- Downloading Existing Files: For popular characters, you’ll often find excellent pre-made models. Search on Thingiverse, MyMiniFactory, or Etsy. Always check the licensing if you plan to sell anything you make (most personal use is fine).
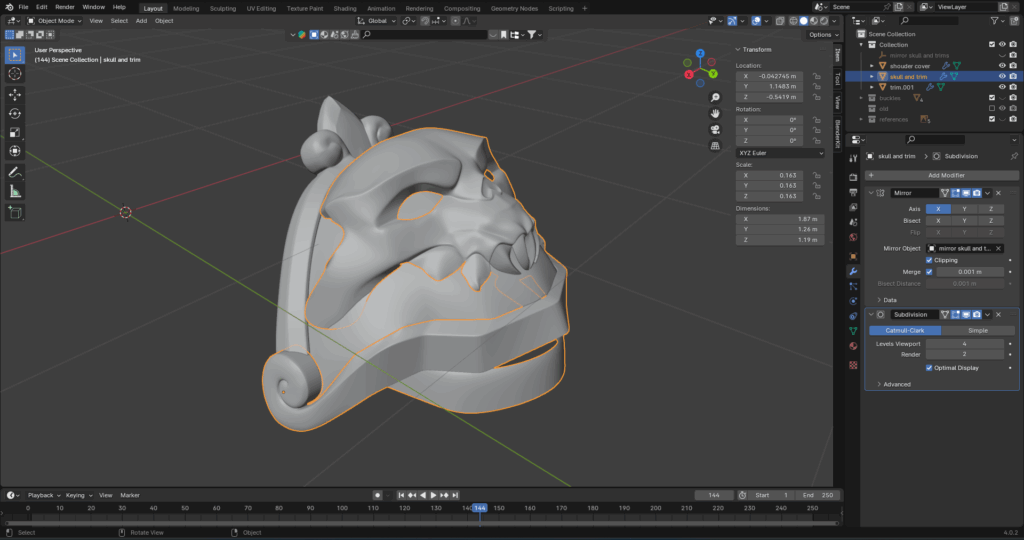
- Modifying Existing Files: Sometimes a downloaded model is almost perfect but needs a tweak. This could be resizing, cutting a large model into smaller, printable parts, or adding a specific detail. Programs like Meshmixer (free) or Fusion 360 are great for this. If you’re designing something for a specific fashion aesthetic, this modification step is crucial for perfect integration.
- Designing from Scratch: The ultimate freedom! If you have a unique character, an original design, or can’t find what you need, 3D modeling software is your friend. Start with reference images, blueprints, or even physical mock-ups to get your dimensions right. Learning basic 3D modeling can be incredibly rewarding, similar to how one might approach crafting virtual worlds in game development – it’s all about digital creation.
Step 2: Slicing Your Model
Once you have your 3D model, it needs to be “sliced” into instructions for your printer. This happens in your slicer software.
- Importing Your Model: Load your `.stl` or `.obj` file into the slicer.
- Orientation is Key: How you orient your model on the print bed significantly impacts print quality, strength, and the need for supports. Generally, try to minimize overhangs (parts of the model that print in mid-air) and place strong, flat surfaces directly on the build plate for good adhesion.
- Adding Supports: For areas with significant overhangs, the printer needs temporary “supports” to build on. Your slicer can generate these automatically. You’ll need to balance support for successful printing with ease of removal later.
- Slicer Settings: This is where you fine-tune your print.
Layer Height: Thinner layers mean more detail but longer print times. Thicker layers are faster but show more prominent layer lines. For props, 0.16mm to 0.28mm is common for FDM. Infill: The internal structure of your print. A higher infill percentage makes the print stronger but uses more material and takes longer. For most props, 15-25% infill is sufficient. Print Speed: Faster speeds save time but can reduce quality. Slower speeds improve detail and reliability. Temperature: Nozzle and bed temperatures are crucial for different filaments. Always check the manufacturer’s recommendations. Bed Adhesion:* Settings like a “brim” or “skirt” help prints stick to the build plate and prevent warping.
- Preview and Save: Always preview your sliced model to check for any obvious errors or excessive supports. Once satisfied, save the G-code file to your SD card or send it directly to your printer.
Step 3: The Printing Process
With your G-code ready, it’s showtime!
- Prepare Your Printer: Ensure your print bed is clean and properly leveled (this is vital for good first layers!). Load your chosen filament or resin.
- Start the Print: Select your file and hit print. The first few layers are critical – watch them closely to ensure good bed adhesion.
- Monitor (and Wait): Depending on the size and complexity, prints can take hours or even days. Check in periodically, but generally, let the printer do its thing.
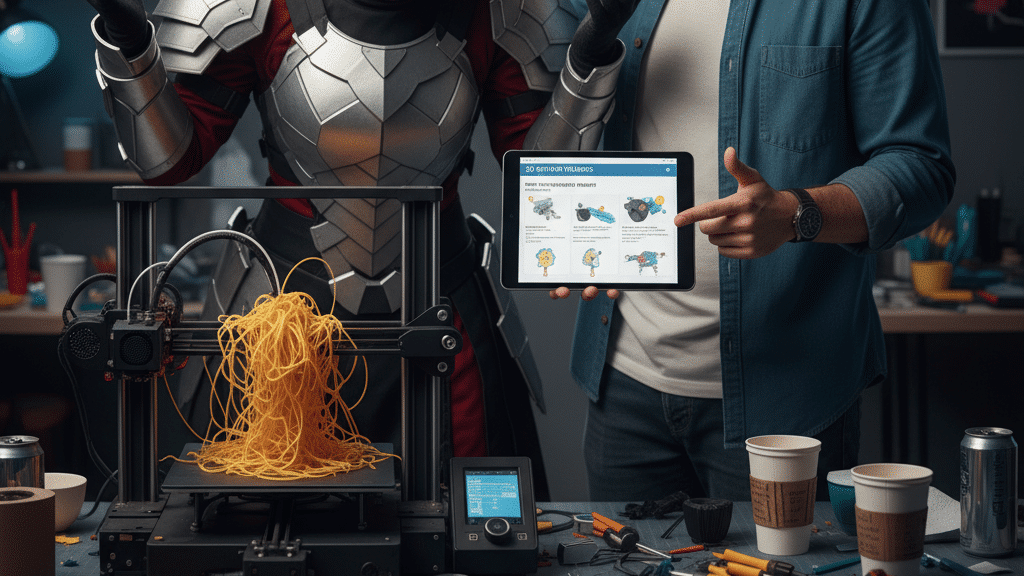
- Troubleshooting: Be prepared for potential issues. The “spaghetti monster” (where filament isn’t sticking and just extrudes into a mess) is common. Clogs, warping, or layer shifts can also occur. Online forums and troubleshooting guides are invaluable here.
Step 4: Post-Processing Your 3D Prints
This is where the magic really happens, transforming a rough print into a polished costume piece. Many find this phase as creative as the design itself, similar to undertaking a DIY room makeover where the finishing touches bring everything together.
- Removing Supports: Carefully remove all support structures using flush cutters, pliers, or hobby knives. Be gentle to avoid damaging the print surface.
- Sanding & Filling: This is the most labor-intensive part for FDM prints, as you’ll want to reduce or eliminate visible layer lines.
Start with a rough grit sandpaper (e.g., 80-120 grit) to quickly remove major imperfections. Apply a filler (like Bondo Spot Putty, wood filler, or a 3D print specific filler like XTC-3D) to fill in gaps and layer lines. * Sand again with progressively finer grits (220, 320, 400, 600+) until smooth. Wet sanding can help achieve a super smooth finish.
- Priming: Once sanded, apply several coats of automotive primer (filler primer works wonders for hiding remaining imperfections). This creates a uniform surface for painting and helps the paint adhere better. Sand lightly between primer coats.
- Painting & Finishing:
Base Coats: Apply your base colors with spray paint or airbrush. Detail Painting: Use acrylic paints and brushes for intricate details. Weathering: Add realism with washes, dry brushing, and pigments to simulate dirt, rust, or battle damage. Clear Coat: Protect your hard work with a matte, satin, or gloss clear coat.
- Assembly: Use strong adhesives (super glue, epoxy, E6000) to join multiple printed parts. Consider using mechanical fasteners (screws, bolts) or magnets for removable sections.

Mastering the Details: Advanced Techniques for Next-Level Cosplay
Once you’ve got the basics down, a whole world of advanced techniques opens up, allowing you to push your cosplay even further.
Multi-Part Prints and Complex Assembly
Many large cosplay props or armor pieces are too big to print in one go. You’ll need to chop them up in your 3D modeling software (or use pre-cut files) and then assemble them.
- Designing for Assembly: When modeling, think about how parts will join. Incorporate alignment pins, keyholes, or flat surfaces for strong adhesion.
- Reinforcement: For critical joints or load-bearing parts, consider adding internal dowels, metal rods, or epoxying in additional structural supports.
- Magnets and Fasteners: Small neodymium magnets are fantastic for removable parts (e.g., a helmet visor, detachable armor plates). Designing channels for nuts and bolts allows for strong, mechanical connections that can be disassembled.
Surface Finishing for Ultimate Realism
Beyond basic sanding, there are ways to achieve incredibly smooth or uniquely textured finishes.
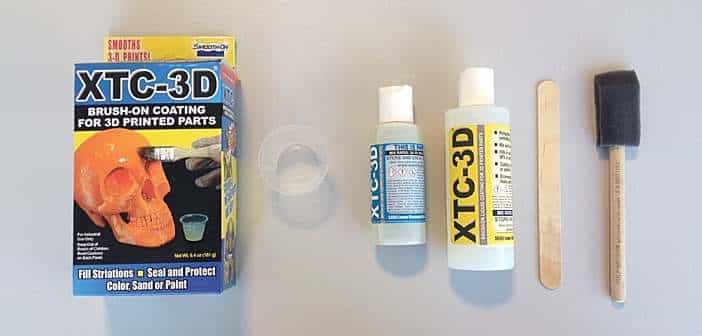
- XTC-3D: This self-leveling epoxy coating can be brushed onto FDM prints. It fills in layer lines beautifully, creating a smooth, plastic-like finish with minimal sanding. Just be aware it adds a glossy finish, which you might need to dull down later.
- Vapor Smoothing (for ABS): For ABS prints, exposure to acetone vapor can melt and smooth the outer layers, making them perfectly smooth and glossy. This requires careful safety precautions due to the flammability and toxicity of acetone.
- Texturing: Don’t always aim for smooth! Use sculpting tools, Dremel bits, or even a soldering iron (carefully!) to add battle damage, scratches, wood grain, or other textures to your finished print before painting.
Incorporating Electronics
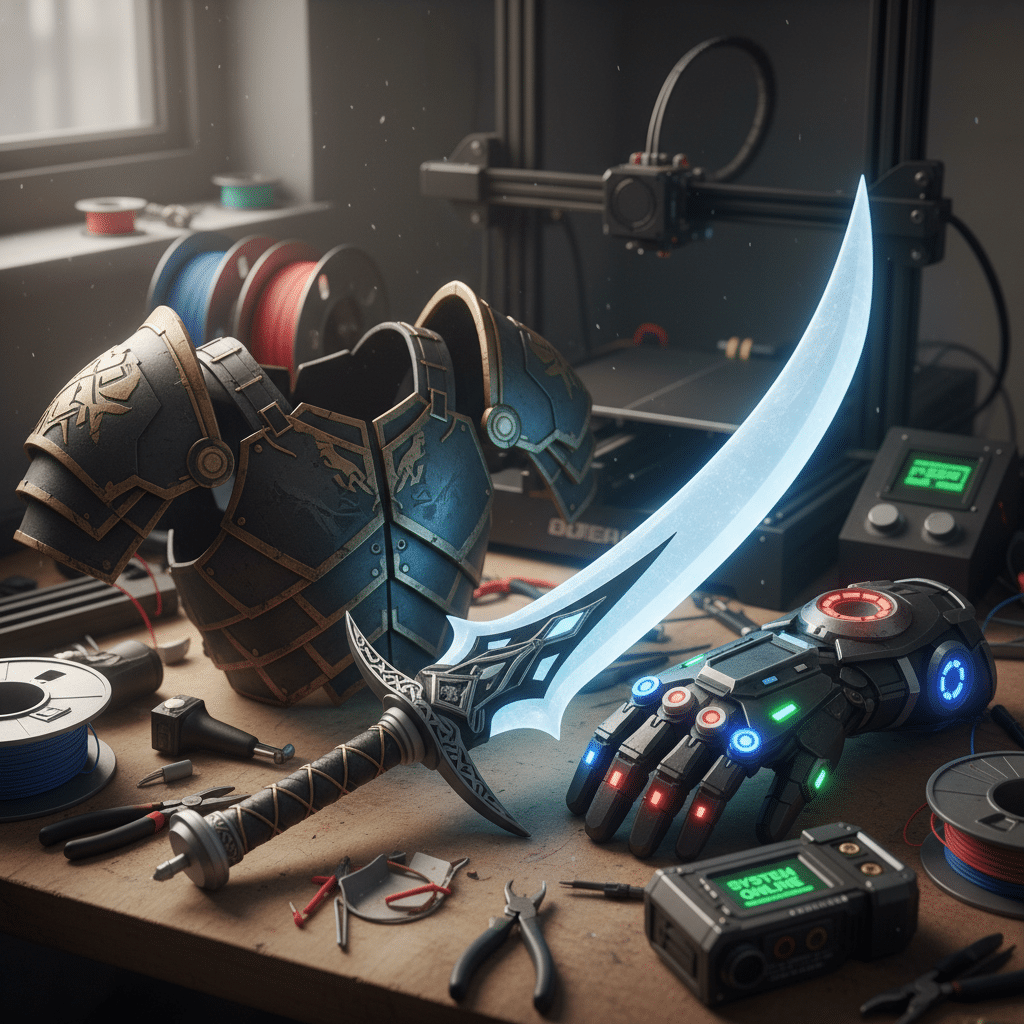
Want glowing eyes, pulsating lights, or moving parts? 3D printing makes integrating electronics much easier.
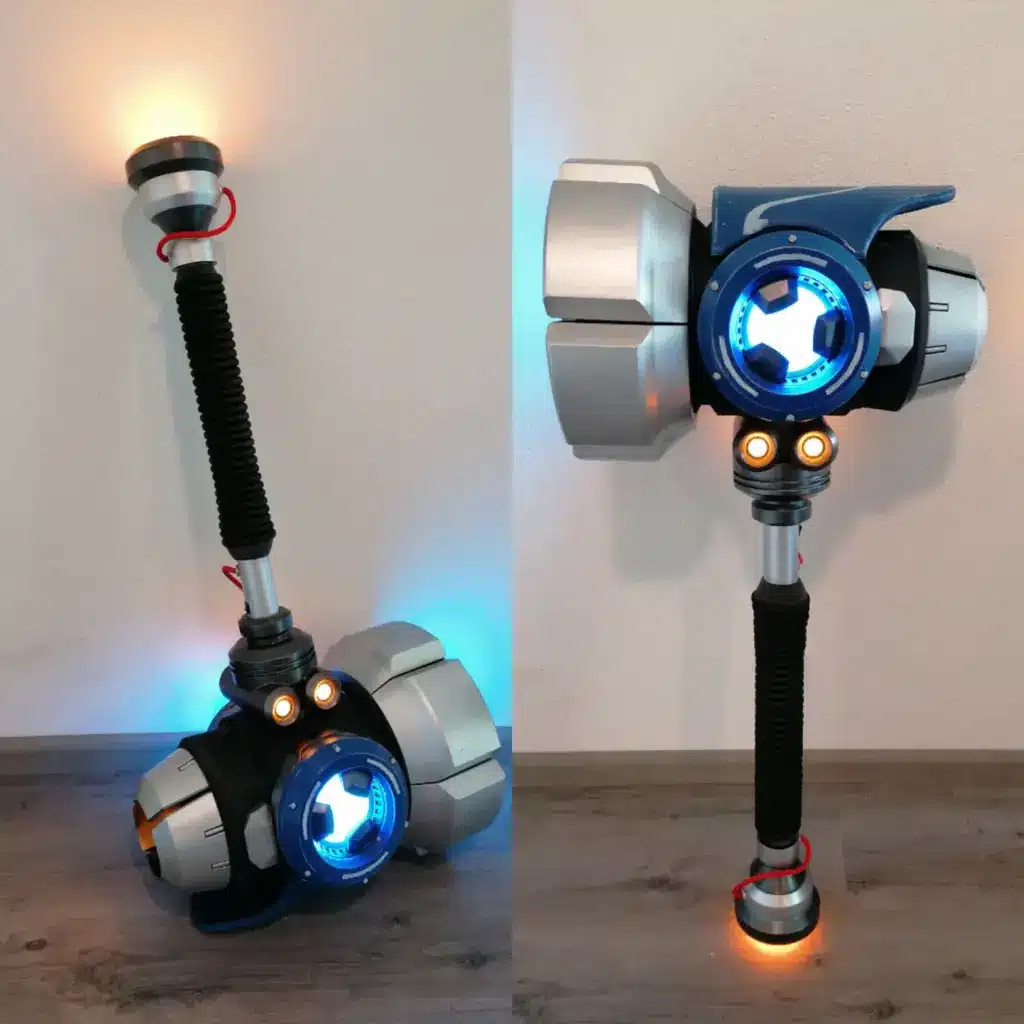
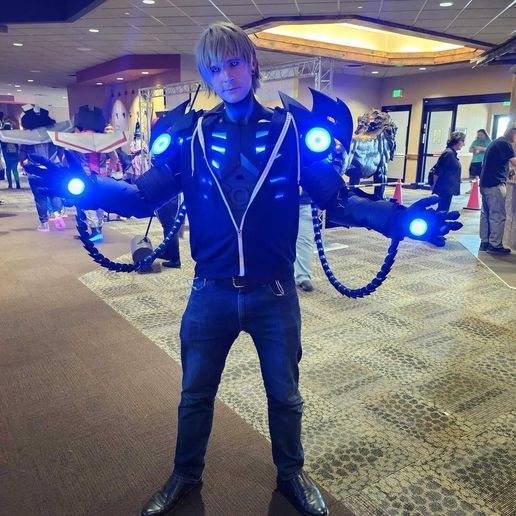
- Designing for Wiring: When designing or modifying models, create internal channels, pockets, and mounting points for LEDs, battery packs, switches, and microcontrollers like Arduinos or Raspberry Pis.
- LEDs: Simple LED strips or individual LEDs can dramatically enhance props and armor. Diffuse them with translucent filament or thin plastic for an even glow.
- Sound Modules: Embed small speakers and sound boards to add character voices, weapon sound effects, or atmospheric audio.
- Servo Motors: For dynamic elements, small servo motors can be 3D printed into articulated joints, allowing for moving parts like opening helmet visors or retractable blades.
Casting & Molding with 3D Prints
For cosplayers who need multiple identical parts or want a smoother, denser finish than a raw print, 3D prints can serve as masters for molding and casting.
- Creating Master Models: Print your desired part, then post-process it to perfection. This becomes your “master.”
- Silicone Molds: Use your master to create a flexible silicone mold. This mold can then be used repeatedly.
- Resin Casting: Pour liquid casting resin (often a two-part polyurethane resin) into your silicone mold. Once cured, you’ll have a perfectly smooth, solid replica. This is excellent for small, intricate components like buttons, emblems, or jewelry.
Beyond PLA: Exploring Advanced Filaments
Don’t be afraid to experiment with other filament types once you’re comfortable with PLA and PETG.
- Wood-Filled Filaments: These contain actual wood fibers, giving prints a wood-like texture and even allowing them to be sanded, stained, and painted like real wood.
- Metal-Filled Filaments: Contain powdered metal. They are heavier and can be polished, weathered, or even rusted (with specific post-processing) to achieve a metallic look.
- Carbon Fiber Reinforced Filaments: These are incredibly strong and stiff, ideal for parts that need maximum durability and minimal flex.
- Flexible Filaments (TPU): Perfect for creating moving parts like gaskets, straps, or armor pieces that need to bend with your body.
Common Pitfalls and How to Avoid Them
Even with the best intentions, 3D printing can throw a few curveballs. Knowing what to watch out for can save you a lot of frustration, time, and filament.
Scale Issues: The Giant Gauntlet or Tiny Helmet
The Pitfall: Printing an entire helmet only to discover it’s either too small to fit your head or ridiculously oversized. Or a weapon that’s a miniature replica instead of life-sized.
How to Avoid:
- Measure, Measure, Measure: Before printing anything, especially wearable items, take accurate measurements of yourself. Use a flexible tape measure.
- Test Prints: Print a small, representative section or a scaled-down version of the item first. For helmets, print a ring that corresponds to the widest part of the helmet to check fit.
- Use Reference Points: When scaling props, find a known dimension from the source material (e.g., “this sword is as tall as the character”) and scale accordingly.
- Utilize Slicer Tools: Most slicers have measurement tools or ways to scale objects precisely.
Print Failures: The Infamous Spaghetti Monster
The Pitfall: Coming back to your printer after hours only to find a tangled mess of plastic instead of a pristine prop. This “spaghetti monster” is usually caused by prints detaching from the bed or supports failing.
How to Avoid:
- Perfect Bed Adhesion: This is paramount. Ensure your print bed is clean (use isopropyl alcohol) and perfectly leveled. Experiment with adhesion aids like glue stick, hairspray, or painter’s tape if needed.
- Optimize Supports: Make sure supports are robust enough to hold up overhangs but not so dense they’re impossible to remove.
- First Layer Inspection: Always watch the first layer print. If it’s not adhering well or looks uneven, stop the print, adjust, and restart.
- Calibrate Settings: Ensure your filament diameter, nozzle temperature, and flow rates are correctly set in your slicer.
Post-Processing Exhaustion: The Endless Sanding Loop
The Pitfall: The initial excitement of printing gives way to soul-crushing dread when faced with hours of sanding and filling layer lines.
How to Avoid:
- Manage Expectations: Understand that post-processing is a significant part of the 3D printing workflow, especially for FDM. It will take time.
- Print Smarter: Optimize your layer height and orientation to minimize visible layer lines where possible. Consider using XTC-3D to speed up smoothing.
- Break It Down: Don’t try to sand an entire helmet in one go. Work on small sections. Listen to podcasts, watch shows, or chat with friends while you work.
- Power Tools: A rotary tool (like a Dremel) with sanding attachments can help with initial rough sanding, but always finish by hand for smooth surfaces.
Over-Reliance on Printing: When to Use Other Techniques
The Pitfall: Thinking that 3D printing is the answer to every cosplay problem, leading to overly heavy, brittle, or unnecessarily complex parts when a simpler method would work better.
How to Avoid:
- Choose the Right Tool for the Job: While 3D printing is amazing, it’s not always the best solution.
EVA Foam: Excellent for large, lightweight armor pieces, padding, or flexible parts. Fabric/Sewing: Obvious for clothing elements. Thermoforming:* For smooth, curved, lightweight shells.
- Combine Techniques: Many of the best cosplays combine 3D prints for intricate details (like emblems or buckles) with EVA foam for large armor panels or fabric for clothing. Leverage the strengths of each material. For example, a helmet shell from EVA foam with 3D printed greeblies and a visor.
Safety Neglect: Cutting Corners Can Cost You
The Pitfall: Ignoring safety recommendations, especially when working with resin, strong adhesives, or sanding dust, leading to health issues.
How to Avoid:
- Ventilation is Non-Negotiable: Always work in a well-ventilated area, especially with resin printers or when vapor smoothing.
- Gloves and Masks: Wear nitrile gloves when handling resin. Use an N95 mask for sanding FDM prints. If working with resin, a respirator with organic vapor cartridges is highly recommended.
- Read Material Safety Data Sheets (MSDS): Understand the specific hazards of the materials you’re using.
- Cleanliness: Keep your workspace tidy to prevent accidental spills and exposure to harmful substances.
Level Up Your Cosplay Journey
3D printing for cosplay isn’t just a trend; it’s a revolutionary tool that empowers casual cosplayers and seasoned veterans alike to bring their creative visions to life with unprecedented detail and precision. From crafting intricate armor pieces and realistic props to custom-fitting masks and functional mechanisms, the possibilities are virtually limitless. It democratizes the process, making complex costume elements accessible without requiring years of traditional sculpting experience.
While there’s a learning curve and some common pitfalls to navigate, the rewards of seeing your favorite character’s gear materialize before your eyes are immense. Remember to start simple, embrace the learning process, and don’t be afraid to experiment with different filaments and techniques. With a little patience and persistence, you’ll be creating costumes that turn heads and make you feel like you truly stepped out of your chosen universe. So, what are you waiting for? Dive into the exciting world of 3D printing and truly level up your cosplay game!
- 13shares
- Facebook0
- Pinterest13
- Twitter0
- Reddit0
