Ever found yourself lost in the epic tales of knights, dragons, and royal intrigue, wishing you could step right into those stone walls? Or perhaps you’ve gazed at a crumbling ruin and imagined the vibrant life that once buzzed within its ancient confines. There’s a certain magic to medieval castles, isn’t there? And what better way to capture that magic than by bringing it to life on paper? If you’re ready to embark on an artistic quest, you’ve landed in the right place. This guide will walk you through how to master your medieval castle interior drawing skills, helping you transform historical inspiration into stunning, immersive artwork. Get ready to flex those creative muscles and unlock the secrets of historical architecture with your trusty pencil!
Why Draw Castle Interiors? Unlocking a World of Creativity
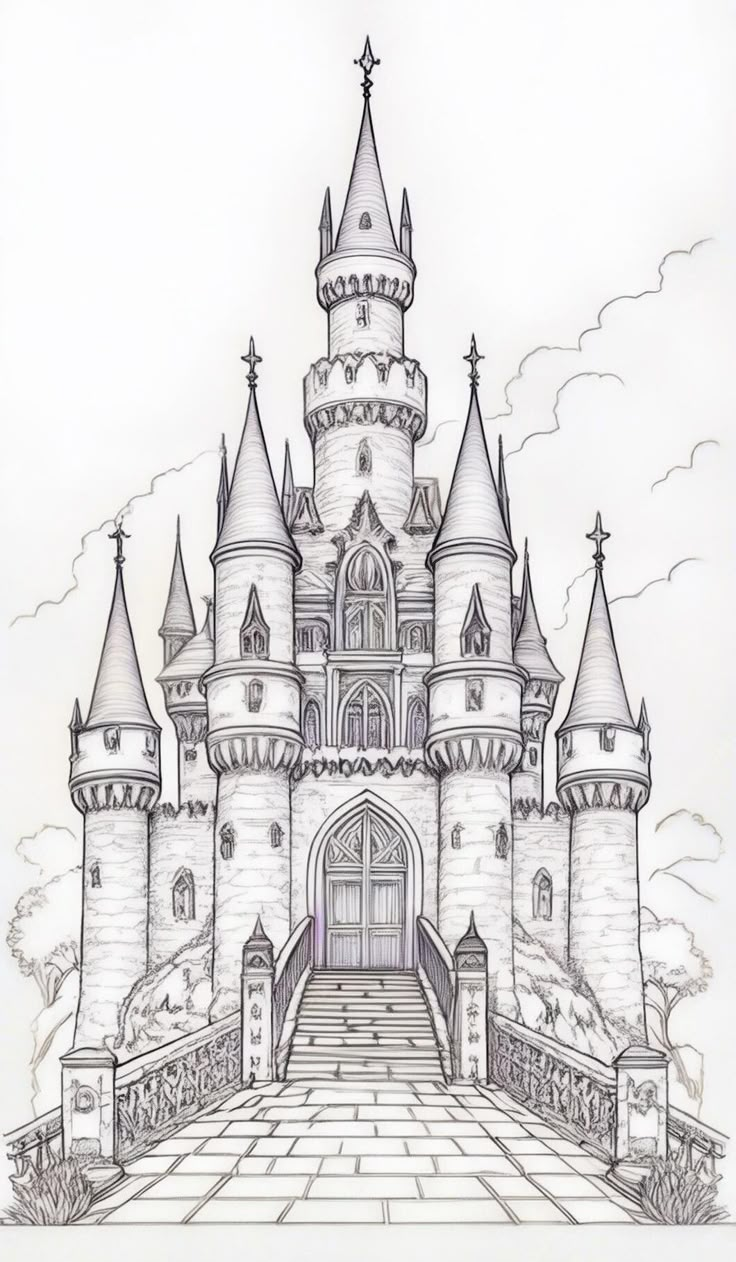
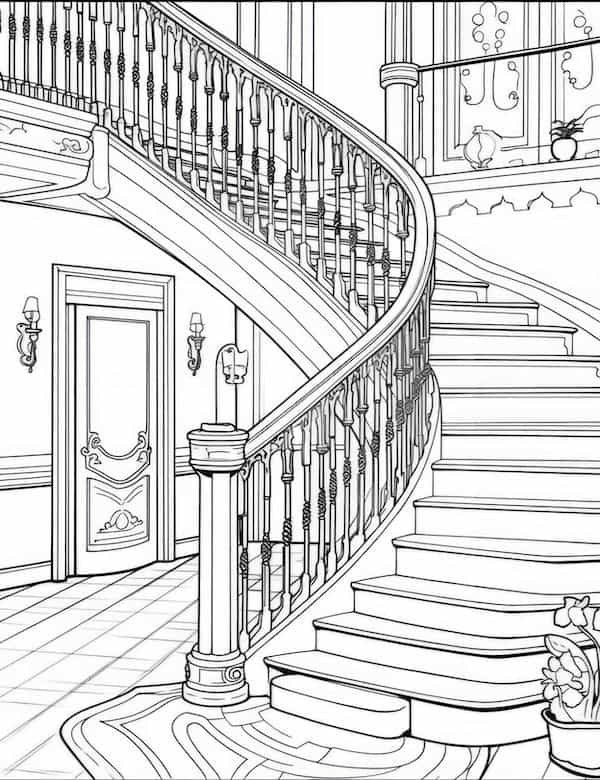
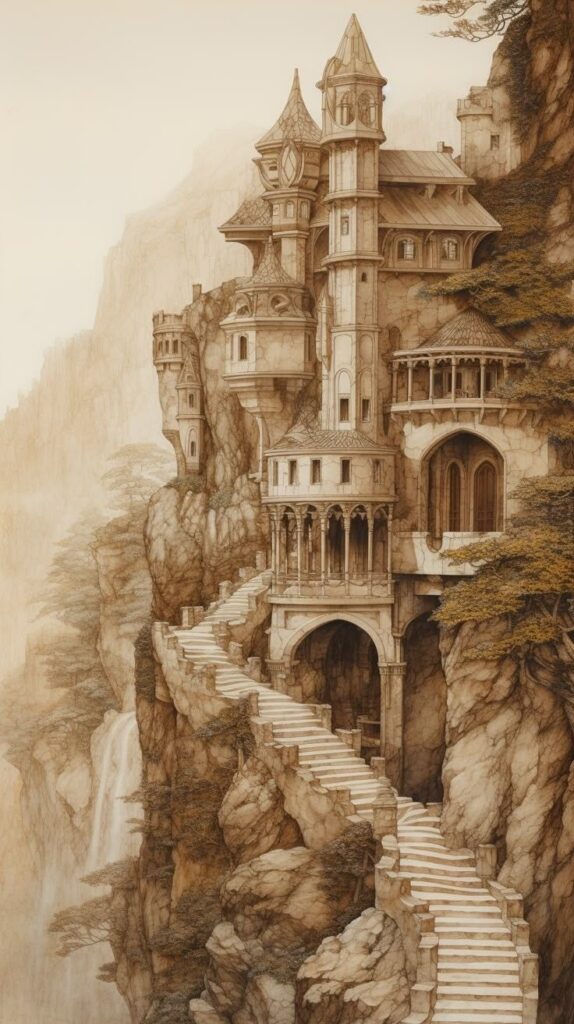
Drawing medieval castle interiors isn’t just about putting lines on paper; it’s an adventure in imagination and historical exploration. Think about it: you’re not just sketching a room; you’re building a narrative. Every stone, every flicker of a torch, every worn tapestry tells a story. This niche offers a fantastic playground for artists, from beginners to seasoned pros, for several compelling reasons:
- Historical Immersion: It’s like time travel! You delve into how people lived, what their surroundings looked like, and the practicalities of medieval life. This research enriches your art.
- Architectural Challenge: Castles are complex. They offer a unique blend of grand scale and intricate detail. Drawing their interiors sharpens your understanding of perspective, structure, and material textures.
- Narrative Potential: Unlike a simple landscape, an interior drawing often invites questions: Who lives here? What’s happening in this room? What stories are etched into these walls? You become a visual storyteller.
- Skill Development: From mastering stone textures to rendering the soft glow of candlelight, you’ll develop a wide array of drawing techniques applicable to any subject. It’s a great way to push your hand drawing skills.
- Unique Artistic Expression: While there are historical facts, there’s also plenty of room for your personal interpretation and style. You can blend accuracy with fantasy, creating something truly unique.
It’s more than just a drawing exercise; it’s an immersive experience that deepens your appreciation for history and enhances your artistic prowess.
Stepping Inside: Understanding Medieval Castle Architecture and Life
Before you can draw a convincing medieval castle interior, you need to understand what it actually was. Castles weren’t just fortified walls; they were bustling hubs of life, power, and survival. Their layout and interior design were dictated by function, hierarchy, and the prevailing threats of the time.
Common Castle Interior Spaces
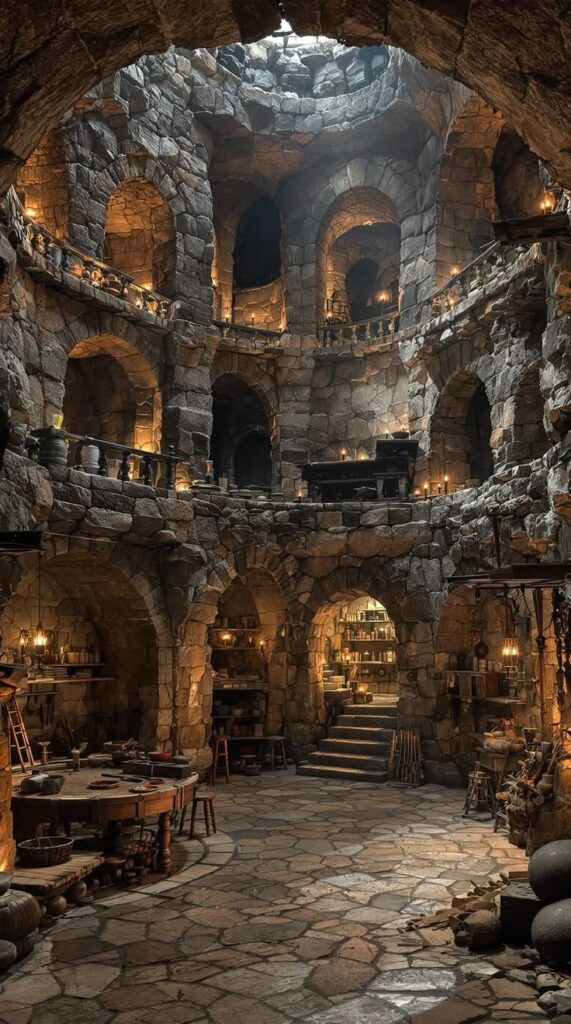
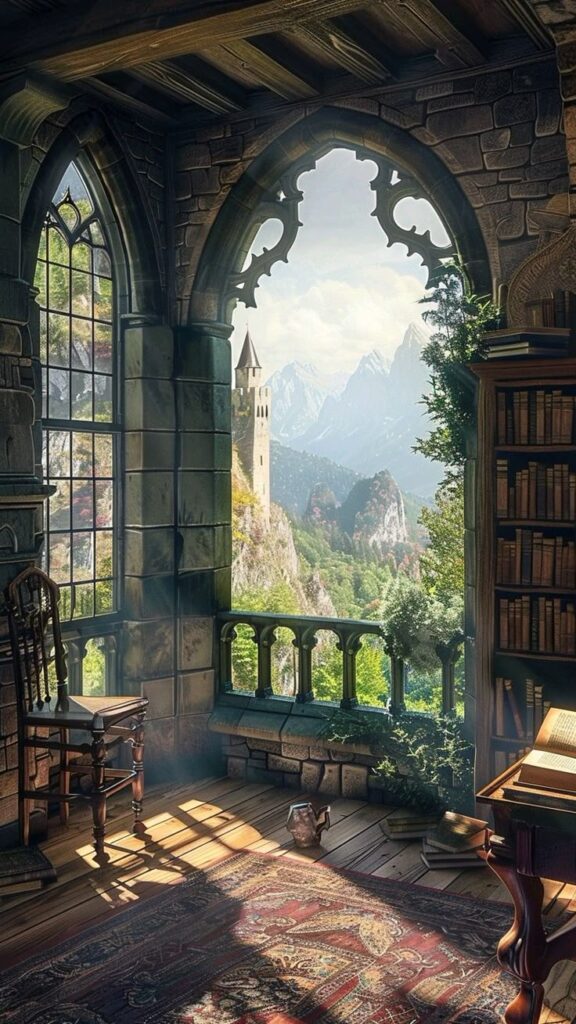
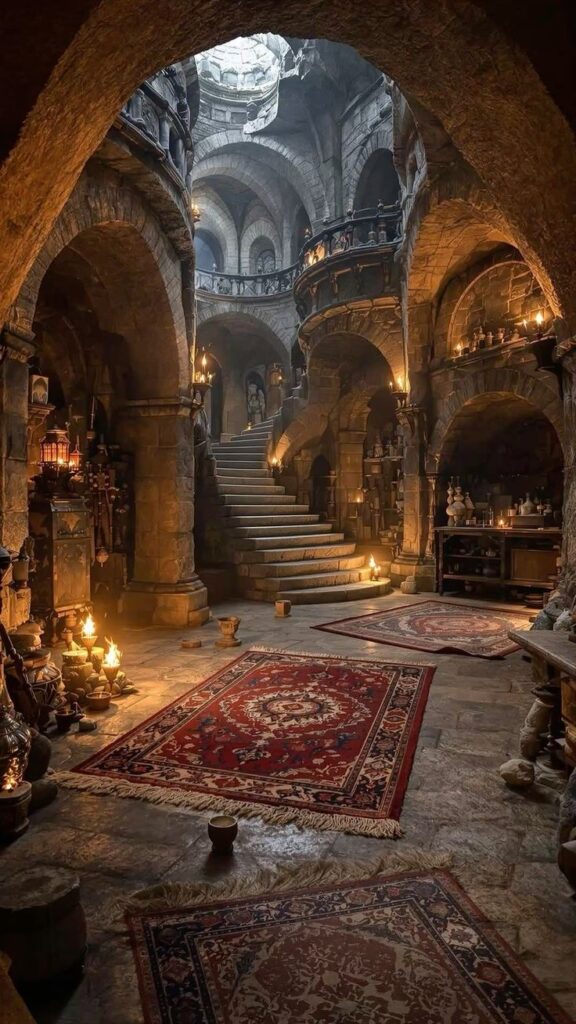
Medieval castles weren’t sprawling mansions with endless rooms for comfort. Every space had a purpose, often serving multiple functions.
- The Great Hall: This was the heart of the castle. Imagine a vast, open room with high ceilings, often timber-beamed. Here, the lord would feast with his retainers, hold court, and entertain guests. It was a space for communal life, often cold, drafty, but grand. Think long wooden tables, benches, a central hearth (sometimes), and tapestries on the walls to help with insulation and dampen sound.
- Lord’s/Lady’s Chambers: These were the private quarters, often located above or adjacent to the Great Hall for security and status. While more comfortable than the hall, they were still relatively spartan by modern standards. You’d find a four-poster bed (perhaps with curtains for warmth and privacy), a chest for belongings, a small table, and a brazier for heat. Windows might be small and unglazed, or covered with oiled cloth or shutters.
- The Kitchen: Often a separate building or a heavily fortified section to minimize fire risk. It was a smoky, busy place with large hearths, spits for roasting, heavy wooden tables, and an array of iron and pottery utensils. Imagine bustling servants, steaming cauldrons, and the smell of roasting meat.
- The Chapel: Essential for the religious life of the castle inhabitants. These could range from a simple alcove to a beautifully adorned, vaulted room with stained-glass windows (in later periods). Altars, pews, and religious iconography would be key features.
- Guardrooms/Barracks: Practical, functional spaces for soldiers. Think bunks, weapons racks, and sturdy wooden tables. These rooms would be less decorated and more focused on defense and readiness.
- Dungeons/Prisons: Usually deep within the keep or basement, these were dark, damp, and grim. Stone walls, small (if any) openings, and minimal furnishings (maybe just straw) would define these terrifying spaces.
- Workshops & Storage: Depending on the castle’s size, you might find smithies, bakeries, storerooms for provisions, and even stable areas within the outer bailey. These would be functional, often messy, and filled with tools and raw materials.
Daily Life and Its Influence on Design
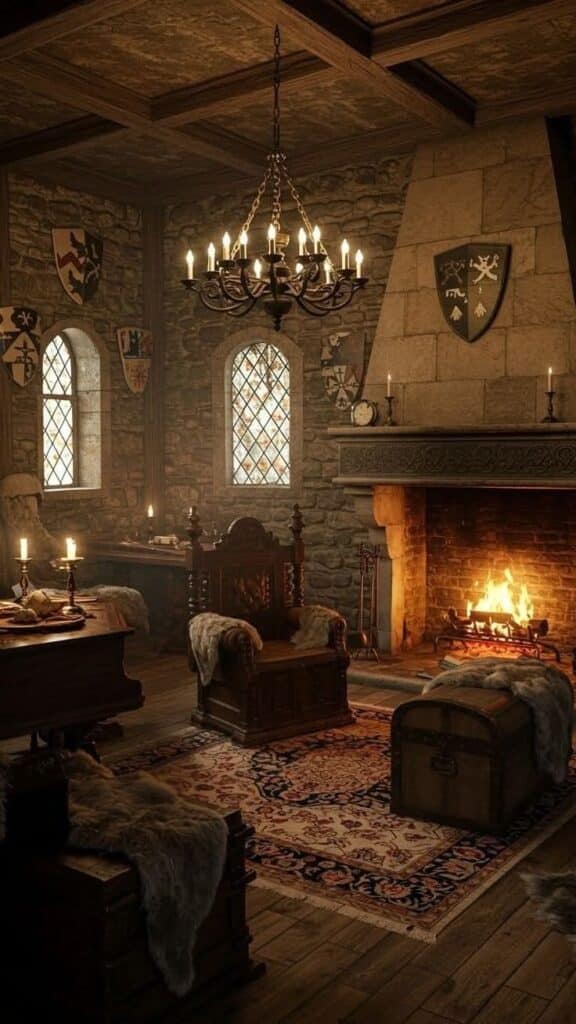
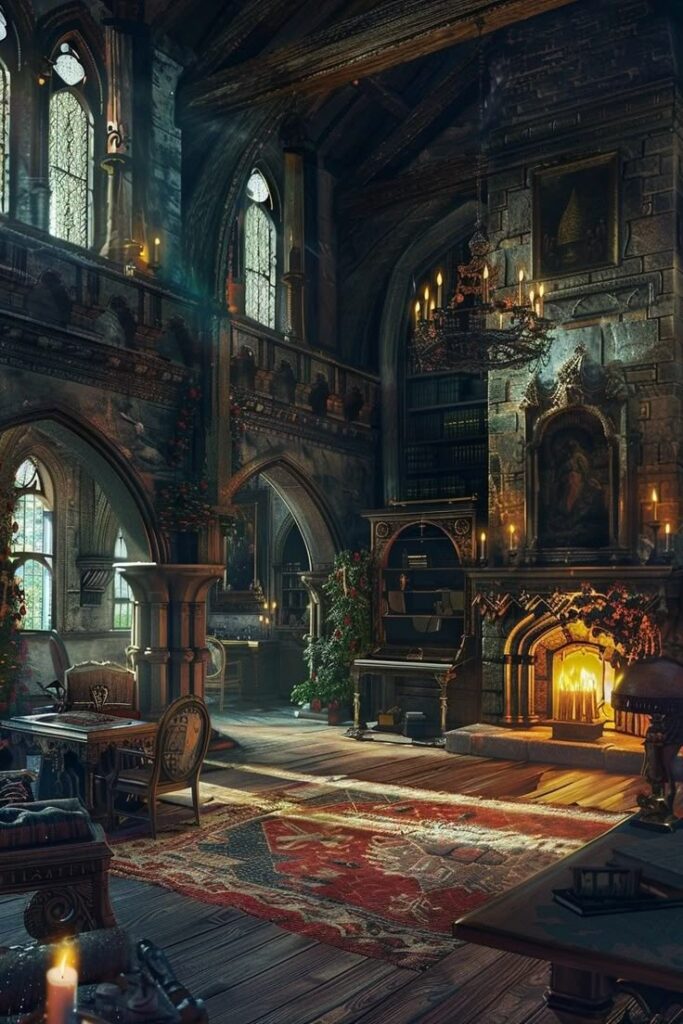
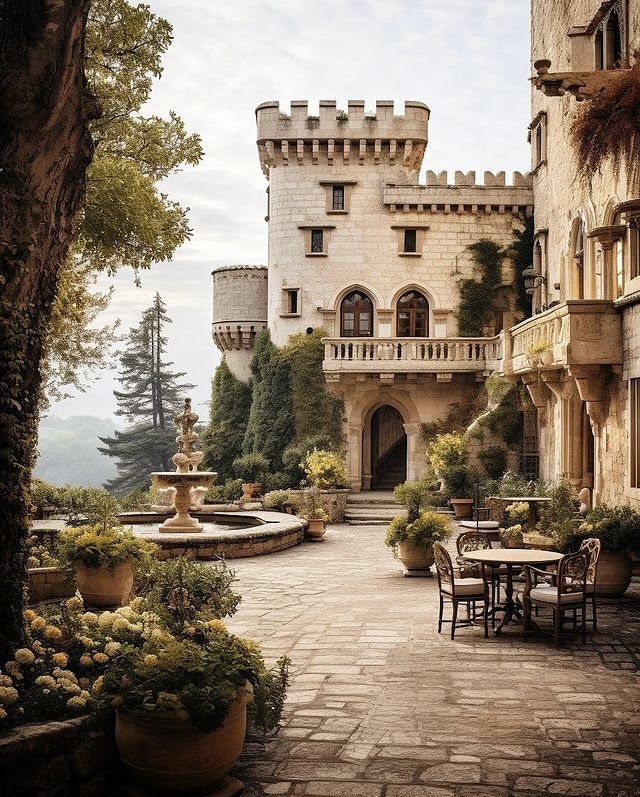
Medieval life was tough, practical, and hierarchical. This directly influenced interior design:
- Security First: Walls were thick, windows were small and often unglazed or covered with shutters/oiled cloth. Defense was paramount.
- Limited Comfort: Central heating was non-existent. Fireplaces, braziers, and tapestries were the primary means of warmth. Furniture was functional, heavy, and often built-in.
- Social Hierarchy: The best rooms (Lord’s/Lady’s chambers) were in the safest, most comfortable parts of the castle. Servants and soldiers lived in more communal, less private spaces.
- Natural Materials: Stone, timber, plaster, and simple textiles were the main building blocks. Glass, if present, was a luxury.
By understanding these fundamentals, you can infuse your medieval castle interior drawing with authenticity and a believable atmosphere. Don’t just draw a room; draw a living space.
Your Toolkit: Essential Materials for Drawing Castle Interiors
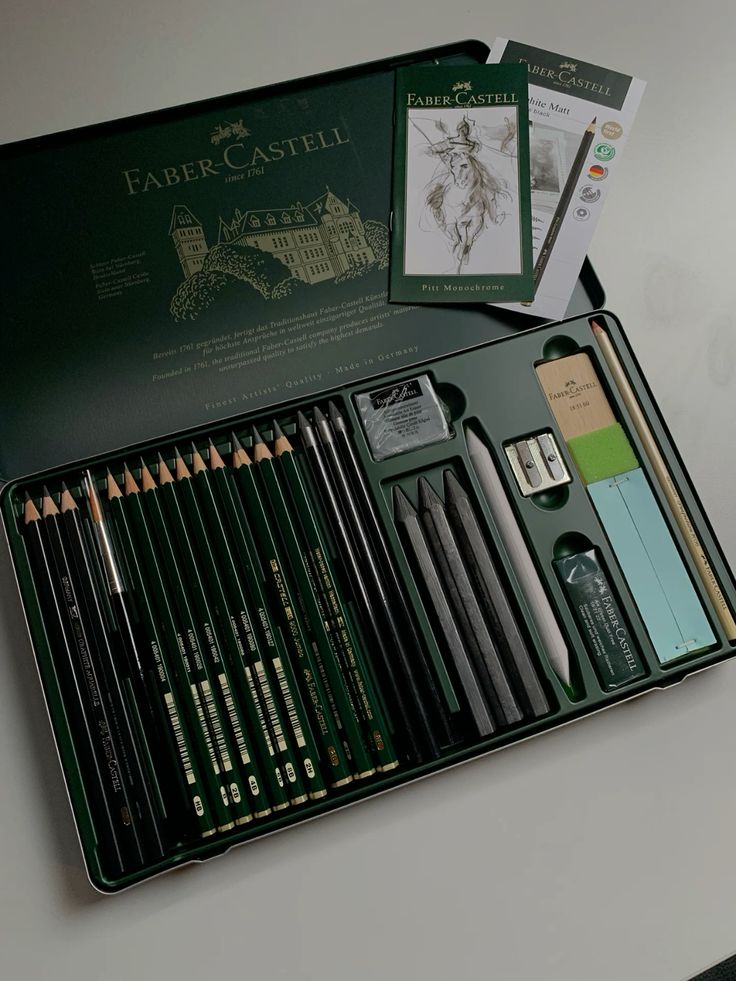
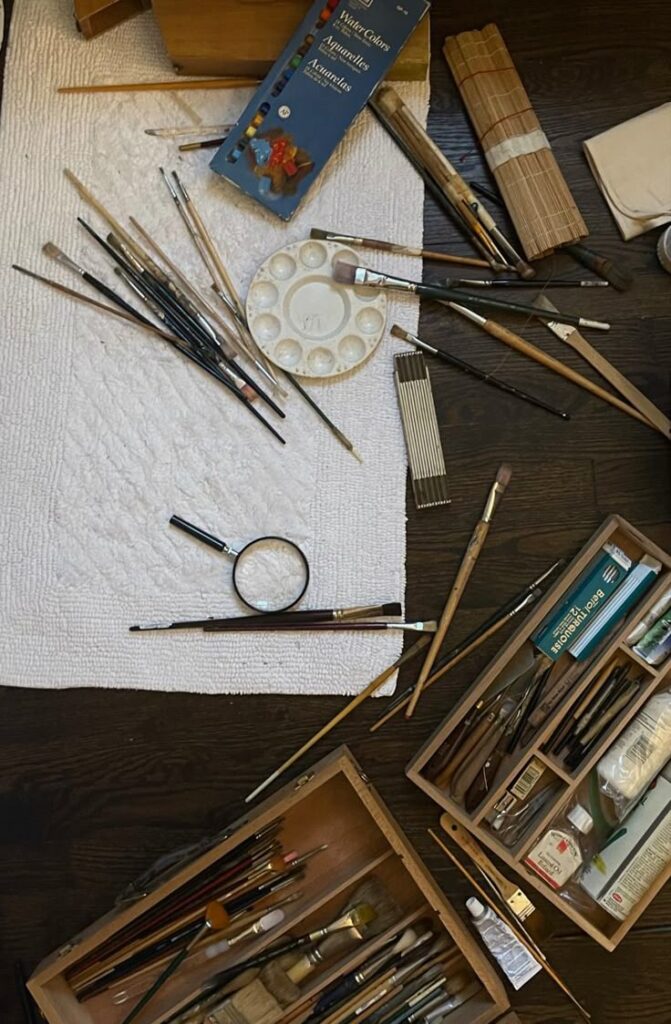
You don’t need a king’s ransom to start drawing medieval castles. A few basic tools will set you on your way.
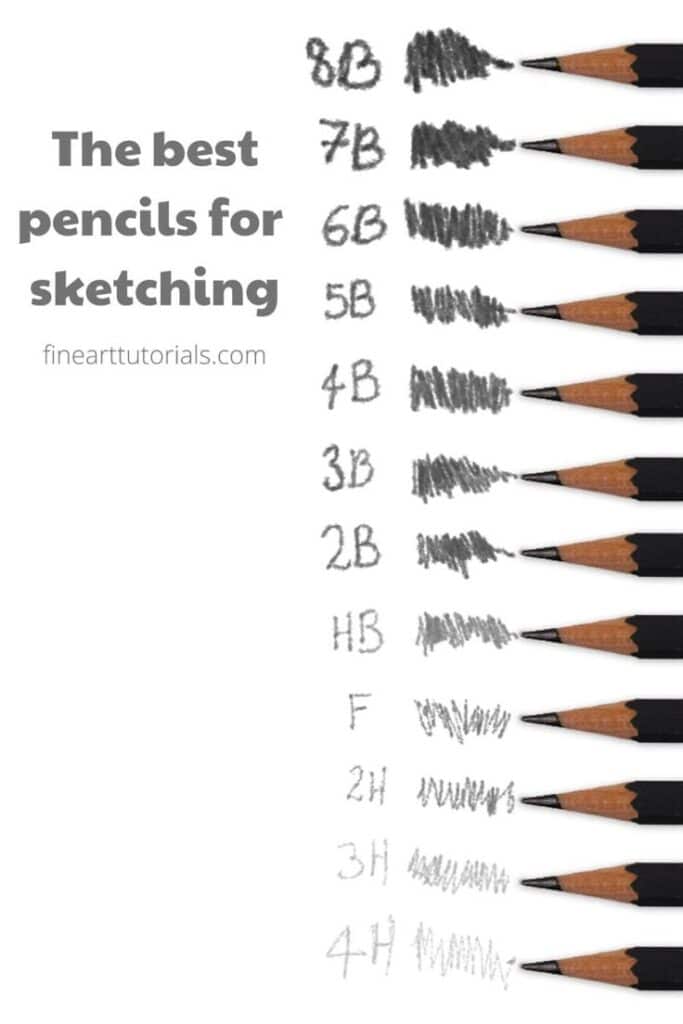
- Pencils: A good range of graphite pencils is crucial.
- H pencils (e.g., 2H, 4H): For light, crisp guidelines and fine details.
- HB pencil: Your all-rounder, for general sketching.
- B pencils (e.g., 2B, 4B, 6B): For darker tones, shading, and creating depth. The higher the number, the softer and darker the lead.
- Paper/Sketchbook:
- Smooth drawing paper: Ideal for detailed work and precise lines.
- Slightly textured paper: Great for capturing the rough feel of stone or wood.
- Sketchbook: Portable and perfect for practicing and experimenting with aesthetic drawing ideas.
- Erasers:
- Kneaded eraser: Excellent for lifting graphite without damaging the paper, and for creating highlights.
- Vinyl/Plastic eraser: For more precise erasing of lines.
- Ruler or Straightedge: Absolutely essential for architectural drawings, perspective lines, and creating convincing straight walls and beams.
- Optional but Recommended:
- Blending Stumps/Tortillions: For smoothing out graphite and creating subtle gradients in shading.
- Fineliner Pens (various sizes): For inking your finished drawings, adding crisp outlines, and defining details.
- Charcoal Pencils: For rich, deep blacks and dramatic shadows, especially good for dark dungeon areas or moody lighting.
- Digital Tablet & Software: If you prefer digital art, programs like Procreate, Photoshop, or Clip Studio Paint offer endless possibilities for brushes, layers, and effects.

Mastering Perspective: The Architect’s Secret Weapon
Perspective is the backbone of any convincing interior drawing. Without it, your walls will look wonky, your furniture will float, and your castle will feel less like a fortress and more like a funhouse. Don’t be intimidated; it’s easier than you think, and mastering it will dramatically elevate your medieval castle interior drawing.
The Basics: Horizon Line and Vanishing Points
- Horizon Line (Eye-Level): This is the imaginary line representing your eye-level within the drawing. Everything above it goes down towards it, and everything below it goes up towards it. It’s the first line you draw.
- Vanishing Point(s): These are points on the horizon line where parallel lines appear to converge. The number of vanishing points determines your perspective type.
One-Point Perspective
Perfect for looking straight into a room, like down a long hall or directly at a back wall.
- Draw your Horizon Line.
- Place a single Vanishing Point (VP) on the horizon line. Usually in the center for a direct view.
- Draw the back wall: This will be a simple rectangle or square.
- Draw “orthogonals”: These are lines that recede from the corners of your back wall directly to the VP. These lines define the ceiling, floor, and side walls.
- Draw the front opening: Connect the orthogonals to create the opening of your room.
- Add details: Any objects in the room (tables, archways, fireplaces) will also follow these perspective lines. Lines parallel to the back wall remain parallel; lines perpendicular to the back wall recede towards the VP.
Two-Point Perspective
This is your go-to for more dynamic views, like looking into a room from a corner.
- Draw your Horizon Line.
- Place two Vanishing Points (VP1 and VP2) on the horizon line. These should be fairly far apart.
- Draw a vertical “leading edge”: This is the closest corner of your room or structure.
- Draw orthogonals from the top and bottom of this leading edge to both VPs. These lines define the receding walls.
- Draw vertical lines for the far corners: These define the width of your walls.
- Connect the new vertical lines to the opposite VPs to complete the ceiling and floor planes.
- Add details: Furniture and architectural elements will now have their own perspective, receding towards the appropriate vanishing point. For example, the sides of a table will recede to VP1, while the front and back recede to VP2.
Practice drawing simple boxes in one-point and two-point perspective. It’s the foundational skill for making your castle interiors feel real and volumetric.
Details, Details, Details: Bringing Castle Interiors to Life
The magic of medieval castle interior drawing lies in the small, convincing details. These elements transform a basic outline into a lived-in, atmospheric space. Think about the textures, the light, and the objects that would populate such a place.
Walls: Stone, Plaster, and Adornment
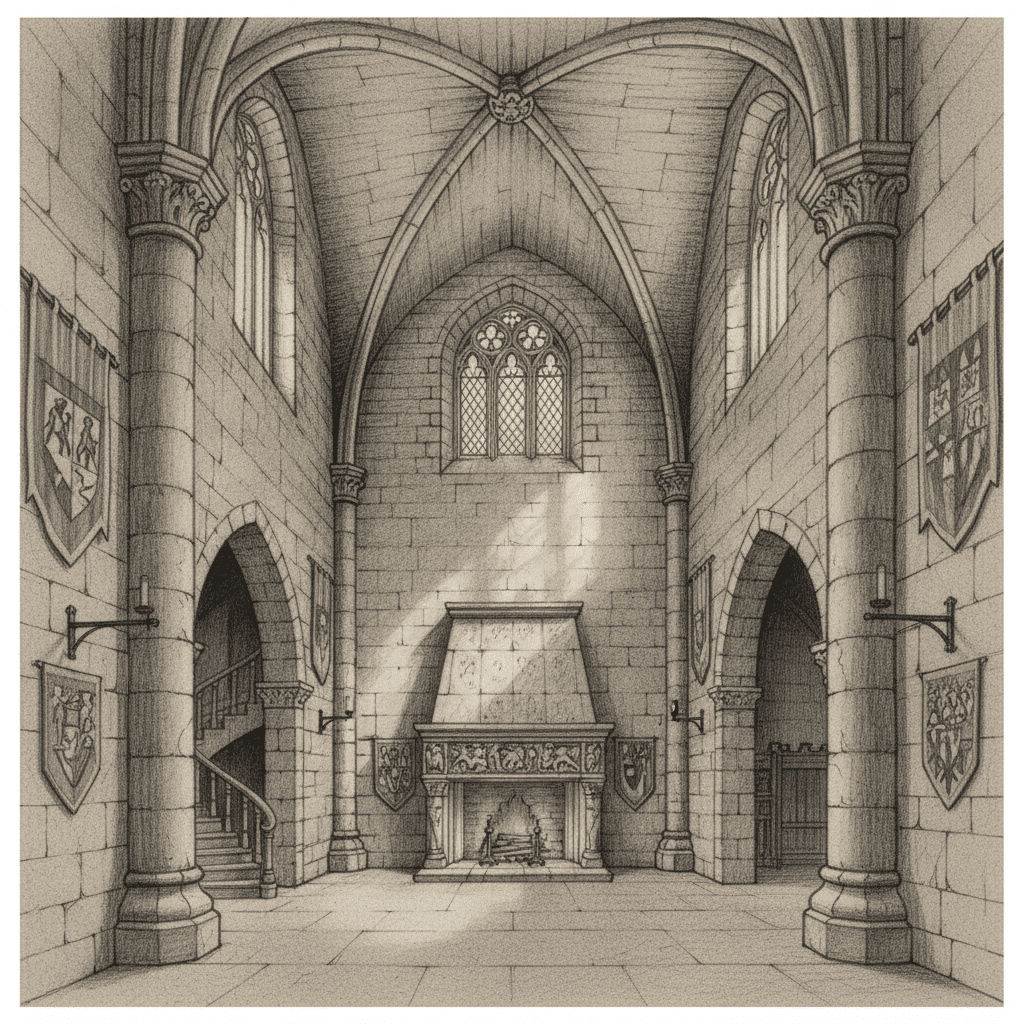
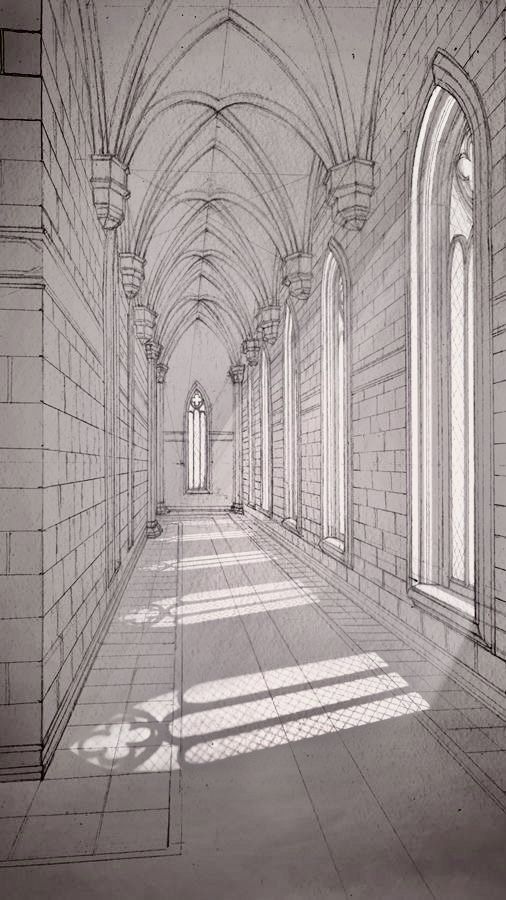
- Stone: The most iconic feature. Focus on irregularity. Don’t draw uniform bricks! Show different sizes, cracks, chips, and areas where mortar might be crumbling. Use cross-hatching or stippling for texture. The play of light and shadow on rough stone is critical for depth.
- Plaster/Limewash: Many castle walls were plastered and limewashed. This gives a smoother, lighter surface. Show subtle imperfections, perhaps peeling or stained areas.
- Tapestries and Banners: These were functional (insulation) and decorative. They add color, pattern, and a sense of luxury or heraldry. Draw their folds, wrinkles, and the way they hang. Research medieval tapestry designs for authenticity.
Floors: Rough Underfoot
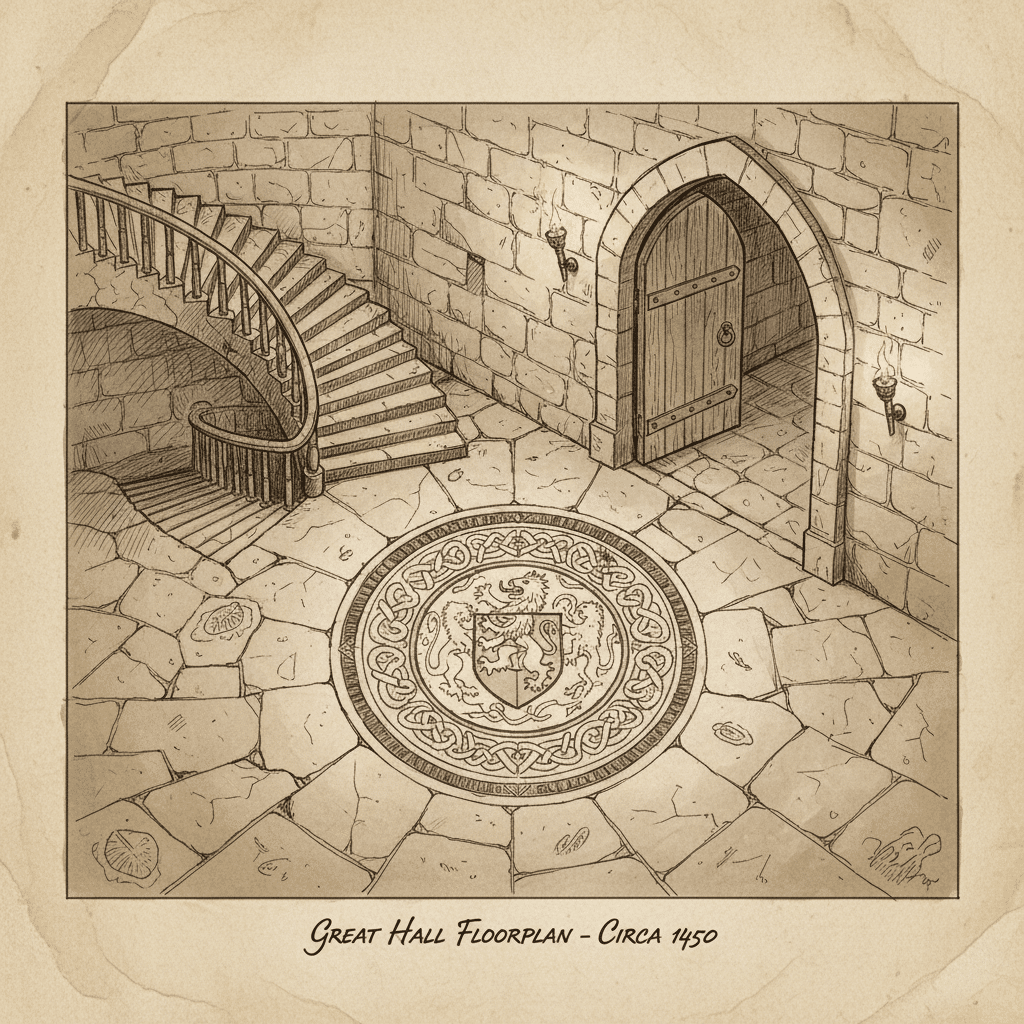
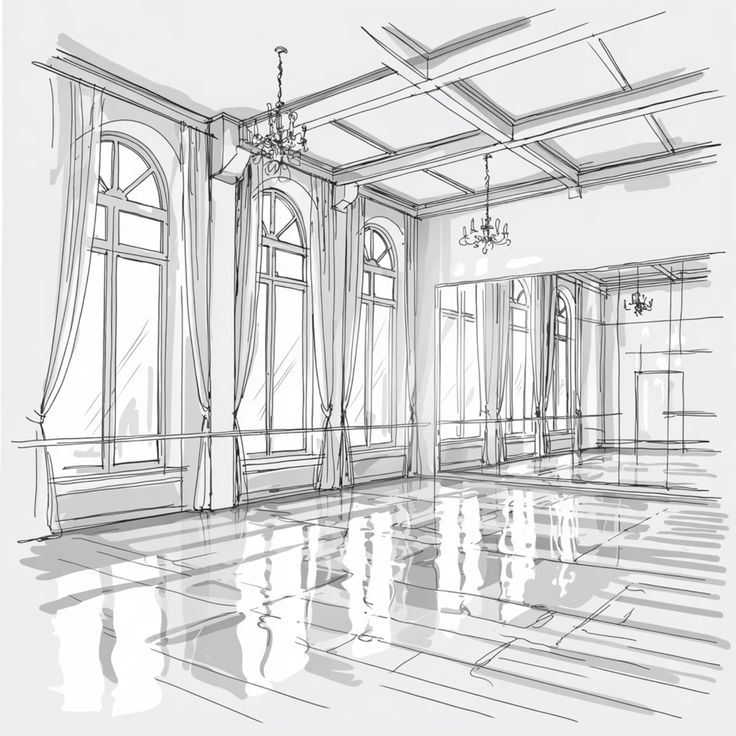
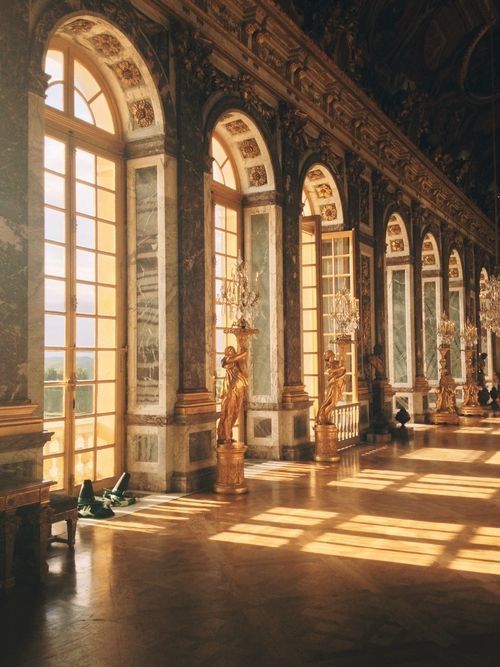
- Stone: Similar to walls, but often larger, flatter flagstones. Show grout lines, wear patterns, and irregularities.
- Wood: Plank floors in upper chambers or specific areas. Show wood grain, knots, and the gaps between planks.
- Rushes/Straw: In earlier medieval periods, floors were often covered with rushes or straw for insulation and to absorb spills. This adds a fantastic organic texture.
Furniture: Functional and Sturdy
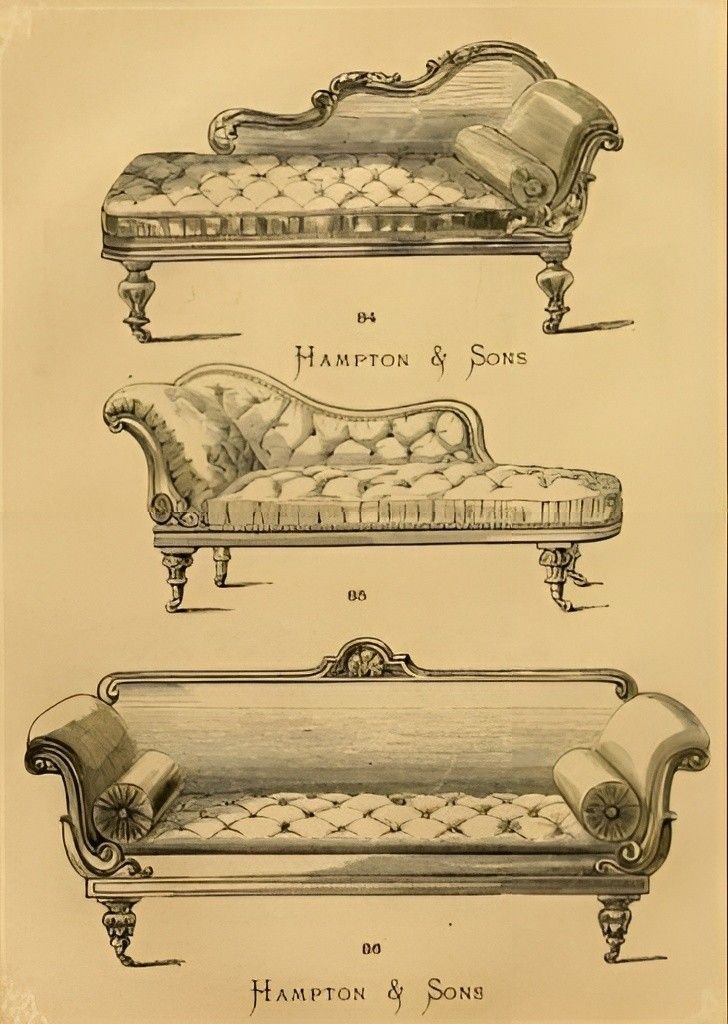
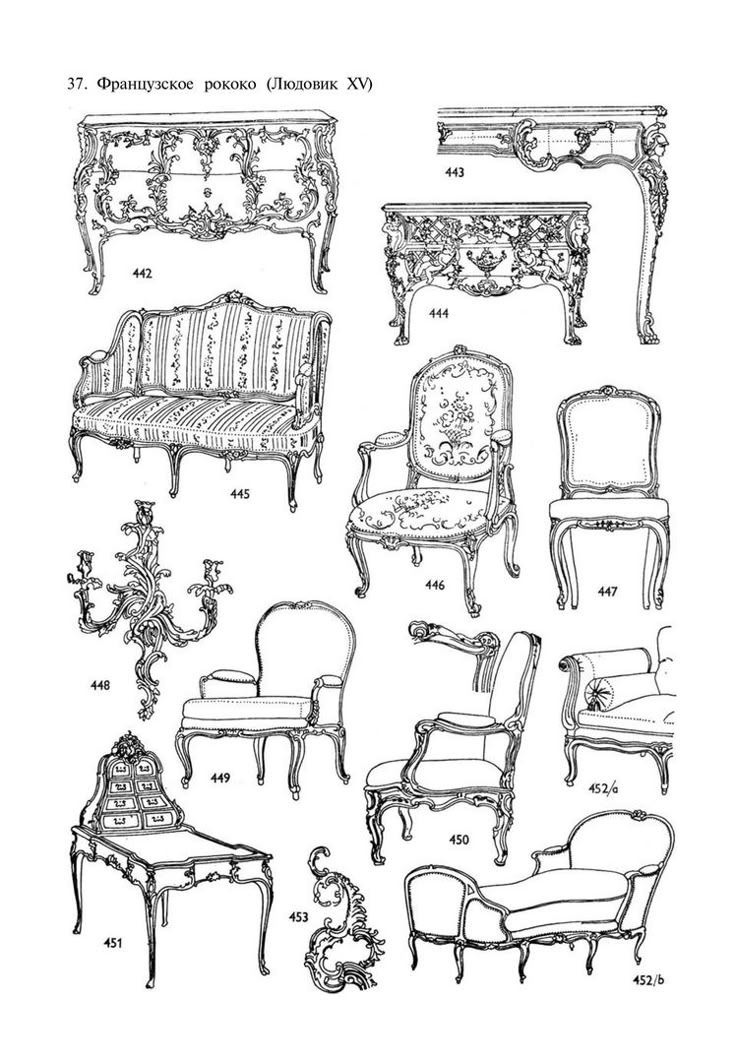
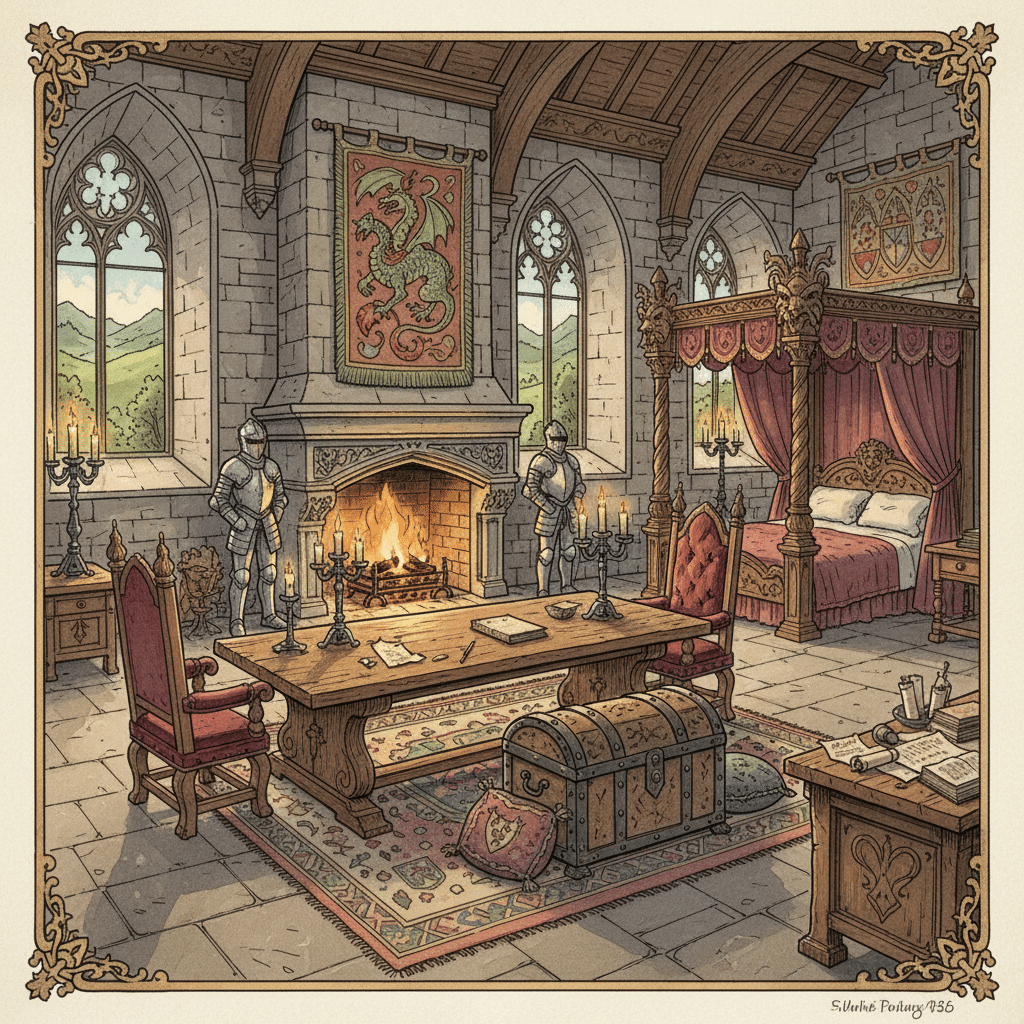
Medieval furniture was generally robust and utilitarian.
- Chests: For storage, often beautifully carved.
- Tables and Benches: Long, heavy, often simple designs.
- Thrones/Chairs: For the lord and lady, more elaborate but still practical.
- Beds: Four-poster beds with heavy drapes for warmth and privacy were common in wealthier chambers.
- Cupboards/Dressers: Simple, heavy wooden pieces.
Focus on the weight and solidity of these objects. Show the grain of the wood, the iron hinges, and the wear and tear.
Lighting: Torches, Candles, and Natural Glow
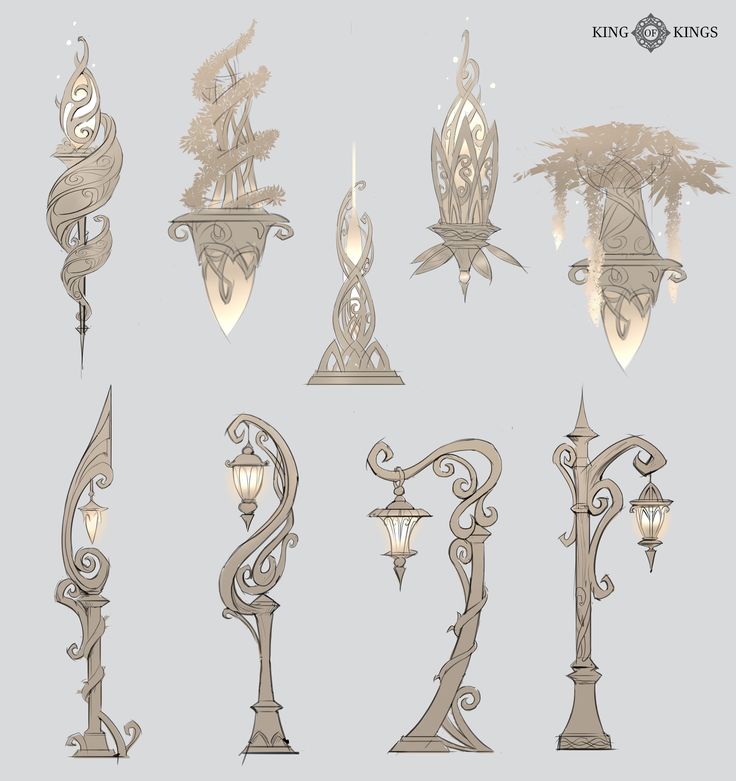
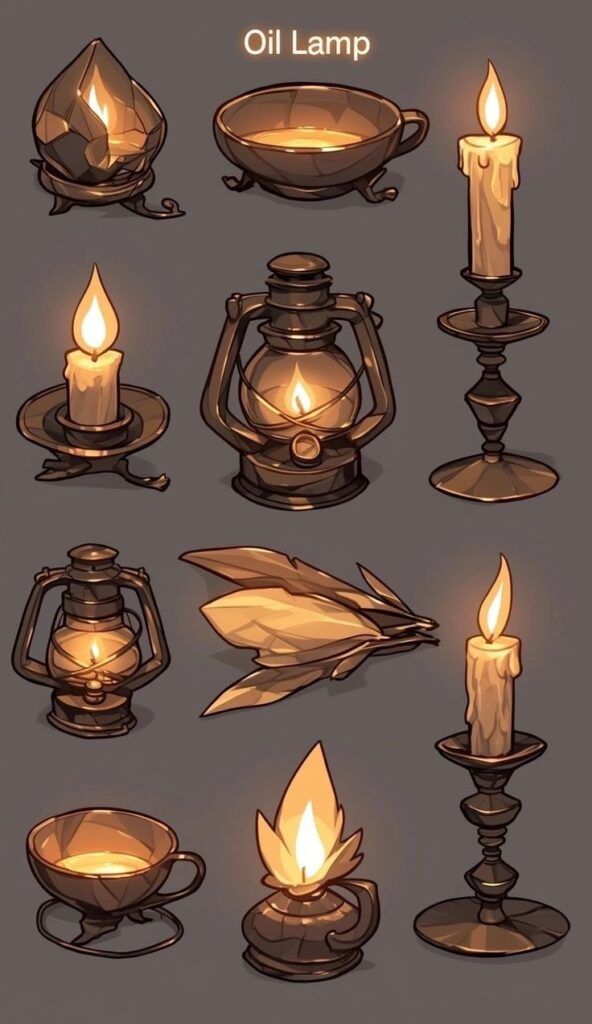
This is where you can create incredible atmosphere.
- Torches: Held in iron sconces on walls. Draw the bracket, the flickering flame, and the smoky plume. Crucially, show the light radiating outwards, creating bright spots and deep shadows.
- Candles: In candelabras or on simple stands. Multiple candles create a softer, more diffused light.
- Braziers: Bowls of burning charcoal for heat. They cast a warm glow.
- Natural Light: Coming through arrow slits, small windows, or large gothic arches. Show shafts of light, dust motes, and how light falls on the floor and illuminates objects. Remember, light source determines shadow direction and intensity.
Textiles and Objects of Daily Life
These small additions truly make a place feel lived-in.
- Furs and Blankets: Thrown over benches or beds for warmth.
- Pottery, Pewter, or Wooden Utensils: On tables or shelves.
- Weapons and Armor: Hanging on walls (swords, shields, helmets) or standing in racks.
- Books/Scrolls: Rare and precious, likely found only in a lord’s chamber or chapel.
- Firewood: Piled near a hearth.
Think about the textures and materials of each item. A smooth pewter mug contrasts with a rough wooden spoon. The glint of a polished sword against the dullness of a stone wall. These contrasts add visual interest.

Research is Your Royal Companion
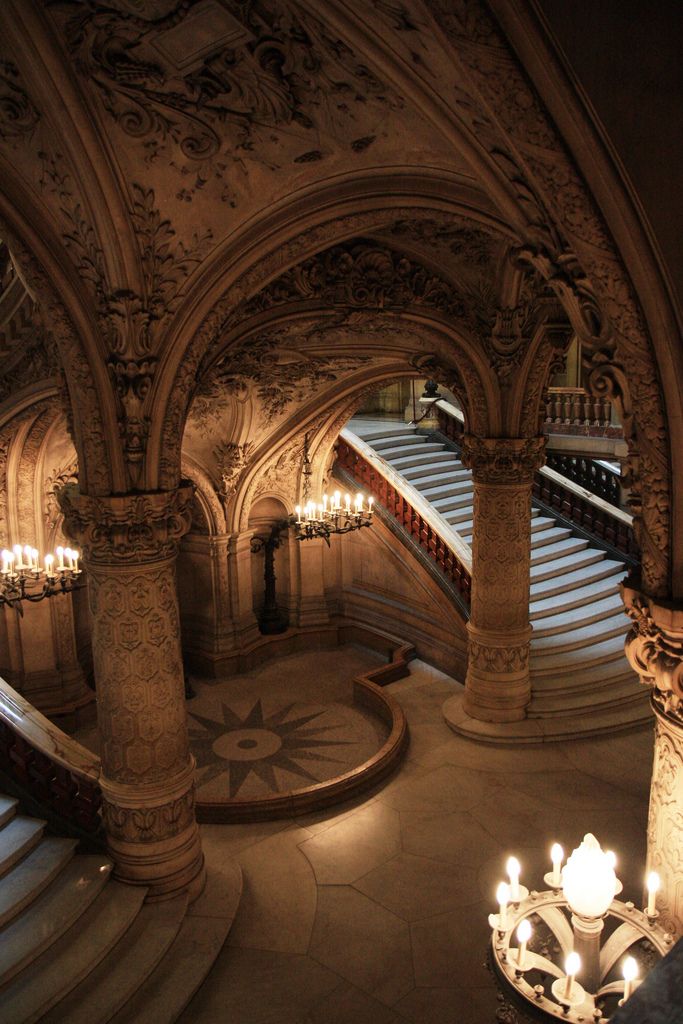
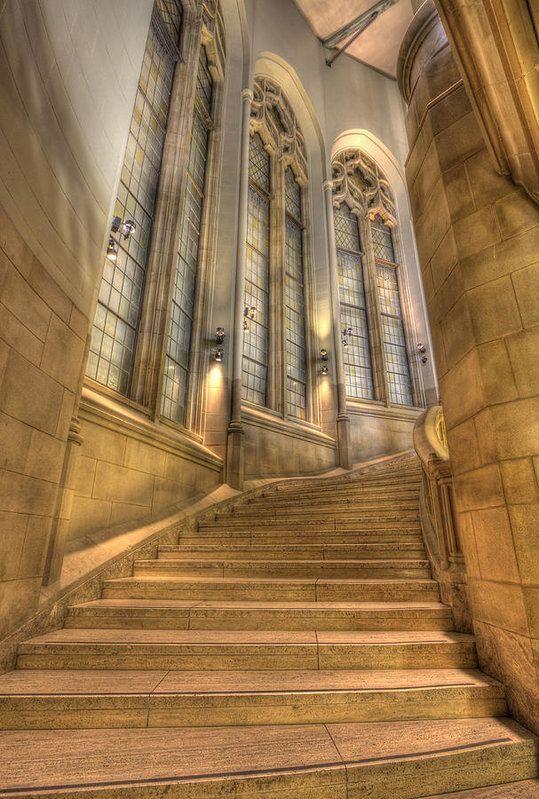
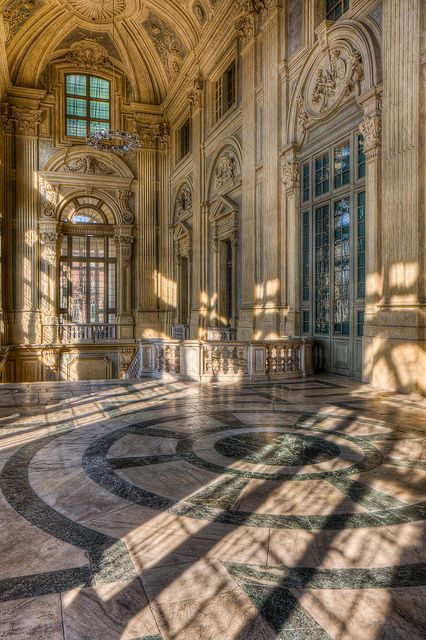
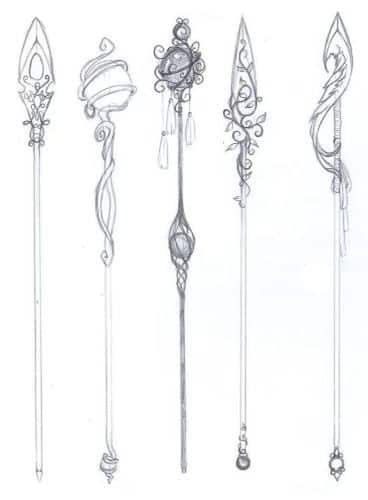
To make your drawings believable and evocative, you need to understand the real deal. Research is not just for history buffs; it’s a vital tool for any artist aiming for authenticity.
- Books and Documentaries: Dive into historical texts about medieval life, architecture, and interior design. Documentaries are fantastic for visual inspiration.
- Museums and Historical Sites: If possible, visit real castles or museums with medieval artifacts. Observe how materials are constructed, the scale of rooms, and the details of furniture. Even virtual tours offer immense value.
- Historical Reconstructions and Blueprints: Look for academic reconstructions or historical blueprints. These provide valuable insights into layouts and structural elements.
- Period Specificity: Remember, “medieval” spans a thousand years! An early Norman castle (like the Tower of London) looks very different from a late Gothic castle (like Bodiam Castle). Early castles were more utilitarian; later ones incorporated more comfort and decorative elements. Decide on a specific period for your drawing to maintain consistency.
The more you understand the historical context, the more details you can weave into your drawing, making it richer and more compelling.
Developing Your Unique Style
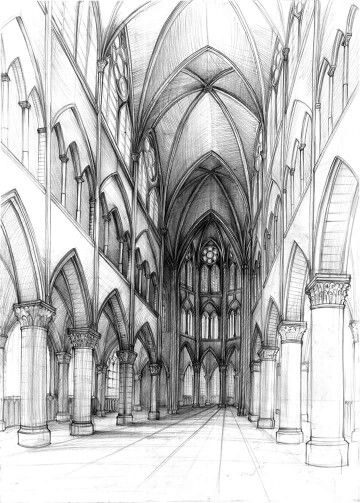
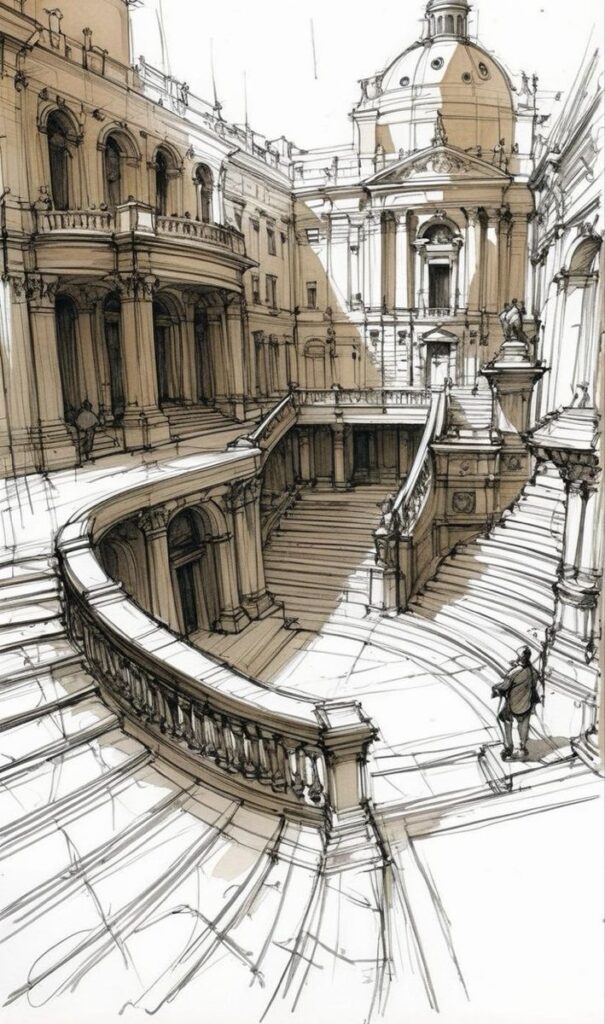
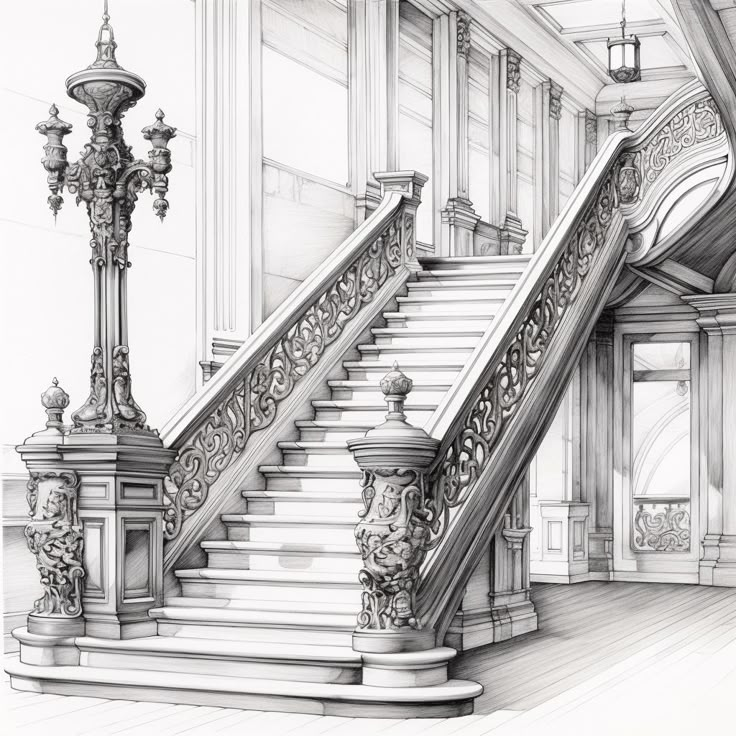
While historical accuracy is valuable, your personal touch is what makes your art unique. Don’t be afraid to experiment!
- Linework: Do you prefer clean, crisp lines, or a more gestural, sketchy approach?
- Shading: Are you drawn to stark contrasts, or subtle, atmospheric gradients?
- Detail Level: Do you enjoy meticulous detail, or a more impressionistic feel?
- Mood: Do you want your castle to feel imposing, cozy, eerie, or grand?
Look at other artists for inspiration, but don’t copy. See how they handle light, texture, and composition, then find ways to incorporate those ideas into your own style. Maybe you like adding fantastical elements, like a hidden wizard’s lair within the castle walls, or perhaps you aim for stark realism. There are no strict rules here; it’s your creative journey.
Common Challenges and How to Overcome Them
Every artist faces hurdles. Here are a few common ones when drawing medieval castle interiors and how to tackle them:
- Proportion and Scale: It’s easy for furniture to look too big or too small for the room.
- Solution: Use figures for scale (even simple stick figures initially). Measure ratios of objects to each other and to the room. Practice drawing rooms with consistent dimensions.
- Making Stone Look Realistic: Flat, untextured stone looks dull.
- Solution: Vary the size and shape of individual stones. Use hatching, cross-hatching, stippling, and scribbling to create texture. Pay attention to how light hits the rough surface, creating tiny highlights and shadows. Don’t be afraid of imperfections – they add character!
- Achieving Atmospheric Depth: Making a large hall feel vast and airy, or a dungeon feel claustrophobic.
- Solution: Employ atmospheric perspective. Objects further away appear lighter, less detailed, and slightly blurrier. Use stronger contrasts in the foreground and soften them in the background. Play with light sources to create dramatic chiaroscuro (light and shadow).
- Overcoming Creative Blocks: Sometimes the muse just won’t show up.
- Solution: Take a break! Look at reference photos, watch a historical documentary, or try sketching something completely different (like these easy drawing ideas for art journals). Sometimes a change of pace is all you need. You could also try drawing a single object from a castle interior repeatedly, focusing on different angles or lighting.
Advanced Techniques and Digital Tools
Once you’ve got the basics down, there are many ways to push your medieval castle interior drawing further.
- Digital Art Software: Programs like Procreate, Photoshop, or Clip Studio Paint offer unparalleled flexibility. You can experiment with different brushes for stone textures, easily adjust perspective, use layers for lighting effects, and play with color palettes. The undo button is a lifesaver!
- 3D Modeling as Reference: For complex architectural layouts, consider using simple 3D modeling software (like SketchUp, Blender, or even Minecraft!) to build a basic room. You can then rotate it, view it from different angles, and use it as a reference for your drawing. This can be a huge help in understanding perspective and complex structures, much like how designers use 3D modeling in action before they build.
- Light and Shadow Studies: Dedicate entire sketches to just understanding how light behaves within a castle interior. How does a torch illuminate a corner? What kind of shadows does an arched window cast? This will bring incredible realism to your work.
- Color Theory: If you move into painting, understanding how colors interact can greatly enhance the mood. Warm colors for firelight, cool colors for deep shadows or natural light.
- Storytelling Elements: Go beyond just drawing a room. What’s happening in it? Is there a knight polishing his armor, a servant tending the fire, or a noble reading a scroll? Adding subtle hints of activity makes the scene more engaging.

Conclusion: Your Castle Awaits!
Drawing medieval castle interiors is a truly rewarding artistic endeavor. It blends historical research with creative expression, challenging you to master perspective, texture, and light while immersing you in a bygone era. From the echoing grandeur of the Great Hall to the somber depths of the dungeon, each stroke of your pencil brings a piece of history back to life.
By understanding the architecture, the daily life, and the essential drawing techniques – from mastering perspective to obsessing over details – you’re well on your way to creating stunning, immersive artwork. Remember, consistency in practice and a genuine curiosity for your subject are your most powerful allies. So grab your pencils, open your sketchbook, and let your imagination roam the ancient halls. Your medieval masterpiece is waiting to be drawn!
Frequently Asked Questions
### What are the most important elements to include in a medieval castle interior drawing?
The most important elements include strong architectural features like stone walls, arched doorways, and timber beams. Beyond that, focus on details like functional furniture (chests, heavy tables), appropriate lighting (torches, candles, window light), and textiles (tapestries, furs) to create a sense of authenticity and atmosphere.
### How can I make my stone walls look realistic?
To make stone walls realistic, avoid drawing uniform bricks. Vary the size and shape of individual stones, and use different shading techniques (hatching, stippling, scribbling) to create texture. Pay close attention to how light and shadow interact with the rough surface, showing cracks, chips, and irregularities.
### What’s the best way to approach perspective in castle interiors?
Start with a clear horizon line at your eye level. For simple, straight-on views, use one-point perspective with a single vanishing point. For more dynamic, corner views, employ two-point perspective with two vanishing points. Practice drawing basic cubes and rooms in both to build a strong foundation.
### How do I create a sense of depth and atmosphere in my drawings?
Depth and atmosphere are achieved through several techniques. Use strong contrasts and sharper details in the foreground, gradually softening them and reducing detail as objects recede into the background (atmospheric perspective). Also, carefully consider your light source and how it casts dramatic shadows and highlights, enhancing the three-dimensional feel of the space.
### What kind of research should I do before drawing?
Research is crucial for authenticity. Look at historical books, documentaries, and museum exhibits about medieval castles and daily life. Study historical blueprints and reconstructions to understand layouts. Pay attention to the specific period you’re drawing, as castle styles evolved significantly over the medieval era.
### Should I use color in my medieval castle interior drawings?
While many artists start with monochrome (pencil or ink), adding color can greatly enhance the mood and realism. Consider the muted tones of stone and wood, the rich colors of tapestries, and the warm glow of firelight. If working digitally, experiment with different color palettes. If using traditional media, watercolors or colored pencils can be excellent choices.
### What if my drawings don’t look perfect?
It’s completely normal! Drawing is a skill that develops with practice. Don’t aim for perfection on your first attempt. Embrace experimentation, learn from every sketch, and focus on enjoying the process. Consistency in practice, rather than instant perfection, is the key to improvement.
- 851shares
- Facebook0
- Pinterest851
- Twitter0
- Reddit0


