You carry a powerful camera in your pocket every day, and it can do much more than capture quick snapshots. With a few simple techniques, you can turn ordinary photos into images that look polished and intentional. Learning how to use your phone’s camera more effectively helps you capture moments with clarity, balance, and creativity.
As you explore different ways to improve your shots, you’ll see how light, focus, and composition play a big role in the final result. Small adjustments, like cleaning your lens or trying new angles, can make a noticeable difference. By applying practical tips step by step, you’ll gain the confidence to create photos that stand out without needing complicated equipment.


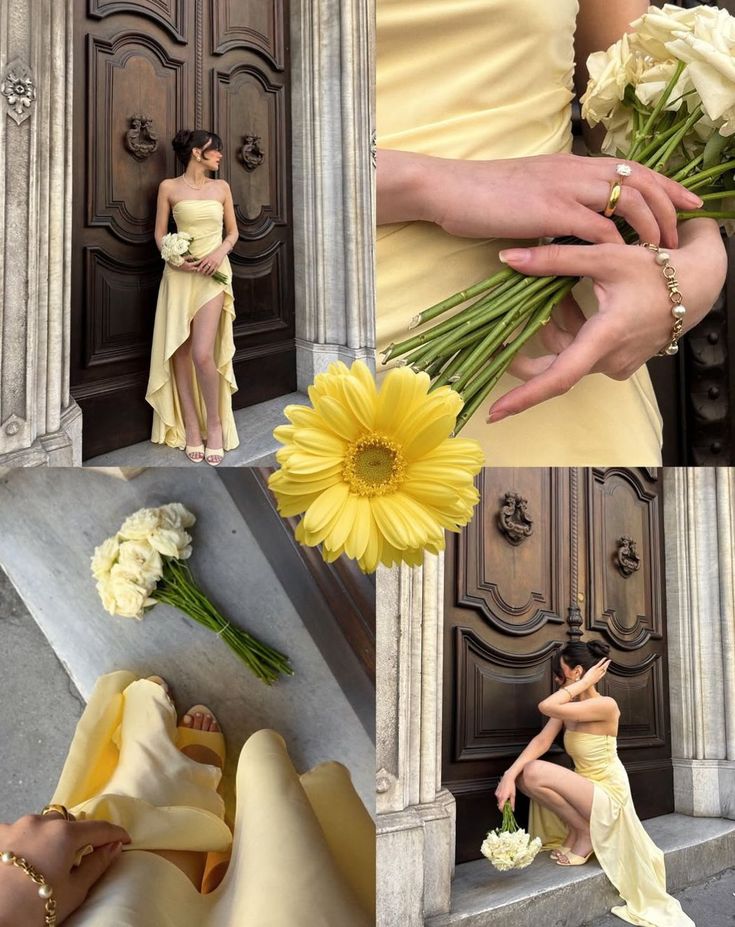
1) Use natural light whenever possible to enhance photo quality
Natural light gives your photos a softer and more balanced look compared to artificial lighting. When you rely on it, your images often come out clearer and more natural without heavy editing.
Try positioning your subject near a window or outdoors where sunlight can brighten the scene evenly. This helps avoid harsh shadows and reduces the need for your phone’s flash.
Early morning and late afternoon, often called golden hours, provide especially flattering light. The lower angle of the sun creates warm tones and softer highlights that make your photos more appealing.
If you’re indoors, move closer to a window instead of turning on overhead lights. Window light can add depth and dimension to your shots without creating strong glare.
Pay attention to how shadows fall on your subject. Adjusting your angle slightly can make the difference between a flat image and one with more detail and texture.
When possible, keep the light source behind you so it illuminates your subject directly. This simple adjustment can make your photos look brighter and sharper.

2) Tap to set focus and adjust exposure on your subject
When you take a photo with your phone, tapping on the screen lets you choose exactly where the camera should focus. This ensures your subject looks sharp instead of letting the camera decide on its own.
After setting the focus, most phones give you a simple way to adjust exposure. You can usually slide your finger up or down on the screen to make the image brighter or darker. This helps balance the light so your subject is clear without being washed out or hidden in shadows.
Locking both focus and exposure can be useful if you don’t want the camera to change settings while you reframe the shot. On many phones, you can press and hold on the subject until you see a lock indicator. This keeps the focus steady and the brightness consistent.
Using this method gives you more control in tricky lighting conditions. For example, if your subject is standing in front of a bright window, lowering the exposure can prevent the background from overpowering the photo. By practicing these small adjustments, you can capture photos that look more intentional and balanced.
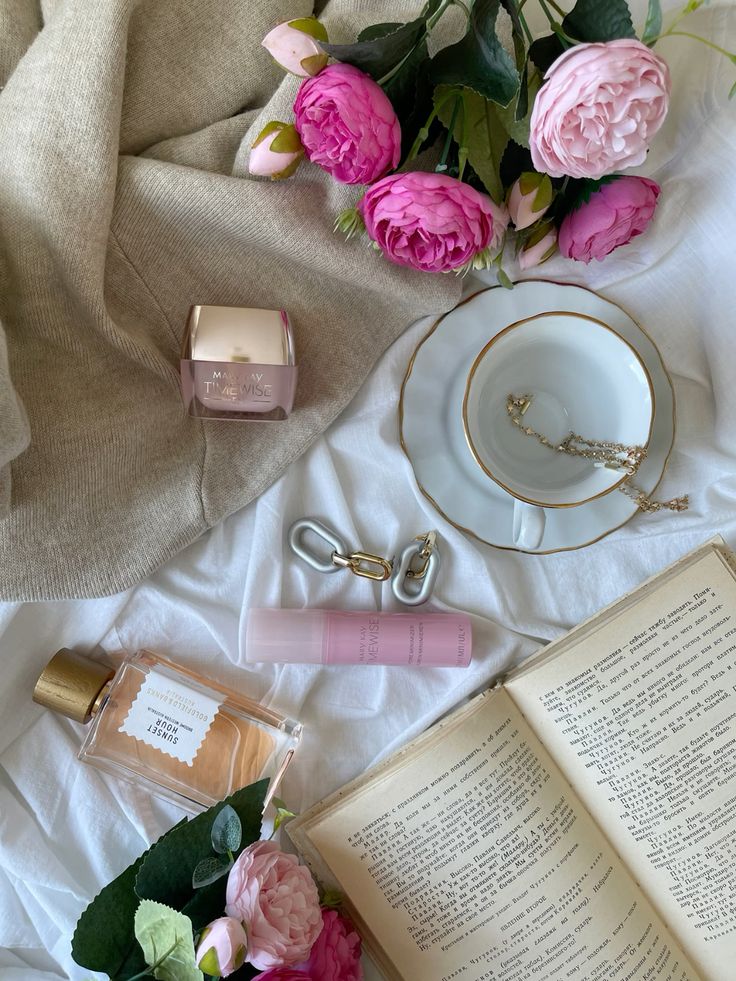
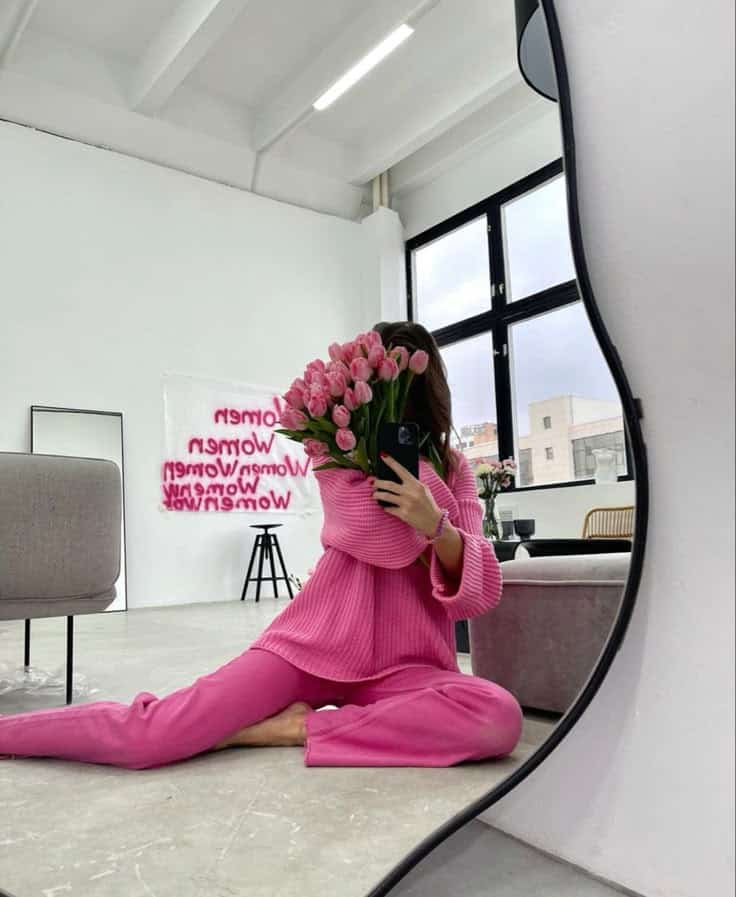
3) Experiment with portrait mode for professional-looking depth
Portrait mode helps you create photos with a shallow depth of field, which keeps your subject sharp while softly blurring the background. This effect makes your photos look more polished and draws attention to the person or object you’re capturing.
You’ll get the best results when you stand the right distance from your subject. On most phones, this means a few feet away so the camera can clearly separate the foreground from the background.
Lighting also plays a big role. Natural light often works best because it highlights details without creating harsh shadows. If you’re indoors, try positioning your subject near a window for softer results.
Experiment with different backgrounds to see how the blur changes your image. A busy setting can look cleaner when blurred, while simple backgrounds can make your subject stand out even more.
Don’t be afraid to take multiple shots. Small adjustments in distance, angle, or lighting can noticeably change the final photo. The more you practice, the easier it becomes to predict how portrait mode will respond.
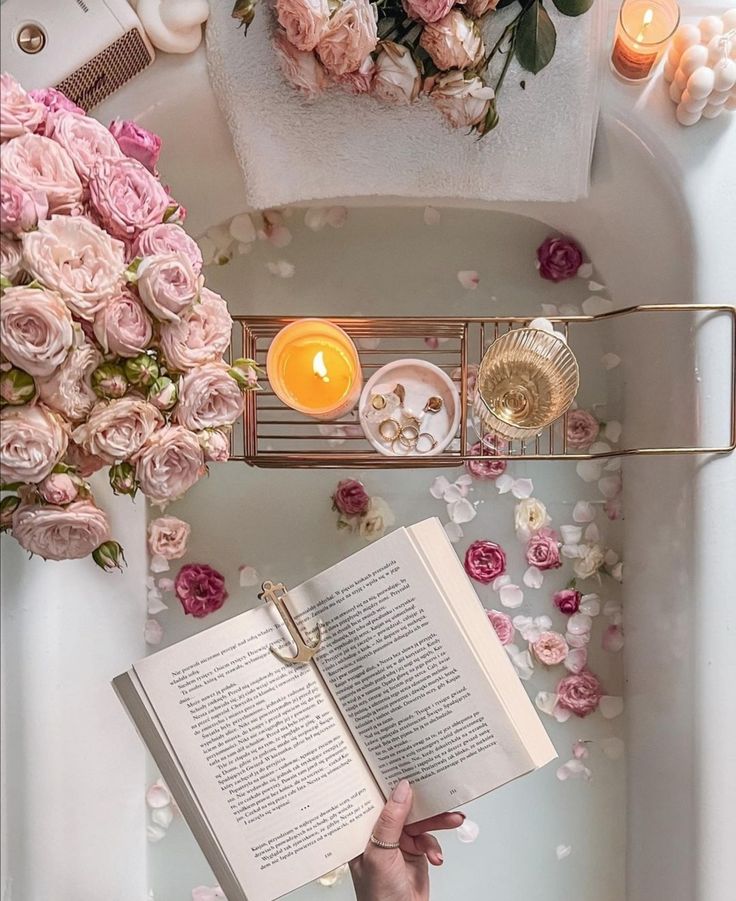
4) Enable HDR to capture better details in high-contrast scenes
When you take photos with very bright and very dark areas, your camera often struggles to capture both correctly. HDR helps by combining multiple exposures into one image so you can see more detail in shadows and highlights.
You’ll find HDR especially useful when shooting landscapes with bright skies and darker ground. It also works well for indoor shots where windows let in strong sunlight that would normally blow out the details.
To get the best results, keep your phone steady while HDR processes the image. A tripod or resting your phone on a stable surface can reduce blur.
Avoid using HDR with moving subjects, since the blending process may create ghosting or blur. Stick to still scenes like architecture, nature, or cityscapes.
Most modern phones let you turn HDR on manually or set it to auto mode. Check your camera settings to make sure it’s enabled before you start shooting.

5) Keep your lens clean for sharp, clear images
Your phone’s camera lens collects dust, fingerprints, and smudges more often than you realize. Even a small mark can make your photos look blurry or dull. A quick wipe before taking pictures can make a noticeable difference.
Use a soft microfiber cloth to clean the lens gently. Avoid using tissues or rough fabrics since they can leave scratches. If the lens has stubborn spots, lightly dampen the cloth with a lens-safe cleaner instead of spraying directly on the phone.
Make it a habit to check your lens before shooting, especially if you carry your phone in your pocket or bag. A clean lens helps your camera capture sharper details and more accurate colors.
Keeping your lens clear doesn’t take much effort, but it ensures your photos look as sharp as possible. It’s one of the simplest steps you can take to improve your mobile photography.


6) Use the grid feature to apply the rule of thirds in composition
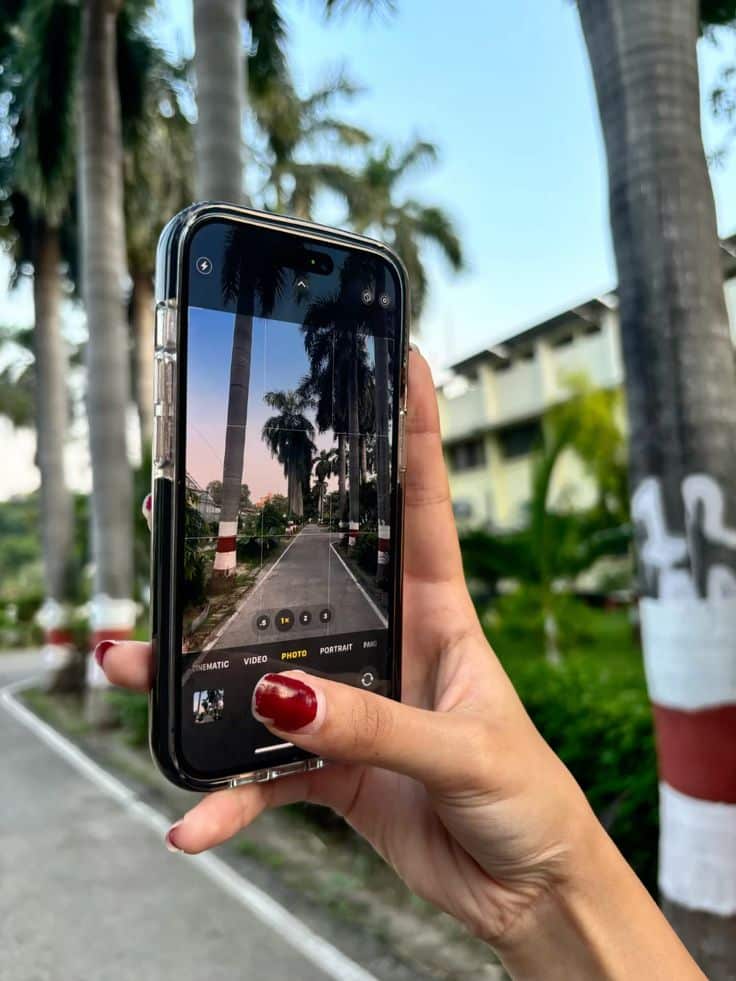
Most smartphones let you turn on a grid in the camera settings. This grid divides your screen into nine equal sections using two horizontal and two vertical lines.
When you place your subject along these lines or at the intersections, your photo often feels more balanced. It also helps guide the viewer’s eye naturally across the frame.
You don’t always need to center your subject. Shifting it slightly to one side or near a grid point can make the image look more engaging and less static.
Try placing the horizon on either the top or bottom third of the grid instead of the middle. This small adjustment can improve landscape shots and give them a stronger sense of structure.
With practice, you’ll start noticing where to position elements without thinking too much about the grid. Using this feature is a simple way to improve your composition while you shoot.

7) Try different angles and perspectives to make photos more dynamic
You don’t always need to shoot from eye level. Changing your position can instantly make a photo feel more interesting. Try crouching low, holding your phone above your head, or tilting slightly for a fresh viewpoint.
When you get closer to the ground, you can highlight details that often go unnoticed. A low angle can also make your subject appear larger and more prominent in the frame.
Shooting from a higher angle gives a wider view of the scene. This works well when you want to capture patterns, textures, or groups of people from above.
You can also move around your subject instead of staying in one spot. Taking a few steps to the side often changes the background and creates a cleaner or more balanced composition.
Experimenting with angles encourages you to see everyday subjects differently. By trying a few variations, you’ll often find one that stands out more than the rest.


Understanding Mobile Camera Features
Your phone’s camera works with a combination of hardware and software. The quality of your photos depends heavily on the sensor that captures light and the lens that directs it. Knowing how these parts function helps you make better choices when shooting.
Sensor Size and Resolution
The sensor is the part of your camera that collects light. A larger sensor usually captures more light, which improves low-light performance and detail. For example, a 1-inch sensor found in some premium smartphones can perform better in dim settings than a smaller 1/2.55-inch sensor.
Resolution, measured in megapixels, determines how much detail your photos can hold. Higher megapixels give you more room to crop and still keep sharpness, but they don’t automatically guarantee better images. A 12MP sensor with larger pixels often outperforms a 48MP sensor with very small pixels in everyday use.
Pixel size matters because it affects how much light each pixel can gather. Larger pixels (measured in micrometers, such as 1.8µm) usually provide cleaner images with less noise, especially at night.
When comparing phones, look at both sensor size and pixel size rather than just megapixel count. This gives you a clearer idea of how the camera will perform in real conditions.
Lens Options and Capabilities
Your phone may include multiple lenses, each designed for different types of shots. Common options are wide, ultra-wide, telephoto, and sometimes macro lenses. Each lens changes how much of the scene you can capture and how close you can get without losing quality.
- Wide lens: Standard option for everyday photos.
- Ultra-wide lens: Fits more into the frame, useful for landscapes and group shots.
- Telephoto lens: Provides optical zoom for closer shots without distortion.
- Macro lens: Allows detailed close-ups of small subjects.
Lens aperture also plays a role. A lower f-number (like f/1.8) lets in more light, which helps in darker environments. Some phones use variable apertures to adapt to changing conditions.
You should also pay attention to lens quality and stabilization. Optical image stabilization (OIS) reduces blur in handheld shots, while higher-quality glass elements can minimize distortion and improve sharpness.
Choosing the right lens for the situation lets you capture scenes more accurately without relying too much on digital zoom or heavy editing.
Editing and Enhancing Mobile Photos
Editing helps you refine your shots by improving brightness, color, and detail. With the right tools and thoughtful adjustments, you can make photos look polished while still keeping them natural.
Choosing the Right Editing Apps
The app you choose affects how much control you have over your edits. Popular options like Snapseed, Lightroom Mobile, and VSCO give you precise tools for adjusting exposure, color, and sharpness. These apps are free or low-cost, making them accessible for everyday use.
If you want quick results, built-in editors on iOS and Android can handle cropping, rotating, and applying simple filters. For more flexibility, Lightroom Mobile offers features like selective adjustments and RAW editing. Snapseed stands out for its user-friendly interface and powerful tools such as healing brushes and perspective correction.
When deciding, think about your editing style. If you prefer subtle, natural edits, choose apps with manual sliders rather than heavy preset filters. If you enjoy experimenting with creative looks, apps like VSCO or Afterlight provide a wide range of film-inspired filters and textures.
Basic Photo Adjustment Techniques
Start with exposure to fix images that are too dark or too bright. Adjust brightness and contrast gradually until details appear balanced. Use highlights and shadows sliders to recover lost details in bright skies or dark areas.
Next, fine-tune color by adjusting white balance. Warmer tones add a golden look, while cooler tones create a cleaner feel. You can also increase or decrease saturation for more vivid or muted colors, depending on the mood you want.
Sharpening helps bring out textures, but use it lightly to avoid grainy results. Cropping is another simple but powerful tool—straightening horizons or removing distractions can change the entire look of your photo.
A good approach is to edit in small steps. Subtle changes often look more natural and keep your photos from feeling over-processed.
- 161shares
- Facebook0
- Pinterest158
- Twitter3
- Reddit0


