Creating your own greeting cards transforms simple materials into meaningful keepsakes that recipients will treasure far more than store-bought alternatives. DIY cards allow you to express your creativity while personalizing each design to match the recipient’s personality and the specific occasion. Whether you need a quick thank-you note or an elaborate birthday card, handmade options give you complete control over colors, themes, and messages.
You don’t need expensive supplies or advanced crafting skills to make beautiful cards. Basic materials like cardstock, washi tape, stamps, and glitter can produce stunning results in just 15-30 minutes. The process becomes even more enjoyable when you discover techniques like paper quilling, watercolor effects, and pop-up elements that add professional touches to your creations.
Making your own cards also provides significant cost savings compared to purchasing individual cards for each occasion throughout the year. You can create multiple cards during one crafting session, building a personal stash ready for birthdays, holidays, and unexpected moments when you want to brighten someone’s day.
Key Takeaways
- Handmade cards require only basic materials and can be completed in 15-30 minutes with stunning results
- DIY card making offers unlimited personalization options while saving money compared to store-bought alternatives
- Simple techniques like stamping, paper quilling, and watercolor effects can create professional-looking designs for any occasion
DIY Cards Overview
DIY cards are personalized greeting cards you create by hand using various crafting materials and techniques. Making your own handmade cards offers creative freedom, cost savings, and the ability to craft meaningful gifts for any occasion.
What Are DIY Cards?
DIY cards are greeting cards you make yourself instead of buying from a store. These handmade cards use materials like cardstock, decorative paper, stamps, stickers, and embellishments.
You can create DIY greeting cards for birthdays, holidays, thank you notes, or any special occasion. The process involves folding paper into a card base and decorating it with your chosen design elements.
Card making allows you to customize every detail. You choose the colors, patterns, messages, and decorative elements that match the recipient’s personality or the occasion.
Basic components include:
- Card base (folded cardstock)
- Decorative papers
- Adhesives
- Embellishments
- Writing tools
Benefits of Creating Handmade Cards
Making your own cards saves money compared to purchasing store-bought options. A single handmade card costs significantly less than commercial greeting cards.
Handmade cards show recipients that you invested time and thought into their gift. This personal touch makes your card more meaningful than mass-produced alternatives.
You gain complete creative control over the design. You can match colors to the recipient’s preferences or incorporate inside jokes and personal references.
Key advantages:
- Cost-effective – Materials create multiple cards
- Personalized – Tailored to specific recipients
- Therapeutic – Relaxing creative activity
- Unique – No two handmade cards are identical
Card making also serves as a relaxing hobby that reduces stress and provides creative satisfaction.
Popular Types of DIY Cards
Birthday cards are the most common type of handmade cards. You can create age-specific designs, incorporate favorite colors, or add pop-up elements for extra surprise.
Holiday cards celebrate seasonal occasions like Christmas, Valentine’s Day, or Easter. These often feature traditional symbols and seasonal color schemes.
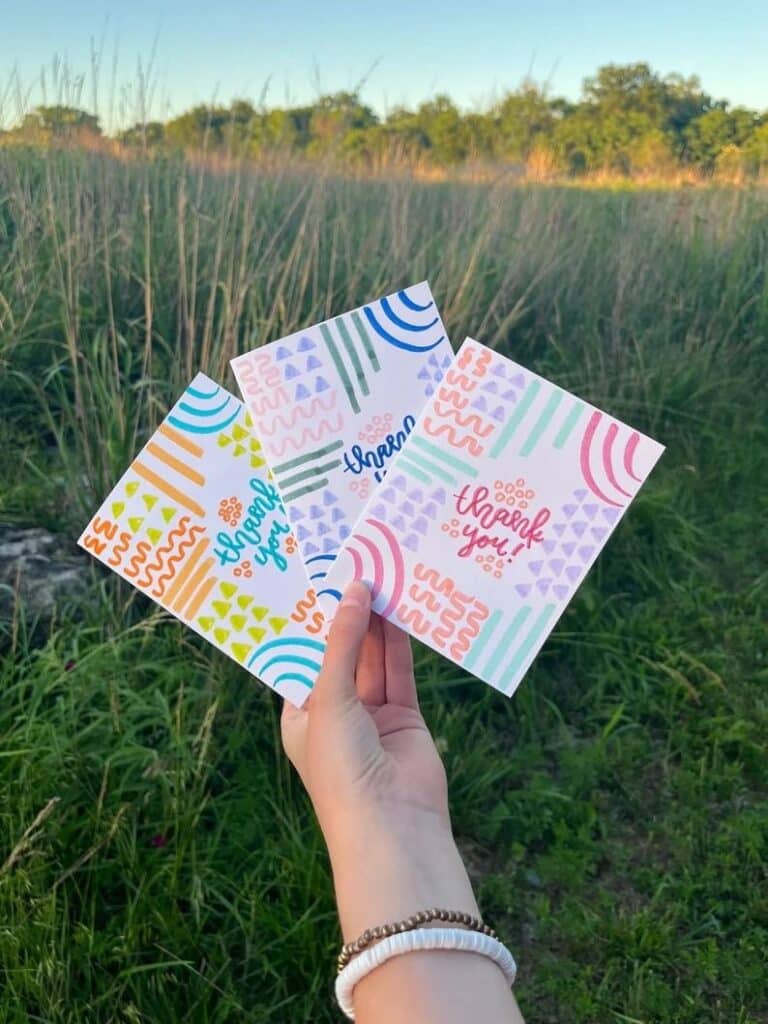
Thank you cards express gratitude for gifts, favors, or kind gestures. Simple, elegant designs work best for these appreciation notes.
Special occasion cards cover weddings, graduations, new babies, or sympathy. Each requires appropriate tone and design elements.
| Card Type | Common Elements | Best Occasions |
|---|---|---|
| Birthday | Balloons, cake, numbers | Personal celebrations |
| Holiday | Seasonal symbols, traditional colors | Christmas, Easter, Valentine’s |
| Thank you | Simple florals, elegant fonts | After receiving gifts |
| Celebration | Confetti, bright colors | Graduations, achievements |
Essential Card Making Terminology
Card base refers to the folded piece of cardstock that forms your card’s foundation. Standard sizes include A2 (4.25″ x 5.5″) and A7 (5″ x 7″).
Embellishments are decorative elements like ribbons, buttons, or die-cuts that add dimension to your design. These create visual interest and texture.
Stamping involves using rubber stamps with ink to create repeated images or text. This technique produces professional-looking results.
Die-cutting uses metal dies and cutting machines to create precise shapes from paper. Popular shapes include circles, flowers, and decorative borders.
Layering means stacking different paper pieces to create depth. You typically use foam adhesive between layers for dimensional effects.
Sentiment describes the main message or greeting inside your card. This can be handwritten, stamped, or created with letter stickers.
Materials and Tools for DIY Cards
Quality cardstock forms the foundation of professional-looking cards, while decorative papers and embellishments add personality and visual interest. Essential tools like foam dots, punches, and embossing equipment help create dimensional effects that make your cards stand out.
Choosing the Right Cardstock
Your cardstock choice determines how professional your finished card will look and feel. Weight matters significantly for durability and appearance.
110lb cardstock works best for card bases because it folds cleanly without cracking. This weight feels substantial in the recipient’s hands without being too thick to mail.
80lb cardstock serves perfectly for card layers and die-cutting elements. It’s sturdy enough to hold its shape but thin enough to layer without creating bulk.
| Cardstock Weight | Best Uses | Key Benefits |
|---|---|---|
| 110lb | Card bases, covers | Sturdy, professional feel |
| 80lb | Layers, die cuts | Easy to cut, good for layering |
| 65lb | Stamping, light layers | Smooth surface, economical |
White and cream cardstock offer the most versatility for beginners. These neutral colors work with any color scheme and provide excellent contrast for stamped images.
Textured cardstock adds visual interest without extra embellishments. Linen and canvas textures create elegant backgrounds for simple designs.
Decorative Papers and Embellishments
Scrapbook paper transforms plain cardstock into eye-catching designs. Choose papers that complement your card’s theme and color palette.
Pattern mixing creates visual interest when done thoughtfully. Combine one bold pattern with one subtle pattern, plus a solid color for balance.
Double-sided scrapbook paper offers more design options in a single sheet. You can use both sides for layering or create interesting fold-reveal effects.
Popular embellishment categories:
- Ribbons and bows – Add texture and feminine touches
- Buttons – Create focal points and vintage charm
- Rhinestones and gems – Provide sparkle and elegance
- Stickers and chipboard shapes – Quick decorative elements
Dimensional embellishments work best when used sparingly. Too many raised elements make cards difficult to mail and can overwhelm your design.
Consider your recipient when selecting embellishments. Professional cards need subtle decorations, while children’s cards can handle more playful elements.
Using Foam Dots, Punches, and Embossing Tools
Foam dots create the dimensional layers that separate handmade cards from flat, printed versions. These adhesive circles lift elements off the card surface for professional-looking depth.
Standard foam dots measure about 1/4 inch and work for most layering needs. Use them to lift sentiment panels, die-cut shapes, and decorative elements.
Thin foam dots provide subtle dimension without excessive height. They’re perfect for layering patterned paper or creating slight shadows.
Corner punches round sharp edges for a softer, more finished appearance. They work especially well on photo corners and rectangular elements.
Decorative punches create consistent shapes from cardstock and scrapbook paper:
- Border punches make decorative edges
- Shape punches create perfect circles, hearts, and stars
- Corner punches add professional finishing touches
Embossing tools add texture without color. Dry embossing creates raised patterns using stencils and a stylus tool.
Heat embossing combines special powder with stamped images. The powder melts when heated, creating raised, glossy designs that catch light beautifully.
Must-Have Adhesives and Cutting Tools
Strong adhesives keep your card elements secure through handling and mailing. Different adhesive types work better for specific materials and techniques.
Double-sided tape provides the strongest hold for cardstock layers. It won’t show through thin papers and creates clean, permanent bonds.
Glue sticks work well for large paper pieces but may not hold long-term. They’re repositionable when first applied, which helps with placement.
Liquid glue bonds embellishments like buttons and ribbons securely. Choose acid-free formulas to prevent yellowing over time.
A paper trimmer cuts straight lines more accurately than scissors. Look for models with measurement guides and replaceable blades.
Essential cutting tools include:
- Sharp craft knife for detailed cuts
- Metal ruler for straight edges
- Self-healing cutting mat to protect work surfaces
- Precision scissors for curves and intricate shapes
Bone folders create crisp, professional creases in cardstock. They prevent cracking and ensure your cards fold evenly every time.
DIY Card Techniques and Design Ideas
Mastering core cardmaking techniques like layering papers, stamping designs, adding dimensional elements, and incorporating delicate materials such as lace will transform your handmade greeting cards from simple crafts into professional-looking keepsakes.
Layering and Paper Piecing
Layering creates visual depth on your card base by combining different papers, colors, and patterns. Start with your main card base, then add smaller rectangles or squares of coordinating papers.
Cut each layer slightly smaller than the previous one. This creates clean borders that frame your design elements beautifully.
Paper piecing involves cutting shapes from patterned papers to create images or designs. You can piece together flowers, animals, or geometric patterns by cutting individual components from different papers.
Essential layering supplies:
- Foam adhesive squares
- Double-sided tape
- Craft knife for precise cuts
- Ruler for measuring borders
Try alternating matte and glossy finishes for contrast. Mix solid colors with patterned papers to prevent your design from becoming too busy.
Stamping and Inking
Stamping adds professional-looking images and text to your cards quickly. Choose clear stamps for precise positioning or rubber stamps for bold impressions.
Basic stamping techniques:
- Direct stamping: Press stamp directly onto your card base
- Masking: Cover portions of stamped images to create layered scenes
- Heat embossing: Use embossing powder for raised, glossy designs
Ink blending creates smooth color transitions across your card surface. Use blending tools or makeup sponges to apply distress inks gradually.
Practice consistent pressure when stamping. Too much pressure can cause ink to bleed, while too little creates patchy impressions.
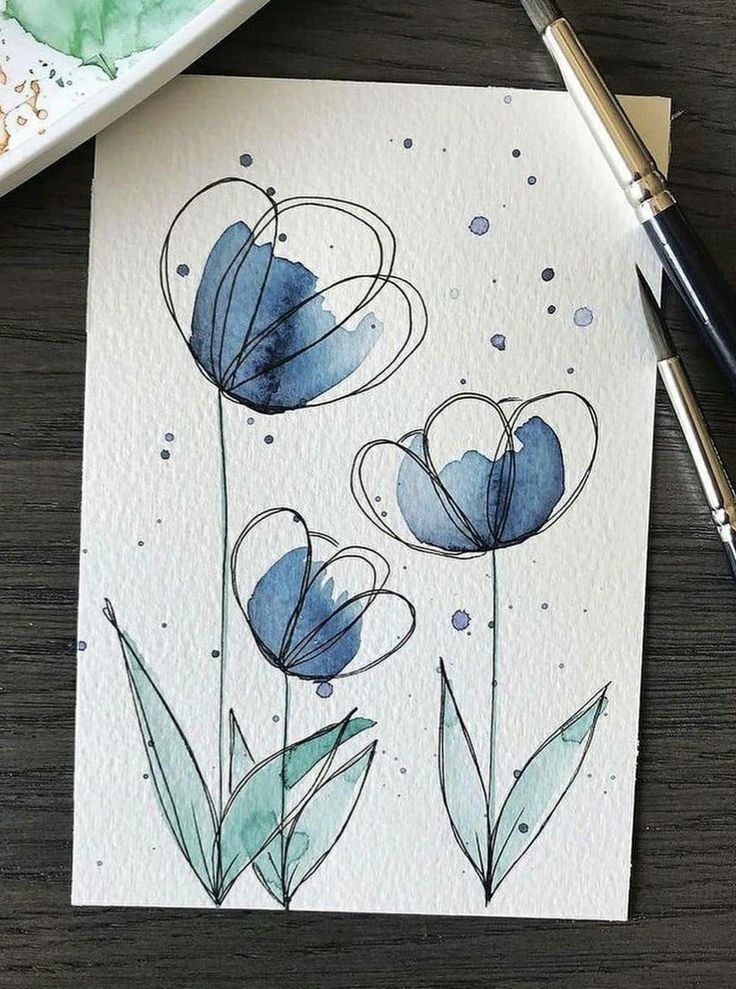
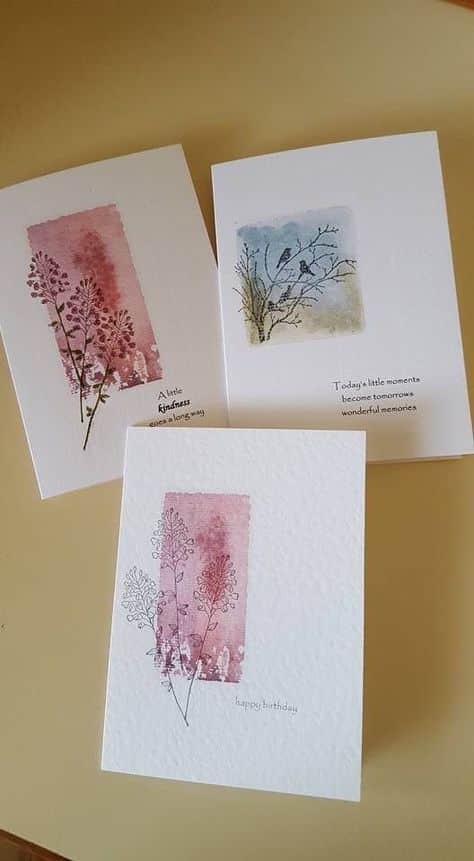
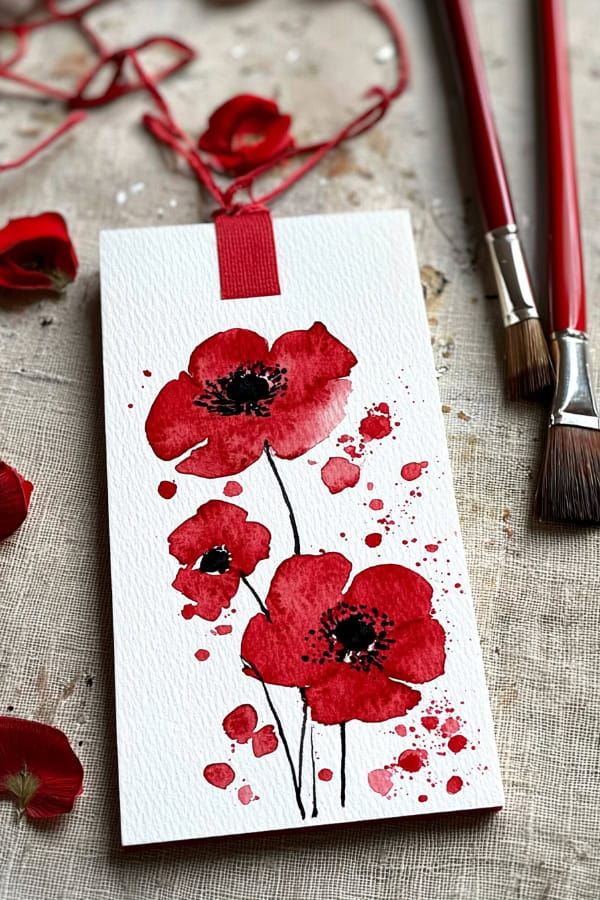
Consider watercolor techniques with water-based inks. Stamp your image first, then add water droplets for a soft, artistic effect.
Adding Dimension and Texture
Dimensional elements make your cards tactile and visually interesting. Use foam adhesive to raise certain design elements above your card base.
Popular dimensional techniques:
- Pop dots under die-cuts
- Accordion-folded paper strips
- Quilling paper coils
- Fabric flowers or buttons
Texture paste applied through stencils creates raised patterns. Let it dry completely before adding other elements to prevent smudging.
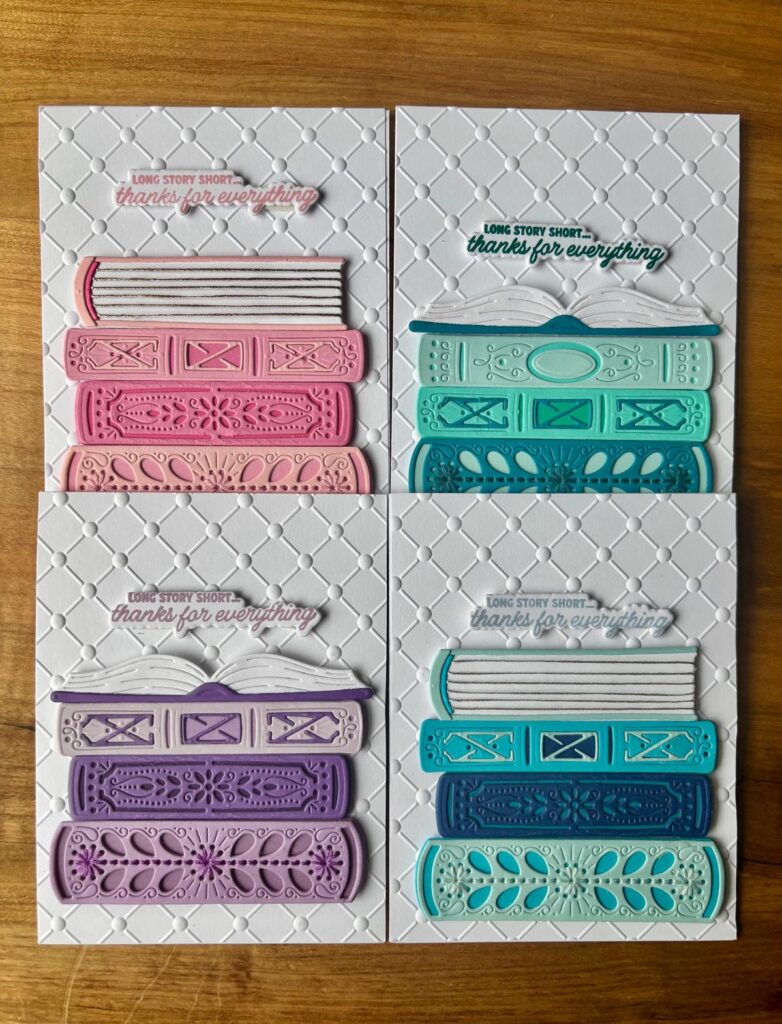
Embossing folders pressed through die-cutting machines create subtle raised designs across entire card panels. This technique works especially well on metallic cardstock.
Consider adding ribbon, twine, or yarn as linear elements. These materials create both texture and visual pathways across your design.
Incorporating Lace and Other Decorative Elements
Lace adds elegance and vintage charm to greeting cards. Paper lace doilies work well for backgrounds, while fabric lace creates delicate borders.
Layer lace behind focal images or use it to frame sentiments. White lace works universally, but colored lace can match specific themes or seasons.
Other decorative elements to consider:
- Washi tape: Creates colorful borders and patterns
- Rhinestones: Add sparkle to flower centers or corners
- Metal charms: Perfect for themed cards like baby or wedding announcements
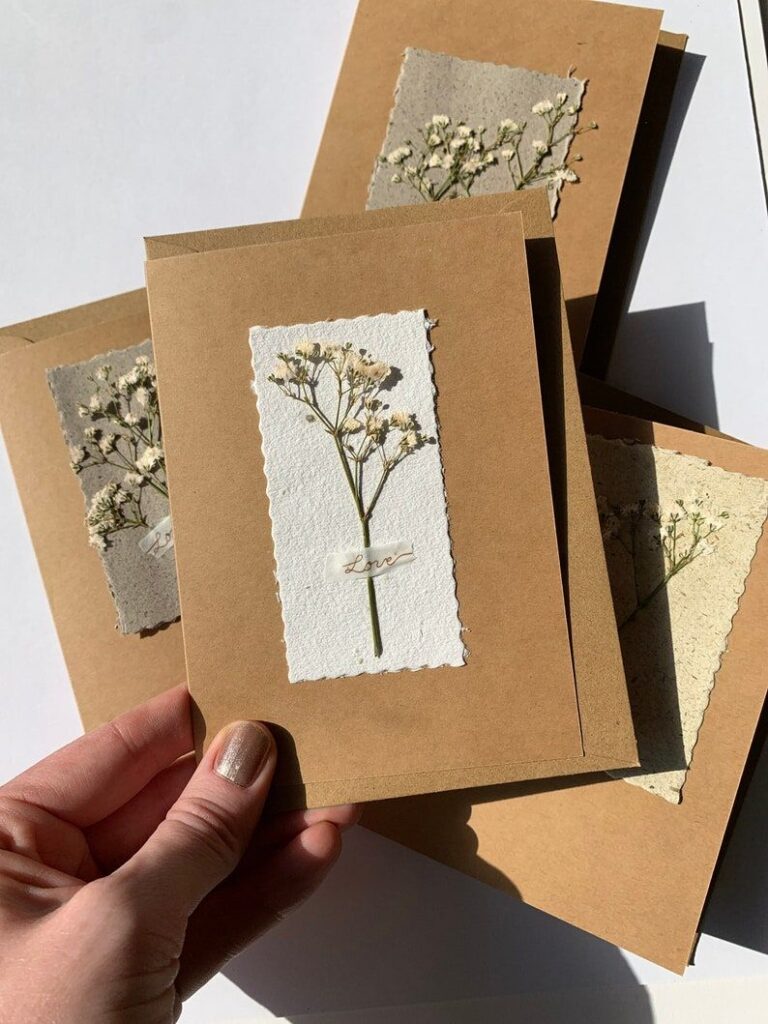
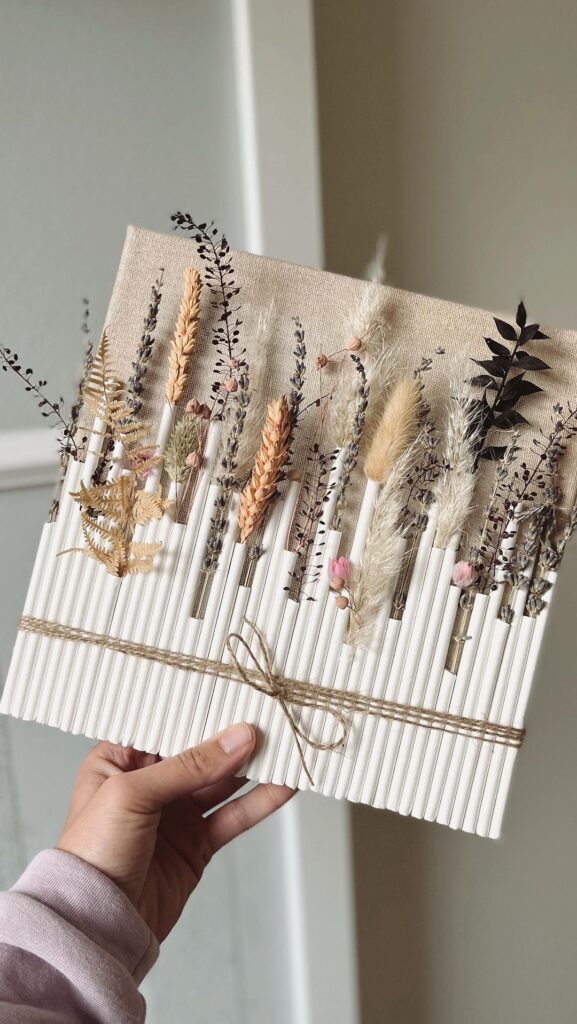
- Dried flowers: Provide natural texture for nature-themed designs
Attach lace with small dots of adhesive rather than covering the entire piece. This preserves the delicate appearance and prevents buckling.
Balance is crucial when using multiple decorative elements. Choose one main focal point and use other elements to support rather than compete with it.
DIY Cards for Special Occasions
Creating cards for special occasions allows you to match designs to specific celebrations and recipients. Each type of card requires different techniques, from simple birthday designs to intricate pop-up mechanisms.
Birthday Cards and Happy Birthday Card Designs
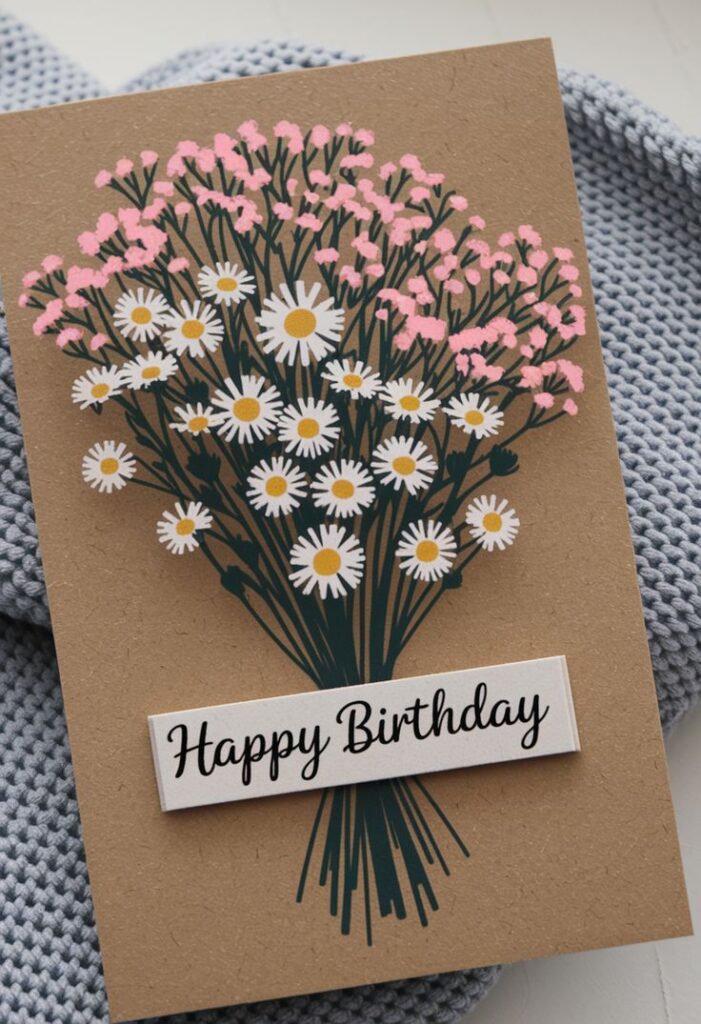
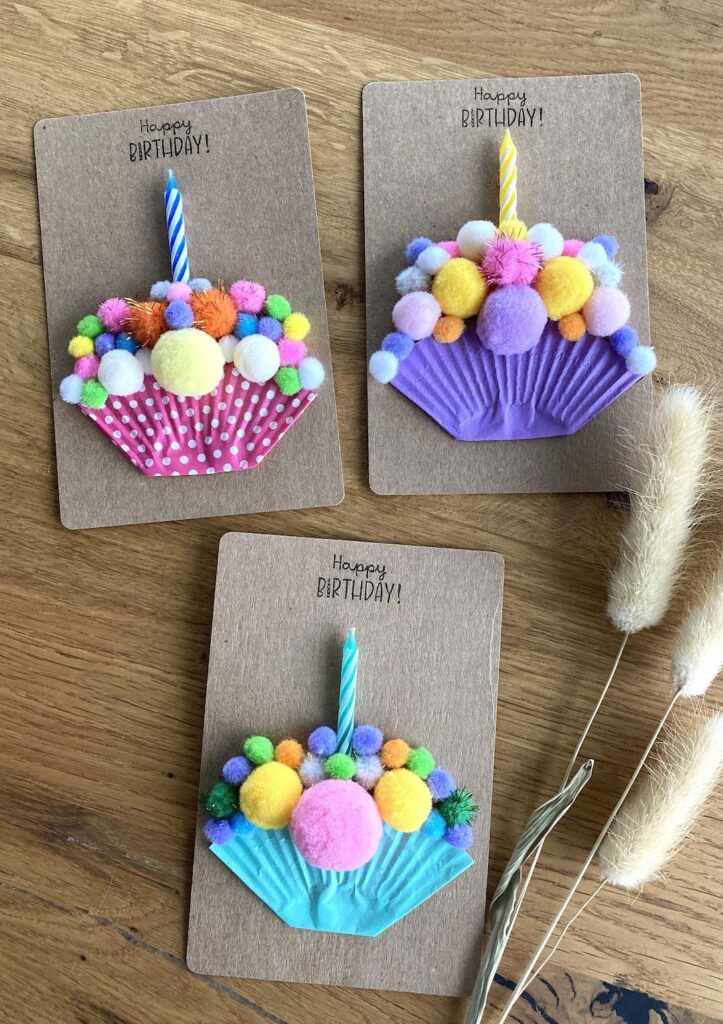
Birthday cards offer endless creative possibilities with colorful themes and personalized touches. You can create layered designs using patterned paper, stamps, and embellishments that reflect the recipient’s age or interests.
Popular birthday card techniques include:
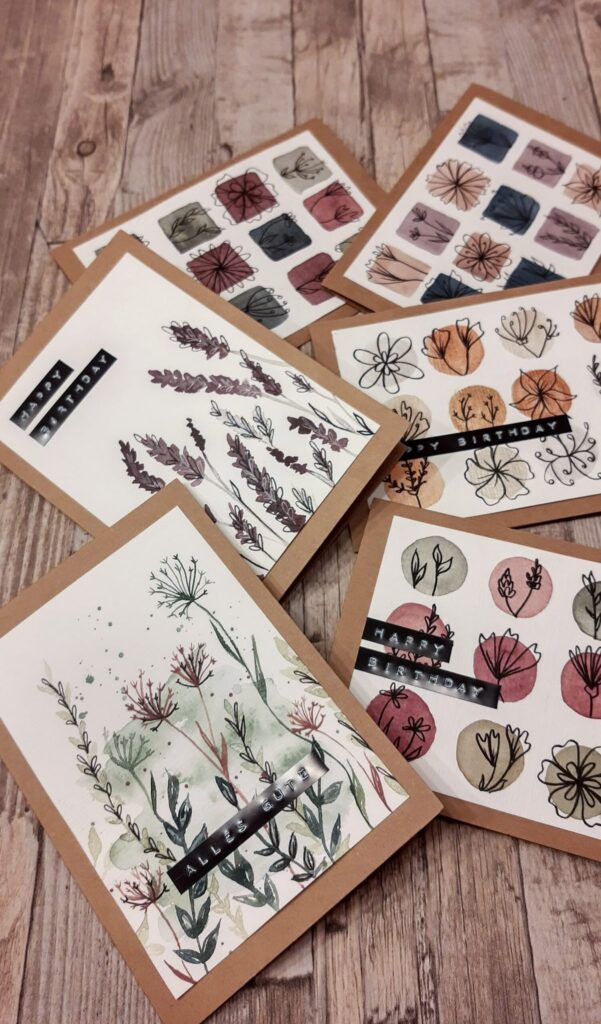
- Watercolor backgrounds with hand-lettered messages
- Photo collages featuring memorable moments
- Number cutouts for milestone birthdays
- Balloon pop-up elements
Consider using bright colors like yellow, pink, and turquoise for children’s cards. Adult birthday cards work well with sophisticated color palettes like navy and gold or burgundy and cream.
Add texture with ribbon, buttons, or fabric scraps. Die-cut shapes like stars, flowers, or geometric patterns create visual interest without overwhelming the design.
Holiday Cards for Every Season
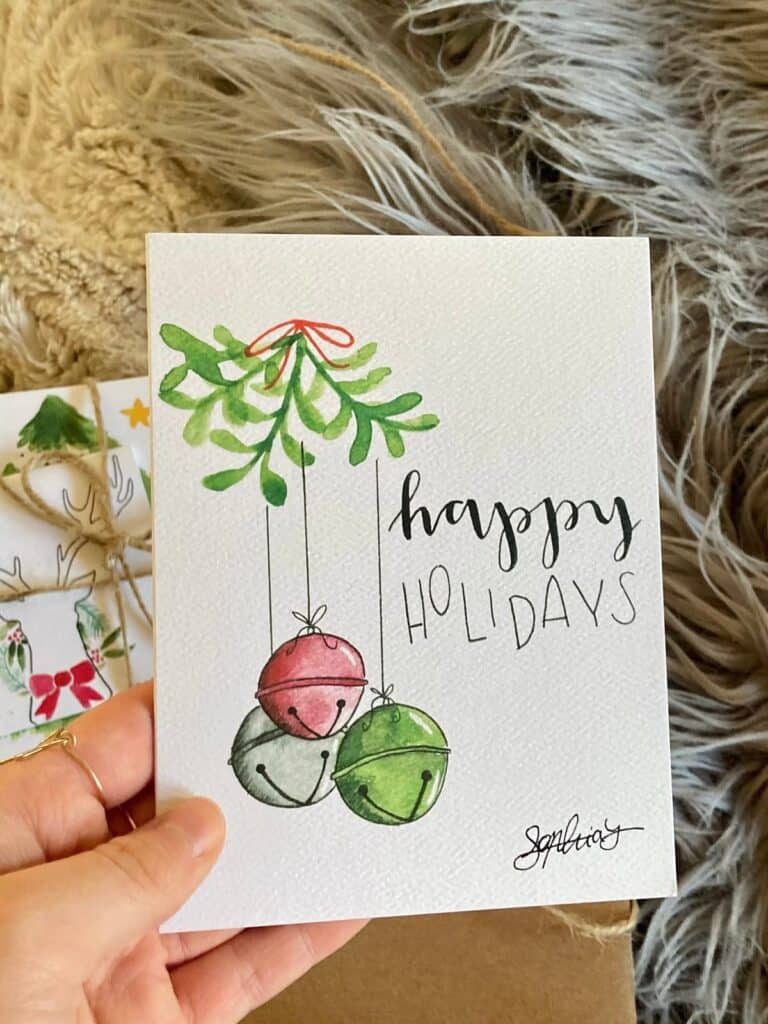
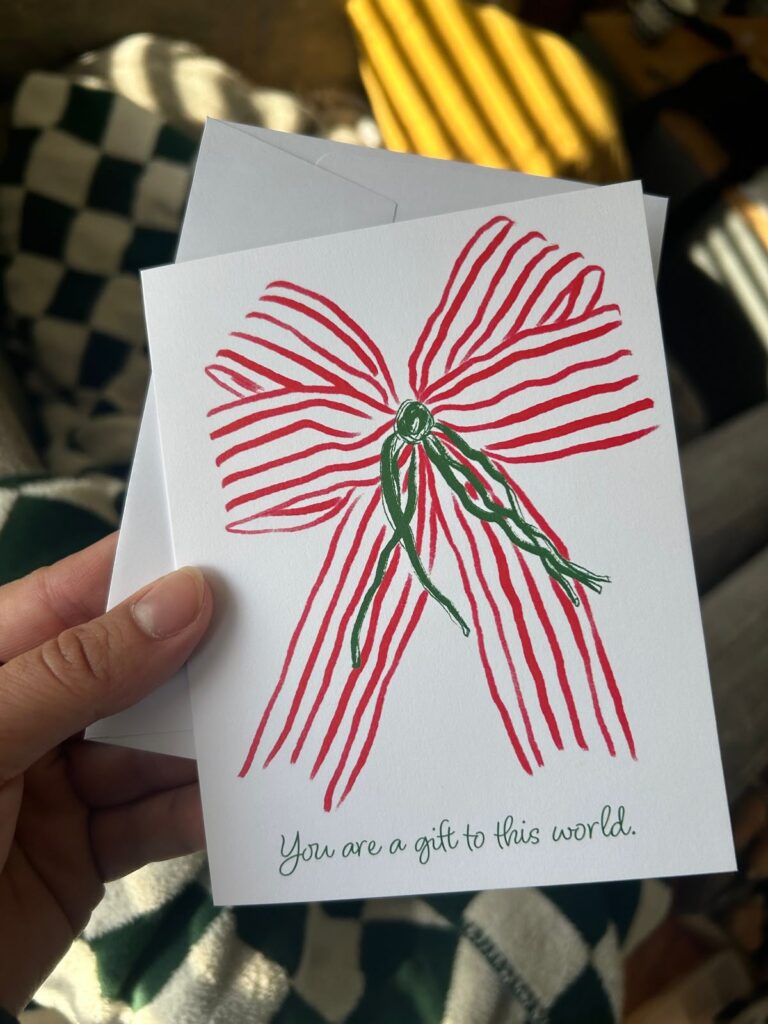
Holiday cards celebrate seasonal festivities and can be mass-produced for multiple recipients. Christmas cards typically feature red, green, and gold colors with elements like trees, snowflakes, or religious symbols.
Essential holiday card supplies:
- Metallic cardstock for elegant backgrounds
- Seasonal stamps and stencils
- Glitter and embossing powder
- Twine or ribbon for accents
Valentine’s Day cards use hearts, pink and red colors, and romantic imagery. Easter cards incorporate pastels, bunnies, and egg shapes. Halloween cards feature orange and black themes with spooky cutouts.
Create template designs that you can replicate quickly. Use assembly-line techniques to produce multiple cards efficiently while maintaining quality craftsmanship.
Thank You and Housewarming Card Inspirations
Thank you cards express gratitude with elegant, understated designs that focus on heartfelt messages. Simple color schemes like kraft paper with white ink or soft pastels work well for these occasions.
Housewarming cards celebrate new homes with house-shaped cutouts, key motifs, or architectural elements. Use warm colors like terracotta, sage green, or cream to create welcoming designs.
Design elements for appreciation cards:
- Floral watercolor borders
- Minimalist typography
- Small envelope details
- Vintage-inspired patterns
Thank you card designs should complement the original gift or occasion. Wedding thank you cards might echo invitation colors, while general appreciation cards can be more neutral and versatile.
Creative Pop-Up Card Projects
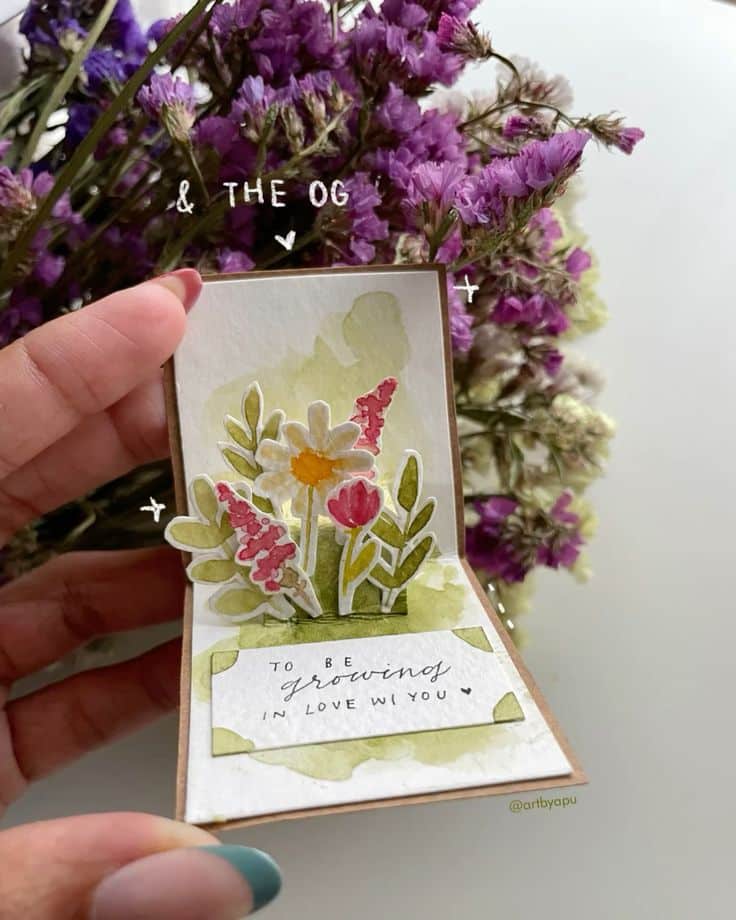
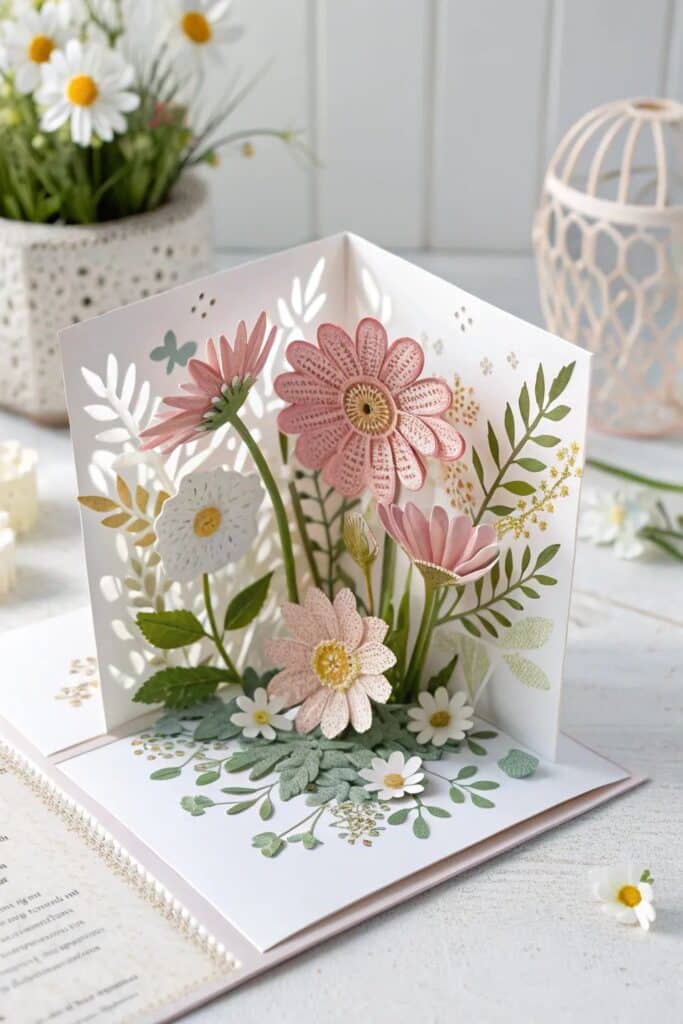
Pop-up cards create memorable three-dimensional surprises when opened. Basic pop-up mechanisms include single-fold designs, box folds, and rotating wheels that reveal hidden messages.
Start with simple projects like pop-up flowers or hearts before attempting complex architectural designs. Precision cutting and accurate folding are essential for proper function.
Common pop-up card types include birthday cakes that “rise” when opened, holiday trees that unfold, and cascading photo displays. Use sturdy cardstock to support moving parts and prevent tearing.
Practice basic pop-up folds on scrap paper before cutting final materials. Score fold lines with a bone folder for crisp, professional-looking creases that operate smoothly.
Personalization and Finishing Touches
Personal touches transform basic handmade cards into meaningful keepsakes that recipients treasure. Strategic customization through heartfelt messages, targeted design elements, and thoughtful presentation elevates your DIY cards from simple crafts to professional-looking gifts.
Sentiments and Handwritten Messages
Your handwritten message creates the emotional connection between you and the recipient. Choose words that reflect your genuine feelings rather than generic phrases.
Personal Message Ideas:
- Share a specific memory you have with the recipient
- Reference an inside joke or shared experience
- Mention qualities you admire about them
- Include future plans you’re looking forward to together
Write your message in pencil first, then trace over it with your chosen pen. This prevents mistakes and ensures neat lettering.
Consider the card’s layout when planning your message length. Leave adequate white space around text for a clean appearance.
Use high-quality pens that won’t bleed through cardstock. Fine-tip markers, gel pens, or fountain pens work well for most paper types.
Message Placement Options:
- Inside left panel for longer messages
- Bottom of front panel for short greetings
- Back of card for surprise notes
Tips for Customizing DIY Cards
Customization makes your cards unique to each recipient’s personality and interests. Start with their favorite colors as your base palette.
Personalization Elements:
- Photos: Include pictures of shared memories or the recipient’s pets
- Hobbies: Add elements related to their interests like music notes, sports equipment, or cooking utensils
- Initials: Incorporate their monogram using decorative letters
- Birthstone colors: Use gems or colors representing their birth month
Add texture through embellishments like sequins, enamel dots, or ribbon. Use these sparingly to avoid overwhelming the design.
Create custom stamps using erasers carved into simple shapes meaningful to the recipient. This adds a handmade touch that’s completely unique.
Layer different papers in complementary colors and patterns. Cut each layer slightly smaller than the one beneath it for a professional stepped effect.
Use die-cut shapes that match the occasion or recipient’s interests. Hearts for anniversaries, stars for achievements, or flowers for garden lovers work well.
Presentation and Packaging Ideas
Your card’s presentation creates the first impression and builds anticipation before opening.
Envelope Enhancements:
- Wax seals in matching colors
- Decorative liner paper inside envelopes
- Hand-lettered addresses instead of printed labels
- Small stickers or stamps on the outside
Create custom envelopes using decorative paper that coordinates with your card design. Use envelope templates or trace existing envelopes for proper sizing.
Protective Packaging:
- Clear acetate sleeves for cards with dimensional elements
- Tissue paper wrapping for delicate embellishments
- Small boxes for thick or unusually shaped cards
Add surprise elements like confetti inside the envelope or a small bookmark tucked into the card fold.
Consider the mailing requirements if sending your card. Thick embellishments may require extra postage or hand-canceling at the post office.
Storage Solutions:
- Include a small easel stand for display cards
- Attach a ribbon loop for hanging ornament-style cards
- Create matching storage boxes for card sets
- 1share
- Facebook0
- Pinterest0
- Twitter1
- Reddit0

