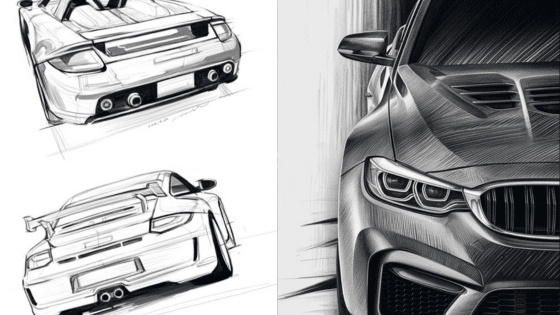
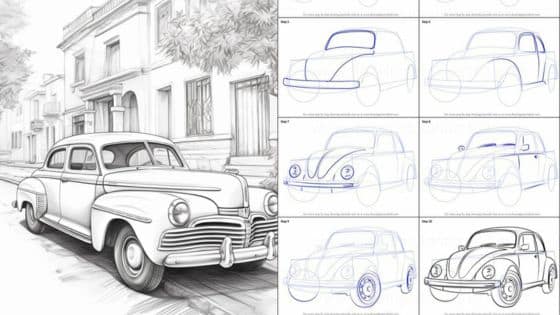
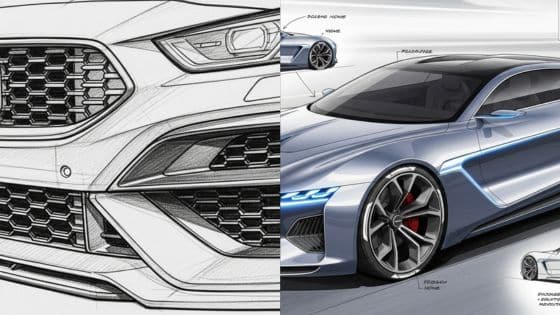
Drift car drawing is an exciting way to capture the dynamic style and power of cars built for sliding sideways through sharp corners. By learning to draw a drift car, you can create vibrant artwork that blends automotive detail with energetic motion, whether you’re a beginner or have prior drawing experience. Many tutorials recommend using reference images and breaking down the car into simple shapes to make the process approachable and fun.
You’ll discover key tips that help make your drift car sketches accurate, like outlining the distinctive roofline, wide wheels, and the iconic smoke clouds. Adding bold colors and highlights brings your drawing to life, while sharing your finished art lets you connect with a community of car enthusiasts.
Key Takeaways
- Learn drift car drawing using simple steps and references.
- Add color and motion to make your car art stand out.
- Share your drift car drawings with others easily.
Understanding Drift Cars
Drift cars are specially modified vehicles designed to handle extreme angles and maintain control while intentionally sliding through corners. Grasping what sets drift cars apart and recognizing their defining features is essential if you want to draw them accurately and convincingly.
What Is a Drift Car
A drift car is a vehicle modified for the motorsport of drifting, where the goal is to control the car while it slides sideways at high speed through turns. Unlike traditional race cars, drift cars are tuned for balance, oversteer, and precise handling during prolonged slides.
You’ll often see these cars in professional events, exhibitions, and car culture scenes worldwide. Drifting places high demands on the car’s suspension, tires, and driver skill.
Drift cars are usually rear-wheel drive, allowing the rear wheels to spin freely for easier control during slides. Basic improvements include reinforced suspension, enhanced steering angle, and a focus on weight distribution for better performance during sharp maneuvers.
Key Features of Drift Cars
Several features define a true drift car. Rear-wheel drive is almost universal, as it allows for controlled oversteer. Broad, grippy tires at the rear provide both traction and the ability to break loose under power.
Modified suspensions are essential. Lowered ride height, stiffer springs, and upgraded dampers help the car remain stable while sideways. An increased steering angle lets the front wheels point deeper into the direction of travel, making it easier to maintain or correct slides.
You’ll also notice prominent body kits and wide fenders that allow for wider wheels and increased tire clearance. Many drift cars feature lightweight body panels or stripped interiors to reduce overall weight, improving agility.
| Feature | Purpose |
|---|---|
| Rear-Wheel Drive | Enables controlled slides |
| Wide Tires | Improves grip and control |
| Upgraded Suspension | Stability during drifting |
| Extended Steering | Allows extreme steering angles |
| Body Kits | Style and wheel clearance |
Popular Drift Car Models
Some vehicles are closely associated with drifting due to their balance, availability, and modification potential. The Nissan Silvia S13/S14/S15 series is a favorite, offering strong aftermarket support and a lightweight chassis.
The Toyota AE86 is iconic in drifting culture, known for its nimbleness and rear-wheel drive layout. Similarly, the Mazda RX-7 (particularly the FD3S) stands out with its rotary engine and balanced handling.
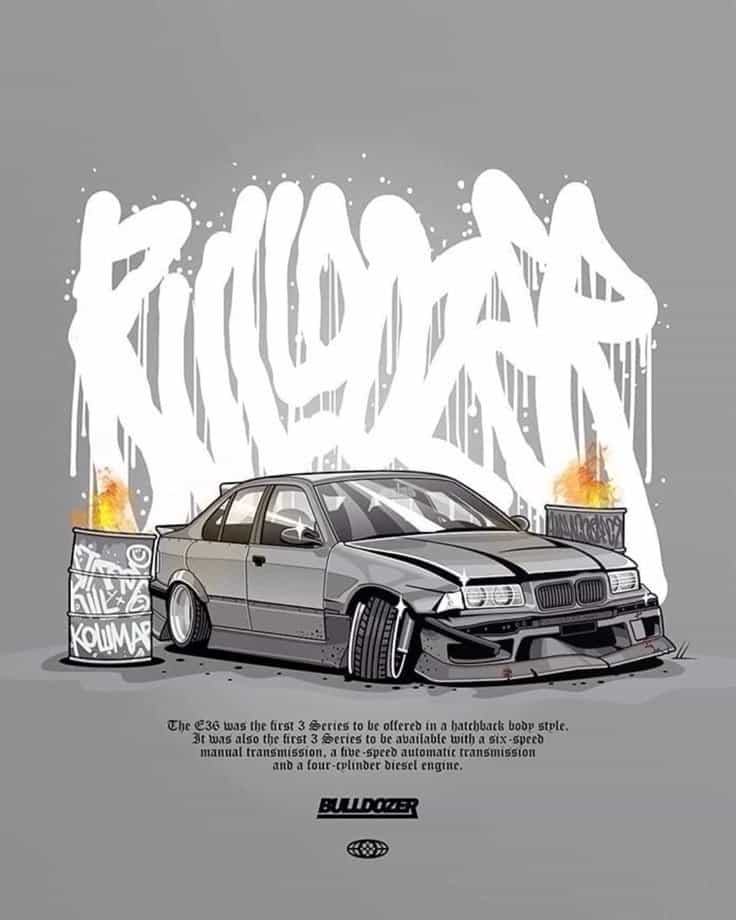
Others like the Nissan 350Z, Toyota Supra, and BMW E36/E46 have gained popularity for their power, reliability, and rear-wheel drive setups. These models are frequent choices in both amateur and professional drifting due to their tunability and strong performance credentials.
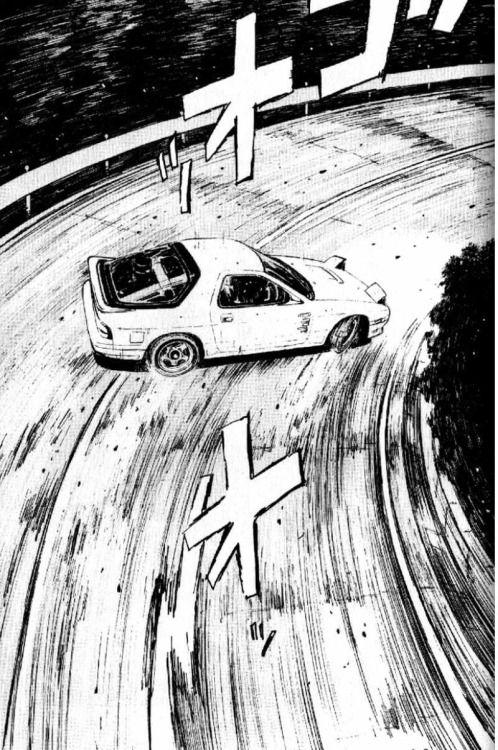
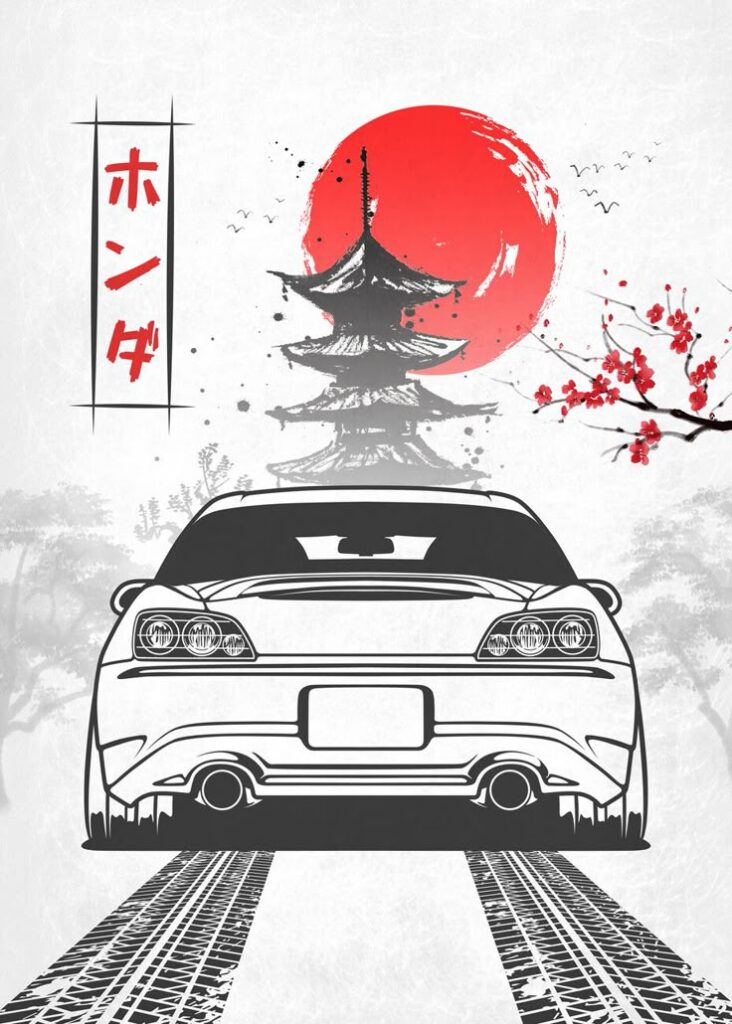
Essentials for Drawing a Drift Car
Drawing a drift car requires a clear understanding of the right materials, a suitable drawing surface, and reliable visual references. Each step ensures your finished piece looks both accurate and expressive.
Materials and Tools Needed
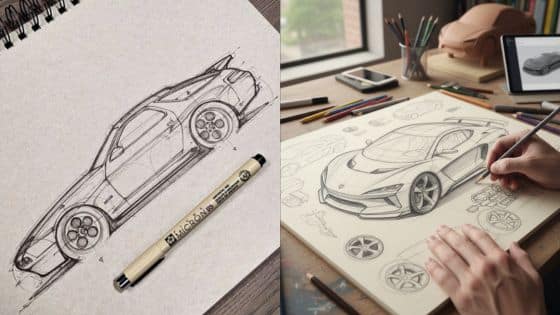
Start with quality drawing pencils in various grades. Harder pencils (H or 2H) are excellent for outlining, while softer pencils (2B or 4B) work well for shading details like shadows and wheels.
For adding color, keep colored pencils and markers available. Colored pencils allow for subtle blending, while markers provide bold lines and vibrant color fills, ideal for capturing car designs and sponsor graphics.
A kneadable eraser helps lift graphite without damaging your paper. A fine-tip pen or liner can add crisp outlines or accentuate key car features such as the grille, lights, or wheels.
Below is a quick checklist:
| Tool | Purpose |
|---|---|
| Drawing pencils | Sketching, outlining, shading |
| Colored pencils | Coloring, subtle blending |
| Markers | Bold colors, dramatic effects |
| Kneadable eraser | Clean corrections, highlights |
| Fine-tip pen | Final outlining, small details |
Choosing the Right Drawing Surface
The surface you work on influences your control over detail and color. Smooth, heavyweight paper (like Bristol board) is best for drift car drawing. This type of paper supports crisp line work and smooth color transitions, whether using colored pencils or markers.
If you plan on using markers, look for marker paper. Marker paper prevents bleeding and feathering, allowing for clean lines and solid fills. When using regular sketching paper, be aware it may not withstand heavy layering or repeated erasing.
Test the reaction of your chosen colors and markers on a small section first. This step ensures your drawing surface works well and holds colors as expected, avoiding surprises in your final art.
Reference Photos and Videos
Use reference photos and videos of drift cars from various angles for the most accurate proportions and details. Look for images in different lighting to study reflections, shadows, and surface gloss. Photos help you capture real-world details like tire smoke, sponsor decals, and dynamic stances.
Videos are especially useful for understanding how a drift car moves. Pause at key frames to analyze wheel angles, body roll, and the flow of the car during a drift. Try to collect references that show both close-ups of details and wide shots of the whole car.
Keep a folder or board (physical or digital) of your favorite reference photos and video screenshots. Having a variety of visuals allows you to stay true to real drift cars while adding your creative touch.
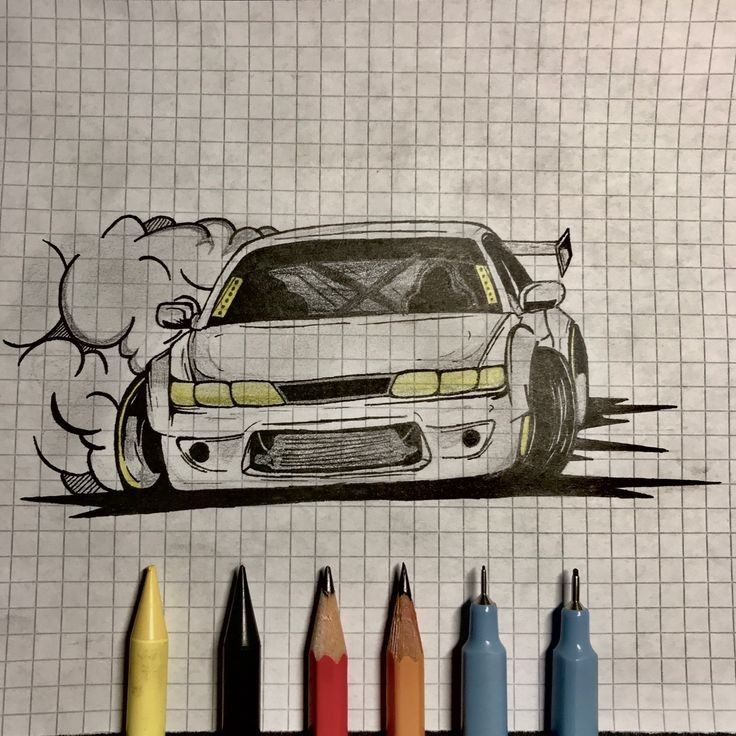
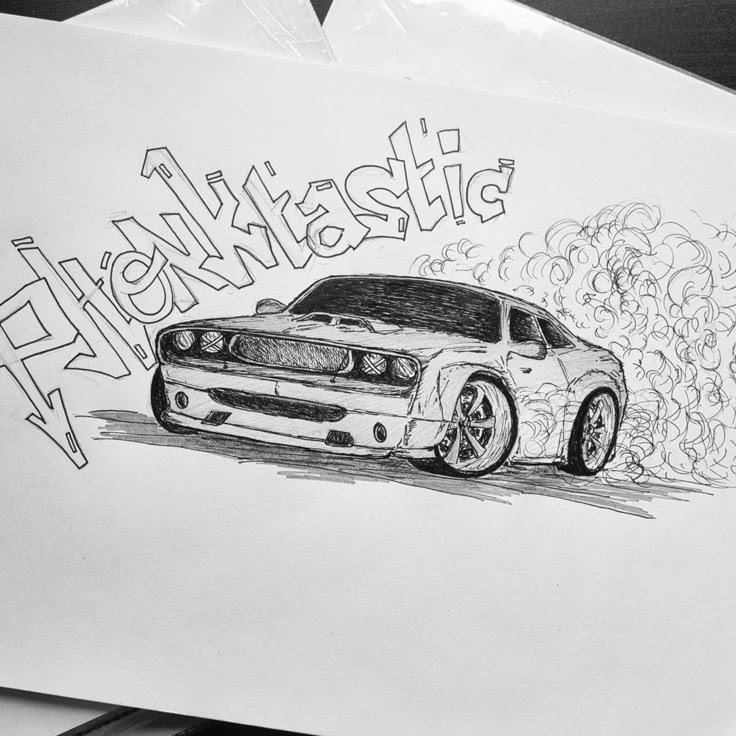
Step-by-Step Guide: How to Draw a Drift Car
Learning to draw a drift car involves building a strong foundation, creating realistic motion effects, and refining the artwork with key details. Focus on shaping the distinctive form, using dynamic lines for movement, and sharpening the piece with authentic accents.
Basic Sketching Techniques
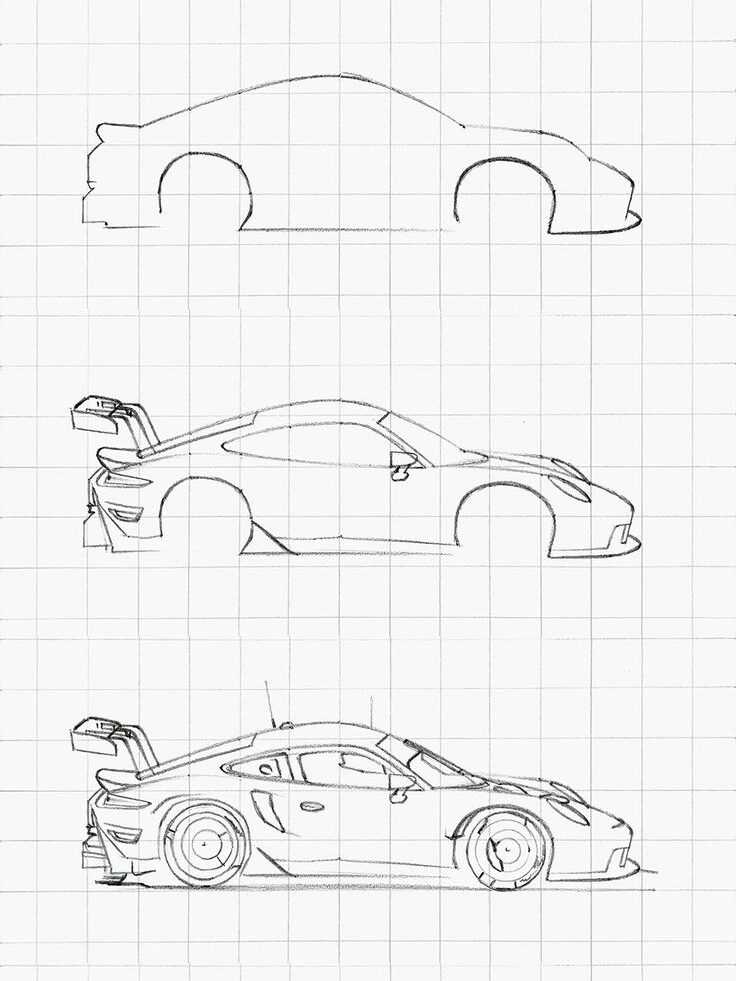
Start with a light pencil and sketch simple geometric shapes to outline the body of the drift car. Most drift cars have a sleek, low profile with a wide stance. Focus on rectangles for the main body and circles for the wheels.
Mark in the positions of windows and the hood using gentle curves. Use a ruler if you need help with straight sections. Pay attention to the perspective; drawing the car in three-quarters view often adds a sense of depth and realism.
Keep lines loose and light at first. This makes it easy to adjust proportions before committing to final outlines. Check that the wheels are angled, as cars in a drift typically have visible steering input. Adjust the body angle to reflect the direction of the drift.
Adding Drift Effects
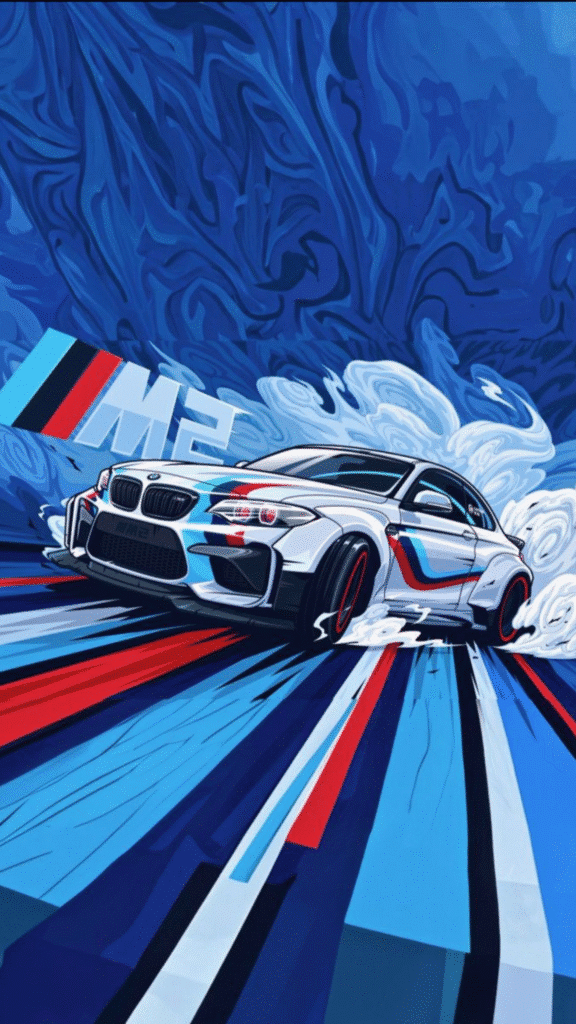
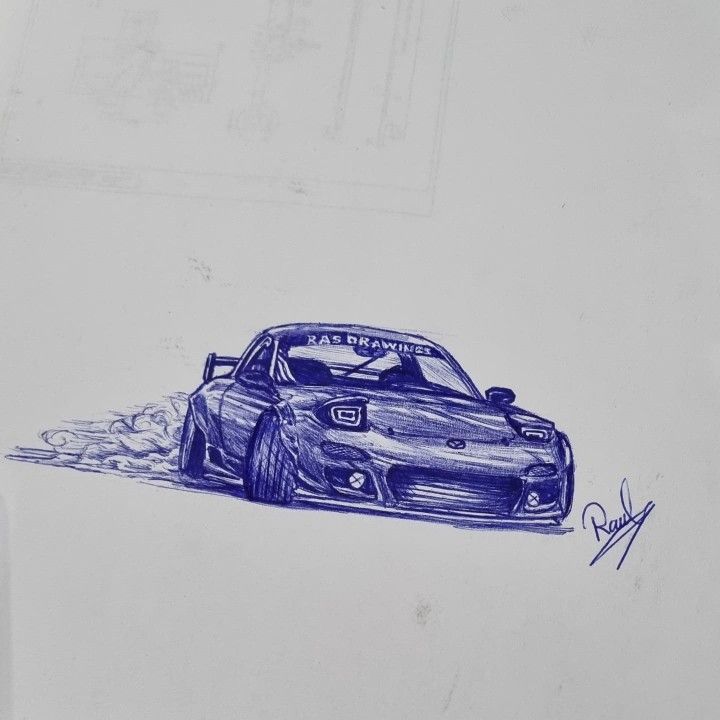
Showcasing drift motion makes your drawing dynamic and energetic. Indicate direction by drawing angled tire marks behind and to the side of the car. Sketch in smoke clouds using wavy, layered lines extending from the rear tires.
Line weight helps suggest motion. Use thicker lines for the car’s outline and lighter, broken lines for smoke and tire marks. Consider placing slight slants to the wheels and exaggerating the rear of the car stepping out to one side to heighten the drifting effect.
Add motion lines behind the car to reinforce the sense of speed. Drift effects rely on careful positioning, so avoid symmetrical wheels and keep smoke and marks trailing in the correct direction. You can also leave part of the track visible beneath the drifting tires for added realism.
Incorporating Details and Accents
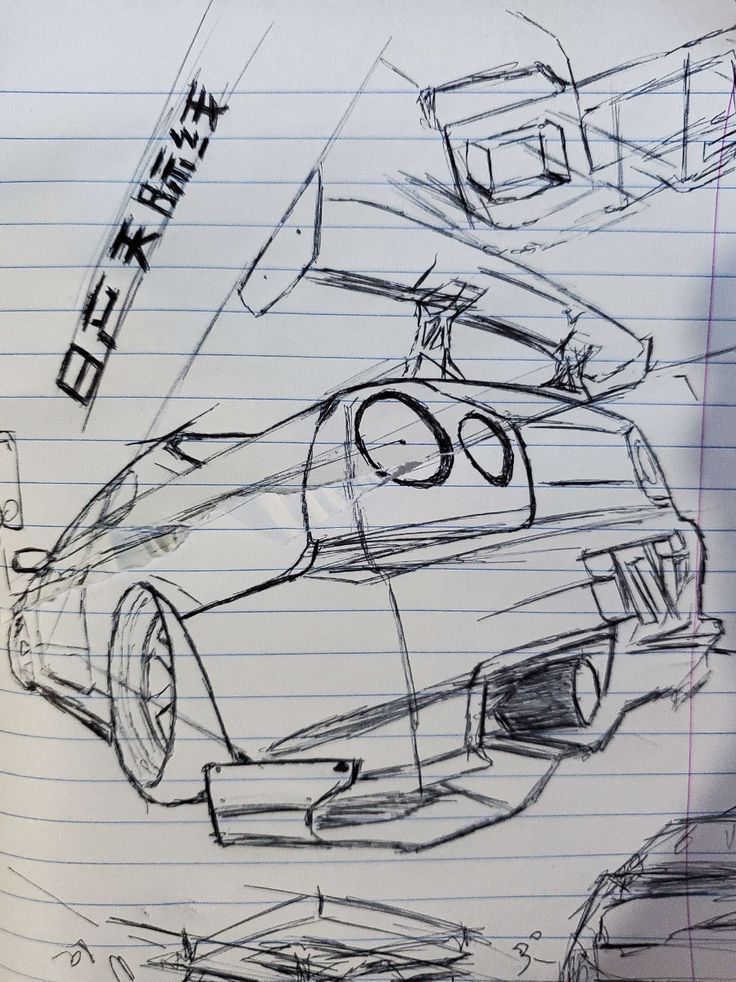
After finalizing shapes and drift effects, focus on details that define a drift car. Use a fine-tip pen or sharpened pencil to outline body panels, headlights, and grille. Draw in aerodynamic parts like spoilers, diffusers, and side skirts—common in drift cars.
Add tire tread marks, decals, and sponsor stickers for authenticity. Emphasize reflections on windows and metallic paint by shading with crosshatching or a blending stump. Small touches like vent cutouts, hood pins, and tow hooks enhance realism.
Refer to reference images for wheel designs and livery patterns. Details such as aggressive front bumpers, widened fenders, and exposed wheels signal the car is built for drifting. Careful highlights and shadow placement make your drawing feel three-dimensional and finished.
Coloring and Finishing Your Drift Car Art
Adding color and finishing touches brings your drift car drawing to life. Attention to color choice, blending techniques, and highlights can make your artwork look dynamic and professional.
Selecting the Best Colors
Choose colors that match your drift car’s design or reflect your own style. Drift cars often feature vibrant paints, with options like reds, bright blues, or neon greens being especially popular in motorsport and street scenes. When referencing real car models, use photos to match specific paint jobs or patterns.
Considerations for color choice:
- Factory or sponsor colors
- Custom details such as racing stripes, flames, or decals
- Complementary colors for shadows and highlights
Colored pencils give you control for layering and subtle gradients. Markers produce bold, even areas of color, which is ideal for large body panels. Mixing media can help you capture both detail and intensity.
Techniques for Smooth Coloring
Start by outlining each section before coloring. This keeps your color boundaries clean, especially around details like the wheels, roof, or windows.
Use light, even pressure with colored pencils to layer colors gradually. For a marker base, lay down the main color first, then add depth with pencils or darker markers. Drum up a sense of speed using gradients or feathered strokes along the car’s sides or behind tires.
Tips for smooth application:
- Move in one direction to avoid streaking
- Blend similar shades for richer tones
- Use a colorless blender (pencil or marker) to soften edges
Shading under the car and beneath spoilers emphasizes shape and suggests motion.
Final Touches and Highlights
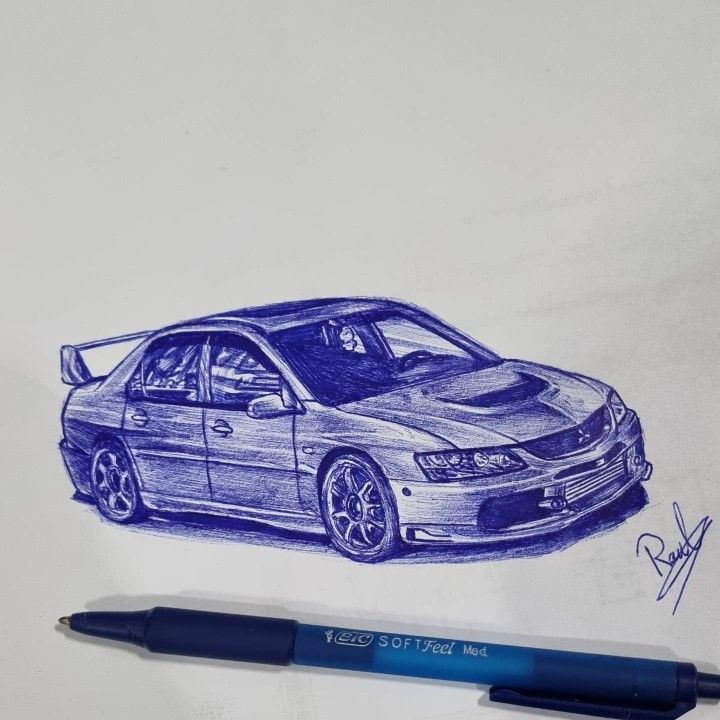
Finish your drawing by adding highlights and special details. Use a white colored pencil, gel pen, or even correction fluid to add light spots on the windshield, headlights, or metal trim. This mimics reflections and creates a glossy, realistic effect.
Enhance depth by darkening shadows under the car, inside the wheel wells, and around body curves. Small details like door handles, sponsor decals, or tire smoke lines can make your artwork look polished.
Revisit the outline as needed, touching up with a fine liner or dark pencil for sharp definition. Don’t rush this stage—taking your time on highlights and edges gives your drift car a professional finish.
Sharing and Printing Drift Car Drawings
Sharing and printing drift car drawings lets you enjoy your art both digitally and on paper. You can access downloadable designs, find free coloring pages, and ensure you follow important copyright guidelines.
How to Download and Print
You can find drift car drawings in various online galleries and art platforms. Many websites, like HelloArtsy and ClipArtMag, allow you to download drawings, sometimes as PDFs or vector files. Downloads may include both horizontal and vertical layouts depending on your needs.
Select files compatible with your printer, such as PNG or PDF. For best results, use a printer setting that matches your intended paper size and orientation. Printing in high resolution helps retain line quality and detail, making your drawing crisp and professional-looking on paper.
Before sharing printed copies, check if digital files allow redistribution. Some downloads are for personal use only. For sharing online, always credit the artist if required.
Free and Printable Coloring Pages
Free drift car coloring pages are widely available online, suited for kids, hobbyists, or anyone looking for a creative project. Websites like ClipArtMag and other art communities often offer these designs at no cost, usually labeled for personal, non-commercial use.
Printable coloring pages come in a variety of car models and drifting scenes. You can find both simple outlines and more detailed illustrations. Many are in horizontal format, ideal for framing or sharing.
Use good quality paper for coloring with markers or pencils. Download files that specify “printable” to ensure they’re the right size and format. Always look for pages marked as free to avoid copyright concerns.
Copyright and Usage Guidelines
When downloading or printing drift car drawings, pay close attention to copyright notices. Many artists allow personal use but restrict modifications, resale, or mass distribution. Look for terms like “royalty-free” or “personal use only.”
If you want to use the art for commercial purposes, contact the creator for permission or licensing. Art platforms like Shutterstock may require you to purchase rights for certain uses. Never remove copyright marks or signatures from the original artwork.
Resharing digital or printed copies—especially in public forums—often requires explicit credit to the artist and adherence to platform-specific guidelines. This protects both your use and the rights of the original creator.
- 3shares
- Facebook0
- Pinterest0
- Twitter3
- Reddit0
