I love drawing dinosaurs! They’re such fun and fascinating creatures to sketch. Bringing these prehistoric beasts to life on paper lets my imagination run wild.
Trying out different dinosaur drawing ideas is a great way to improve art skills and learn about these amazing animals from the past. I’ve found that experimenting with various species, poses, and art styles keeps things exciting. There are so many cool dinos to choose from!
1) T. rex sketch
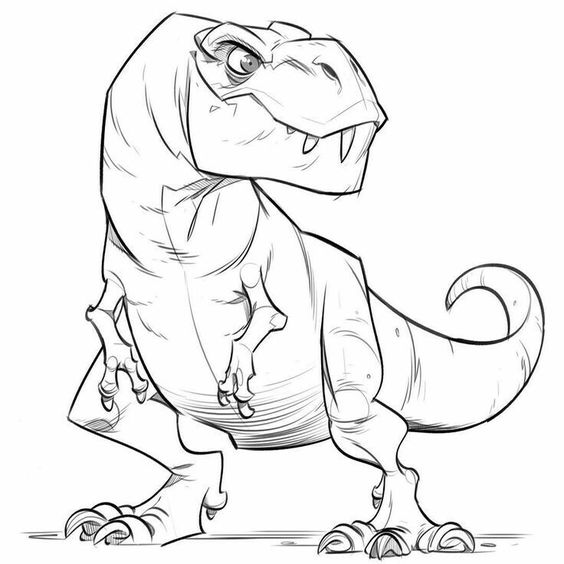
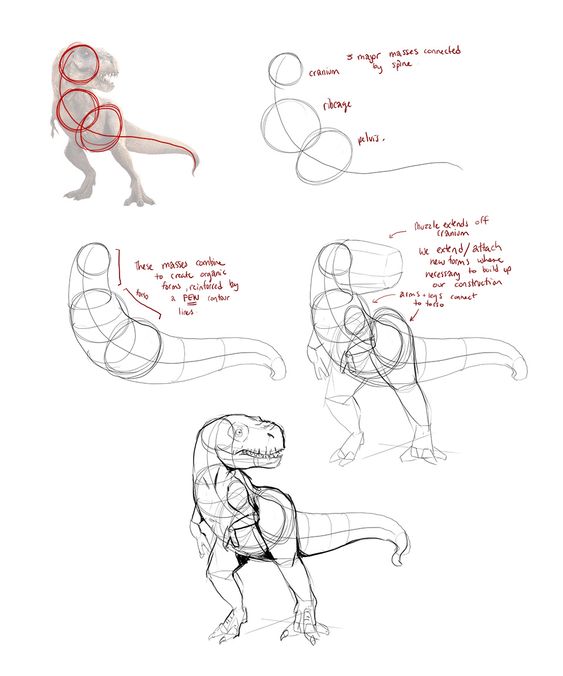
I love sketching T. rex! It’s such an iconic dinosaur. To start, I draw a big oval for the body and a smaller oval for the head. Then I add those tiny arms – they always make me laugh.
Next, I sketch the powerful legs. T. rex had huge thighs and strong feet with sharp claws. I make sure to draw them nice and sturdy to support that massive body.
The tail is super important for balance. I draw it long and thick, tapering towards the end. It helps my T. rex look ready to pounce!
For the head, I add a big jaw full of pointy teeth. T. rex had a bite force that could crush bones! I also include those little eyes and nostrils.
To finish up, I add some texture. Scales and wrinkles make it look more real. I might even throw in some feathers – many scientists think T. rex had them!
Drawing a T. rex is so much fun. It lets me imagine what these amazing creatures looked like millions of years ago.
2) Stegosaurus doodle
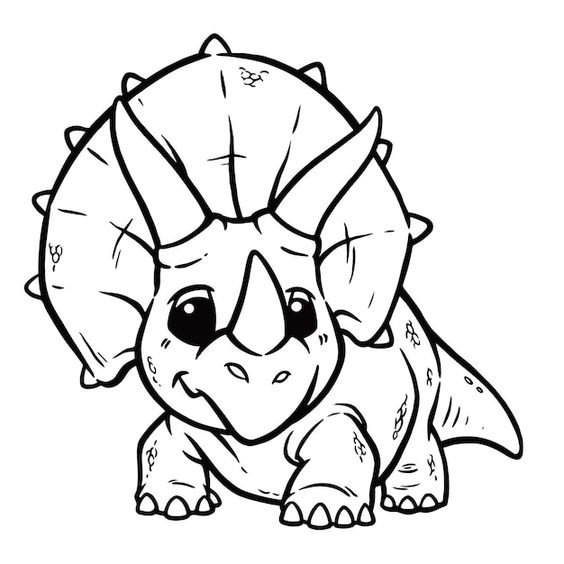
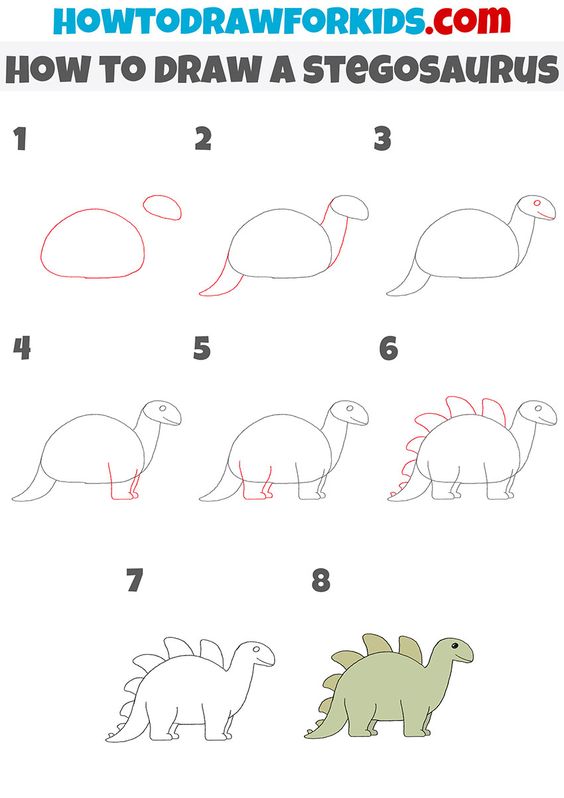
I love drawing Stegosaurus! These dinosaurs have such a cool look with their rows of plates along their backs. When I sketch one, I start with an oval body and add four sturdy legs.
Next, I draw the small head and long tail. The fun part is adding those iconic back plates. I make them different sizes, with the biggest ones in the middle.
Don’t forget the spikes on the tail! These are called thagomizers and make the Stegosaurus look extra fierce. I usually draw four of them.
For extra detail, I might add some scales or wrinkles to the skin. A few plants in the background can help set the scene.
Coloring is optional, but I like using earthy tones like brown, green, or gray. Sometimes I’ll make the plates a brighter color for contrast.
This doodle is great for practicing shapes and proportions. It’s also just plain fun to bring this ancient creature to life on paper!
3) Velociraptor in motion
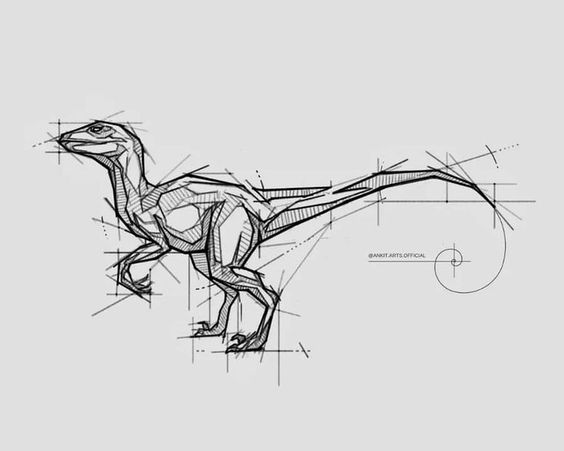
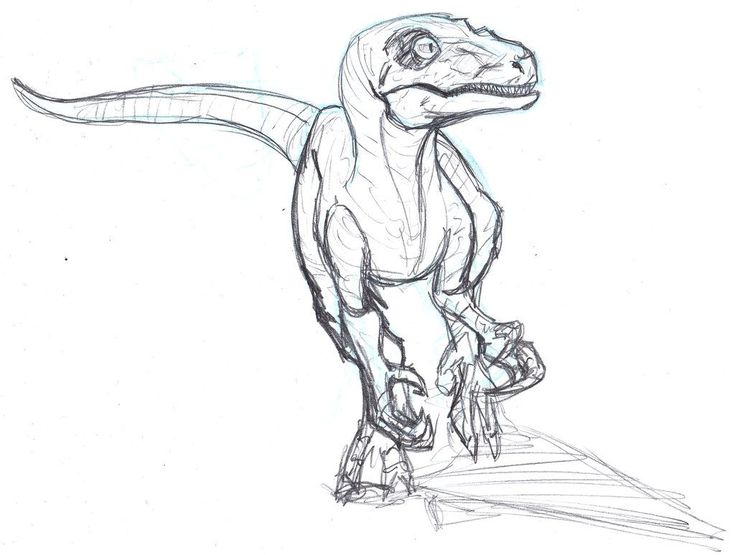
I love drawing velociraptors in action poses. These swift predators really come alive on the page when depicted mid-stride or pounce.
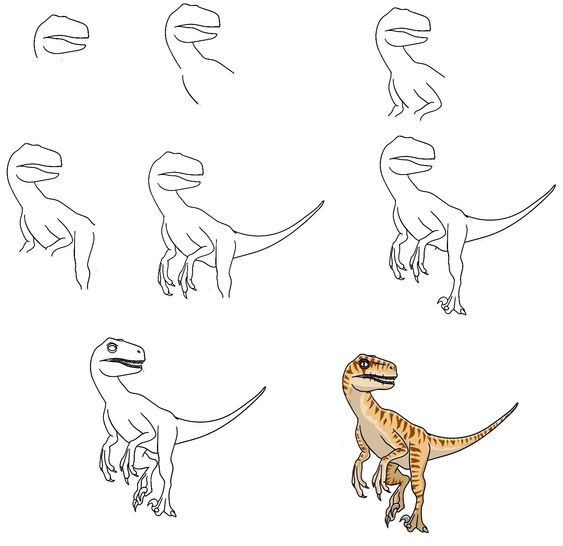
To capture their dynamic movement, I start with a basic stick figure skeleton. This helps me get the posture and limb positions right. Then I build up the body shapes around it.
I like to draw the velociraptor leaning forward, with one leg extended back and the other bent. This shows off its agile, bird-like stance. The arms are usually held out for balance.
The head is fun to draw too. I make the jaws open wide, revealing rows of sharp teeth. The eyes have a fierce, intelligent look that really brings out the raptor’s personality.
Don’t forget those famous curved claws! I always emphasize the large sickle-shaped claw on each foot. It’s a key feature that makes velociraptors so recognizable and fearsome.
Adding motion lines or a blurred background can enhance the sense of speed and movement in your velociraptor drawing. Have fun bringing these prehistoric hunters to life!
4) Triceratops grazing
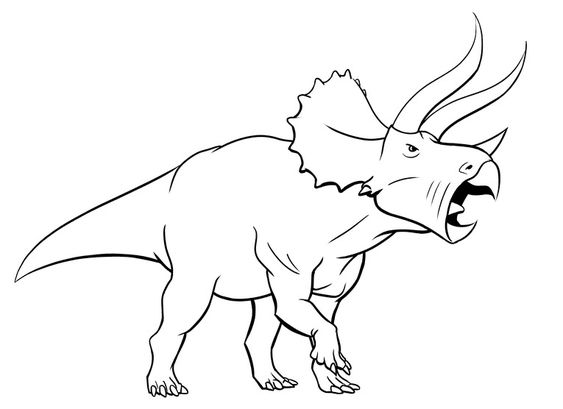
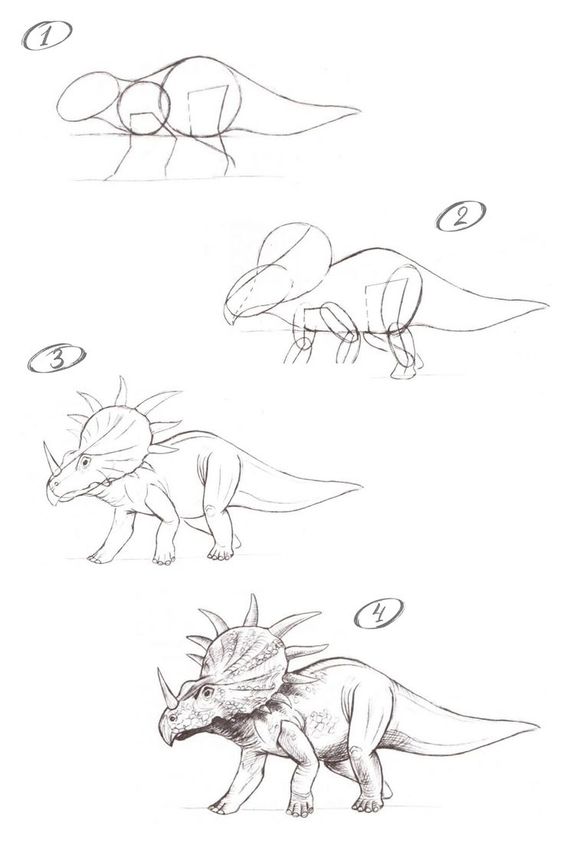
I love drawing Triceratops grazing in peaceful meadows. It’s fun to imagine these huge plant-eaters munching on ferns and cycads.
When I sketch a grazing Triceratops, I start with its distinctive three-horned head lowered to the ground. I make sure to show its beak-like mouth closed around some leaves or branches.
I add details like its large bony frill and thick, sturdy legs. Sometimes I draw a herd of Triceratops grazing together for a more dynamic scene.
To bring the picture to life, I include plants from the Cretaceous period. Ferns, horsetails, and ginkgo trees make great additions to the background.
For extra interest, I might add some small creatures like lizards or early mammals scurrying around the Triceratops’ feet. This helps show the scale of these massive dinosaurs.
Drawing a grazing Triceratops is a cool way to depict these ancient animals in a calm, everyday moment. It lets me imagine what their daily lives might have been like millions of years ago.
5) Brachiosaurus silhouette
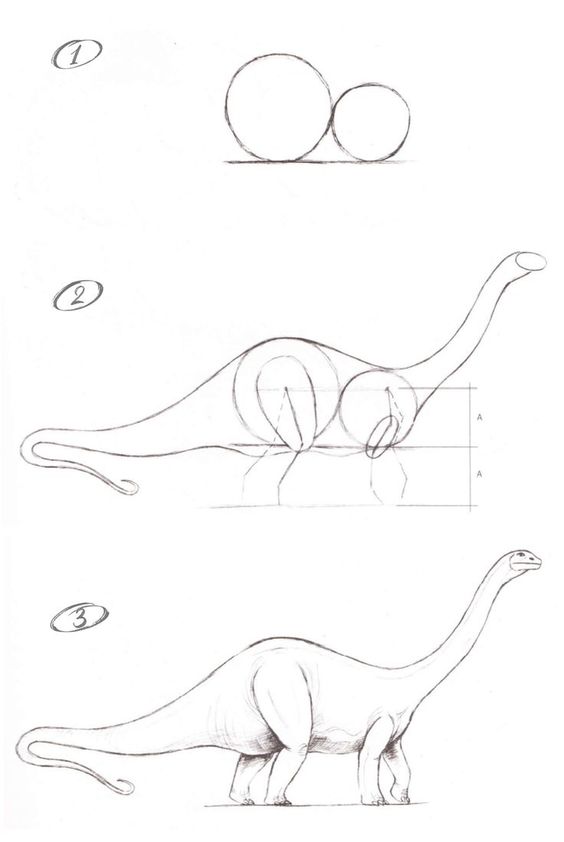
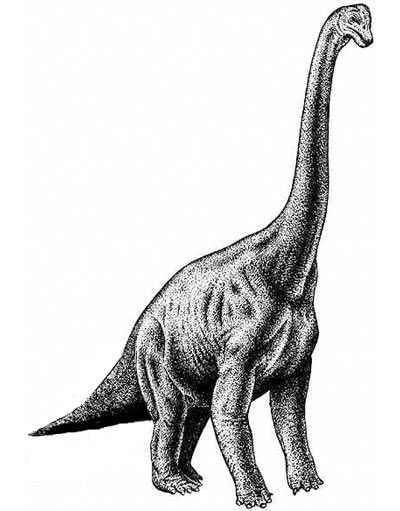
I love drawing Brachiosaurus silhouettes. They’re so fun and easy to do! The long neck and tail make for a really cool shape against a sunset background.
To start, I sketch a basic outline of the body. It’s like a big oval with four sturdy legs. Then I add the super long neck reaching up towards the sky.
The head is small compared to the body. I make sure to give it a slightly rounded snout. The tail balances out the neck, stretching out behind the body.
For the silhouette effect, I fill in the whole shape with black. It stands out great against an orange or pink sky. Sometimes I add a tree or two in the foreground for scale.
This drawing idea is perfect for beginners. It doesn’t need much detail, just the iconic Brachiosaurus shape. I find it relaxing and always enjoy how it turns out.
6) Pterodactyl soaring
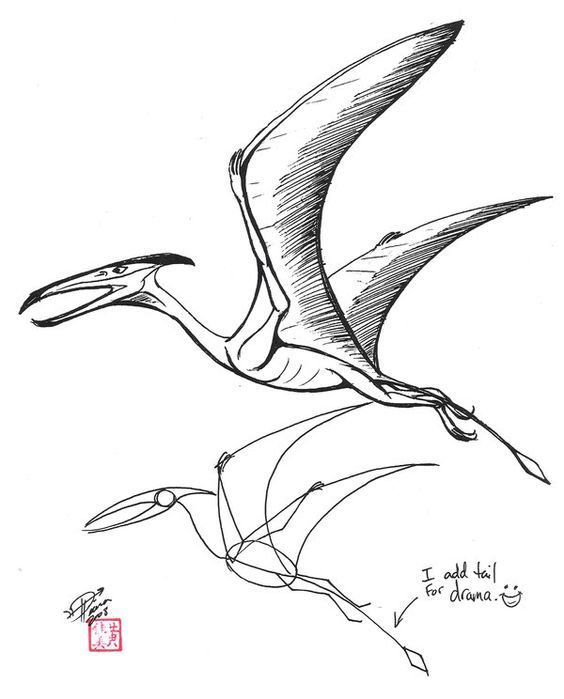
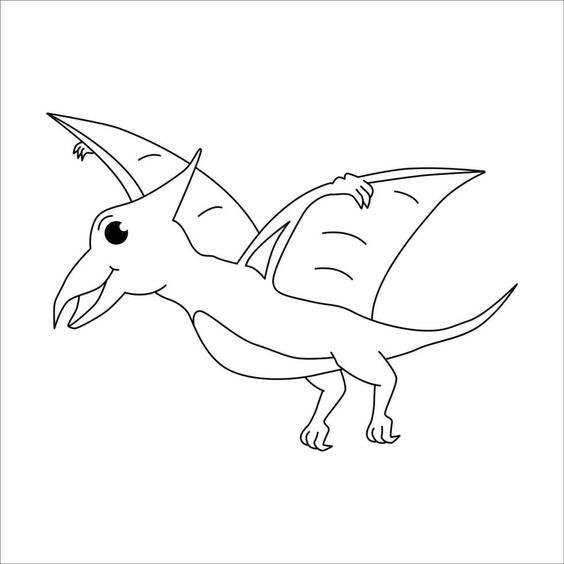
I love drawing pterodactyls in flight. It’s fun to imagine these prehistoric creatures gliding through ancient skies. When I sketch a soaring pterodactyl, I start with its wide wingspan.
I draw the wings outstretched, with thin membranes stretched between long fingers. The body is small compared to the wings. I add a long, narrow head with a pointed beak and a bony crest on top.
To show motion, I sometimes draw the wings in different positions. One might be higher than the other, like it’s flapping. I also like to add some curves to the wing edges for a more natural look.
Background elements can make the drawing more interesting. I might include some clouds or distant mountains. This helps give a sense of the pterodactyl’s height and speed.
For extra detail, I sometimes add scales on the body or wrinkles in the wing membranes. A few lines can suggest wind or air currents around the pterodactyl.
7) Ankylosaurus armor study
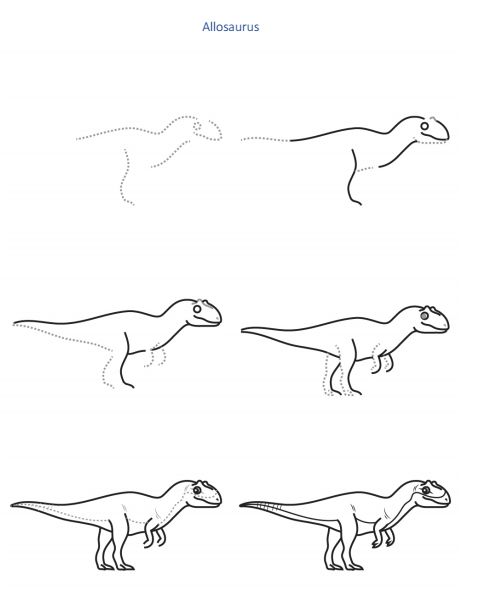
I love drawing the Ankylosaurus because of its cool armor. It’s fun to sketch the bony plates and spikes that covered its body. These features make it look like a walking tank from the dinosaur world.
When I draw an Ankylosaurus, I start with its wide, flat body. Then I add the armor plates on top. They were different sizes and shapes, which gives me lots of room to be creative.
The tail is another exciting part to draw. It had a big club at the end, covered in bony knobs. This was probably used for defense against predators.
I like to imagine how the armor might have looked in real life. Maybe it had different colors or patterns to help the dinosaur blend in with its surroundings.
Drawing the armor up close can be a good practice. It helps me get the details right and understand how the plates fit together. I sometimes draw just the head to focus on the bony structures there.
8) Parasaurolophus headshot
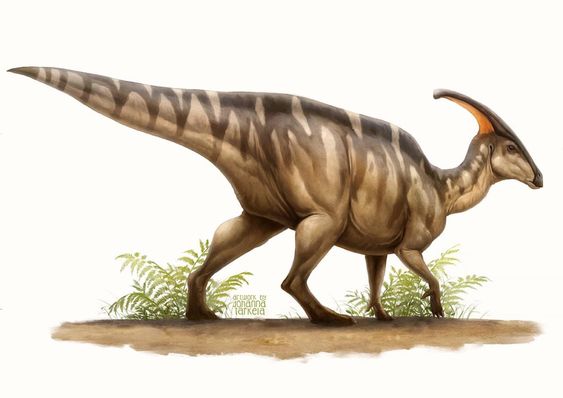
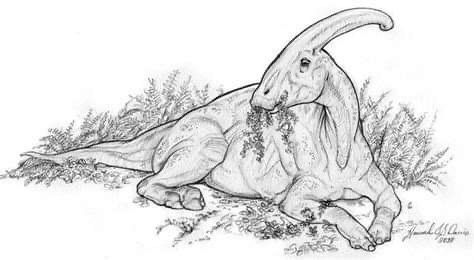
I love drawing Parasaurolophus headshots! This duck-billed dino has such a cool look with its long, curved crest. When I sketch one, I start with the basic shape of its head and add that awesome crest.
The crest is key – it’s like a long tube that curves back from the skull. I make sure to get the right angle and proportion. Then I focus on the details of its face, like the beak-like mouth and eyes.
I like to add some texture to show the scaly skin. Little lines and bumps help bring it to life. Sometimes I draw it from the side to really show off that crest profile.
For extra flair, I might add some color. Earthy tones work well, but I can get creative too. Maybe some bright patterns on the crest? It’s fun to imagine how these dinos might have looked.
9) Spinosaurus aquatic scene
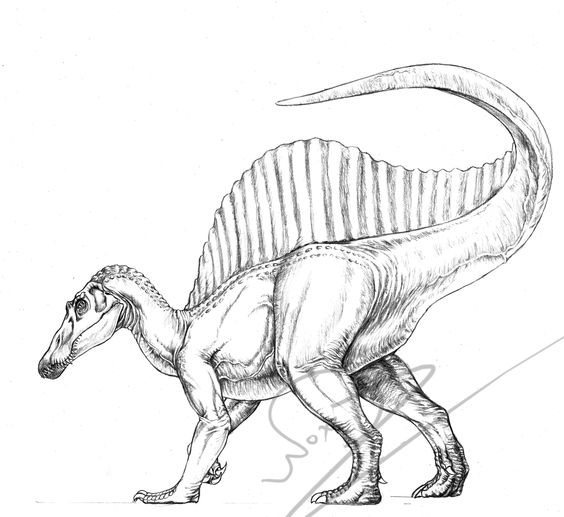
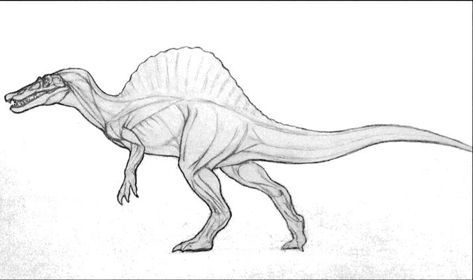
I love drawing Spinosaurus in its natural habitat. It’s so cool to imagine this massive predator swimming through ancient rivers.
I start by sketching the water’s surface and some plants along the shore. Then I add the Spinosaurus, with most of its body submerged.
I make sure to show its long snout and sail-like back poking above the water. It’s fun to draw fish swimming nearby, maybe even one in the dino’s jaws!
Sometimes I add other water creatures like crocodiles or turtles. This helps show how big Spinosaurus was compared to other animals.
I like to use blue and green colors for the water and plants. For Spinosaurus, I pick earthy tones like brown and gray.
Adding ripples in the water around Spinosaurus makes the scene more lively. It’s like catching the dino in action as it hunts for its next meal.
10) Diplodocus tail swing
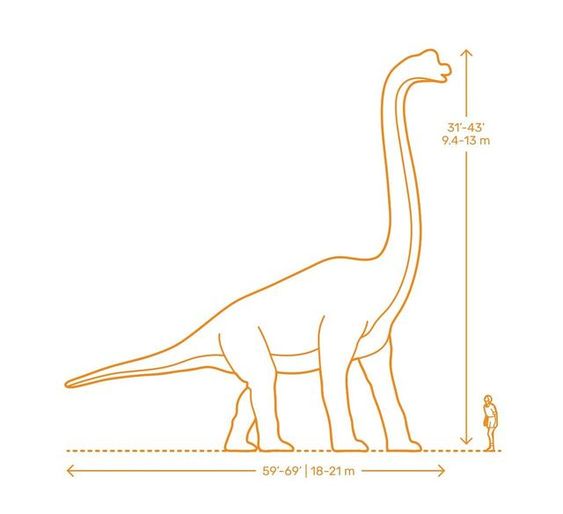
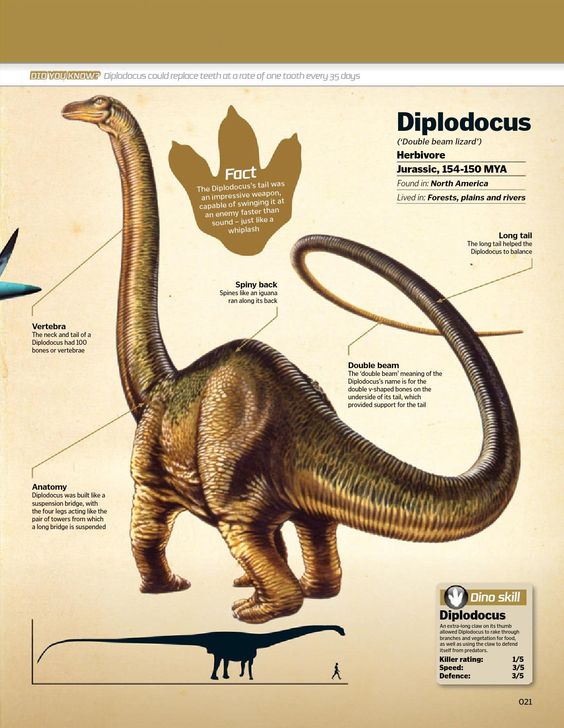
I love drawing Diplodocus tails in action! These long-necked dinos had super long tails that could move like whips. It’s fun to sketch them swinging their tails for balance or defense.
I start by drawing the Diplodocus body and neck. Then I add the tail, making it curve and twist. I imagine the force of the swing and try to show that motion in my lines.
Sometimes I draw the tail mid-swing, with a blurred effect at the end. Other times, I show it just before or after impact. I might even include a target – like a predator or tree – to give the swing more meaning.
I enjoy adding details like muscles flexing or scales stretching as the tail moves. It makes the drawing feel more alive and dynamic.
For extra flair, I sometimes draw dust or leaves flying from the force of the tail swing. It really brings the scene to life!
Materials Needed
To create awesome dinosaur drawings, I’ll need a few key supplies. Here are the main items I use to bring prehistoric creatures to life on paper.
Paper and Pencils
I always start with good quality paper. Sketchbooks work great, but any smooth drawing paper will do. I prefer heavier weight paper that can handle erasing and coloring. For pencils, I use a mix of graphite hardnesses. 2B pencils are my go-to for sketching outlines. I also keep some harder H pencils handy for light lines and details. Softer B pencils help me add shading and texture.
Mechanical pencils are nice for precision work. I have a few different lead sizes – 0.5mm for fine details and 0.7mm for general sketching. A variety of pencils lets me adjust line weight easily as I draw.
Coloring Supplies
Once I have my sketch, I love adding color. Colored pencils are great for blending and layering. I have a basic set of 24 colors that covers most needs. For bolder colors, markers work well. I use both fine-tip markers for details and thicker ones for filling larger areas.
Watercolor pencils are fun too. I can use them dry like regular colored pencils or add water for a paint-like effect. Crayons are good for younger artists just starting out. They’re easy to use and come in tons of dinosaur-friendly colors.
Erasers and Sharpeners
Mistakes happen, so I always keep erasers nearby. Kneaded erasers are my favorite. They’re moldable and don’t leave eraser dust. I also use a regular pink eraser for bigger areas. A pencil sharpener is a must-have to keep my pencils pointy. I like handheld sharpeners with a container to catch shavings. An electric sharpener is nice for quickly sharpening lots of colored pencils.
For precision erasing, I use a thin eraser stick. It lets me erase tiny areas without messing up the rest of my drawing. A brush helps sweep away eraser bits without smudging my work.
Basic Drawing Techniques
Let’s go over some key techniques to help you create awesome dinosaur drawings. I’ll walk you through the main steps to bring your prehistoric creatures to life on paper.
Sketching the Outline
I always start with light pencil strokes to map out the basic shape. I draw a large oval for the body and smaller circles for the head and limbs. Then I connect these shapes with lines to form the neck, tail, and legs.
It’s important to keep my lines loose and light at this stage. I can easily erase and adjust as needed. I make sure to consider the dinosaur’s proportions – some have long necks, others have tiny arms.
For accuracy, I often look at reference images of dinosaur skeletons or scientific illustrations. This helps me get the general structure right before adding details.
Adding Details
Once I’m happy with the basic outline, I start filling in more specific features. I add eyes, nostrils, and a mouth to the head shape. For the body, I draw in scales, plates, or feathers depending on the species.
I pay close attention to unique dinosaur traits. T. Rex gets tiny arms and huge teeth. Stegosaurus needs its row of back plates. Triceratops must have its distinctive frill and horns.
I use firmer pencil strokes for these details, but I’m still careful not to press too hard. I might need to erase and refine some areas as I go along.
Shading and Texturing
To make my dinosaur drawing really pop, I add shading and texture. I think about where the light source is coming from and add darker shades to the opposite side. This gives the drawing depth and makes it look more 3D.
For scales, I use small, overlapping curved lines. Feathers can be created with light, wispy strokes. Rough skin might need more irregular texturing.
I vary the pressure on my pencil to create different tones. Pressing harder gives darker areas, while lighter touches create highlights. I’m always careful to blend shades smoothly for a natural look.
- 3.1Kshares
- Facebook0
- Pinterest3.1K
- Twitter0
- Reddit0
