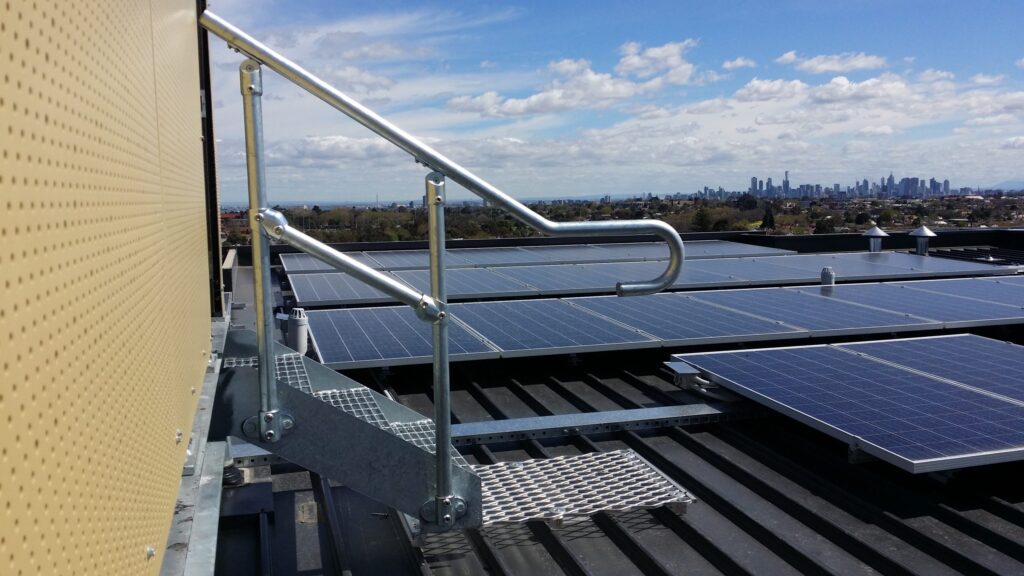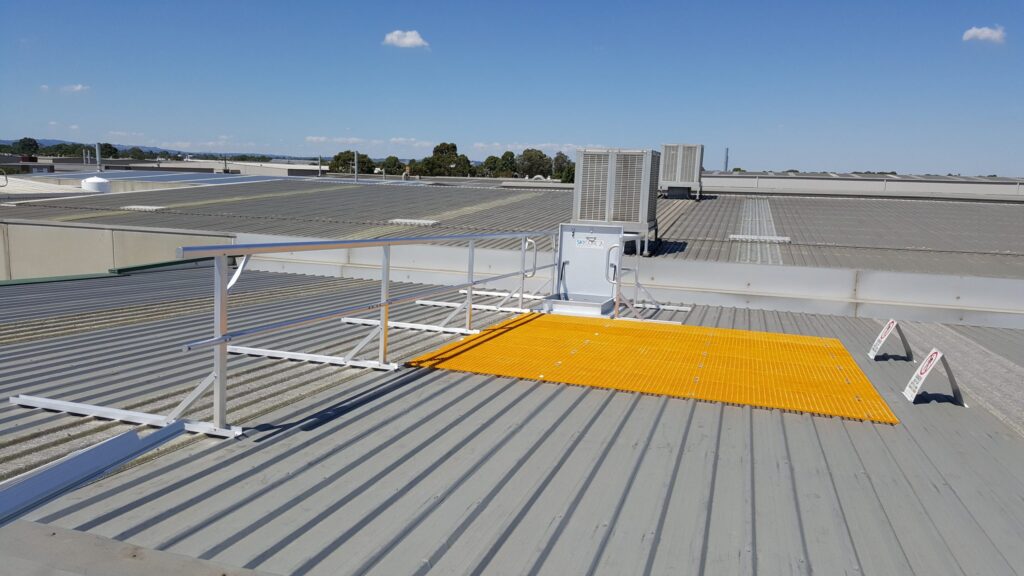
Picture looking up at a roof that is covered in fresh snow or wet ice and knowing that you need to get on it to do repairs or maintenance. The thought can be daunting, even dangerous. This is where roof walkway systems come into play, offering roof safety.
With so many choices on the market, it is important to think about some important things to make sure you pick and install the right system for your building. This article will delve into these tips to help you navigate the process effectively.
1. Assess Roof Conditions
Before installing a roof walkway system, assess the conditions of your roof. Check for any damage, weak spots, or areas prone to leaks.
As well as the weight of the walkway system, make sure the roof structure can handle any other loads. To find the best place and shape for the walkway, think about things like the roof’s pitch, the material, and the condition of the surface.
2. Choose the Right Walkway System
Whatever kind of roof you have, you should choose a walkway system that works for you. You can pick from modular walkway systems, individual walkway parts, or solutions that are specially made for you.
Materials, durability, and how easy they are to install are some things to think about. If you want to keep workers and the roof surface safe while also lowering the risk of damage, choose a system.
3. Plan Walkway Layout
Plan the layout of the walkway system based on your roof configuration and access requirements. Find the paths and places where walkways are needed to make maintenance and inspection work safe.
When planning the layout, think about things like obstacles, roof features, and access points. To improve safety and efficiency, make sure walkways are placed smartly.
4. Prepare the Roof Surface
Before installing a roof walkway system, it’s important to get the roof surface ready. Start by cleaning it well to remove any dirt, debris, or old coatings. Repair any damaged spots to ensure a smooth surface.
Make sure the roof is dry because moisture can affect how well the walkway system sticks. Preparing the roof properly helps the walkway system stay in place securely.
5. Install Support and Anchorage Systems
Support and anchorage systems are what keep the walkway in place on the roof. Depending on the type of walkway, you may need to attach support brackets, railings, or anchor points.
Make sure to follow the instructions carefully and use the right materials for your roof type. It’s important to install these systems properly to ensure the walkway is stable and won’t move around.
6. Test and Inspect
After everything is installed, it’s time to test and inspect the walkway system. Take a walk along it to make sure it feels sturdy and doesn’t move too much. Check all the parts and connections to make sure nothing is loose or damaged.
It’s a good idea to do regular inspections to make sure the walkway stays safe and secure over time. Testing and inspecting the walkway system helps ensure it’s working properly and keeps everyone who uses it safe.
Apply These Tips for a Successful and Safe Installation Process

Installing roof walkway systems requires careful planning and execution to ensure both safety and functionality. By applying the expert tips outlined in this guide, you can navigate the installation process with confidence and achieve a successful outcome.
- 1share
- Facebook0
- Pinterest1
- Twitter0


