Making interesting videos is crucial for anyone in business, e-commerce, or advertising who hopes to reach their audience and boost their earnings. No matter if you outsource video or shoot your own, the way your message is received depends heavily on the audio. But what should you do when your video’s audio is falling short? Should you keep the audio, mute it, or even delete it? Knowing the difference between muting sound from an audio track and using a video audio remover can help your video marketing a lot.
In this blog, we’ll clarify the benefits of each method, give advice on when to use them, and teach you how Pippit AI’s audio remover from videos can help make your videos impressive.
What is audio muting?
To mute audio in your video means to stop the sound from playing, yet leave the original audio file unaltered. If you mute a video, the audio is still present, but it’s hidden so that viewers don’t hear anything.
You can use mute if you want to turn off sounds you don’t want to hear, and people often do this when:
- You need to mute the audio track for a social media or presentation clip.
- You intend to include new audio such as music or narration in the future.
- You need the original audio so that you can mix the song later.
Muting works by flipping a button so that no sound will play in your video, yet the sound clip remains there.
What is video audio removal?
Removing video audio is different than just silencing the audio. It will either remove the voice from your video or take it out completely. The music that comes with the video will now be removed, so you can add your own audio.
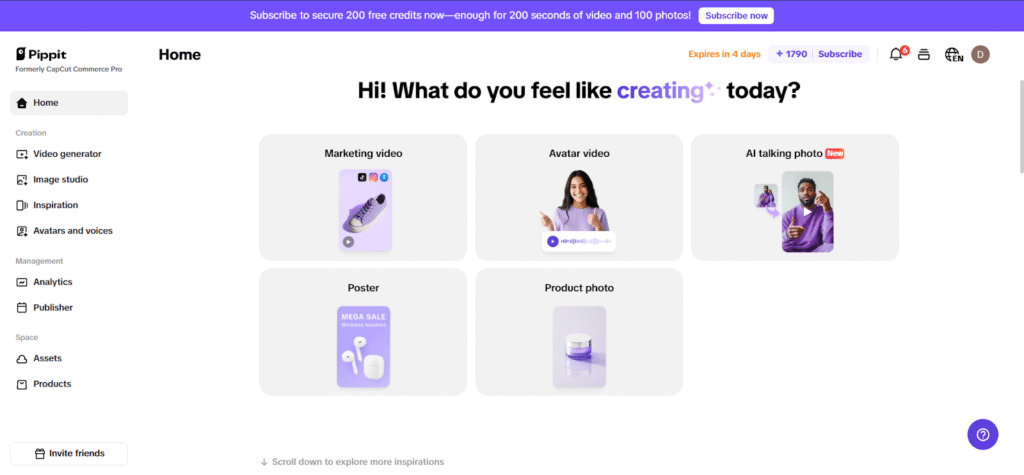
To use the tool, simply go to the Pippit AI video generator website:
- Eliminate background noises or unclear sound for good.
- You can overlay your own voice or music in place of what is already there.
- With Yamaha objects, you can make professional videos and set the exact audio quality you want.
You can choose this method when the original audio is unusable, or you just want to start again with the audio experience.
When to use audio muting

You can use audio muting to cut down noise fast but still save the original content. Here’s what often happens in such cases:
- At times, you don’t want the sound to distract during your post or talk and then want to make it audible again.
- You’d like to record music or vocals over the original track but would still like to preserve the first recording as backup.
- If you aren’t removing select parts, you can simply silence the entire audio track instantly.
- If you’re uploading an Instagram story and need to mute the video before adding anything else, muting it is the quickest way.
When to use video audio removal
Removing audio entirely is the better choice when the original sound is problematic or irrelevant. Consider audio removal if:
- Lots of noise is a problem: There’s too much loud traffic, social chatter, or noise that makes the video less professional.
- Distorted or noisy recording: The level of the original recording is uneven, wobbly, or mixed with outside noises.
- If you prefer custom voiceovers: Make sure to take the place of the existing audio with your brand’s narration that is easy to understand.
- Tutorials and marketing clips: In these cases, clear and focused audio is what’s needed.
- Often, when selling products on e-commerce, entrepreneurs take out the original audio and put in a recorded voice explaining each product’s features and benefits.
How Pippit AI makes audio removal easy and effective
Pippit AI helps business owners, marketers, and content creators quickly get rid of extra audio and produce professional videos. This is how it happens:
Step 1: Open the video editor and upload your video
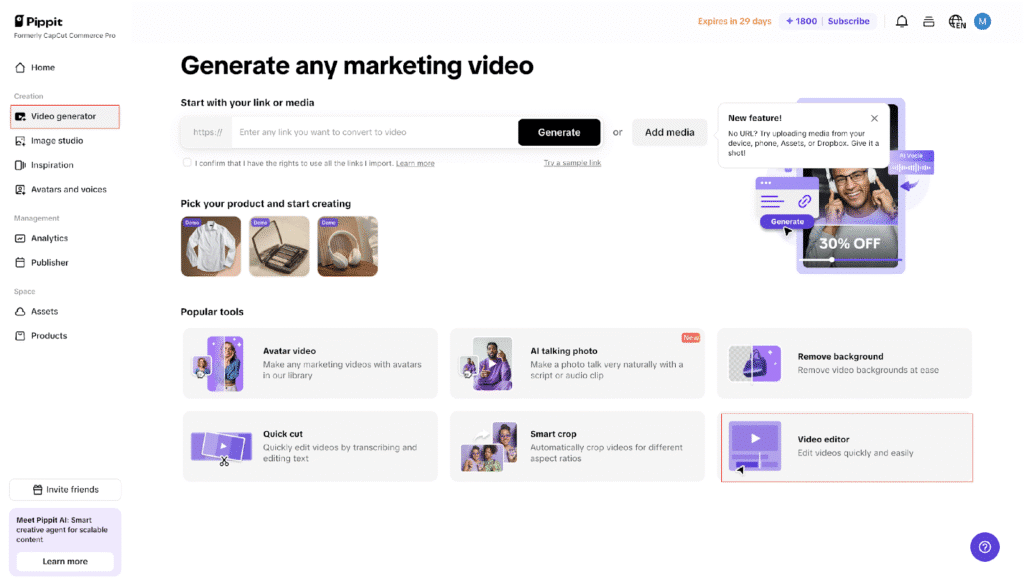
On the “Video Generator” tab, click on “Video Editor” and then drag your video into the app from your device or the cloud. The platform is built in a way that beginners and pros will find it easy to use.

Step 2: Remove existing audio and add new sound
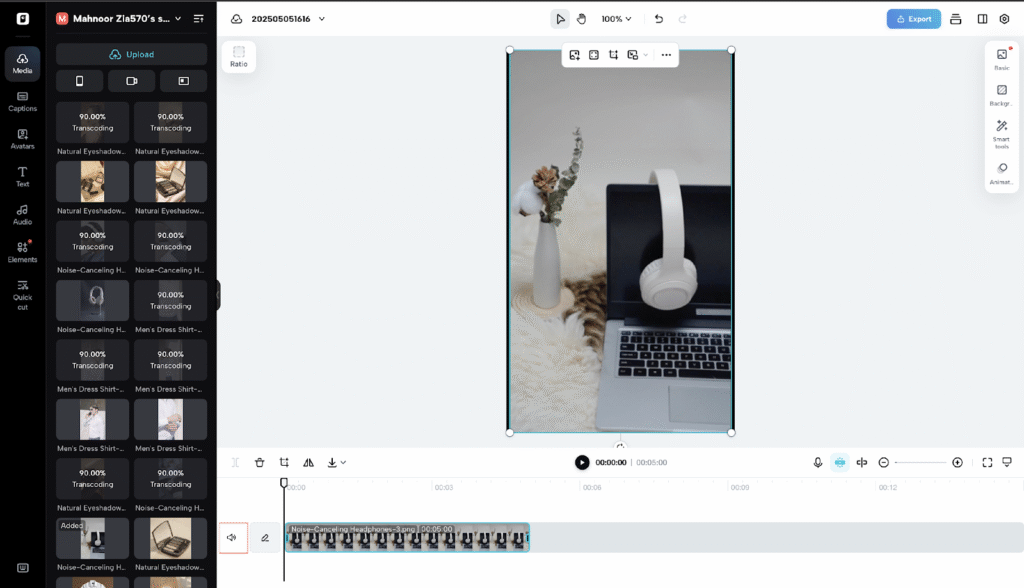
Press your video in the timeline and click the “Volume” button to mute the original audio file. When you have removed the voiceover, you’re free to record using Pippit’s voice editor or upload your own recordings. There is also a library of music and sound effects within Pippit you can use for your projects.
you can use for your projects.

Step 3: Fine-tune audio and export your video
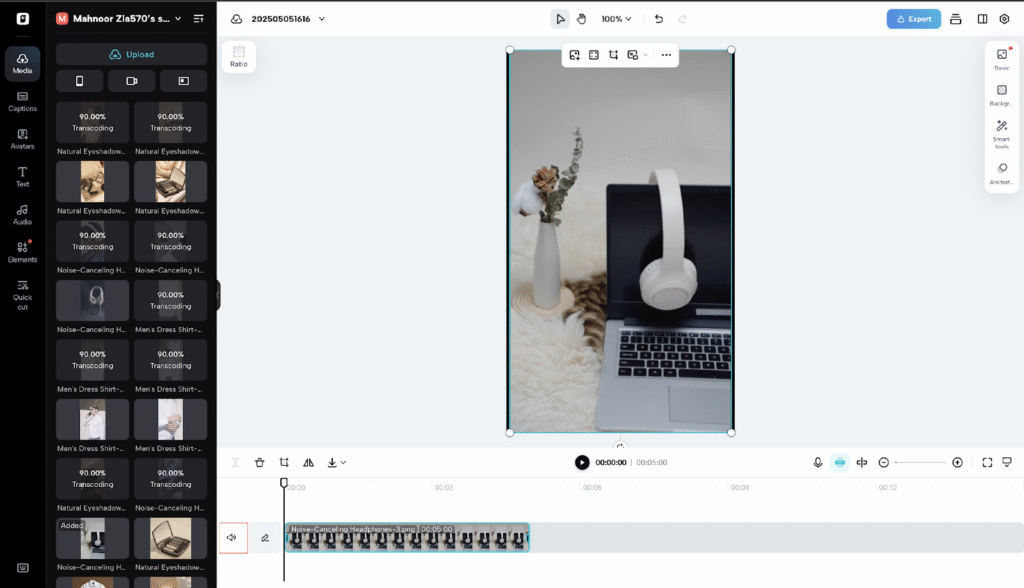
Simply use Pippit’s buttons to lower or raise the sound level or fade in or out for a more pleasant listening experience. After editing the audio and moving everything around, watch your movie to confirm it all sounds as you wanted and then export it into the format and resolution that best suits your content. It’s quick and simple to upload your completed work to YouTube, Instagram, or TikTok.

Why not just always remove audio?
Although you can do anything with an audio-free project, removing audio rarely makes sense. You can use muting if you only want to quiet the video for a period or if you still need the original audio. You should remove the audio if you’d like to create a new listening experience or resolve major audio problems.
How to decide which method to use
When deciding between muting and removing audio, ask yourself:
- Do I want to keep the original audio for later use? If yes, mute.
- Is the audio quality poor or distracting? If yes, remove.
- Will I add a new voiceover or soundtrack? If yes, remove.
- Do I need a quick, temporary silence? If yes, mute.
Conclusion
Removing video audio and turning off sound are tools you should use in your video editing process. By knowing the variances and learning how to use them, you can create videos that look and sound professional, reach your viewers, and support your company.
You can easily eliminate unwanted background noises, add your own voice, and perfect the audio using the audio removal feature of Pippit. It’s easy for any creator to either cancel out all distracting sounds or block the audio for a short period using Pippit AI.
Want to make your video audio look and sound professional? Give our audio remover tool a try and find out how you can easily boost the quality of your videos for better marketing results.
- 3shares
- Facebook0
- Pinterest0
- Twitter3
- Reddit0


