
Introduction
Looking to add a personal touch to your home without spending a fortune or waiting weeks for delivery? With a laser cutter and a free weekend, you can create beautiful, functional decor that reflects your style—and gets people asking, “Where did you get that?” Whether you’re new to laser cutting or looking for fresh inspiration, these 7 ideas are practical, creative, and completely doable in a weekend.
1. Custom Wall Art Panels
If you’re after maximum impact with minimal time investment, laser cut wall panels are a fantastic choice. They’re perfect for filling blank spaces above couches, beds, or desks—and you can go bold or subtle depending on the design.
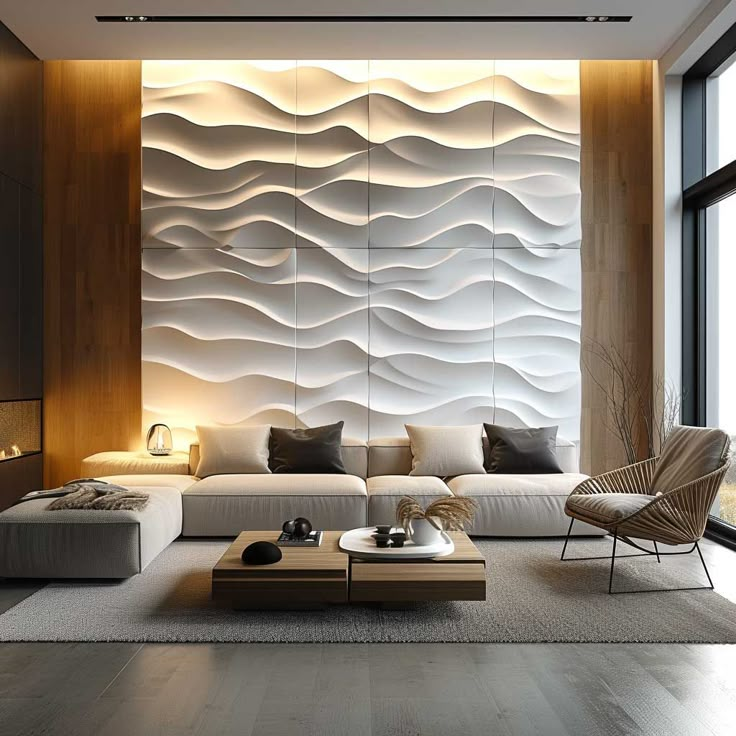
- Try this: Geometric grids, floral motifs, mandalas, or skyline silhouettes.
- Best materials: 1/8” birch plywood or black acrylic for a clean, modern look.
- Quick tip: Scale your design across 3–4 smaller panels to make cutting and installation easier. For extra flair, add a contrasting backing layer or LED strip lighting for a shadowbox effect.
Why it works: Wall art is one of the most shared and pinned types of laser cut decor. It’s versatile, scalable, and easy to sell or gift.
2. Personalized Family Name Sign
These signs have become a staple in modern farmhouse and rustic decor styles—and for good reason. A laser-cut family name sign feels personal and warm, and it instantly gives your space a sense of identity.
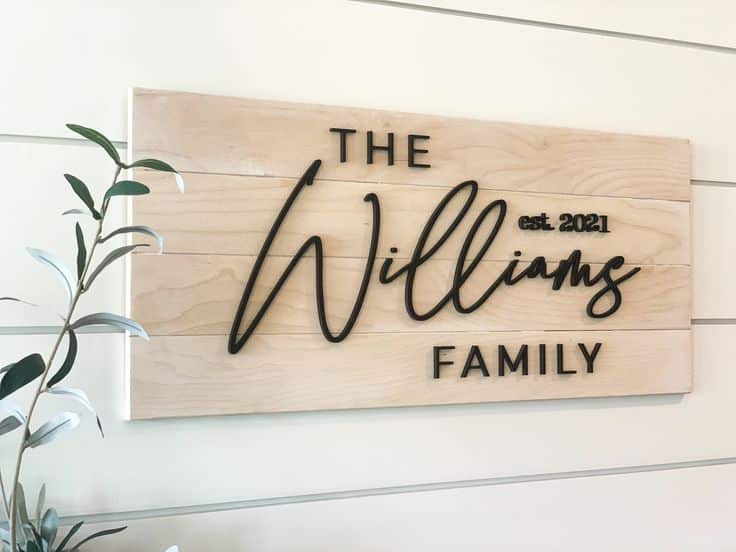
- Design ideas: Last name in script fonts with “Established [Year]” underneath; circular monogram signs with vines or laurels.
- Materials: Medium-density fiberboard (MDF) or stained plywood works great.
- Pro tip: Use a layered design for visual depth. For example, cut the background as a solid round and mount the name cutout on top using foam adhesive for dimension.
Why it works: It’s meaningful and easy to customize—great for gifts, too.
3. Hanging Planter Holders


Love the plant decor trend? You’ll love it even more when your planters hang in stylish, laser-cut holders you made yourself.
- Designs to try: Hexagonal frames, teardrop shapes, or even geometric cages.
- Best materials: Lightweight plywood, acrylic, or even thick cardstock (if you’re prototyping).
- Pro tip: Use thin leather cord or rope to hang from ceiling hooks. Consider designing slotted joints so your holder assembles without glue or screws.
Why it works: Plants + modern design = timeless decor win. These holders add height, color, and life to your space.
4. Decorative Candle Holders or Lanterns

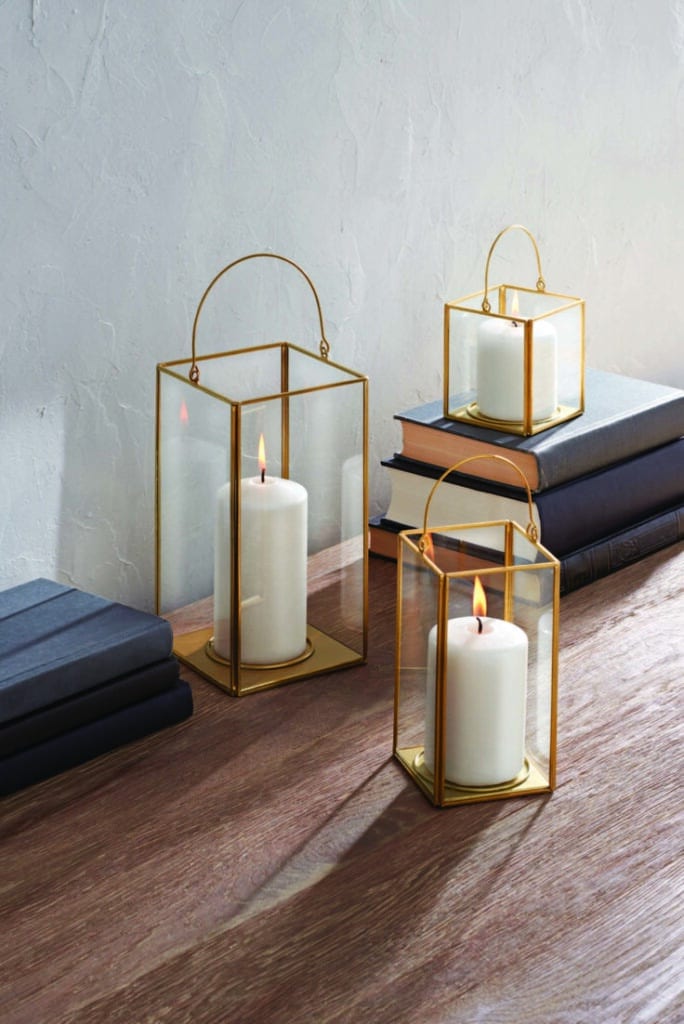
Laser cut lanterns instantly add a cozy glow to any room. The magic happens when the cutouts cast intricate shadows on the walls.
- Go for: Middle Eastern patterns, snowflakes, or abstract linework.
- Materials: Basswood, heat-safe acrylic, or even metal (if your machine can handle it).
- Safety tip: Always use flameless LED candles unless you’re working with fireproof materials and proper ventilation.
Why it works: The combination of light and shadow makes this decor functional and atmospheric.
5. Laser Cut Shelf Accents or Bookends
If your shelves feel boring, it’s time to laser in some character. You can add custom accents to your shelving system—or create sturdy bookends from scratch.

- Ideas to try: Mountains, animals, famous quotes, or minimalist cityscapes.
- Material suggestions: Thicker plywood (5mm or more) for stability.
- Assembly tip: Add slots and tabs to interlock pieces for easy gluing and fast setup.
Why it works: These pieces serve a purpose while letting you show off your personality or interests.
6. Photo Frames with Cutout Overlays
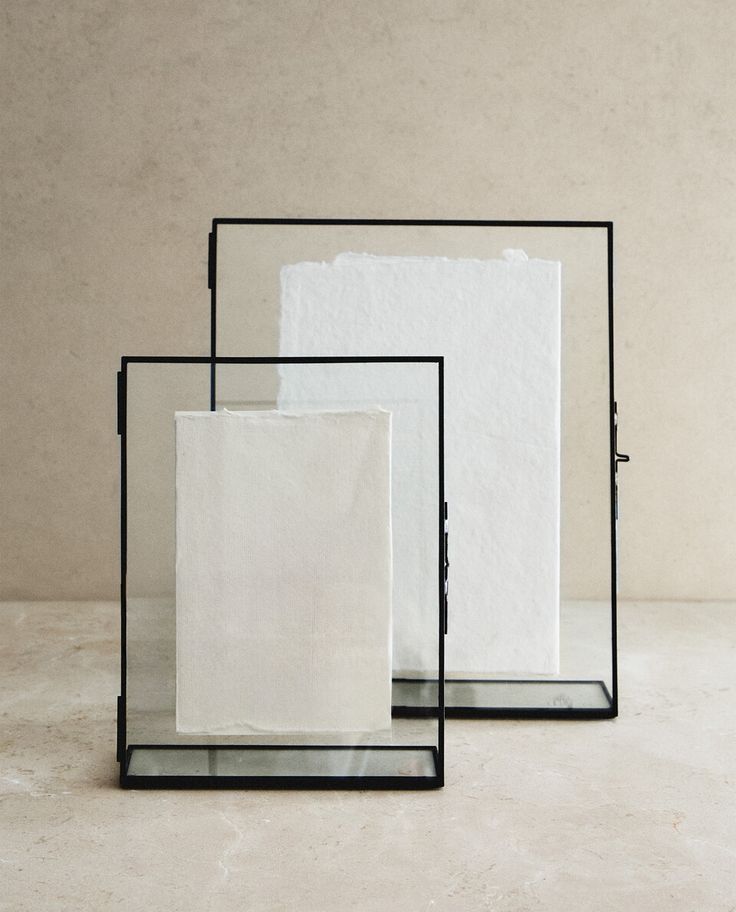
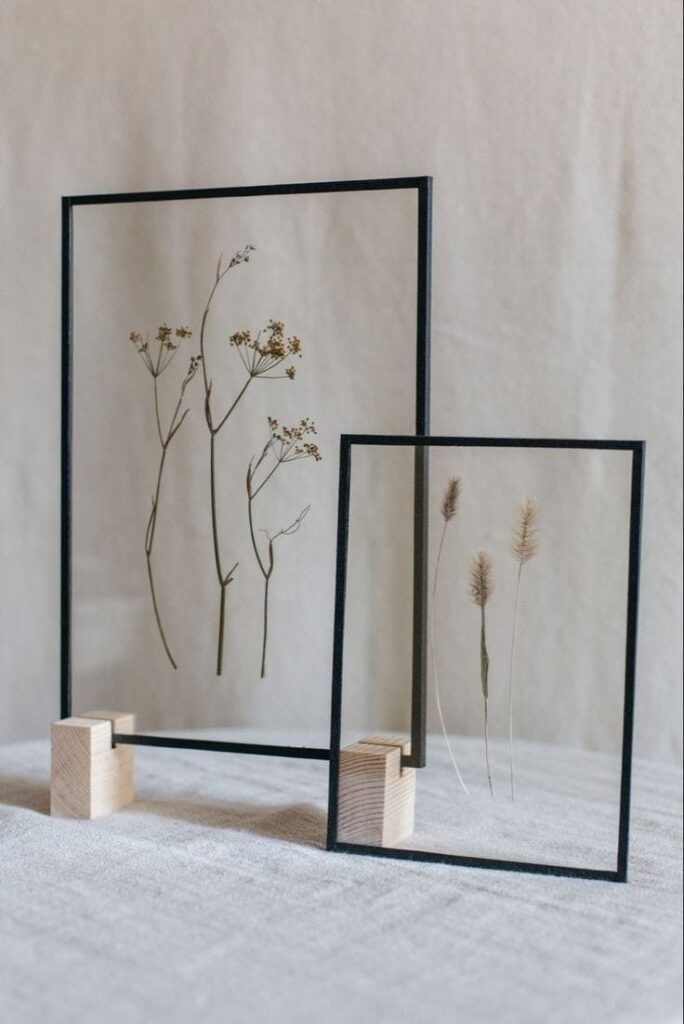
Photos are meaningful. Laser cutting lets you frame them in a way that’s equally personal and unique.
- Customize: Add names, dates, or thematic cutouts—hearts, flowers, paw prints, etc.
- Material combo: Layer wood + acrylic for a clean, professional finish.
- Layout idea: Create a gallery wall using a series of matching or modular frames.
Why it works: These are highly giftable and perfect for holidays, anniversaries, or milestones.
7. Door Signs or Room Labels
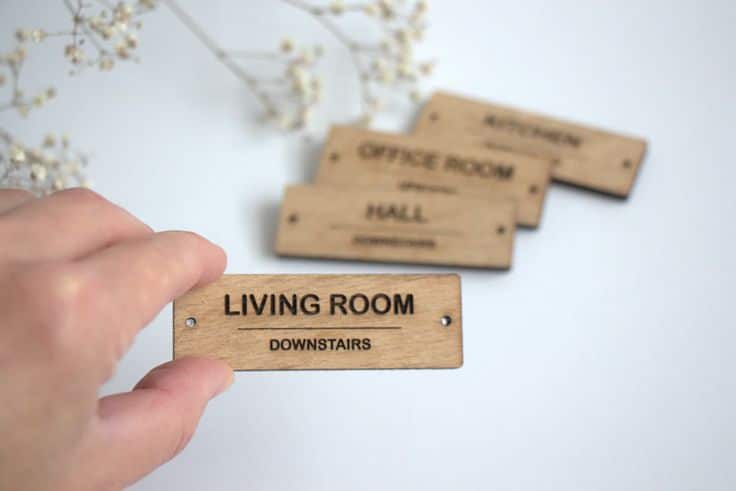
One of the quickest wins you can get with a laser cutting machine is customized signs for your doors—practical, fun, and totally personal.
- Try this: “Pantry,” “Office,” “Laundry,” or even your kids’ names for bedroom doors.
- Design tip: Use bold, readable fonts and icons (like a whisk for a kitchen or a pencil for an office).
- Material: Wood or acrylic with strong adhesive backing for easy mounting.
Why it works: These take under an hour to cut and assemble—perfect for first-time laser crafters.
Tools & Materials Checklist

Make sure you’ve got the essentials on hand before starting:
- CO₂ or diode laser cutter (OMTech is a popular choice thanks to its reliability, power, and affordability—ideal for both beginners and serious makers)
- Design software (LightBurn, Inkscape, or Illustrator)
- Materials: plywood, acrylic sheets, MDF, LED candles
- Extras: glue, sandpaper, hanging hardware, adhesive foam dots
Final Thoughts
Laser cutting doesn’t have to be complicated or time-consuming. In fact, some of the most beautiful pieces come from simple designs done well. Start small, experiment with materials, and don’t be afraid to add your own twist to any of these ideas. Remember: creativity is a skill that grows the more you use it.
- 18shares
- Facebook0
- Pinterest15
- Twitter3
- Reddit0


