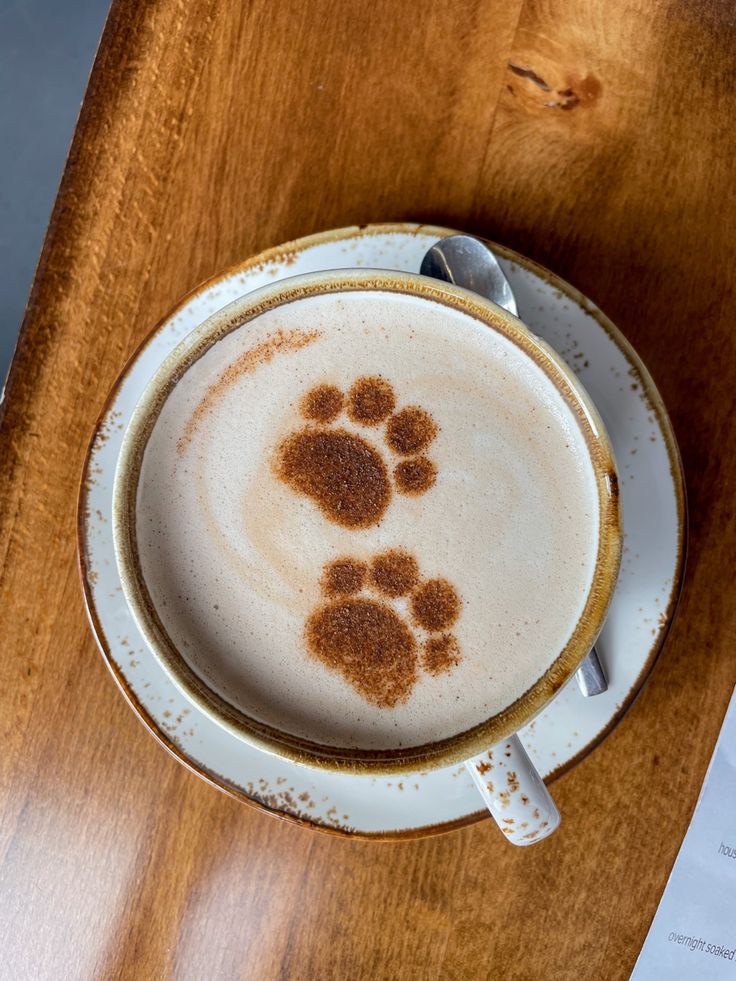
Latte art transforms a simple cup of coffee into a visually stunning experience. By pouring steamed milk into espresso, you can create beautiful patterns that enhance not only the drink’s aesthetic but also its enjoyment. Mastering this technique can elevate your coffee experience, impressing friends and adding a creative touch to your morning routine.
You don’t have to be a professional barista to create latte art at home. With the right tools and knowledge about milk selection and frothing methods, you can achieve impressive designs. From hearts to roses, learning these pouring techniques can lead you to craft your own unique creations.
As you experiment with your skills, you’ll discover that latte art is not just about the visual appeal; it also enhances the flavor profile of espresso and steamed milk. Exploring this art form opens up a new appreciation for coffee, inviting creativity into your daily rituals.


Key Takeaways
- Latte art enhances both the visual and taste experience of coffee.
- Proper milk selection and frothing techniques are essential to achieving great designs.
- With practice, anyone can create beautiful latte art at home.
The Essentials of Latte Art
Latte art requires a solid understanding of espresso preparation, the role of milk, and the right tools. Mastering these elements will significantly enhance your ability to create intricate designs in your coffee.
Understanding Espresso Shots
To create latte art, you start with a well-crafted espresso shot. A quality espresso relies on finely ground coffee, uniform packing in the portafilter, and precise extraction time. Aim for a shot duration of 25-30 seconds for optimal flavor.
The crema, a creamy layer formed on top, is essential for holding patterns in your art. A rich crema indicates that you have extracted your espresso correctly. Use a tamper to ensure even pressure when packing the coffee, as this affects extraction quality.
Milk’s Role in Latte Art
Milk selection is critical for achieving the best texture. Use whole milk for creamy microfoam that holds shapes well. The steam wand on your espresso machine is essential for frothing. Heat the milk to around 150°F, creating tiny bubbles for a smooth texture.
It’s crucial to incorporate air right at the beginning of the steaming process. This will create the microfoam necessary to form shapes or designs. Be mindful of the milk pitcher’s angle for proper aeration and texture.
Tools of the Trade
Having the right tools makes a significant difference. You need a high-quality espresso machine equipped with a steam wand. This ensures you can produce the perfect espresso and froth milk effectively.
A milk frother can also be useful for those without a steam wand. Additionally, invest in a good milk pitcher for better control while pouring. Lastly, don’t forget a well-designed coffee cup to showcase your art. Each tool plays a critical role in achieving expert-level latte art.


Mastering Milk: From Selection to Frothing
Selecting the right milk and refining your frothing technique are crucial steps in creating beautiful latte art. Focus on the type and quality of milk you choose, as well as the method you use to froth it.
Choosing the Right Milk
When selecting milk for latte art, consider fat content, as it greatly affects texture. Whole milk is a popular choice because its higher fat content creates a rich, creamy texture when frothed. If you prefer a dairy-free option, oat milk is known for its creaminess and ability to foam well.
Cold milk is essential for frothing. Start with milk that is chilled but not frozen. A temperature range of 150°F to 155°F is ideal for frothing without scalding. Always prioritize quality; use fresh milk from reputable sources for the best results.
Techniques for Achieving Perfect Microfoam
To create microfoam, use proper frothing techniques that introduce air while heating the milk. Begin by positioning the steam wand just below the milk’s surface at an angle. This allows air to be incorporated while also causing a whirlpool effect within the pitcher.
Once the texture is smooth and velvety, immerse the steam wand deeper to heat the milk evenly. Texture is key; aim for a shiny, silky finish.
Avoid over-frothing, which can lead to large bubbles and a gritty texture. The right frothing step produces a stable foam that enhances not just appearance but also the mouthfeel of your latte.


Artistic Pouring Techniques
Mastering artistic pouring techniques is essential for creating beautiful latte art. This section presents key designs and advanced techniques to elevate your skills.
Basic Latte Art Designs
Begin with simple designs that form the foundation of latte art. The most popular basic patterns include hearts, rosettas, and flowers.
Heart Design: Start by pouring the milk from a height to allow it to settle. As you near the cup, lower the spout and pour steadily. Move the pitcher forward to create the heart shape.
Rosetta Pattern: Hold the spout close to the surface. Pour slowly and wiggle the pitcher back and forth to create the leaves of the rosetta. Finish by dragging the stream through the center to complete the design.
Flower Pattern: Similar to the rosetta, pour closer to the surface. Create distinct petals by alternating your pour speed and angle.
These designs require practice but are great starting points for your latte art journey.
Advanced Latte Art Techniques
As you build confidence, explore advanced techniques to create intricate designs. These methods require precision and control.
Tulip Design: Begin with a multi-layered pour. Start with a small pour to form the first petal, then add more layers for depth. Focus on controlling each layer’s flow for clarity.
Etching: Use a toothpick or stylus to draw patterns directly onto the foam. This allows for more detailed images, such as hearts or other decorative motifs.
Color Techniques: Experiment with different colors of milk, using flavored syrups or colorings to create striking visuals. Combine this with your pouring technique to enhance the overall appearance.
Implementing these advanced techniques will allow you to expand your repertoire and impress your audience.


Enjoying Latte Art Beyond the Cafe
Creating beautiful latte art isn’t limited to professional baristas or cafes. You can enjoy this craft at home, turning simple lattes into stunning works of coffee art. With the right equipment and practice, you can impress your guests and enhance your own coffee experience.
Making Latte Art at Home
To start making latte art at home, investing in a quality espresso machine is essential. Look for a model that produces high-pressure espresso, as this creates the rich crema necessary for art.
Tools You’ll Need:
- Espresso machine
- Milk frother or steam wand
- Fresh whole milk
Using fresh whole milk leads to better foam texture. Heat the milk to about 150°F while frothing, ensuring it’s creamy with microfoam. Pour the espresso shot first, and then gently add the frothed milk, using motions that create your desired design.
Practice common motifs like hearts and rosettas. With time, you’ll refine your technique and enjoy a café-quality experience right in your kitchen.
- 442shares
- Facebook0
- Pinterest442
- Twitter0
- Reddit0


