The holiday season is a magical time of year, filled with warmth, wonder, and the joy of togetherness. What better way to embrace this festive spirit than by diving into some delightful Christmas crafts? Crafting is more than just making pretty things; it’s an opportunity to create cherished memories, personalize your holiday decor, and even find moments of peaceful, creative expression. Whether you’re a seasoned crafter or just starting your DIY journey, there’s a special kind of satisfaction that comes from adorning your home with handmade treasures.
Forget complicated techniques or expensive supplies! This guide is packed with 10 super fun and easy Christmas crafts that are perfect for everyone – from little hands eager to get messy to adults looking for a relaxing, creative escape. We’re talking about projects that spark joy, require minimal fuss, and result in beautiful, festive decorations you’ll be proud to display or gift. So, gather your loved ones, put on some holiday tunes, and let’s unwrap the joy of crafting this Christmas!
1. Sparkly Pinecone Ornaments


Bring the beauty of nature indoors with these effortlessly charming pinecone ornaments! Collecting pinecones is a wonderful outdoor activity that kick-starts the crafting fun. Once you have your natural treasures, transforming them into glittering festive decor is incredibly simple and immensely satisfying. This craft is fantastic for all ages, offering sensory engagement for younger children and a calming, repetitive task for adults.
Materials You’ll Need:
- Clean, dry pinecones (collect them from outside or purchase them)
- Craft glue (PVA glue works well) or spray adhesive
- Glitter (gold, silver, red, green, or iridescent)
- Small paintbrushes or sponges (if using liquid glue)
- Eye hooks or thin ribbon/twine
- Hot glue gun (for attaching ribbon/twine securely)
Step-by-Step Guide:
- Prepare Your Pinecones: If you’ve collected pinecones, ensure they are clean and free of debris. You can bake them on a low temperature (around 200°F / 90°C) for 30 minutes to an hour to dry them out and kill any hidden critters. Let them cool completely.
- Apply Adhesive: Use a paintbrush to apply a thin layer of craft glue to the tips of the pinecone scales. For a quicker method, spray the pinecone lightly with spray adhesive. Work in small sections to prevent the glue from drying too quickly.
- Add Glitter: While the glue is still wet, generously sprinkle glitter over the glued areas. You can also roll the pinecone in a shallow dish of glitter for full coverage. Shake off any excess.
- Dry Thoroughly: Place your glittered pinecones on a piece of wax paper or newspaper to dry completely. This can take several hours.
- Add a Hanger: Once dry, carefully twist a small eye hook into the top of the pinecone. If you prefer ribbon, cut a length (about 6-8 inches), form a loop, and use a hot glue gun to attach the ends securely to the top of the pinecone.
- Display with Pride: Hang your sparkly creations on your Christmas tree, use them as festive bowl fillers, or incorporate them into a beautiful garland.
2. Personalized Salt Dough Ornaments
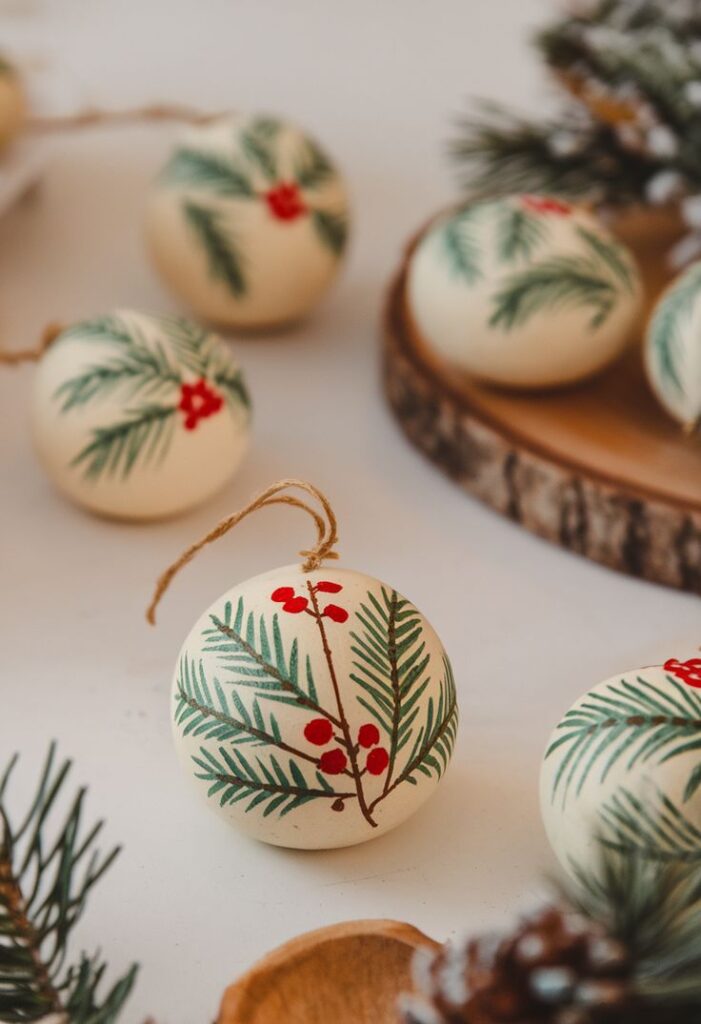
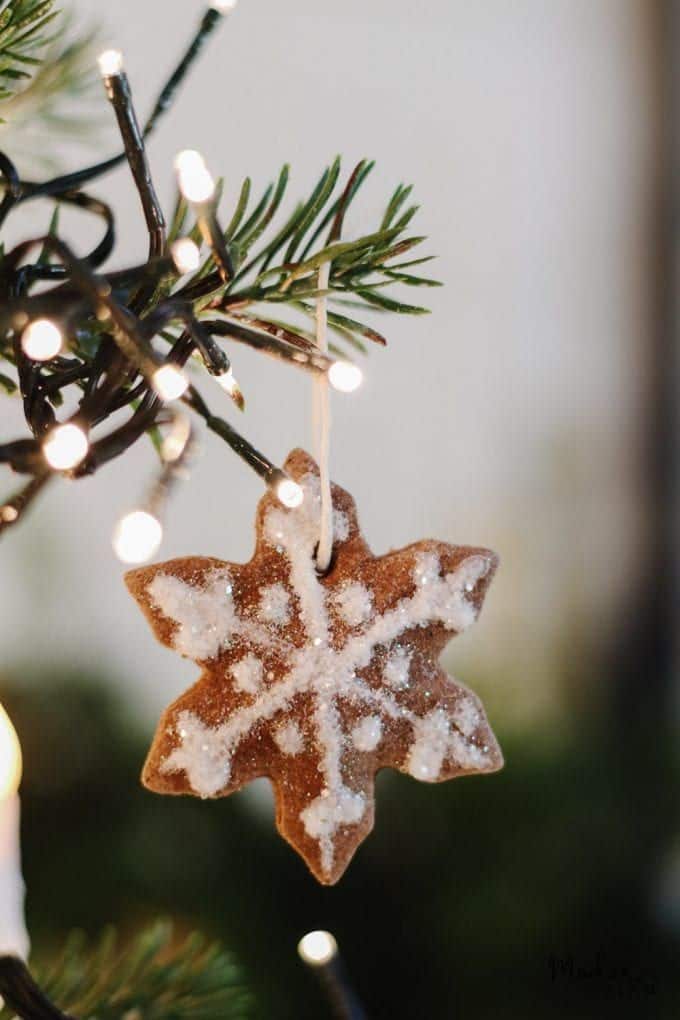
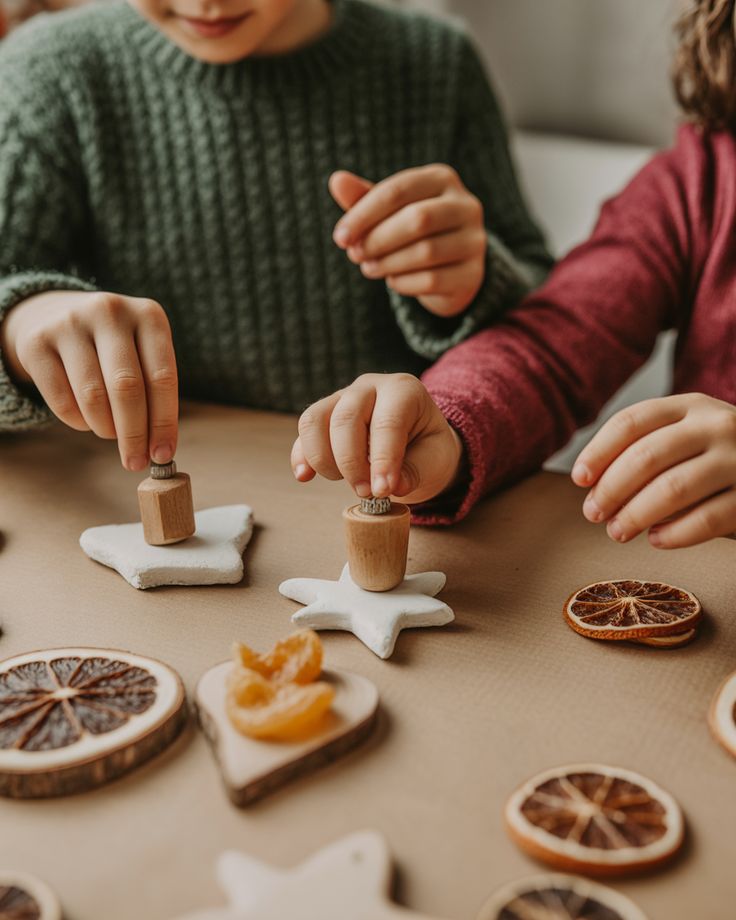
Salt dough is a classic crafting medium for a reason – it’s incredibly simple to make with basic pantry staples, wonderfully pliable, and air-dries or bakes into a hard, paintable surface. These ornaments are perfect for capturing little handprints or footprints, creating timeless keepsakes, or designing unique shapes that truly reflect your personal style. For anyone looking to tips for starting your DIY journey with a fun, accessible project, salt dough is an excellent choice!
Materials You’ll Need:
- 1 cup salt
- 2 cups all-purpose flour
- 1 cup warm water
- Cookie cutters (Christmas shapes like stars, trees, gingerbread men)
- Rolling pin
- Baking sheet and parchment paper
- Straw or skewer (for making holes)
- Acrylic paints, markers, or glitter
- Clear sealant or varnish (optional, for protection)
- Ribbon or twine
Step-by-Step Guide:
- Make the Dough: In a large bowl, whisk together the salt and flour. Gradually add the warm water, mixing until a stiff dough forms. You may need to use your hands to knead it together. If it’s too sticky, add a little more flour; if too dry, add a tiny bit more water.
- Roll and Cut: Flour your work surface and rolling pin. Roll out the salt dough to about ¼ inch thick. Use cookie cutters to cut out festive shapes. For handprints/footprints, press a hand or foot gently but firmly into the rolled dough.
- Create Hanger Holes: Use a straw or skewer to poke a hole near the top of each ornament. Make sure the hole is large enough for your ribbon.
- Bake or Air Dry:
- Baking Method (Faster): Place ornaments on a parchment-lined baking sheet. Bake at a low temperature (250°F / 120°C) for 2-4 hours, or until completely hard. Thicker ornaments will take longer. Flip them halfway through for even drying.
- Air Drying Method (Slower): Place ornaments on a wire rack and let them air dry for 2-3 days, flipping occasionally, until completely hard.
- Decorate: Once cooled and hardened, unleash your creativity! Paint them with acrylic paints, use markers, add glitter, or simply leave them plain for a rustic look.
- Seal (Optional): Once the decorations are dry, apply a coat of clear sealant or varnish to protect them and give them a nice sheen.
- Add Ribbon: Thread a piece of ribbon or twine through the hole and tie it into a loop for hanging.
3. Whimsical Paper Snowflakes
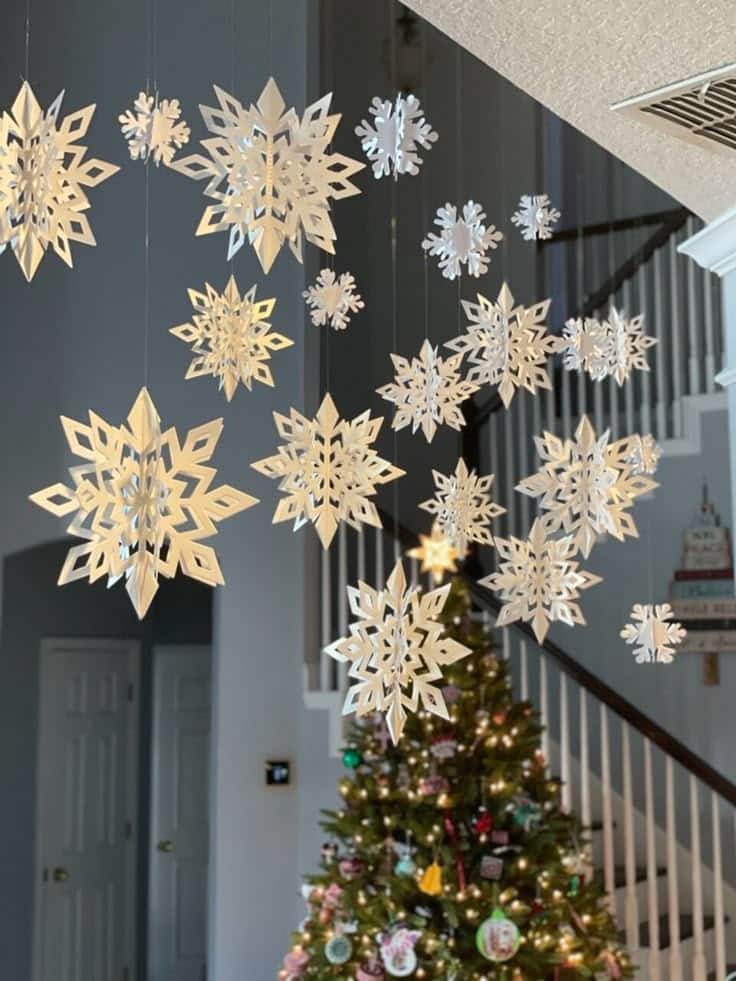
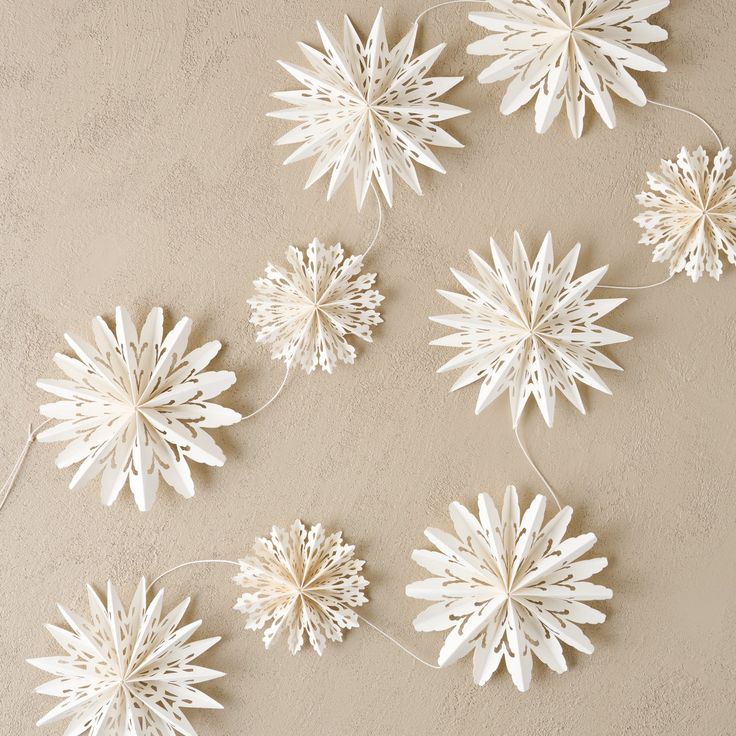
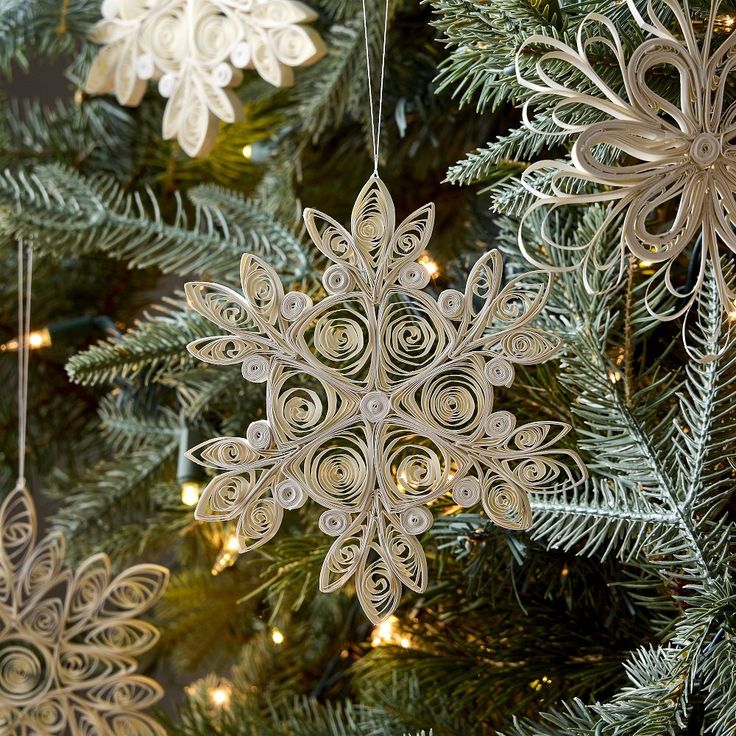
There’s something truly magical about a blizzard of unique, delicate snowflakes, and recreating that beauty with paper is a timeless Christmas craft! This project requires only paper and scissors, making it one of the most accessible and budget-friendly ways to add festive cheer to your home. It’s a wonderful activity for developing fine motor skills and spatial reasoning in children, and for adults, it’s a meditative, satisfying process of revealing intricate patterns.
Materials You’ll Need:
- White or colored paper (printer paper, construction paper, or even scrapbooking paper)
- Scissors (child-safe scissors for younger crafters)
Step-by-Step Guide:
- Start with a Square: Take a rectangular piece of paper (like standard printer paper) and fold one corner diagonally to meet the opposite edge, forming a triangle. Cut off the excess rectangle to create a perfect square.
- Fold into a Smaller Triangle: Fold the square diagonally again to make an even smaller triangle.
- Fold into Thirds: This is the trickiest part. Take one corner of your triangle and fold it inwards about one-third of the way. Then, take the other corner and fold it over the first, creating a shape that looks like a long, thin cone or a paper ice cream cone. The edges should align as best as possible.
- Trim the Top: Cut straight across the top (the wide, unfolded edge) of your folded paper to create a clean base. You can make this cut straight, curved, or jagged for different effects.
- Start Cutting: Begin cutting small shapes and patterns into the folded edges and sides of your paper. Think about triangles, curves, straight lines, and small “bites” out of the paper. Avoid cutting all the way through the center fold, or your snowflake will fall apart!
- Unfold Carefully: Once you’re happy with your cuts, gently unfold your paper to reveal your unique snowflake design.
- Flatten (Optional): If your snowflake is a bit crinkled, you can place it under a heavy book for a few hours to flatten it.
4. DIY Advent Calendar (Paper Chain Countdown)
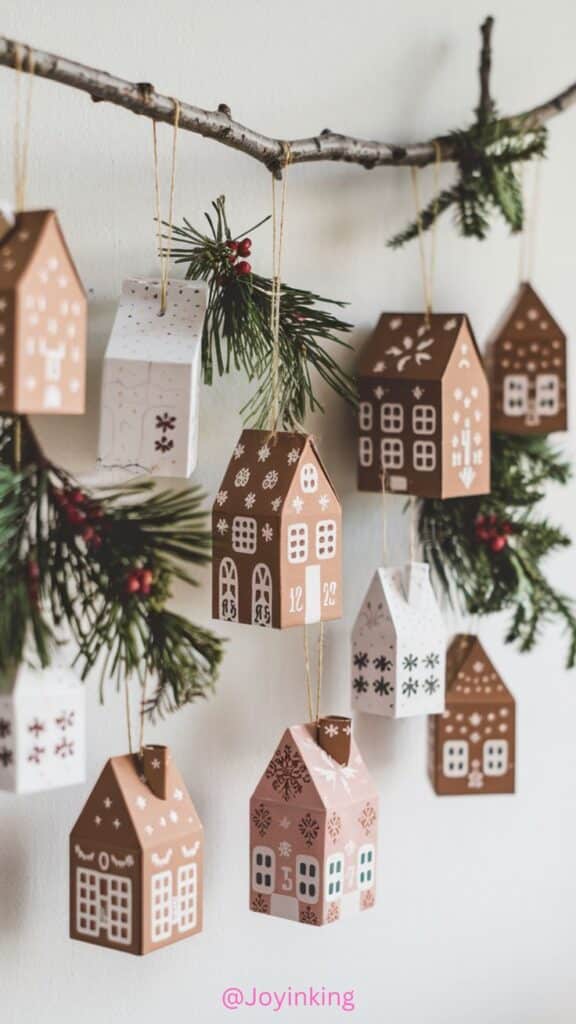
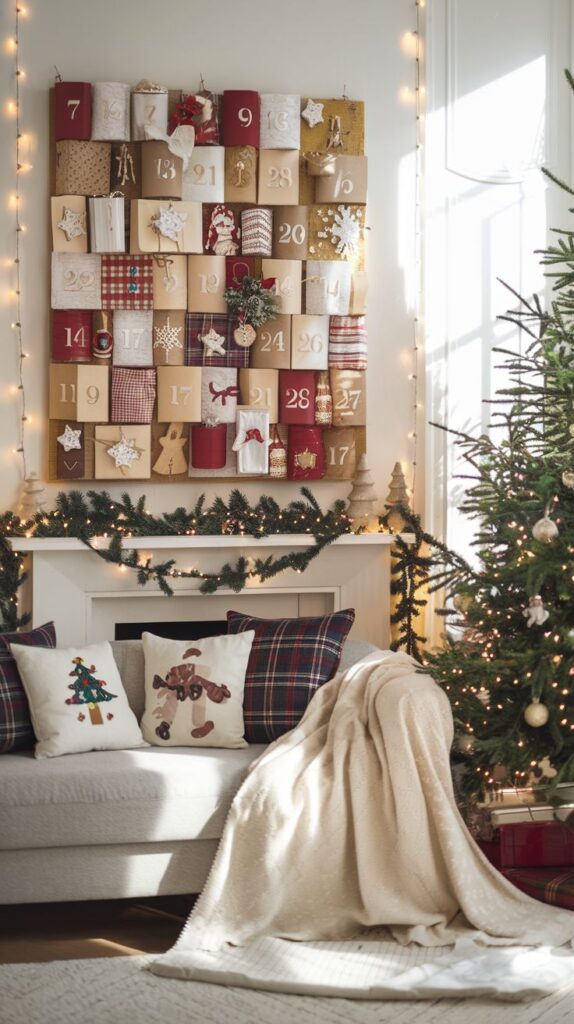
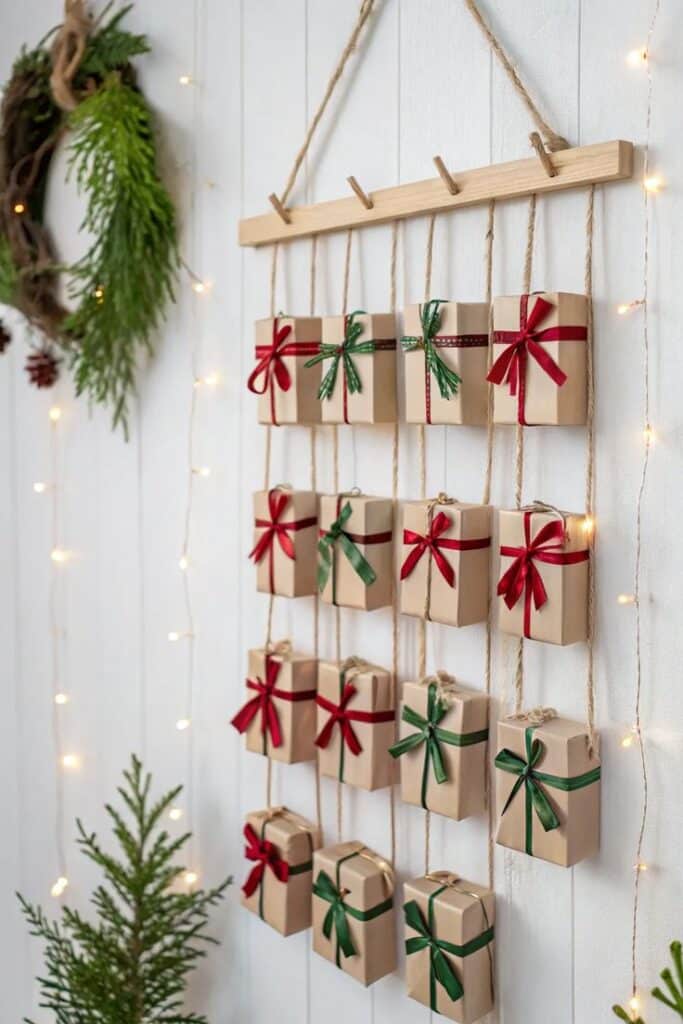
The anticipation leading up to Christmas Day is often as exciting as the day itself! A DIY Advent calendar, particularly a simple paper chain, is a delightful way to count down the days with a tangible, interactive craft. This project is incredibly easy for children of all ages and offers a wonderful opportunity to discuss the meaning of the season each day. It’s also a brilliant way to add a pop of color and festive charm to any room, turning the everyday into something special for the holidays.
Materials You’ll Need:
- Construction paper or festive scrapbook paper (red, green, white, gold, silver, or patterned)
- Scissors or a paper trimmer
- Glue stick or stapler
- Markers or stickers (for numbering, optional)
Step-by-Step Guide:
- Cut Paper Strips: Cut your paper into strips. A good size is about 1-2 inches wide and 8-10 inches long. You’ll need 24 or 25 strips, depending on whether you want to count down to Christmas Eve or Christmas Day.
- Number the Strips (Optional): Before assembling, use markers or stickers to number each strip from 1 to 24 (or 25). This adds an extra element of anticipation each day.
- Form the First Link: Take one strip of paper and form it into a circle, overlapping the ends slightly. Secure the ends with a glue stick or a staple. This is your first link.
- Add Subsequent Links: Take the next strip of paper. Thread it through the first paper ring. Form it into a circle and secure its ends.
- Continue the Chain: Repeat step 4 with the remaining paper strips, threading each new link through the previous one, until you have a long, festive paper chain.
- Hang and Count Down: Hang your finished advent calendar in a prominent place. Each day, remove one link, counting down until the final link is removed on Christmas Day!
5. Sentimental Reindeer Handprint/Footprint Art

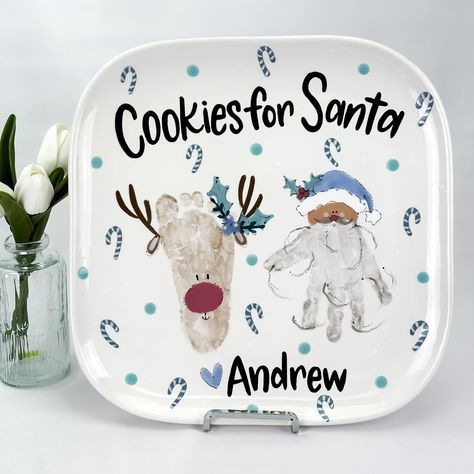
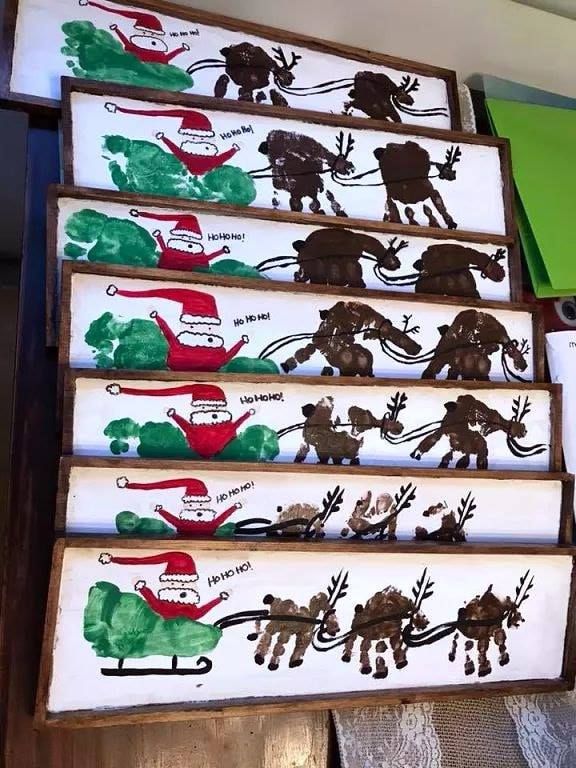
Capture a precious moment in time with adorable reindeer handprint or footprint art! This craft is not only incredibly easy and fun for even the youngest crafters, but it also creates deeply sentimental keepsakes that families will treasure for years to come. These make heartwarming gifts for family members or charming additions to your own holiday decor. They’re a fantastic way to develop a key sense of personal style while adding a unique touch to your home.
Materials You’ll Need:
- Brown washable paint (child-safe)
- White cardstock or canvas
- Paintbrushes or sponges
- Red pom-poms (for Rudolph’s nose)
- Googly eyes
- Black marker
- Craft glue or hot glue gun
Step-by-Step Guide:
- Prepare Your Surface: Lay out your cardstock or canvas. Ensure your workspace is protected with newspaper or a mat.
- Apply Paint: Gently paint a child’s hand (fingers spread wide for antlers) or foot (heel at the top for the head) with brown paint. Ensure even coverage.
- Make the Print: Carefully press the painted hand or foot onto the cardstock. Press firmly but quickly, then lift straight up to avoid smudging.
- Let Dry: Allow the paint to dry completely. This is crucial before adding embellishments.
- Add Details:
- Rudolph’s Nose: Glue a red pom-pom onto the thumbprint (for a handprint) or the heel (for a footprint) to create Rudolph’s bright red nose.
- Eyes: Glue two googly eyes above the nose.
- Antlers/Ears: If using a handprint, the fingers become antlers. If using a footprint, use a black marker to draw small antlers and ears coming out from the top of the heel.
- Smile: Use the black marker to draw a simple, cheerful smile.
- Personalize: Write the child’s name and the year on the artwork to commemorate the memory.
6. Cozy Mason Jar Luminaries or Snow Globes
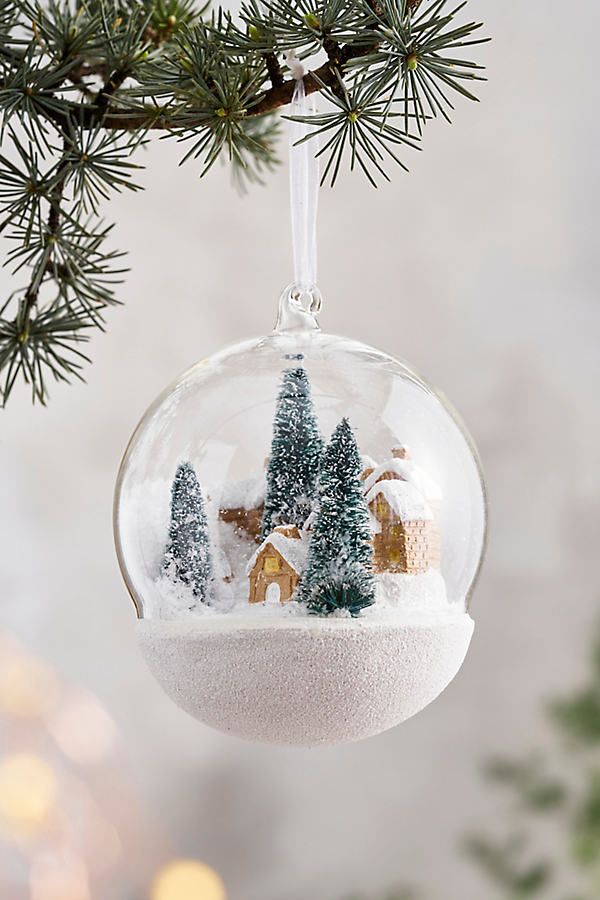
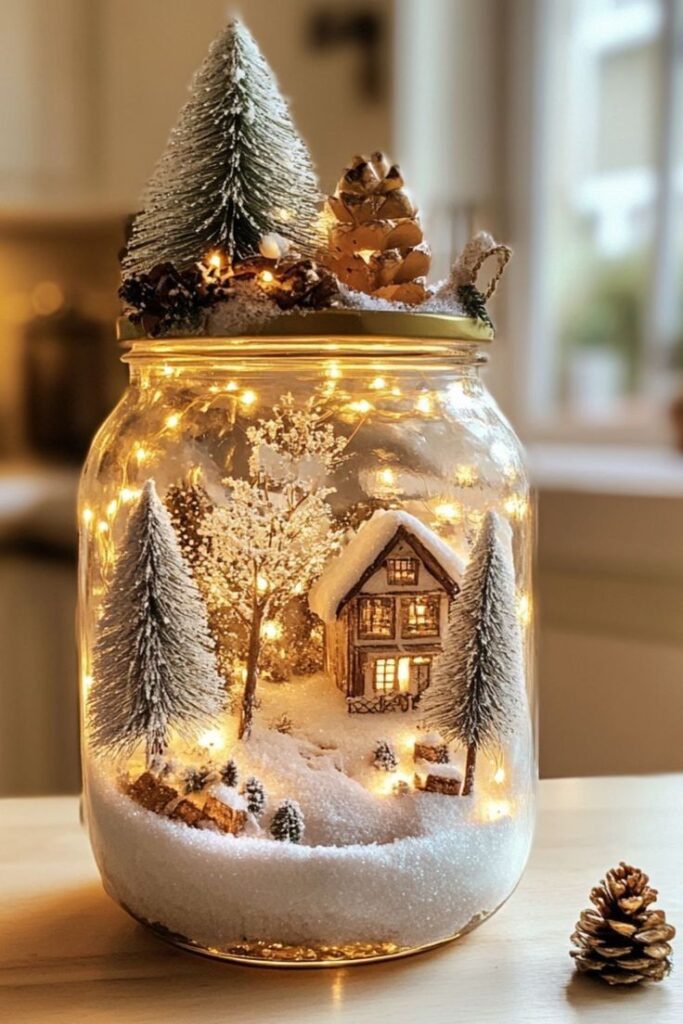
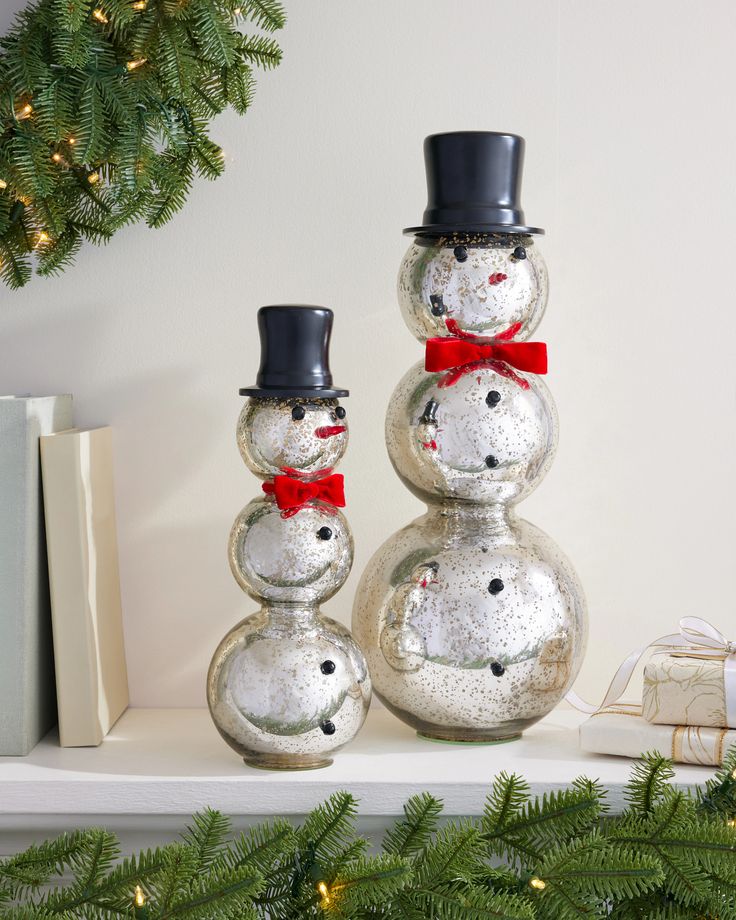
Mason jars are incredibly versatile, and for Christmas, they can be transformed into enchanting luminaries or whimsical snow globes! These crafts add a touch of rustic charm and a cozy, magical glow to your home. They are simple enough for older children with supervision and create beautiful, professional-looking decor that instantly enhances your festive atmosphere. These decorations are great for how to make your home cozy during the holidays.
Mason Jar Luminaries
Materials You’ll Need:
- Clean mason jars (various sizes work well)
- Mod Podge or craft glue
- White glitter, faux snow, or Epsom salt
- Small paintbrushes or sponges
- Ribbon, twine, or lace (for decoration)
- Battery-operated tea lights or fairy lights
- Small festive embellishments (pine sprigs, berries, miniature ornaments)
Step-by-Step Guide:
- Prepare the Jar: Ensure your mason jar is clean and dry.
- Apply Adhesive: Use a paintbrush to apply an even layer of Mod Podge or craft glue to the outside of the mason jar. You can cover the whole jar or create patterns.
- Add “Snow”: While the glue is still wet, sprinkle white glitter, faux snow, or Epsom salt generously over the glued areas. Gently shake off any excess. Repeat until desired coverage is achieved.
- Let Dry: Allow the jar to dry completely. This might take a few hours.
- Decorate: Once dry, tie ribbon, twine, or lace around the neck of the jar. Tuck in small pine sprigs, artificial berries, or miniature ornaments for extra festive flair.
- Illuminate: Place a battery-operated tea light or a string of fairy lights inside the jar. Light it up and enjoy the warm, flickering glow!
Mason Jar Snow Globes
Materials You’ll Need:
- Clean mason jars with tight-fitting lids
- Small waterproof figurines (miniature Christmas trees, reindeer, snowmen)
- Distilled water
- Glycerin (a few drops, helps glitter swirl)
- Glitter (fine, iridescent, or white)
- Hot glue gun or strong waterproof adhesive
- Optional: Epoxy resin (for a permanent seal)
Step-by-Step Guide:
- Prepare the Lid: Hot glue your chosen figurine(s) to the inside of the mason jar lid. Ensure they are securely attached and will fit inside the jar when the lid is closed. Let the glue dry completely.
- Fill the Jar: Fill the mason jar almost to the brim with distilled water.
- Add Glycerin: Add 2-3 drops of glycerin to the water. This helps the glitter float and swirl rather than sinking too quickly.
- Add Glitter: Sprinkle a teaspoon or two of glitter into the water. Adjust the amount to your preference.
- Attach Lid: Carefully place the lid (with the figurine attached) into the jar, screwing it on tightly. Water will likely overflow, so do this over a sink or protected surface.
- Seal (Optional but Recommended): For a permanent, leak-proof seal, apply a bead of hot glue or epoxy resin around the rim of the lid before screwing it on, or after, along the seam.
- Shake and Enjoy: Once sealed, flip your snow globe over, give it a good shake, and watch the magic unfold!
7. Yarn-Wrapped Ornaments
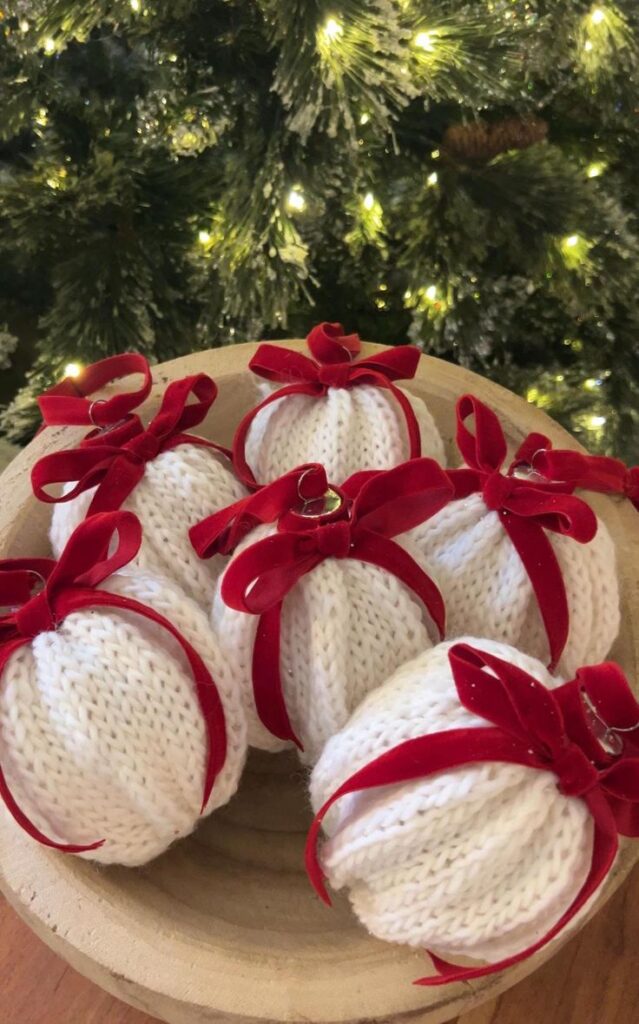
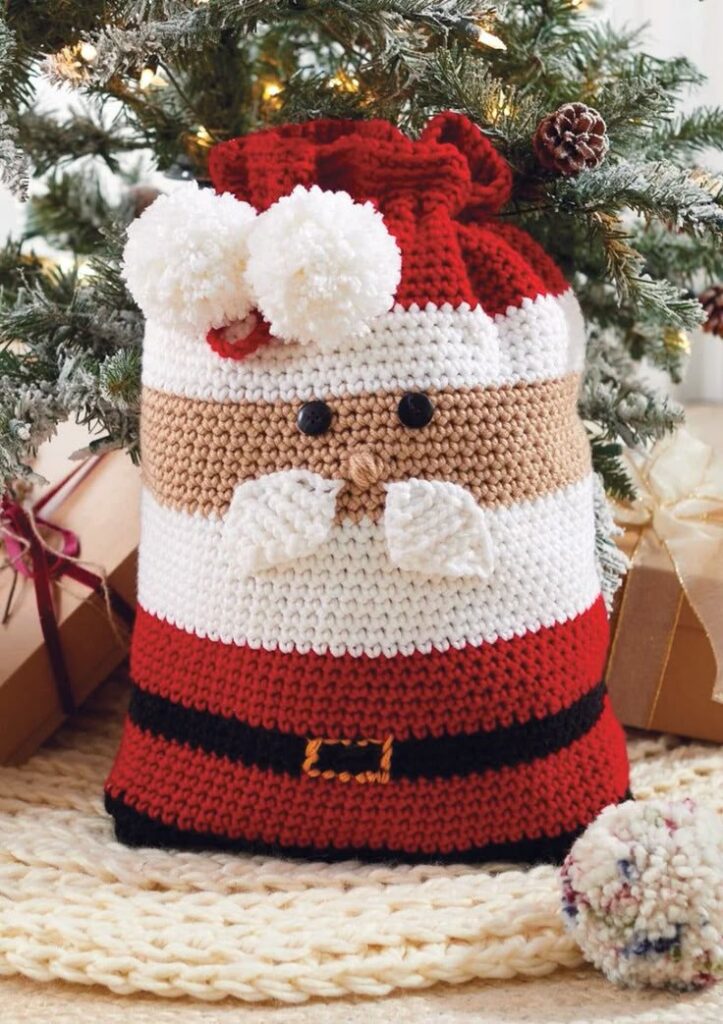

For a craft that’s incredibly tactile and allows for endless color combinations, look no further than yarn-wrapped ornaments! This project is wonderfully meditative, making it perfect for relaxing solo crafting sessions or for engaging older children and teens. It results in cozy, textured ornaments that add warmth and softness to your Christmas tree or holiday display. These are also a fantastic opportunity to use up leftover yarn scraps, making it a sustainable choice. For inspiration on other creative fabric projects, consider DIY fabric wall art using scrap material!
Materials You’ll Need:
- Styrofoam balls or other lightweight spherical shapes (various sizes)
- Yarn in various Christmas colors (red, green, white, gold, silver, variegated)
- Craft glue (PVA or fabric glue)
- Scissors
- Thin ribbon or twine (for hanging)
- Optional: Beads, sequins, small bells for embellishment
Step-by-Step Guide:
- Secure Starting Point: Apply a small dot of craft glue to the Styrofoam ball and press the end of your yarn into it to secure. Let it dry for a minute.
- Start Wrapping: Begin wrapping the yarn tightly around the Styrofoam ball. Work in small sections, applying a thin line of glue to the ball before wrapping the yarn over it. This helps keep the yarn in place and prevents it from unraveling.
- Maintain Evenness: Try to wrap the yarn as evenly and closely as possible, ensuring no Styrofoam shows through.
- Change Colors (Optional): If you want to change colors, simply cut the current yarn, secure the end with glue, and then glue the start of your new color down and continue wrapping.
- Finish Wrapping: When the entire ball is covered, cut the yarn, apply a final dot of glue, and press the end down firmly to secure it.
- Add a Hanger: Cut a loop of thin ribbon or twine. Use a hot glue gun to attach it securely to the top of your yarn-wrapped ornament.
- Embellish (Optional): Once dry, you can hot glue small beads, sequins, or tiny bells onto your ornament for extra sparkle and sound.
8. Delightful Popsicle Stick Ornaments
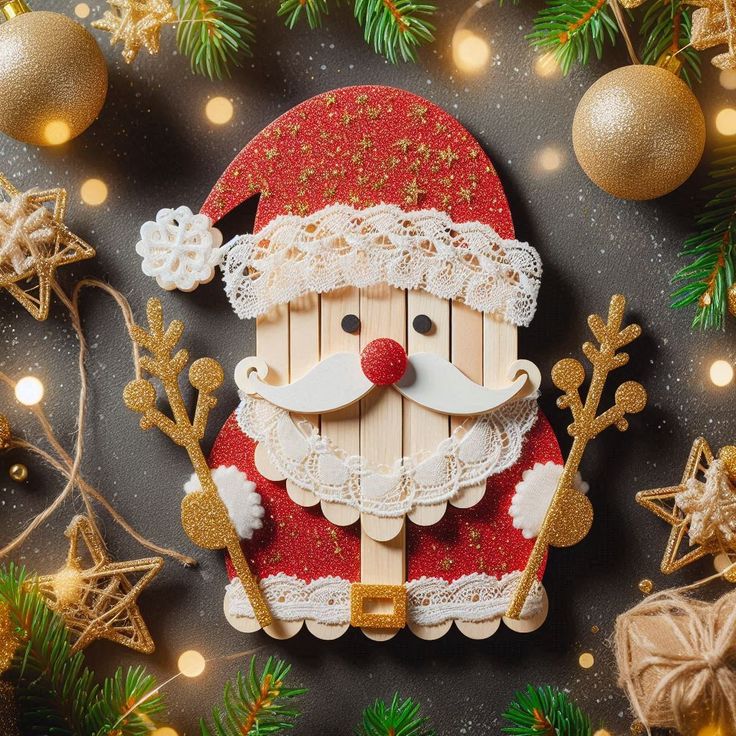
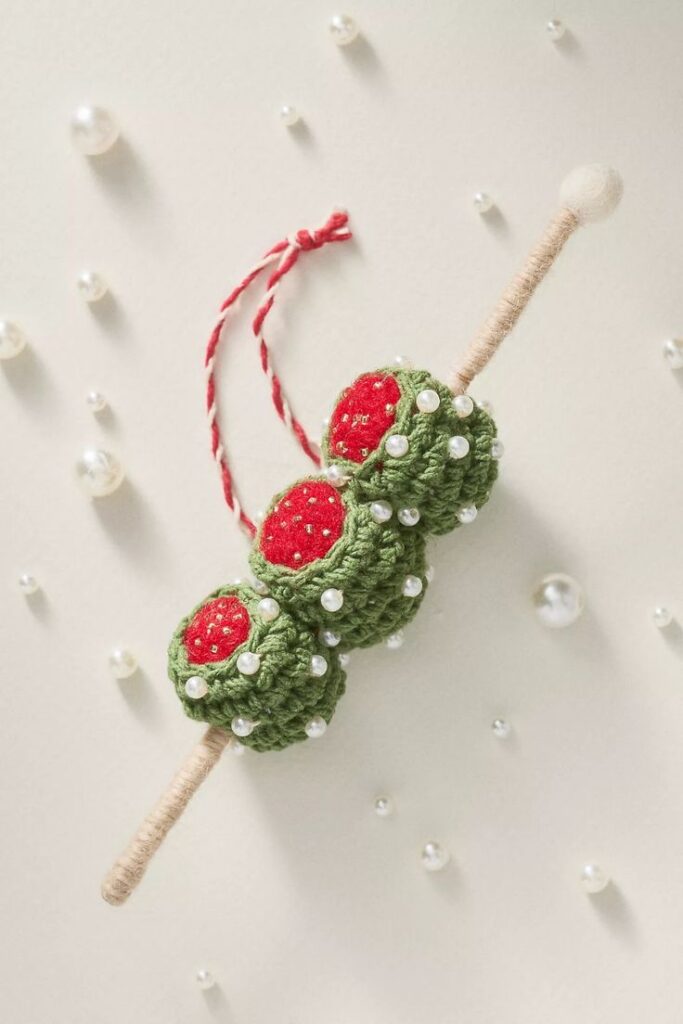

Popsicle sticks (or craft sticks) are a crafter’s best friend – cheap, abundant, and incredibly versatile! For Christmas, they can be transformed into a myriad of adorable and sturdy ornaments, from festive stars and snowflakes to miniature picture frames. This craft is wonderfully adaptable for all ages, promoting creativity and basic construction skills. It’s also an excellent way to get those creative juices flowing, encouraging a sense of exploration akin to developing your unique personal style.
Materials You’ll Need:
- Popsicle sticks (regular or jumbo size)
- Craft glue (PVA glue or wood glue) or hot glue gun (with adult supervision)
- Acrylic paints, markers, glitter, pom-poms, pipe cleaners, buttons, sequins
- Ribbon or twine (for hanging)
Step-by-Step Guide:
Popsicle Stick Star
- Form Triangles: Take three popsicle sticks. Glue them together at their ends to form a triangle. Make two identical triangles.
- Assemble Star: Place one triangle flat on your workspace. Place the second triangle upside down on top of the first, interlocking them. Glue the points where they meet to form a six-pointed star.
- Decorate: Once the glue is dry, paint your star, add glitter, or attach small pom-poms.
- Add Hanger: Hot glue a loop of ribbon to one point for hanging.
Popsicle Stick Snowflake
- Cross Sticks: Take two popsicle sticks and glue them together in an ‘X’ shape.
- Add More Sticks: Glue two more sticks across the ‘X’ to create an asterisk shape (*), ensuring they are evenly spaced.
- Add “Snowflake” Details: Glue smaller pieces of popsicle stick or pipe cleaners to the ends of each arm to create intricate snowflake patterns.
- Decorate: Paint your snowflake white or silver, add glitter, or tiny pearl beads.
- Add Hanger: Glue a loop of ribbon to one arm.
Popsicle Stick Photo Frame Ornament
- Form Square/Rectangle: Glue four popsicle sticks together to form a square or rectangular frame.
- Add Photo: Once dry, glue a small photo (printed to size) to the back of the frame, ensuring it’s centered in the opening.
- Decorate: Embellish the frame with paint, glitter, small buttons, or mini bows.
- Add Hanger: Glue a loop of ribbon to the top of the frame.
9. No-Sew Felt Christmas Decorations
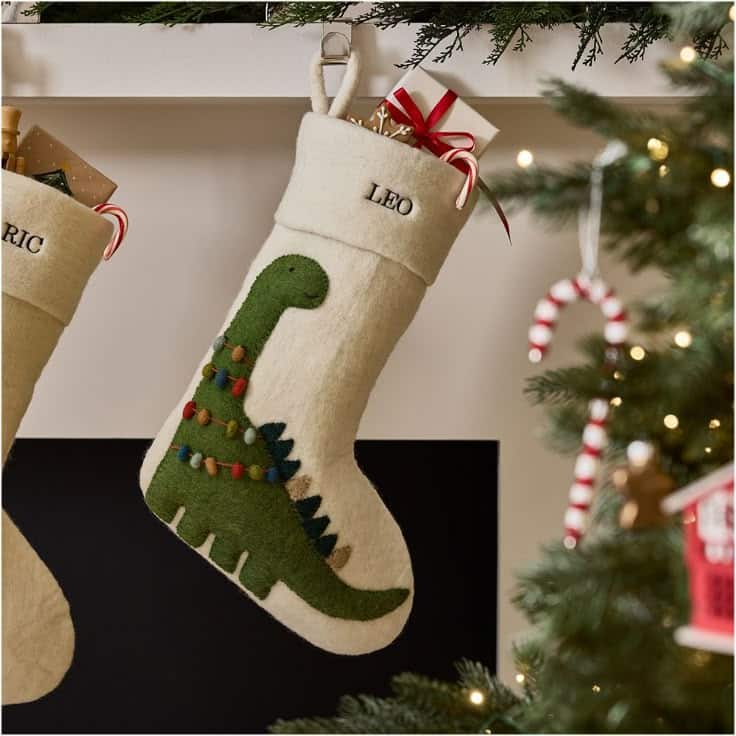
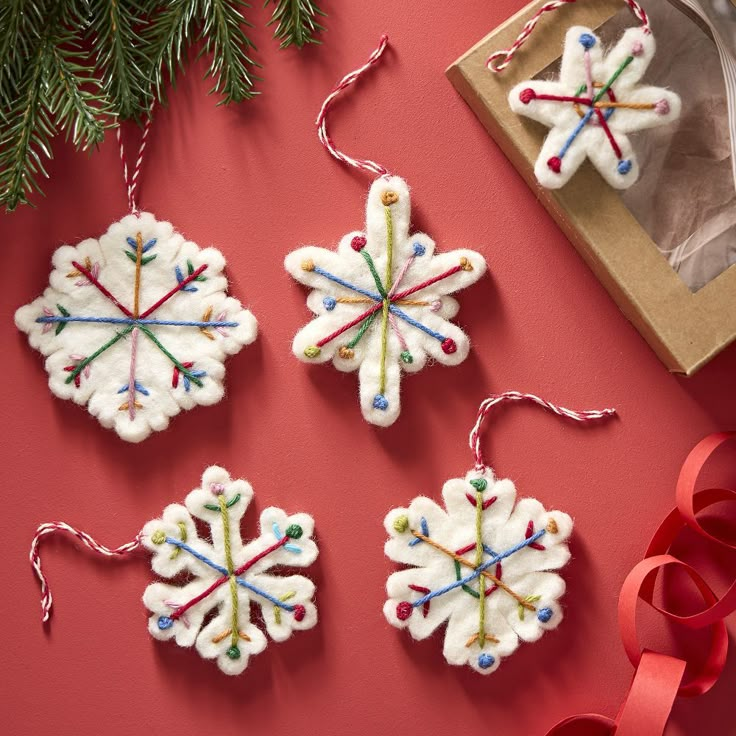
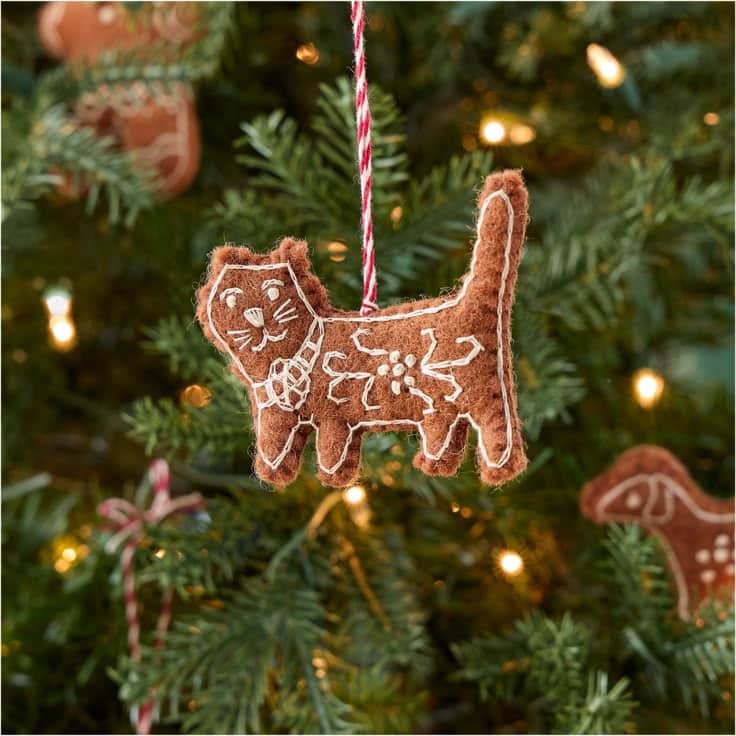
Felt is a dream material for crafting – it’s soft, easy to cut, doesn’t fray, and comes in a rainbow of vibrant colors. These no-sew felt Christmas decorations are perfect for young children (with supervision for scissors) and anyone who wants to create charming, soft ornaments without needing a sewing machine. They add a lovely, tactile quality to your tree and are incredibly forgiving, allowing for plenty of creative freedom.
Materials You’ll Need:
- Felt sheets in various Christmas colors (red, green, white, brown, gold, silver)
- Fabric scissors
- Craft glue (PVA or fabric glue) or hot glue gun (with adult supervision)
- Cotton balls or polyester fiberfill (for stuffing, optional)
- Ribbon or twine (for hanging)
- Optional: Buttons, sequins, small beads, glitter glue, small bells for embellishment
Step-by-Step Guide:
Simple Felt Ornaments (e.g., Tree, Star, Stocking)
- Cut Shapes: Draw or trace simple Christmas shapes (trees, stars, stockings, gingerbread men) onto your felt sheets. Cut out two identical shapes for each ornament.
- Decorate Front (Optional): On one of the felt shapes, glue on small felt cut-outs (e.g., a yellow star on a green tree, white cuffs on a red stocking), sequins, buttons, or glitter glue to decorate the front. Let dry.
- Assemble Ornament: Apply a thin line of craft glue along the edge of one felt shape, leaving a small opening at the top or side if you want to stuff it.
- Stuff (Optional): If stuffing, gently push a small amount of cotton balls or fiberfill into the opening to give the ornament a soft, plump feel.
- Seal and Dry: Apply glue to close the opening and press the two felt shapes together firmly. Let the glue dry completely.
- Add Hanger: Once dry, glue a loop of ribbon or twine to the top of the ornament for hanging.
Felt Garland (No-Stuffing Option)
- Cut Shapes: Cut out a variety of small felt shapes (circles, trees, stars, hearts).
- Assemble: Arrange your shapes in a desired pattern.
- Attach to String: Use a needle to thread your shapes onto a long piece of twine or embroidery floss, or simply hot glue them at intervals onto the twine.
- Hang: Hang your vibrant felt garland across a mantel, window, or doorway.
10. Fluffy Pom-Pom Garlands and Ornaments
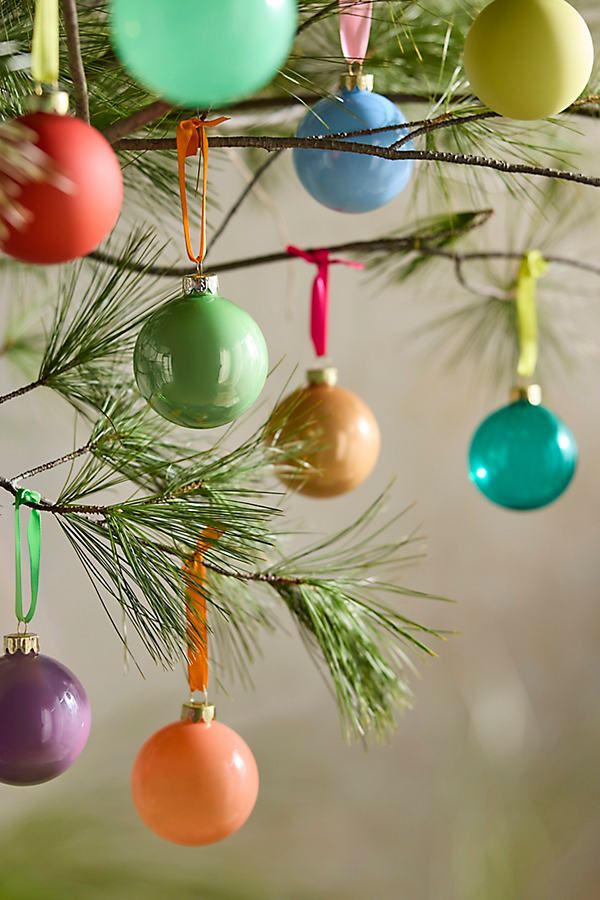
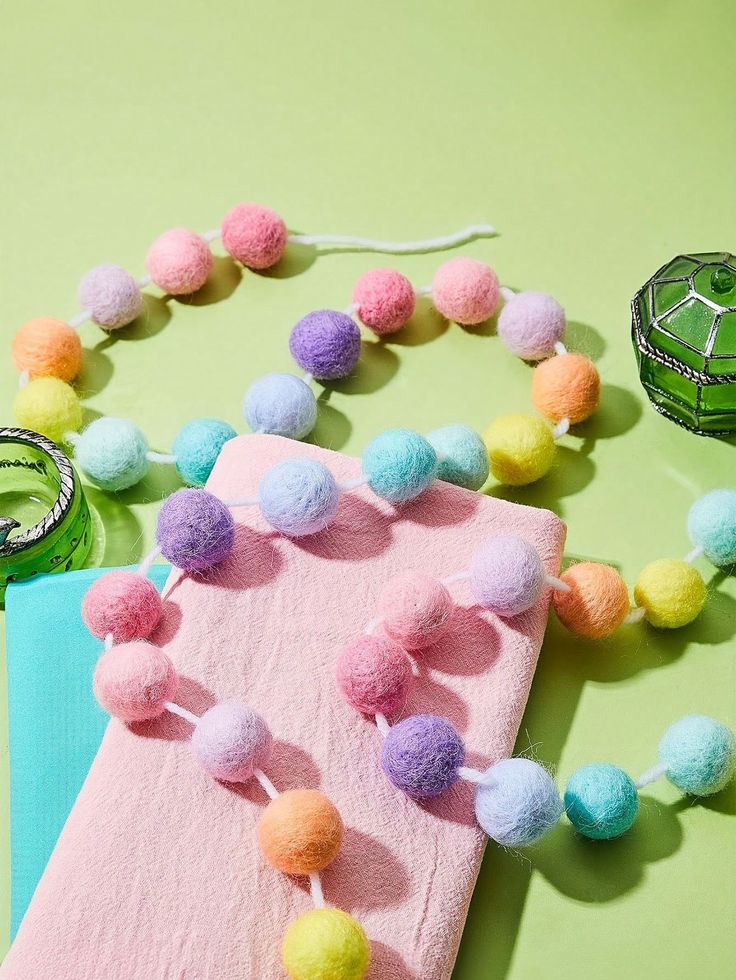
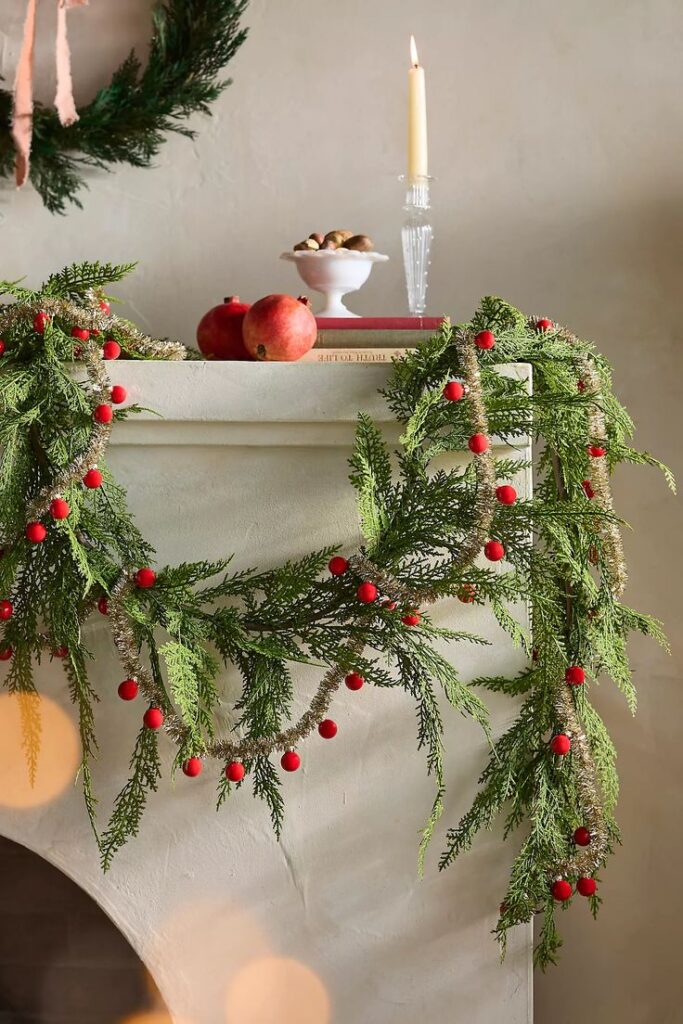
Get ready for some serious fluff and fun with pom-pom garlands and ornaments! Making pom-poms is a wonderfully satisfying activity, and the resulting soft, colorful balls are incredibly versatile for Christmas decor. This craft is excellent for developing fine motor skills and offers a relaxing, repetitive process that can be quite therapeutic. The vibrant colors and playful textures of pom-poms bring a delightful, whimsical feel to any festive display.
Materials You’ll Need:
- Yarn in various Christmas colors (red, green, white, gold, silver, multi-colored)
- Pom-pom maker tools (available at craft stores) or simply cardboard circles
- Sharp scissors
- Darning needle (for garland assembly)
- Thick twine or embroidery floss (for garland)
- Ribbon or twine (for individual ornaments)
- Optional: Small bells, beads for extra embellishment
Step-by-Step Guide:
How to Make Pom-Poms (using a pom-pom maker):
- Open Pom-Pom Maker: Open the two halves of your pom-pom maker tool.
- Wrap Yarn: Take one half of the pom-pom maker and start wrapping yarn around its arch. Wrap firmly and evenly until it’s quite full. Close that half. Repeat for the other half.
- Close Maker: Close both halves of the pom-pom maker. It should snap shut.
- Cut Yarn: Using sharp scissors, carefully cut through the yarn along the groove created by the pom-pom maker’s hinge.
- Tie Securely: Cut a separate piece of yarn (about 8-10 inches). Thread it into the groove and tie a very tight double knot around the center of the pom-pom maker. This is crucial for keeping your pom-pom together.
- Open and Trim: Open the two halves of the pom-pom maker and gently pull them apart. Remove your fluffy pom-pom.
- Trim and Shape: Trim any uneven strands with scissors to create a perfectly round, dense pom-pom. Don’t be afraid to give it a good haircut!
Making a Pom-Pom Garland:
- Make Many Pom-Poms: Create a collection of pom-poms in various sizes and colors.
- Thread Garland: Thread a long piece of sturdy twine or embroidery floss onto a darning needle.
- Assemble: Push the needle directly through the center of each pom-pom, stringing them onto the twine. You can space them out evenly or clump them together for a fuller look.
- Hang: Hang your beautiful, fluffy garland across a mantel, staircase, or window.
Making Individual Pom-Pom Ornaments:
- Make Pom-Poms: Create individual pom-poms.
- Add Hanger: Use the two ends of the center tie-off string (from step 5 of “How to Make Pom-Poms”) to create a loop for hanging. If you trimmed these too short, simply hot glue a separate loop of ribbon or twine to the top of the pom-pom.
- Embellish (Optional): You can hot glue small bells or beads to the bottom or sides of the pom-pom for extra festive charm.
The magic of Christmas isn’t just in the gifts exchanged or the carols sung; it’s also in the precious moments created together, especially when crafting. These 10 super fun and easy Christmas crafts offer a fantastic way to infuse your home with handmade joy, create lasting memories with loved ones, and add a unique, personal touch to your holiday celebrations. From glittery pinecones to sentimental handprint art and cozy yarn creations, each project provides an opportunity for creativity, relaxation, and heartwarming connection.
So, this holiday season, don’t just decorate – create! Gather your materials, unleash your inner artist, and embark on a crafting adventure. The handmade treasures you create will not only bring beauty to your home but also become cherished mementos of a truly joyful and creative Christmas. Start unwrapping that joy today!
- 1.7Kshares
- Facebook0
- Pinterest1.7K
- Twitter3
- Reddit0
