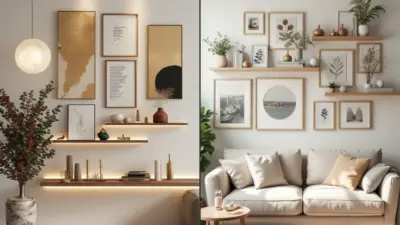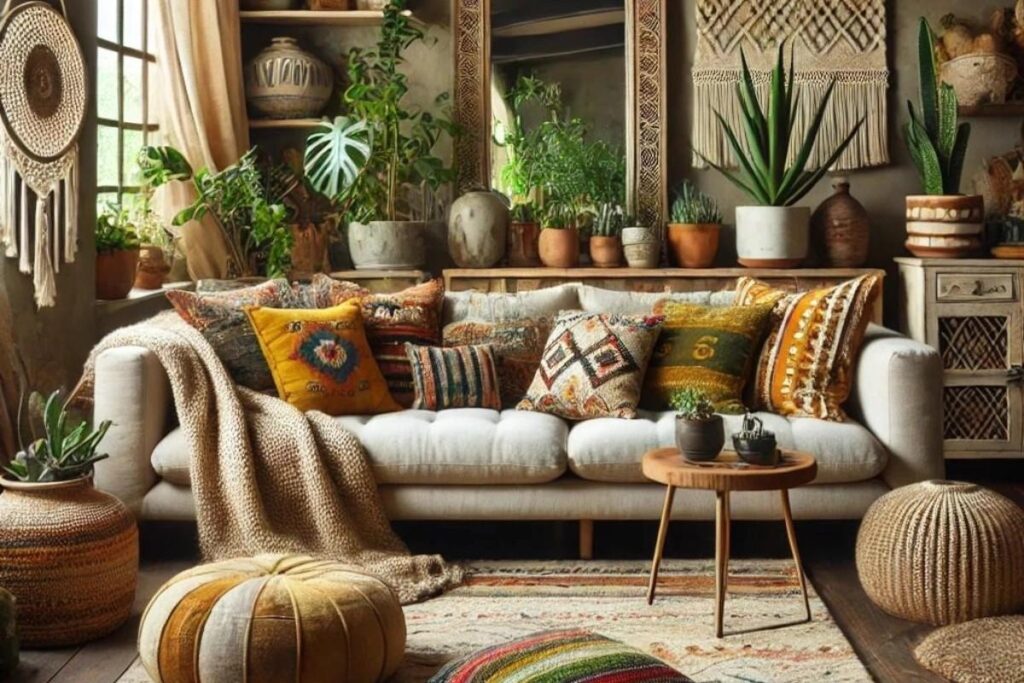
DIY room décor crafts are one of the easiest ways to change how your home feels without major renovations or a large budget. Simple projects can completely shift a room’s atmosphere and help you express your personal style. As I explored handmade craft ideas, I realized how accessible they are for beginners—whether it’s a $15 blanket ladder that takes just a few hours or a macramé wall hanging that instantly softens a plain wall.
In this article, you’ll find six beginner-friendly DIY projects that add warmth, texture, and character to your home. They use affordable materials, require no special tools, and help your space feel cozy and intentional without emptying your wallet.
1. Punch Needling Kits by Punchora

Punch needling ranks among the most available room decor crafts that beginners can use to add texture and warmth to their homes. This traditional craft—also known as rug hooking—creates beautiful textured designs that turn plain surfaces into eye-catching pieces. Many beginners appreciate how punch needle kits by Punchora provide all materials in one place, making it easier to focus on learning the technique rather than gathering supplies. The method lets you push yarn through fabric with a special tool to create loops that stay put through tension rather than knots.
Why this project works well for beginners:
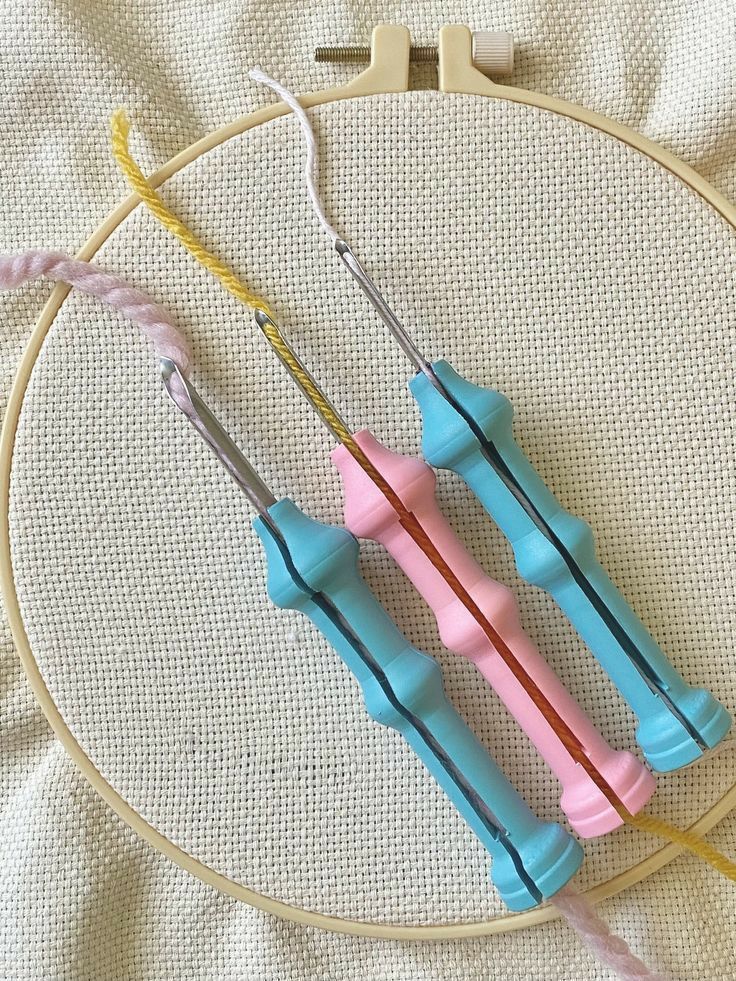
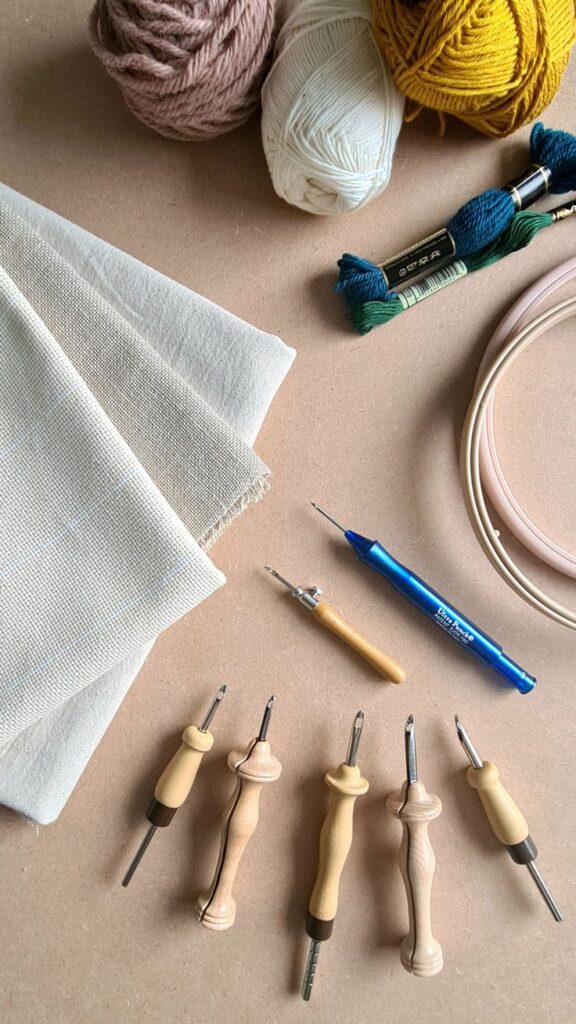
- You need just a few things to start—a punch needle tool, embroidery hoop, fabric, and yarn or embroidery floss.
- The results show up quickly and look great, perfect if you’re an impatient beginner who wants to see progress right away.
- You’ll become skilled at the technique once you get the basics—no counting, no complex stitches, no tricky patterns.
- Small projects take about an hour to finish, making this craft perfect if you’re short on time.
- Most kits include everything you need, with pre-printed designs that take away the guesswork.
Punch needling gives new crafters an easier learning curve than embroidery or knitting. The technique is straightforward—you just “punch” yarn through fabric to make loops, without any knots or complex stitches. You can fix mistakes easily by pulling out loops and trying again.
Starting out? Pick simple geometric or round designs instead of complex patterns. Your fabric needs to be drum-tight in the hoop to keep your loops secure. Many new crafters use twill tape around the inner hoop for extra grip.
Punch needling shines as a DIY home decor option because it’s so flexible. Once you know the basics, you can create any design—abstract patterns, landscapes, text, or florals. Each project gives you two different looks—one smooth side and one looped side.
Where to use this DIY craft in the home:
- Wall art: Most people hang their punch needle projects as decorative pieces that add texture and color to empty walls.
- Coasters: Small punch needle designs make practical and pretty table accessories.
- Throw pillows: Your finished pieces can become unique cushion covers that update your living room instantly.
- Rugs: Bigger projects work as statement floor coverings near entryways or beds.
- Framed art: Smaller works look great in frames on shelves or gallery walls.
2. Macramé Wall Hangings
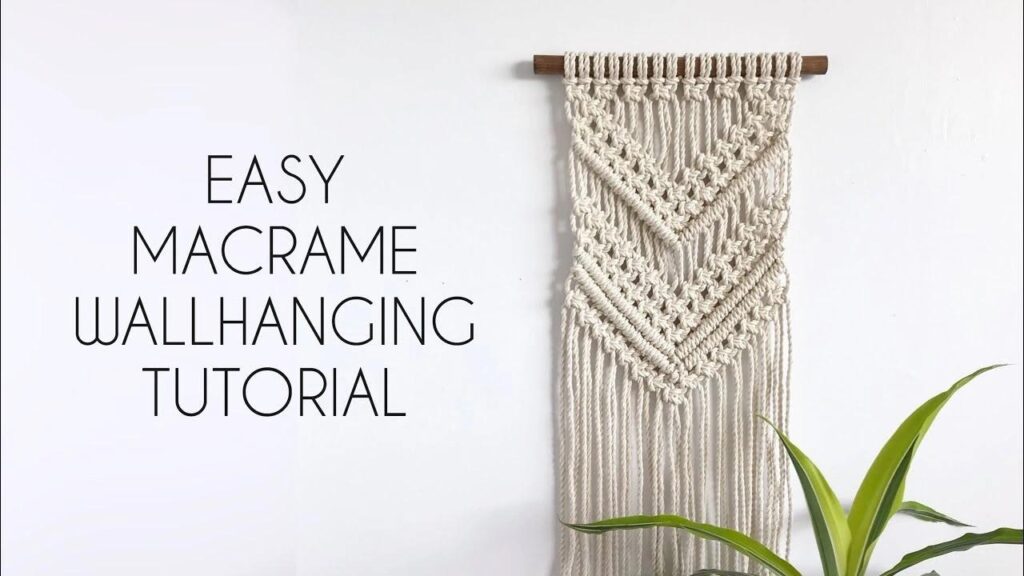
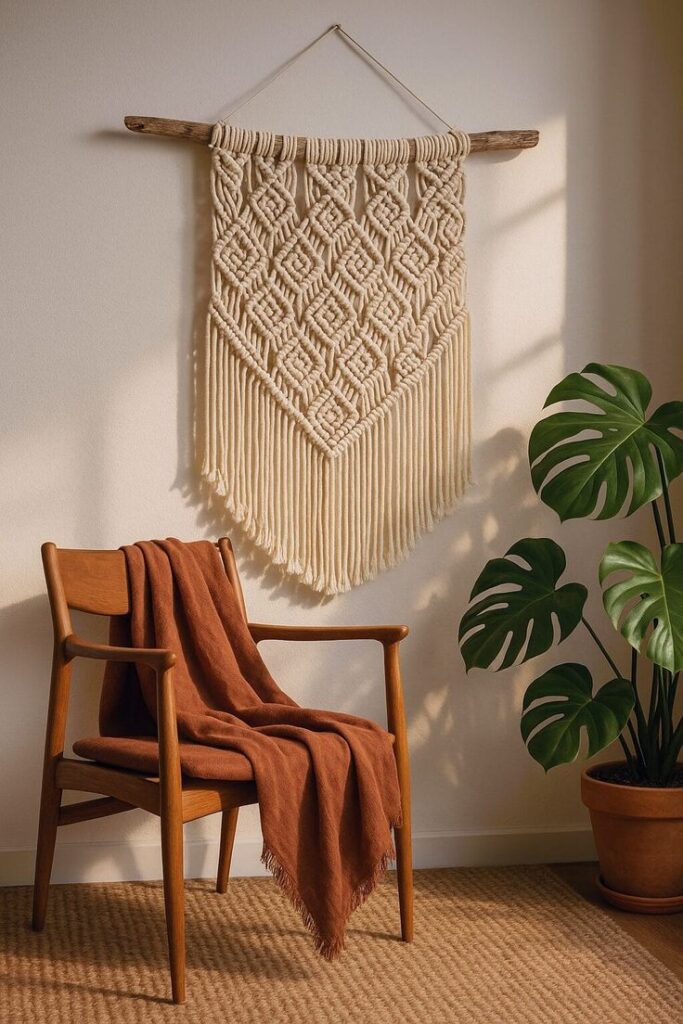
Macramé wall hangings are making a comeback in home décor. This artistic knotting technique from the 1970s has found its way into modern interiors with fresh, contemporary designs. You can create beautiful wall decorations using simple knots and natural materials. Cotton cord or merino wool attached to wooden dowels or driftwood gives that perfect bohemian touch.
Why this project works well for beginners:
- You only need to learn 2-3 simple knots to create impressive designs. The lark’s head knot attaches cords to the dowel, while the square knot creates most pattern work
- Small wall hangings take just a few hours to complete. You can finish projects in a single sitting, which is perfect when you want quick results
- You can easily fix mistakes by undoing knots and trying again. This makes macramé very forgiving for newcomers
- Video tutorials are accessible to more people online and show exact movements. Remember – “with macramé, a video is worth a thousand pictures”
- You need minimal and affordable materials to start – just cords, a wooden dowel, and maybe some beads or embellishments to add interest
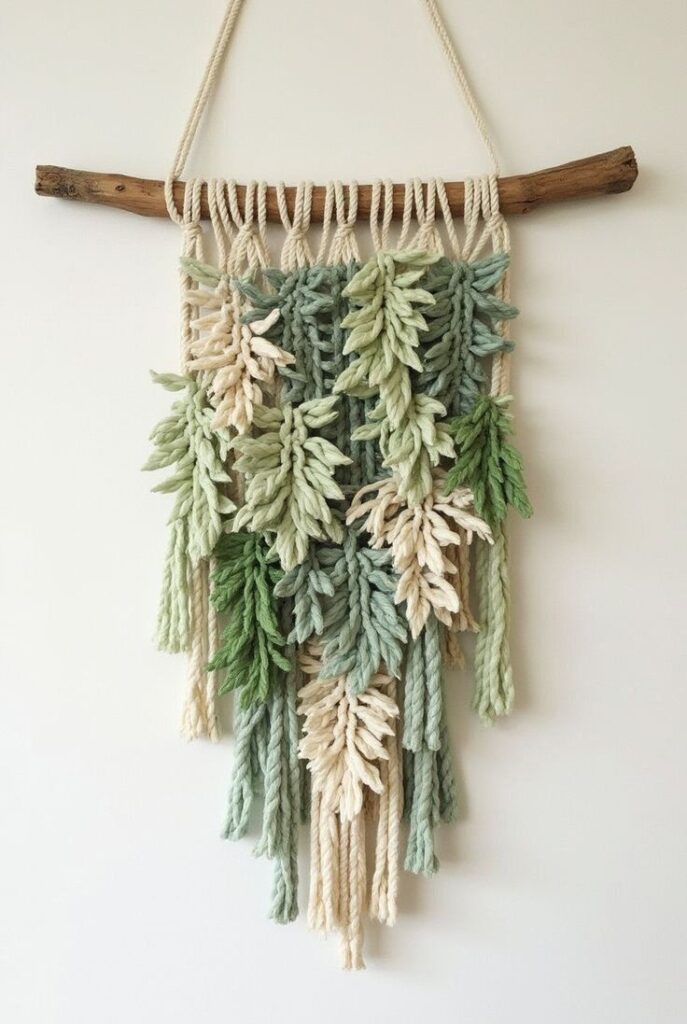
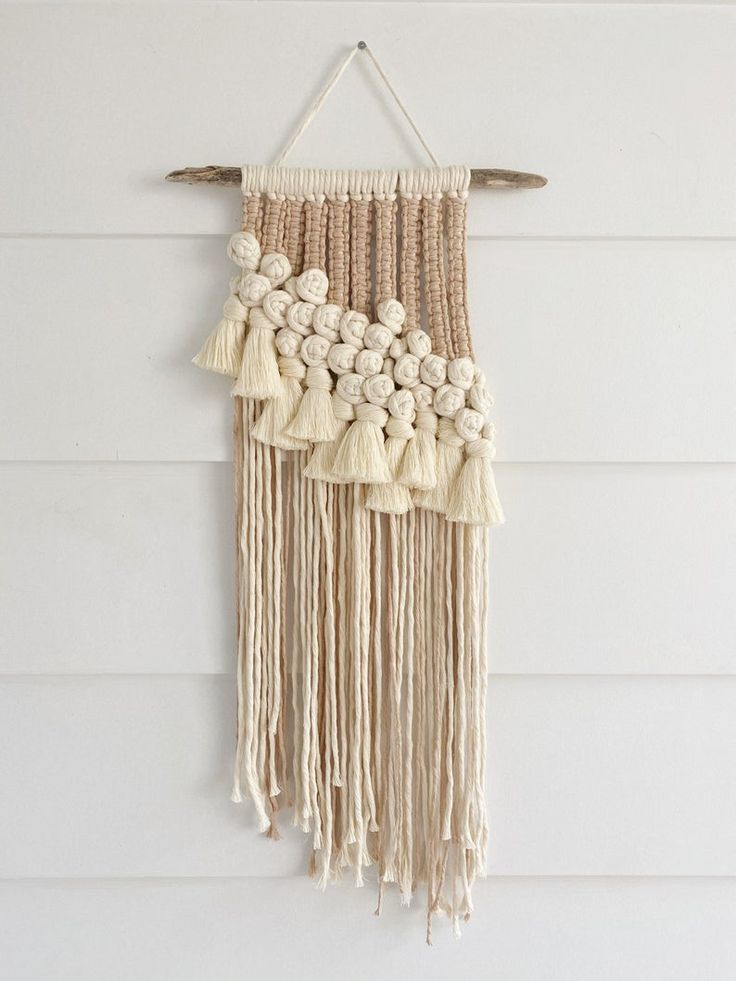
I’ve found that macramé is all about patterns of knots. This sounds simple but opens up incredible creative possibilities. The craft creates three-dimensional texture that catches light in unique ways and adds depth to plain walls. New crafters should start with small projects to build confidence before tackling larger pieces. Many tutorials help by labeling patterns as “beginner-friendly”.
One of the most important advantages of macramé lets you practice small sections at a time. Many beginner patterns use repeated motifs, so you can master one section before moving forward. Several beginner-friendly tutorials suggest practicing knots separately before combining them into a wall hanging.
Where to use this DIY craft in the home:
- Your living room needs a large piece above the sofa to create an immediate conversation starter and visual anchor
- The bedroom looks dreamy with a piece above the bed that creates a calming focal point without traditional headboard costs
- Even tiny entryways come alive with small macramé works that create an immediate warm welcome
- Small pieces add softness to kitchen or dining areas that usually have hard surfaces
- Bathroom spaces feel warmer with hanging pieces that handle humidity well
3. Custom Painted Furniture

Painting old furniture is a budget-friendly way to give tired pieces new life and add your personal touch to your home. Instead of buying new items, painted furniture lets you create exactly what you want. You can turn that thrift store find or family heirloom into something that’s uniquely yours. As a budget-friendly room decor craft, furniture painting is one of the most influential ways to refresh your space without spending too much.
Why this project works well for beginners:
- You need minimal tools—just brushes, paint, and simple prep supplies make this an available craft to start
- The techniques are forgiving—hand-painted imperfections add character and charm to pieces
- You don’t need to strip furniture down to bare wood—removing the glossy finish is often enough
- You’ll see quick results—dramatic changes happen in a weekend, giving you immediate satisfaction
- The financial risk is low—start with small pieces like side tables or stools before tackling larger projects
The beauty of furniture painting as a DIY home decor idea comes from its flexibility. You don’t need artistic talent to get professional-looking results. The most important part is proper preparation, not perfect brushwork. New painters often worry about visible brush strokes, but these small imperfections actually add to the piece’s handmade charm.
Chalk paint has become a favorite among beginners because it needs minimal prep and is forgiving to apply. This paint sticks well to most surfaces without much sanding or priming. If you want something more durable, acrylic or mineral-based paints give excellent coverage with built-in topcoats.
Starting your furniture painting experience works best when you pick pieces with solid construction but outdated finishes. Real wood furniture creates heirloom-quality pieces that last for years. You can paint laminate furniture too—just start with a primer made for this surface.

Where to use this DIY craft in the home:
- Kitchen and dining areas—painted chairs or stools add pops of color in neutral spaces
- Bedrooms—nightstands, dressers, and bed frames become statement pieces with custom colors
- Living rooms—coffee tables, side tables, and bookcases can anchor your color scheme
- Home offices—filing cabinets and desks become personalized with paint
- Entryways—console tables and benches make striking first impressions
4. DIY Wall Paneling
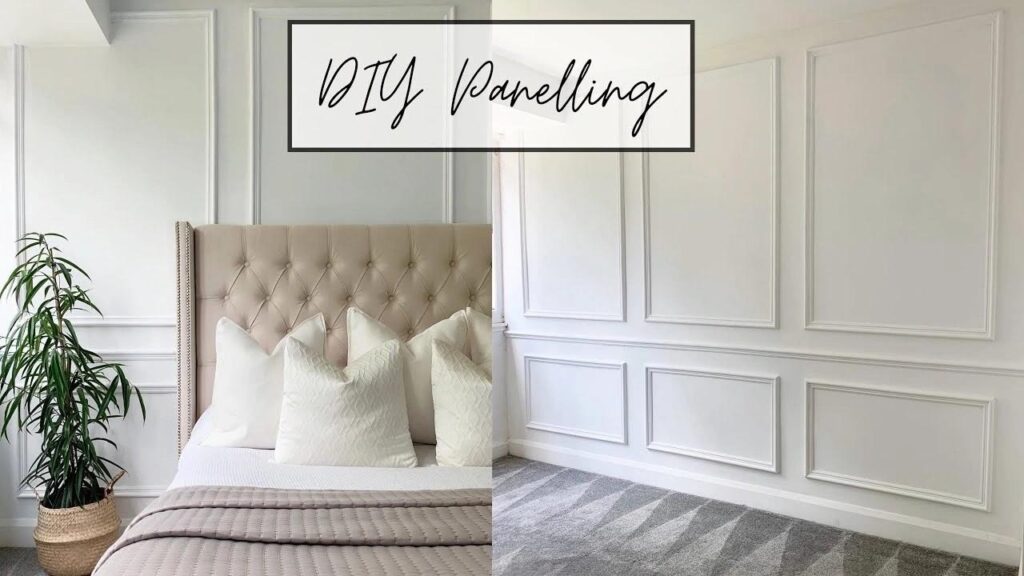
Wall paneling is a versatile room decor craft that adds architectural interest and character to plain walls. You don’t need artistic talent for this DIY project. The project turns ordinary spaces into designer-looking rooms by adding texture, dimension, and style. Wall paneling has come a long way from the dated ’70s wood panels. Modern options range from sleek beadboard to sophisticated board and batten designs that create instant visual appeal.
Why this project works well for beginners:
- You need minimal tools—many paneling kits are made for weekend installation by DIYers with simple skills
- The techniques are forgiving—imperfect measurements often disappear under paint
- Budget-friendly transformation—MDF (medium-density fiberboard) panels are an economical alternative to solid wood but look just as good
- You can choose your difficulty level—options range from simple peel-and-stick panels to more involved board and batten installations
- Results show up after just one day—giving you quick satisfaction compared to longer multi-step projects
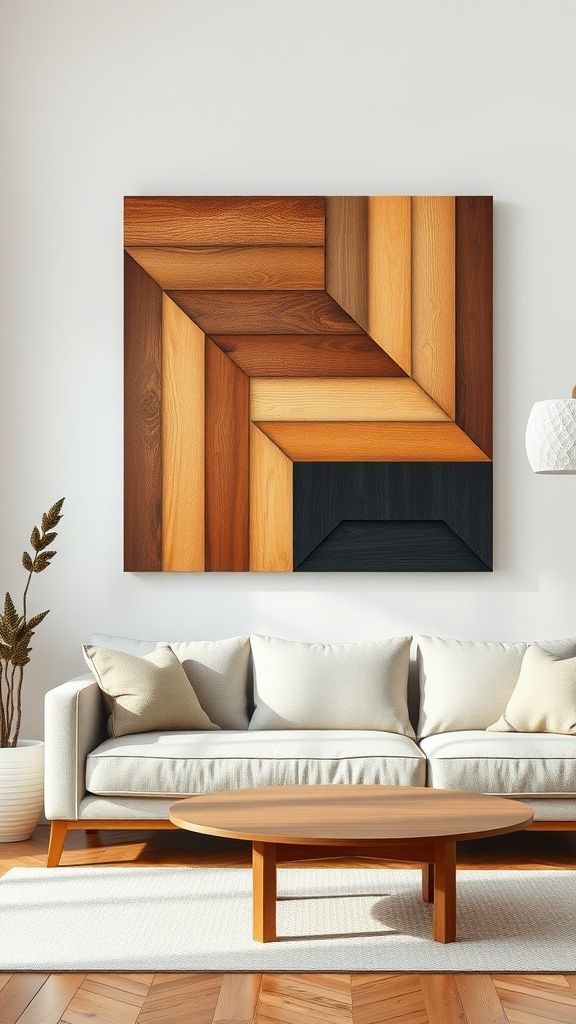
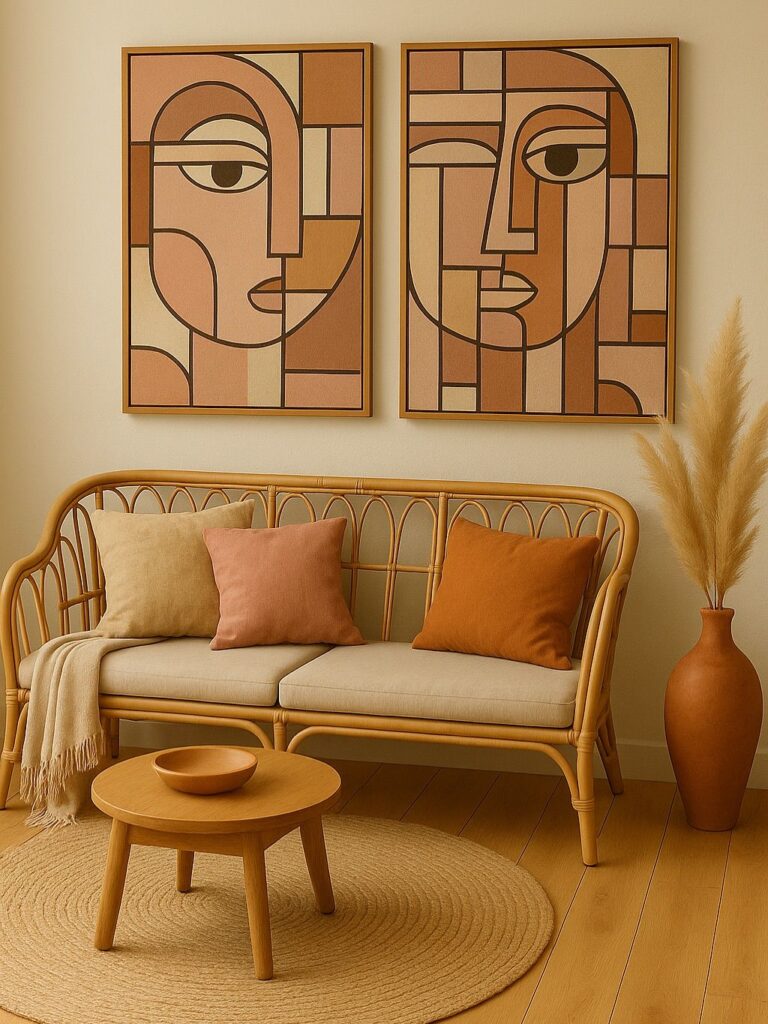
Wall paneling creates dramatic changes by adding architectural interest to plain surfaces. This easy room decor craft bridges the gap between simple decorative projects and bigger renovations. Beginners can start with pre-made panels from home improvement stores, though these might limit design options.
MDF panels have become a popular choice because they’re budget-friendly and create convincing beads or grooves with fewer panel joins. Peel-and-stick panels don’t need nails or special tools, making them ideal for quick installations.
Most wall paneling projects share simple steps regardless of style. You’ll start by measuring your wall and planning your design—sketch it out first. Next comes surface preparation. Clean, level, and stable surfaces dramatically improve your final results. The installation uses either adhesive or nails into wall studs, depending on your material and wall condition.
Where to use this DIY craft in the home:
- Living rooms—create stunning accent walls behind sofas or entertainment centers that become instant focal points
- Bedrooms—add texture behind beds instead of headboards or to create cozy atmospheres
- Dining areas—install beadboard or board and batten for classic charm and protection from chair marks
- Entryways—create memorable first impressions with decorative wall treatments that set your home’s style
- Home offices—enhance acoustics while adding visual interest with sound-absorbing panel designs
5. Handmade Window Treatments
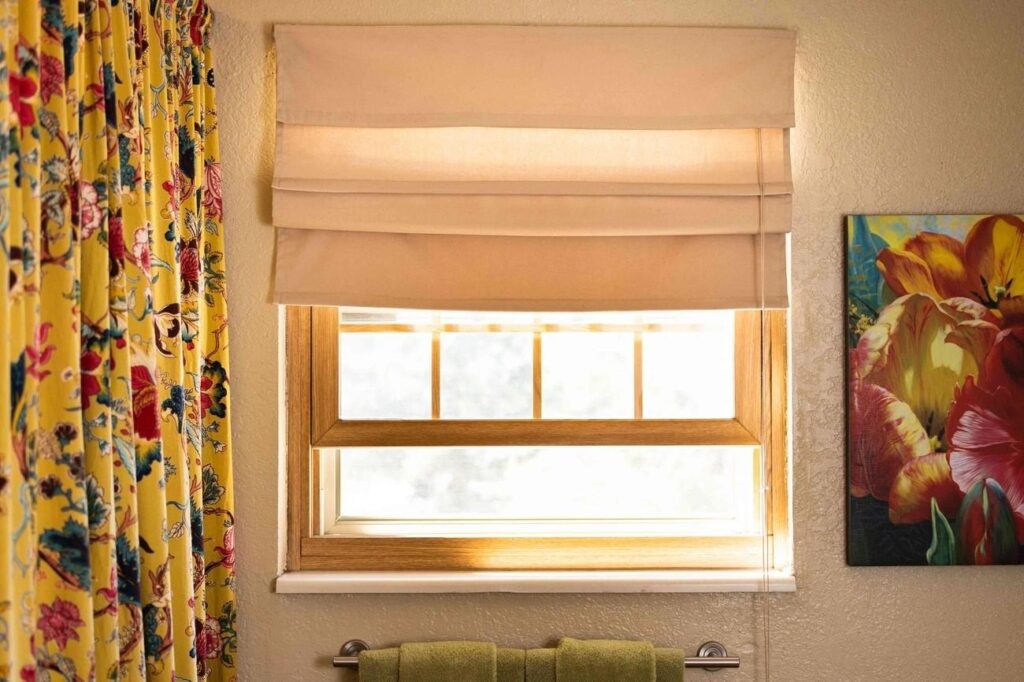
You can create your own window treatments for a fraction of what custom ones cost. Room decor crafts like handmade window coverings are a great way for beginners to personalize their homes. These projects don’t need complex skills. You can make anything from no-sew curtain panels to simple valances that change plain windows into design statements. They also help control light and add privacy.
Why this project works well for beginners:
- Projects take little time—many window treatments need just 10-15 minutes, and detailed ones take about an hour
- No-sew options work without sewing machines—iron-on hemming tape creates professional-looking hems
- Tension rods let you install everything without damage or drilling
- Materials don’t cost much—you can use tea towels, scarves, or half-yards of fabric
- Your room changes faster than with almost any other DIY project
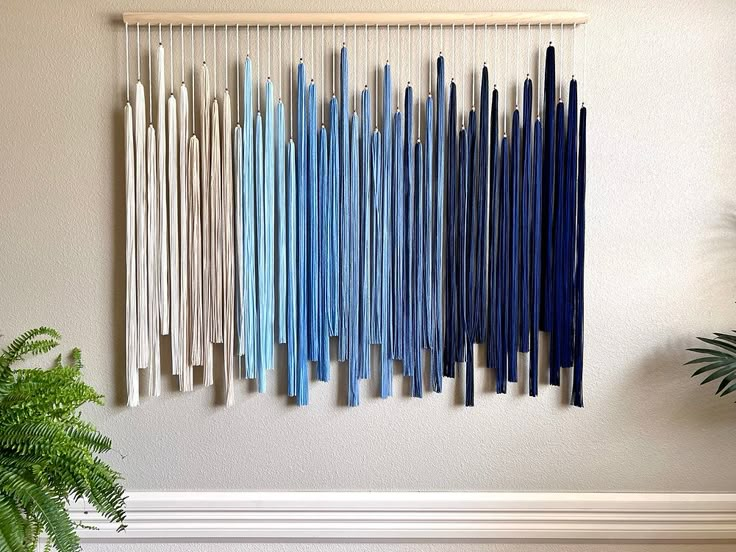
These handmade window treatments are one of the best values among easy room decor crafts. Custom treatments from stores can cost thousands, but DIY versions range from $8 for a simple shade to $50 for custom curtain panels. Beginners love these projects because they’re quick and easy.
No-sew curtains use heat-activated hemming tape (like Heat-N-Bond). This tape creates strong, professional seams with just an iron. The results look just like machine-sewn hems without needing special equipment or skills. You just put the tape between fabric layers and apply heat as directed.
Want the fastest window upgrade? Use pre-made items creatively. Tea towels, scarves, or sheets become curtains when you attach them to a rod with curtain clips. This takes minutes but adds style to kitchen windows or small bathrooms.
Where to use this DIY craft in the home:
- Kitchen windows—cafe curtains filter light and add privacy, especially above sinks
- Bathrooms—short curtain panels soften utilitarian spaces
- Bedrooms—blackout-lined curtains or Roman shades help you sleep better
- Living areas—decorative valances add style without blocking light
- Home offices—light-filtering treatments cut screen glare but keep the view
6. Easy Throw Pillow Covers
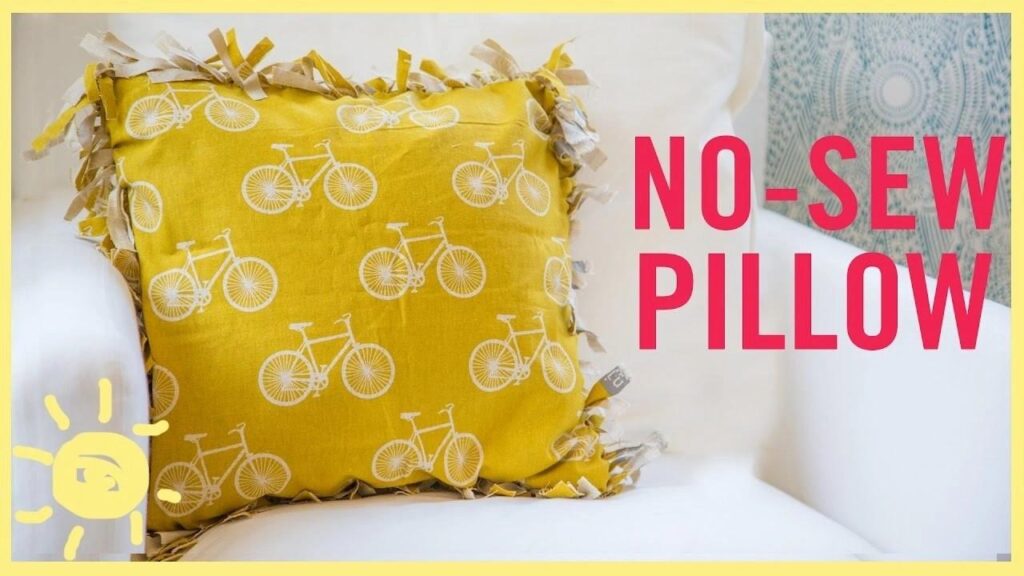
You don’t need advanced sewing skills to give your sofa or bed a fresh look with custom throw pillows. These room decor crafts are among the quickest projects you can tackle. Most people finish them in 20 minutes or less. These simple additions can change your room’s appearance instantly, and you can swap them out with the seasons or whenever you feel like a change.
Why this project works well for beginners:
- You only need fabric, iron-on hemming tape for no-sew versions, or simple straight stitches if you’re sewing
- A cover takes just 15-20 minutes from start to finish
- No-sew methods are as simple as wrapping a present if you don’t have a sewing machine
- Small imperfections add to the handmade charm
- You’ll save money—DIY covers cost $10-15 instead of $35-90 for store-bought ones
No-sew pillow covers are the perfect starting point for DIY home decor ideas. People who say they’re “NON-crafty” can create these covers using fabric fusion glue or simple wrapping techniques. Beginners love envelope-style pillowcases because they need just one piece of fabric and a few straight seams, secured with glue or stitching.
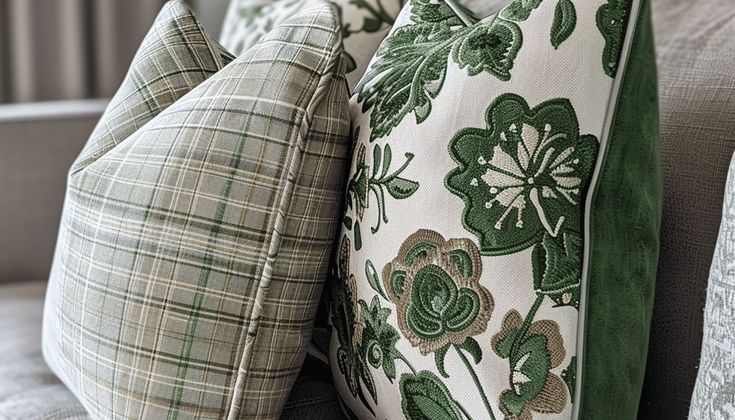
Making pillow covers instead of buying new pillows has a big advantage—you can reuse them. Once you have quality pillow inserts, you can switch covers to match different seasons, holidays, or whenever you want something new. This saves money and storage space since folded covers take nowhere near as much room as complete pillows.
Where to use this DIY craft in the home:
- Living rooms—give sofas and chairs seasonal colors or patterns
- Bedrooms—add texture and comfort with coordinating or contrasting designs
- Reading nooks—make cozy floor pillows for children’s reading areas
- Outdoor spaces—create weather-resistant versions for porches or patios
- Home offices—add comfort to desk chairs or create floor seating options
Comparison Table
| DIY Craft | Difficulty Level | Completion Time | Simple Materials Needed | Best Room Placement | Approximate Cost | Key Benefits |
| Punch Needling Kits | Easy – Minimal learning curve | About 1 hour for small projects | Punch needle tool, embroidery hoop, fabric, yarn/floss | Bedrooms, Living spaces | $25-145 for kits | Fast results, simple fixes, adds texture to art |
| Macramé Wall Hangings | Easy – Needs 2-3 simple knots | Few hours for small pieces | Cotton cord/merino wool, wooden dowel, beads | Living room, Bedroom, Entryway | Not mentioned | Allows mistakes, easy to undo, creates depth |
| Custom Painted Furniture | Moderate | Weekend project | Brushes, paint, prep supplies | Kitchen, Bedroom, Living room | Not mentioned | Cost-effective, customizable, transforms spaces |
| DIY Wall Paneling | Beginner-friendly | One day | MDF panels, adhesive/nails | Living rooms, Bedrooms, Dining areas | Not mentioned | Enhances architecture, improves sound, resists wear |
| Handmade Window Treatments | Very Easy | 10-15 minutes to 1 hour | Fabric, hemming tape, tension rods | Kitchen, Bathroom, Bedroom | $8-50 | Quick updates, no sewing needed, fits any budget |
| Easy Throw Pillow Covers | Very Easy | 15-20 minutes | Fabric, hemming tape or simple sewing supplies | Living room, Bedroom, Reading nooks | $10-15 per cover | Quick project, seasonal options, easy storage |
Conclusion
You don’t need professional design skills or expensive décor to make your home feel cozy and personal. The six projects in this article show how beginner-friendly crafts like punch needling, macramé, painted furniture, wall paneling, window treatments, and pillow covers can transform plain rooms with simple materials and a bit of patience.
These ideas stand out because they combine practicality with personality. You gain pieces that suit your taste, fit your budget, and tell a story about the time and care you invested. Perfection isn’t the goal here—small imperfections add charm and prove that the item was made by hand. Once you complete your first project, you’ll start seeing new opportunities around your home and think, I could make that myself. That confidence may be the most rewarding part of the entire process.
- 3shares
- Facebook0
- Pinterest0
- Twitter3
- Reddit0


