Transforming your bedroom doesn’t have to cost a lot or take forever. With a little creativity and some basic supplies, you can completely refresh your space through simple, personalized DIY projects. DIY room decor lets you show off your unique style, create a more comfortable atmosphere, and add touches that truly feel like you.
Whether you love bold wall art, cozy lighting, or clever storage ideas, there’s a project out there that will fit your personality and budget. These ideas are designed to be fun and achievable—perfect for revamping your room over a weekend or during a break from school.
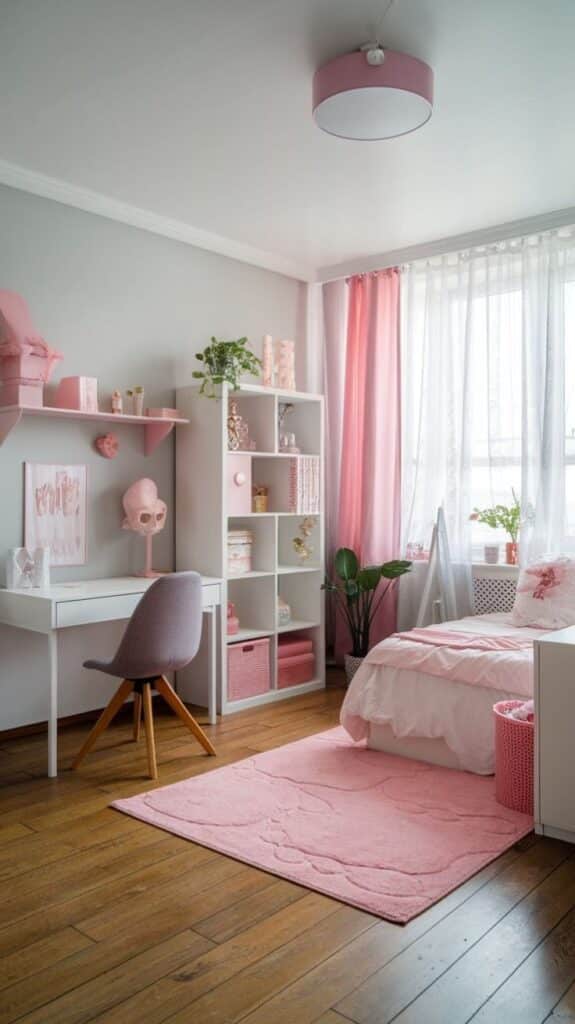
Key Takeaways
- Easy DIY decor ideas help you personalize your space.
- Get inspired with creative wall art, lighting, and furniture projects.
- Add unique touches that make your room feel like home.
Essential DIY Room Decor Ideas for Teen Girls
Making your space reflect your personal style, favorite colors, and positive messages can have a big impact on your mood and creativity. Small updates like changing your color scheme, adding bold shades, and creating displays with meaningful quotes help make your room truly yours.
Choosing a Color Scheme
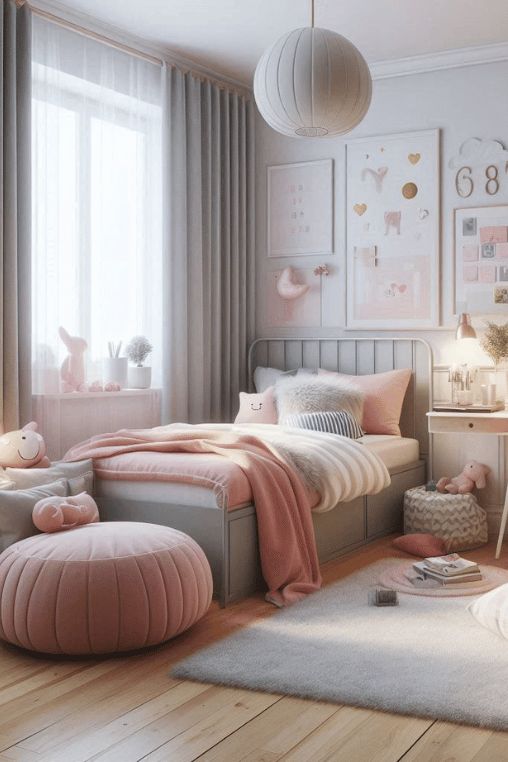
Picking a color scheme is an important first step for any teenage girl bedroom makeover. Decide if you prefer a calm and peaceful vibe or something energetic and bold. Go with two or three main colors and a couple of accent hues to keep your look cohesive.
Popular options include:
- Soft pastels: create a relaxing atmosphere
- Neutrals: let you add pops of color with accessories
- Jewel tones: add a sense of luxury and coziness
Write down fabrics, bedding, and wall art that match your palette. Consider making a simple mood board using photos, magazine cutouts, or even digital tools for visual reference.
Incorporating Bright Colors
Bright colors can instantly lift your space and make it feel welcoming. You don’t have to paint all the walls—small changes work, too. Decorative pillows, rugs, DIY pom-pom rugs, or colorful curtains can bring in energy without overwhelming the room.
Try these ideas:
- Paint one accent wall in a favorite bright shade.
- Use string lights or LED strips for pops of neon or rainbow hues.
- Make your own wall art with bright washi tape, paper flowers, or canvas paintings.
Mixing bold colors with neutrals or pastels helps balance the space. Rearranging and updating accessories lets you change up your look as your tastes shift over time.
Adding Inspirational Quotes
Inspirational quotes add personality and motivation to your teen room decor. You can create your own wall art using printed stencils, custom decals, or hand-lettered canvases. Choose quotes that remind you to stay positive, chase your dreams, or express what matters most to you.
Easy ways to display your favorite sayings:
- Frame a quote and hang it above your desk or bed.
- Use adhesive vinyl to apply quotes directly onto your wall or mirror.
- Make a pinboard featuring rotating notes, lyrics, or affirmations.
Changing up your quotes now and then keeps your room feeling fresh and inspiring. It’s a simple way to reflect new goals, moods, and milestones.
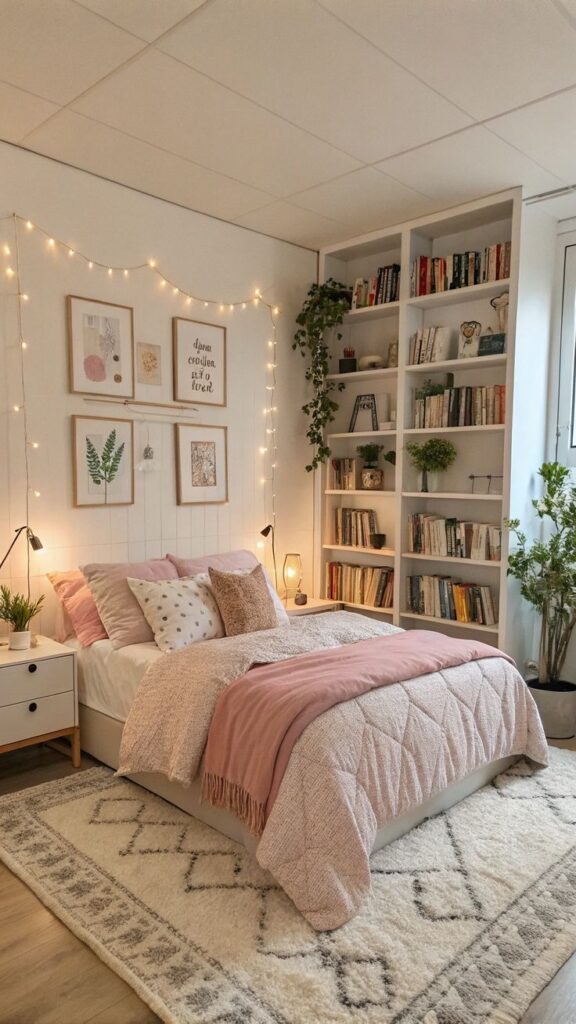
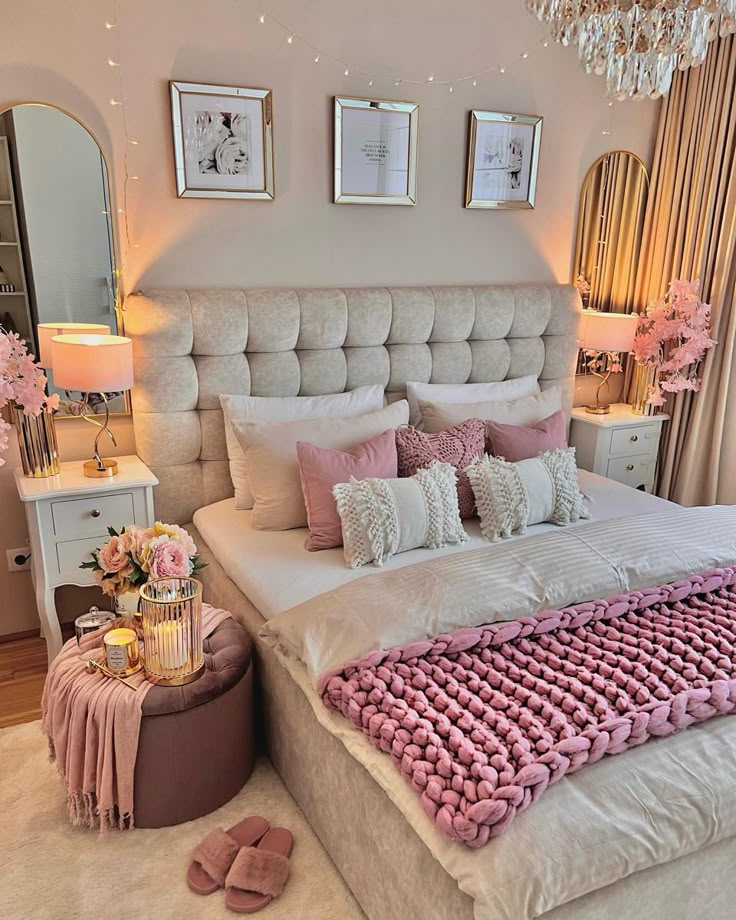
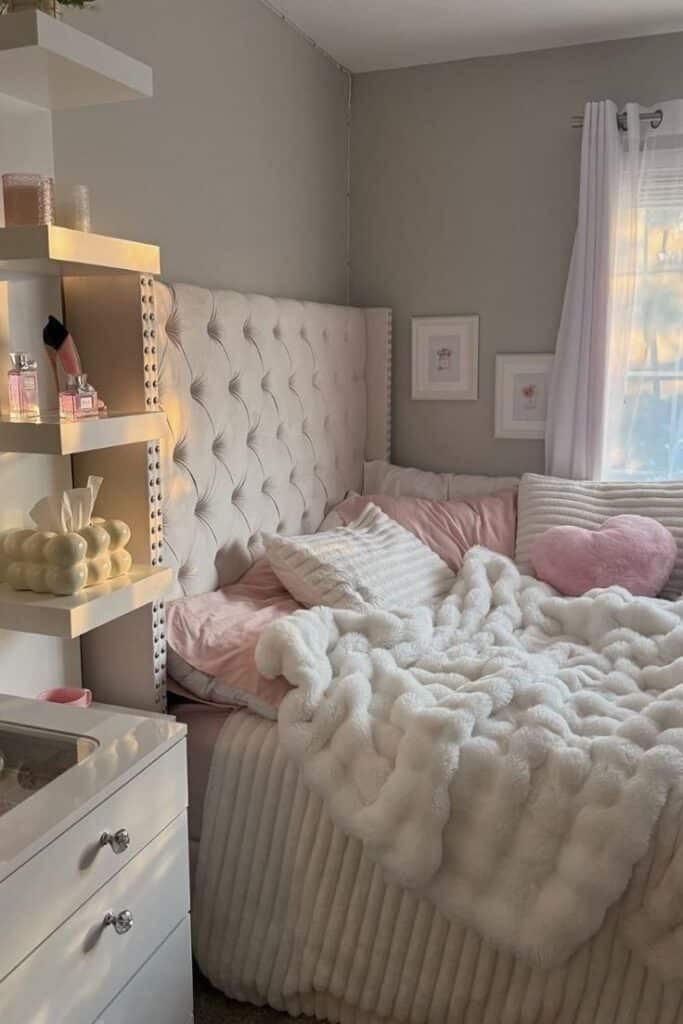
Creative Wall Art and Decor Projects
Adding personal touches to your room can help reflect your style and personality. There are several fun ways to create custom wall decor, from unique wall art to painted ombre walls and playful patterns like florals and polka dots.
Making DIY Wall Art
DIY wall art lets you infuse your own vibe into your space. You can create minimalist designs with canvas and paint or upcycle old magazines for collages. String art, paper cutouts, and washi tape are versatile materials for artistic expression.
Consider making a photo wall by clipping pics to string lights for both decoration and memories. Use inexpensive craft supplies like markers, scrapbook paper, or stencils for different effects. Many wall art projects are budget-friendly, so you don’t need to spend much to make something special.
Try a geometric wall hanging or create an abstract canvas with bold colors. Simple frame collections or inspirational quote boards can help fill any blank wall with personality. Remember, your wall art doesn’t need to be perfect—creativity is what makes each piece unique.
Designing an Ombre Wall
An ombre wall, which features a gradual color fade, creates a sophisticated look without being complicated. Start by picking a main color, then select one or two lighter shades of the same color family. Good choices include blush pink fading to white, or teal fading to light blue.
Steps for an ombre wall:
- Prepare the surface: Clean and prime the wall.
- Mark sections: Divide your wall horizontally with light pencil marks.
- Mix paint: Make sure each color is ready in advance.
- Blend colors: Using a roller, start at the top and work down, blending each shade as you move.
- Soften the lines: Use a dry brush or sponge to blend where the colors meet.
You can do a single accent wall or the entire room, depending on your preference. The result gives your room a fresh look and pairs well with other decor, such as wall art or shelves.
Decorating with Florals and Polka Dots
Florals and polka dots are timeless choices for adding charm to your decor. You can paint simple flower or dot patterns directly on your walls, or use stick-on decals for a quicker, removable option. Choose colors that match your bedding or posters for a cohesive feel.
If you like DIY projects, try making paper flowers or felt garlands and hanging them with removable hooks. For a more subtle look, cluster small polka dots above your desk or arrange large floral prints behind your bed. Use painter’s tape and a stencil for crisp, neat shapes if painting isn’t your strong suit.
These patterns can be mixed with other decorations—like framed wall art or shelf displays—to create a more layered, interesting look. Experiment with scale by using different sizes of dots or arranging flowers in unexpected designs. Your walls become a canvas to showcase what you love.
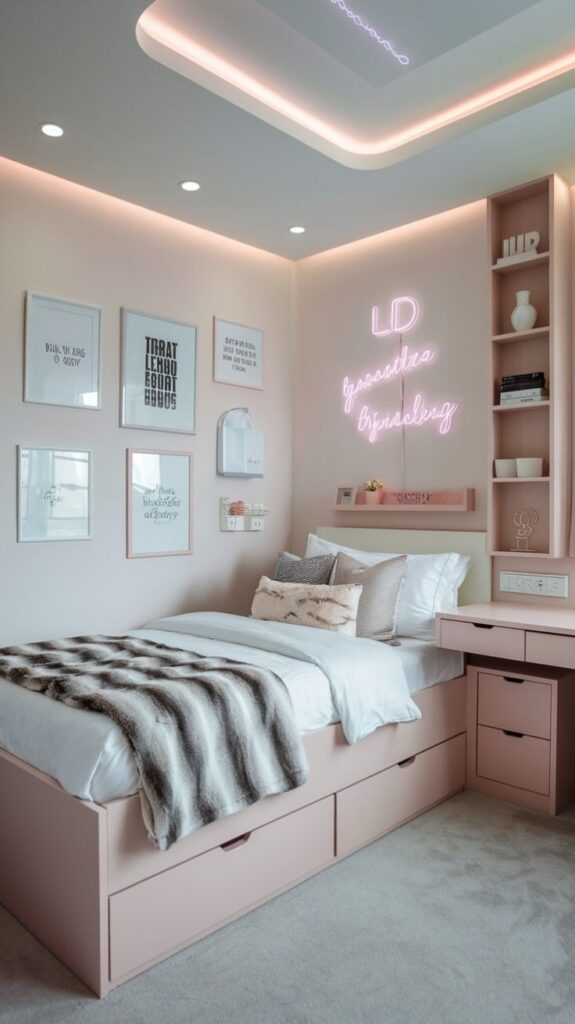
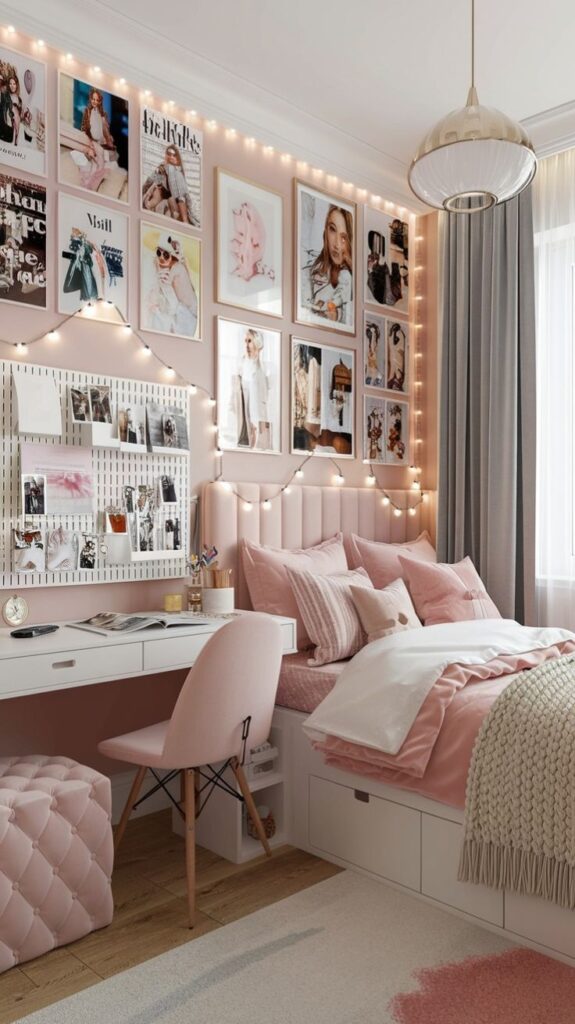
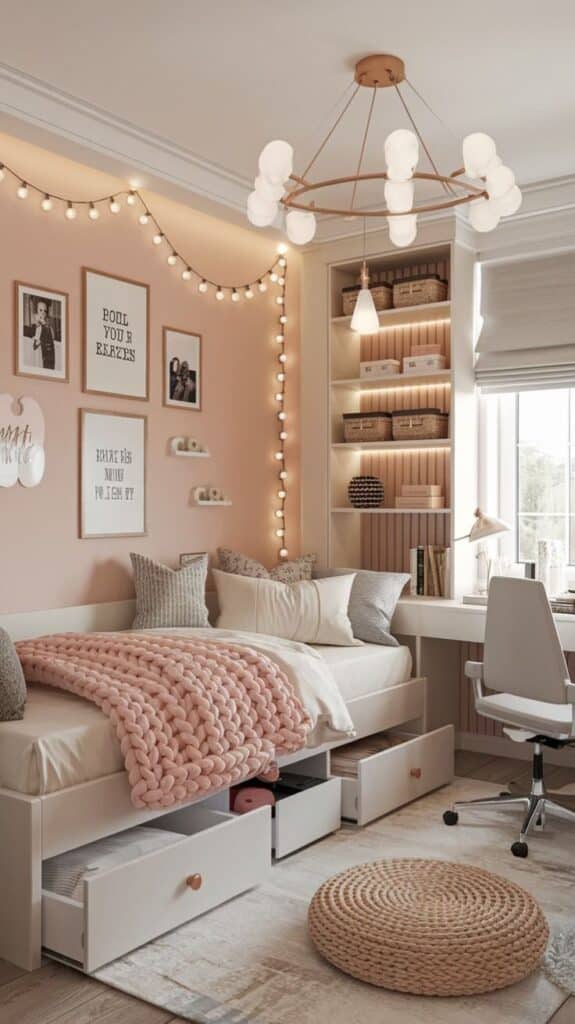
DIY Lighting and Ambiance Enhancements
Creative lighting options let you change the mood of your room instantly. Affordable DIY upgrades can make your space feel more personal and inviting without requiring a big budget.
String Lights and Mason Jar Fairy Lights
String lights are simple to hang above your bed, around mirrors, or along a wall. They give off a warm, cozy glow and are available in various shapes and brightness levels. Try wrapping lights around a poster frame or using clear hooks to create custom patterns.
To make mason jar fairy lights, place a small bundle of battery-powered LEDs inside a clean jar. You can add colored stones, faux flowers, or glitter to match your room’s color scheme.
Group a few decorated jars on a shelf, or hang them by the window using twine for a gentle, dreamy effect. You can also arrange them in a row to act as a night light or reading lamp. This small project only takes about half an hour but adds noticeable charm.
Washi Tape Light Switch
A washi tape light switch cover is one of the quickest ways to add flair to your room. Washi tape comes in hundreds of colors and prints, allowing you to create stripes, geometric designs, or even small collages right on your switch plate.
Remove the switch plate with a screwdriver and wrap it with strips of tape. Use a craft knife to trim the edges and switch openings. Reattach the plate when you’re done.
For a coordinated look, use the same washi tape on nearby outlets or lamp bases. This project requires minimal supplies and is easy to change out whenever you want a new style.
DIY Yarn Chandelier
A DIY yarn chandelier can serve as a fun focal point above your bed or study area. To make one, you’ll need a balloon, white craft glue, water, and colorful yarn. Inflate the balloon, then dip yarn in the glue mixture before winding it randomly around the balloon to create a sphere.
Let the yarn dry completely, then pop the balloon and remove it from inside the shell. Thread string lights or a low-heat LED cord through the opening to light up the chandelier.
Hang it from your ceiling with clear fishing line. The yarn creates soft, patterned shadows, making your room feel more creative and inviting. Experiment with different yarn colors or use metallic threads for a subtle shine.
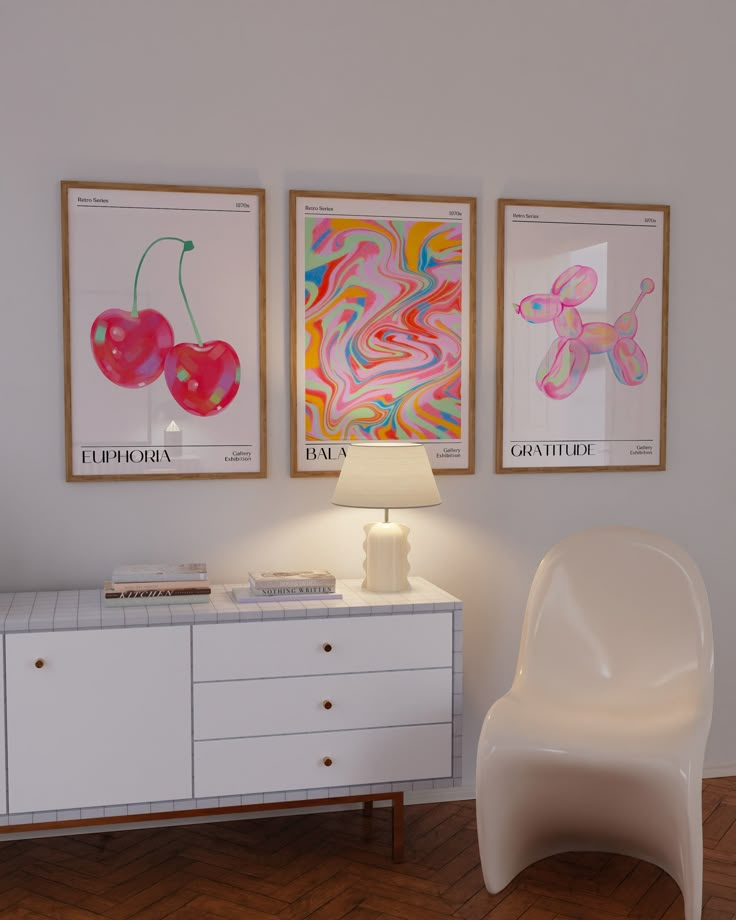
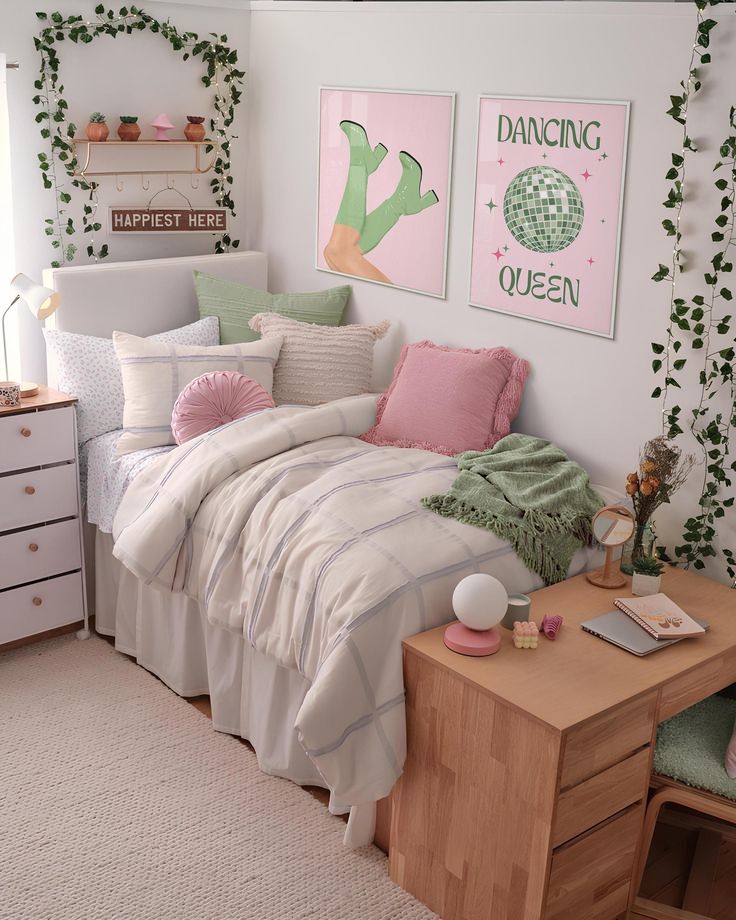
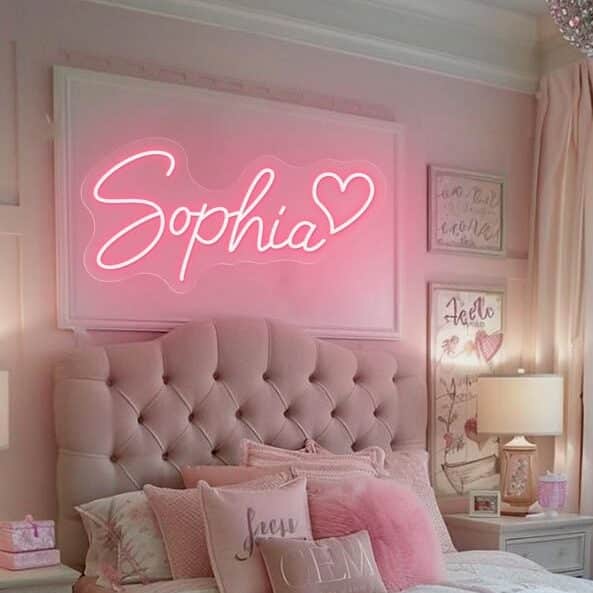
Chic Furniture and Storage Solutions
Creating a stylish and functional bedroom is easier with creative furniture and clever storage ideas. Incorporating features like an ombre dresser or unique book storage can add both flair and practicality to your DIY bedroom decor.
Creating an Ombre Dresser
An ombre dresser is a fun way to introduce color and personality into your space. You can transform an old dresser using paint in three to five shades of the same color, blending from light at the top to dark at the bottom.
Start by removing the drawers and hardware. Sand all surfaces so the paint will stick, then paint each drawer front a slightly different shade. Let the paint dry before reassembling and adding new or spray-painted knobs for a finished look.
This DIY not only adds style to your room but also gives you customized storage. It’s budget-friendly, allows you to choose colors that match your decor, and is simple enough to do in a weekend. Use a clear sealer for extra durability.
Materials Checklist:
- Old dresser
- Sandpaper
- Paint (3+ shades)
- Paintbrush or roller
- Painter’s tape
- New knobs or pulls (optional)
Innovative Book Storage
Books can quickly clutter a room, especially if you love to read. Creative book storage options help keep your space tidy and add an eye-catching design element to your room.
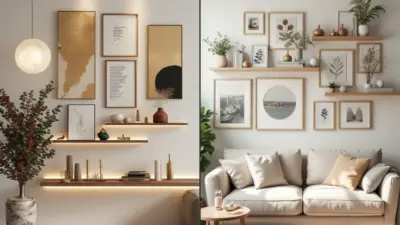
Floating shelves are a popular solution. Mount them in unique patterns—like staggered or grid layouts—to display books like art. For a more eclectic style, stack crates vertically against a wall or install wall-mounted cubbies in varying sizes to store and showcase your favorite reads.
A narrow standing bookshelf or a headboard with built-in shelf space provides extra organization without taking up much floor area. Look for ways to combine storage with decorative details, like using baskets in shelves or painting the backs of cubbies for a splash of color.
Book Storage Ideas Table:
| Storage Type | Best For | Space Needed |
|---|---|---|
| Floating shelves | Small collections | Minimal |
| Vertical crates | Flexible layouts | Moderate |
| Headboard cubbies | Bedside storage | Minimal |
Personal Touches and Unique Accents
Adding personal and unique touches is what transforms a teen girl’s bedroom into a truly expressive space. Creative DIY ideas can bring your style to life and make your room feel inviting, organized, and completely your own.
DIY Picture Frame Displays
Creating custom picture frames lets you showcase treasured memories, favorite prints, and fun quotes. You can use inexpensive wooden frames and decorate them with washi tape, fabric, stickers, or paint for a pop of color. Arrange them artfully in a grid, collage style, or string them together with clothespins and twine for a casual look.
Group photos and mementos together to tell a story or highlight your hobbies. Swapping out pictures is easy, so you can update your display anytime. Try adding mini fairy lights for a cozy glow, especially around your desk or reading nook. A DIY picture frame display gives your space meaning and brings your favorite moments front and center.
Plastic Spoon Mirror
A plastic spoon mirror is an eye-catching decor piece you can make yourself with just a few materials. All you need are plastic spoons, cardboard, glue, spray paint, and a round mirror. Simply snip the handles off the spoons, glue the bowl sides in concentric circles around the mirror, and spray paint the entire piece in your favorite color.
Opt for metallic or pastel shades to complement most teen girl bedroom decor color schemes. This chic DIY accent works well above your dresser or as a statement piece on any blank wall. It’s budget-friendly and lets you customize the size and color to match your personal style. The layered spoons create a dynamic, floral effect perfect for a playful or modern room.
Cozy Hammock and Hanging Chair Projects
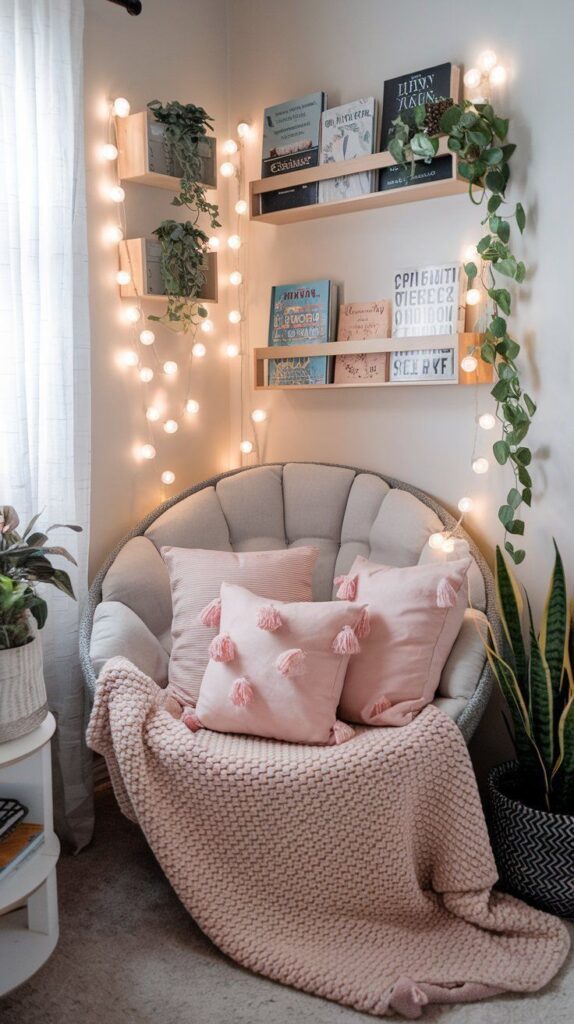
A DIY hammock chair or hanging chair creates a relaxing and stylish spot just for you. You can make a simple macramé or fabric hanging chair using sturdy rope, a spreader bar, and strong ceiling hooks. Choose materials and colors that blend with your bedding or walls.
Add a few plush pillows or a soft blanket to make your new lounge area extra comfortable for reading, chatting with friends, or simply unwinding after a busy day. Make sure to follow safety guidelines and anchor your chair securely to support your weight. These projects are affordable alternatives to store-bought chairs and instantly upgrade your space with a cozy, whimsical vibe.
Organizing with a Paint Chip Calendar
A paint chip calendar is a functional and creative way to keep track of your schedule. Collect paint chip samples in your favorite colors from the hardware store. Arrange them in a grid—one color per day—on a poster board or inside a large photo frame with a glass front.
Use a dry-erase marker to jot down your activities and appointments on each paint chip, then wipe and reuse the calendar every month. This DIY project helps you stay organized while adding a burst of color to your wall. Coordinate your paint chips with your bedding or other accents for a cohesive look that ties the room together.
- 3shares
- Facebook0
- Pinterest0
- Twitter3
- Reddit0
