DIY origami gives you a simple way to turn a plain sheet of paper into something creative and useful. You can fold paper into animals, flowers, boxes, or decorative shapes with just a few easy steps. This craft requires no special tools, making it accessible any time you want to create.
You can start with basic folds like cranes, boats, or simple boxes to build confidence. As you practice, you’ll discover more intricate designs such as modular shapes or decorative models that challenge your skills while still being enjoyable.
With free instructions and tutorials available, you have endless opportunities to explore new projects at your own pace. Whether you want a quick activity or a more detailed project, origami offers a versatile way to create with your hands.
Key Takeaways
- Origami transforms paper into creative projects with simple folds
- You can start small and progress to more advanced designs
- Free resources make it easy to keep learning and exploring

Getting Started With DIY Origami
You only need a few basic supplies and a clear understanding of folding methods to begin origami. By learning simple folds and how to read diagrams, you can progress from easy models to more complex designs with steady improvement.
Essential Materials and Tools
The most important material is square paper. Standard printer paper can work if you cut it into a square, but thinner origami paper makes folding easier and produces cleaner results. Origami paper often comes in sizes like 6×6 inches or 15×15 cm.
You don’t need many tools, but a few items can help. A ruler or bone folder makes sharp creases. A cutting tool or scissors ensures precise squares if you are preparing your own paper. Tweezers can assist with tight folds in smaller models.
Keep your workspace flat and free of clutter. A smooth surface helps you align edges accurately, which is essential for clean folds. Consistency in folding is more important than having specialized tools.
Basic Paper Folding Techniques
Origami relies on a small set of fundamental folds. The most common are the valley fold (folding the paper toward you) and the mountain fold (folding away from you). These two folds form the basis of nearly every model.
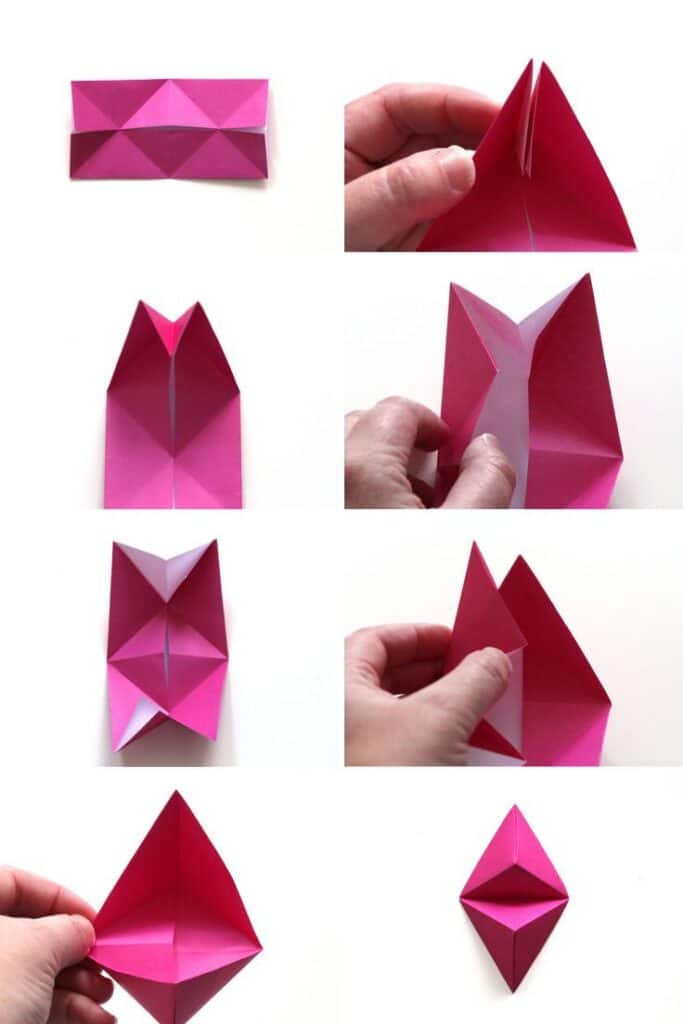
You will also encounter bases, which are starting shapes built from multiple folds. Examples include the square base, bird base, and waterbomb base. Each base can lead to many different designs, so practicing them builds a strong foundation.
Accuracy matters in every fold. Align edges carefully and crease firmly. Small errors in early steps can affect the final model. By repeating these basic techniques, you develop precision that makes more advanced origami possible.
Understanding Origami Diagrams
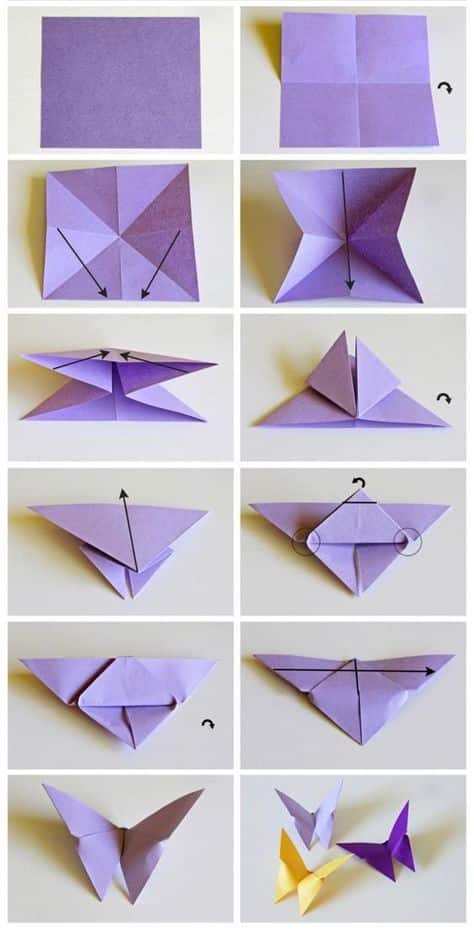
Origami diagrams use a set of universal symbols to show how paper should be folded. Arrows often indicate direction: a solid arrow may mean a valley fold, while a dashed arrow may show a mountain fold. Curved arrows suggest rotation or flipping the paper.
Diagrams also use dotted or dashed lines to represent folds that are hidden or pre-creased. Learning these symbols allows you to follow instructions without text, which is helpful since many diagrams are shared internationally.
If you struggle with a step, compare your fold to the diagram carefully. Check the orientation of the paper and the position of edges. Once you understand the notation, you can read almost any origami diagram with confidence.
Easy Origami Projects for Beginners
You can start with folds that teach you the basics while still giving you satisfying results. These projects use simple origami techniques, require only a square sheet of paper, and help you practice precision without being overwhelming.
Simple Origami Animals
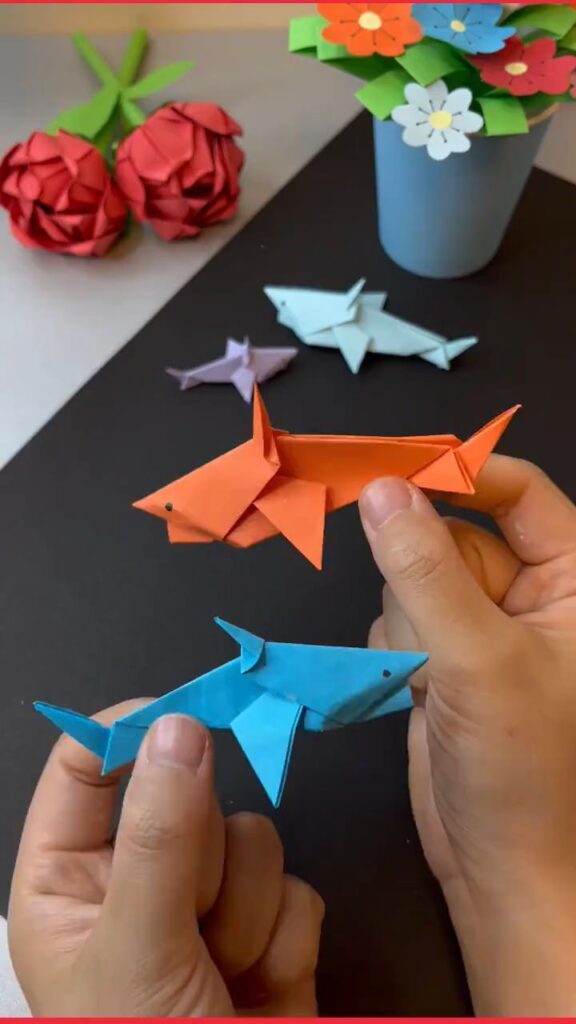
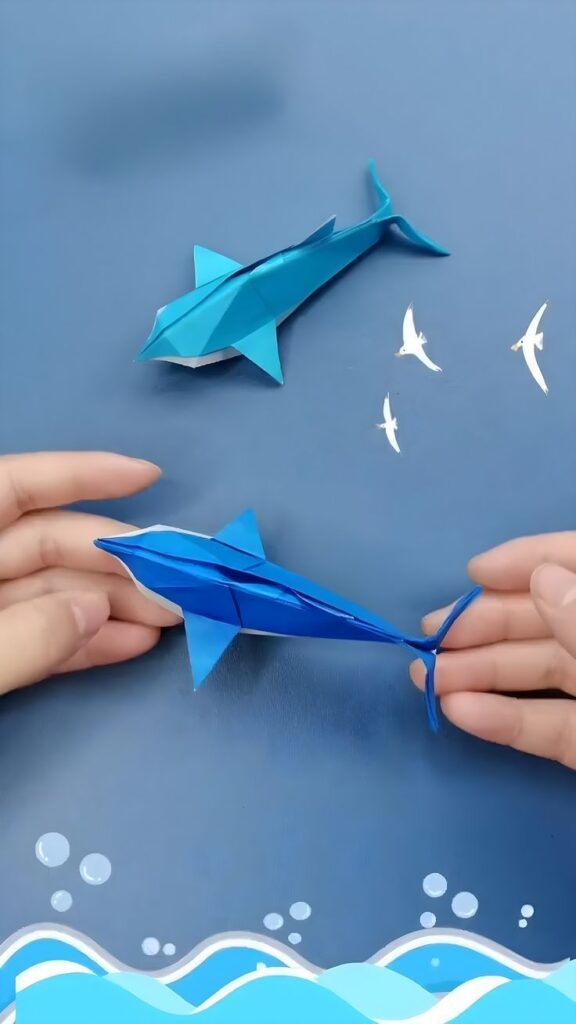
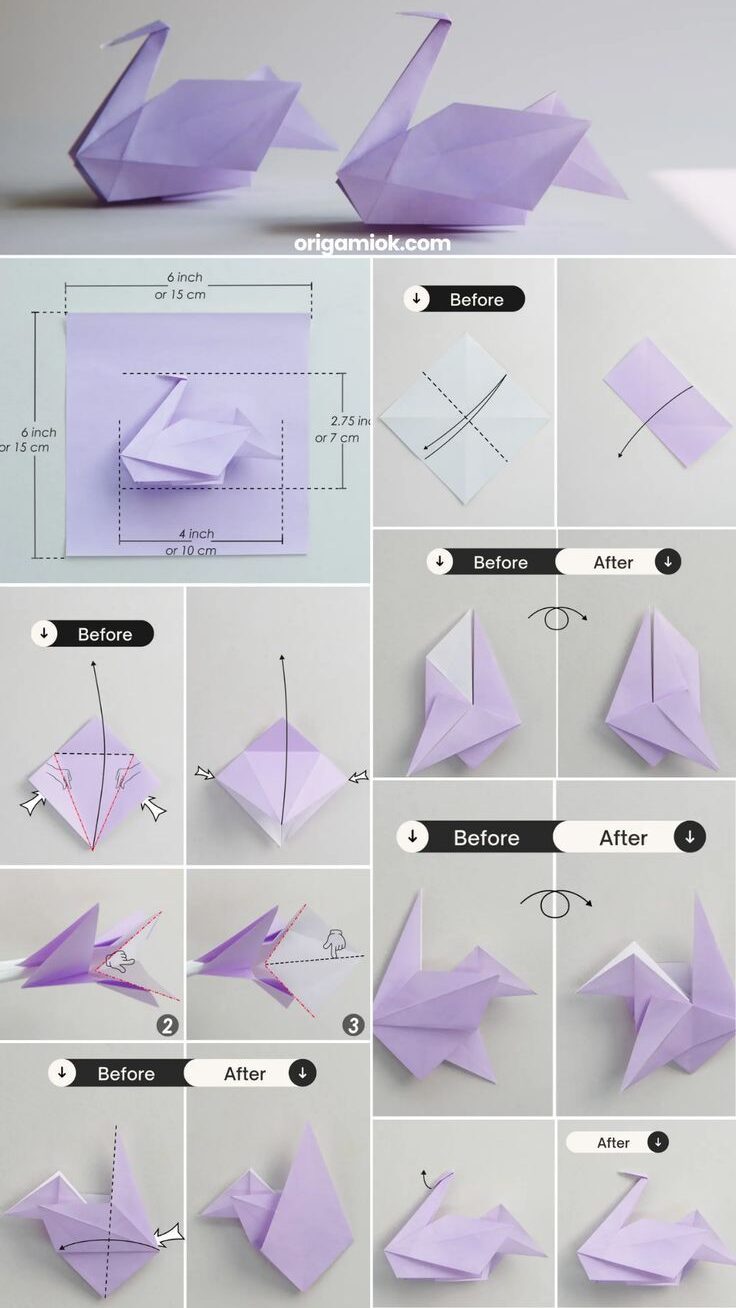
Animal folds are among the most popular easy origami projects. You can make recognizable figures such as an origami fish, origami pig, or the traditional peace crane with just a few folds. These models help you learn symmetry, creases, and shaping while producing fun paper animals that work well as origami toys or decorations.
The peace crane is one of the most well-known beginner projects. It uses a standard bird base and teaches you how to fold wings, neck, and tail. Once you master it, you can adapt the same base to make other birds.
For a simpler option, the origami fish requires fewer folds and is ideal for kids. The pig is another easy model that introduces you to shaping techniques for faces and ears. These animals are quick to fold, making them good practice for building confidence.
Classic Paper Boats and Planes
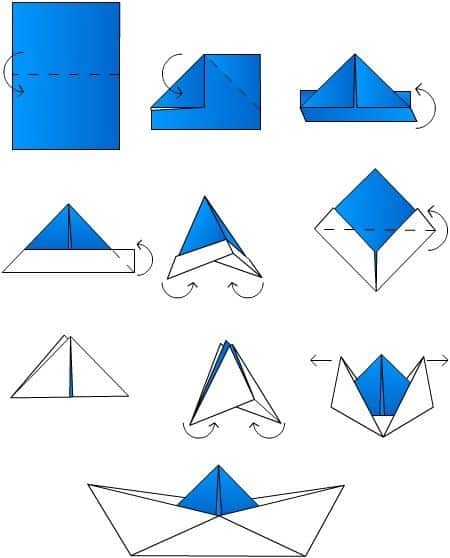
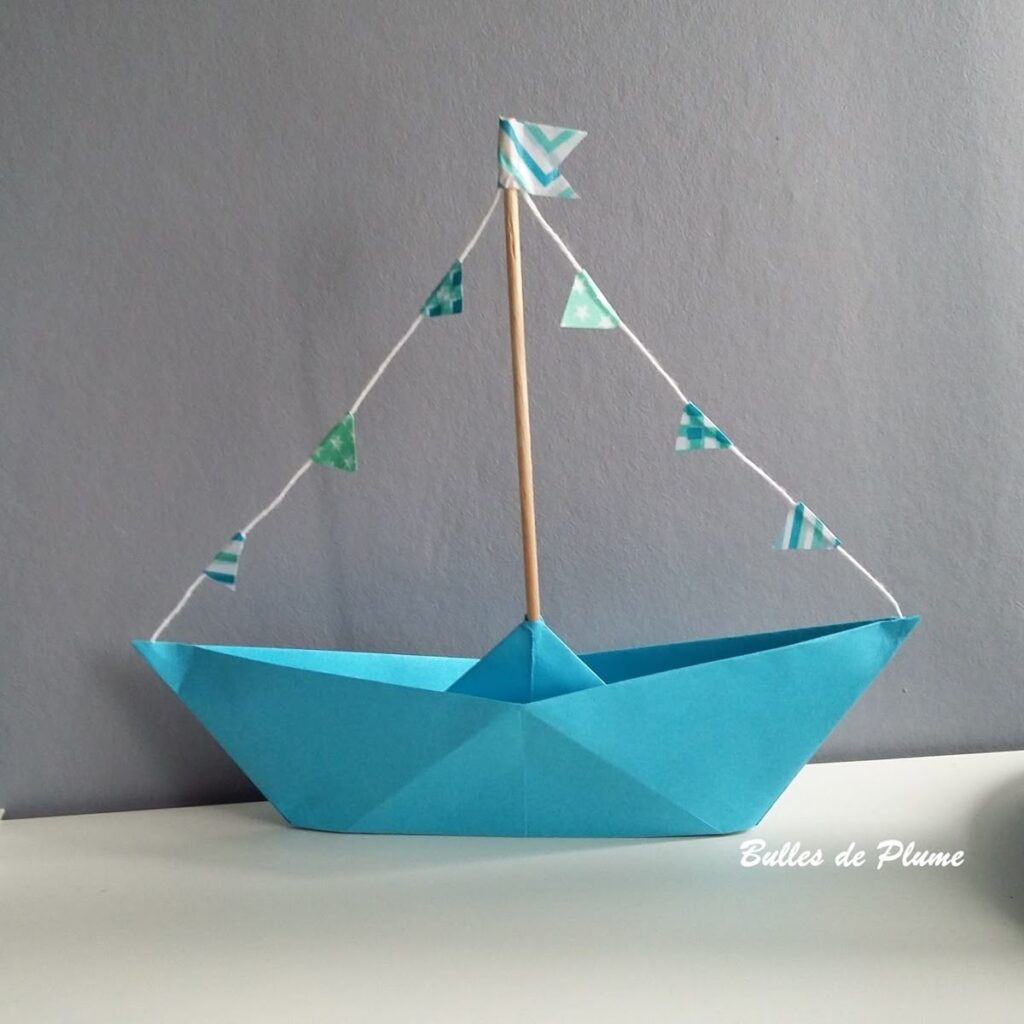
Paper boats and planes are some of the easiest origami instructions to follow. They only need a few folds, yet they create models you can actually use. The boat can float briefly on water, and the plane can glide across a room, which makes them practical origami toys.
The origami boat usually starts with a rectangular sheet rather than a square. Folding involves making a triangle base, pulling out the sides, and flattening into a boat shape. It’s a straightforward process that takes less than a minute once you learn the steps.
Paper planes come in many variations. The most basic dart design uses only a few folds but flies well if folded neatly. As you practice, you can experiment with adjusting wing angles to change how the plane glides.
Origami Flowers and Decorative Pieces
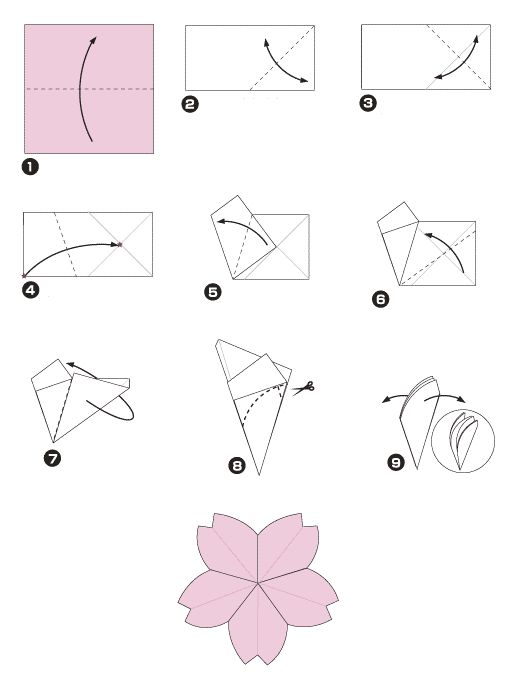
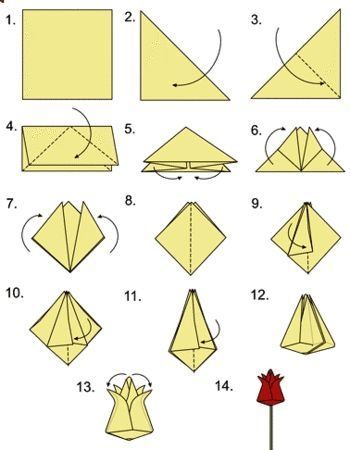
Flowers are simple origami projects that focus more on appearance than function. Popular choices include the traditional origami lily, tulip, or a flat blossom design. These models are slightly more detailed than animals or boats but remain accessible to beginners.
The origami lily uses a square base and requires careful folding to shape the petals. The tulip is simpler and can be paired with a green stem folded from another sheet of paper. Both make attractive decorations or small gifts.
Flat flower designs are even easier. They involve folding a square into layered triangles and then shaping the corners into petals. These can be used as coasters, gift toppers, or part of a larger origami arrangement.
By practicing flowers, you learn how to fold for symmetry and how to create layers that give depth to your work. This helps you develop precision and patience while producing decorative pieces you can display.
Free Origami Instructions and Resources
You can access a wide range of free origami instructions online, from simple beginner folds to complex designs. Many resources also provide diagrams, printable worksheets, and active paper folding communities where you can share progress and learn new techniques.
Finding Step-by-Step Tutorials
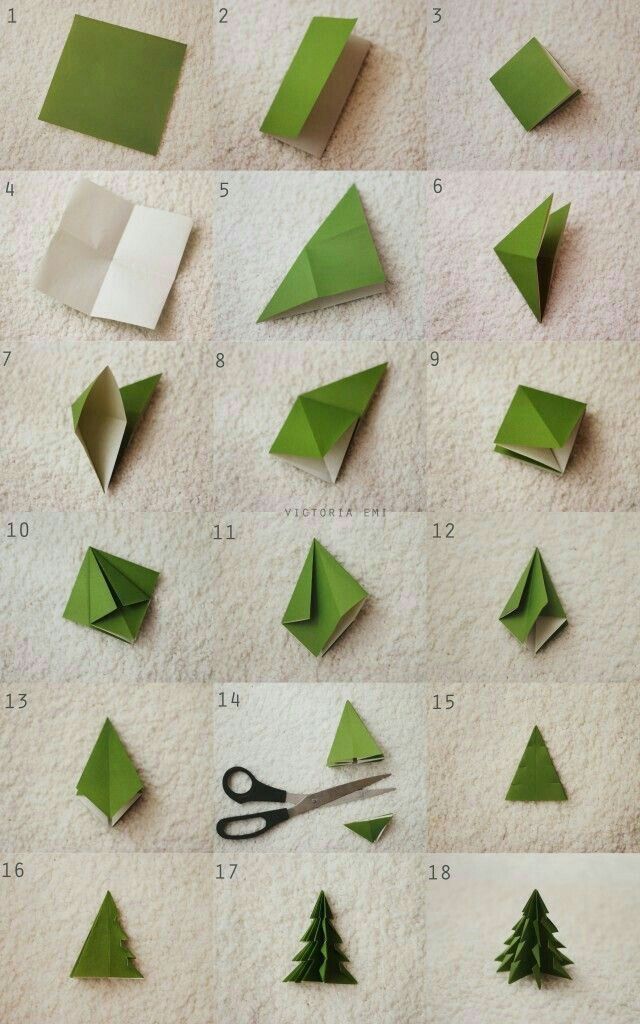
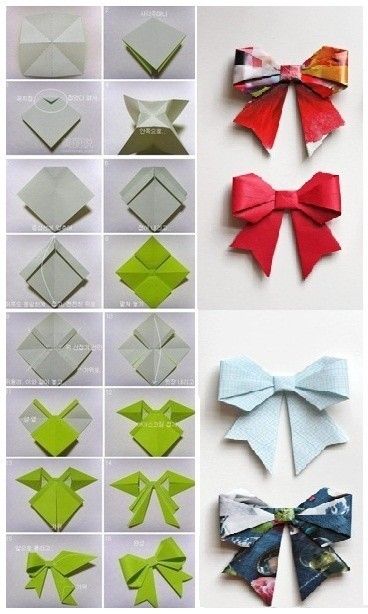
Step-by-step tutorials help you follow each fold in sequence without confusion. Many websites provide free origami instructions for cranes, animals, flowers, and boxes. These guides often include photos or drawings for each step, making them easier to follow than text-only explanations.
If you are new to origami, start with simple projects like boats or animal faces. These models build confidence and give you practice with basic folds. Once you master these, you can move on to more intricate models.
Video tutorials are another useful option. They let you pause, rewind, and watch each fold in real time. This format is especially helpful for complex designs where diagrams may feel overwhelming.
Using Free Origami Diagrams
Origami diagrams remain one of the most common ways to learn new models. These diagrams use standardized symbols to show how paper should be folded. Once you understand the symbols, you can follow almost any diagram regardless of language.
Many websites offer free, printable origami diagrams in PDF format. You can download them and keep a collection for offline use. This is convenient if you want to practice without relying on an internet connection.
A simple table can help you remember common symbols:
| Symbol | Meaning |
|---|---|
| Solid line | Fold line (valley) |
| Dashed line | Fold line (mountain) |
| Arrow | Direction of fold |
By learning these basics, you can read diagrams more easily and attempt a wider range of models.
Online Paper Folding Communities
Paper folding communities give you a space to share your work, ask questions, and learn from others. Many groups exist on forums, social media platforms, and dedicated origami websites. They often provide free origami instructions shared by members.
Joining a community helps you discover new models you might not find in books. You can also get feedback on your folds, which is useful for improving accuracy and technique.
Some communities organize challenges or themed folding events. These activities encourage you to try different designs and expand your skills. You also gain access to tips on paper selection, folding methods, and storage of finished models.
Exploring Modular and Advanced Origami
You can expand your origami skills by learning modular techniques that combine multiple folded units and by working on advanced projects that require precision and patience. Both approaches challenge your folding accuracy and allow you to create models with greater complexity and structure.
Introduction to Modular Origami
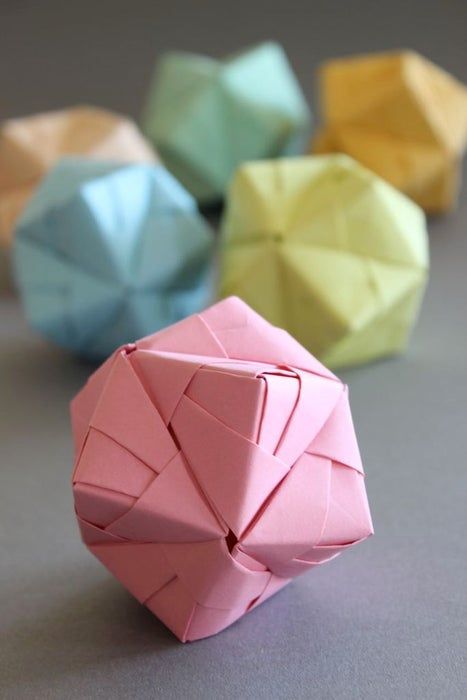
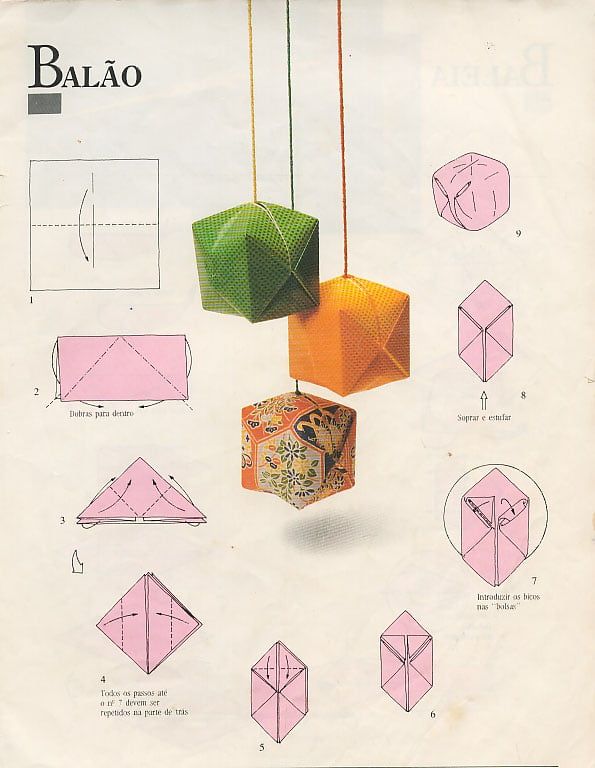
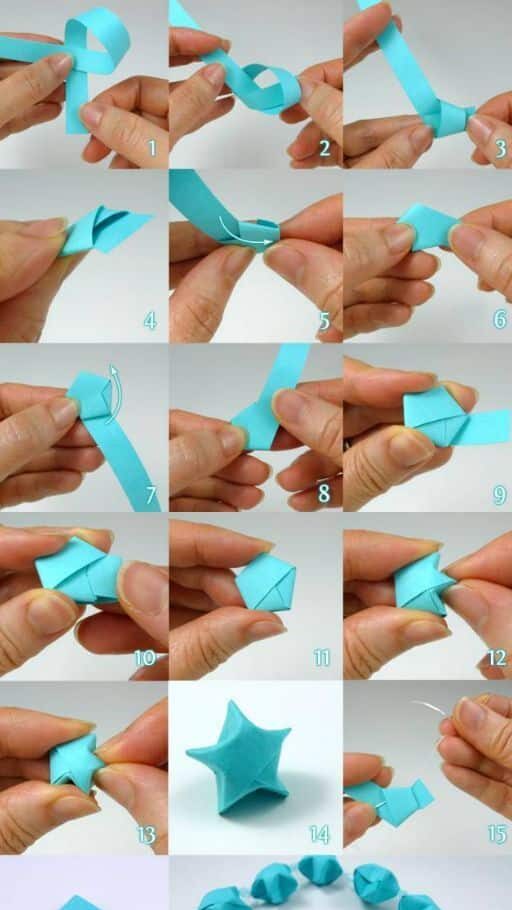
Modular origami uses two or more sheets of paper to build a single model. Each sheet is folded into a unit, and those units are assembled into a larger structure without glue or tape. This method lets you create geometric forms, decorative boxes, and star-like designs.
You often repeat the same fold many times to build identical units. For example, a cube may require six folded modules, while a spiked ball might use thirty or more. The repetition can feel time-consuming, but it ensures stability and symmetry in the final model.
Common modular origami projects include:
- Boxes such as masu or menko designs
- Polyhedra like cubes, octahedra, or stellated forms
- Stars and flowers that use layered units
Because modular origami relies on precise folding, even small errors can affect how well the units fit together. Using crisp folds and consistent paper sizes helps you assemble sturdier models.
Challenging DIY Origami Projects
Advanced origami projects often involve complex folding sequences and detailed shaping. These designs may use a single sheet of paper, but the number of steps and the accuracy required make them more demanding than beginner projects.
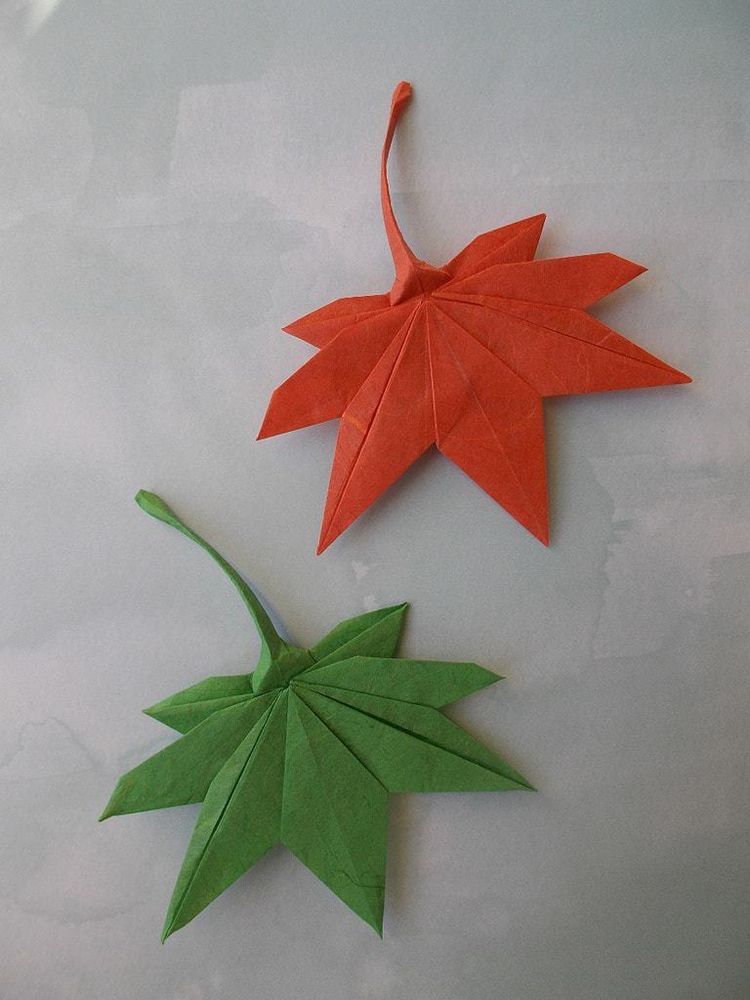
Examples include realistic animals, intricate insects, or multi-layered flowers. Some models require pre-creasing the paper into grids of 32 or 64 divisions before folding begins. This preparation allows you to form detailed features like wings, legs, or petals.
You can also explore advanced modular projects, which combine the repetition of unit folding with complex assembly. These might include tessellations that cover a surface with repeating patterns or large polyhedra built from dozens of units.
When tackling difficult origami projects, it helps to use thinner paper designed for advanced folding. Standard craft paper may tear or become bulky with many layers. Patience and practice are essential, since even experienced folders often need multiple attempts to complete a challenging design.
Creative Paper Crafts and Beyond
Paper crafts let you expand beyond simple folding and explore practical, decorative, and interactive uses of origami. You can integrate folded designs into larger creative projects or adapt them for personal occasions where presentation matters as much as the craft itself.
Incorporating Origami Into Art
You can combine origami with drawing, painting, or collage to create layered artwork. A folded crane placed on a painted background, for example, adds dimension and texture that flat media cannot achieve. This approach works well for wall art, journals, or even classroom displays.
Mixed-media projects often benefit from origami because folded paper naturally creates shadows and highlights. Using contrasting colors or patterned paper can emphasize these effects. Even simple folds like stars, cubes, or flowers can transform a plain canvas into a more dynamic composition.
Many artists also use origami as part of sculptural installations. By repeating a single fold hundreds of times, you can build large-scale pieces that highlight both geometry and repetition. This technique requires patience but produces striking results.
A useful way to start is to experiment with small, consistent shapes. Try folding multiple identical modules and arranging them in grids or spirals. This modular approach helps you explore patterns without needing advanced folding skills.
Origami for Gifts and Events
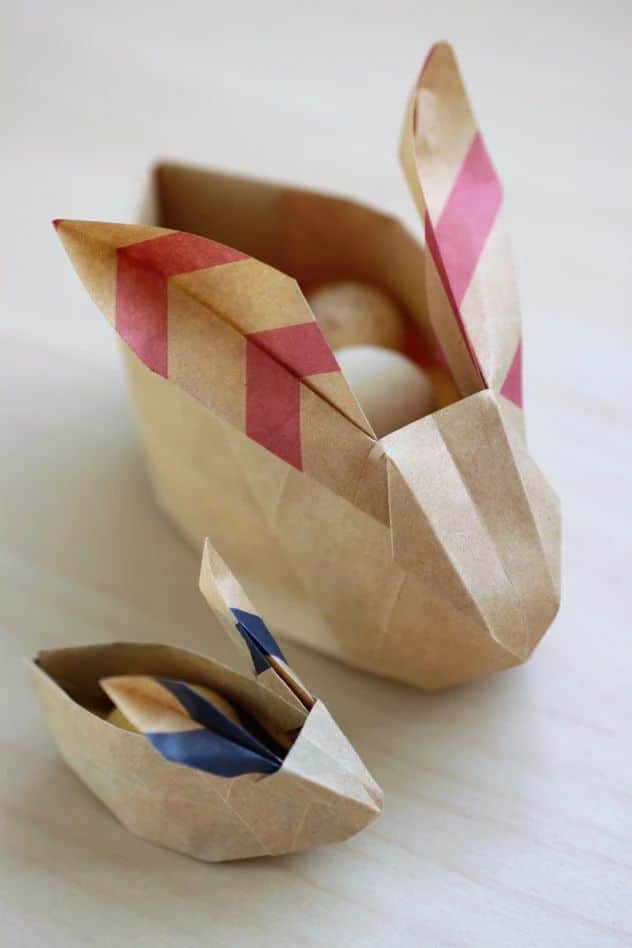
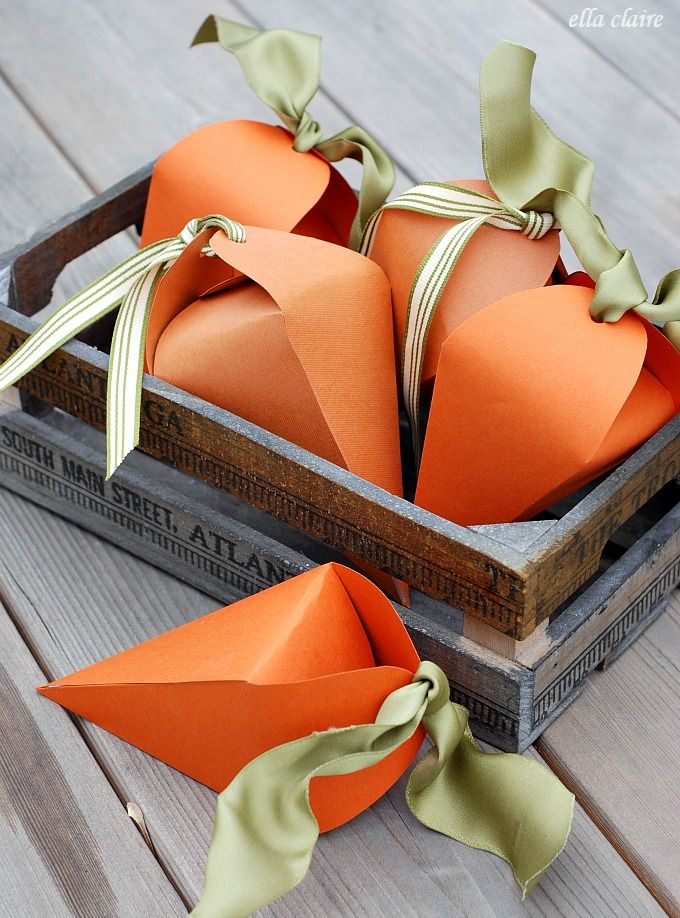
Origami adds a personal touch to gifts and decorations without requiring expensive materials. A folded paper flower can replace a store-bought bow, while small boxes or envelopes can hold jewelry, notes, or gift cards. These details make your presentation more thoughtful.
For events, origami works well as table décor. You can fold napkin rings, place card holders, or small animals that match a theme. Using coordinated colors ensures the pieces blend with the overall setup while still standing out as handmade accents.
Holiday celebrations also benefit from origami. Paper stars, ornaments, and garlands are lightweight, easy to store, and customizable. Unlike store-bought decorations, you can adjust the size and style to fit your space.
If you want to involve guests, consider setting up a simple folding station. Provide square sheets and instructions for one or two easy models. This turns the event into an interactive activity and gives people something to take home.
- 617shares
- Facebook0
- Pinterest614
- Twitter3
- Reddit0


