Creating a DIY jar terrarium is a simple and satisfying way to bring a touch of nature into your home, even if you have limited space. With just a few basic supplies and a clear jar, you can easily build a miniature ecosystem that is both decorative and low-maintenance. This project is accessible to beginners and can be customized with your choice of plants, moss, and small accents.
You’ll discover how to choose an appropriate jar, gather the right materials, and select plants that will thrive in this closed environment. The process transforms everyday glass containers into lush, self-sustaining displays that add life and freshness to any room.
Key Takeaways
- You can use common household jars to create a terrarium at home.
- Gathering the right plants and materials is key for a healthy miniature ecosystem.
- Simple setup steps and basic care keep your jar terrarium thriving.
Choosing the Right Jar for Your Terrarium
Selecting the best jar for your terrarium project will shape the look, function, and ease of care. The choice involves considering the container type, its dimensions, and whether your design will be open or closed.
Selecting Between Mason Jars and Glass Containers
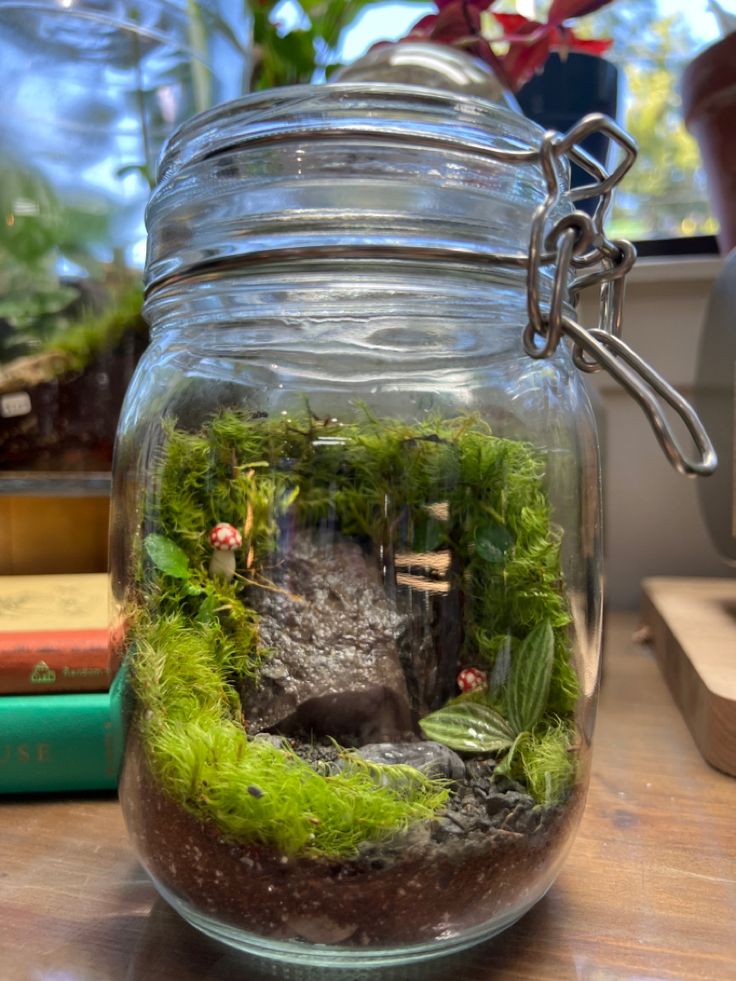
Mason jars are popular for their availability and classic design. They work well for small terrarium projects and are easy to find at most stores. The screw-top lid makes them ideal for closed jar terrariums, helping with humidity control.
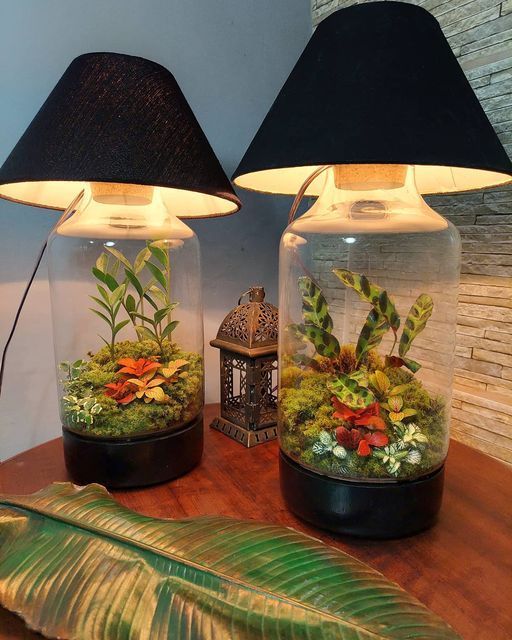
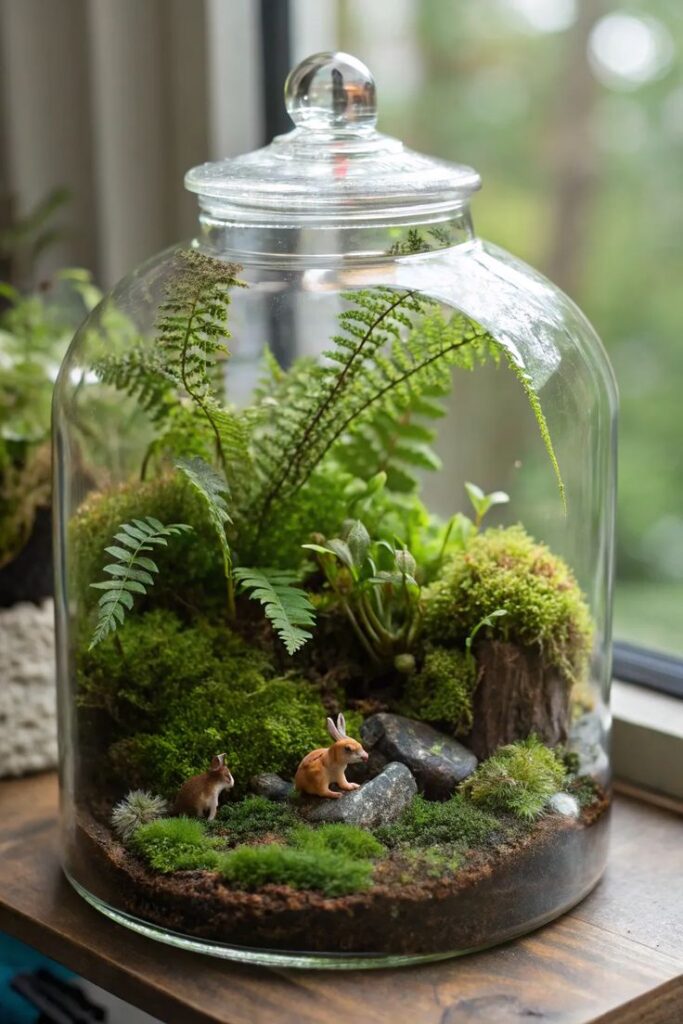
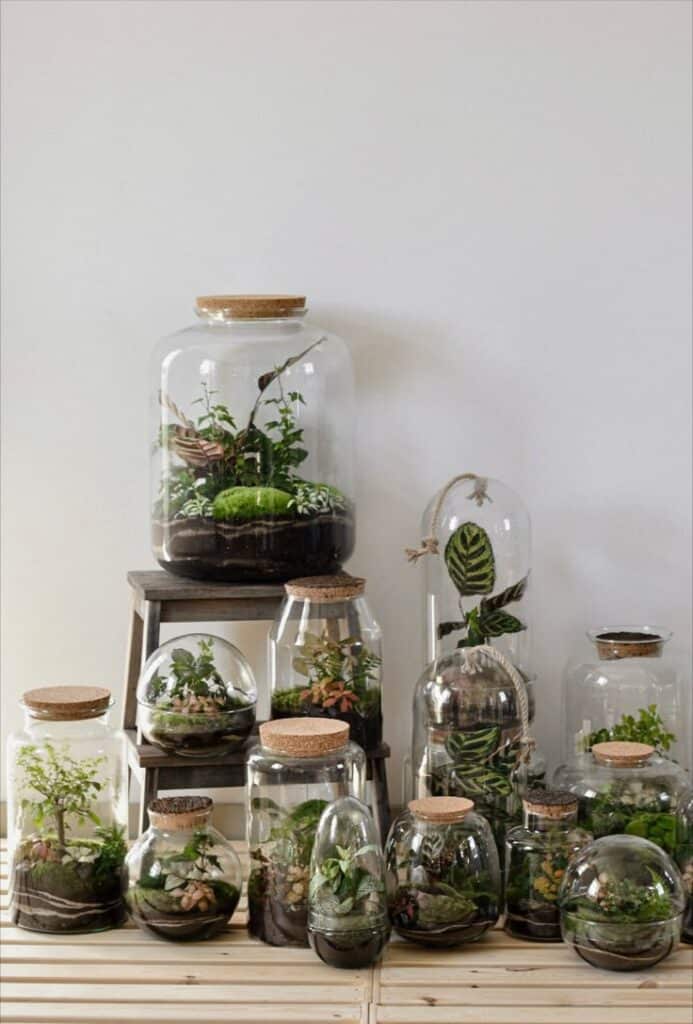
Glass containers provide more variety in shape, size, and style. Wide-mouthed vases or bottles offer better access for arranging plants and soil. For larger or more intricate displays, glass containers—such as apothecary jars or fish bowls—may suit your needs.
| Container Type | Best For | Features |
|---|---|---|
| Mason Jar | Small, closed terrariums | Lid for closure, readily available |
| Glass Container | Large/unique terrariums | Varied shapes, wide access |
Consider how the jar will look in your space and whether you need a tight seal or more design flexibility.
Size and Shape Considerations
The size of the jar impacts your plant choices and the environment inside. Small jars or bottles are best for mosses or tiny ferns, while larger jars support layered plantings and extra decor. A jar that’s too small may limit airflow or root space, affecting plant health.
Shape matters for both aesthetics and plant care. Jars with wide mouths make planting and maintenance simpler. Tall, narrow bottles can be visually striking but may make arranging and watering difficult.
A jar about 6–10 inches tall and 4–6 inches wide is manageable for most DIY projects. If you’re starting out, choose a jar with a mouth that can fit your hand or planting tools.
Closed vs. Open Jar Terrariums
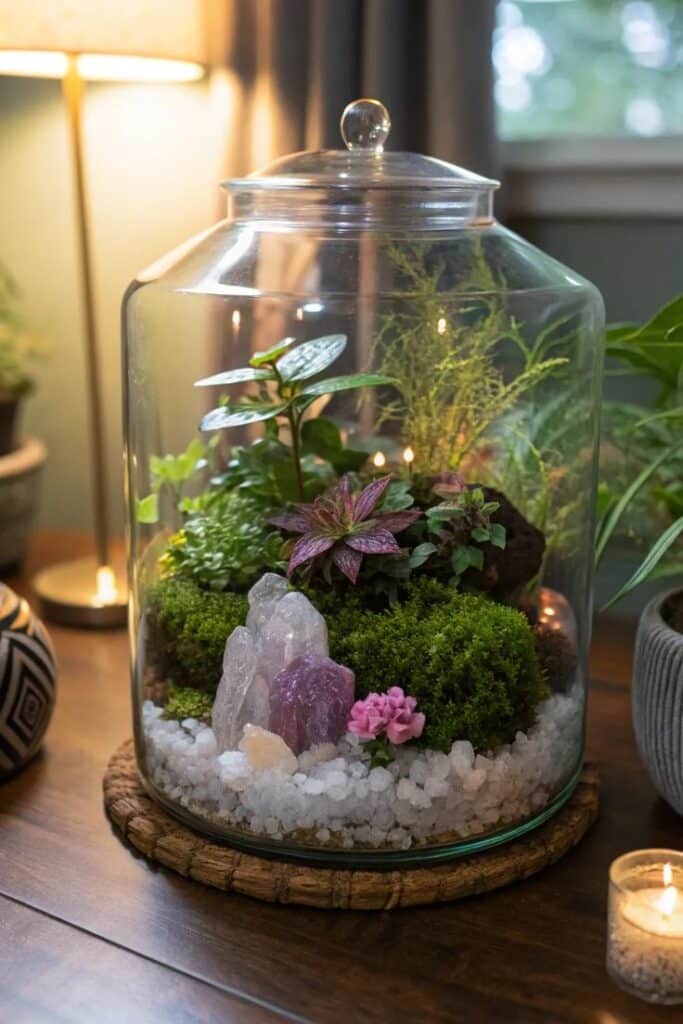
A closed jar terrarium holds moisture and creates a humid, self-sustaining environment. It’s best for tropical plants, mosses, and ferns that thrive in high humidity. The lid seals in water vapor, minimizing the need for frequent watering.
An open terrarium—with no lid or a partially covered top—suits succulents, cacti, and plants that prefer drier conditions. These jars allow excess moisture to escape and reduce the risk of mold or rot.
Closed terrariums require less maintenance but careful plant selection to avoid rot. Open terrariums offer more airflow and are better for plants that dislike high humidity. Your plant choices should align with the jar type to support healthy growth.
Essential Materials and Tools
Creating a thriving jar terrarium requires assembling the right layers and components. Select materials that promote healthy drainage, prevent odors, and support plant growth.
Drainage Layer: Pebbles, Gravel, and River Rocks
A functional drainage layer is critical in any jar terrarium, especially since containers lack drainage holes. Use pebbles, gravel, or river rocks at the very bottom of the jar to create this base.
This layer prevents excess water from pooling around plant roots and helps avoid root rot. Aim for at least 1–2 inches of stones, depending on the jar size. Large jars may benefit from a mixed base—combining gravel with flat river rocks—for added texture.
For very small containers, tiny aquarium gravel works well. Always rinse your chosen materials with water to remove dust and any residues before adding them to your jar.
Choosing and Preparing Substrates and Soils
The right substrate supports plant health and determines how well your terrarium retains moisture. Most jar terrariums use a high-quality potting soil or specialized terrarium soil.
Standard potting soil is suitable for most tropical plants. For succulents or cacti, use a gritty or sandy substrate instead. Layer about 2–3 inches of soil over your drainage stones, adjusting based on your jar’s depth.
Gently pat the soil to remove large air gaps, but avoid pressing down too hard. Ensure the substrate is slightly damp before planting; this helps roots establish quickly and reduces transplant shock.
Activated Charcoal for Freshness
Activated charcoal is an optional but recommended ingredient for long-lasting closed terrariums. Place a thin layer—about half an inch—directly above your drainage stones and below the substrate.
Activated charcoal filters excess moisture, absorbs odors, and helps prevent mold and bacteria. This is especially important for closed systems with lids, where airflow is limited.
You can buy horticultural charcoal at most garden centers or online. If unavailable, activated charcoal from aquarium supply stores works equally well for this purpose.
Terrarium Kits and DIY Supply Lists
For convenience, terrarium kits provide most materials in one package, including the jar, pebbles, soil, charcoal, and sometimes miniature tools. Kits are available in various sizes and styles to suit beginners or those looking for all-in-one solutions.
If you prefer to source materials yourself, here’s a simple supply list:
| Item | Purpose | Substitute |
|---|---|---|
| Clear glass jar | Container | Plastic container |
| Pebbles/Gravel/Rocks | Drainage layer | Aquarium gravel |
| Activated charcoal | Odor & mold control | Omit if unavailable |
| Potting soil | Plant growth support | Terrarium soil mix |
| Miniature plants | Decorative & living element | Moss or succulents |
Check that each item is clean before use. This reduces the risk of introducing pests or fungus to your terrarium.
Selecting and Arranging Terrarium Plants
Choosing the right terrarium plants and placing them properly will support healthy growth and an attractive design. Light, humidity, and the type of jar you use will affect which plants will thrive.
Mosses and Live Moss
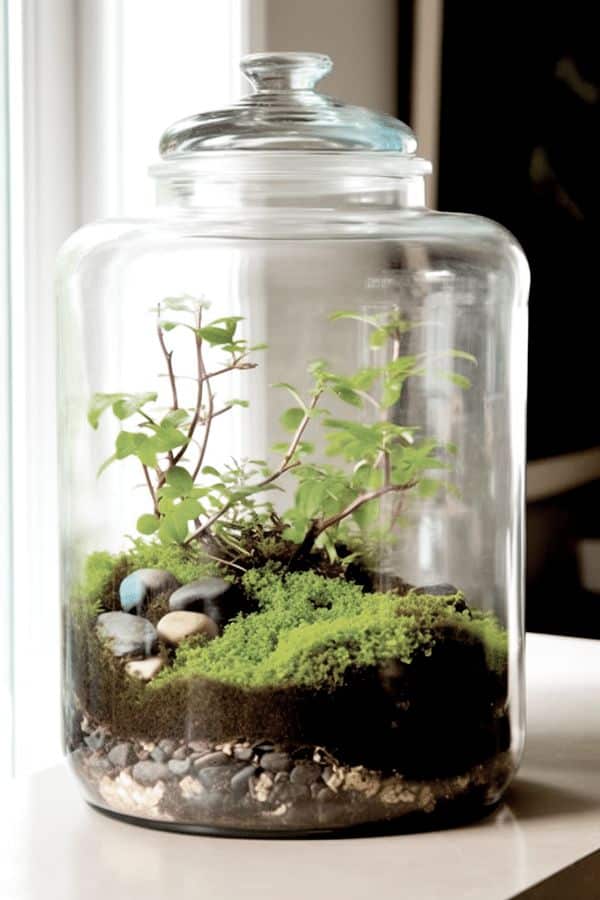
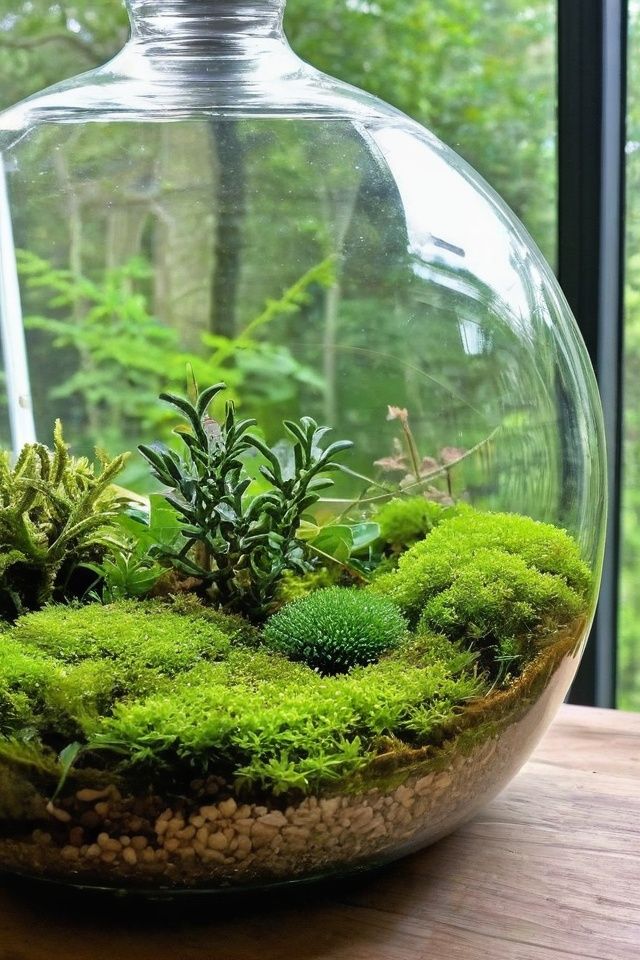
Live moss is a staple for jar terrariums because it thrives in humid, closed environments. Popular choices include sheet moss, cushion moss, and sphagnum moss. Moss adds a lush ground cover and helps retain moisture, making it ideal for layers beneath or around larger plants.
Use sterilized or pre-cleaned moss to avoid pests and mold issues. Mist moss regularly to maintain humidity but avoid saturated conditions, which can cause rot.
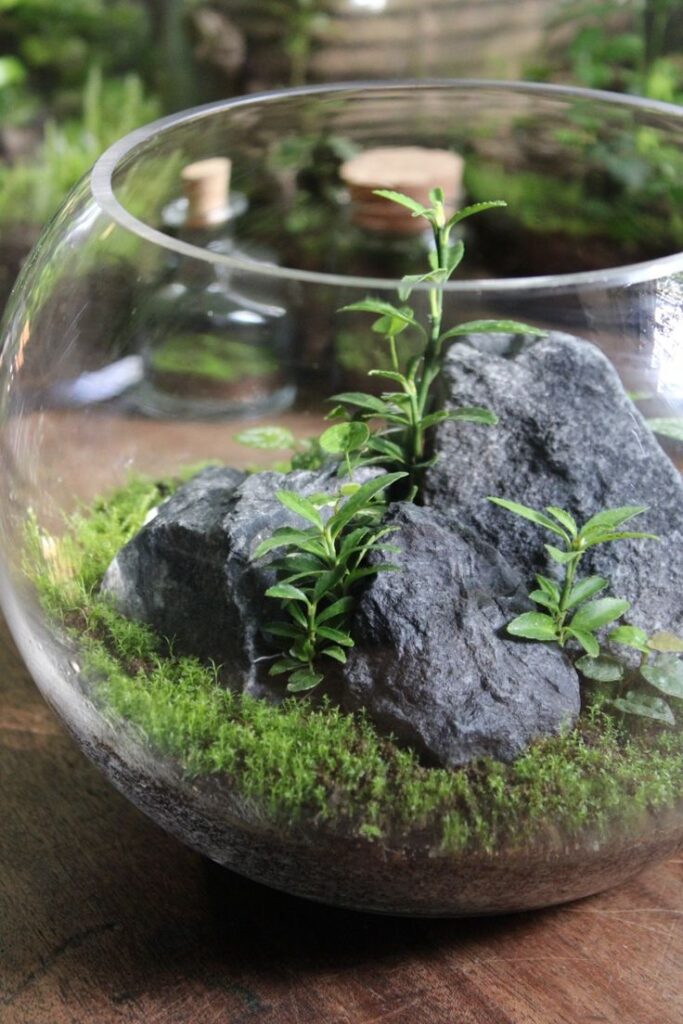
Arrange moss at the front or around stones and wood for a natural look. Pairing with small ferns or baby tears creates a softer, natural landscape.
Succulents, Cacti, and Air Plants
Succulents and cacti require open-top jars or jars with good airflow. They need more light and drier conditions compared to other terrarium plants. Good choices are Haworthia, Echeveria, and small Mammillaria cacti.
Use a well-draining substrate, such as a mix of cactus soil and sand. Place plants with some space between them to prevent rot and ensure airflow.
Air plants (Tillandsia) need no soil and can be set on top of gravel, stones, or driftwood inside the jar. Mist lightly every few days or remove and soak in water as needed.
Tropical Plants, Ferns, and Fittonia
Tropical plants thrive in high humidity and indirect light, making them perfect for closed jar terrariums. Ferns like maidenhair, button fern, and bird’s nest fern are popular for their delicate textures.
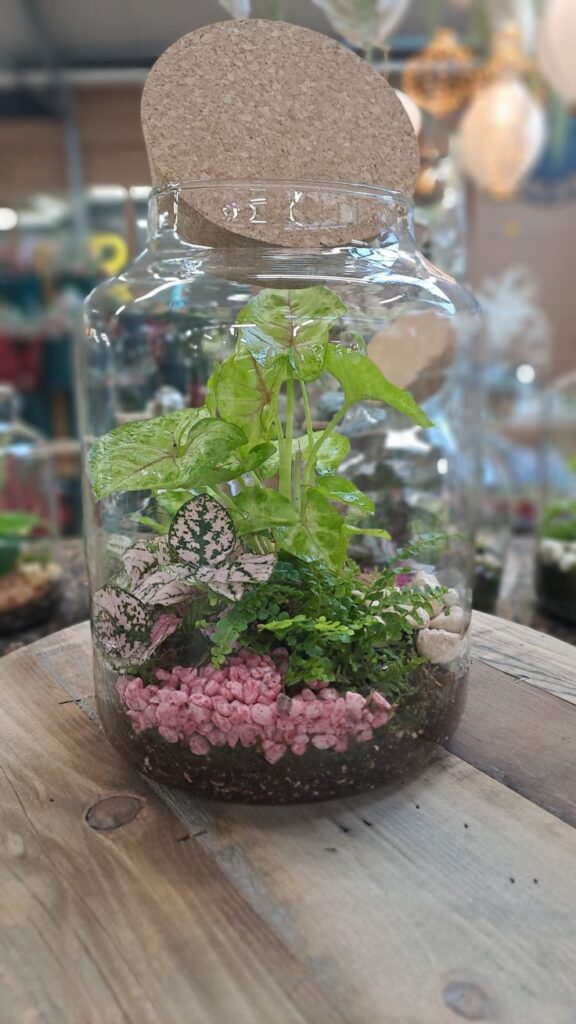
Include small foliage plants such as Fittonia (nerve plant/polka dot plant), baby tears, or miniature peperomia varieties. These plants stay compact and adapt well to limited space.
Layer taller ferns towards the back and use low-growing types at the front. Combine different leaf shapes and shades for added depth and visual interest.
Creative Plant Combinations for Mini Ecosystems
Blending various plants helps you mimic a true mini ecosystem. Combine mosses, ferns, and compact tropical plants for a self-sustaining, moisture-loving terrarium.
For open jars, try mixing succulents with air plants and decorative pebbles for a clean, modern arrangement.
Layer plants by height and growth habit. Place taller specimens at the back or center and use ground covers around the base to create cohesion.
Keep plant compatibility in mind—select those with similar water, light, and humidity needs. Use the table below as a starting guide:
| Plant Type | Best for | Water Needs | Light Needs | Jar Type |
|---|---|---|---|---|
| Mosses | Closed jars | High humidity | Low-medium | Sealed/Closed |
| Succulents/Cacti | Open jars | Low, dry soil | Bright, direct | Open |
| Tropical/Ferns | Closed jars | Moist, humid | Bright, indirect | Sealed/Closed |
| Air plants | Either | Mist/spray | Bright, indirect | Open/Closed |
Step-by-Step Guide: How to Make a DIY Jar Terrarium
A DIY jar terrarium is a practical way to bring nature indoors and create your own mini garden. You will build up specific layers for plant health, carefully position plants, and add personal touches for unique terrarium design.
Layering Your Terrarium
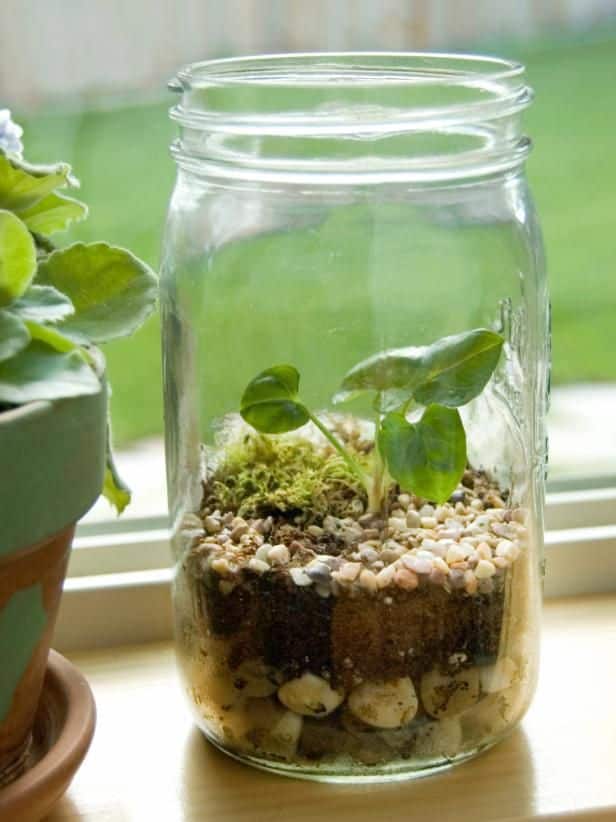
Start by choosing a clean glass jar with a wide mouth—mason jars work well for DIY terrariums. Proper drainage is essential, as closed containers have no holes. Spread a 1–2 inch layer of small rocks or pebbles at the bottom to help excess water settle away from plant roots.
Add a thin layer (about half an inch) of activated charcoal above the rocks to absorb odors and toxins. Follow with 2–3 inches of potting soil suitable for your chosen plants. Tropical indoor plants, moss, or succulents are common choices for jar terrariums.
Use a spoon or small scoop to even out the soil. Leave enough space at the top of the jar so your plants don’t press against the glass. This structured layering supports the health of your mini ecosystem.
Planting and Arranging
Select small, slow-growing plants that thrive in humid, low-light conditions if you’re making a closed terrarium. Popular options include fittonia, ferns, moss, and diminutive tropical species. If you prefer an open jar, tiny succulents or cactus varieties are best.
Make shallow holes in the soil for each plant using a spoon or your fingers. Place the roots in the holes and gently cover them with soil. Press lightly to remove large air pockets but avoid compacting the soil too much.
Arrange taller plants at the back or center and smaller ones toward the edges for a natural look. If adding moss, tuck it around the plants to cover exposed soil and help retain moisture. Water lightly to settle the plants, ensuring you don’t flood the jar.
Personalizing Your Terrarium Design
Decorate your DIY terrarium with personal or natural accents to enhance its appeal. Consider adding small stones, decorative sand, miniature figurines, or shells to reflect your style or fit a specific theme. These touches turn a simple jar into a true piece of decor.
Arrange decorative items so they don’t crowd the plants. Leave some open soil or moss visible for a balanced look. For a boho or minimalist vibe, stick to natural materials like pebbles and driftwood. For a whimsical design, try tiny animal or fairy figures.
Experiment with different combinations to create a mini garden that suits your taste. Your diy mason jar terrarium can serve as a unique gift, a desk display, or a miniature representation of your favorite outdoor landscape.
Caring for Your Jar Terrarium
Proper terrarium care involves careful attention to light exposure, maintaining appropriate humidity, and handling routine tasks like cleaning and pruning. Clear guidelines help you keep your jar terrarium healthy and attractive for the long term.
Light and Sunlight Requirements
Place your jar terrarium in an area with bright, indirect light. Direct sunlight can quickly overheat the glass, causing stress or burning the plants inside. East- or north-facing windows typically offer good conditions.
Avoid placing the terrarium in deep shade, as low light leads to leggy, weak growth. If natural light is limited, you can use a full-spectrum LED grow light for several hours daily. Keep the terrarium away from radiators or heat sources, which can dry out the soil and alter temperature.
Common mistakes to avoid:
- Direct sun exposure: Causes excessive heat and burns.
- Very dim rooms: Insufficient light slows growth and may encourage mold.
Check your plants regularly for signs of inadequate or excessive light, such as discolored or stretched leaves.
Managing Moisture and Humidity Levels
Closed jar terrariums thrive on a balance of moisture and humidity. The lid creates a mini-ecosystem where water recirculates, but too much moisture can lead to mold, while too little can cause wilting.
Monitor condensation inside the jar. A light fog on the glass indicates healthy humidity, but heavy droplets running down the walls mean you should air it out briefly. If no condensation appears for days, lightly mist the plants using a spray bottle.
Never soak the soil; excess water collects at the bottom, causing root rot. Succulents and cacti require even drier conditions, so only a minimal mist is needed when the soil feels completely dry.
Common Maintenance Tips
Maintain your terrarium with simple, routine steps:
- Remove yellowing or dead leaves as soon as you see them to prevent decay.
- Use fine pruning scissors for any overgrown plants, cutting back as needed to maintain shape and airflow.
- Wipe the glass inside gently using a soft cloth to keep it clear of algae or mineral buildup.
If fungus gnats or mold appear, let the terrarium air out for a day, reduce watering, and remove visible mold or debris. Check substrate levels and add fresh moss or soil if you notice excessive compaction.
Regular care prevents issues and helps your jar terrarium look its best.
- 543shares
- Facebook0
- Pinterest540
- Twitter3
- Reddit0

