Creating your own DIY autumn candles brings the cozy spirit of the season into your home. You can craft unique, fragrant candles that not only serve as decorations but also enhance your living space with warm, inviting scents. Whether you’re a seasoned candle maker or a beginner, this guide will help you navigate the process of making beautiful fall-themed candles that reflect your personal style.
Selecting the right scents is key when it comes to evoking autumn’s essence. From spicy cinnamon to crisp apple, the fragrances you choose will set the tone and create an atmosphere perfect for those chilly evenings. As you explore the simple candle-making process, you’ll find it rewarding to see your ideas come to life.
So roll up your sleeves and prepare to transform your home with these delightful homemade candles that capture the spirit of fall, making each room feel warm and welcoming.

Key Takeaways
- Learn essential candle making basics for a smooth process.
- Discover how to select scents that evoke the autumn season.
- Get tips on designing thematic candles to enhance your decor.
Understanding Candle Making Basics
Candle making involves selecting the right materials and ensuring safe practices during the process. Key components include wax types, wick choices, and safety precautions for a successful DIY project.
Choosing the Right Wax
The type of wax you choose significantly influences the candle’s burn quality, scent throw, and appearance. Common options include:
- Soy Wax: This natural wax burns cleanly and evenly, making it a popular choice for eco-friendly candles. It holds fragrance well and is easy to work with.
- Beeswax: Known for its natural honey scent, beeswax is non-toxic and burns longer than most waxes. Candles made from beeswax produce little smoke when burned.
- Paraffin Wax: A widely used option, paraffin is affordable and readily available. Though it can release toxins when burned, high-quality paraffin options minimize this risk.
Selecting the right wax depends on your priorities, such as sustainability or scent throw.
Types of Wicks
Choosing the right wick is crucial for ensuring your candle burns correctly. Wicks come in various sizes and materials, including:
- Cotton Wicks: Versatile and easy to use, cotton wicks provide a consistent burn. They are suitable for most wax types, including soy and paraffin.
- Wooden Wicks: These create a unique crackling sound while burning and can enhance the aesthetic of your candle. Ensure they are properly sized for your container.
- Paper Wicks: Often used in votive or tealight candles, paper wicks are designed for specific wax types. They provide a reliable wick option for small candles.
Consider the wax type and candle size when selecting your wick for optimal performance.
Safety First
Candle making requires attention to safety to prevent accidents and ensure a successful process. Here are some critical safety tips:
- Work in a well-ventilated area: Ensure proper airflow to reduce exposure to any fumes produced during melting.
- Use heat-resistant containers: Choose containers suitable for high temperatures to prevent breakage.
- Wear protective gear: Use gloves and goggles to protect yourself from hot wax.
Being mindful of these precautions will enhance your candle-making experience while keeping it enjoyable and safe.
Selecting Fall Scents and Fragrances
Choosing the right scents for your autumn candles enhances the seasonal atmosphere in your home. Factors like personal preference and scent origin, as well as their therapeutic benefits, play vital roles in your selection process.
Natural versus Synthetic Fragrances
When selecting fragrances for your candles, you can choose between natural and synthetic options.
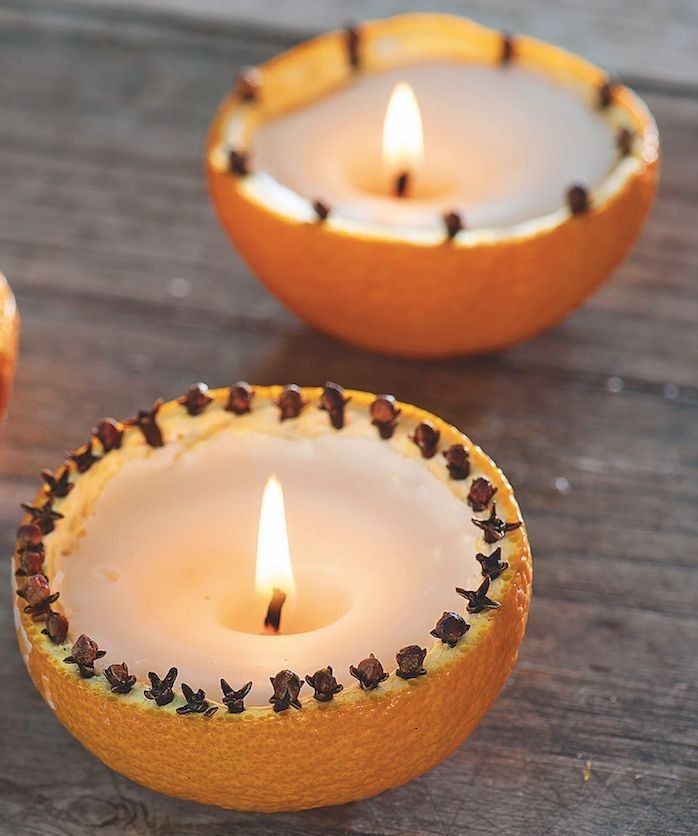
Natural fragrances are derived from plants and natural sources. They include essential oils like orange essential oil, which evokes fresh, citrusy scents reminiscent of autumn. Other popular natural options are cinnamon, clove, and vanilla, commonly associated with the fall season.
Synthetic fragrances, on the other hand, are chemically created and can mimic various natural scents. They often provide a broader range of scents, such as pumpkin spice and maple, at a more affordable price. However, synthetic options may not offer the same therapeutic benefits as their natural counterparts.
Essential Oils for Aromatherapy
Using essential oils in your DIY candles provides more than just fragrance; it introduces aromatherapy benefits.
Cinnamon oil promotes warmth and comfort, perfect for the fall. Clove essential oil adds a spicy note that can uplift mood and reduce stress. If you’re looking for a refreshing touch, orange essential oil brightens your space, mimicking the feeling of autumn sunshine.
You might also consider creating blends. Combining cinnamon, orange, and vanilla can produce a warm, inviting aroma. These blends not only smell fantastic but may also promote relaxation and positivity.
Preparing Your Candle Making Workspace
Creating a well-organized workspace is essential for successful candle making. Focus on gathering the necessary materials and ensuring a safe and clean environment to work in.
Gathering Your Materials
Start by collecting all your candle supplies before you begin. Essential items include:
- Candle wax: Choose your preferred type – paraffin, soy, or beeswax.
- Wicks: Select the appropriate size for your candle jars.
- Fragrance oils: Pick scents that suit the autumn season, such as pumpkin spice or cinnamon.
- Colors: Use candle dyes if you want to add color to your wax.
- Containers: Have your candle jars ready, ensuring they are clean and dry.
Additionally, keep wax paper handy to protect surfaces from spills. You might also want a double boiler or melting pot for melting the wax, a thermometer to monitor temperatures, and pouring pitchers. Having everything at your fingertips can facilitate a smoother candle-making experience.
Workspace Safety and Cleanliness
Safety is paramount when candle making. Start by choosing a well-ventilated area to prevent inhalation of fumes from melting wax and fragrances.
Ensure you’re wearing protective gear, such as gloves and goggles, to avoid skin contact with hot wax.
Keep a fire extinguisher nearby for emergencies related to candle fuels.
Maintain cleanliness by using wax paper or a protective covering on your workspace.
Promptly clean any spills with soap and water to prevent slipping hazards.
Finally, store all materials securely to avoid clutter, which can lead to accidents.
Designing Your Fall Candle Theme
Creating a captivating fall candle theme involves incorporating elements that evoke the season’s charm. Focus on using natural materials and colors that reflect autumn’s palette. Highlighting specific motifs will enhance the overall aesthetic of your candles.
Incorporating Fall Elements
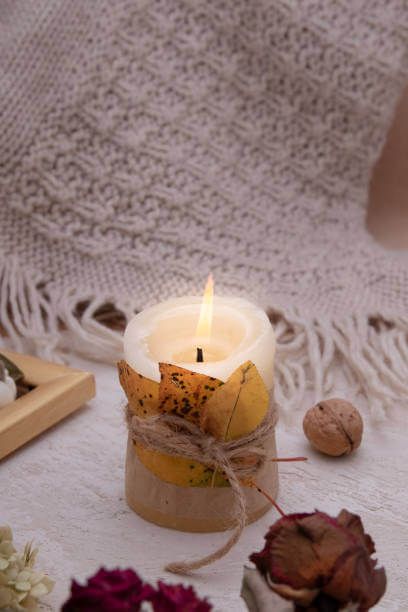
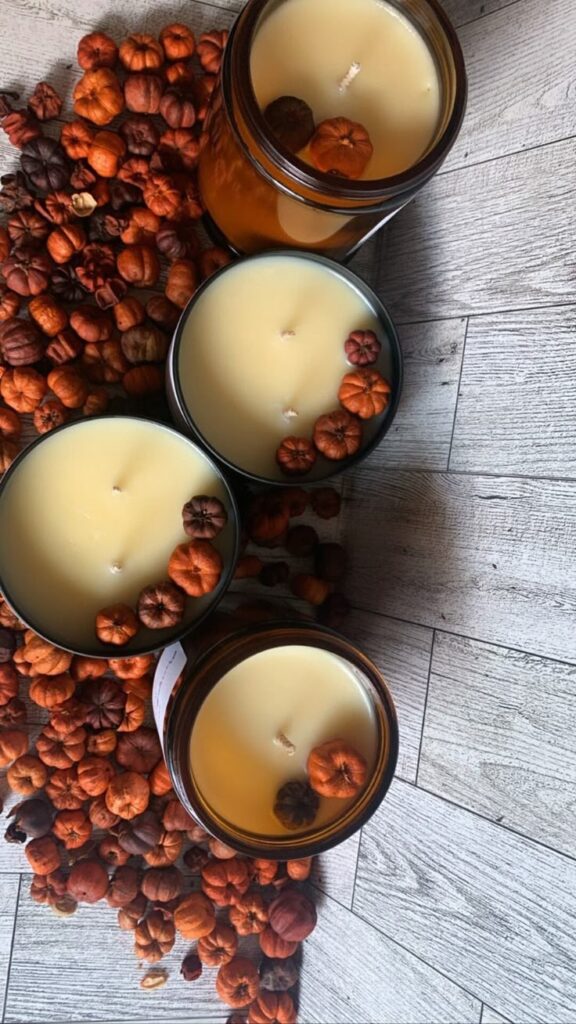
To embody the essence of autumn, consider using real leaves, pressed flowers, or even small pumpkins in your candles. Gather colorful fall leaves and place them inside the candle vessel before pouring in wax. This brings a natural touch and an engaging visual appeal once the candle is lit.
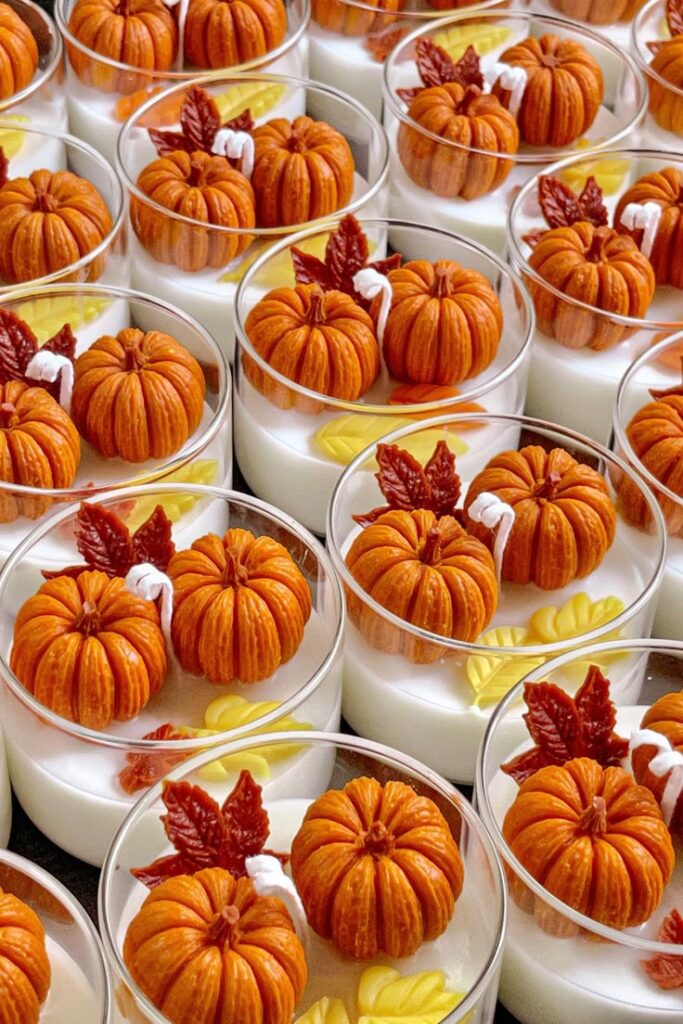
Pumpkin candles can be made using candle molds shaped like small pumpkins. Using scents such as cinnamon or nutmeg can further enrich the sensory experience. You might also consider incorporating essential oils to evoke the aroma of a crisp fall day. This combination of visuals and scents creates a cohesive fall theme that resonates with the season.
Color and Presentation
The color scheme for your fall candles should reflect the vibrant hues of the season. Choose deep oranges, reds, and browns to evoke the changing leaves. You can layer different colored waxes to create a gradient effect that mimics the transition of leaves in autumn.
For presentation, use natural twine or burlap to wrap around your candles for a rustic touch. Label them with seasonal names or quotes for added charm. Place them in clusters with other fall decor, such as small gourds or candles in varying heights, to create an inviting atmosphere that celebrates the season.
The Candle Making Process
Creating DIY autumn candles involves several key steps that bring your vision to life. You will melt the wax, set the wick, add your chosen scents and colors, and finally cool and cure the candles to perfection. Each step is crucial to ensuring that your candles are both functional and aesthetically appealing.
Melting and Pouring the Wax
Begin by choosing the right wax, with soy wax being a popular option for a clean burn. Measure out the appropriate amount based on your container size. Use a double boiler to melt the wax slowly. This method prevents overheating and ensures even melting.
As the wax melts, keep an eye on the temperature. Soy wax typically melts between 120°F to 180°F. Once fully melted, pour the wax into your container, filling it to the desired height. Leave a small amount for any additional layers or toppings.
Setting the Wick
While the wax is still warm, it’s essential to insert the wick properly. Start by securing the wick to the bottom of the container. You can use a wick sticker or a small amount of melted wax for this purpose.
Ensure the wick is centered for an even burn. Use a wick holder or a pencil to keep it in place while the wax cools. This step is critical, as a well-placed wick directly affects how well your candle burns.
Adding Scents and Colors
Enhancing your candle with scents and colors can transform it into a sensory delight. For a pumpkin spice candle, consider using essential oils like cinnamon and clove.
Add fragrances once the wax reaches the ideal temperature of about 170°F. Mix thoroughly to ensure even distribution. For color, you can use candle dye chips or liquids. Start with a small amount and adjust until you achieve your desired shade. The right scent and color will elevate your DIY candles and create a warming ambiance.
Cooling and Curing
After pouring your wax and adding scents and colors, allow the candle to cool gradually. Ideally, this should be done at room temperature. Avoid moving the candle during this time, as it may cause imperfections.
Once cooled, let your candles cure for at least 24 hours for optimal fragrance throw. This resting period allows the scents to bind to the wax more effectively. Afterward, trim the wick to about 1/4 inch above the wax surface for the best burn performance. Your strong scented candles are now ready to light and enjoy.

Finishing Touches
Enhancing your DIY autumn candles is all about the right decorative elements, effective candle transfer techniques, and thoughtful packaging. These finishing touches can elevate your creations, making them perfect for gifts or home decor.
Decorative Elements
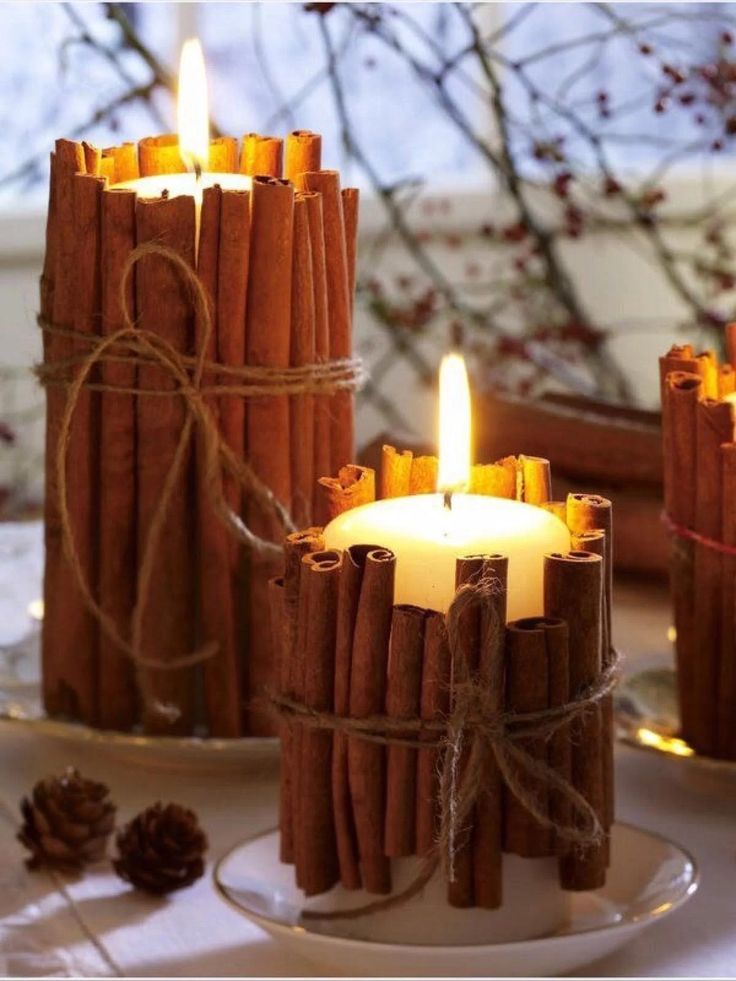
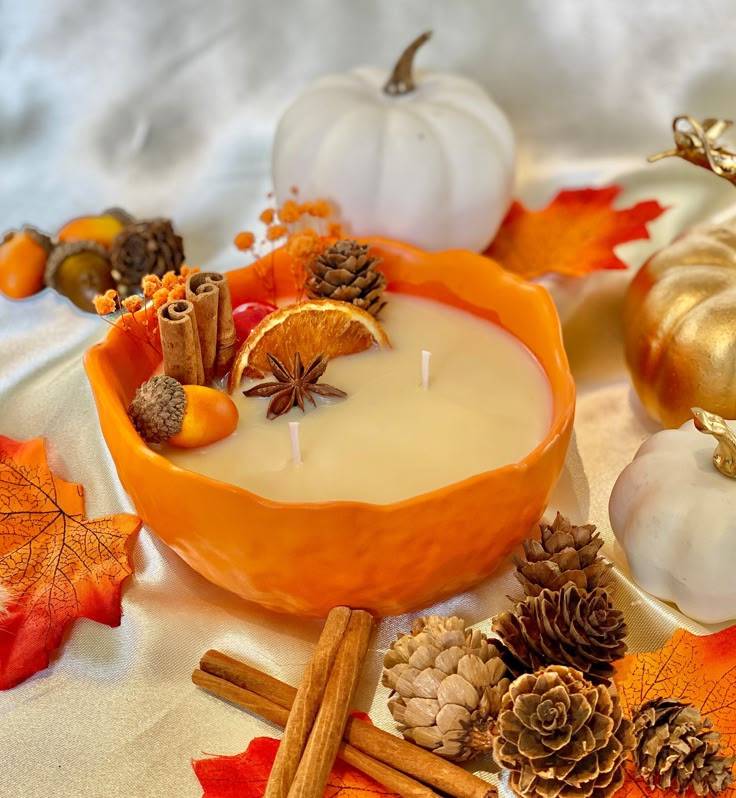
Add charm to your candles with appropriate decorative elements. Natural materials such as dried leaves, cinnamon sticks, or pinecones complement autumn themes.
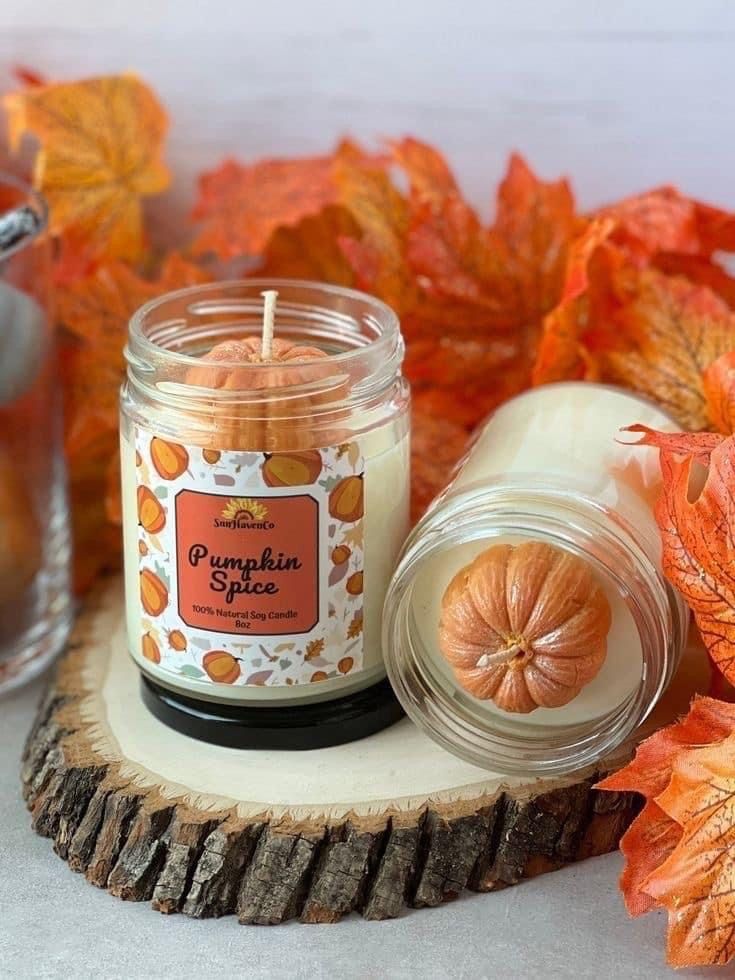
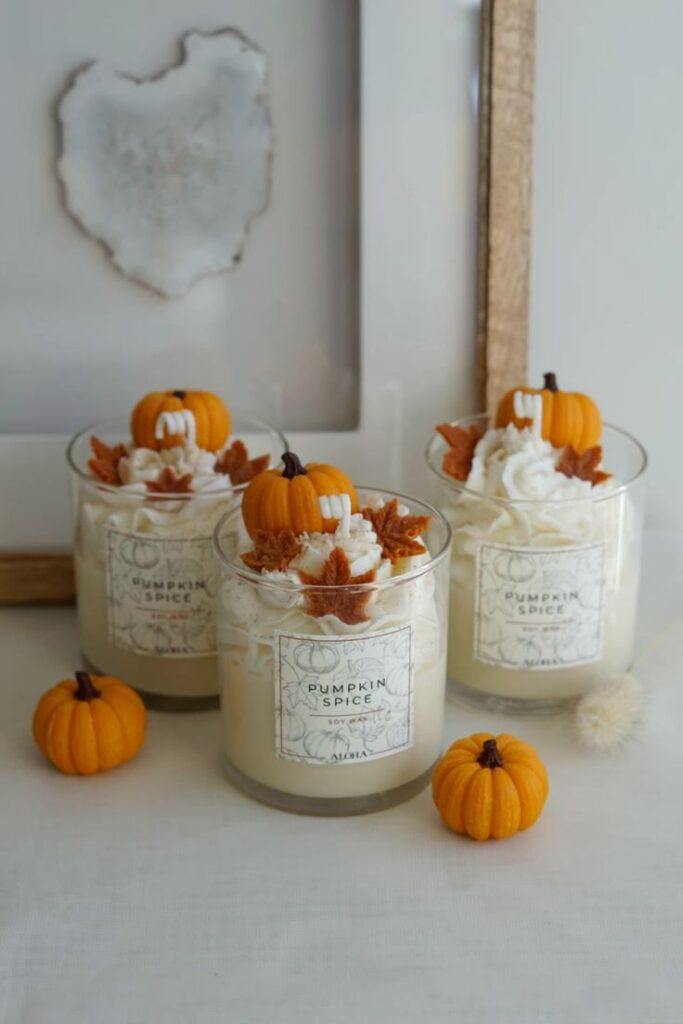
You can also use adhesive labels for a personal touch. Consider typing the scent name on a rustic label; for example, “Pumpkin Spice” enhances the cozy vibe.
Another option is to incorporate essential oils or herb sprigs directly into the wax. This not only adds aesthetic appeal but can also amplify scents like chai or cinnamon pumpkin. Choose elements that echo the fragrance for harmony.
Candle Transfer Techniques
Transferring your candles into containers requires precision. Ensure your wax is at the optimal temperature; too hot can damage the container, while too cool may cause uneven surfaces.
When pouring, make sure to fill your containers to the desired level but avoid overfilling. Use a candle thermometer to check the wax temperature, aiming for around 170°F (77°C) for most containers.
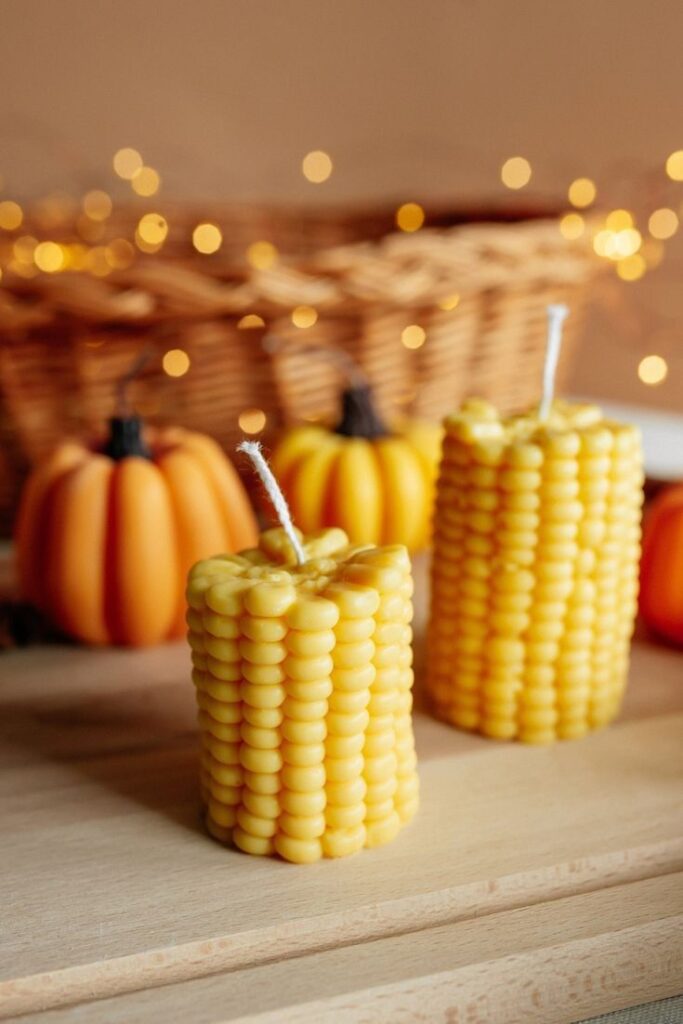
For unique shapes, consider using silicone molds. These molds allow you to create themed shapes, like leaves or pumpkins, which can resonate with your autumn candle scents. A well-executed transfer will ensure a clean finish.
Packaging and Presentation
Presenting your autumn candles thoughtfully enhances their appeal. Use jute twine or rustic ribbon to tie around the jar neck. This adds a handcrafted feel.
Consider using clear cellophane bags for a polished look. Place the wrapped candles in a decorative box with a note or tag explaining the scent, like “Chai with hints of spice.”
If intended as gifts, ensure the packaging reflects the autumn theme. Choose colors like deep orange, browns, or golds to resonate with fall aesthetics. This attention to detail creates a memorable experience for the recipient.
Maintenance and Burning Tips
To ensure your DIY autumn candles last longer and maintain their delightful aroma, you should focus on proper burning techniques and preservation methods. Implementing these tips will enhance your candle experience while maximizing the benefits of using natural ingredients.
Proper Candle Burning
Start by trimming the wick to about 1/4 inch before lighting. This will help control the flame size and minimize soot accumulation.
Burn your candles for at least an hour for every inch in diameter. This allows the wax to melt evenly, preventing tunneling and ensuring a longer burn time.
When extinguishing, avoid blowing out the candle, as this can create smoke and diminish the scent. Instead, use a snuffer or dip the wick into the wax to minimize smoke.
For essential oil candles or natural soy candles, remember that they have different burning characteristics. Monitor the melting pool to prevent overheating and avoid using in drafty areas.
Preserving the Candle’s Aroma
To maintain the fragrance in your candles, store them in a cool, dark place when not in use. The light and heat can break down the essential oils, diminishing their potency.
Avoid placing candles near strong scents or chemicals, as they can absorb odors, affecting the original aroma.
If your candle is made from beeswax, it has a natural ability to purify the air, which enhances its charm. For aromatherapy candles, ensure the essential oils are high-quality to retain their therapeutic benefits.
Additionally, consider using a candle lid to keep dust out and safeguard the fragrance.
- 2.1Kshares
- Facebook0
- Pinterest2.1K
- Twitter3
- Reddit0


