Ever felt like your home could use a little more zen, a touch of calm, but still with that cozy, inviting vibe? If so, you’re probably already familiar with, or about to fall in love with, Japandi style. This beautiful design trend blends the minimalist elegance of Japanese aesthetics with the warm, functional simplicity of Scandinavian design. And guess what? You can bring this harmonious balance right into your living space with a handmade lighting fixture. In this Japandi style DIY lamp tutorial, we’re going to show you how to craft a stunning lamp that not only brightens your room but also embodies the serene beauty of Japandi design.
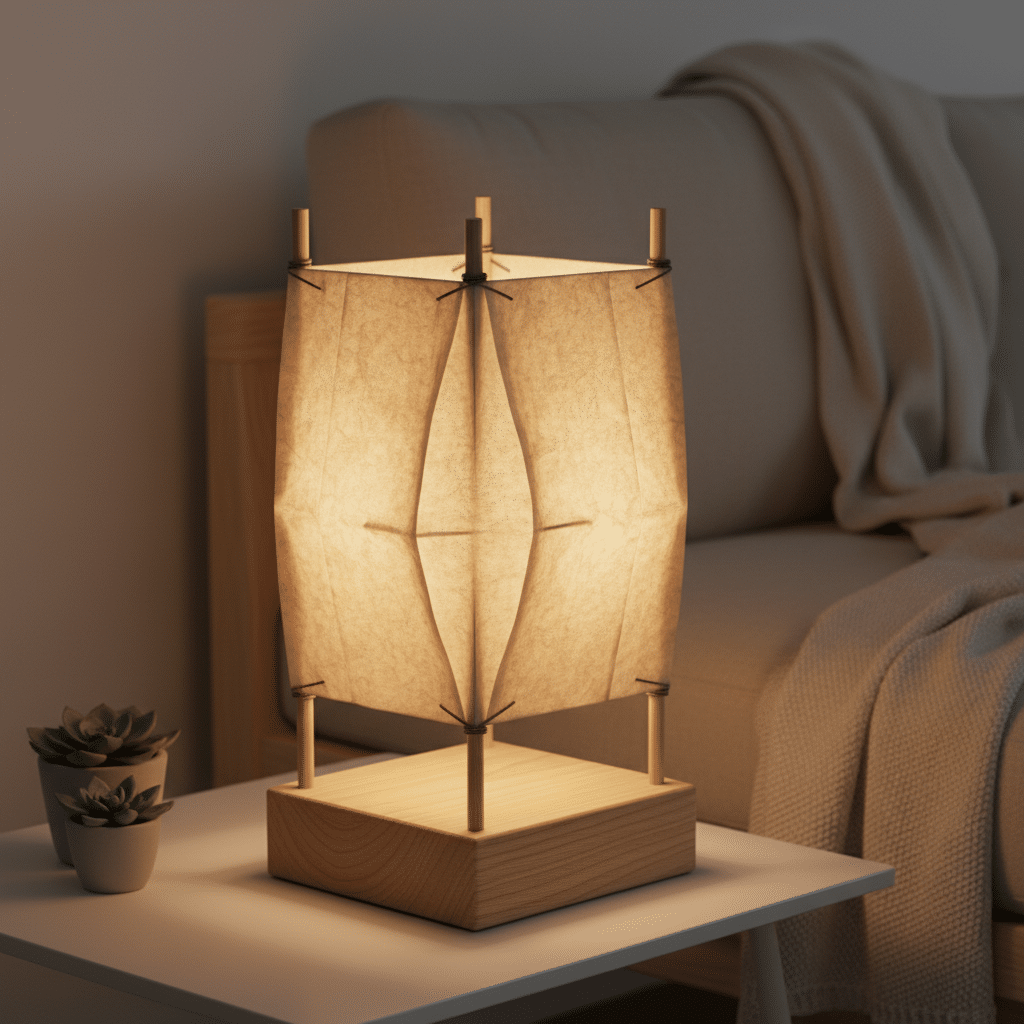
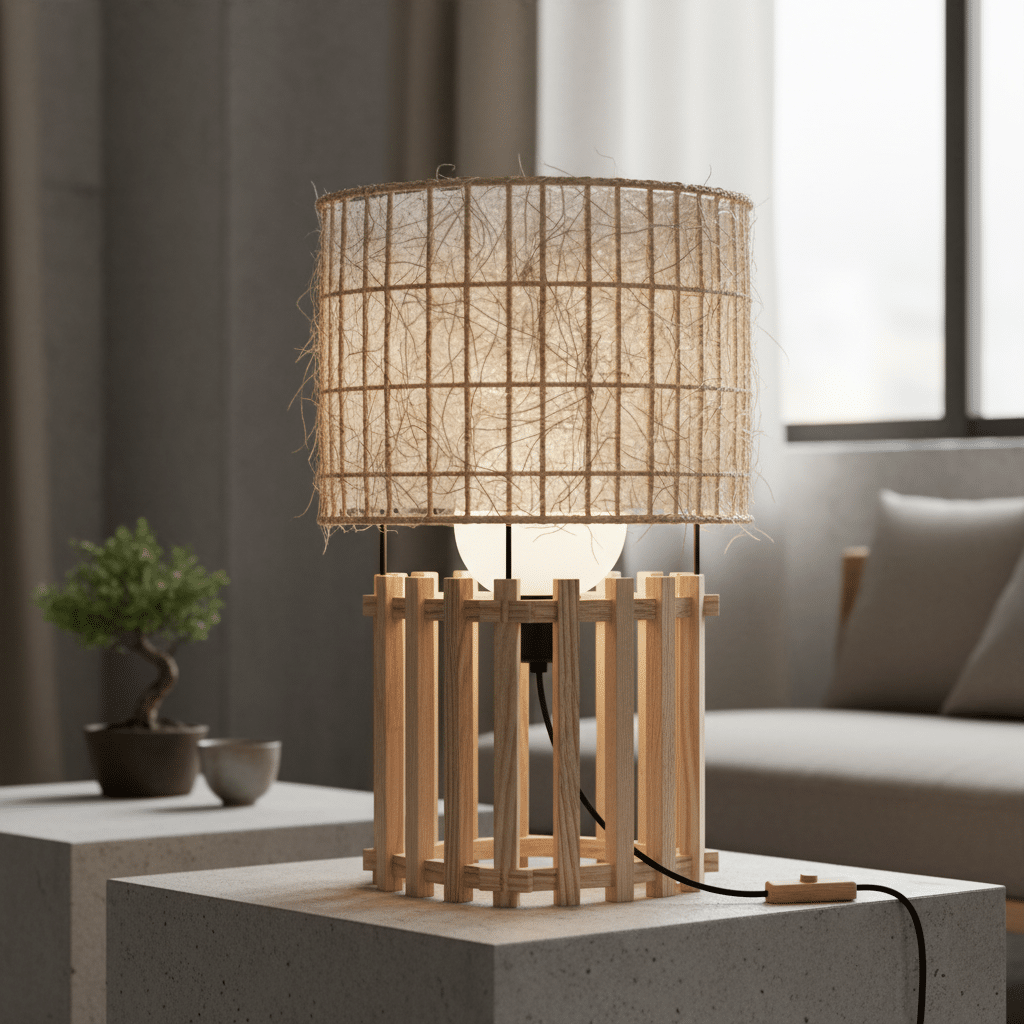
Understanding Japandi Style: A Quick Overview
Before we dive into the fun stuff, let’s get a handle on what Japandi is all about. Imagine the clean lines and functionality of Nordic design shaking hands with the serene, natural beauty and skilled craftsmanship of Japanese interiors. That’s Japandi! It’s not about clutter or excessive ornamentation; it’s about finding beauty in simplicity, utility, and natural textures.
Key characteristics you’ll spot in Japandi spaces include:
- Natural Materials: Think light woods like birch or pine, bamboo, rattan, linen, cotton, and ceramics. These materials bring an organic, earthy feel.
- Clean Lines and Minimalism: No fuss, no frills. Furniture and decor are often sleek, functional, and uncluttered. It’s about letting each piece breathe.
- Neutral Color Palettes: Soft whites, grays, muted blues, and earthy tones dominate. Occasionally, a deep green or a terracotta might pop in, but always subtly.
- Craftsmanship: There’s an appreciation for handmade items and quality over quantity. Imperfections are often celebrated, adding character and warmth.
- Functionality: Every item serves a purpose, contributing to a harmonious and practical living environment.
- Tranquility and Calm: The overall feeling is one of peace and serenity, a quiet retreat from the bustling world.
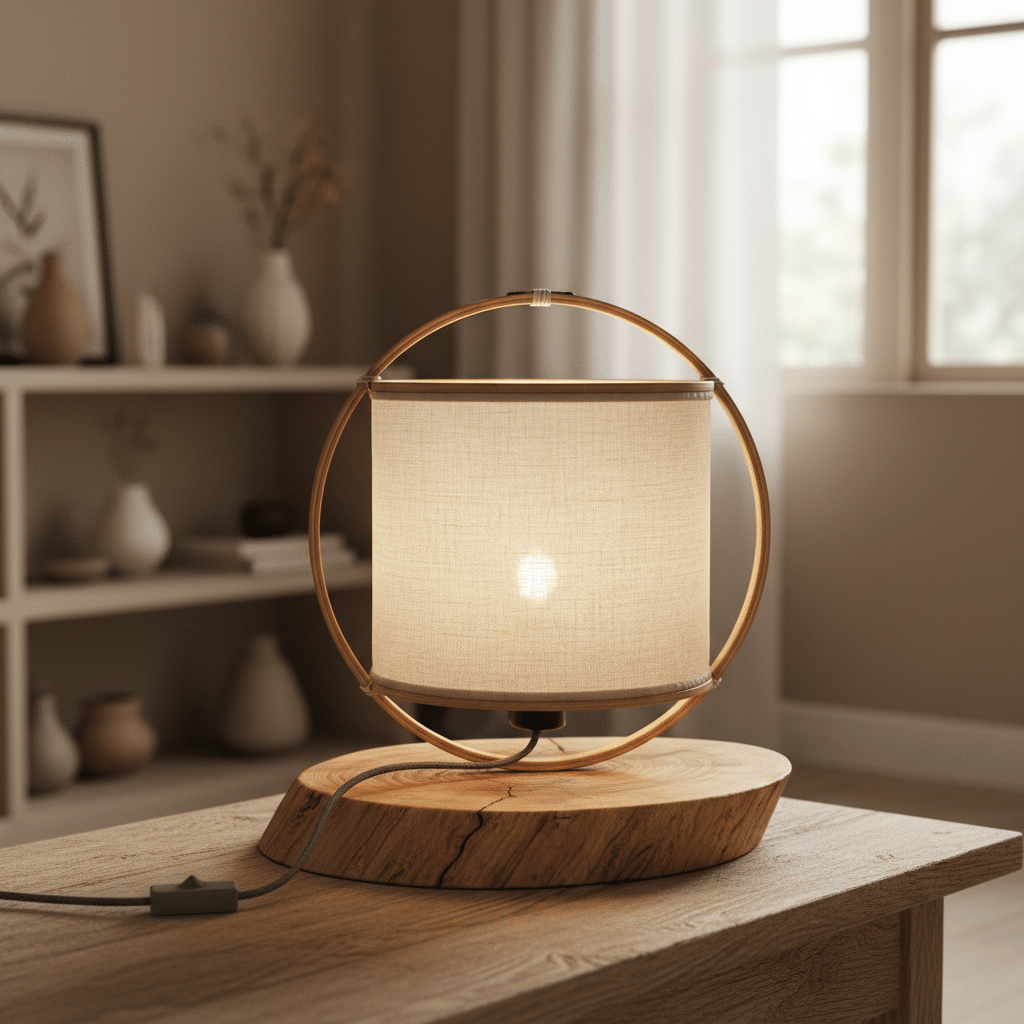
When it comes to lighting, Japandi lamps aren’t just about illumination; they’re about creating atmosphere. They diffuse light softly, highlighting textures and shapes, rather than casting harsh glares. This makes them perfect candidates for a thoughtful DIY project.
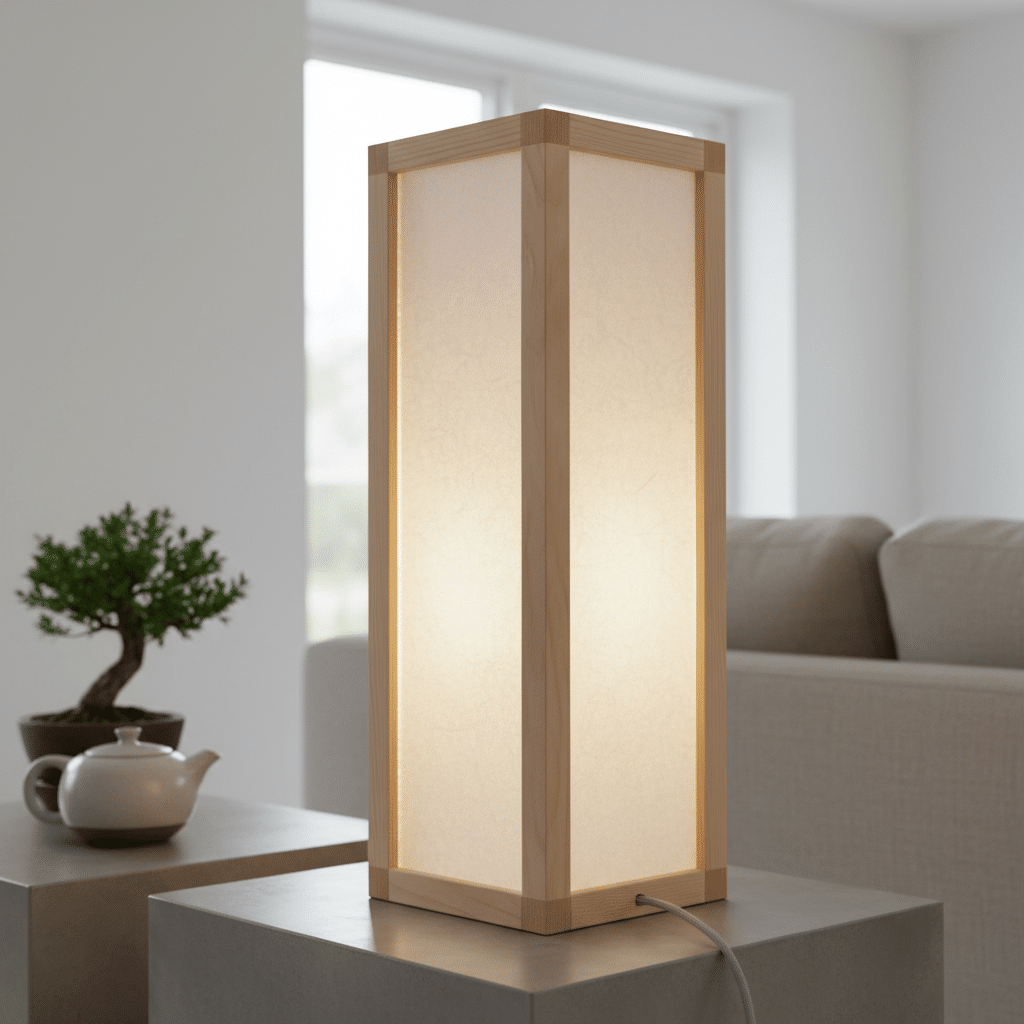
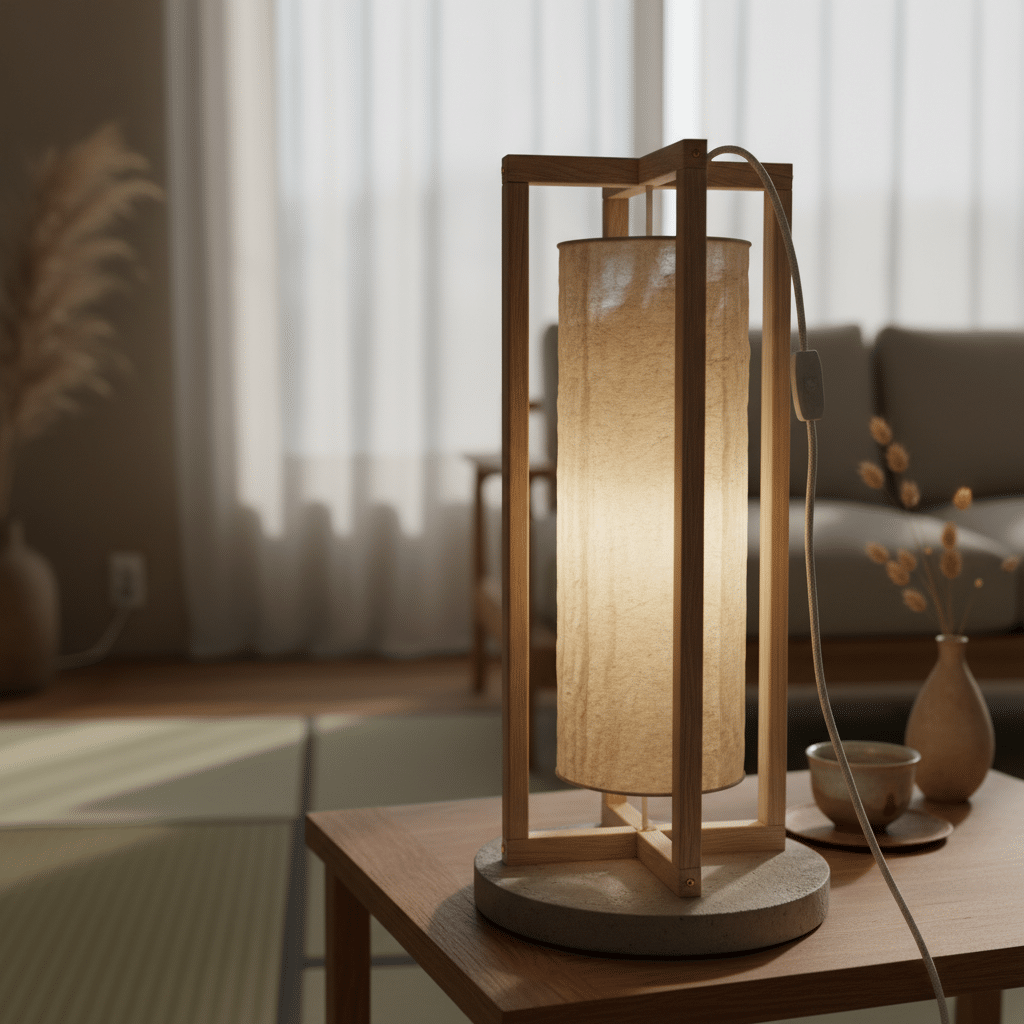
Why DIY Your Japandi Lamp?
You might be thinking, “Can’t I just buy a Japandi lamp?” Sure, you can! But there are some fantastic reasons to roll up your sleeves and make one yourself:
- Cost-Effectiveness: Designer Japandi lamps can come with a hefty price tag. By gathering materials yourself, you can achieve a high-end look without breaking the bank. You’d be surprised how affordable natural wood and rice paper can be!
- Personalization and Uniqueness: This is your chance to create something truly one-of-a-kind. You get to choose the exact dimensions, materials, and finish that perfectly match your space and personal taste. No one else will have quite the same piece.
- The Satisfaction of Creation: There’s a special joy in seeing a project through from concept to completion. Holding a beautiful, functional lamp that you made? That’s a feeling of accomplishment money can’t buy.
- Sustainability: By sourcing natural, raw materials and possibly repurposing existing items, you’re making an eco-conscious choice. It’s a small step towards a more sustainable home.
- Skill Development: Even if you’re a DIY novice, this project is surprisingly approachable. You’ll learn basic woodworking, wiring safety, and how to work with delicate materials. It’s a great entry point into the world of crafting. Many people find that even the best 5 beginner-friendly DIY projects can kickstart a lifelong hobby!
- Perfect Fit: You can tailor the lamp’s size and light output to perfectly suit the specific spot it will occupy, ensuring it provides exactly the right amount of ambiance and light.
Gathering Your Materials: The Essentials
Alright, let’s get down to business! The beauty of Japandi design is its reliance on natural, simple materials. Here’s what you’ll typically need for your DIY Japandi lamp. Remember, exact quantities depend on your desired lamp size and design.
For the Lamp Structure (Frame/Base):
- Wood: Light-colored wood is ideal. Think bamboo dowels, pine craft sticks, balsa wood, or even thin plywood. You’ll need pieces for a frame and a base.
Tip:* Check local craft stores, hardware stores, or even online for sustainably sourced wood.
- Wood Glue: A strong, quick-drying wood glue.
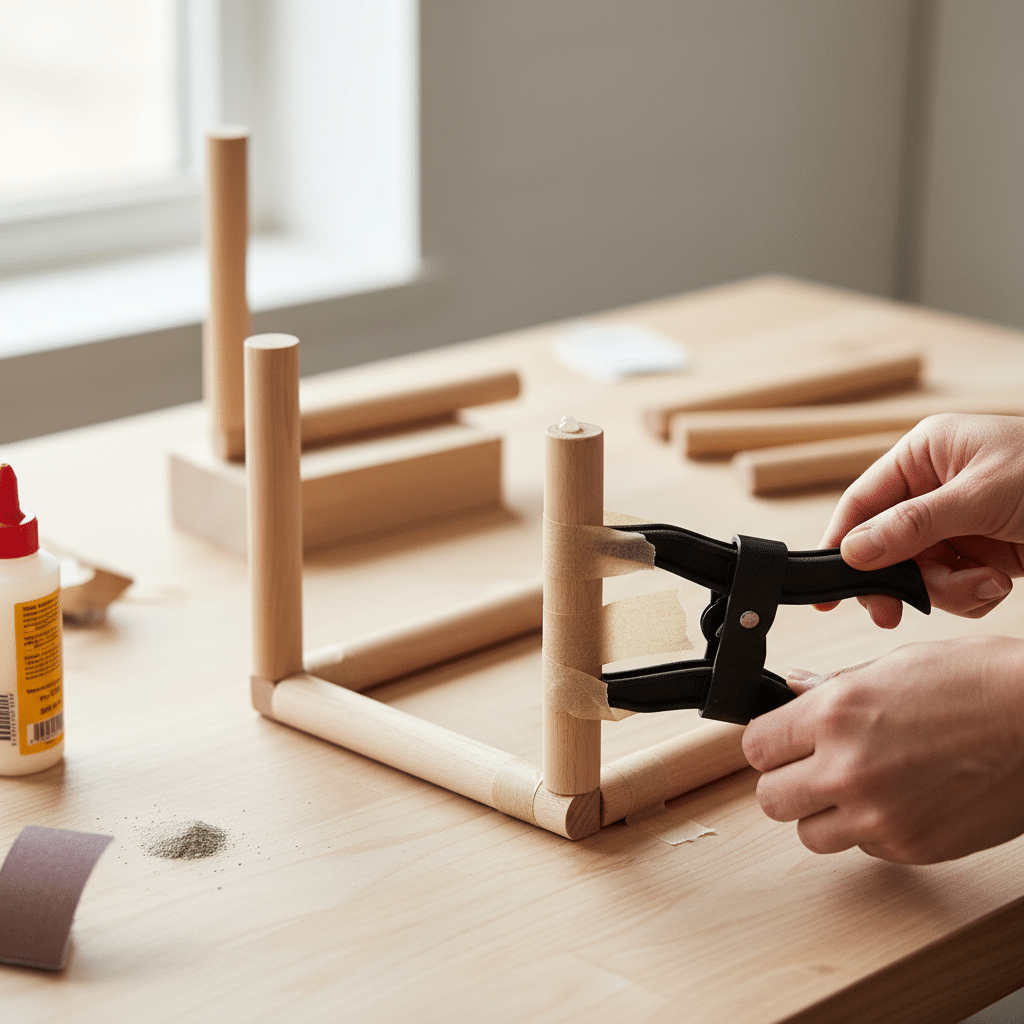
- Clamps or Masking Tape: To hold pieces together while the glue dries.
- Sandpaper: Fine-grit for smooth finishes.
- Wood Saw or Craft Knife: Depending on the thickness of your wood. A miter box can help with accurate cuts.
For the Light Diffuser (Shade):
- Paper: Rice paper (mulberry paper), parchment paper, or even heavy art paper in a natural tone. Rice paper is fantastic for its translucent quality and texture.
Tip:* Look for rolls or large sheets.
- Fabric (Optional): Light linen or cotton fabric can also be used for a shade. Ensure it’s thin enough to let light through but thick enough to diffuse it.
- Adhesive: Craft glue (like Mod Podge or a spray adhesive) or double-sided tape that won’t show through the paper/fabric. A glue gun can be useful for quick fixes, but use sparingly for clean lines.
For the Lighting Element:
- Lamp Cord Kit: This typically includes a pre-wired cord with a switch, a plug, and a bulb holder (socket). Ensure it’s appropriate for your region’s electrical standards.
Tip:* You can find these at hardware stores or online.
- Light Bulb: An LED bulb is energy-efficient and generates less heat, which is important for paper or fabric shades. Choose a warm white (2700K-3000K) or soft white bulb for that cozy Japandi glow. Avoid high-wattage incandescent bulbs.
Tools & Miscellaneous:
- Measuring Tape or Ruler: For accurate dimensions.
- Pencil: For marking cuts.
- Cutting Mat: Protects your work surface.
- Craft Scissors or Utility Knife: For cutting paper/fabric.
- Small Paintbrush or Sponge: For applying glue.
- Gloves (Optional): To keep your hands clean.

Choosing Your Design: Inspiration & Simplicity
The core of Japandi design is simplicity, and your lamp should reflect that. Before you start cutting and gluing, take a moment to consider the overall shape and style.
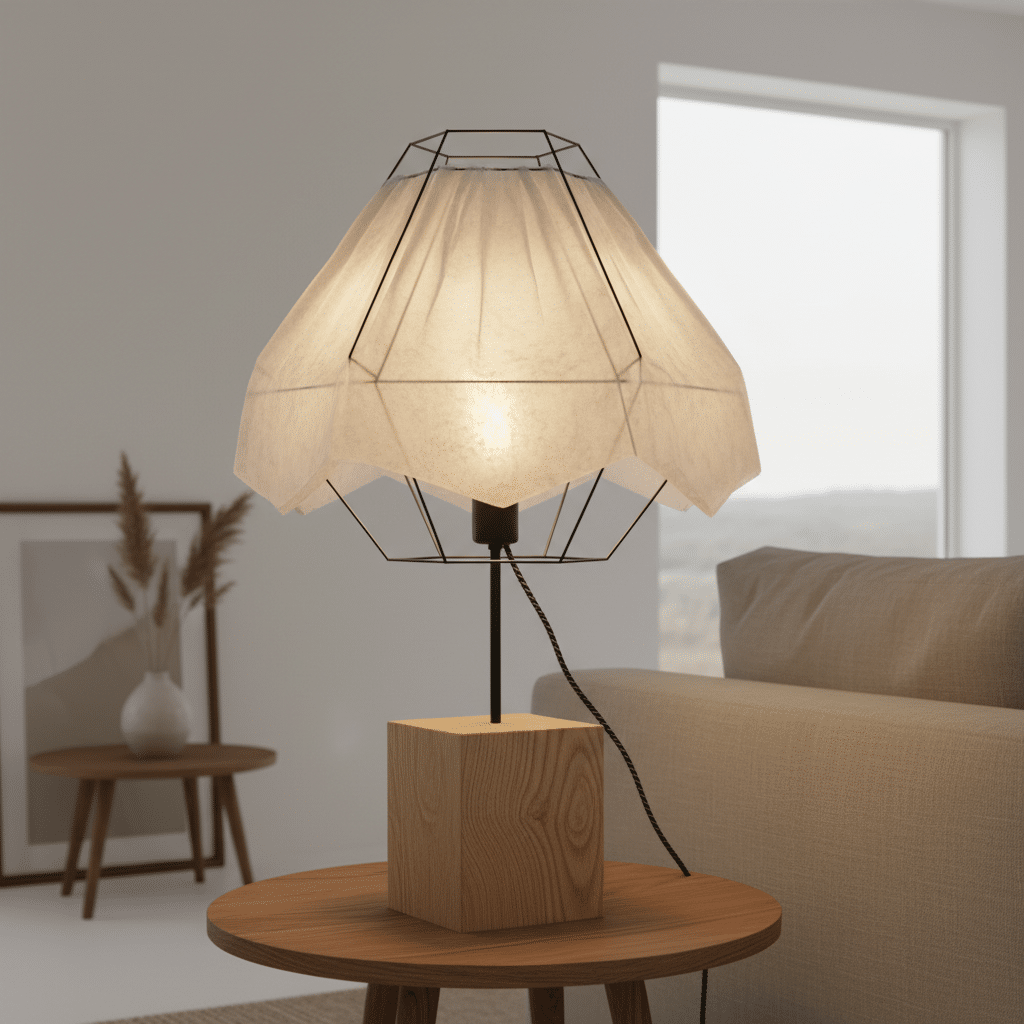
- Geometric Shapes: Squares, rectangles, and cylinders are classic Japandi choices. These provide clean lines and a structured look.
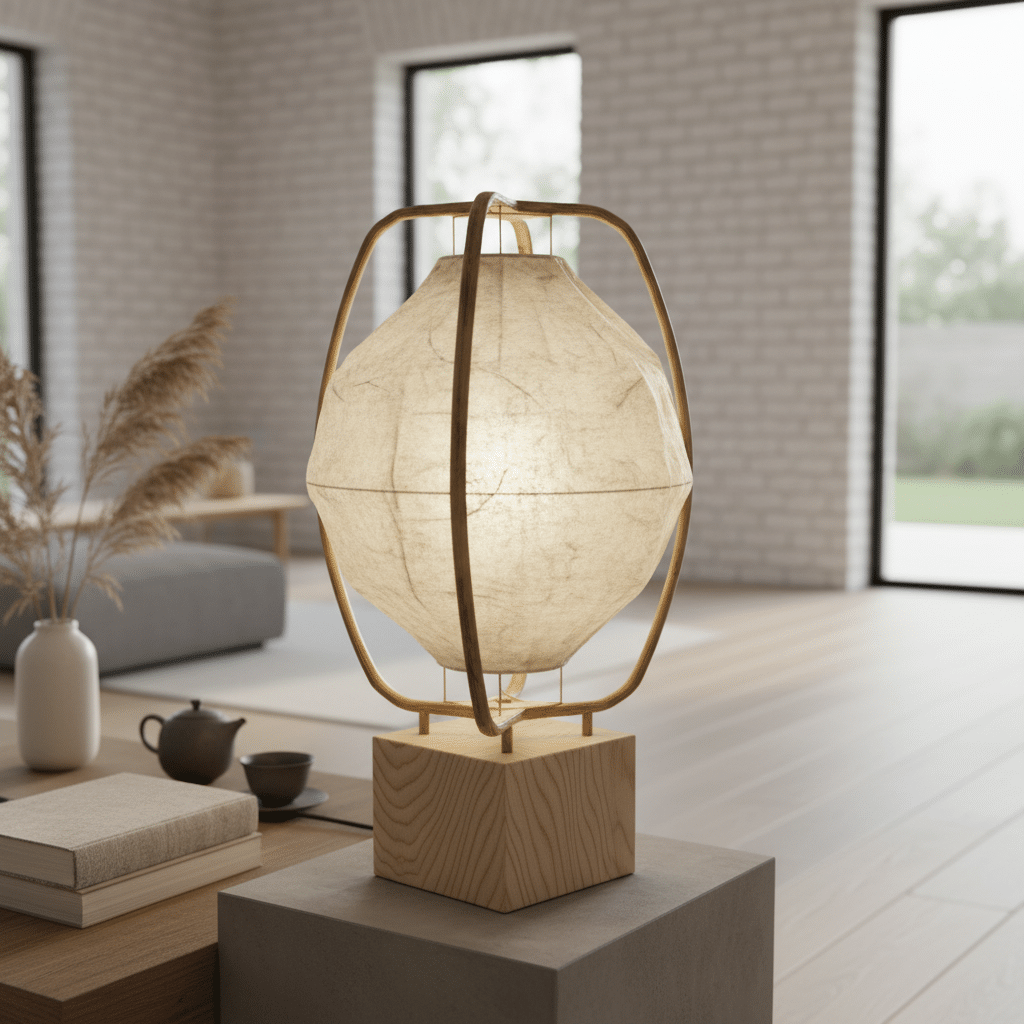
- Organic Forms: While less common, subtle curves or rounded edges can also fit the aesthetic, especially if they mimic natural elements.
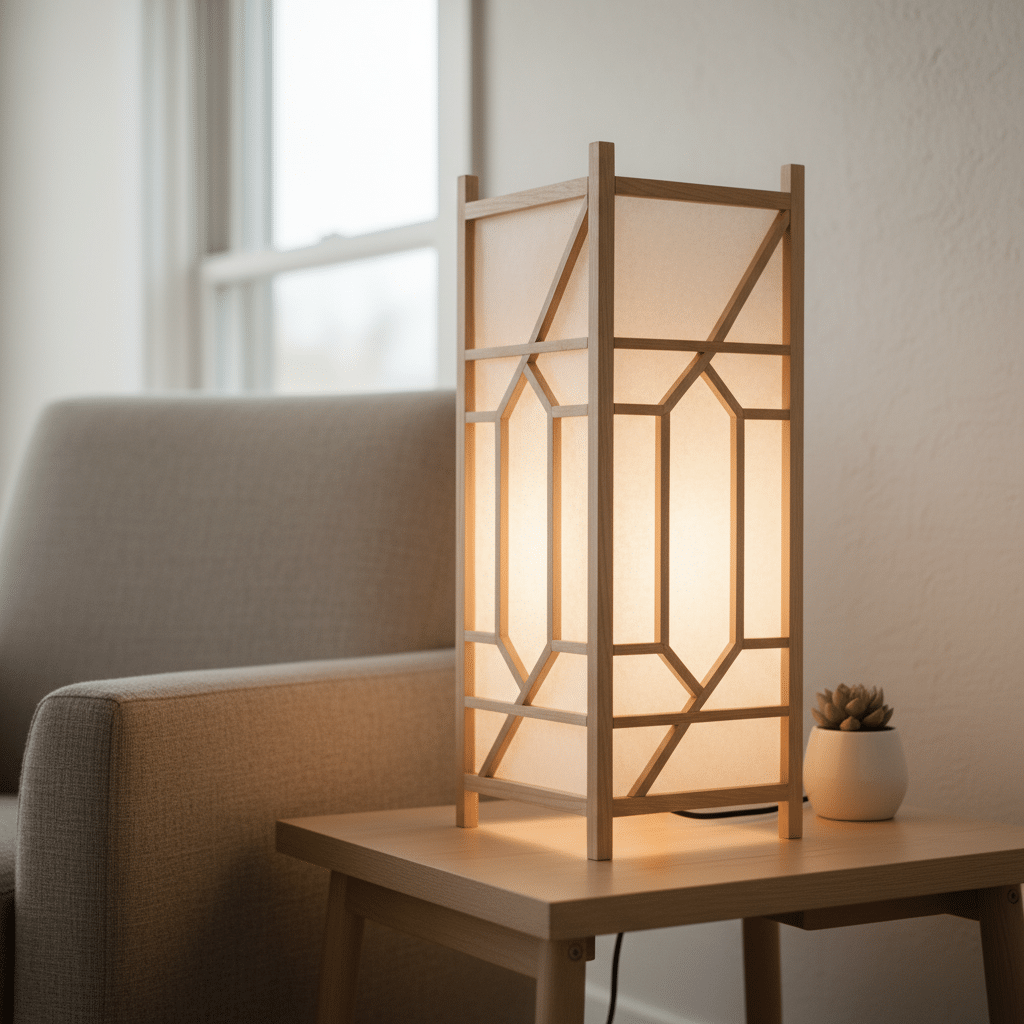
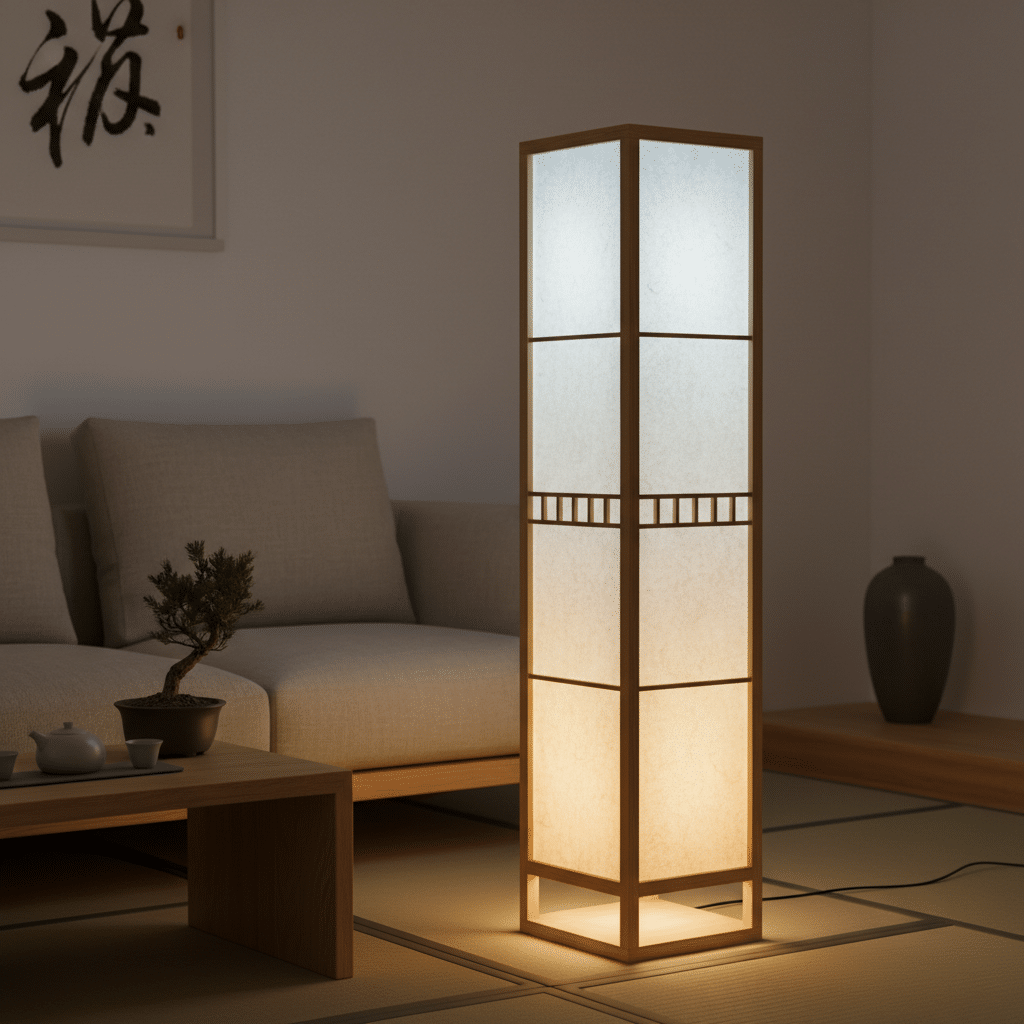
- Traditional Influences: Think of traditional Japanese shoji lanterns. These often feature a wooden grid frame covered with translucent paper, diffusing light beautifully.
- Nordic Minimalism: Look at Scandinavian minimalist lamps – often simple shapes, functional, and made from natural materials.
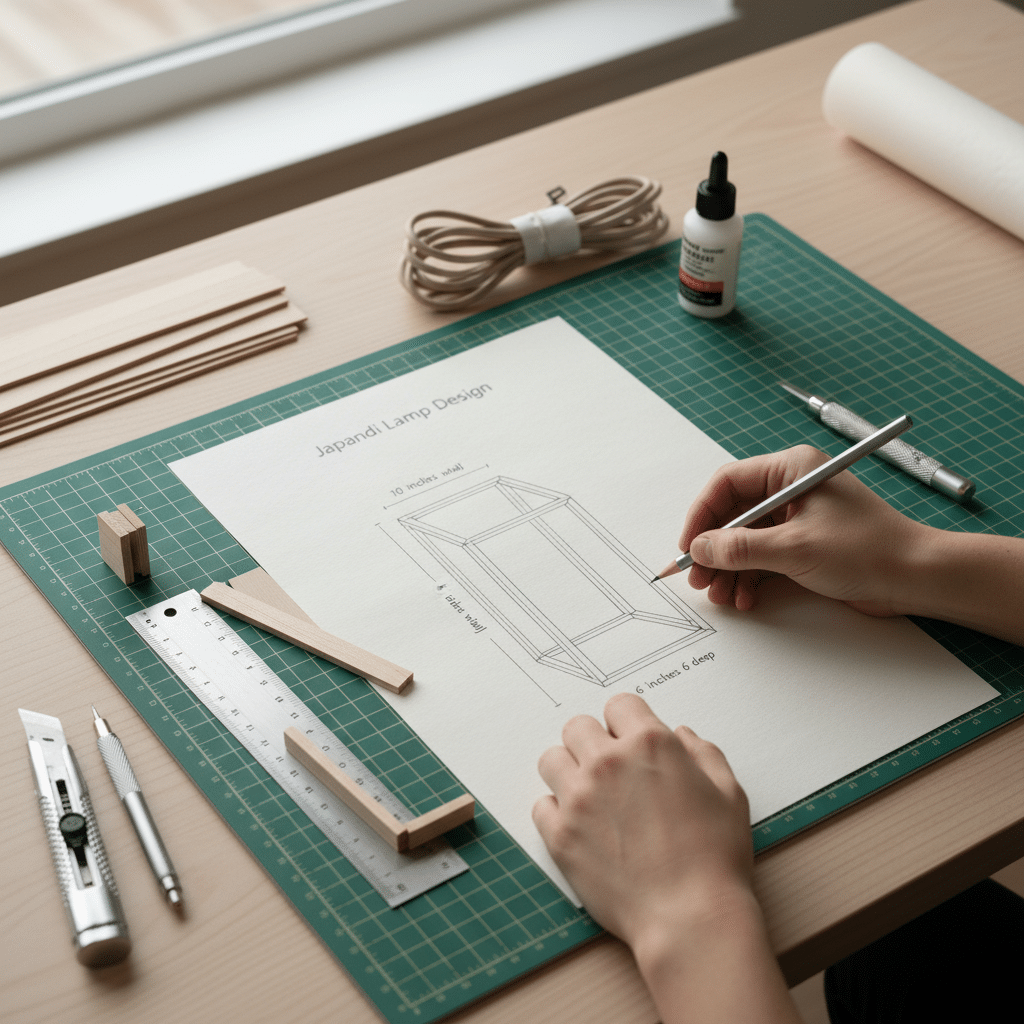
Tips for Your Design: 1. Sketch it Out: Grab a pen and paper. Sketch a few ideas. Don’t worry about being an artist; just get your vision down. Think about height, width, and how the light will escape. 2. Consider the Placement: Is this a bedside lamp, a floor lamp for a cozy corner, or a small accent lamp? This will dictate its size and the type of base it needs. 3. Less is More: Resist the urge to add too many details. The beauty lies in the clean lines and the interaction of light with the natural materials. 4. Function First: How will the light diffuse? Will it cast interesting shadows? Ensure your design allows for adequate, soft illumination.
For this tutorial, we’ll focus on a relatively straightforward rectangular or square-based table lamp, as it’s a great starting point for beginners. However, the principles can be adapted for other shapes.
Step-by-Step Tutorial: Crafting Your Japandi Masterpiece
Ready to bring your vision to life? Let’s build that lamp!
#### Phase 1: The Base/Frame Construction
This is where your lamp’s foundation takes shape. Precision is key here for a sturdy and aesthetically pleasing result.
1. Measure and Cut Your Wood: Decide on the dimensions of your lamp. For a table lamp, a good starting point might be a base of 6×6 inches and a height of 10-12 inches. Cut four pieces of wood dowel or thin timber for the vertical supports (e.g., 10-12 inches long). Cut eight pieces for the horizontal top and bottom frames (e.g., 6 inches long). You’ll create two squares or rectangles. Cut one piece for the base (e.g., a 6×6 inch square of slightly thicker wood or plywood). Pro Tip: Use a miter box for clean 90-degree cuts, especially for the frame pieces. Even for simple DIY projects, using good tools makes a huge difference in the outcome and your enjoyment.
2. Sand All Wood Pieces: Before assembly, give all your wooden pieces a good sanding with fine-grit sandpaper. This smooths out any rough edges and prepares the surface. Japandi style celebrates natural wood, so a smooth finish is important.
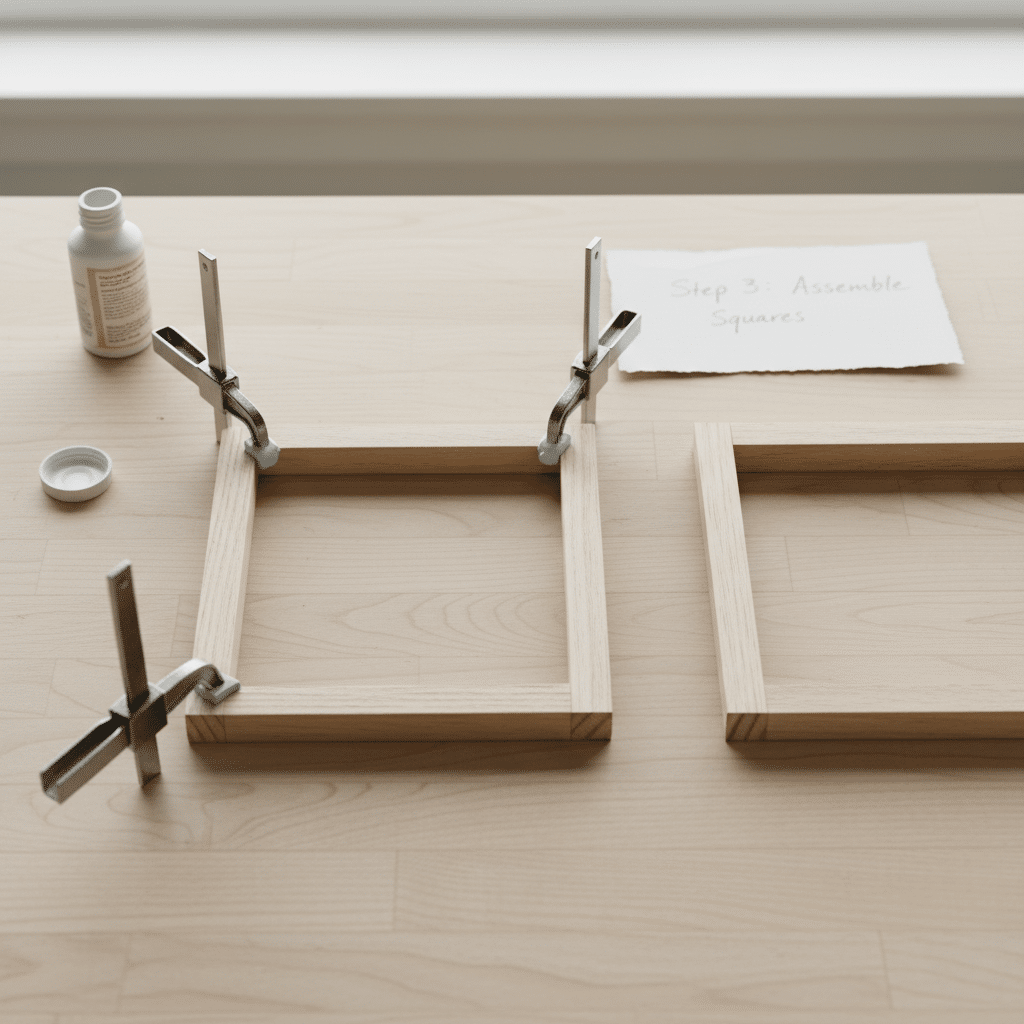
3. Assemble the Top and Bottom Frames: On a flat surface, arrange four of your horizontal pieces into a square or rectangle. Apply wood glue sparingly to the ends where the pieces meet. * Press them together firmly, ensuring the corners are square. Use clamps or masking tape to hold them in place while the glue dries completely. Repeat for the second frame.
4. Attach Vertical Supports: Once your top and bottom frames are dry, take one frame and stand your four vertical supports in each corner, applying glue to the ends that meet the frame. Carefully place the second frame on top of the vertical supports, aligning all corners. Apply glue where the vertical supports meet the top frame. Secure with clamps or tape and allow to dry completely. This forms your main lamp frame.
5. Attach the Base: Take your larger base piece (e.g., 6×6 inch square). Center your assembled frame on top of the base. Apply wood glue to the bottom edges of the frame where it will meet the base. Carefully place the frame onto the base, ensuring it’s centered and square. Press firmly. * Allow to dry completely. A strong base is crucial for stability.
#### Phase 2: Wiring It Up Safely
This step involves electricity, so safety is paramount. If you’re unsure, consult someone experienced or watch detailed tutorials on lamp wiring. Using a pre-wired lamp cord kit simplifies this greatly.
1. Drill a Hole for the Cord: Once your wooden frame and base are fully assembled and dry, you’ll need a discreet hole for the lamp cord. Choose a spot on the back or side of your base, near the bottom. Using a drill bit slightly larger than your lamp cord, carefully drill a hole through the base.
2. Install the Bulb Holder (Socket): Most lamp cord kits come with a separate bulb holder. You’ll need to secure this inside your lamp frame, typically at the top center. You might need to add a small cross-piece of wood within your frame (glued securely) to mount the bulb holder. This can be a simple wooden block or a thin strip of wood. Carefully thread the lamp cord up through the hole in the base and then up through the center of your lamp frame. Follow the instructions provided with your lamp kit to connect the wires to the bulb holder. Usually, this involves stripping a small amount of insulation and attaching wires to screw terminals. Always ensure the power is off when working with wires. * Once connected, securely mount the bulb holder to your internal cross-piece or directly to the top frame if your design allows, making sure it’s centered.
3. Check Connections and Safety: Double-check that all wire connections are secure and no bare wires are exposed. Ensure the cord is not pinched anywhere. Insert your LED bulb. Before proceeding, do a quick test. Plug the lamp into an outlet. If it lights up, great! If not, unplug it immediately and recheck your wiring. Safety first! *

#### Phase 3: Adding the Diffuser (Shade)
This is where the Japandi magic truly happens, transforming a wooden frame into a soft glow. Rice paper is fantastic for this.
1. Measure and Cut Your Paper/Fabric: Measure the height and perimeter of your lamp frame. Cut your rice paper or fabric to these dimensions, adding about an inch extra to the height and width for overlap and trim. * If your frame has multiple panels (e.g., four sides of a square), you can cut individual panels or one continuous piece. A continuous piece is often easier for a seamless look.
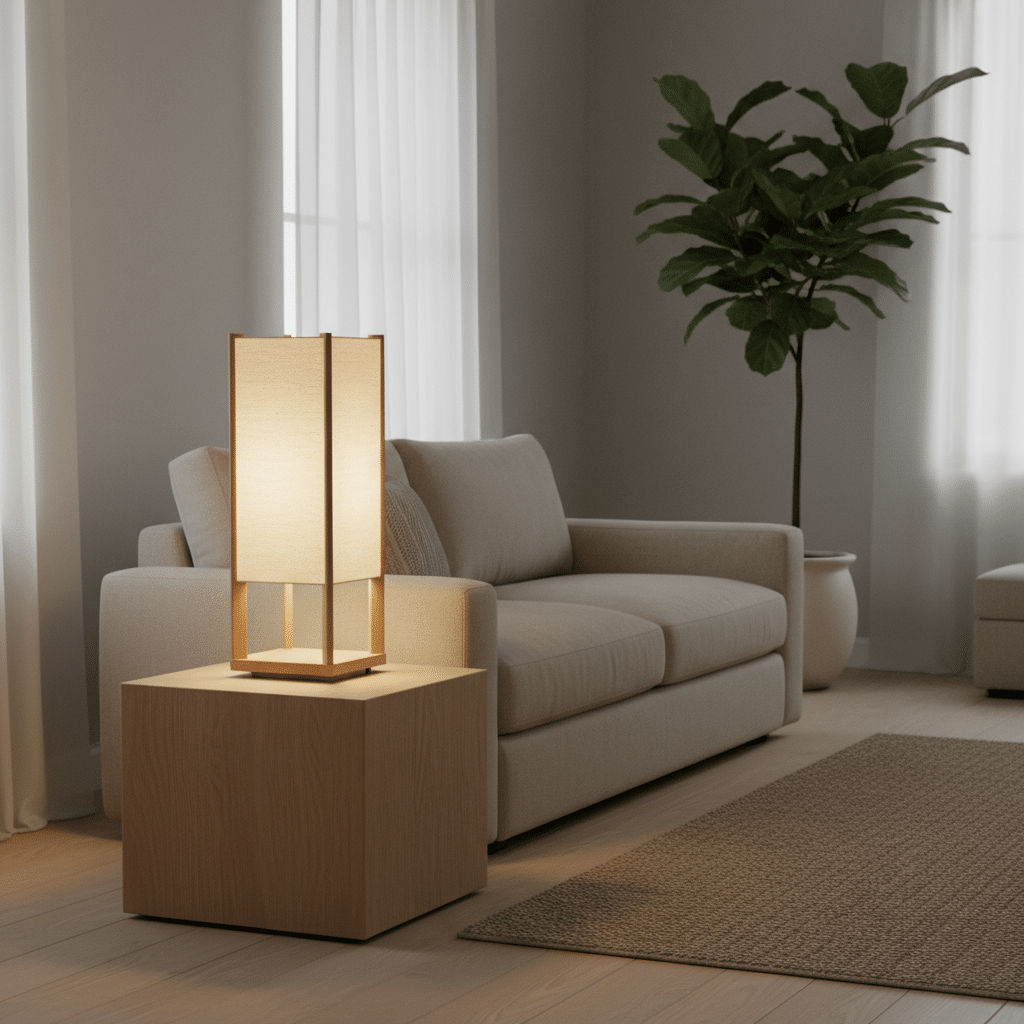
2. Apply the Diffuser Material: Lay your lamp frame on its side on a clean, flat surface. Apply a thin, even layer of craft glue (or spray adhesive) to one of the vertical wooden supports and the top and bottom horizontal supports of one side. Carefully align the edge of your paper/fabric with the corner of the frame and press it gently onto the glued wood. Slowly wrap the paper/fabric around the frame, applying glue to each subsequent wooden support as you go. Work slowly to avoid wrinkles or bubbles. Smooth out the material as you go, ensuring it’s taut but not stretched. When you reach the starting point, overlap the paper/fabric by about an inch. Apply glue to the underlying edge, press the top layer down, and trim any excess neatly. If using individual panels, simply glue each panel onto its respective section of the frame. Allow the glue to dry completely. Patience is a virtue here! *
#### Phase 4: Finishing Touches
Almost there! These final steps ensure your lamp is beautiful and ready for its spotlight.
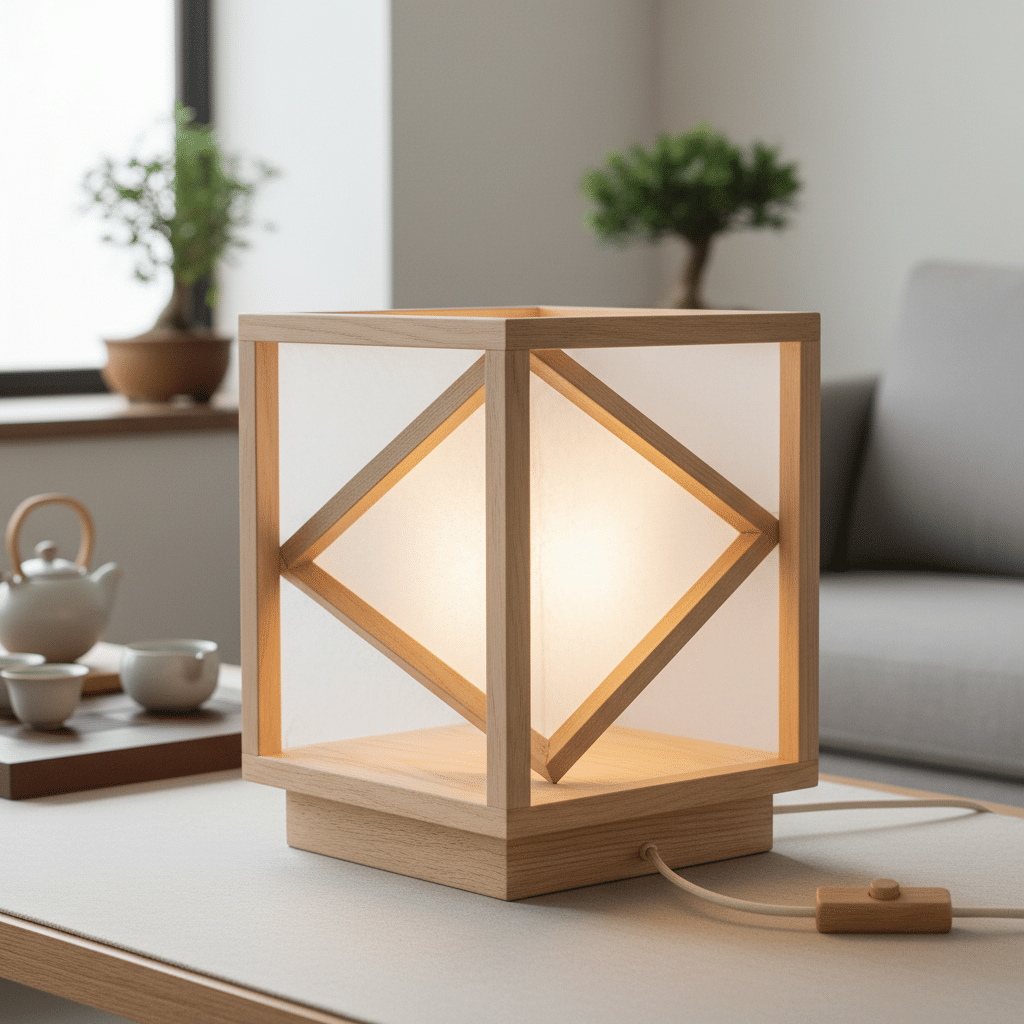
1. Inspect and Trim: Once the glue is dry, carefully inspect your lamp. Trim any uneven edges of paper or fabric with a sharp craft knife for a super clean look. 2. Optional Wood Finish: For the wooden frame, you can leave it natural (which is very Japandi!) or apply a very light, clear matte sealer or a subtle wood wax. Avoid glossy finishes, as they detract from the natural aesthetic. 3. Final Test: Plug in your lamp one last time to admire your work! Ensure the light diffuses beautifully and the entire structure is stable.
By following these steps, you’ve not only created a functional light source but also a piece of art that embodies the serene beauty of Japandi design, adding unique home decor to your space.
Tips for Personalizing Your Japandi Lamp
While Japandi leans into minimalism, there’s always room for subtle personalization that enhances the aesthetic without overwhelming it.
- Subtle Wood Stains: If you want to alter the wood tone slightly, opt for a very light, natural-looking stain or a whitewash effect. This can add a touch of rustic charm while still maintaining the light, airy feel.
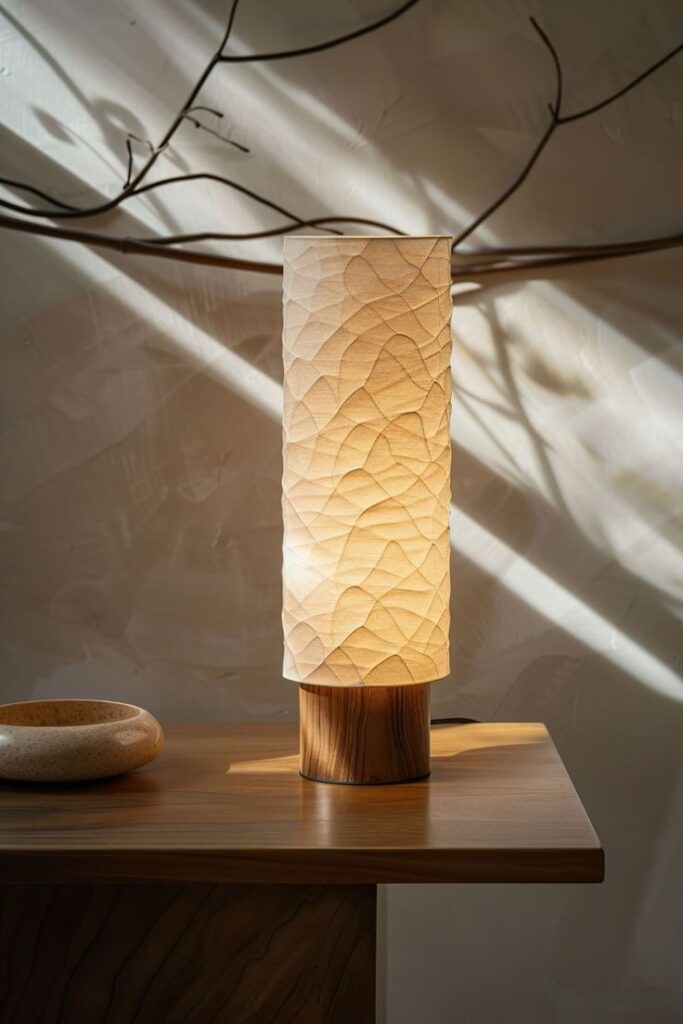
- Textured Papers: Explore rice papers with very subtle textures, like fine fibers or a slight crinkle. These can add depth and visual interest when the light shines through, creating beautiful patterns.
- Fabric Choices: Instead of rice paper, consider a natural linen or cotton fabric. The weave of the fabric will create a different kind of diffusion, often warmer and perhaps a touch more rustic. Make sure the fabric is thin enough to allow light through adequately.
- Geometric Accents: While the overall design should remain simple, you could incorporate a subtle geometric pattern on the paper or frame using a very light hand-drawn element or carefully placed thin wooden strips. Think simple grids or intersecting lines, inspired by traditional Japanese screens.
- Varying Light Temperatures: Experiment with different LED bulb temperatures. While warm white (2700K-3000K) is typical for coziness, a slightly cooler white (3500K) might work if your room has a more contemporary, crisp feel, though avoid anything too bright or blue-toned.
- Hidden Details: Consider adding a small, natural element inside the lamp’s base, like a smooth river stone or a piece of polished driftwood, visible only through the diffused light or when looking closely.
Placement and Styling Your Japandi Lamp
Now that your beautiful Japandi lamp is complete, where should it go? And how can you style it to truly shine?
- Bedside Table: A Japandi lamp is perfect for a bedroom, casting a soft, calming light ideal for winding down. Pair it with minimalist bedding and natural wood furniture for a serene retreat. This instantly helps in making your bedroom so much cosier.
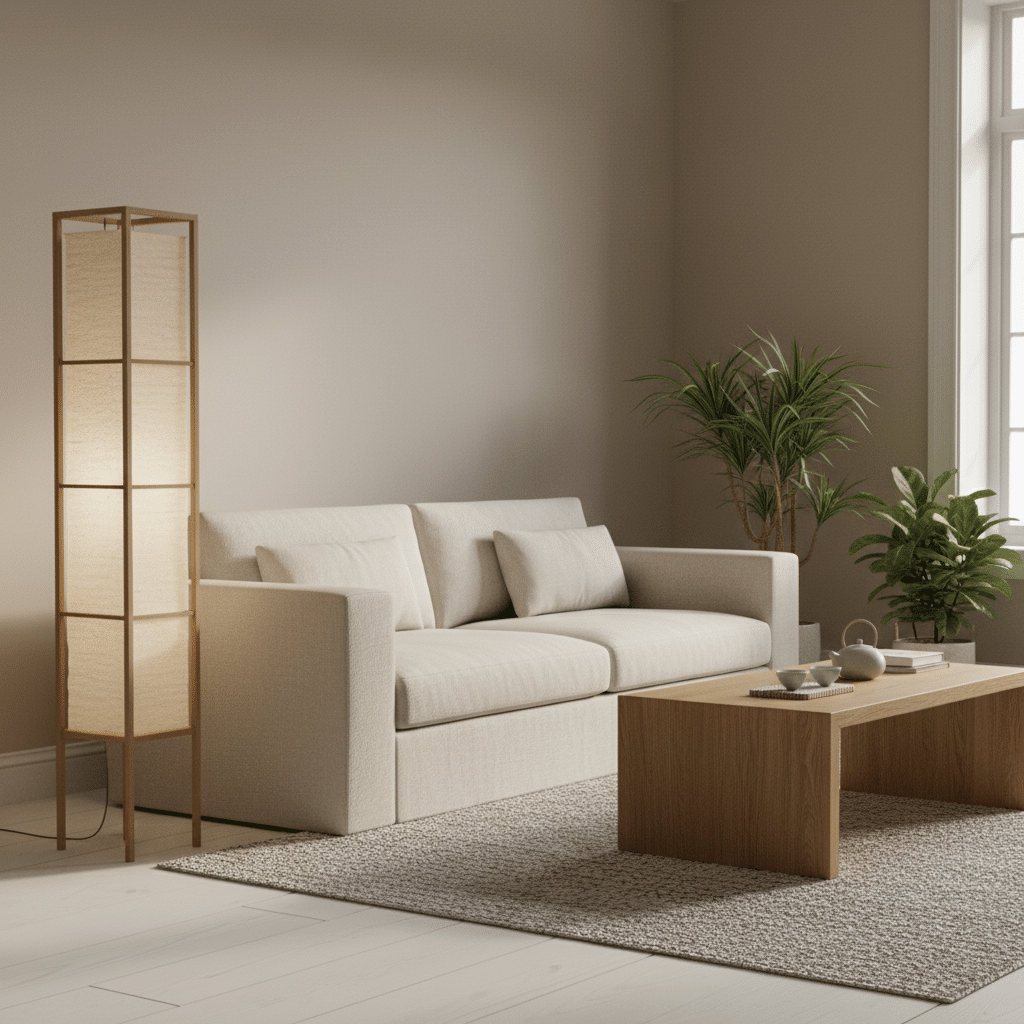
- Living Room Accent: Place it on a side table next to a sofa or armchair. It works wonderfully with low-slung furniture, natural fiber rugs, and a few carefully chosen ceramic pieces. The diffused light adds warmth without being overpowering.
- Entryway Console: Create an inviting first impression by placing your lamp on an entryway console table. It provides a gentle glow to welcome you and your guests.
- Home Office: For a tranquil workspace, a Japandi lamp on your desk or a small credenza can help create a focused, calm atmosphere. Its clean design won’t distract.
- Complementary Decor: Remember the Japandi principles for surrounding decor. Keep surfaces uncluttered. Use natural textures like woven baskets, simple ceramic vases, or a single leafy plant. Think about how the lamp’s clean lines can enhance a minimalist look and feel with frameless doors or other architectural elements.
- Layered Lighting: Your DIY Japandi lamp will provide ambient light. Combine it with other light sources, like recessed lighting or a focused task light, to create a well-balanced lighting scheme.
Maintenance and Care for Your DIY Lamp
Taking care of your handmade lamp ensures it stays beautiful and functional for years to come.
- Dusting: For paper or fabric shades, gentle dusting is key. Use a soft, dry cloth, a microfiber duster, or a soft-bristled brush. Avoid anything abrasive that could tear or damage the material. For wood, a damp cloth followed by a dry one will do.
- Cleaning Stains: If your paper or fabric shade gets a small mark, try a very lightly damp cloth with a tiny bit of mild soap, dab gently, and then blot dry immediately. Test on an inconspicuous area first. For wooden frames, wood cleaner designed for natural wood can be used, but always wipe away residue.
- Bulb Replacement: Always unplug your lamp before changing the bulb. Allow the old bulb to cool down completely. Use only LED bulbs of the appropriate wattage as specified by your lamp kit to prevent overheating.
- Regular Safety Checks: Periodically check the cord for any fraying or damage. Ensure the plug fits snugly into the outlet. Make sure the bulb holder is still securely mounted. Refer to the ultimate checklist for home products maintenance and improvement for more general home maintenance tips, many of which can apply to your lamp.
- Protect from Moisture: Keep your lamp away from high-humidity areas or direct exposure to water, as this can damage the paper/fabric shade and potentially warp the wood.
- Avoid Direct Sunlight: Prolonged direct sunlight can cause natural paper or light wood to fade or become brittle over time. Position your lamp where it’s protected from intense UV rays.

Crafting your own Japandi lamp is more than just a DIY project; it’s an act of mindfulness. You’re not just assembling materials; you’re creating a piece that embodies tranquility, simplicity, and natural beauty. The process itself is rewarding, and the end result is a unique, personal statement that brings a soft, inviting glow to your home.
So, gather your materials, clear your workspace, and let your creativity flow. You’re about to transform a few simple elements into a source of serene illumination that will elevate your space and bring a little more Japandi calm into your everyday life. We encourage you to share your creations and inspire others on their DIY journey!
What exactly is Japandi style and what are its main features?
Japandi style is a design trend that combines the minimalist elegance and clean lines of Japanese aesthetics with the warm, functional simplicity of Scandinavian design, emphasizing natural materials, minimalism, neutral colors, craftsmanship, functionality, and tranquility.
Why should I consider making my own Japandi lamp instead of buying one?
Making your own Japandi lamp is cost-effective, allows for personalization and uniqueness, provides satisfaction from creating something, contributes to sustainability, helps develop new skills, and ensures the lamp fits perfectly in your space.
What materials do I need to create a DIY Japandi lamp?
You will need light-colored wood such as bamboo dowels or pine, wood glue, sandpaper, a saw or craft knife, rice paper or light fabric for the shade, a lamp cord kit with a bulb socket, LED bulb, measuring tape, pencil, cutting tools, and optional finishing supplies like a clear sealer or wood wax.
How do I build the frame of the Japandi lamp safely and accurately?
Measure and cut your wooden pieces accurately, sand them smoothly, assemble the top and bottom frames with glue and clamps, attach vertical supports, and secure the entire structure on a stable base, ensuring everything is square and well-dried before moving to wiring.
What are some tips for customizing and styling my Japandi lamp?
You can personalize your lamp with subtle wood stains or textured papers, choose natural fabrics for shades, add geometric or natural accents, experiment with different LED bulb temperatures, and place your lamp in areas like the bedroom, living room, or entryway, styled with other minimal decor elements.
- 24shares
- Facebook0
- Pinterest21
- Twitter3
- Reddit0


