Your Toyota’s throwing a tantrum—probably just a little hiccup or a sneaky sensor playing up. Don’t panic! Grab your OBDII scanner, read the code, and let’s get down to the nitty-gritty. We’ll fix it before the engine starts giving us attitude!


The Basics of Warning Light
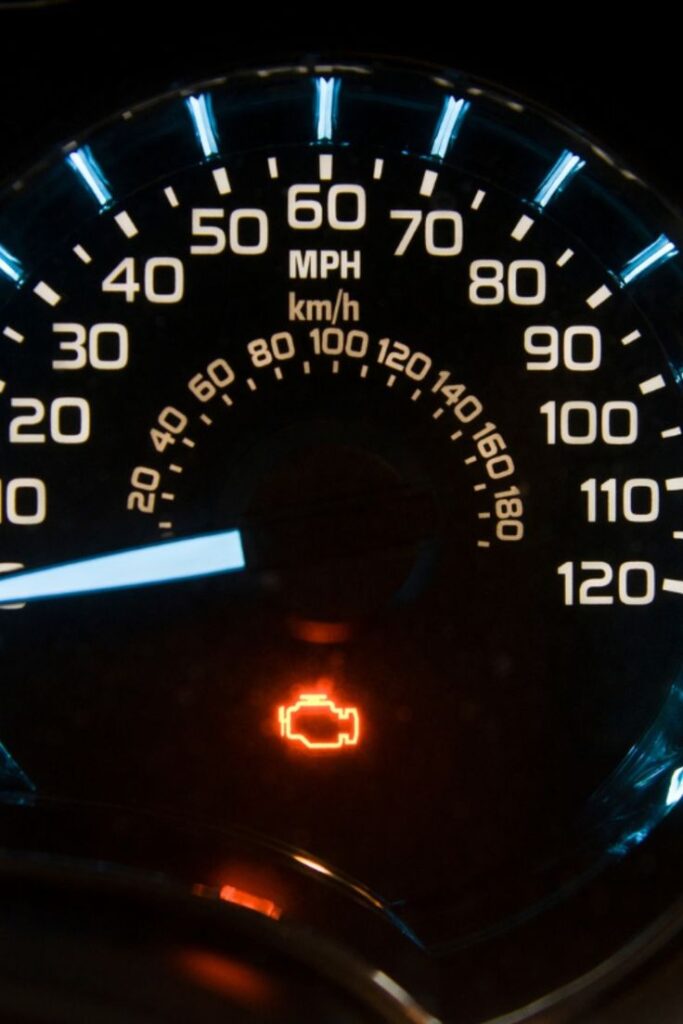
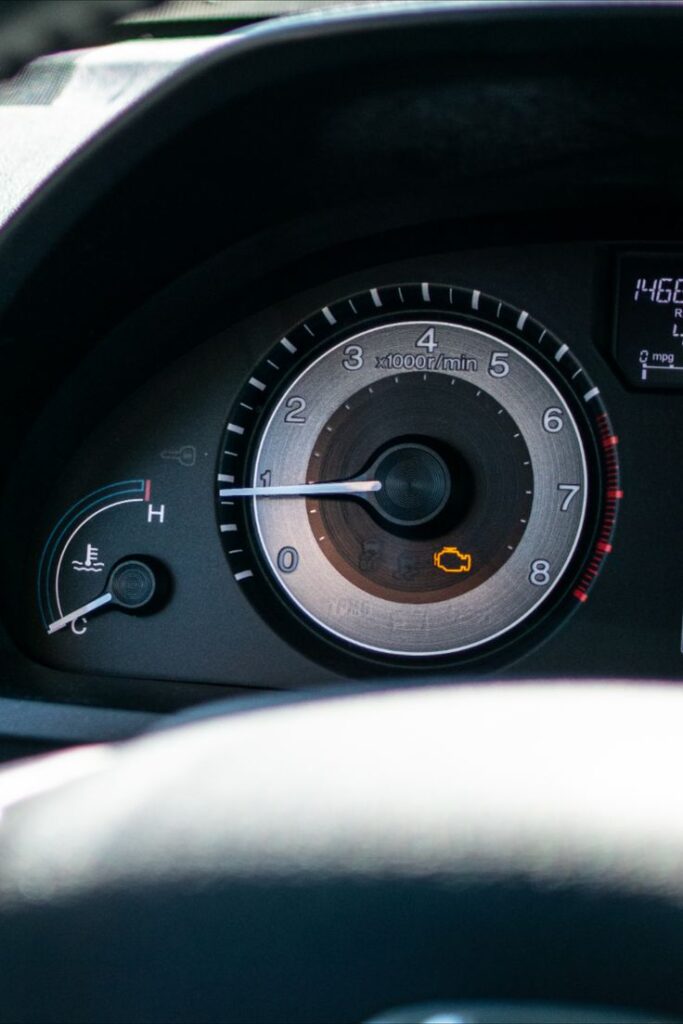
That little engine icon is like your car’s way of saying, “Hey, I’ve got something to tell you.” It can come on steadily or flicker like a strobe—each has its own story.
- Steady light—Usually indicates a mild issue, or something that’s been recognized and stored in the car’s memory. Think of it as your car’s gentle nudge—“Hey, I noticed something, but it’s not an emergency yet.”
- Flashing or blinking light—This is the big red flag. It often means your engine is misfiring or there’s a more serious problem—like a spark plug misfire or a serious emission issue. Ignoring it can cause damage or reduce your car’s efficiency.
Many say, “Just tighten the gas cap,” because a loose cap can trigger the light—it’s true, but only in specific cases. More often, it’s just a quick fix, but other times, it’s a sign of something more complex like a faulty sensor, oxygen sensor, or catalytic converter.
Example:
- P0171: System Too Lean (meaning your engine isn’t getting enough fuel or there’s too much air)
- P0420: Catalyst System Efficiency Below Threshold (indicating possible catalytic converter issues)
How to proceed further:
- Plug in the scanner and read the code.
- Check your Toyota service manual or trusted online resources for that code’s meaning.
- Based on the diagnosis, decide whether it’s a quick fix (like replacing a sensor or tightening the gas cap) or something more involved that might need a mechanic’s touch.
Trust but verify—some sources oversimplify. Tightening the gas cap is often the first thing to try, but don’t stop there. Use your manual, your scanner, and a bit of curiosity. Think of it as being the detective of your own engine.


Distinguishing a Spark Plug Misfire vs. Serious Emission Problem
Spark plug misfire
Usually comes with rough idling, a noticeable shake when you’re sitting still, maybe some hesitation under acceleration. The engine might jerk or stumble. The check engine code might be something like P0300 (random misfire) or P0301-P0312 (cylinders-specific).
Serious emission issue
Can be a bit more subtle—maybe a sluggish response in your catalytic converter, or the car feeling a bit sluggish overall. Sometimes, the engine light stays steady, but you notice decreased fuel efficiency or a smell of fumes. The codes might point to sensors (like P0420 for catalytic converter, or P0171 for too lean).


How to Cross-Check Like a Pro
- Observe the symptoms—Is it rough running (misfire)? Or just a sluggish, smelly, or sluggish engine (emission)?
- Use your scanner—Check the specific codes. A misfire code (P0300 series) points to spark or fuel issues, while P0420 or P0171 points to emission sensors or exhaust system.
- Visual Inspection
- Spark plugs—Remove a plug and look for signs of wear, fouling, or damage. A healthy spark plug should be light tan or grey. Sooty or oily plugs suggest rich fuel or oil burning. White or melted tips indicate overheating or pre-ignition.
- Sensors—Check wiring and connectors for damage or corrosion.
- Catalytic converter—If you can, feel the exhaust pipe—if it’s overly hot or smells strongly, that might be a clue.


Checking the MAF Sensor (Mass Air Flow)
- Locate the sensor—Usually, it’s in the intake duct, right before the air filter.
- Remove and inspect—Carefully unplug the connector, then unscrew or unclip the sensor. Inspect for dirt, oil, or debris—these can cause false readings.
- Clean it—Use a dedicated MAF sensor cleaner (not regular carb cleaner). Spray it gently and let it dry.
- Test it—With your multimeter or scanner, you can check the sensor’s voltage output while the engine is running. Typically, it should fluctuate smoothly as the engine revs. If it’s stuck or inconsistent, that’s a sign it’s faulty.
Pro Tip:
If you suspect the MAF sensor, unplugging it temporarily and seeing if the engine runs better or worse can give clues—if it runs worse, the sensor might be good, but if it runs smoother, it might be faulty.
Diagnosing isn’t about guessing; it’s about reading the signs. Your tools and your observations are your best friends. Treat each code, each oddity as a clue, and you’ll crack this wide open.
When to Seek Professional Help
If your scanner is throwing a bunch of different error codes, that’s a sign to pause and assess. Sometimes, multiple codes point to a common root cause—like a failing sensor, a bad ground, or an electrical issue that’s affecting several systems.
In that case, calling a pro might be the smart move. A good mechanic can do a thorough diagnosis with advanced tools that go beyond the OBDII scanner. It’s not about giving up but about knowing when a specialist’s touch is needed to prevent further damage or unnecessary parts replacement.
However, if most codes relate to sensors or minor electrical glitches, you might still be able to handle it with patience and some more troubleshooting.


Routine Maintenance
Changing your oil more often than the manual suggests can be beneficial, especially if you’re pushing the engine hard, driving in harsh conditions, or just want peace of mind. Think of it as giving your car a health check-up—better safe than sorry. But also, don’t overdo it; follow the manual’s intervals as a solid baseline, then tweak based on how you use the car.
Spark plugs, coils, and electrical gremlins
Checking the spark plugs and coils regularly keeps your engine firing on all cylinders. Start by inspecting wiring and connectors—look for corrosion, loose bolts, or damaged insulation.
If you’re catching the “minus goes out first” vibe, you’re already thinking smart—good grounding is crucial. Use a multimeter to check voltage at key points.
For complex electrical problems, sometimes replacing a fuse or relay is enough, but other times, it’s tracing wiring harnesses. That’s where a pro’s experience can save you time and frustration.
Cost-wise
Doing the work yourself can save you a lot of money—parts, fluids, and your time. Plus, the knowledge you gain is priceless. But, it’s worth considering that a trusted mechanic—especially one who understands DIYers—might spot problems early, suggest better solutions, and prevent you from buying unnecessary parts or causing accidental damage. Sometimes, a good mechanic isn’t just about fixing; they can teach you a lot, too, if you’re open to it.
- 0shares
- Facebook0
- Pinterest0
- Twitter0
- Reddit0


