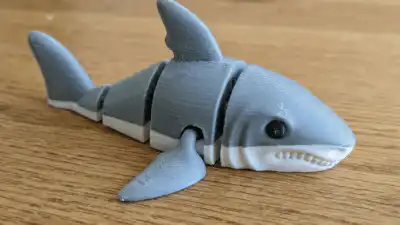
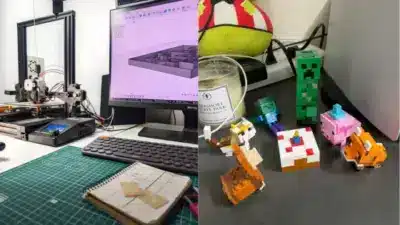
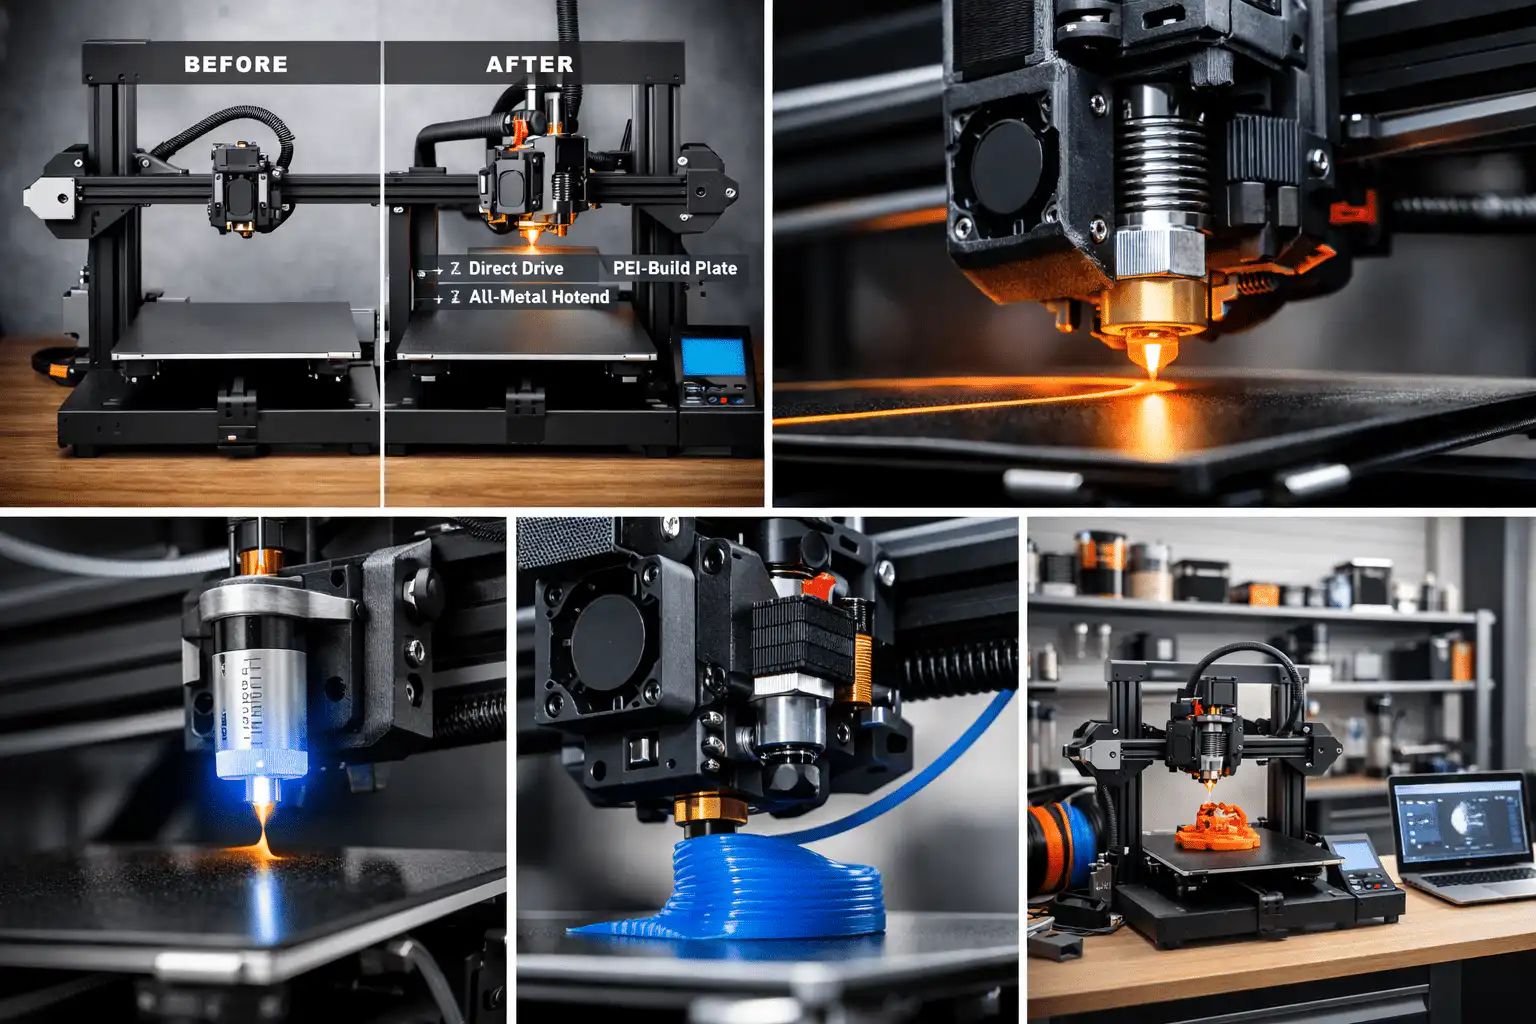
Your 3D printer just whirred, clicked, and extruded its last layer, presenting you with a fresh, unadorned plastic creation. It’s cool, definitely. But let’s be honest, that raw filament look, whether it’s plain grey PLA or translucent resin, often doesn’t quite capture the vision you had in mind. This is where the magic truly begins: with a little bit of patience, some elbow grease, and a splash of color, you can transform that plastic piece into a breathtaking work of art. We’re talking about painting 3D prints, a process that elevates your creations from mere objects to stunning, eye-catching masterpieces.
Think of it as the ultimate glow-up for your printed models. Whether you’re crafting intricate miniatures, functional prototypes, cosplay props, or decorative home items, painting breathes life into them, adding depth, character, and a professional finish. It’s a rewarding journey that allows you to express your creativity beyond just the print bed. If you’ve ever felt that your prints were missing that final “oomph,” you’re in the right place. We’re about to dive into the casual, yet crucial, tips and techniques that will make your 3D prints truly shine.
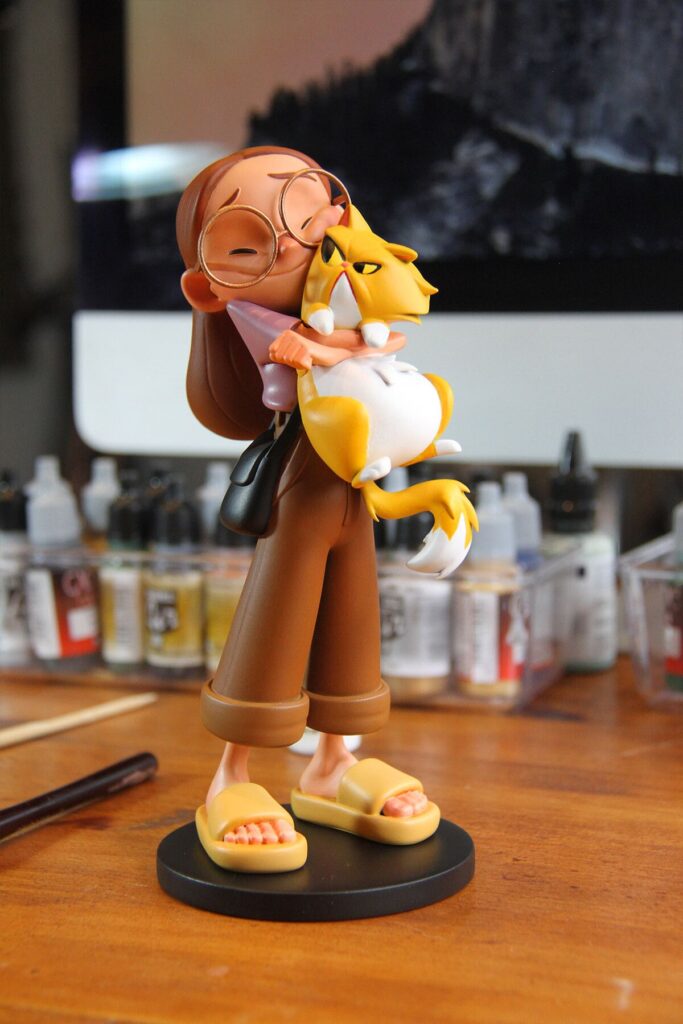
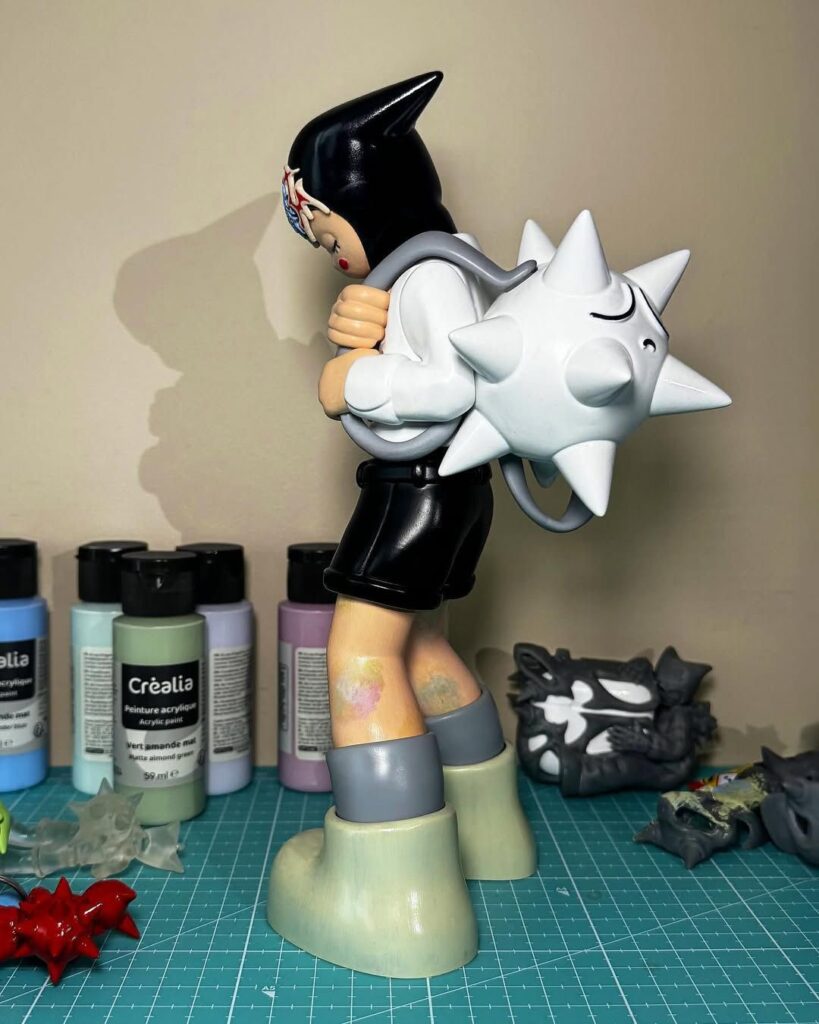
The Foundation: Why Prep is Your Best Friend
You wouldn’t start painting a wall without patching holes and wiping it down, right? The same goes for your 3D prints. Preparation isn’t just a step; it’s the step that dictates the success of your entire paint job. Skimping here will lead to uneven finishes, flaking paint, and a generally disappointing result. Think of it as laying the groundwork for greatness.
#### Cleaning Your Canvas
Your 3D print, fresh off the printer, is likely to have some remnants from the printing process. For FDM prints, this means support structures and possibly a raft or brim. For resin prints, it’s often a tacky residue that needs thorough washing.
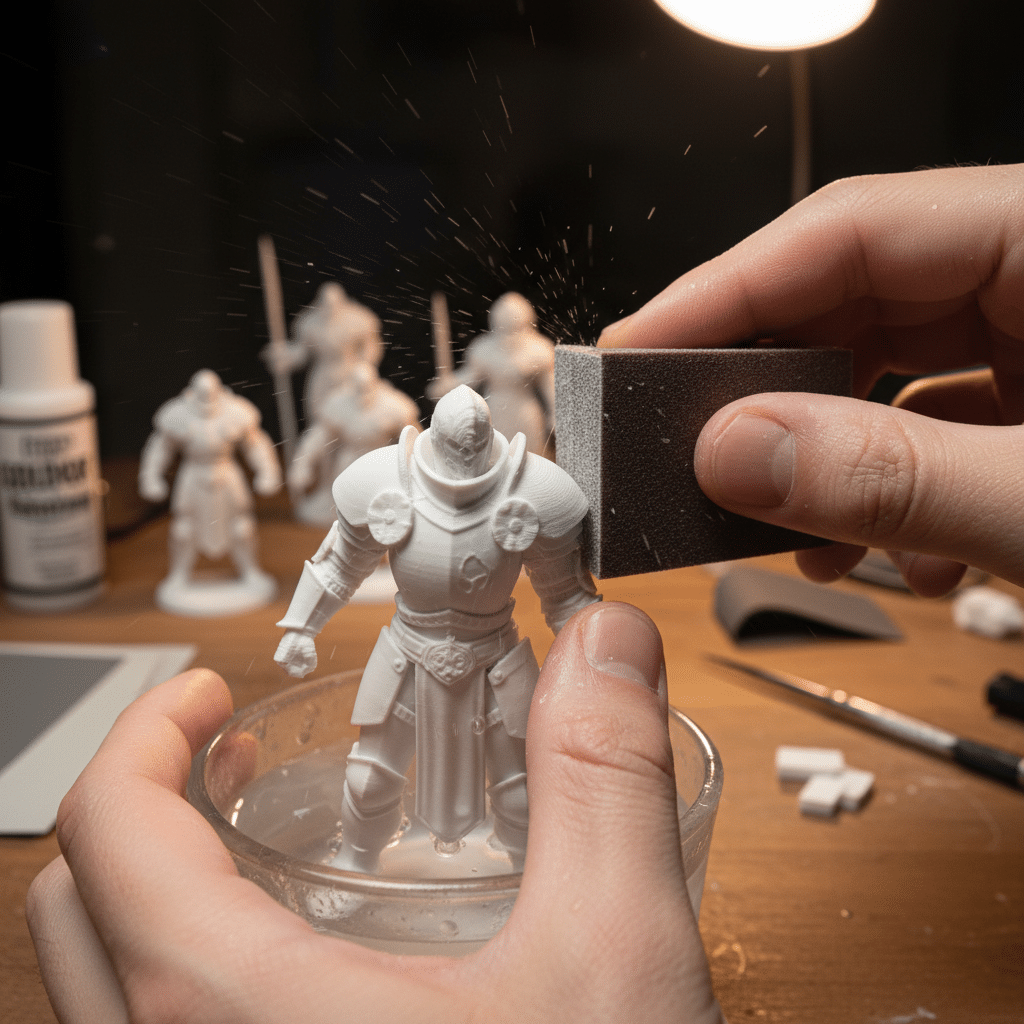
First things first: remove all support structures. Nippers, pliers, or a craft knife can do the trick. Be gentle to avoid accidental damage. Once supports are gone, you’ll often find small nubs or rough patches. This is where sanding comes in. Start with a coarser grit sandpaper (around 120-200 grit) to tackle the bigger imperfections, then gradually move to finer grits (400-800, or even 1000+) to smooth everything out. Wet sanding can help reduce dust and achieve a smoother finish.
After sanding, your print will inevitably be covered in plastic dust, oils from your hands, and other grime. A good wash is essential. Use warm water and a mild dish soap, scrubbing gently with an old toothbrush or soft brush. Rinse thoroughly and let it air dry completely. Any moisture left on the print can cause adhesion issues down the line. A clean surface is paramount for the paint to adhere properly and evenly.

#### Filling Gaps and Smoothing Surfaces
Even with careful printing and sanding, you might encounter layer lines, print artifacts, or small gaps, especially on FDM prints. This is where fillers come into play.
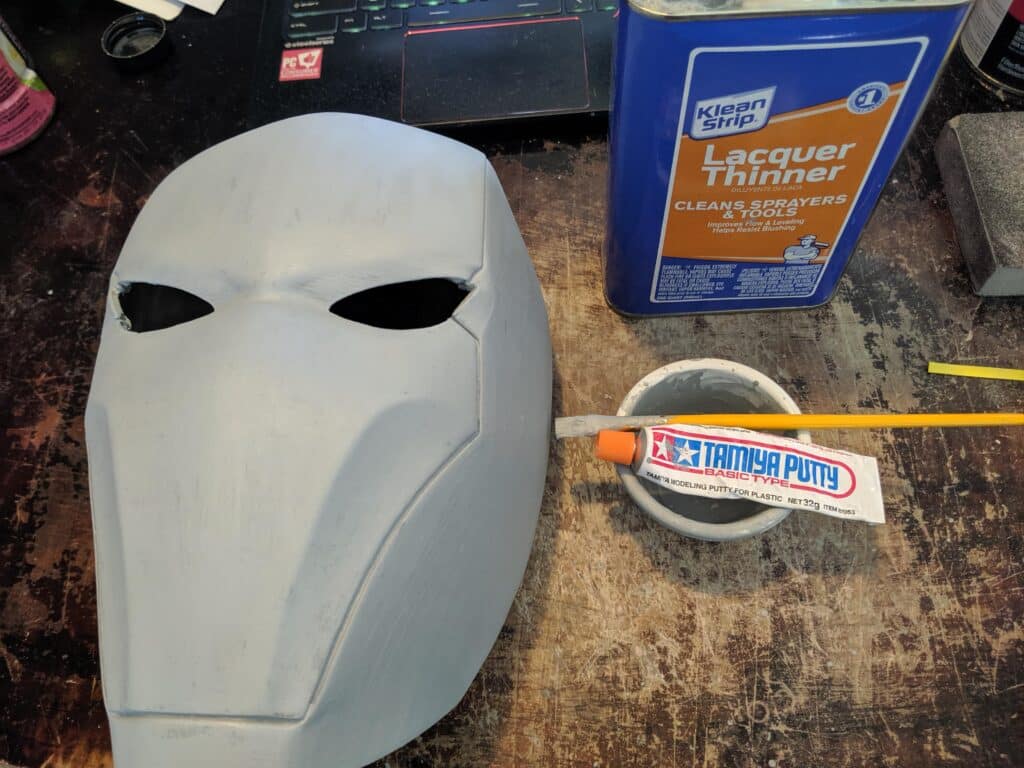
- Putty or Filler: Automotive body filler (like Bondo), wood filler, or specialized modeling putty are excellent for filling larger gaps or deep layer lines. Apply a small amount with a spatula or even your finger, pressing it firmly into the imperfection.
- Primer Filler: For less severe layer lines, a high-build filler primer can do wonders. It lays on thicker than regular primer and can fill minor imperfections.
Once the filler is dry (check the product’s instructions for curing times), you’ll need to sand again. Start with a medium grit (e.g., 220-320) to level the filler, then progressively move to finer grits (400-600) to achieve a seamless, smooth surface. The goal is to make the filled areas indistinguishable from the rest of the print. This step is critical if you want your finished piece to look like it was molded, not printed. Many creators find inspiration in achieving seamless designs, much like those explored in custom furniture design where every detail contributes to the overall aesthetic.
#### Priming for Perfection
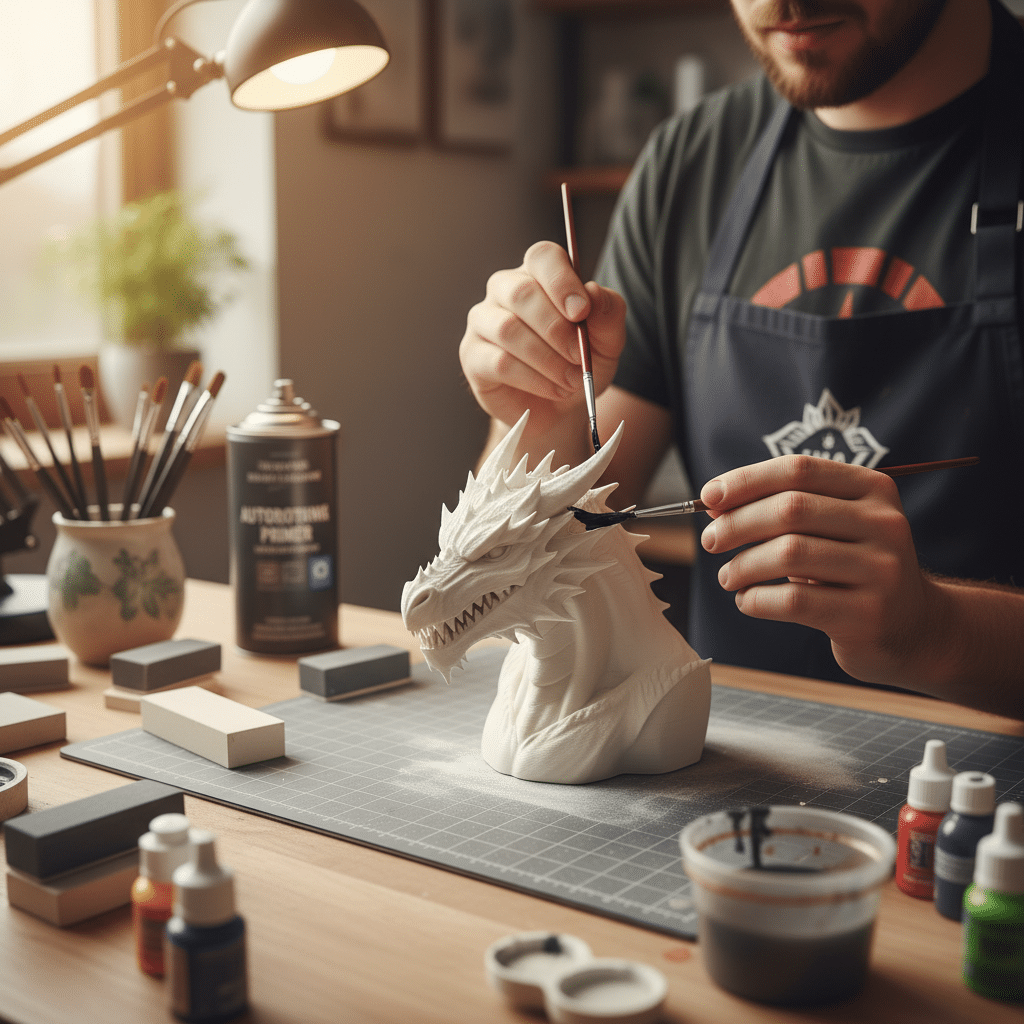
Priming is the unsung hero of the painting process. It’s not just an extra step; it’s a necessity. Primer creates a uniform base color, highlights any remaining imperfections you might have missed, and most importantly, provides an excellent surface for your paint to bond to. Without primer, paint can sometimes struggle to adhere to certain plastics, leading to chipping or an uneven finish.
- Choosing Your Primer: For most 3D prints, an all-purpose automotive primer or a specialized model primer works great. If you used filler, a “filler primer” is a fantastic choice as it helps further smooth out surfaces. Some primers come in different colors – grey is a popular choice as it offers a neutral base that helps true paint colors pop, but white can make colors brighter, and black can add depth for darker schemes.
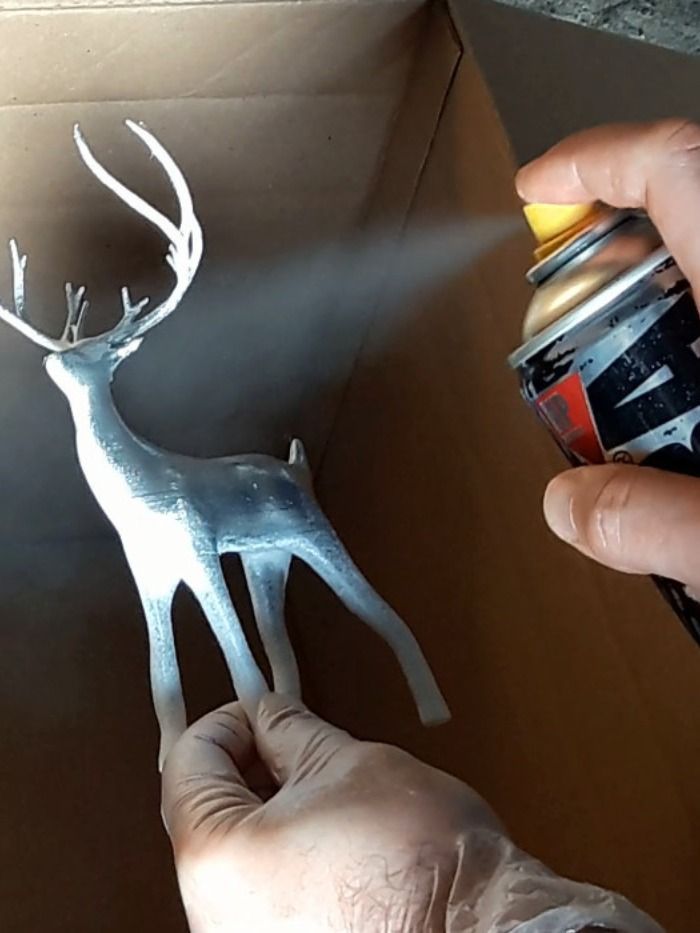
- Application: Apply primer in thin, even coats. Multiple thin coats are always better than one thick coat, which can obscure details and create drips. Hold the spray can about 8-12 inches away from the print, moving in smooth, sweeping motions. For brush-on primers, ensure even coverage without overloading your brush. Let each coat dry completely before applying the next, typically 15-30 minutes. After priming, you might find tiny imperfections you missed. A light sanding with very fine grit (800-1000) and another thin coat of primer will sort it out.

Choosing Your Palette: Paints and Tools
Now that your print is prepped and primed, it’s time for the fun part: picking colors! The world of paints and tools for 3D prints is vast and exciting, offering endless possibilities for creative expression.
#### Decoding Paint Types
The type of paint you choose largely depends on the effect you want, the material of your print, and your comfort level with different mediums.
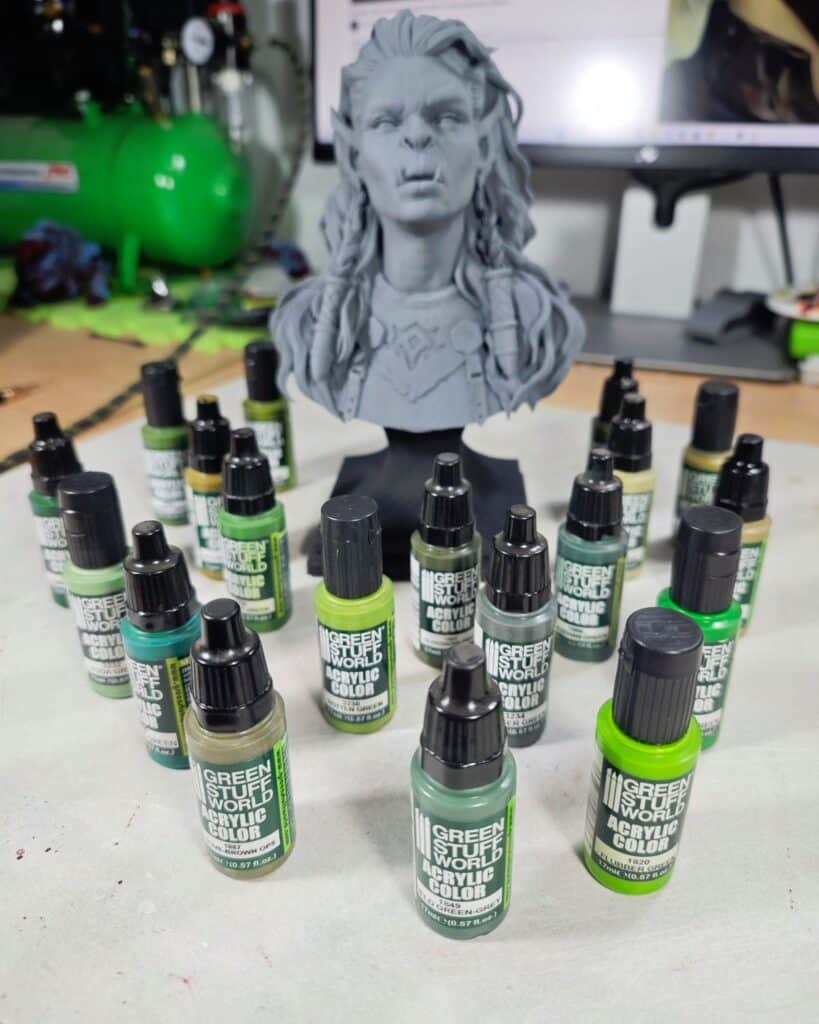
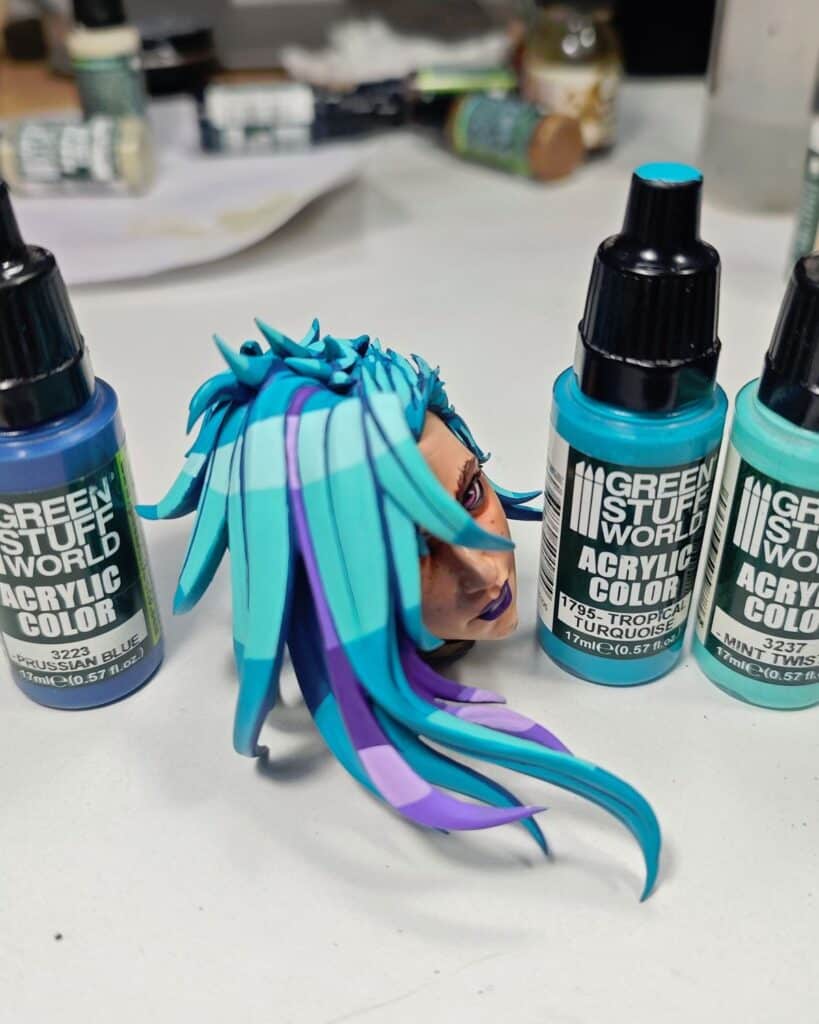
- Acrylic Paints: These are arguably the most popular choice for 3D prints, especially for beginners.
Pros: Water-based, non-toxic (mostly), easy to clean up with water, fast-drying, and come in a massive range of colors and finishes (matte, satin, gloss, metallic). They adhere well to primed surfaces and are very versatile. Cons: Not as durable as enamels or lacquers without a good topcoat. Best for:* Miniatures, props, decorative items, general hobby painting.
- Enamel Paints: Oil-based paints known for their durability and glossy finish.
Pros: Very tough, chip-resistant, and offer a smooth, hard finish. Excellent for outdoor applications or items needing more resilience. Cons: Slower drying times, strong fumes (require good ventilation), clean-up requires mineral spirits or paint thinner. Best for:* Items requiring high durability, a hard, glossy finish.
- Lacquer Paints: Solvent-based paints that dry quickly to a very hard, durable finish.
Pros: Extremely durable, fast-drying, often used for automotive finishes. Can achieve a very smooth, high-gloss look. Cons: Strongest fumes (absolute must for excellent ventilation and respirator), can be more challenging to work with for beginners, can sometimes react with certain plastics if not properly primed. Best for:* Advanced users seeking ultimate durability and a specific finish, like automotive models.
- Spray vs. Brush:
Spray Paints: Excellent for base coats, achieving smooth, even coverage over large areas quickly. Available in all paint types. Brush-on Paints: Ideal for detailed work, layering, blending, and reaching intricate areas.
For many domestic uses, particularly for items like 3D printed bathroom accessories, acrylics followed by a good sealant are often the most practical and aesthetically pleasing choice.
#### Essential Brushes and Applicators
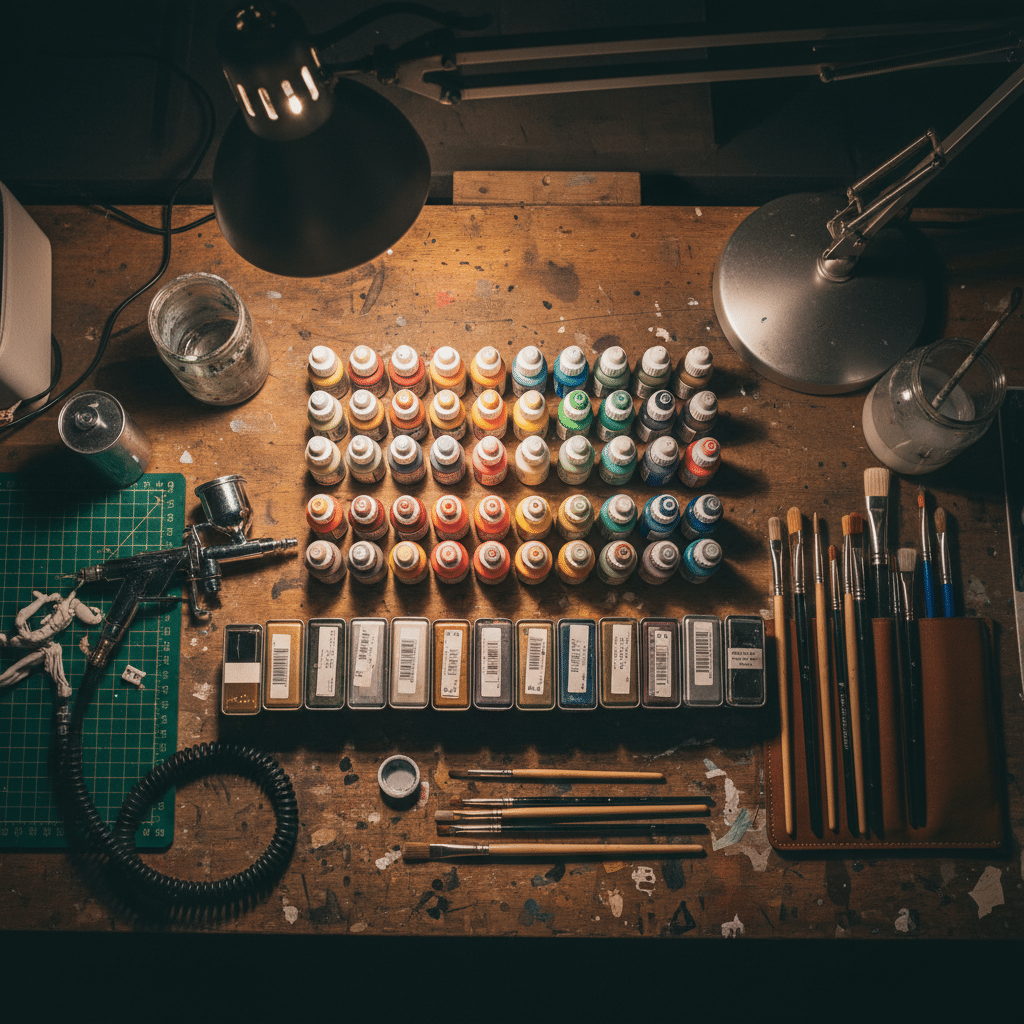
Your tools are an extension of your artistic vision. Having the right brushes can make a huge difference in the quality of your paint job.
- Brush Sizes and Shapes: You’ll want a variety.
Larger flat brushes: Good for base coating larger areas. Medium round brushes: Versatile for general painting. Small, fine-tipped brushes: Crucial for intricate details, eyes, small emblems. Dry brushes: Stiffer brushes used for dry brushing techniques.
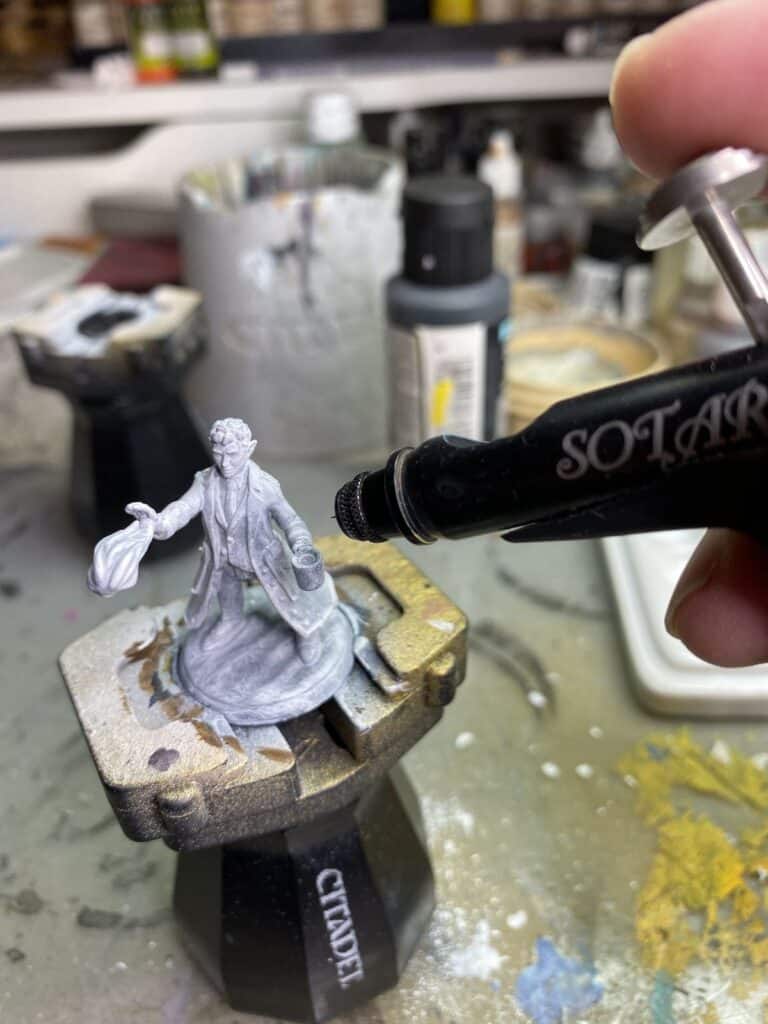
- Airbrushing: If you want truly seamless color transitions, smooth gradients, and professional-grade base coats, an airbrush is an invaluable tool. It allows for incredibly thin, even layers of paint. However, it requires an air compressor and some practice to master.
- Sponges and Applicators: For weathering effects, stippling, or creating textured surfaces, small sponges or even cotton swabs can be very useful.
#### Safety First, Always!
Painting, especially with solvent-based paints or spray cans, involves chemicals. Always prioritize your safety.
- Ventilation: Work in a well-ventilventilated area. Open windows, use a fan, or ideally, work outdoors. If using an airbrush or strong spray paints indoors, consider a spray booth with an exhaust system.
- Masks/Respirators: For spray paints, enamels, or lacquers, wear a respirator designed to filter out organic vapors. Dust masks are not sufficient for paint fumes.
- Gloves: Nitrile gloves protect your hands from paint and chemicals, making cleanup easier and preventing natural oils from transferring to your print.
- Eye Protection: Safety glasses are always a good idea, especially when spraying or working with sharp tools.
- Proper Disposal: Dispose of paint waste and solvents responsibly, according to local regulations.
The Art of Application: Bringing Color to Life
With your print prepped and your tools ready, it’s time to apply paint. This is where your vision truly starts to take shape. Remember, patience and thin layers are your mantras.
#### Laying Down the Base Coat
The base coat is the primary color of a section of your print. It needs to be even and consistent.
- Thin Layers: Whether you’re using a spray can or a brush, apply paint in multiple thin layers instead of one thick one. Thick paint clogs details, takes longer to dry, and can lead to drips and unevenness. Think of it like a light mist for sprays, or a barely-there coat for brushes.
- Even Coverage: Ensure each coat covers the area uniformly. Overlapping strokes slightly for brushed paint helps avoid harsh lines. For spray paint, maintain a consistent distance and speed.
- Drying Time: Allow each layer to dry completely before applying the next. This prevents the previous layer from reactivating and creating muddy colors or smudges.
- Starting Light: Often, it’s easier to build up to a darker color than to lighten a too-dark base. Start with lighter shades if you’re unsure.
#### Mastering Detail Work
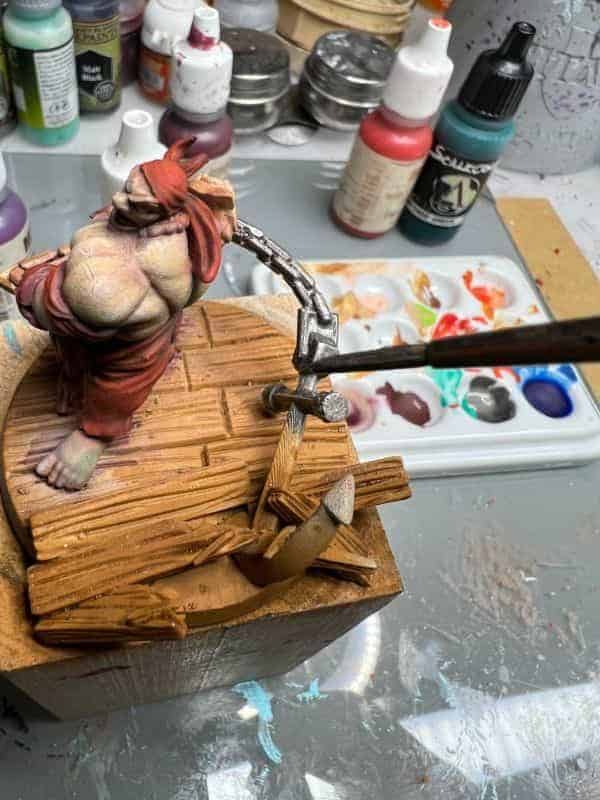
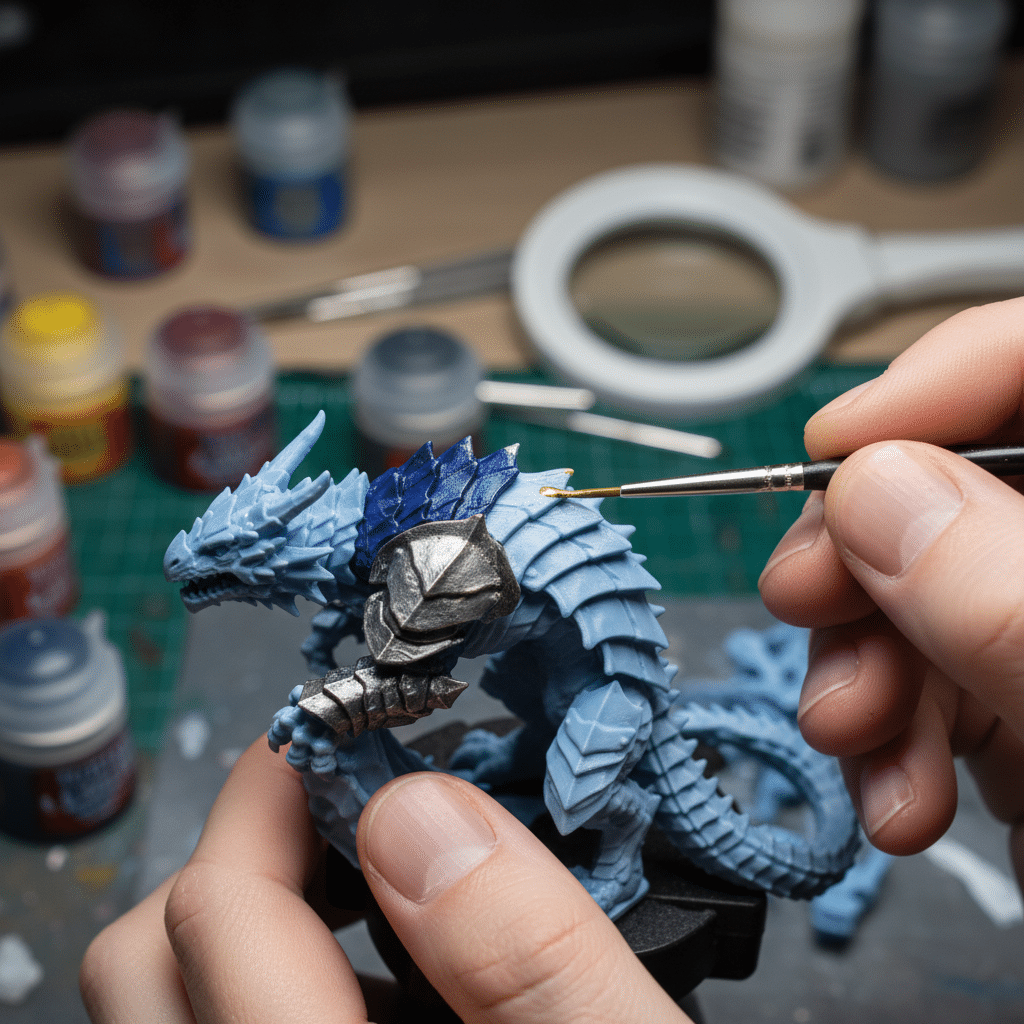
Once your base coats are dry, it’s time to bring out the fine details that truly make your model pop. This requires a steady hand and smaller brushes.
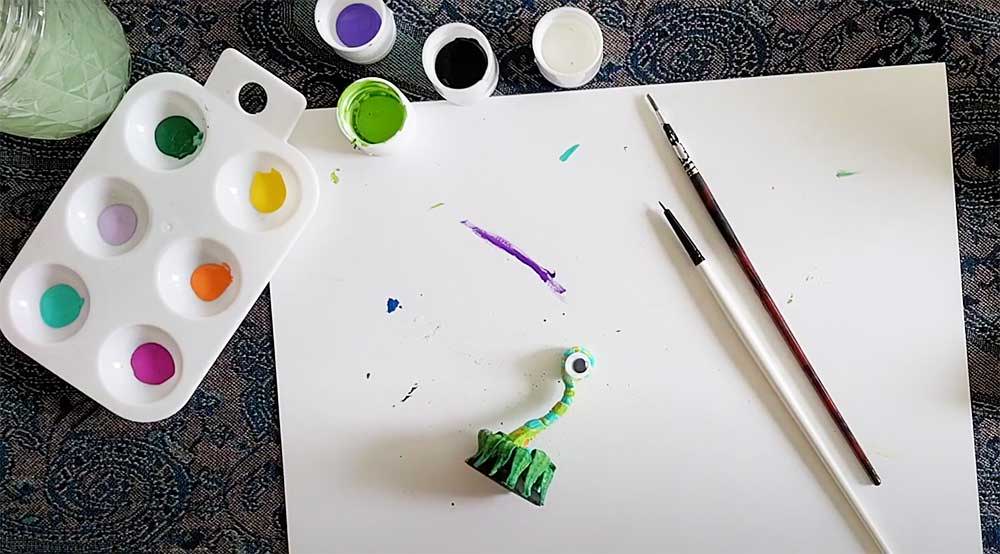
- Smaller Brushes: Use brushes with fine tips for tiny areas like eyes, buttons, crevices, or small markings.
- Steady Hand Techniques: Rest your elbows on a table and brace your hands together or against the model for stability. Take deep breaths and hold your breath briefly when making critical strokes.
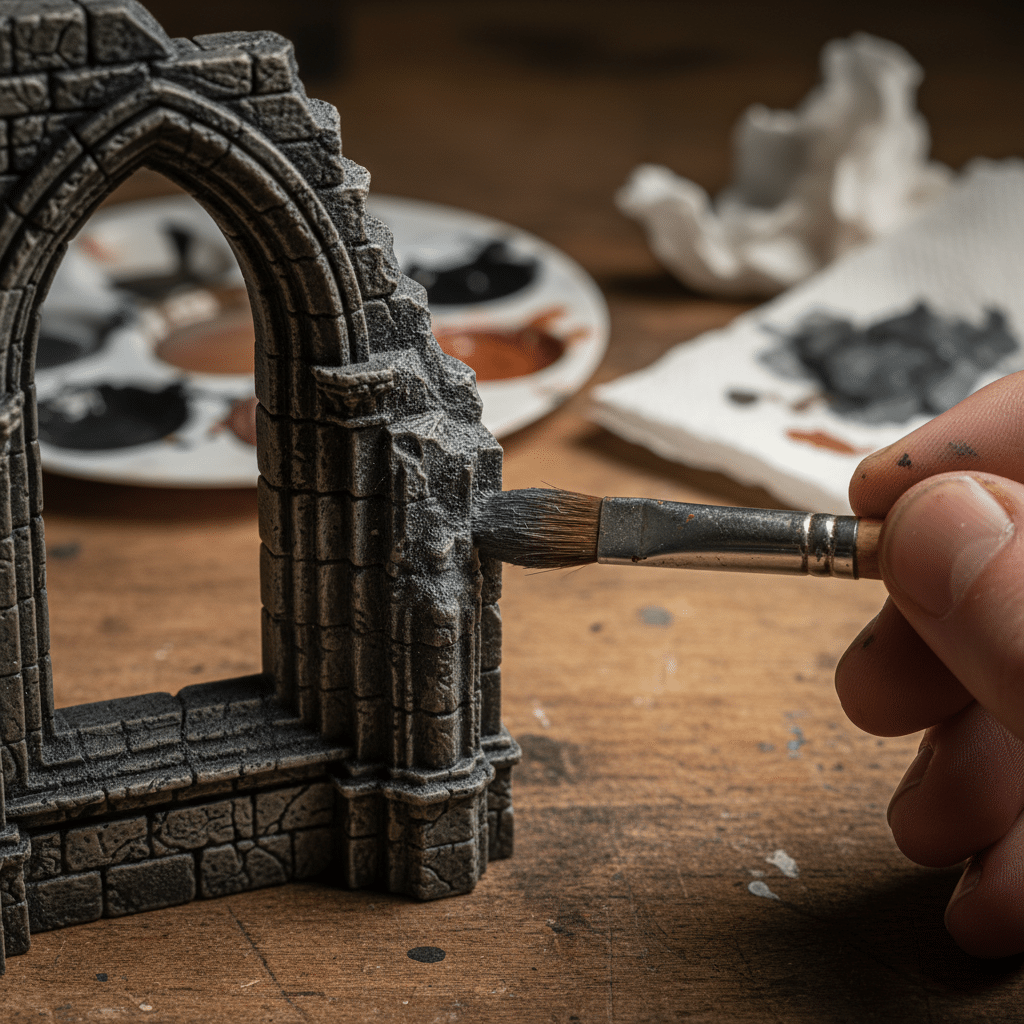
- Dry Brushing: This technique is fantastic for highlighting raised details. Dip a brush (often a stiffer, older one) into paint, then wipe almost all of it off on a paper towel until the brush is nearly dry. Lightly drag the brush over raised edges. The minimal paint will catch only on the high points, creating a subtle highlight effect that mimics wear or sunlight.
- Washes: Washes are thin, watery paints (often specific wash products) that flow into recesses and crevices, defining details and adding shadow. Apply a wash over a base coat, and it will settle into the low points, making your model look more three-dimensional. After the wash dries, you can clean up any excess with a damp brush or cotton swab.
For artists who enjoy bringing figures to life, understanding the underlying structure can greatly assist in detail work, much like how human anatomy for artists provides a foundational understanding for drawing realistic figures.
#### Blending and Shading for Depth
To make your 3D print truly come alive, you need to go beyond flat colors and introduce depth through blending and shading.
- Layering: Apply increasingly lighter shades in thin layers, gradually building up to a highlight. This creates a smooth transition from shadow to light.
- Wet Blending: This advanced technique involves applying a wet coat of paint, then immediately applying another wet coat of a different, complementary color next to it, and gently mixing the two where they meet. This creates a seamless gradient. It requires speed and practice.
- Feathering: Similar to wet blending, but with less paint, allowing you to softly transition colors by lightly stroking the brush across the edges where two colors meet.
- Zenithal Highlighting: This is a fantastic technique often used with an airbrush, but can be simulated with spray cans. After a dark primer, you spray a lighter primer (or paint) directly from above, simulating how light would naturally hit the object. This pre-shades your model, making subsequent paint layers pop more naturally.
Advanced Techniques: Taking It Up a Notch
Once you’re comfortable with the basics, there’s a whole world of advanced techniques to explore that can add incredible realism and character to your painted 3D prints. These methods allow you to tell a story with your model, giving it a history and personality.
#### Weathering and Battle Damage
If your model is supposed to be old, used, or a veteran of countless imaginary battles, weathering is your best friend.
- Chipping: Use a fine brush to dab small, irregular spots of a darker color (like dark brown or black) onto edges and areas that would naturally chip. For more realistic chips, you can use a small piece of sponge to dab on the color, creating a more random, organic pattern.
- Rust Effects: Apply specialized rust washes or use a stippling technique with reddish-brown and orange acrylics. Focus on metal parts, bolts, and areas where water might collect.
- Dirt and Grime: Use dark washes or very thinned-down dark brown paints to simulate dirt build-up in crevices and lower areas. You can also use pigments or weathering powders for realistic dust and mud effects.
- Scratches: With a very fine brush and a light hand, paint thin, irregular lines to simulate scratches on the surface.
- Soot Stains: For exhaust pipes or areas that would experience heat, use black pigment powder or a very dry brush with black paint to simulate soot.
These techniques, when applied thoughtfully, can transform a clean print into a piece with a rich, believable backstory, reflecting real-world wear and tear. Engaging in such detailed creative art projects can be incredibly satisfying, and you might even find inspiration for other creative art projects.
#### Glazing and Varnishing for Effect
Beyond simple topcoats, glazes and specific varnishes can add nuanced visual effects.
- Glazes: These are highly thinned, transparent layers of paint that tint the underlying colors without obscuring them. They are fantastic for shifting the hue of an area, creating subtle color transitions, or adding a vibrant glow. For instance, a thin blue glaze over silver armor can give it a cool, mystical sheen.
- Specialty Varnishes: Beyond the standard matte, satin, and gloss, you can find specialty varnishes that mimic specific textures. For example, a “water effect” varnish can create the look of wet surfaces, or a “mud” texture paste can add tactile realism to bases.
#### Lighting and Environmental Effects
For the truly ambitious, simulating lighting effects on your model can elevate it to a display piece worthy of admiration.
- Object Source Lighting (OSL): This technique involves painting light onto your model as if it’s emanating from an internal or external light source (e.g., a glowing sword, a flickering torch). It requires careful consideration of light direction and intensity. You paint subtle glows on the surrounding surfaces that would be illuminated by the source.
- Reflective Surfaces: While challenging, you can simulate reflections on glossy surfaces by carefully painting what the surface would be reflecting (e.g., a landscape in a polished shield).

The Grand Finale: Protecting Your Masterpiece
You’ve poured hours of effort, creativity, and precision into bringing your 3D print to life with paint. The last thing you want is for all that hard work to chip, fade, or rub off. The final, crucial step is to protect your painted masterpiece with a durable topcoat or varnish.
#### Sealing the Deal: Varnishes and Topcoats
Varnishes and topcoats create a protective barrier over your paint, safeguarding it from dust, UV light, moisture, and physical abrasion.
- Matte Varnish: This is a very popular choice, especially for miniatures and realistic models, as it reduces shine and gives a natural, non-reflective finish. It helps hide imperfections and provides a rugged look.
- Satin Varnish: Offers a subtle sheen, a middle ground between matte and gloss. It can make colors appear a bit more vibrant than matte without being overly reflective.
- Gloss Varnish: Provides a high-shine, reflective finish, perfect for models meant to look wet, metallic, or freshly painted (like vehicles). However, gloss can sometimes make details harder to see due to reflections.
- Application: Like primer and paint, apply varnish in thin, even coats. Multiple thin coats offer better protection than one thick, gloppy coat.
Spray-on Varnishes: Offer the smoothest, most even finish for protection. Hold the can at the recommended distance and use sweeping motions. Ensure good ventilation. Brush-on Varnishes: Good for precise application or when spray is not an option. Use a soft, clean brush and apply carefully to avoid streaks.
- UV Protection: Some varnishes offer UV protection, which is crucial if your painted prints will be exposed to sunlight. UV rays can cause paints to fade over time. Look for varnishes explicitly stating UV resistance.
- Drying and Curing: Allow varnish to dry completely between coats and to fully cure (which can take 24-72 hours or more, depending on the product) before handling the print extensively.
For ensuring the longevity of your custom pieces, whether it’s a painted 3D print or perhaps some DIY shelves you’ve adorned, proper sealing is always key to making them last.
#### Display and Care
Once your masterpiece is fully cured, you can finally display it proudly!
- Handling: Even with a topcoat, try to handle your painted prints by the base or less visible areas to minimize wear on the painted surfaces.
- Cleaning: For most acrylic-painted and varnished prints, a soft, dry brush or a can of compressed air is usually sufficient for dusting. For tougher grime, a very lightly damp cloth can be used, but avoid harsh chemicals or excessive rubbing.
- Long-Term Storage: If storing prints, keep them in a clean, dry environment away from direct sunlight and extreme temperature fluctuations. Using padded containers can prevent chipping or scratching.

Bringing your 3D prints to life through paint is a journey of creativity, patience, and skill. From the initial meticulous preparation to the final protective varnish, each step contributes to transforming raw plastic into a vibrant, unique piece of art. It’s an immensely satisfying process that allows you to infuse your personality and vision into every creation.
Remember, practice makes perfect. Don’t be afraid to experiment with different paint types, colors, and techniques. Each print is an opportunity to learn and refine your skills. So, grab your brushes, choose your colors, and start breathing life into your 3D printed models. The world is waiting to see your creations shine! What masterpiece will you paint next?
- 105shares
- Facebook0
- Pinterest105
- Twitter0
- Reddit0

