Ever stared at a wonky 3D print and wondered where it all went wrong? You’re definitely not alone. 3D printing is an amazing hobby and a powerful tool, letting you bring digital designs to life with a satisfying whir and hum. But let’s be real, it can also be a rollercoaster of emotions. One minute you’re excitedly watching your printer lay down perfect layers, the next you’re pulling a spaghetti monster off the build plate, wondering if your machine is just messing with you.
The good news? Getting consistently awesome prints isn’t some dark art practiced by 3D printing wizards. More often than not, it comes down to a few super simple tweaks and a bit of understanding. Think of your 3D printer not as a temperamental beast, but as a loyal companion that just needs a little guidance and care. Whether you’re a complete newbie still getting your feet wet or you’ve been printing for a while and want to elevate your game, these five tips are designed to transform your printing experience from frustrating fails to fantastic finishes. We’re talking about practical, actionable advice that you can implement today to see a real difference in your print quality. So, let’s dive in and level up those prints!
1. Master Your First Layer: The Foundation of Flawless Prints

Imagine building a house on a shaky foundation. It wouldn’t end well, right? The same principle applies to 3D printing. Your first layer is the bedrock of your entire print. If it’s not perfect, you’re setting yourself up for warping, failed adhesion, or just generally ugly prints. Getting this right is probably the single most impactful thing you can do to improve your 3D printing success rate.
The Bed Leveling Ballet: Precision is Key
First up, let’s talk about bed leveling. This is arguably the most critical step. Your print nozzle needs to be exactly the right distance from the print bed across its entire surface. Too close, and the filament gets squished so thin it can’t come out or the nozzle scrapes the bed. Too far, and the filament doesn’t stick, resulting in a mess of loose strands.
- Manual Leveling: Most entry-level printers require manual leveling. This usually involves adjusting thumbscrews under the print bed at several points (typically 3 or 4). The “paper method” is a classic for a reason:
- Heat your print bed to your usual printing temperature (this accounts for thermal expansion).
- Move the nozzle to each corner of the bed.
- Slide a standard piece of printer paper between the nozzle and the bed.
- Adjust the screw until you feel a slight drag on the paper – not so tight that it rips, but not so loose that it slides freely.
- Repeat this process several times, as adjusting one corner can affect the others. It’s a bit like tuning a guitar – you go around a few times until everything is just right.
- Automatic Leveling (ABL): If your printer has an auto-bed leveling sensor (like a BLTouch or CRTouch), it’s a huge convenience. However, ABL isn’t a “set it and forget it” feature. It compensates for minor inconsistencies but doesn’t replace a reasonably level bed. You’ll still want to ensure your bed is physically as level as possible before letting the ABL do its fine-tuning. Think of it as a helpful assistant, not a miracle worker.
- Z-Offset Calibration: Even with ABL, calibrating your Z-offset is crucial. This setting tells the printer the exact distance between the nozzle and the bed after the ABL sensor has taken its readings. A tiny adjustment here (we’re talking hundredths of a millimeter!) can be the difference between perfect adhesion and a failed print. Many printers have a “Z-offset wizard” or a live adjustment feature during the first layer of a test print. Use it!
Sticky Situations: Ensuring Bed Adhesion

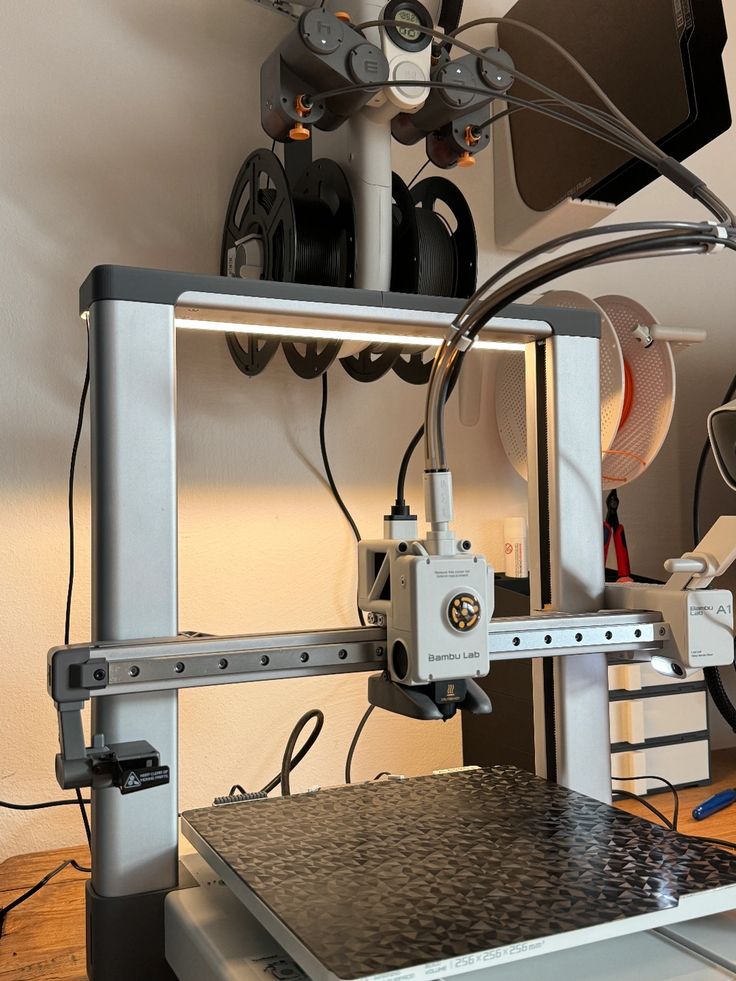
Once your bed is level, you need to make sure your filament wants to stick to it. Different bed surfaces and filaments have different adhesion needs.
- Print Surface Choice:
- Glass: Offers a super smooth bottom layer, but often needs an adhesive.
- PEI (Powder-Coated or Smooth): A popular choice, often providing great adhesion without adhesives for many filaments. Can be flexible for easy print removal.
- Magnetic Build Plates: Usually PEI or textured, these are convenient for removing prints as you just flex the plate.
- Textured Plates: Often provide good adhesion and hide minor first-layer imperfections.
- Adhesives:
- Glue Stick (PVA-based): A staple for many, especially with PLA on glass. Easy to apply, washes off with water.
- Hairspray: Works similarly to glue stick, creating a thin, sticky layer. Just be careful not to spray directly into your printer’s electronics!
- Specialty Adhesives: Products like Magigoo or 3DLac are formulated specifically for 3D printing and can work wonders, especially with trickier filaments like ABS.
- Temperature: Your print bed temperature plays a huge role. For PLA, 50-60°C is common. PETG often likes 70-85°C. Check your filament manufacturer’s recommendations. A slightly higher bed temp for the first few layers can help “melt” the plastic onto the bed.
- Cleanliness: This is often overlooked! Fingerprints, dust, and old adhesive residue can prevent filament from sticking. Regularly clean your print bed with isopropyl alcohol (IPA) between prints. For stubborn grease, a wash with dish soap and water can make a huge difference, especially on glass.
By dedicating time to perfecting your first layer, you’re not just improving your prints; you’re building confidence in your machine and your abilities. It’s a small investment with a huge payoff. Speaking of getting your printing space just right, ensuring your general home setup is conducive to your hobbies is a good idea. If you’re pondering a dedicated corner or even a whole room for your creative pursuits, you might find some great ideas on home office design ideas for the modern creative. A well-organized space can significantly reduce frustration!
2. Understand Your Filament: The Heart of Your Prints
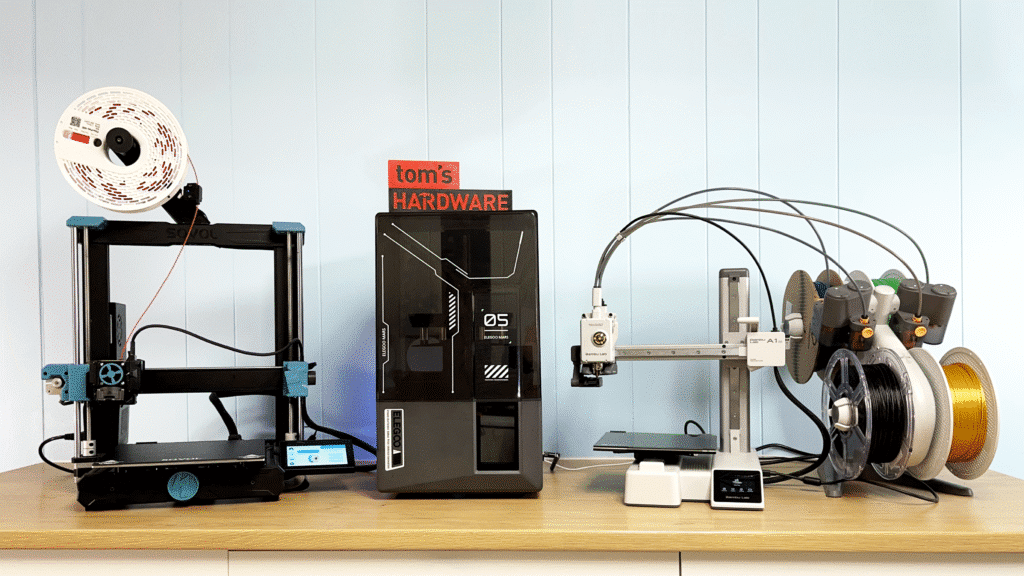
Your 3D printer is only as good as the material it prints with. The filament you choose and how you handle it can drastically affect your print quality, from strength and finish to frustrating issues like stringing or brittle layers. It’s not just “plastic on a roll” – each type has its own personality.
Know Your Plastic: Common Filament Types
While there are dozens of filament types, most hobbyists start with and primarily use a few key ones:
- PLA (Polylactic Acid): This is the king of beginner filaments. It’s easy to print, has minimal warping, and comes in a huge array of colors. It’s derived from renewable resources like corn starch, making it more eco-friendly, but it’s not the strongest or most heat-resistant. Ideal for prototypes, toys, and decorative items.
- PETG (Polyethylene Terephthalate Glycol): Think of PETG as the best of both worlds – it’s stronger and more temperature-resistant than PLA, but still relatively easy to print. It’s often used for functional parts, tool handles, or items that need a bit more durability. It can be a bit stringier than PLA, requiring some slicer setting adjustments.
- ABS (Acrylonitrile Butadiene Styrene): This is the classic “LEGO plastic.” It’s tough, heat-resistant, and can be easily smoothed with acetone vapor. However, it’s notorious for warping and releasing fumes, meaning it often requires an enclosed printer and good ventilation. Best for highly functional, durable parts.
Always check the manufacturer’s recommendations for printing temperatures (both nozzle and bed) for the specific filament you’re using. These can vary even between brands of the same material type.
The Dampening Effect: Why Drying Your Filament Matters


This is a game-changer that many beginners overlook! Most 3D printing filaments are “hygroscopic,” meaning they absorb moisture from the air. Even if they don’t feel wet, they can still have enough moisture to ruin a print.
- Signs of Wet Filament:
- Popping/Cracking Sounds: As the filament heats up, the absorbed water boils, creating tiny steam bubbles that pop.
- Stringing and Oozing: Wet filament can become more gooey, leading to excessive stringing and blobs on your prints.
- Poor Layer Adhesion: The steam bubbles disrupt the molten plastic, leading to weak, brittle layers that easily delaminate.
- Rough Surface Finish: Prints look dull, fuzzy, or have visible imperfections.
- Blobs and Zits: Small imperfections on the print surface.
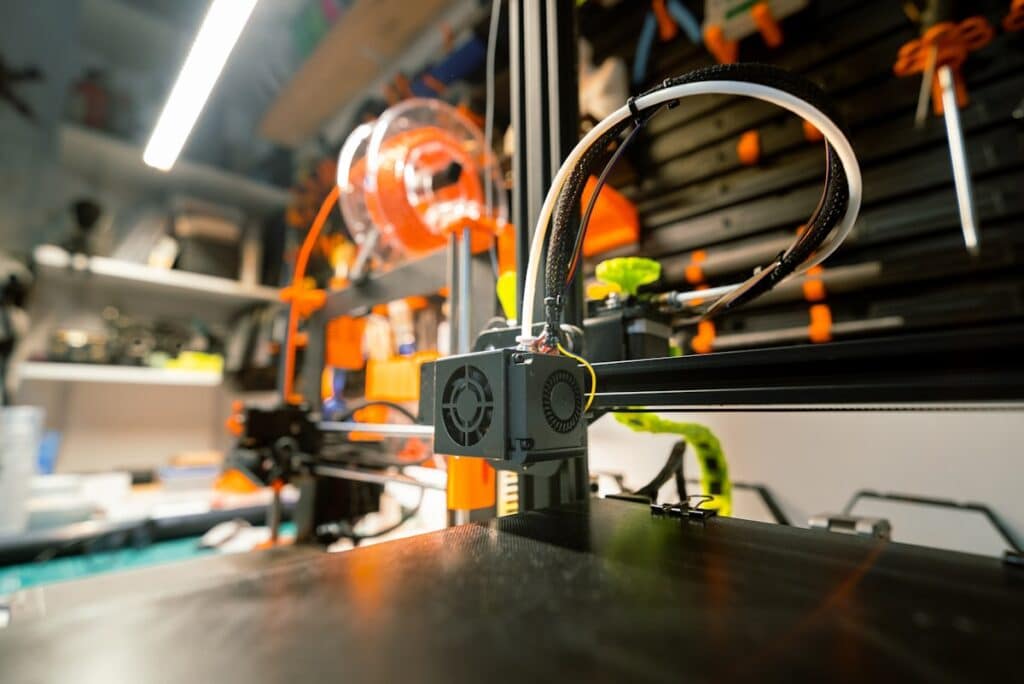
- How to Dry Your Filament:
- Dedicated Filament Dryer: These are purpose-built devices that maintain a consistent low temperature to gently bake the moisture out of your filament. They’re incredibly effective.
- Food Dehydrator: A cheaper alternative! Just make sure it’s one you won’t be using for actual food afterward, as plastic fumes can be an issue. Set it to a low temperature (around 45-55°C for most filaments) for several hours.
- Oven (Use with Extreme Caution!): If you’re really desperate, a conventional oven on its lowest setting (check with a separate thermometer, as oven thermostats can be inaccurate) can work. NEVER leave it unattended, and be incredibly careful not to melt your spool! This method is generally not recommended due to temperature inconsistencies and potential fire hazards.
- Storage is Key: Once dried, store your filament properly. Airtight containers (like large food storage bins) with desiccant packets (silica gel) are your best friends. This prevents moisture re-absorption and keeps your filament in prime printing condition.
Taking care of your filament is like taking care of your art supplies – it directly impacts the quality of your output. For those who also engage in more traditional design and art forms, like technical drawing, understanding your materials is equally vital. Just as a designer needs the right pens and paper for precise work, a 3D printer needs well-maintained filament. If you’re into precision design, check out tips for technical drawing for designers.
3. Demystify Your Slicer Settings: The Brains Behind the Print
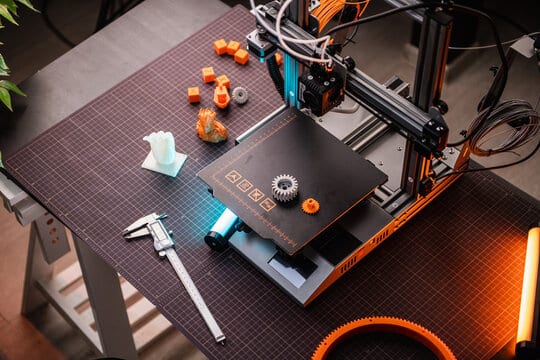
Your 3D printer hardware is just one half of the equation; the other half is your slicer software. This program takes your 3D model (usually an STL file) and “slices” it into individual layers, generating the G-code instructions that tell your printer exactly where to move, how fast, and at what temperature. Mastering your slicer settings is like becoming the conductor of your own printing orchestra.
Basic Settings, Big Impact
Even small adjustments in your slicer can make a world of difference. Let’s look at some of the most crucial ones:
- Layer Height: This determines the thickness of each printed layer.
- Thicker Layers (e.g., 0.2mm – 0.3mm): Print faster, but show more visible layer lines. Great for prototypes or large, less detailed prints.
- Thinner Layers (e.g., 0.1mm – 0.15mm): Produce finer detail and smoother surfaces, but take much longer to print. Ideal for display models or intricate designs.
- Tip: A common rule of thumb is to choose a layer height that’s around 25-75% of your nozzle diameter. For a 0.4mm nozzle, 0.1mm, 0.15mm, 0.2mm, or 0.25mm are popular choices.
- Print Speed: This dictates how fast your printer moves.
- Too Fast: Can lead to poor layer adhesion, skipped steps (layer shifts), ringing/ghosting, and general quality issues.
- Too Slow: While it can improve quality, it also drastically increases print time and can sometimes lead to issues like excessive oozing if other settings aren’t dialed in.
- Finding the Sweet Spot: Start with moderate speeds (e.g., 50-60mm/s for general printing with PLA) and adjust up or down based on your printer’s capabilities and desired quality. Print speed also needs to be balanced with extrusion temperature to ensure the filament melts properly.
- Print Temperature (Nozzle): We touched on this with filament, but it’s worth reiterating here. The ideal temperature ensures the filament flows smoothly without being too runny or too stiff.
- Too Low: Under-extrusion, poor layer adhesion, nozzle clogging.
- Too High: Stringing, oozing, brittle prints, “elephant’s foot” (squished first layers).
- Solution: Print a “temperature tower” for each new filament spool. This test print prints the same object at different temperatures, allowing you to visually identify the best temperature for strength and surface quality.
- Retraction: This setting is your primary weapon against stringing and oozing. When the print head moves across an open area, the slicer tells the extruder to pull the filament back slightly (retract) to prevent molten plastic from oozing out of the nozzle.
- Retraction Distance: How far the filament is pulled back. Too little, and you get stringing. Too much, and you can get clogs or heat creep.
- Retraction Speed: How fast the filament is pulled back.
- Tip: Print a “retraction tower” or other stringing tests. Adjust these settings incrementally until stringing is minimized. Remember, different filaments and even different brands of the same filament will need different retraction settings.
- Infill: This is the internal structure of your print.
- Infill Density (%): Higher percentages mean a stronger, heavier print but use more filament and take longer. Lower percentages are faster and lighter. For most functional prints, 20-30% infill is sufficient. For decorative items, 5-15% is often fine.
- Infill Pattern: Different patterns (e.g., grid, honeycomb, gyroid, cubic) offer varying levels of strength, speed, and material usage. Gyroid is often favored for its isotropic strength (strength in all directions) and efficiency.
- Supports: For models with overhangs or bridges that can’t be printed in thin air, supports are essential.
- When to Use: Generally, any overhang greater than 45-60 degrees will need support, depending on your printer and cooling.
- Support Types: “Normal” supports create a dense grid, while “tree” supports are more organic, often easier to remove, and use less material.
- Contact Z Distance: This crucial setting defines the gap between the support structure and the actual print. A larger gap makes supports easier to remove but can lead to a rougher supported surface. A smaller gap provides better support but can fuse to the print. Experiment to find your sweet spot!
Playing around with slicer settings can seem overwhelming, but it’s where you gain the most control over your print’s outcome. Don’t be afraid to experiment, keep notes, and learn from each print. The more you tweak, the better you’ll understand how these invisible settings translate into tangible improvements. Just as interior designers carefully select elements to complement an architectural vision, you’re curating settings to achieve your desired printed outcome. It’s a delicate balance of art and science, much like how interior design complements architectural vision.
4. Keep It Tuned Up: The Importance of Printer Maintenance

Your 3D printer is a machine with moving parts, heating elements, and intricate mechanisms. Just like your car or any other piece of equipment, it needs regular care and maintenance to perform at its best. Neglecting maintenance is a surefire way to invite unexpected print failures and shorten your printer’s lifespan.
Regular Cleaning: A Little Goes a Long Way
Dust and debris are the enemies of precision.
- Nozzle Cleaning: Over time, carbonized plastic and dust can build up on and around your nozzle, leading to poor extrusion or surface defects. Use a brass brush (cold or slightly warm nozzle) to gently scrub off residue. For clogs, a “cold pull” (heating the nozzle, letting it cool slightly, then quickly pulling out the filament) or using a tiny acupuncture needle can help.
- Print Bed Cleaning: As mentioned in Tip 1, a clean bed is vital for adhesion. Use isopropyl alcohol (IPA) or dish soap and water.
- Dusting: Use compressed air or a soft brush to regularly clear dust from fans, belts, rods, and other moving parts. Dust on cooling fans can reduce their efficiency, leading to heat creep or improper part cooling.
Lubrication: Smooth Operator
Moving parts need to move smoothly, and that often means lubrication.
- Z-Axis Lead Screws: These threaded rods (found on many FDM printers) need occasional lubrication. Use a light machine oil, lithium grease, or a specialty lead screw lubricant. Apply sparingly and manually move the Z-axis up and down to distribute it. This prevents binding and ensures smooth, consistent layer heights.
- Smooth Rods/Linear Rails: If your printer uses smooth rods or linear rails (often on the X and Y axes), these also benefit from light lubrication to ensure smooth travel. Check your printer’s manual for specific recommendations. Avoid lubricating belts or pulleys!
Inspect and Tighten: The Sherlock Holmes Approach

Regularly inspecting your printer for loose parts or wear can prevent bigger problems down the line.
- Belt Tension: Over time, timing belts can stretch or loosen. Belts that are too loose can cause “ghosting” (ripples on your print surface) or layer shifts. Too tight, and they can strain stepper motors. The goal is “guitar string” tension – tight enough to pluck with a low thrum, but not so tight it’s like a banjo string. Most printers have tensioning mechanisms, so consult your manual.
- Nozzle Wear: Nozzles are consumable parts, especially brass nozzles (the most common type). A worn nozzle will have an enlarged hole, leading to blobs, poor detail, and inconsistent extrusion. If you primarily print abrasive filaments (like carbon fiber filled materials), consider hardened steel nozzles. Replace your nozzle every few hundred hours of printing, or when print quality noticeably degrades.
- Hotend Assembly: Ensure all screws are tight, especially those holding the hotend in place. A wobbly hotend means inaccurate printing. Also, check for any gaps between your PTFE tube (if applicable) and the nozzle inside the hotend, as this can lead to clogs and oozing.
- Cable Management: Make sure all cables are properly secured and aren’t rubbing against moving parts or getting tangled. Cable ties or sleeves can prevent wear and tear.
Consistent maintenance keeps your printer happy and printing well, just like regular upkeep keeps a house in top shape. If you’re tackling other home improvement projects, such as upgrading your garage to be a better workspace (perhaps for your printer!), you’ll appreciate the benefits of garage upgrades that complete your home renovation. A dedicated, well-maintained space can make all the difference.
5. Embrace Troubleshooting: Your Journey to Becoming a Print Problem Solver
Even with all the best practices, 3D printing will inevitably throw you a curveball. Prints will fail. Things will go wrong. The key isn’t to get discouraged, but to embrace troubleshooting as a fundamental part of the learning process. Every failed print is a lesson waiting to be learned.
Common Print Failures and Their Usual Suspects
Let’s look at a few of the most frequent headaches and where to start looking for solutions:
- Warping/Corners Lifting:
- Suspects: Poor bed adhesion (see Tip 1), insufficient bed temperature, drafts from open windows, fan blowing directly on the print, no brim/raft.
- Solutions: Re-level bed, clean bed, apply adhesive, increase bed temp, use an enclosure, add brim/raft in slicer.
- Stringing/Oozing:
- Suspects: Incorrect retraction settings (distance, speed), too high nozzle temperature, wet filament (see Tip 2), slow travel speed.
- Solutions: Adjust retraction settings, lower nozzle temp, dry filament, increase travel speed.
- Poor Layer Adhesion/Delamination:
- Suspects: Too low nozzle temperature, wet filament, printing too fast, insufficient part cooling (for some materials), fan blowing on the hotend.
- Solutions: Increase nozzle temp, dry filament, decrease print speed, check part cooling fan settings, enclose printer.
- Under-Extrusion (Gaps in layers, weak prints):
- Suspects: Clogged nozzle, too low nozzle temperature, extruder skipping steps, incorrect filament diameter setting in slicer, worn nozzle, too fast print speed.
- Solutions: Clean/replace nozzle, increase nozzle temp, check extruder gear for clogs/wear, verify filament diameter, slow down print.
- Over-Extrusion (Blobs, rough surface, parts too big):
- Suspects: Too high flow rate/extrusion multiplier in slicer, too high nozzle temperature, incorrect filament diameter.
- Solutions: Reduce flow rate (start with 95-98%), lower nozzle temp, verify filament diameter.
- Elephant’s Foot (First layers squished out):
- Suspects: Z-offset too low, initial layer horizontal expansion setting too high, bed temperature too high, causing bottom layers to expand.
- Solutions: Increase Z-offset slightly, reduce “initial layer horizontal expansion” in slicer, slightly reduce bed temperature after first layer.
- Layer Shifting (Part of print shifts horizontally):
- Suspects: Loose belts, motor overheating/skipping steps, print head hitting obstacles, printing too fast, stepper motor drivers overheating.
- Solutions: Tighten belts, reduce print speed, check for obstructions, improve cooling for stepper drivers.
The Troubleshooting Mindset: Observe, Isolate, Document
When a print fails, don’t just hit print again. Take a moment.
- Observe: Look closely at the failure. Where did it happen? What does it look like? Did you hear any strange noises? A photo can be incredibly helpful for diagnosis.
- Isolate: Don’t change five settings at once! Try to identify the most likely culprit based on the symptoms. Change only one setting or variable, then re-print (even a small test cube) to see the effect. This systematic approach helps you understand cause and effect.
- Document: Keep a simple log. Note your slicer settings, filament type, and what changes you made. This builds a valuable knowledge base specific to your printer and your filament. It’s also incredibly helpful if you ever ask for help in online communities.
- Leverage Resources: The 3D printing community is huge and incredibly helpful.
- Online Forums & Communities: Reddit (r/3Dprinting, r/FixMyPrint), Facebook groups, and manufacturer forums are treasure troves of information. Post clear photos and describe your problem and what you’ve tried.
- YouTube Tutorials: Many common issues have excellent video guides.
- Knowledge Bases: Websites like All3DP have comprehensive guides for common problems.
Remember, 3D printing is a skill that develops with practice and perseverance. Every “failed” print is just data, guiding you toward better, more successful outcomes. The more you learn to troubleshoot, the more confident and capable you’ll become.
The Power of Patience and Persistence
Ultimately, improving your 3D prints boils down to a blend of attention to detail, a willingness to learn, and a good dose of patience. Nobody gets perfect prints straight out of the box every single time. It’s an iterative process, much like any creative endeavor. Whether you’re drawing intricate botanical sketches or designing a complex architectural model, refinement comes with practice.
By consistently applying these five simple tips – mastering your first layer, understanding your filament, dialing in your slicer settings, keeping your machine well-maintained, and embracing troubleshooting – you’ll not only see a dramatic improvement in your print quality but also gain a deeper understanding and appreciation for the magic of 3D printing. So, clean that bed, dry that filament, tweak those settings, and get ready to create some truly amazing things. Happy printing!
- 17shares
- Facebook0
- Pinterest17
- Twitter0
- Reddit0
