Ever looked up at a towering cityscape, with its intricate network of buildings, bustling streets, and endless details, and thought, “Wow, I wish I could draw that”? You’re not alone! Drawing a city, with its dynamic blend of architecture, life, and sheer scale, can seem incredibly daunting. But here’s the exciting secret: it’s not as complex as it looks. With the right techniques, a dash of patience, and a bit of practice, you can absolutely bring your own magnificent urban visions to life on paper. This comprehensive guide will break down exactly how to draw a city, taking you from basic lines to a vibrant, detailed metropolis. We’ll explore everything from essential tools to mastering perspective, adding intricate details, and capturing the unique atmosphere of your imagined urban landscape. Get ready to embark on a creative journey that will transform your blank page into a bustling, breathing city!
Gearing Up: Essential Tools and Your Artistic Mindset

Before you dive into drawing, let’s talk about what you’ll need and how to approach this creative challenge. Think of your tools as your trusty sidekicks in this urban adventure.
Your Drawing Arsenal
You don’t need fancy equipment to start, but having a few key items will make your life much easier:
- Pencils: A range of graphite pencils is ideal. Start with an HB for general sketching, a 2H for light guidelines (that you can easily erase), and a 2B or 4B for darker lines and shading.
- Erasers: A kneaded eraser is fantastic for lifting graphite without damaging the paper, and a standard plastic eraser is good for precise corrections.
- Paper: Any good quality drawing paper will do. Bristol board offers a smooth surface, while heavier sketch paper can handle more layers. Consider a larger size to give your city room to breathe.
- Ruler: A long, straight ruler is non-negotiable for architectural drawing. Precision is key when creating straight lines for buildings.
- Optional but Recommended:
- Drawing Board: Provides a stable, flat surface.
- Technical Pens/Fineliners: For adding crisp, inky details after your pencil work is done. Different tip sizes (0.1mm, 0.3mm, 0.5mm) offer versatility.
- Colored Pencils, Markers, or Watercolors: If you plan to add color to your cityscape.
Cultivating the Right Mindset
Drawing a city is a marathon, not a sprint. Embrace these principles:
- Patience is Your Ally: Don’t expect perfection on your first try. Enjoy the process of learning and discovery.
- Observe, Observe, Observe: Look at real cities, photos, and other artists’ work. Pay attention to how light hits buildings, how windows are arranged, and the sheer variety of architectural styles.
- Start Simple: Break the complex scene into manageable parts. Begin with basic shapes and gradually add detail.
- Don’t Fear Mistakes: Erasers exist for a reason! Every “mistake” is a learning opportunity.
The Cornerstone of City Drawing: Mastering Perspective
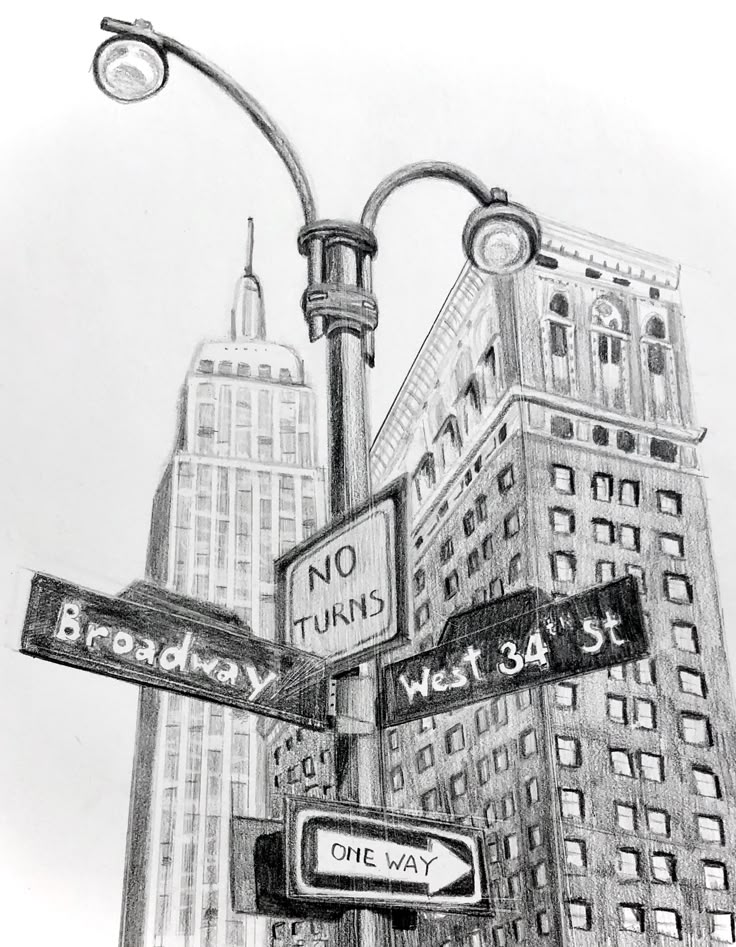
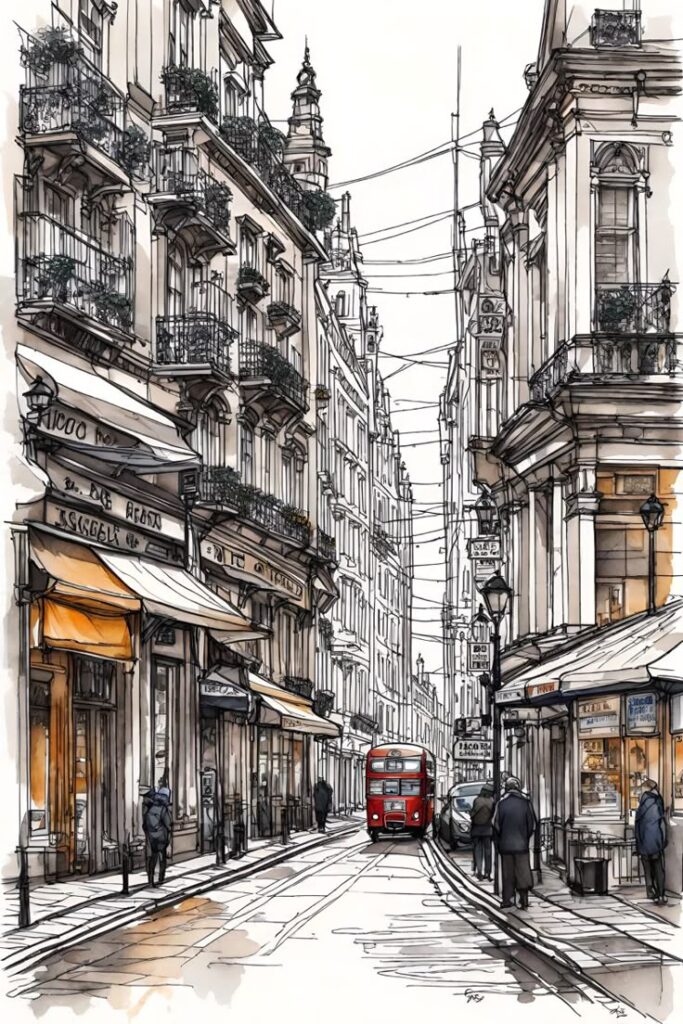
Perspective is the absolute game-changer when drawing a city. It’s what gives your drawing depth, making objects appear closer or further away, and creating that realistic sense of space. Without proper perspective, your city will look flat and unrealistic.
Understanding the Horizon Line and Vanishing Points
Every perspective drawing starts with two crucial elements:
- Horizon Line (Eye Level): This is an imaginary horizontal line that represents your eye level. Objects above it will appear to go down towards it, and objects below it will appear to go up towards it.
- Vanishing Point(s): These are points on the horizon line where parallel lines in your drawing appear to converge. The number of vanishing points determines the type of perspective you’re using.
Let’s explore the main types of perspective you’ll use for cityscapes.
One-Point Perspective
This is the simplest form and great for beginners. It’s perfect when you’re looking directly down a street or into a corridor, with one face of the buildings parallel to your view.
- How it Works: All horizontal lines going away from you converge at a single vanishing point on the horizon line. Vertical lines remain vertical.
- Best For: Drawing a street scene where buildings are aligned neatly along a straight road leading directly away from you. Think of looking straight down a main street.
- Steps:
- Draw your horizon line.
- Place a single vanishing point on the horizon line (usually in the center).
- Draw the front face of your closest building as a simple rectangle.
- From each corner of this rectangle, draw light “guideline” lines back to the vanishing point.
- Draw a new vertical line and a new horizontal line between these guidelines to define the back edge of the building. Erase any excess guidelines.
- Repeat for other buildings, windows, and doors, ensuring all lines receding into the distance point towards that single vanishing point.

Two-Point Perspective
This is the most common perspective for cityscapes and gives a more dynamic view. It’s used when you’re looking at the corner of a building, so two sides are receding away from you.
- How it Works: You have two vanishing points on the horizon line, usually towards the edges of your paper. Vertical lines remain vertical. All horizontal lines on one side of a building converge to Vanishing Point 1 (VP1), and all horizontal lines on the other side converge to Vanishing Point 2 (VP2).
- Best For: Drawing buildings from an angled view, showcasing multiple sides of structures, or creating a more expansive street scene. This is your go-to for most urban environments.
- Steps:
- Draw your horizon line.
- Place two vanishing points (VP1 and VP2) on the horizon line, far apart.
- Start with a single vertical line – this represents the corner edge of your closest building.
- From the top and bottom of this vertical line, draw guidelines to both VP1 and VP2.
- Draw two more vertical lines between these guidelines to define the other two corners of the building.
- Use VP1 and VP2 to guide the top and bottom edges of the building, and also for windows, doors, and architectural elements on each side.
- Repeat this process for all other buildings, ensuring their receding lines go to the correct vanishing points.
Three-Point Perspective
This advanced perspective adds an extra layer of realism, especially for very tall buildings or when looking up or down at a cityscape.
- How it Works: In addition to two horizontal vanishing points on the horizon line, you add a third vanishing point either above (looking up at a skyscraper) or below (looking down from a high vantage point) your drawing. All vertical lines now converge towards this third vanishing point, making buildings appear to taper.
- Best For: Dramatically tall structures, bird’s-eye views, or worm’s-eye views.
- Steps: Similar to two-point, but now all vertical lines also angle towards the third vanishing point. This creates a sense of immense height or depth.
Don’t be intimidated by perspective. Practice drawing simple cubes and blocks in each perspective until you feel comfortable. Think of it like learning the alphabet before writing a novel. If you’re looking to dive deeper into precise, measured drawings, exploring resources on technical drawing for designers can provide a fantastic foundation.
Building Your City: From Blocks to Grand Structures

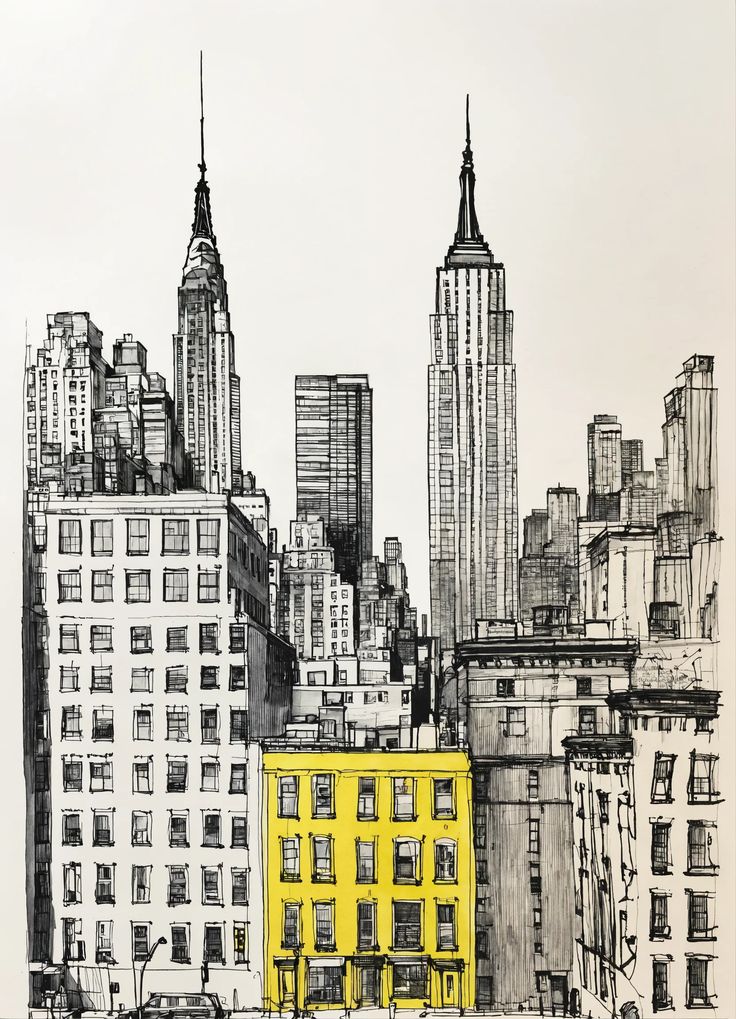
Once you grasp perspective, you’re ready to start laying down the fundamental shapes of your city. Think like an architect, starting with the big picture and slowly refining the details.
Basic Shapes are Your Friends
Every complex building is, at its heart, a collection of simpler shapes.
- Start with Rectangles and Cubes: Use your chosen perspective to block out the main mass of each building. Don’t worry about details yet, just focus on accurate proportions and placement. Vary the height and width to create an interesting silhouette.
- Rough Out the Skyline: Begin with the largest, most prominent buildings. Place them strategically, thinking about how they would appear in real life. Some might be taller, some wider, some closer, some further away.
- Layer by Layer: As you add more buildings, layer them behind the initial structures. This instantly adds depth to your cityscape.

Adding Architectural Elements and Details
This is where your city starts to gain character. Remember to keep perspective in mind for every detail!
- Windows and Doors: These are crucial. They should follow the perspective lines of the building. Notice their rhythm and repetition. Modern buildings might have grid-like windows, while older ones might have arched tops. Don’t draw every single pane of glass; suggest them.
- Roofs: Flat roofs, pitched roofs, domes, spires – roofs define a building’s style. Remember that the tops of roofs also follow perspective.
- Facades and Textures: Think about the materials. Brick, concrete, glass, stone. You can suggest these textures with subtle patterns or shading. For a truly unique look, consider how specific architectural styles, such as those that blend sustainability with modern design, might influence your building facades.
- Balconies, Ledges, and Awnings: These elements add three-dimensionality and visual interest. They protrude from the building, creating shadows and breaks in the surface.
- Water Towers, Antennas, and Chimneys: These small additions on rooftops add realism and break up monotonous lines.
When focusing on specific structures like office buildings, understanding the principles of corporate office design can even inspire your architectural choices for different types of urban structures.
Creating a Dynamic Skyline and Urban Environment
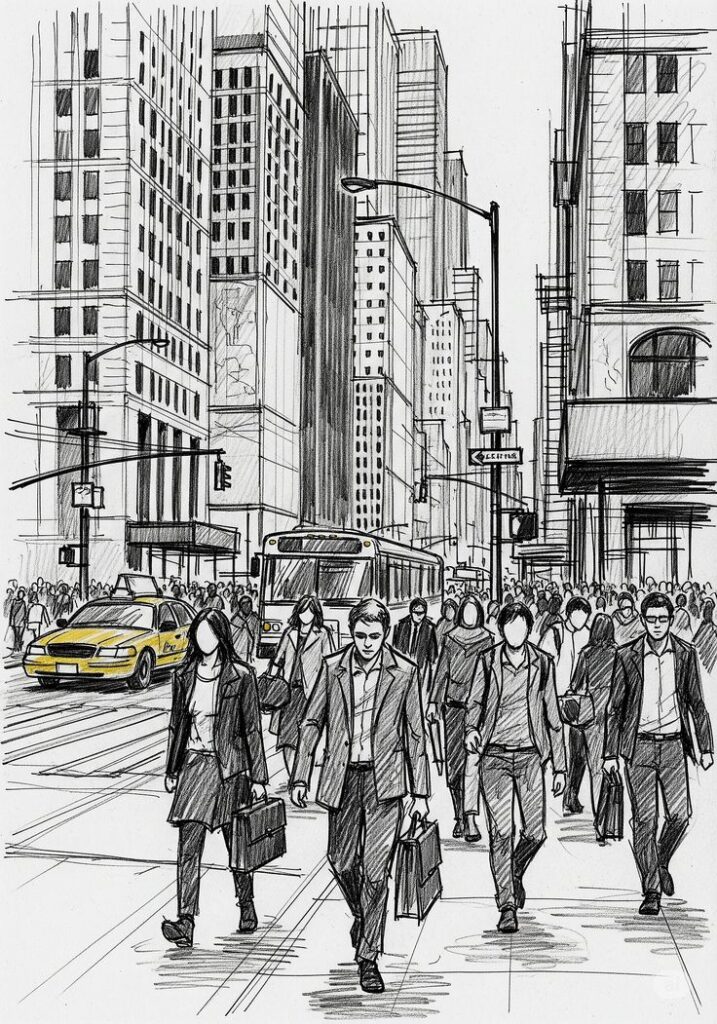
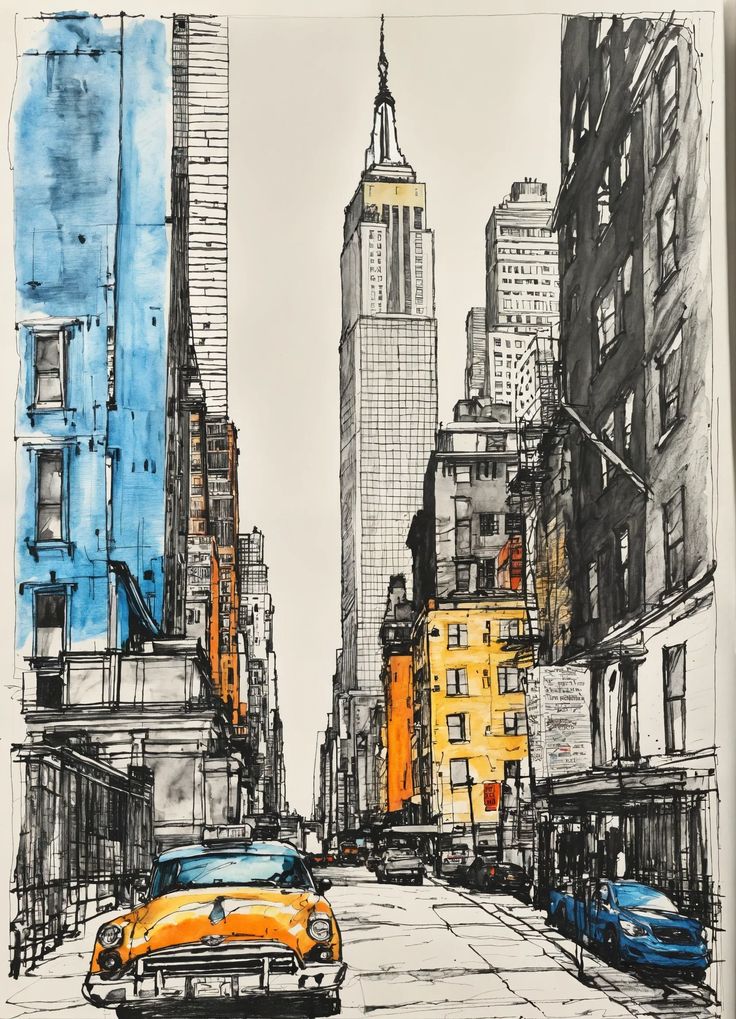
A city isn’t just a collection of buildings; it’s a living ecosystem. Bringing that to life means considering the spaces between buildings and the elements that populate them.
The Art of the Skyline
Your skyline is the unique “fingerprint” of your city.
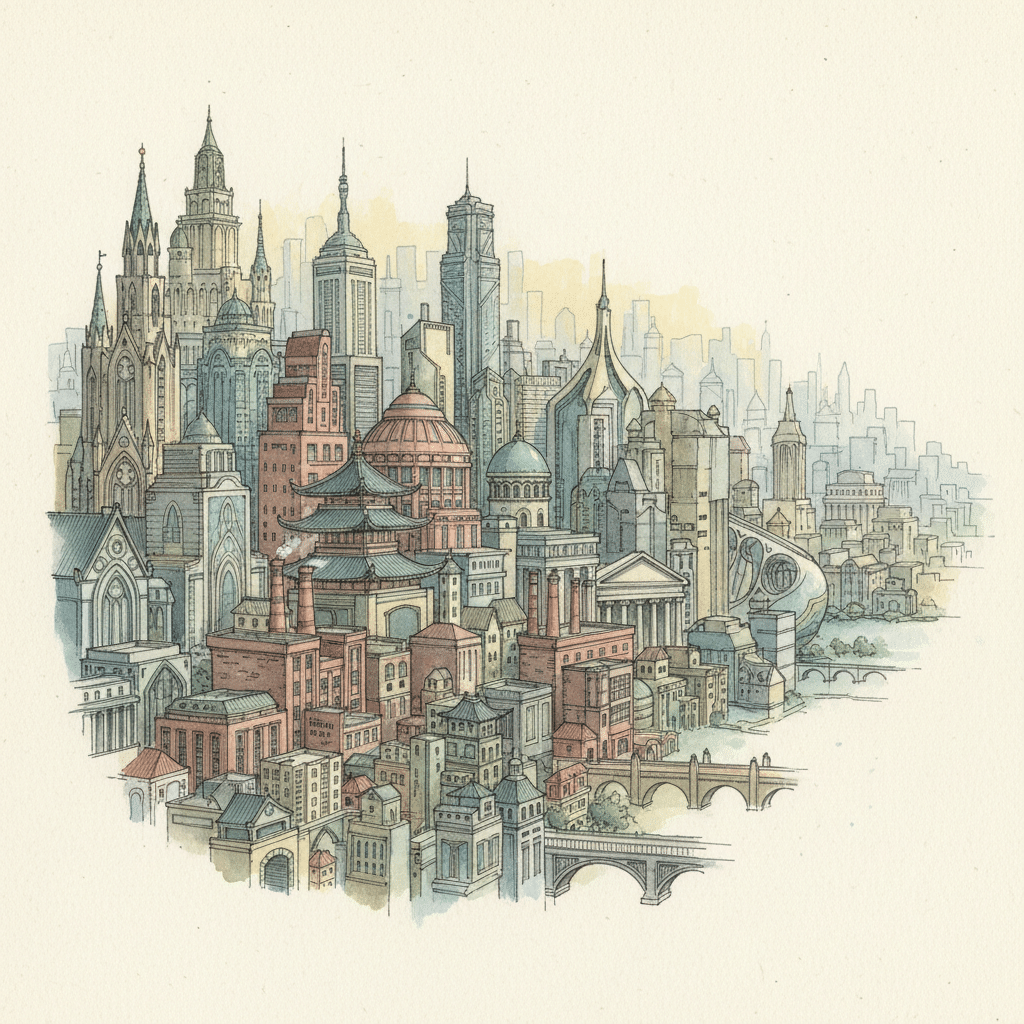
- Vary Heights and Shapes: Avoid a monotonous row of identical buildings. Introduce variety – short, tall, wide, narrow, pointed, flat-topped structures.
- Overlap and Depth: Use overlapping buildings to create a sense of distance and complexity. Buildings further away will appear smaller and less detailed.
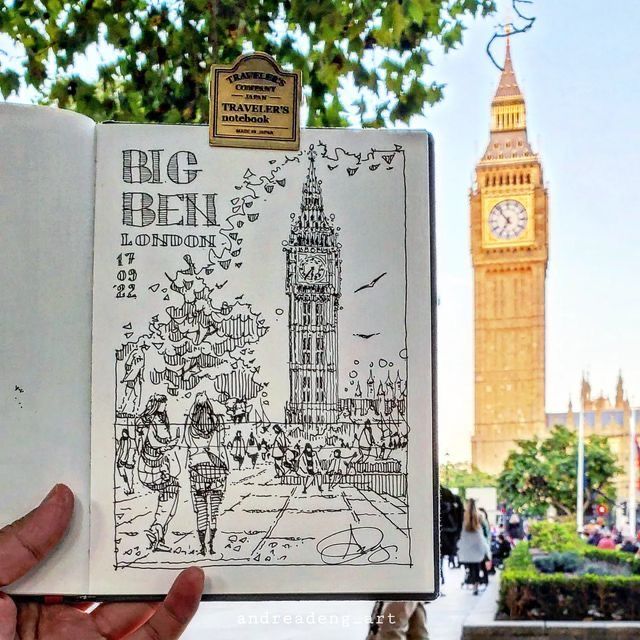
- Introduce Landmarks: Even in a fictional city, a prominent landmark (a distinctive skyscraper, a clock tower, a unique bridge) can anchor your composition and give it a focal point.
- Negative Space: Pay attention to the shapes created by the gaps between buildings. These negative spaces are just as important as the positive shapes of the buildings themselves.
Populating the Streets: Roads, Vehicles, and People
A city without life feels empty. Even if drawn simply, these elements add immense realism.
- Roads and Sidewalks: Use perspective to draw roads winding through your city. They should widen as they get closer to the viewer and narrow in the distance. Add crosswalks, manholes, and street markings.
- Vehicles: Cars, buses, taxis – even simplified shapes of these can convey motion and scale. Remember perspective; vehicles further away will be smaller and less detailed.
- People: Don’t feel obligated to draw highly detailed figures. Simple stick figures or silhouettes are often enough to indicate human presence and provide a sense of scale, especially in a bustling cityscape. Think about how figures can convey mood through art even with minimal detail.
- Street Furniture: Benches, lampposts, trash cans, bus stops – these small details ground your city in reality. Again, use perspective for their placement and diminishing size.
- Trees and Greenery: Parks, street trees, rooftop gardens – these add softness, natural elements, and help break up the hard lines of architecture. Even simple clumps of foliage can make a big difference.
Bringing it to Life: Light, Shadow, and Atmosphere
Once your basic structure is down, it’s time to add the magic that transforms a flat drawing into a vibrant scene. Light, shadow, and atmospheric effects are key.
Understanding Light and Shadow
Light is what defines form. Without it, everything looks flat.
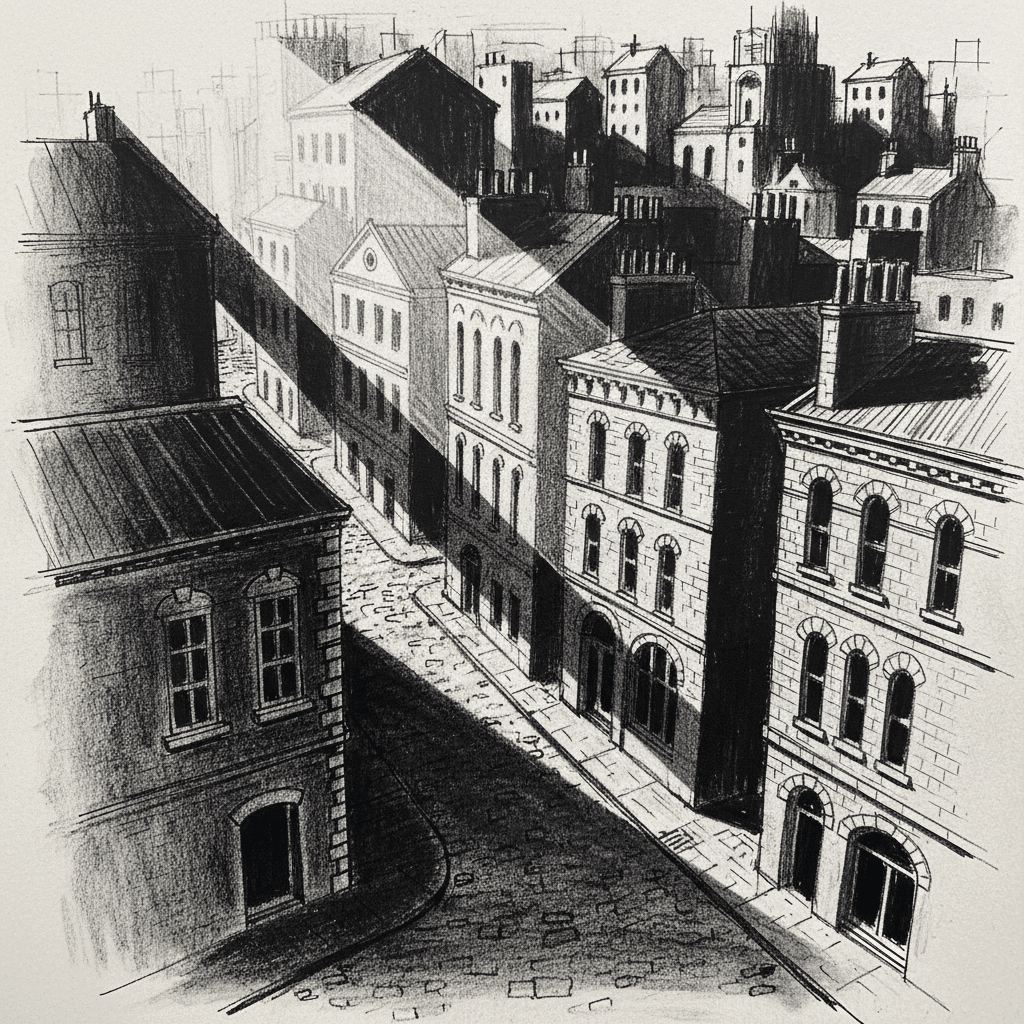
- Choose a Light Source: Decide where your light is coming from (e.g., sun high in the sky, low on the horizon, or even artificial light from streetlights). This consistency is crucial.
- Cast Shadows: Buildings will cast shadows on other buildings, on the street, and on themselves. Shadows add depth, volume, and indicate the time of day. The sharper the shadow, the brighter the light source.
- Form Shadows: These are the shaded areas on the surfaces of objects that are turned away from the light source.
- Highlight and Midtones: Areas directly hit by light are highlights. The areas between highlights and shadows are midtones. Varying these tones creates a sense of three-dimensionality.
Creating Atmosphere and Mood
Atmosphere is what gives your city a soul.
- Time of Day:
- Daytime: Bright, clear light, distinct shadows.
- Sunset/Sunrise: Long, dramatic shadows, warm colors (if adding color), a glowing horizon.
- Nighttime: Darker tones, illuminated windows, streetlights, car headlights, reflections on wet surfaces.
- Weather:
- Sunny: Sharp contrasts, clear details.
- Overcast: Softer shadows, muted tones, less contrast.
- Rainy: Reflections on wet pavement, blurred lights, a general mistiness.
- Foggy: Buildings in the distance become very indistinct, a sense of mystery.
- Aerial Perspective (Atmospheric Perspective): Objects further away appear lighter, less saturated, and less detailed due to the amount of air/haze between them and the viewer. This is a powerful tool for creating depth. Buildings in the background should be drawn with lighter pressure and fewer details.
Advanced Techniques and Creative Flair
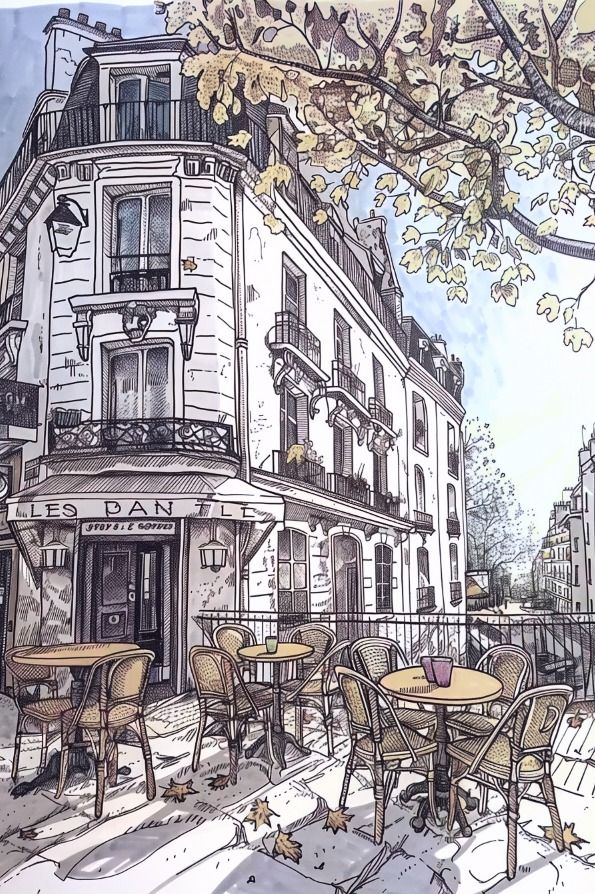
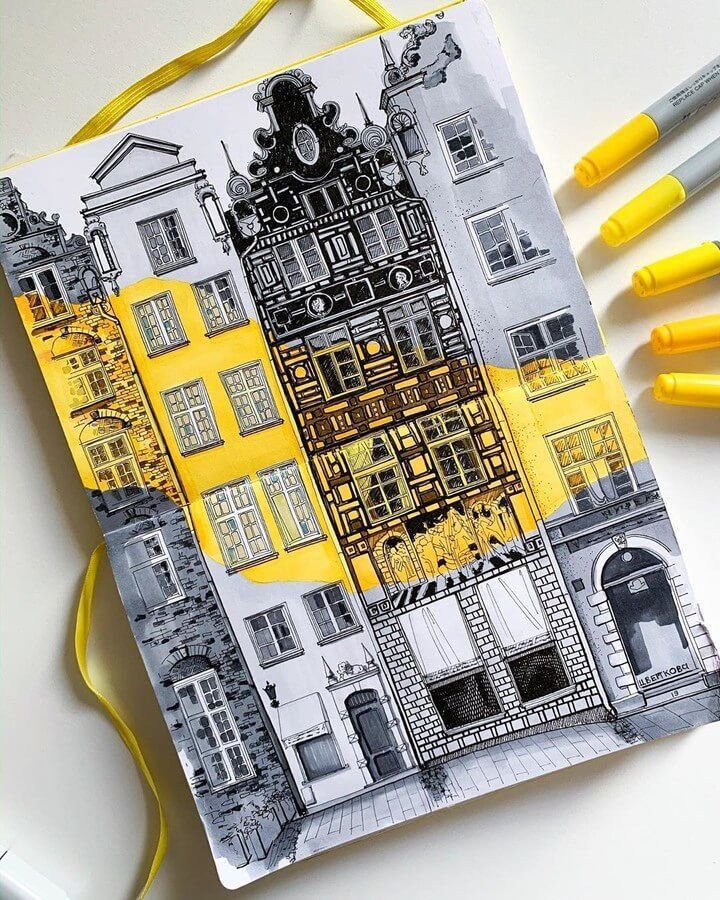
Once you’re comfortable with the fundamentals, you can start experimenting and pushing your cityscape further.
Composition and Focal Points
Good composition guides the viewer’s eye.
- Rule of Thirds: Imagine dividing your drawing into a 3×3 grid. Placing key elements or your focal point along these lines or at their intersections often creates a more balanced and engaging composition.
- Leading Lines: Roads, rows of buildings, or even strong shadows can act as leading lines, drawing the viewer’s eye into the scene.
- Variety of Angles: Don’t always draw at eye level. Experiment with looking up (worm’s-eye view) or down (bird’s-eye view) to create dramatic compositions.
- Focal Point: What’s the star of your city? Is it a majestic skyscraper, a bustling market square, or a quiet alleyway? Make sure it stands out through detail, contrast, or placement.
Adding Personality and Narrative
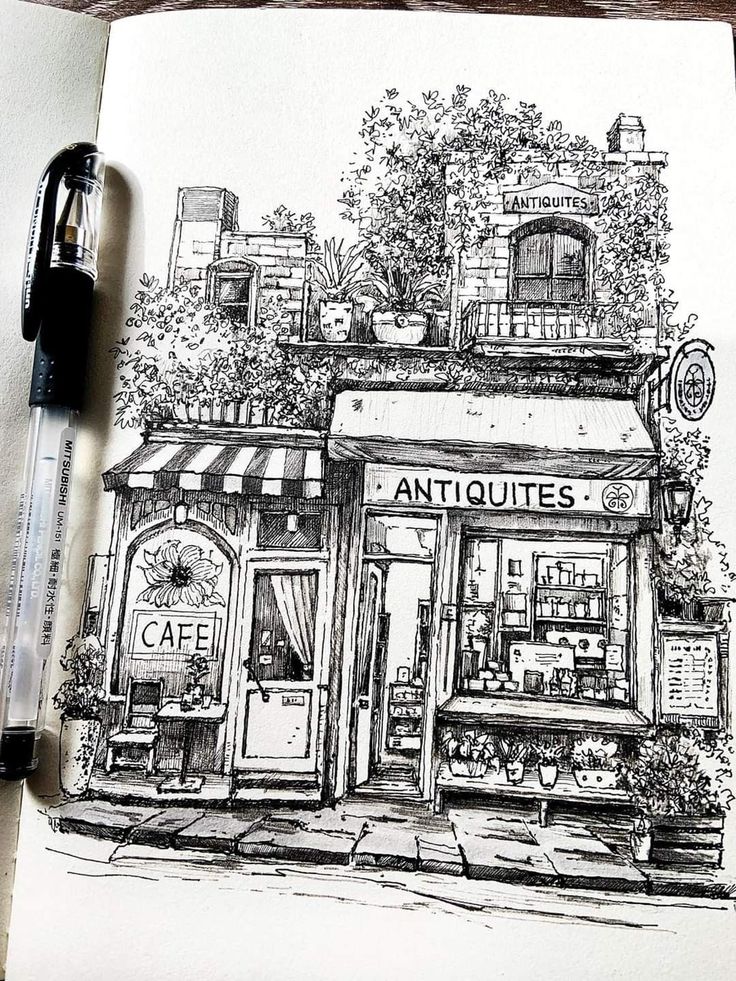
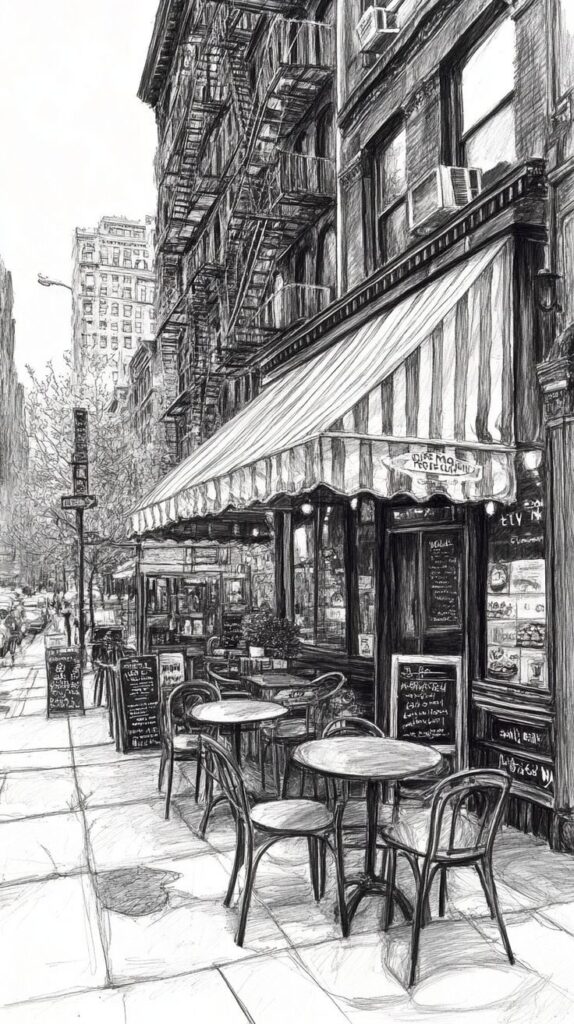
Your city can tell a story.
- Urban Decay vs. Modern Metropolis: Decide on the character of your city. Is it a futuristic utopia, a historical district, a grimy industrial zone, or a vibrant mix? The details you choose will define this.
- Futuristic Elements: Flying cars, holographic billboards, unique skyscraper designs – let your imagination run wild!
- Historical Touches: Old architecture, cobblestone streets, monuments – incorporate elements that speak to a bygone era.
- Subtle Details: A single person carrying an umbrella, a cat on a windowsill, steam rising from a grate – these small, human touches can add life and narrative.
Working with Different Mediums
While pencils are a great starting point, other mediums offer different possibilities.
- Ink: For crisp, strong lines and dramatic contrast. Fineliners are excellent for this.
- Watercolor: Creates soft washes of color, great for capturing atmospheric effects like foggy mornings or twilight skies.
- Markers: Offer vibrant, consistent color and can be used for bold, graphic cityscapes.
- Digital Tools: If you’re drawing digitally, software like Procreate or Photoshop gives you endless flexibility with layers, brushes, and color. Many artists also use alternatives to sites like Pinterest for finding good photo inspiration for digital works.
Practice, Experiment, and Enjoy the Process!
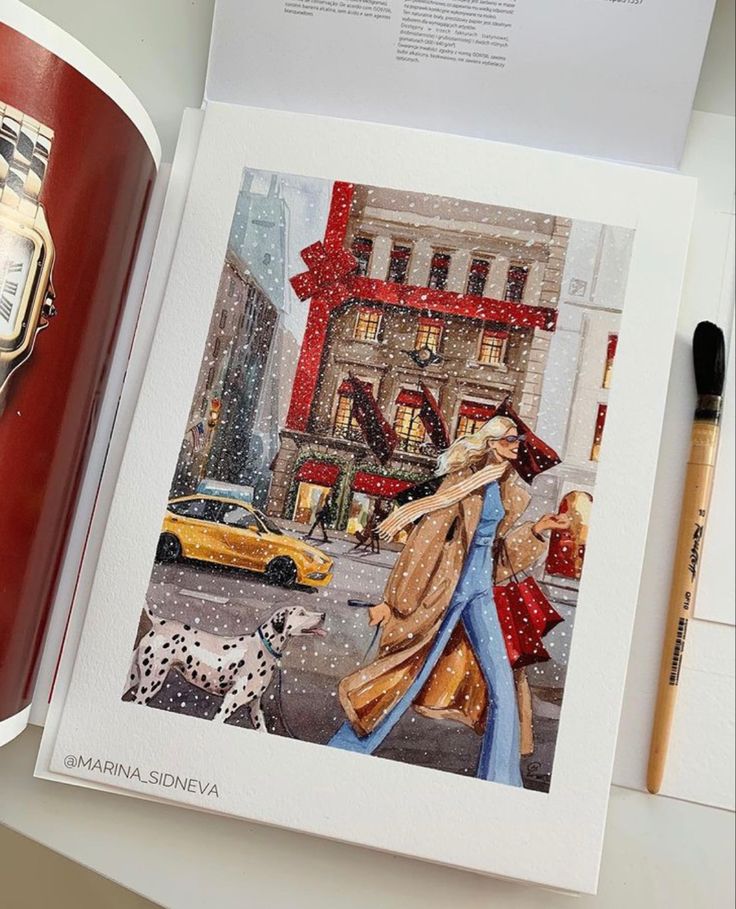

Drawing a city is a skill that develops over time, with consistent effort. Don’t get discouraged if your first few attempts aren’t exactly what you envisioned. Every line you draw, every building you block out, is a step forward.
- Daily Sketching: Dedicate a little time each day to sketching urban elements – a single building, a street corner, a lamppost.
- Reference Photos: Don’t be afraid to use reference photos. They are a treasure trove of inspiration and a fantastic learning tool for understanding light, shadow, and architectural variety.
- Break It Down: If a whole city feels overwhelming, draw just one block, then expand.
- Find Your Style: As you practice, you’ll naturally develop your own unique way of seeing and rendering cities. Embrace it! Whether you prefer a gritty, realistic style or a fantastical, illustrative one, there’s no single “right” way.
Your City Awaits
You now have a robust framework for how to draw a city. From mastering the foundational principles of perspective to adding intricate architectural details, populating your streets, and infusing your scene with light and atmosphere, you’ve gained the knowledge to create truly immersive urban landscapes. Remember, the journey of an artist is one of continuous learning and experimentation. So, grab your pencils, find some inspiration, and start building your dream city, one line at a time. The urban sprawl is waiting for you to bring it to life!
- 1share
- Facebook0
- Pinterest1
- Twitter0
- Reddit0
