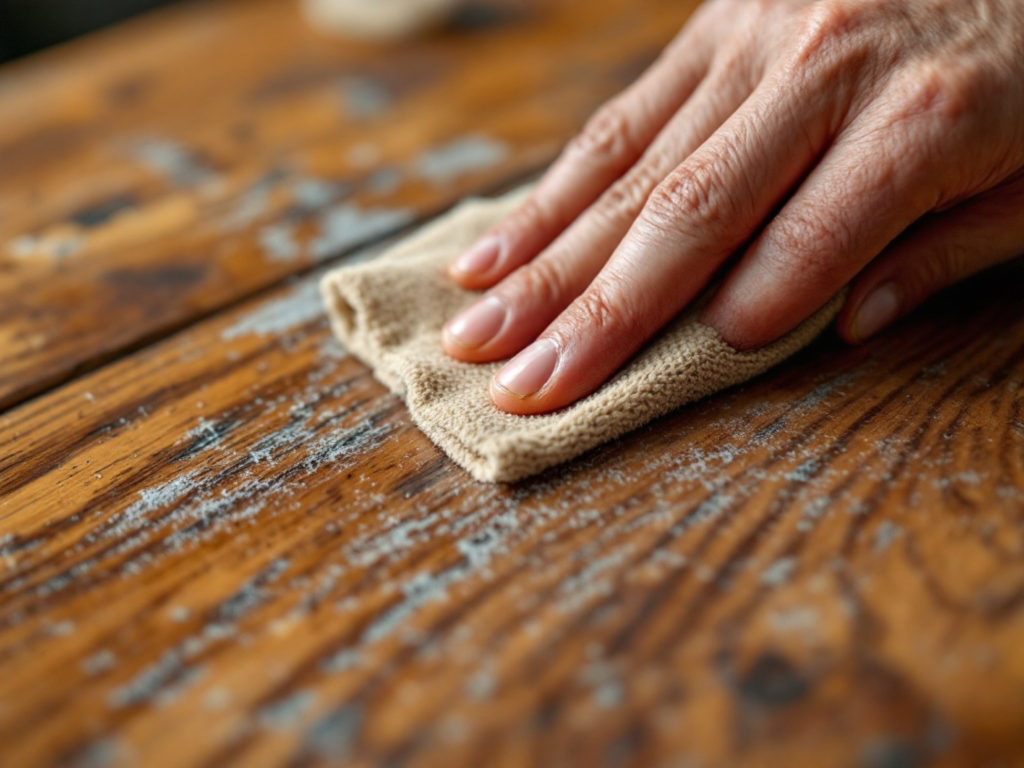
Wood veneer surfaces, with their elegant appearance and natural warmth, are a beautiful addition to many furniture pieces and interior décor. However, as stunning as they may be, veneer surfaces are prone to damage, especially from everyday wear and tear. Scratches are among the most common issues faced by those who own wood veneer furniture. Fortunately, fixing these scratches is often simpler than it seems, and with the right tools and techniques, you can restore the smooth, flawless surface of your veneer furniture. Whether you’re working with high-quality veneer from trusted suppliers like Woodenave or a different source, these techniques can help keep your furniture looking pristine.
In this post, we’ll walk you through everything you need to know about covering scratches on wood veneer, from identifying the type of scratch to choosing the right methods for repair. Whether the scratch is minor or more severe, you’ll find helpful tips and step-by-step instructions to restore your furniture to its former beauty.
What Is Wood Veneer?
Before diving into how to repair scratches, it’s helpful to understand what wood veneer is. Wood veneer is a thin layer of real wood that is typically glued onto a substrate material such as plywood, MDF (medium-density fiberboard), or particleboard. Veneer is often used to create the look of solid wood furniture without the expense and weight associated with full solid wood construction.
Because veneer is thinner than solid wood, it can be more susceptible to scratches, dents, and chips, but it still has the beautiful appearance and natural variations of real wood. The good news is that these imperfections can be repaired effectively with the right techniques.
How to Identify the Type of Scratch

Before proceeding with any repairs, it’s essential to assess the type of scratch you’re dealing with. Different types of scratches require different approaches to fix them effectively. Here’s how to identify the type of scratch:
Surface Scratches
These are the most common type of scratches on wood veneer. They are usually shallow and don’t penetrate the veneer deeply, affecting only the top surface. Surface scratches can often be repaired easily without any sanding or refinishing.
Deep Scratches
Deep scratches extend further into the veneer, potentially reaching the underlying wood or substrate. These scratches may require more involved repair techniques, including filling the scratch with wood filler or even re-finishing the surface.
Gouges or Dents
Gouges or dents are deeper than typical scratches and can cause the wood veneer to warp or chip. Repairing these types of damages may require significant filling and refinishing, depending on the extent of the damage.
Scratches with a Change in Color
Sometimes, a scratch will appear darker or lighter than the surrounding wood due to moisture, dirt, or staining of the surface. This type of scratch may require cleaning or color touch-ups.
Now that you’ve identified the scratch, let’s explore how to cover it effectively.
Basic Methods to Cover Light Scratches on Wood Veneer
If the scratches on your veneer are light and shallow, you can often repair them without too much effort. Here are some simple methods you can try:
1. Use a Walnut to Repair Scratches
A surprisingly effective yet simple method to repair light scratches on wood veneer is using a walnut. The natural oils in the walnut are ideal for filling in minor scratches and blending them with the surrounding surface. To do this, simply break the walnut in half and rub the inside of the nut directly onto the scratched area. The oils will seep into the scratch, softening it and making it less noticeable. Afterward, wipe away any excess oil with a soft cloth, and buff the surface gently to smooth it out. This method works particularly well for small, surface-level scratches and can often provide a quick fix without the need for additional products.
2. Applying a Furniture Marker or Touch-Up Pen
Furniture markers and touch-up pens are excellent solutions for covering minor scratches or blemishes on wood veneer. These markers are designed specifically for wood surfaces and come in various shades to match your furniture’s finish. To use, simply select a marker or pen that matches your veneer’s color and gently apply it to the scratch, following the grain of the wood. Allow the marker to dry for a few minutes, then buff the area with a clean cloth to help blend the color with the surrounding wood. This method is quick and effective, making it a popular choice for small repairs that don’t require extensive work or professional tools.
3. Wax Stick or Crayon
Wax sticks or crayons are another simple and effective way to cover up scratches on wood veneer. These products are available in a variety of wood colors, allowing you to easily match the shade of your furniture. To use, rub the wax stick or crayon directly onto the scratch, filling in the damage. Once the scratch is covered, use a soft cloth to smooth out the area, removing any excess wax and ensuring the repair blends seamlessly with the rest of the surface. This technique is particularly useful for light scratches and can often provide a quick, temporary fix to restore the appearance of your veneer furniture.
Advanced Methods for Deep Scratches and Gouges

For deeper scratches, gouges, or more significant damage, you may need to employ more involved repair methods. These steps will help restore the appearance of your veneer, but they will also require a bit more time and effort.
1. Wood Filler for Deep Scratches and Gouges
When the scratch is deep enough to penetrate through the veneer, a wood filler can help fill in the damaged area. Wood fillers are designed to bond well with wood surfaces and are available in a variety of shades to match your veneer.
Steps:
- Clean the area around the scratch thoroughly to remove dirt or dust.
- Apply a wood filler into the scratch or gouge using a putty knife. Make sure to overfill the area slightly.
- Let the filler dry according to the manufacturer’s instructions.
- Once the filler is dry, sand the area gently using fine-grit sandpaper until it’s level with the surrounding surface.
- Apply a finish or touch-up stain to match the color of the veneer.
2. Re-Finishing the Surface
If the veneer has been severely scratched or damaged, you may need to refinish the entire surface. This process can restore the original look of your furniture but may require more work.
Steps:
- Sand the entire damaged area or surface lightly with fine-grit sandpaper to remove the old finish and smooth out imperfections.
- Clean the area thoroughly to remove any dust from sanding.
- Apply a fresh coat of wood veneer finish (such as polyurethane or varnish) using a brush or cloth.
- Let the finish dry and apply additional coats as needed to achieve a uniform, glossy appearance.
- Once the final coat is dry, buff the surface with a soft cloth to bring out the shine.


Tips and Tricks for Preventing Future Scratches on Wood Veneer
While repairing scratches is an important part of maintaining your wood veneer furniture, it’s equally crucial to prevent future damage. Here are some tips to keep your veneer surfaces looking pristine:
- Use Coasters and Placemats: To avoid scratches from furniture and objects, use coasters and placemats to protect the surface from sharp or abrasive items.
- Clean Regularly: Dust your veneer furniture regularly with a soft cloth to prevent dirt from accumulating and causing scratches over time.
- Avoid Direct Sunlight: Keep your veneer furniture out of direct sunlight, which can cause the wood to fade and weaken over time, making it more prone to damage.
- Be Mindful of Edges: Take extra care around the edges of your furniture, as they tend to be more vulnerable to nicks and scratches.
- Use Furniture Pads: Place furniture pads under items that are moved around frequently, such as lamps or décor, to prevent scratching the surface.
Conclusion
Scratches on wood veneer are a common issue, but with the right approach, they can be easily fixed. Whether you’re dealing with light surface scratches or deeper gouges, there are several methods at your disposal to restore the beauty of your furniture. From simple techniques like using a walnut to more advanced repairs such as applying wood filler or refinishing the surface, you can maintain your veneer furniture’s appearance for years to come.
By following the steps outlined in this guide, you’ll not only be able to cover up scratches effectively, but you’ll also gain valuable insight into how to maintain and protect your veneer furniture in the future.
- 0shares
- Facebook0
- Pinterest0
- Twitter0
- Reddit0


