Kitchen renovations can cost tens of thousands of dollars, but refreshing your cooking space doesn’t require breaking the bank or hiring contractors. DIY kitchen updates offer an affordable way to transform your kitchen’s appearance and functionality using simple techniques you can complete over a weekend.
You can dramatically improve your kitchen’s look and feel with budget-friendly projects like painting cabinets, updating hardware, installing new lighting, and adding stylish backsplashes for under $500. These manageable updates allow you to modernize your space without the dust, disruption, and expense of a full remodel.
From cabinet makeovers to creative storage solutions, the right DIY approach can turn your outdated kitchen into a space you love spending time in. Small changes often deliver the biggest visual impact when you know which projects to prioritize.
Key Takeaways
- Strategic planning helps you choose high-impact updates that fit your budget and skill level
- Cabinet transformations and surface upgrades create the most dramatic changes without major construction
- Proper lighting and smart storage solutions enhance both functionality and visual appeal
Planning Your DIY Kitchen Updates
Successful kitchen updates require careful planning to avoid costly mistakes and project delays. A well-thought-out budget, proper tools, and realistic timeline will keep your kitchen makeover on track.
Setting a Realistic Budget
Start by determining how much you can comfortably spend on your kitchen updates. Most DIY kitchen makeovers cost between $500 to $5,000, depending on the scope of work.
Break down your budget by category:
- Paint and supplies: 20-30%
- Hardware and fixtures: 25-35%
- Tools and equipment: 15-20%
- Unexpected expenses: 15-20%
Research prices for materials before shopping. Cabinet paint costs $30-50 per gallon, while new hardware ranges from $2-15 per piece.
Set aside money for tools you don’t own. Basic painting supplies, drill bits, and measuring tools are essential investments that you’ll use for future projects.
Gathering Essential Tools and Materials
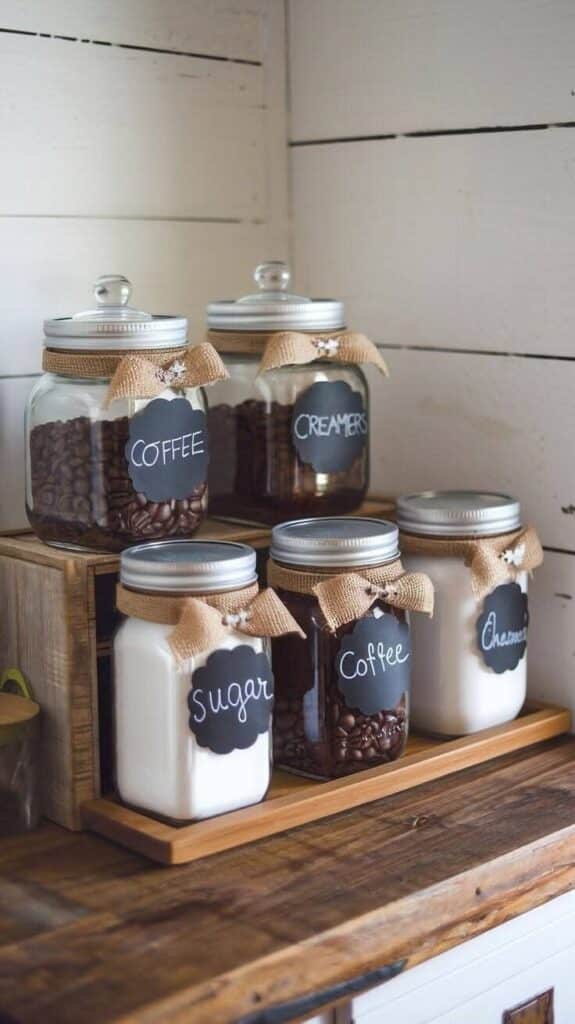
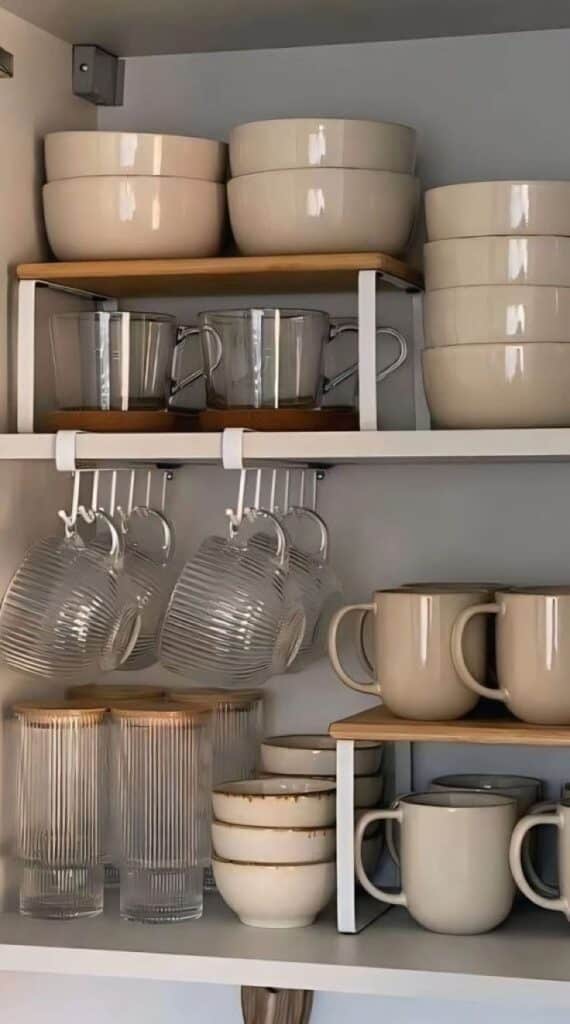
Make a comprehensive list of everything needed before starting your kitchen updates. This prevents multiple trips to the store and project delays.
Must-have tools include:
- Drill and drill bits
- Screwdrivers (Phillips and flathead)
- Level and measuring tape
- Sandpaper or electric sander
- Paint brushes and rollers
Purchase quality materials that match your project scope. Primer is crucial for cabinet painting, while painter’s tape protects surrounding surfaces.
Buy 10% extra materials to account for mistakes or damage. This small investment saves time and ensures color consistency for paint projects.
Creating a Project Timeline
Map out each phase of your kitchen makeover to avoid rushing through important steps. Most DIY kitchen updates take 2-4 weekends to complete properly.
Sample timeline for cabinet updates:
- Weekend 1: Remove hardware, clean, and sand
- Weekend 2: Prime and first coat of paint
- Weekend 3: Final coat and reassembly
Factor in drying time between coats. Paint needs 4-6 hours between applications and 24 hours before heavy use.
Plan around your family’s schedule. Kitchen updates disrupt daily routines, so coordinate meal preparation and cleanup alternatives during the project.
Transforming Kitchen Cabinets

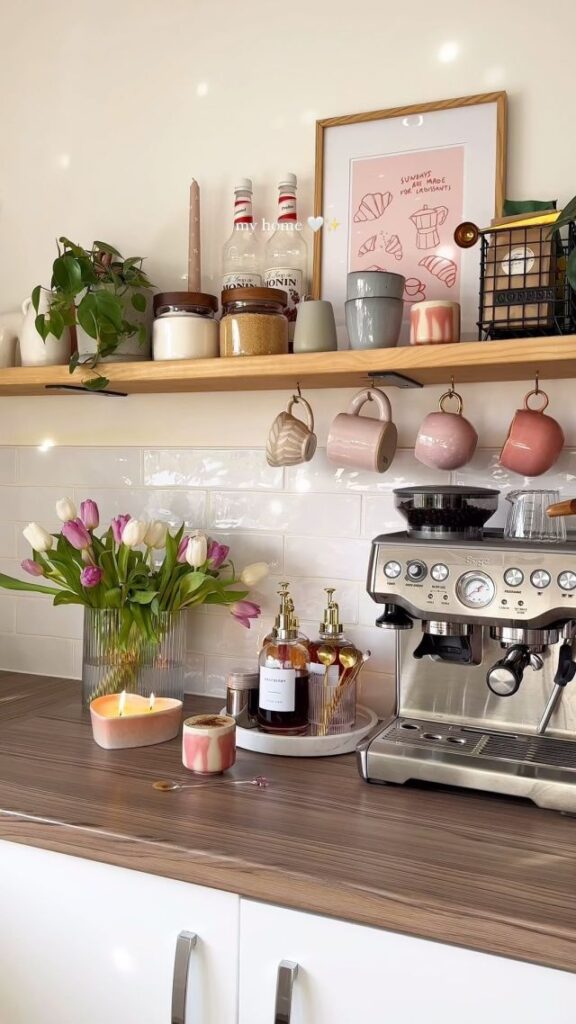
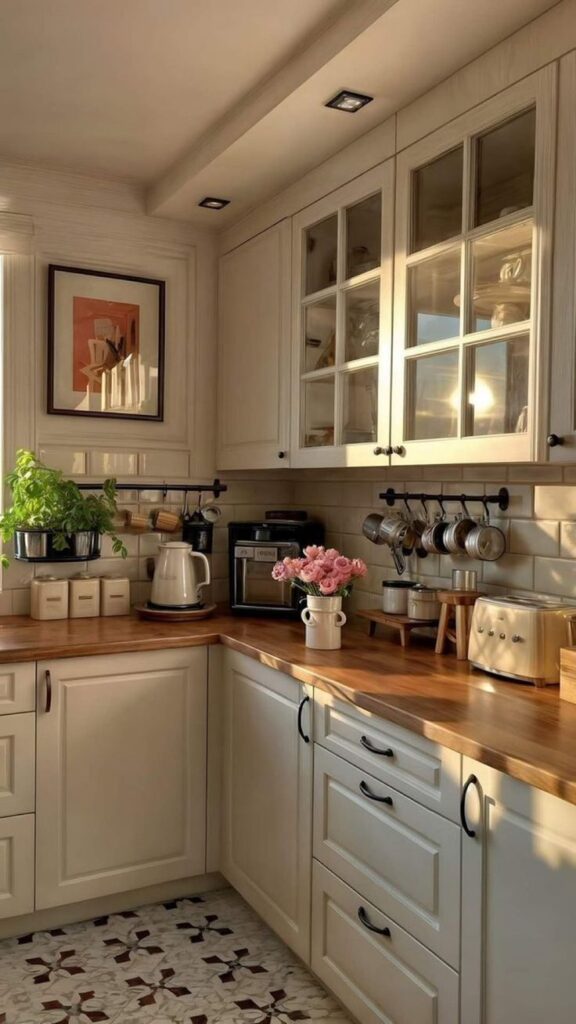
Cabinet transformations offer the biggest visual impact for your kitchen renovation budget. Simple updates like fresh paint, new hardware, and improved organization can make outdated cabinets look completely custom.
Painting or Refinishing Cabinets
Painting your kitchen cabinets delivers dramatic results for a fraction of replacement costs. This single update can modernize your entire kitchen in just a weekend.
Start by removing all cabinet doors and hardware. Clean surfaces thoroughly with degreaser to ensure proper paint adhesion.
Preparation Steps:
- Remove doors, drawers, and all hardware
- Clean with TSP or degreasing cleaner
- Sand lightly with 220-grit sandpaper
- Fill holes and imperfections with wood filler
- Prime all surfaces with bonding primer
Choose high-quality cabinet paint designed for durability. Semi-gloss or satin finishes work best for easy cleaning and moisture resistance.
Apply thin, even coats using a brush for detailed areas and a foam roller for flat surfaces. Allow proper drying time between coats for a professional finish.
Popular Cabinet Color Choices:
- Classic White – timeless and brightens space
- Navy Blue – adds sophistication
- Sage Green – trendy and calming
- Charcoal Gray – modern and versatile
Updating Cabinet Doors
New cabinet doors transform your kitchen’s style without full replacement. This approach works especially well with existing cabinet boxes in good condition.
Door Style Options:
| Style | Best For | Price Range |
|---|---|---|
| Shaker | Modern farmhouse, transitional | $15-40 per door |
| Flat Panel | Contemporary, minimalist | $12-35 per door |
| Raised Panel | Traditional, classic | $20-50 per door |
| Glass Insert | Display storage, open feel | $25-60 per door |
Measure your existing doors carefully before ordering replacements. Most cabinet door companies offer custom sizing to match your current openings perfectly.
Consider mixing door styles for visual interest. Glass doors on upper cabinets showcase dishes while solid doors below hide everyday items.
You can also update existing doors by adding trim or molding. Apply decorative elements with wood glue and finish nails for a custom look.
Replacing Cabinet Knobs and Hardware
New cabinet knobs and pulls instantly modernize your kitchen for minimal cost. This simple swap takes just a few hours but creates significant visual impact.
Hardware Style Guide:
- Brushed Gold – warm, luxurious feel
- Matte Black – bold, contemporary look
- Brushed Nickel – classic, versatile choice
- Oil-Rubbed Bronze – traditional, rustic appeal
Choose pulls that are proportional to your cabinet doors. Standard guidelines suggest 3-4 inch pulls for most doors and 5-6 inch pulls for large drawers.
For consistency, use knobs on doors and pulls on drawers. This combination provides both style and functionality throughout your kitchen.
Mark new hole locations carefully before drilling. Use a template or measuring jig to ensure uniform placement across all cabinets.
Adding Cabinet Organization Solutions
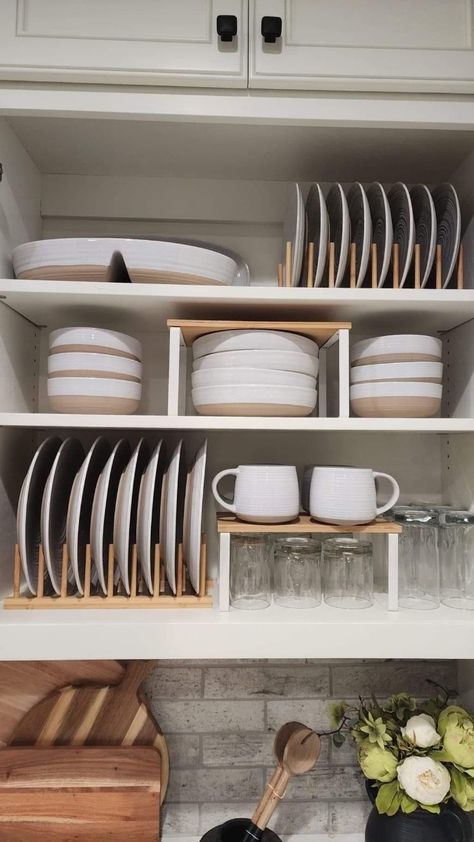
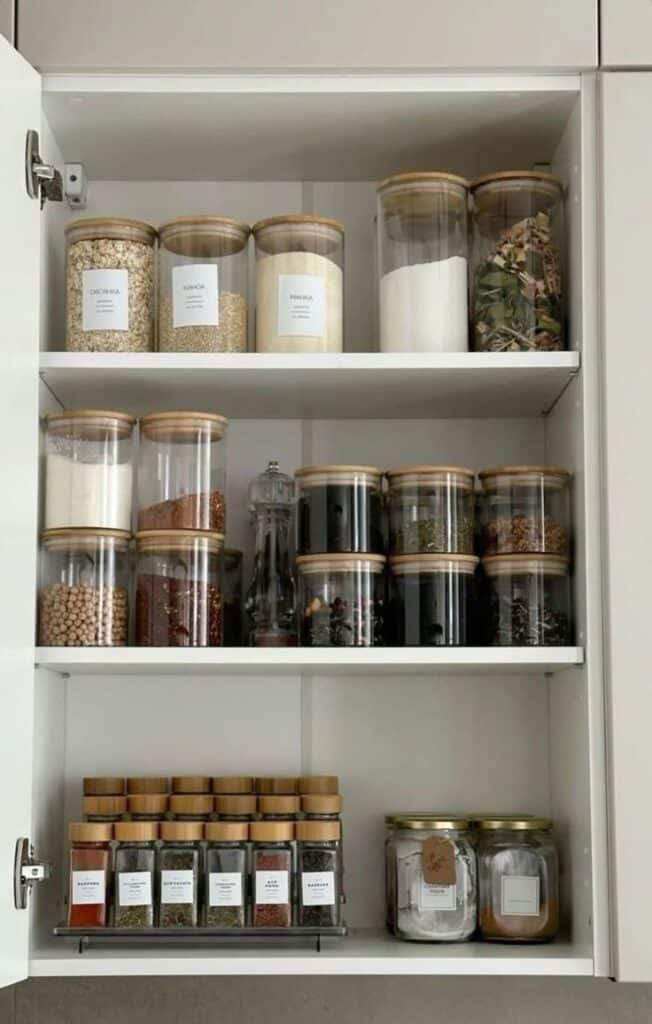
Smart organization solutions maximize your kitchen storage while keeping everything easily accessible. These upgrades work inside existing cabinets without major modifications.
Interior Organization Options:
- Pull-out shelves for deep cabinets
- Lazy Susans for corner accessibility
- Drawer dividers for utensil storage
- Door-mounted spice racks
- Under-shelf baskets for extra space
Install pull-out drawers in lower cabinets to eliminate crawling and searching. These systems make items in the back as accessible as those in front.
Add vertical dividers in tall cabinets for storing baking sheets, cutting boards, and serving platters. This prevents items from falling and creates designated spaces.
Door-mounted storage maximizes every inch of cabinet space. Install narrow shelves for spices, cleaning supplies, or kitchen tools on the inside of doors.
Consider soft-close mechanisms for drawers and doors. These add a premium feel while preventing slamming that can damage your newly updated cabinets.
Creative Countertop and Backsplash Ideas
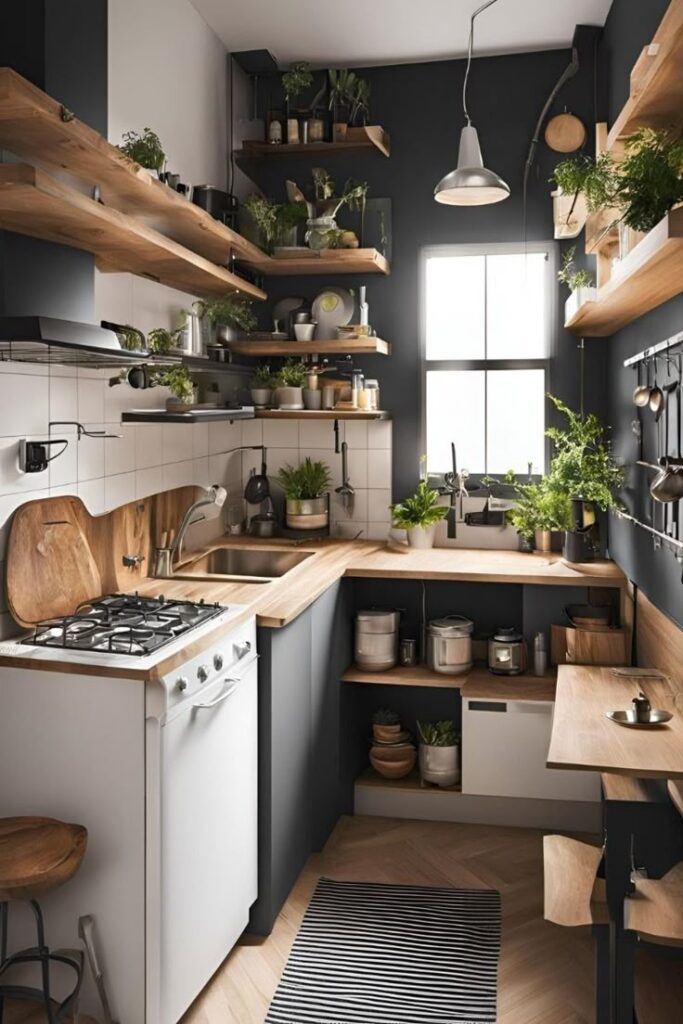
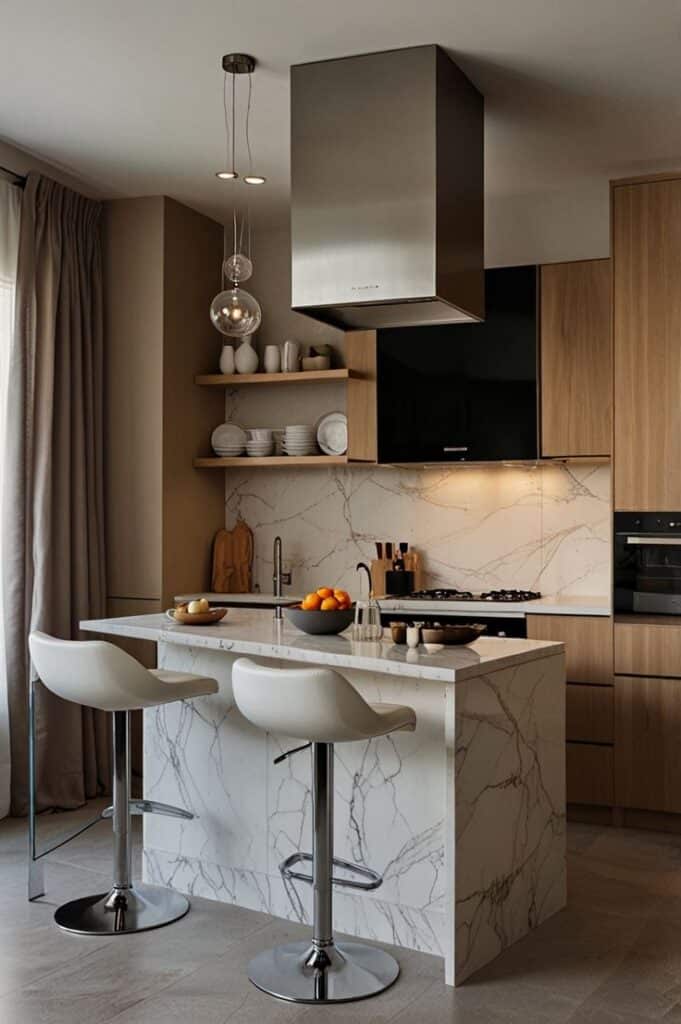
Updating your countertops and backsplash can completely transform your kitchen’s appearance without requiring a full renovation. These affordable solutions range from temporary covers to permanent installations that add both style and value to your space.
Budget-Friendly Countertop Updates
Contact paper offers the most affordable countertop makeover option. Choose marble, granite, or wood-grain patterns that mimic expensive materials.
Clean your existing countertops thoroughly before application. Measure carefully and cut the contact paper slightly larger than needed.
Concrete overlays create a modern industrial look for under $100. Mix concrete resurfacing compound and apply it directly over laminate countertops.
Sand the surface lightly after it dries completely. Seal with concrete sealer to prevent stains and water damage.
Butcher block sections can cover problem areas or entire countertops. Purchase pre-made sections from home improvement stores and cut to fit your space.
Apply food-safe mineral oil monthly to maintain the wood’s appearance. This option works especially well for kitchen islands.
Tile overlays let you place new tiles directly over existing countertops. Choose subway tiles, natural stone, or ceramic options based on your style preferences.
Installing Peel-and-Stick Backsplash
Peel-and-stick backsplash tiles install in hours without special tools or adhesives. These self-adhesive tiles come in subway, mosaic, and natural stone patterns.
Start installation from the center of your wall and work outward. This ensures even spacing and prevents crooked lines.
Clean the wall surface with degreasing cleaner before starting. Any grease or dirt will prevent proper adhesion.
Cutting around outlets requires a sharp utility knife and careful measuring. Mark the tile before removing the backing paper.
Press firmly on each tile for 30 seconds to ensure strong adhesion. Pay special attention to edges and corners.
Heat from a hair dryer helps the adhesive bond better in cold conditions. Warm each tile slightly before pressing it into place.
Most peel-and-stick options are removable, making them perfect for rental properties. They typically last 3-5 years with proper installation.
Enhancing Style with Tile or Painted Designs
Subway tiles remain popular because they complement any kitchen style. Install them in traditional brick patterns or herringbone layouts for visual interest.
Use contrasting grout colors to make the pattern pop. Dark grout with white tiles creates bold definition lines.
Painted backsplashes cost less than $50 for most kitchens. Use high-quality semi-gloss paint that resists moisture and grease.
Create geometric patterns with painter’s tape. Remove the tape while paint is still slightly wet for clean lines.
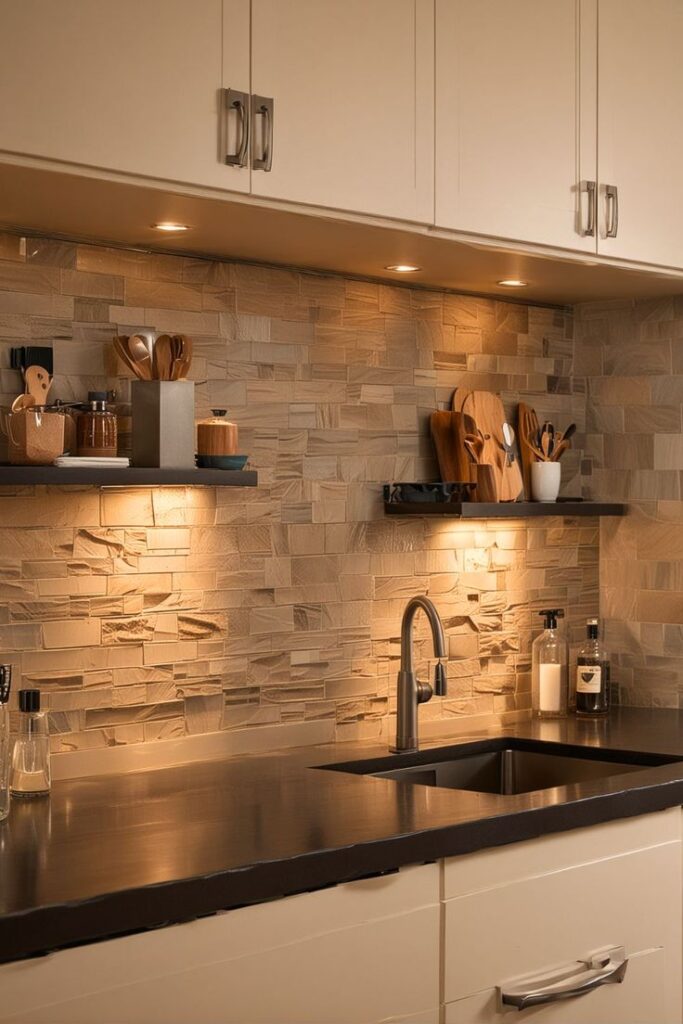
Mosaic tiles add texture and color variation to your backsplash. Glass mosaics reflect light and make small kitchens appear larger.
Natural stone mosaics bring earthy tones and organic patterns. Seal stone tiles properly to prevent staining from cooking oils.
Stenciled designs offer custom patterns without tile installation. Choose food-safe paints and seal the finished design with clear protective coating.
Lighting Upgrades for a Brighter Kitchen
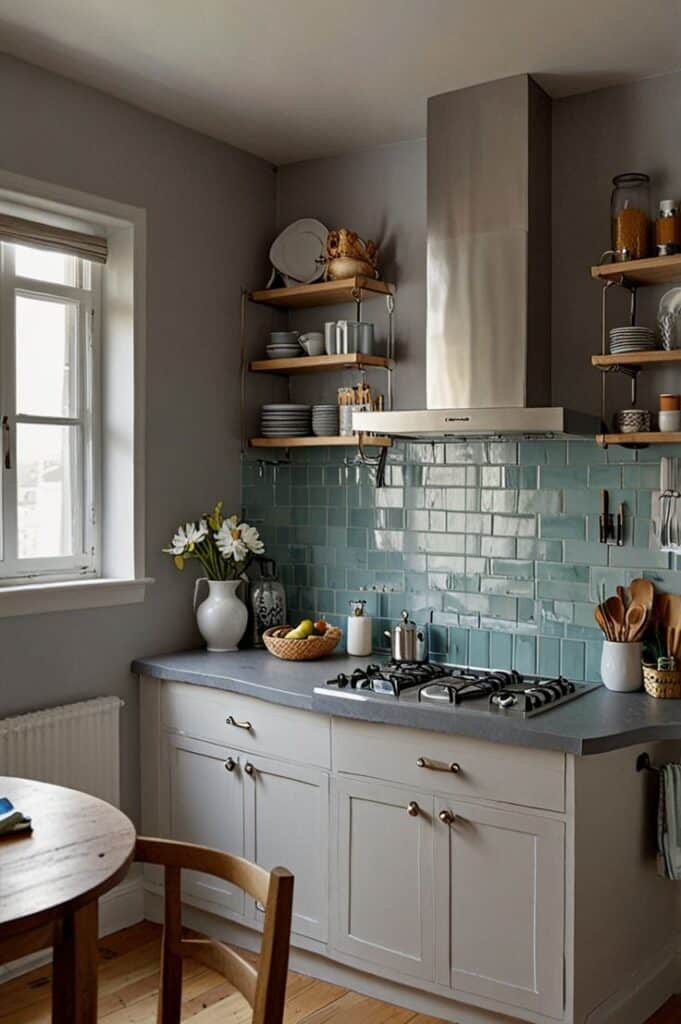

Strategic lighting improvements can dramatically transform your kitchen’s functionality and atmosphere. LED under-cabinet strips eliminate shadows on countertops while puck lights provide focused task lighting for specific work areas.
Adding Under-Cabinet Lighting
Under-cabinet lighting eliminates dark shadows on your countertops and creates a more functional workspace. LED strip lights are the most popular choice because they consume less energy and last longer than traditional bulbs.
You can choose between hardwired and plug-in options. Plug-in strips are easier to install and perfect for renters. Simply mount the strips under your cabinets using adhesive backing or small screws.
Installation Steps:
- Clean the cabinet surface thoroughly
- Measure the cabinet length and cut strips to size
- Attach mounting clips every 12 inches
- Connect the power supply and test
Consider warm white LEDs (3000K) for a cozy feel or cool white (4000K) for task-focused areas. Many strips come with dimming capabilities so you can adjust brightness throughout the day.
Battery-powered options work well for cabinets without nearby outlets. These typically last 6-12 months depending on usage.
Installing Puck Lights
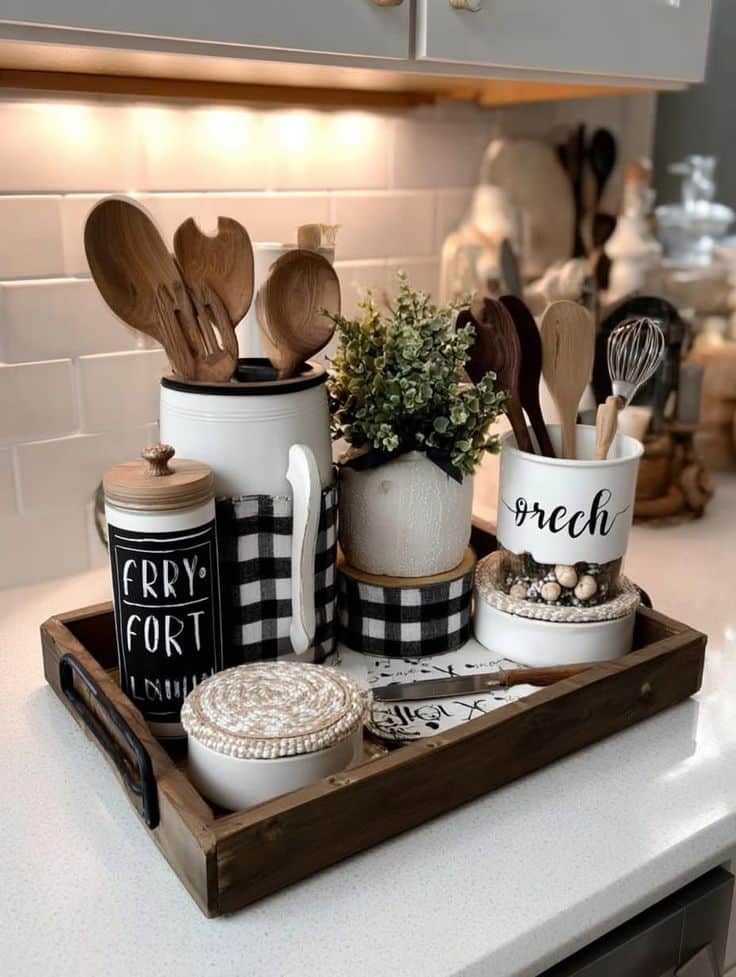
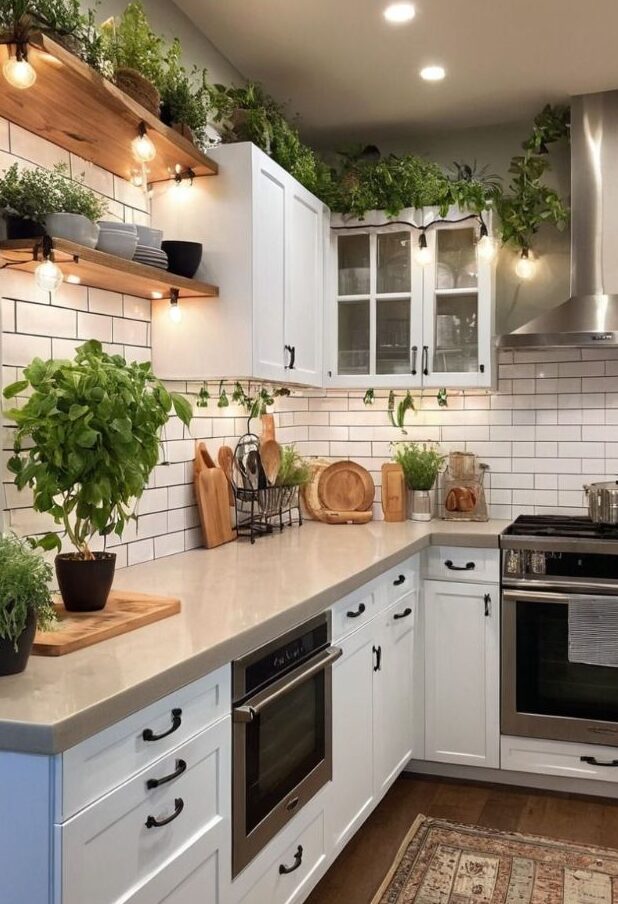
Puck lights provide concentrated task lighting for specific areas like above your sink or inside glass-front cabinets. These small, round fixtures are versatile and easy to install without major electrical work.
Battery-operated puck lights offer the simplest installation. Mount them using adhesive pads or small screws. Position them 12-18 inches apart for even coverage.
Best Placement Areas:
- Inside cabinets with glass doors
- Above kitchen sinks
- Under upper cabinets for task lighting
- Inside pantries or closets
LED puck lights generate less heat than halogen versions and won’t damage cabinet finishes. Look for models with motion sensors for hands-free operation in pantries or cabinets.
Hardwired puck lights require basic electrical skills but provide consistent power. Connect multiple lights to a single switch for convenient control.
Updating Overhead Fixtures
Replacing outdated overhead fixtures instantly modernizes your kitchen’s appearance. Remove old fixtures by turning off power at the breaker and disconnecting wire nuts.
Pendant lights work well over kitchen islands or dining areas. Install them 30-36 inches above countertops for optimal lighting without blocking sight lines.
Track lighting offers flexibility to direct light where needed most. You can adjust individual fixtures to highlight specific work areas or decorative elements.
Popular Fixture Styles:
- Pendant lights: Great for islands and breakfast bars
- Track lighting: Adjustable and versatile
- Flush mount: Works in kitchens with low ceilings
- Chandeliers: Adds elegance to larger kitchens
Choose fixtures that complement your kitchen’s style while providing adequate light output. LED bulbs in these fixtures will reduce energy costs and replacement frequency.
Install dimmer switches with your new fixtures to control ambiance throughout the day.
Smart Storage and Open Shelving Solutions
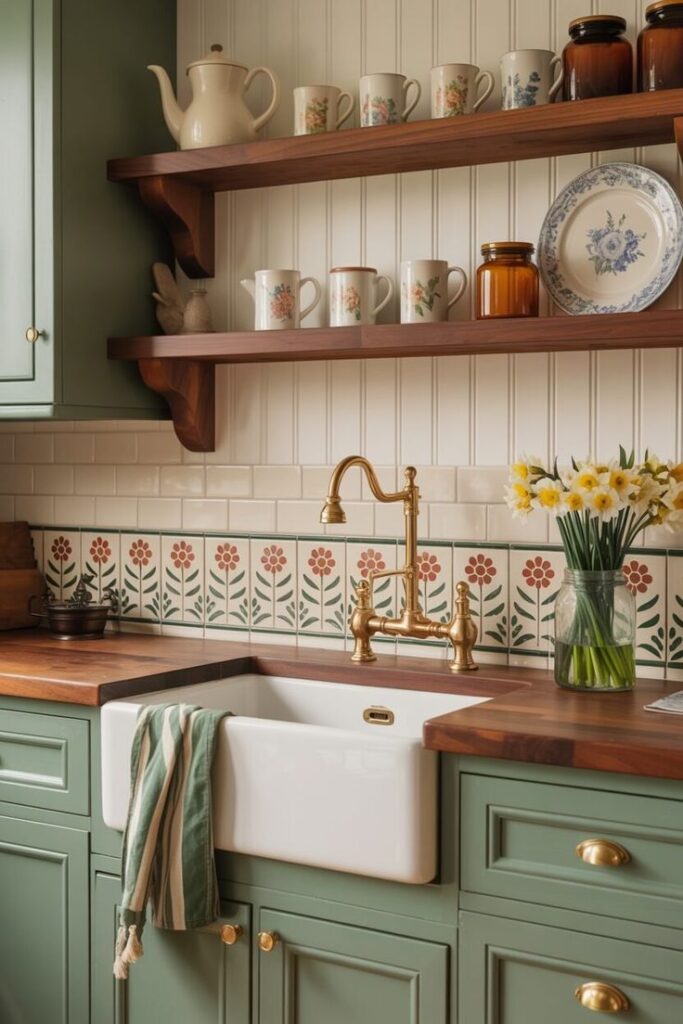

Transform your kitchen’s functionality and visual appeal with strategic storage upgrades and carefully planned shelving systems. These budget-friendly modifications create more space while showcasing your style through thoughtful organization.
Maximizing Smart Storage Options
Custom drawer organizers revolutionize how you use cabinet space. Install adjustable dividers in your existing drawers to separate utensils, measuring tools, and small gadgets.
Pull-out pantry systems work exceptionally well in narrow spaces between appliances. You can retrofit these systems into existing cabinets using sliding drawer mechanisms from hardware stores.
Vertical storage solutions maximize wall space efficiently:
- Magnetic knife strips mounted under cabinets
- Spice racks attached to cabinet doors
- Pegboard systems for pots and utensils
- Over-the-sink cutting board storage
Corner cabinets benefit from lazy Susan turntables or tiered shelf inserts. These additions make hard-to-reach items easily accessible without major renovations.
Under-cabinet storage baskets create additional space for dish towels, cleaning supplies, or extra dishes. Mount them with simple brackets for instant organization.
Incorporating Open Shelving
Open shelving replaces upper cabinet doors to create an airy, spacious feeling in compact kitchens. Remove cabinet doors and sand the interior surfaces before painting or staining to match your desired aesthetic.
Position your most attractive dishes and glassware on eye-level shelves. White dishes create visual consistency and make spaces appear larger and brighter.
Mix functional items with decorative pieces for balanced displays. Place frequently used items on lower shelves and reserve higher shelves for seasonal or decorative pieces.
Install proper lighting under each shelf to illuminate contents and reduce shadows. LED strip lights provide even illumination without generating heat that could damage stored items.
Consider the 60-30-10 rule when styling shelves: 60% practical items, 30% decorative objects, and 10% plants or natural elements.
Styling with Floating Shelves
Floating shelves offer clean lines and modern appeal without visible brackets. Choose wood thickness that matches your kitchen’s scale – thicker shelves work better in larger kitchens.
Install floating shelves at varying heights to create visual interest. Space them 12-15 inches apart for standard dishware and 8-10 inches for smaller items like spice jars.
Group items in odd numbers for more appealing arrangements. Stack two or three plates behind a small plant or decorative bowl for depth and texture.
Use floating shelves in unexpected areas like above windows or in corner spaces. These locations often go unused but provide valuable storage for items you don’t access daily.
Maintain consistent spacing between objects – about 2-3 inches prevents overcrowding while keeping shelves functional and attractive.
Adding the Finishing Touches
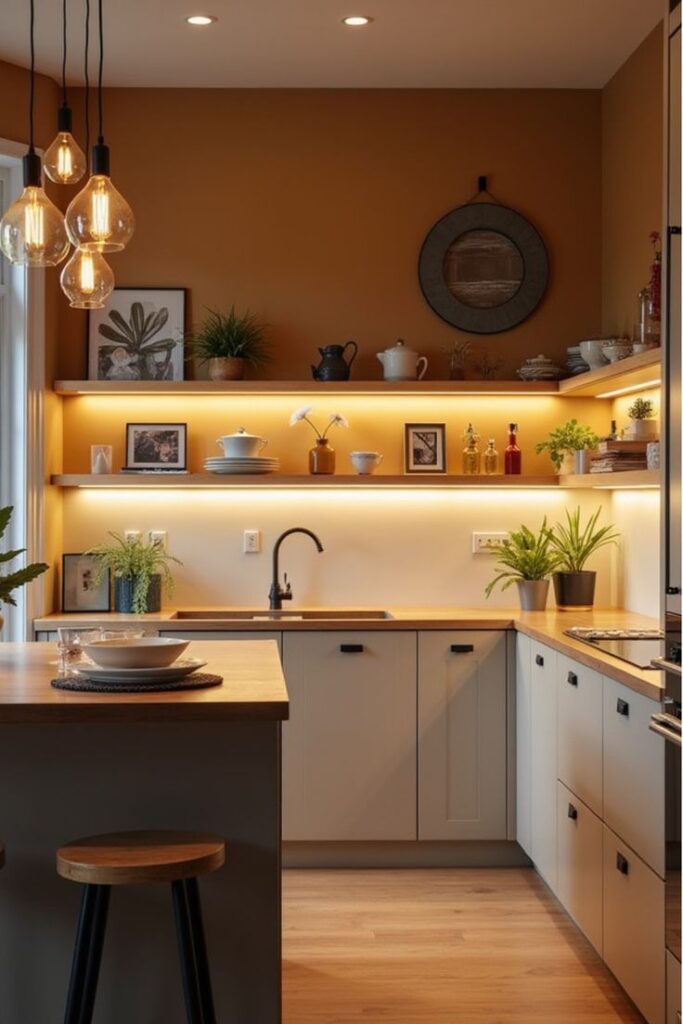
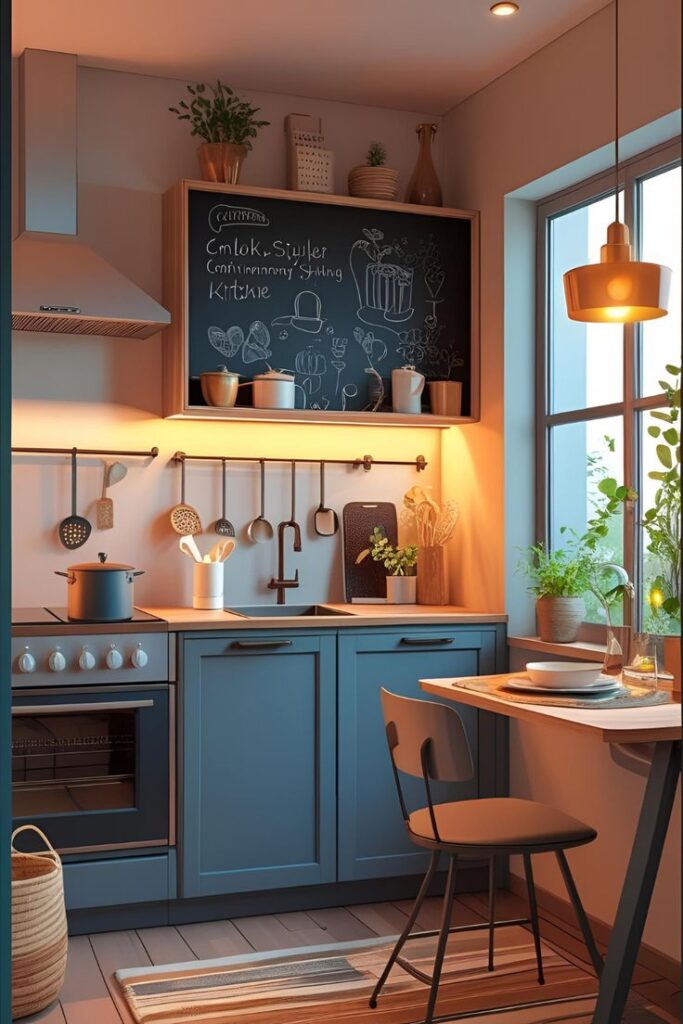
The final stage of your kitchen makeover involves thoughtful accessories that reflect your personality and updating foundational elements like flooring and window treatments that tie the entire space together.
Personalizing with Accessories
Kitchen accessories transform your updated space from functional to inviting. Cabinet hardware offers the biggest impact for your investment—swap basic knobs and pulls for brushed gold, matte black, or vintage-inspired pieces.
Wall art brings personality without overwhelming the space. Choose 2-3 framed prints or simple pieces that complement your color scheme. Avoid cluttering walls with too many decorative items.
Functional accessories work double duty in your kitchen makeover. Install decorative hooks for aprons, dish towels, or cooking utensils near your prep area. These pieces should coordinate with your cabinet hardware for visual consistency.
Add warmth with a small potted herb garden on your windowsill or countertop. Basil, mint, or rosemary plants provide fresh ingredients while adding natural color. Choose planters that match your updated aesthetic.
Replace outdated lighting fixtures with pendant lights over islands or track lighting for task areas. Modern fixtures instantly modernize your space and improve functionality.
Refreshing Floors and Window Treatments
Updated flooring completes your kitchen makeover by creating a cohesive foundation. Luxury vinyl planks offer durability and style at a reasonable price point. They withstand kitchen traffic while mimicking hardwood or stone.
If replacement isn’t in your budget, deep clean existing floors and add area rugs in high-traffic zones. Choose washable rugs with non-slip backing for safety.
Window treatments soften hard surfaces and add texture. Roman shades in neutral fabrics work well in most kitchens. They provide privacy while allowing natural light to filter through.
Café curtains offer a casual, cottage-style look perfect for kitchen windows above sinks. Choose moisture-resistant fabrics that can handle kitchen humidity and frequent washing.
Update existing blinds with a fresh coat of paint if they’re still functional. White or cream colors brighten the space and coordinate with most color schemes.
What are some cost-effective ways to refresh my kitchen without a full remodel?
Budget-friendly DIY projects such as painting cabinets, updating hardware, installing new lighting, and adding stylish backsplashes can transform your kitchen for under $500.
How should I plan my DIY kitchen update to stay on budget and avoid delays?
Start with a realistic budget, gather essential tools and materials beforehand, and create a detailed timeline to manage each phase of your renovation efficiently.
What are the most impactful updates I can make to my kitchen cabinets?
Painting or refinishing cabinets and updating cabinet doors and hardware are the most dramatic yet affordable ways to enhance your kitchen’s appearance.
How can I improve the lighting in my kitchen for better functionality and ambiance?
Adding under-cabinet LED lighting, installing puck lights in key areas, and updating overhead fixtures with modern styles can significantly brighten your kitchen and improve its functionality.
What storage solutions can I add to maximize space and organization in my kitchen?
Maximize storage by installing drawer organizers, pull-out pantry systems, magnetic strips, spice racks, and open shelving to create a more organized and spacious kitchen.
- 20shares
- Facebook0
- Pinterest17
- Twitter3
- Reddit0

