Weekend home projects don’t need a major renovation, endless budget, or expert team to change your living space. I found that the most effective changes happen in just a day or two with minimal supplies and simple skills.
Small DIY projects can make a big difference in your home. To cite an instance, single-pane windows might add up to 25% to your energy costs, while a fresh coat of paint remains one of the easiest ways to refresh any room. You could be a renter using peel-and-stick wallpaper or a homeowner adding molding to lift your space. These DIY weekend projects work great for beginners. The kitchen—often called the home’s heart—looks completely different with just a few updates.
Eight manageable projects deliver maximum results with minimum stress. Let’s take a closer look at how you can refresh your space this weekend!
1. Paint-By-Numbers by Number Artist

Paint-by-numbers is one of the most enjoyable weekend projects for beginners because it blends creativity with clear guidance. Each kit includes a pre-numbered canvas, acrylic paint pots, a set of brushes, and a reference sheet that shows every section.
You can even try Number Artist custom kits that turn your favorite photos into personalized canvases for a more meaningful project. The process removes creative pressure while still letting you create something decorative and visually appealing. Most kits take between six and ten hours, which fits neatly into a weekend without feeling rushed.
A comfortable setup—good lighting, a stable table, and a bit of patience—helps you work through smaller details easily. This project also serves as a calming break from screens, making the experience both productive and restorative.
Here are the reasons this project works so well for weekend beginners:
- The numbered layout tells you exactly where each color goes
- The finished piece looks polished even without artistic experience
- The project creates immediate, personal décor for your home
- Mistakes are easy to correct with quick touch-ups
Here are practical tips that ensure a clean and satisfying final result:
- Take a photo of the blank canvas so you can reference any covered numbers
- Use small amounts of paint on your brush to prevent bleeding over outlines
- Rinse your brushes often to keep colors bright and accurate
- Work in short sessions to avoid hand fatigue and unintentional smudges
2. Swap Out Cabinet Hardware

Updating cabinet hardware is one of the fastest ways to refresh a kitchen, bathroom, or laundry room. This project requires minimal tools—typically a screwdriver, measuring tape, and the new knobs or pulls. Despite the simplicity, the visual impact is significant because hardware serves as a key design detail. Whether you prefer a modern look with matte black pulls or a warmer finish such as brass, the change can update the entire room in under an hour.
Accurate measurement ensures a smooth installation. When replacing pulls, matching the center-to-center screw spacing with your previous hardware avoids drilling new holes. If you’re switching from knobs to pulls, you may need wood filler and touch-up paint to close old holes before preparing the new spacing.
Here are important considerations before selecting new hardware:
- Finish choices influence the room’s overall style and contrast
- Pulls suit drawers best, while knobs work well for cabinet doors
- Wide drawers look better with longer pulls or two evenly spaced knobs
- Heavier hardware requires sturdier screws for long-term durability
Here are essential steps that guide you toward a clean and easy installation:
- Remove old hardware carefully to avoid stripping screws or scratching surfaces
- Fill and sand unused holes if switching hardware types
- Align new hardware using a template or measured markings
- Tighten screws gradually to avoid damaging drawer fronts
3. Add a Window Box
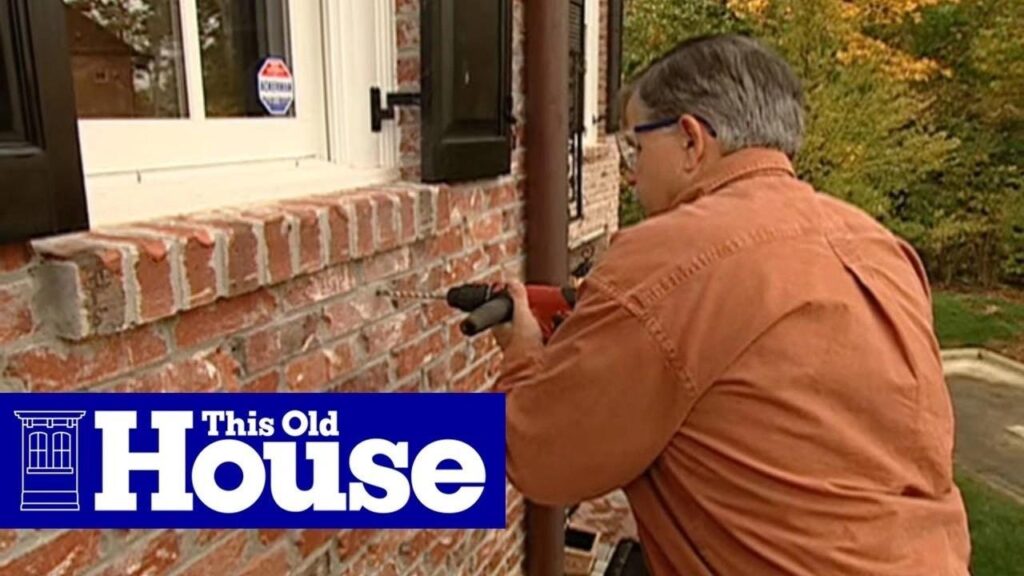
A window box adds charm, color, and visual interest to your home’s exterior without major renovations. Most boxes take only a few hours to install and work well for beginners who want a manageable outdoor project. Materials vary—from wood to PVC and composite—and each option offers different aesthetics and durability levels. Selecting the right size matters, too; a balanced look usually involves a box that matches the window width or extends slightly beyond it.
Mounting requires careful preparation. Since soil and plants create significant weight, securing brackets into studs ensures stability. You’ll also need drainage holes to prevent excess moisture from damaging plants or siding. A layer of landscape fabric keeps soil inside the box while allowing water to flow freely.
Here are guidelines that help you choose and prepare your window box effectively:
- Select boxes 8–12 inches deep for proper root space
- Extend the box one to two inches beyond each side of the window for balance
- Choose materials that match your home’s style and climate
- Ensure drainage holes are spaced appropriately along the bottom
Here are steps that make installation easier and more secure:
- Use a level to mark bracket placements before drilling
- Secure brackets into studs using galvanized screws
- Attach the window box to the brackets firmly and evenly
- Fill the box with potting soil and choose plants based on sunlight exposure
4. Install a Peel-and-Stick Backsplash
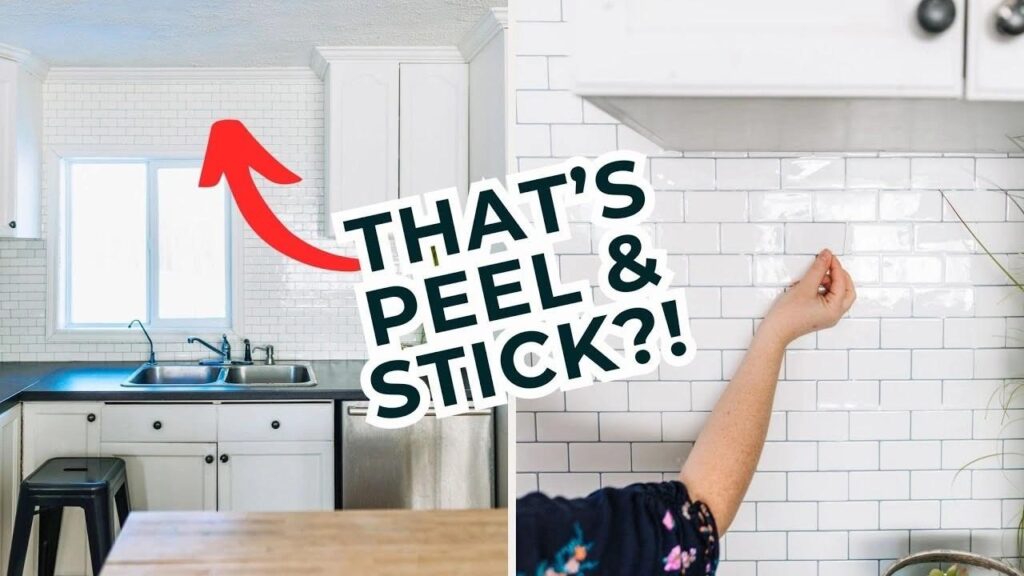
A peel-and-stick backsplash is one of the simplest ways to upgrade a kitchen or bathroom without the mess of grout or mortar. These self-adhesive panels offer fast installation, making them ideal for beginners who want a project that combines style and convenience. Before starting, thorough wall cleaning is essential to ensure proper adhesion. Once the wall is dry, marking a straight level line helps guarantee a clean and even first row.
Cutting panels around outlets or windows takes patience but remains manageable with a utility knife or scissors. Many homeowners find it easier to create paper templates for tricky areas before trimming the actual tile sheets. With consistent pressure applied during installation, the tiles bond securely and create a polished finish.
Here are preparation steps that ensure the backsplash adheres properly:
- Remove outlet covers and clean the wall thoroughly to eliminate grease and dust
- Let the wall dry fully before installation
- Use a level to draw a guide line for your first panel
- Measure the backsplash area to determine how many sheets you need
Here are installation techniques that help achieve a neat, professional look:
- Peel the backing gradually and press tiles from the center outward
- Cut carefully around outlets and edges using a sharp knife
- Press each tile firmly with a cloth or roller to secure adhesion
5. Hang Outdoor String Lights
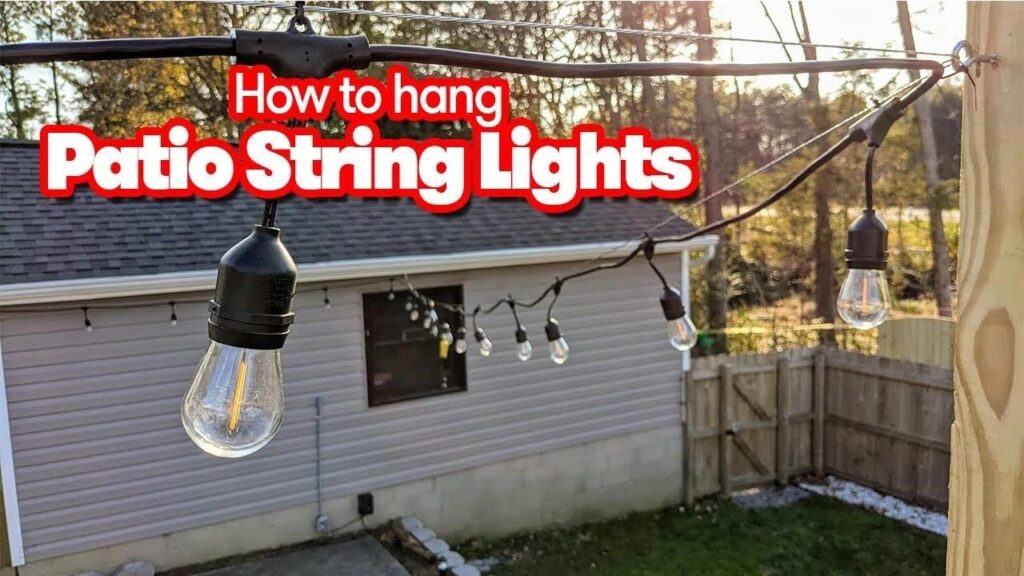
Outdoor string lights create an inviting ambiance and instantly improve the atmosphere of patios, balconies, and backyards. They work well for gatherings or quiet evenings and remain beginner-friendly due to their simple installation requirements. Planning your layout ahead of time ensures better results. Think about the height, pattern, and available attachment points. Most homeowners aim for a hanging height of eight to ten feet for comfortable clearance.
For longer spans or heavier bulbs, using a guide wire prevents sagging and protects the light strands from tension. Freestanding posts offer additional mounting options when trees or structures are not available, and can be set in cement-filled planters for temporary setups.
Here are considerations that help you plan your lighting layout effectively:
- Measure your planned route to determine the number of strands needed
- Choose outdoor-rated lights suitable for weather exposure
- Identify stable attachment points such as trees, pergolas, or posts and consider using a guide wire for long or unsupported spans
Here are installation steps that make hanging string lights easier and safer:
- Secure hooks or eye bolts into trees or structures
- Install guide wire first before attaching the lights
- Use zip ties or small wire pieces to fasten lights to the guide wire
- Plug into a GFCI-protected outlet and follow manufacturer limits for strand connections
6. Patch and Paint a Wall

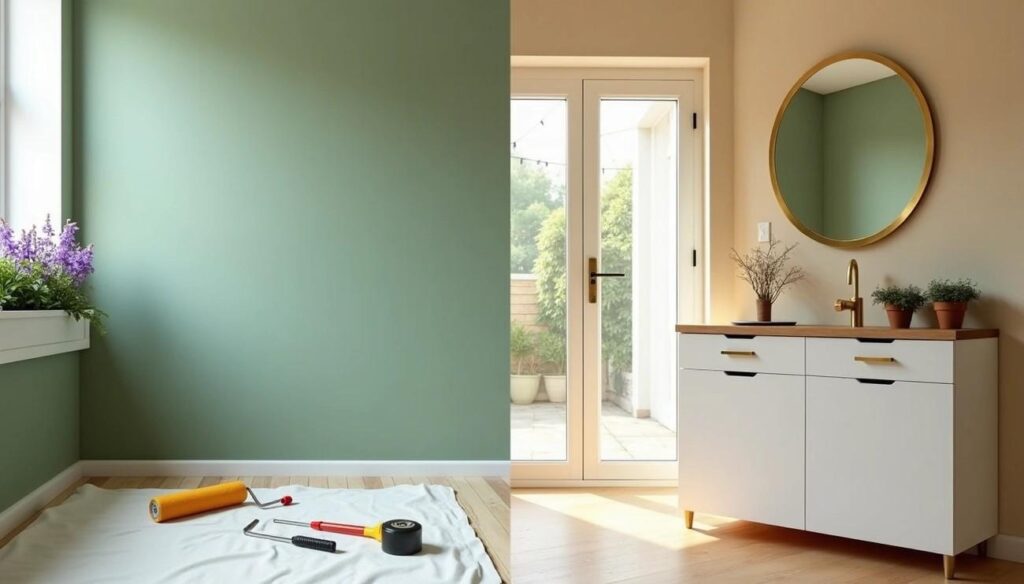
Patching and painting a wall allows you to repair dents, cracks, and holes while giving your home a clean, refreshed appearance. This project requires patience but remains manageable for beginners, especially when addressing typical household damage like nail holes or small impact marks. Spackling compound works well for minor imperfections, while larger holes benefit from a simple drywall patch method such as the California Patch.
After repairs dry, sanding the surface smooth ensures an even finish. Using primer on patched areas helps paint adhere properly and prevents visible differences in texture. For a seamless result, applying thin, feathered coats blends the repaired section with the surrounding wall.
Here are repair methods that help you address different types of wall damage:
- Use spackling compound for nail holes, dents, and small scuffs
- Apply a California Patch for holes up to six inches
- Widen cracks slightly before filling them to improve adhesion
- Sand repaired areas gently with fine-grit sandpaper
Here are painting techniques that give you a smooth, blended finish:
- Apply primer before painting to create an even surface
- Use the same type of tool (brush or roller) used on the existing wall
7. Add a Statement Mirror

A statement mirror can dramatically change a room’s appearance by improving light, depth, and visual balance. This simple installation works well in small spaces because mirrors create the illusion of a larger, more open room. Beyond style, a well-placed mirror improves natural light by reflecting brightness into darker corners. Entryways, bedrooms, bathrooms, and hallways all benefit from this type of upgrade.
Choosing the right location matters. Mirrors placed opposite windows maximize light, while mirrors above console tables add function and visual interest. Installing a mirror requires only basic tools and careful measurement, making it accessible even for beginners.
Here are placement strategies that help your mirror elevate the room:
- Position mirrors opposite or adjacent to windows to magnify natural light
- Use large mirrors in small rooms to create visual expansion
- Mount mirrors above entryway furniture for practical, stylish function
- Break up long hallways with mirrors to add rhythm and variation
Here are installation steps that ensure safe and secure mounting:
- Mark anchor points with a level to maintain alignment
- Drill into studs when possible or use proper wall anchors for drywall
- Keep screws slightly exposed to allow the mirror to hook securely
- Ask for assistance when lifting heavy mirrors to avoid damage
Comparison Table
| Project Name | Estimated Time | Skill Level | Key Materials Needed | Approximate Cost | Main Benefits |
| Paint-By-Numbers | 6-10 hours | Beginner | Canvas, paint pots, brushes, reference sheet | Not mentioned | Creative outlet, stress relief, decorative artwork |
| Swap Out Cabinet Hardware | 1 hour | Beginner | Screwdriver, tape measure, new hardware | $2-10 per piece | Quick visual update, better functionality |
| Add a Window Box | 2-4 hours | Beginner | Window box, mounting brackets, screws, potting soil | Not mentioned | Improved curb appeal, garden space |
| Install Peel-and-Stick Backsplash | Few hours | Beginner | Backsplash sheets, utility knife, level, cleaning supplies | Not mentioned | Easy installation, removable, instant kitchen update |
| Hang Outdoor String Lights | Few hours | Beginner | Outdoor-rated lights, mounting hardware, wire cable | Not mentioned | Creates ambiance, improves outdoor space |
| Patch and Paint a Wall | 1 day | Beginner | Spackling compound, sandpaper, paint, primer | Not mentioned | Repairs damage, refreshes room appearance |
| Add a Statement Mirror | Few hours | Beginner | Mirror, anchors, screws, level | Not mentioned | Visually expands space, brightens room |
Conclusion

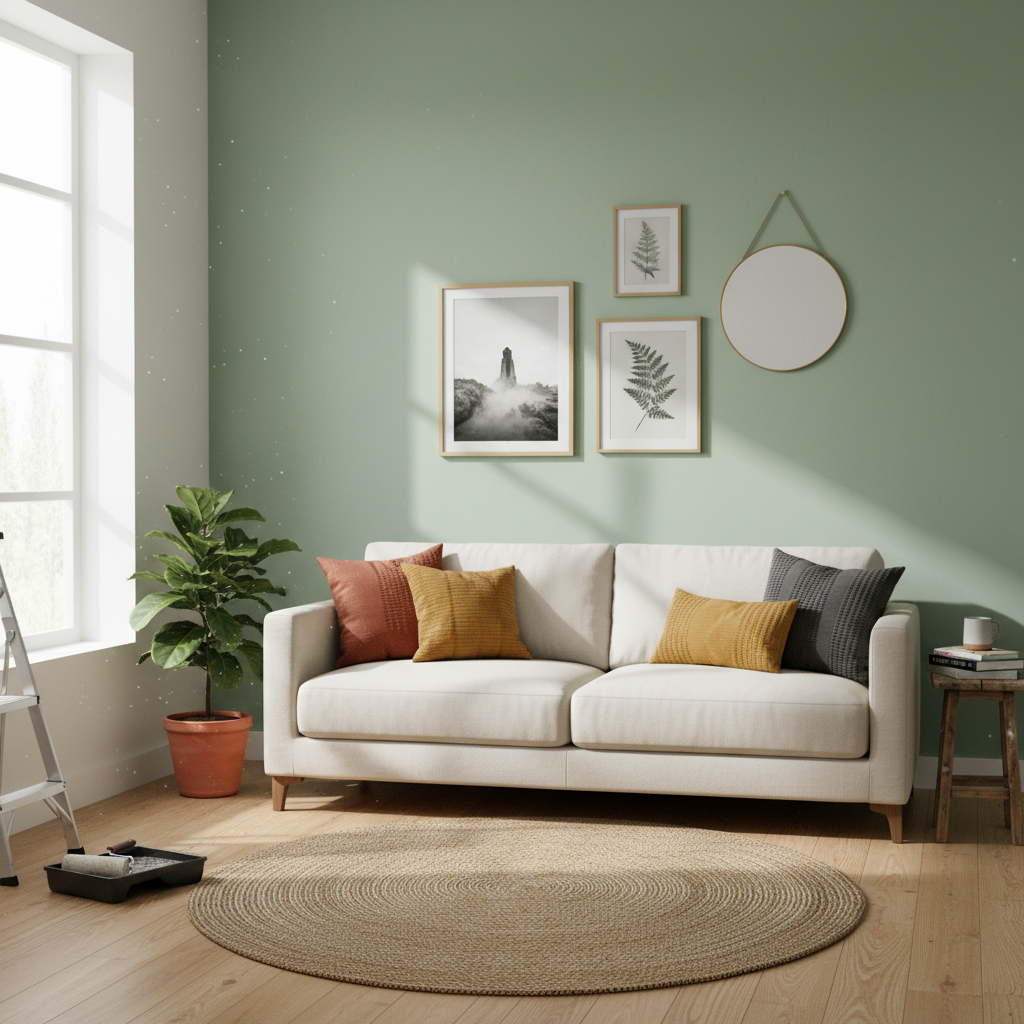
You don’t need advanced skills or a large budget to make meaningful improvements to your home. These eight weekend projects show how small upgrades can create noticeable changes with simple tools and a bit of time. Whether you refresh a wall, add light with a mirror, or introduce color through a window box, each project helps you shape your space in a personal way.
Because these ideas fit easily into a weekend, you’ll enjoy quick wins without overwhelming your schedule. Small successes build confidence and make future home updates feel more achievable. Choose the project that matches your needs, gather your supplies, and enjoy the satisfaction of transforming your space in just a couple of days.
- 0shares
- Facebook0
- Pinterest0
- Twitter0
- Reddit0


