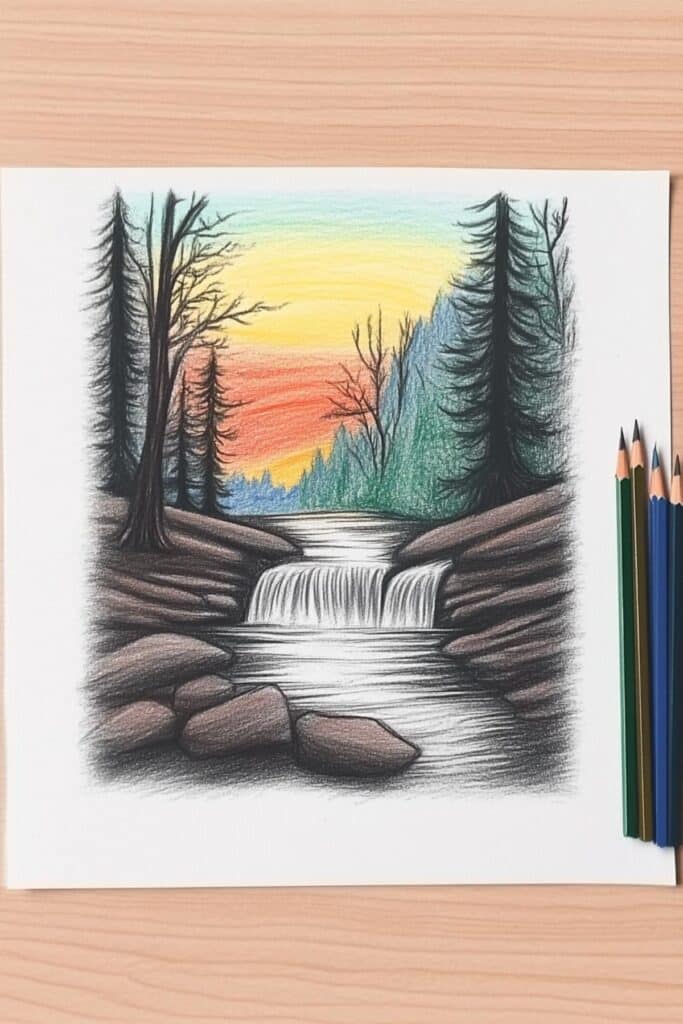
Ever gazed at a winding river, mesmerized by its endless journey and the life it breathes into the landscape? Rivers are more than just bodies of water; they are dynamic characters in nature’s grand play, constantly moving, reflecting, and shaping the world around them. Learning how to draw a river is a fantastic way to capture this natural beauty and add a lively, flowing element to your artwork. It might seem daunting at first, with all that movement and reflection, but trust me, it’s a journey that’s both simple and incredibly fun.
This guide is designed to splash you right into the heart of river drawing, breaking down the process into easy, digestible steps. Whether you’re a complete beginner or looking to refine your nature scenes, we’ll explore everything from basic shapes to capturing the shimmering dance of light on water. So, grab your pencils, find a comfy spot, and let’s dive into creating rivers that flow right off the page!
Understanding the Flow: The Essence of a River
Before you even put pencil to paper, take a moment to understand what makes a river a river. It’s not just a blue line; it’s a living, breathing entity with character and purpose. The secret to a convincing river drawing lies in grasping its fundamental nature: movement, context, and perspective.
Observing Real Rivers
Think about the last time you saw a river. Was it a gentle stream babbling through a forest, or a mighty torrent carving its way through mountains? Every river tells a different story. Pay attention to how the water interacts with its surroundings – the banks, rocks, and trees. Notice the variations in speed, the ripples, the eddies, and how light plays across its surface.
Observation is your superpower here. Look at photographs, watch videos, or even better, visit a local stream. The more you observe, the more details you’ll instinctively incorporate into your drawings, making them feel authentic and alive. Consider how the river changes as it bends, widens, or narrows. These subtle shifts are crucial for a realistic depiction.
Basic Shapes and Perspective
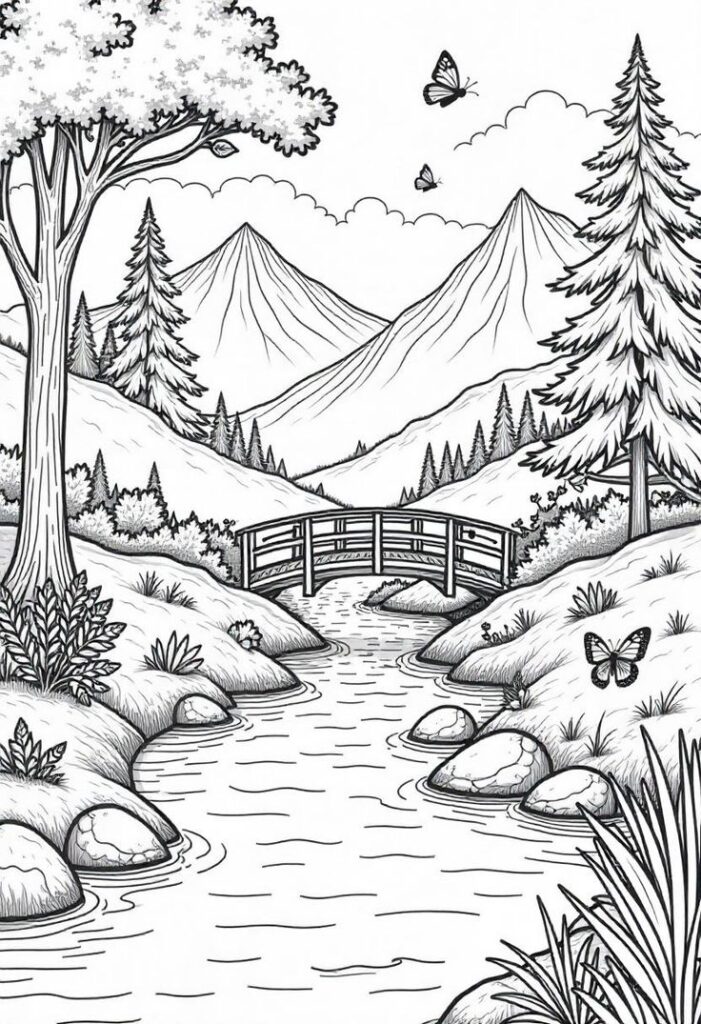
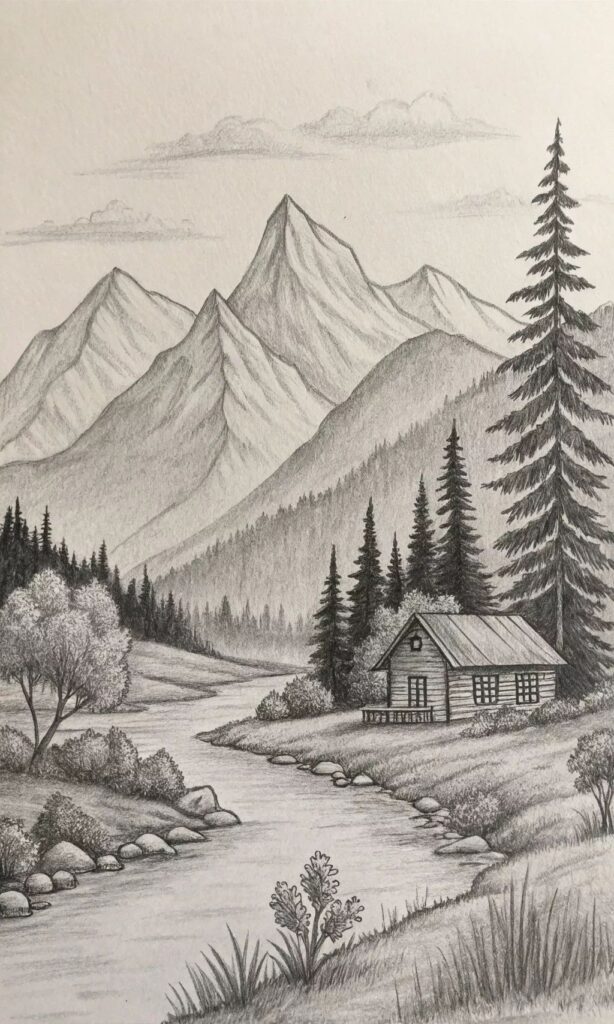
Every complex drawing starts with simple shapes. For a river, think of it as a long, winding ribbon or a stretched-out “S” shape. The key is to convey depth and distance. Rivers always appear wider in the foreground and progressively narrower as they recede into the distance. This is a fundamental principle of perspective.
Start by sketching two lines that converge slightly as they move away from you. These will be your riverbanks. Don’t make them perfectly straight or parallel; rivers are organic, so give them a natural, slightly irregular flow. Imagine an invisible horizon line where the river seems to disappear. This helps establish your vanishing point and the overall sense of depth.
The Importance of Flow Lines
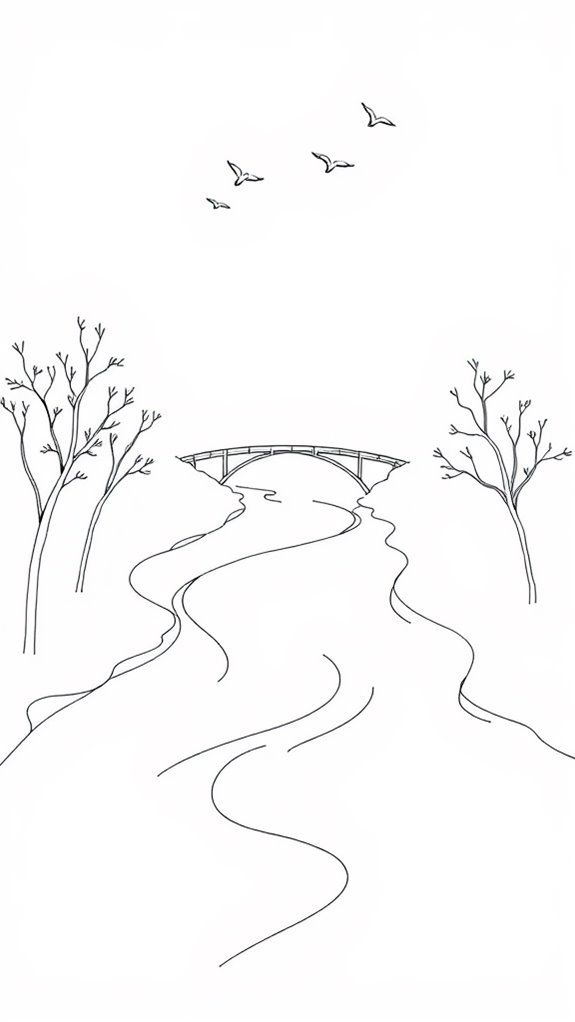
Once you have your basic shape, the next step is to imply movement. This is where flow lines come in handy. These are subtle, curving lines that follow the direction of the water’s current. They’re not harsh outlines but gentle suggestions, often lighter than your main bank lines. Think of them as contour lines for the water itself.
Flow lines are fantastic for indicating ripples, currents, and even obstacles beneath the surface. For instance, if the river flows around a rock, the flow lines will curve around it. If the water is fast, the lines might be more pronounced and parallel; if it’s slow, they’ll be softer and more spread out. These lines are your visual cues to the viewer that the water is, indeed, moving.
Getting Started: Your Essential Drawing Toolkit
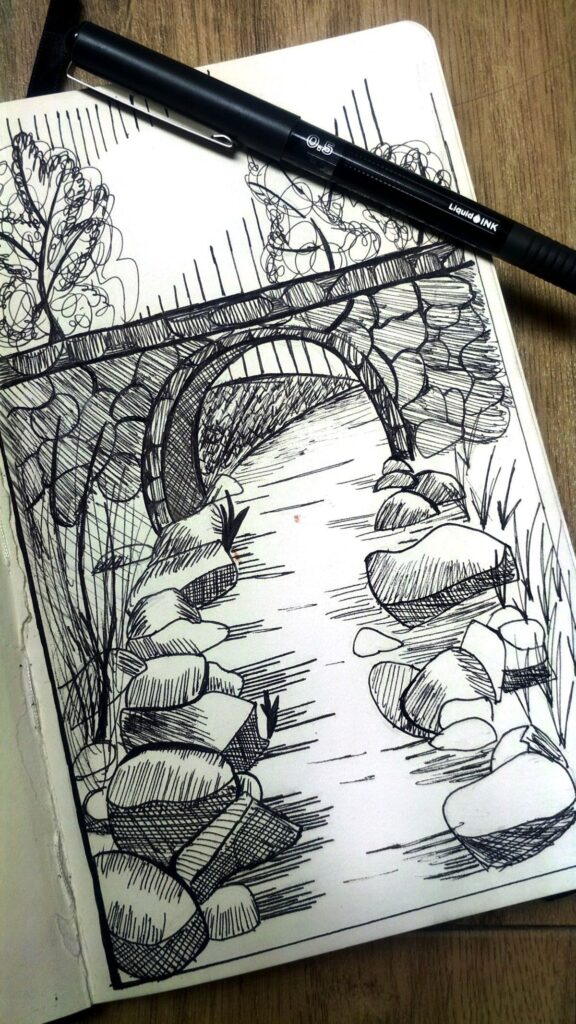
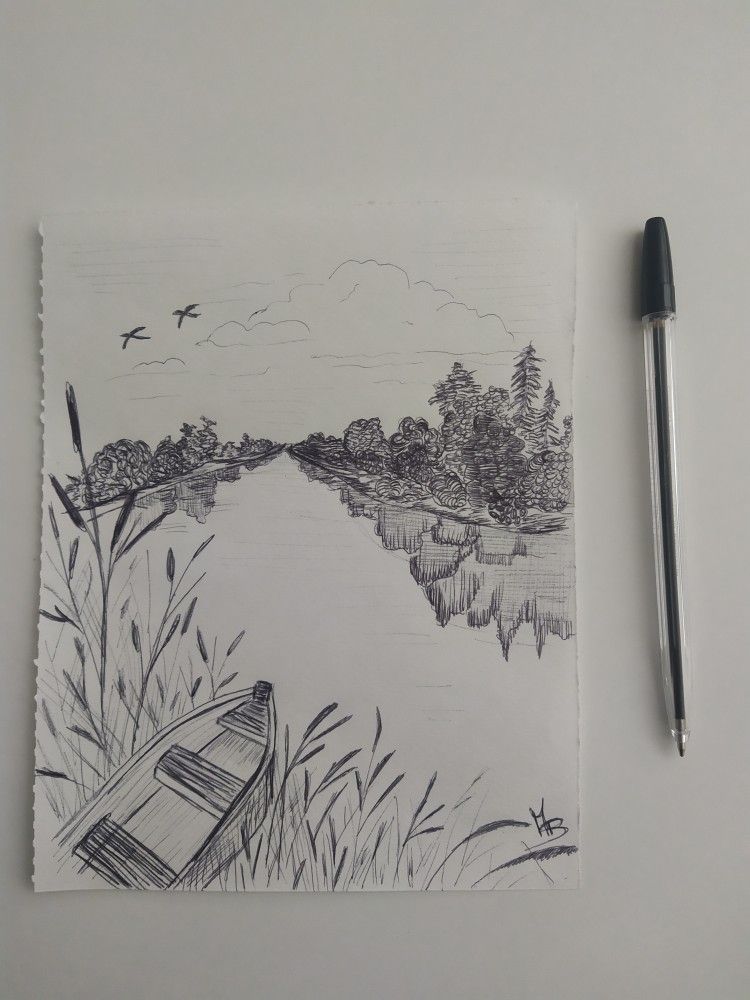
You don’t need a fancy art studio to draw a beautiful river. Sometimes, the simplest tools are the most effective. Here’s a quick rundown of what you’ll want to have on hand.
Pencils and Paper
A good old graphite pencil and a sketchpad are your best friends.
- Pencils: A range of graphite pencils (like 2H, HB, 2B, 4B) will give you versatility. Harder pencils (H grades) are great for light initial sketches and fine details, while softer pencils (B grades) are perfect for darker shading and richer tones.
- Paper: Any good quality drawing paper will do. A slightly textured paper can sometimes help grab the graphite better, allowing for richer tones. Don’t be afraid to experiment with different paper types to see what you prefer. If you’re looking for more general drawing inspiration, you might enjoy exploring cute summer drawing ideas.
Erasers and Blending Tools
Mistakes happen, and that’s totally okay!
- Kneaded Eraser: This soft, moldable eraser is fantastic for lifting graphite without damaging the paper. You can shape it to precise points for highlights or dab it to lighten areas.
- Plastic Eraser: Good for more aggressive erasing when you need to completely remove a line.
- Blending Stump or Tortillon: These paper tools are brilliant for smoothing out graphite, creating seamless transitions, and achieving a softer look. You can also use a cotton swab or even your fingertip in a pinch, though they might leave more oil.
Optional: Inks, Watercolors, Digital Tools
As you get more comfortable, you might want to explore other mediums.
- Inks: Fine-liner pens can add crisp outlines or intricate details.
- Watercolors: These are a natural fit for rivers, allowing you to create beautiful washes of blue and green, capturing the translucency of water.
- Digital Tools: If you prefer working digitally, programs like Procreate, Photoshop, or Clip Studio Paint offer endless possibilities with various brushes, layers, and effects. Learning how to make digital collages might also spark some creative ideas for incorporating rivers into mixed media art.

Step-by-Step Guide: Laying Down the Foundation
Alright, let’s get our hands dirty (or rather, our pencils dusty)! We’ll start with the very basics, building up our river layer by layer.
Sketching the Riverbanks
Begin by lightly sketching the outline of your riverbanks. Think of them as the natural borders of your waterway. 1. Start with the foreground: Draw the two lines for the nearest part of the river, perhaps a bit wider here to give a sense of closeness. 2. Guide the eye: Gently curve these lines inward as they extend into the distance, suggesting the river is moving away from you. Remember, avoid perfect symmetry; nature is wonderfully imperfect. One bank might be steeper, the other flatter. 3. Vary the path: Let the river meander. It can have soft, rolling curves or sharper bends, depending on the landscape you envision. A good rule of thumb is to vary the width slightly, making it a bit wider in some spots and narrower in others.
Establishing the Water’s Path
Once the banks are in place, lightly sketch the surface of the water. This isn’t a solid line but a suggestion of where the water sits within its banks. 1. Flat surface, gentle curve: Even though water flows, its surface appears relatively flat from a distance. However, if the river is wide, you might subtly curve the surface lines to follow the Earth’s curvature, or simply to enhance the feeling of flow. 2. Reference the banks: Ensure the water lines follow the contours of the banks, leaving a small “lip” or edge where the water meets the land. This small detail adds a lot of realism.
Adding Depth with Perspective
Perspective is your secret weapon for making your river look three-dimensional. 1. Vanishing Point: Imagine a point on your horizon where all parallel lines would eventually meet. For a river, this means the banks will get closer together and the water will appear narrower as it approaches this point. 2. Foreground Details: Objects in the foreground (like rocks or reeds near the river’s edge) should be larger and more detailed. As they recede into the midground and background, they become smaller and less distinct. 3. Atmospheric Perspective: This isn’t just for mountains! Distant parts of the river and its surroundings will appear lighter, less saturated in color, and have less contrast due to the haze of the atmosphere. We’ll dive into this more later, but keep it in mind.
Capturing Movement: The Dynamic Nature of Water
This is where your river truly comes to life! Water is rarely still, and conveying its motion is key to a believable drawing.
Ripples and Currents
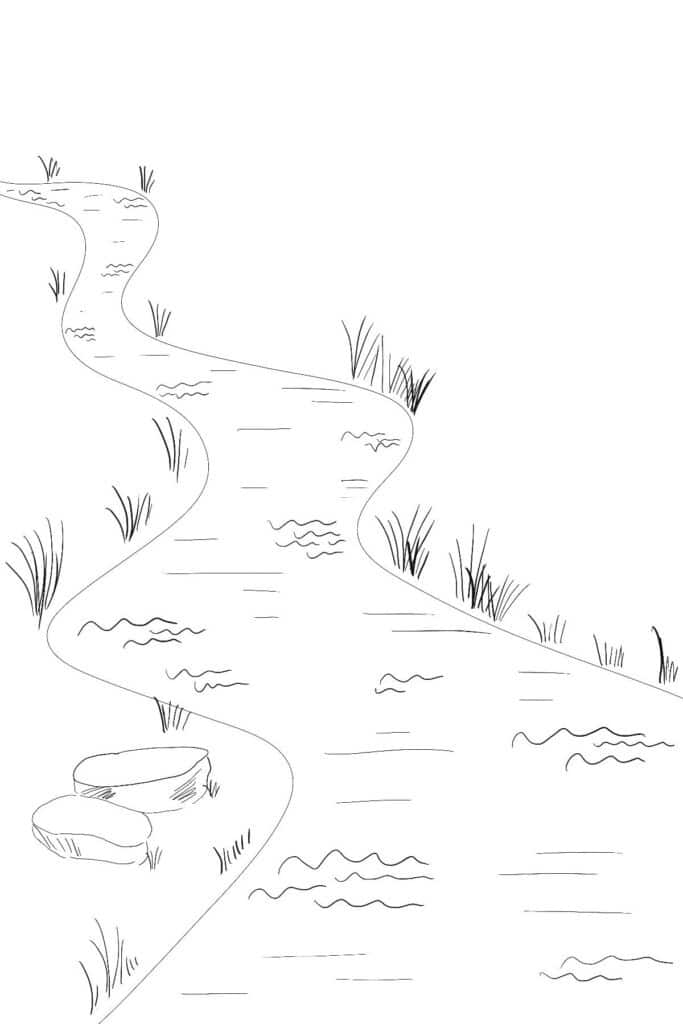
Ripples are the gentle wrinkles on the water’s surface, often caused by wind, a stone dropped in, or the natural flow. Currents are the stronger, more consistent movements. 1. Short, broken lines: For ripples, use short, curved, often broken lines. These aren’t strong outlines but delicate suggestions. They tend to form concentric patterns if something disturbs the water, or irregular, parallel patterns if caused by wind. 2. Flow direction: The overall direction of these lines should follow your initial flow lines, guiding the viewer’s eye down the river. Where the current is faster, the ripples might be more elongated and directional. 3. Vary intensity: Not all ripples are the same. Some areas will have stronger ripples, others almost none. This variation adds naturalness.
White Water and Foam
For faster-moving rivers, especially around obstacles like rocks or rapids, you’ll see white water and foam. 1. Rough, irregular shapes: White water isn’t smooth. It’s turbulent, bubbly, and chaotic. Use jagged, irregular shapes and textures to represent this. 2. Highlights: In pencil drawings, white water is often depicted by leaving the paper white or using very light shading. It’s essentially a highlight where the water is aerated and catching the light. 3. Foam trails: Foam often forms in trails downstream from obstacles. Use light, feathery lines to show these ephemeral patterns.

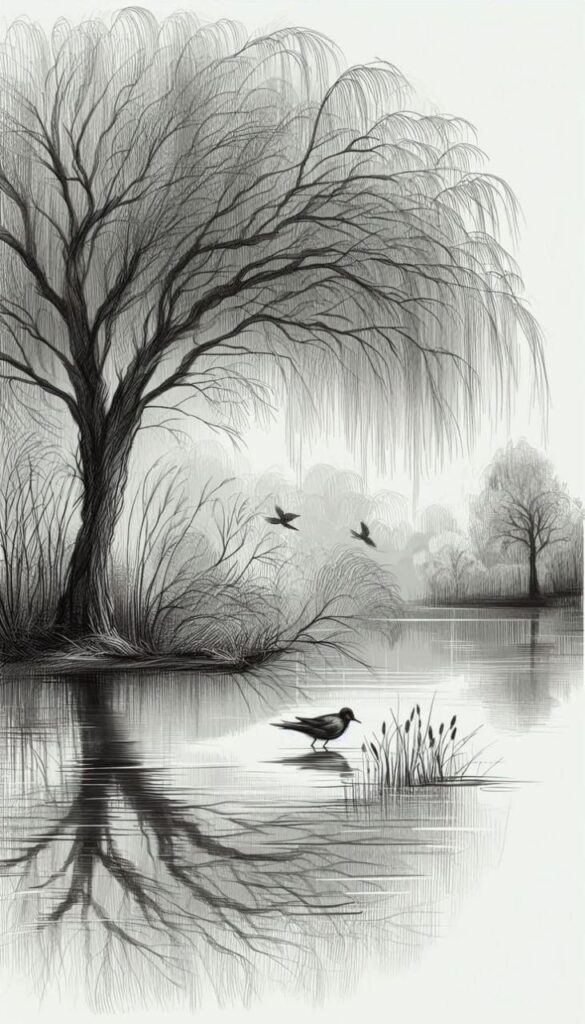
Reflections: Mirroring the World Above
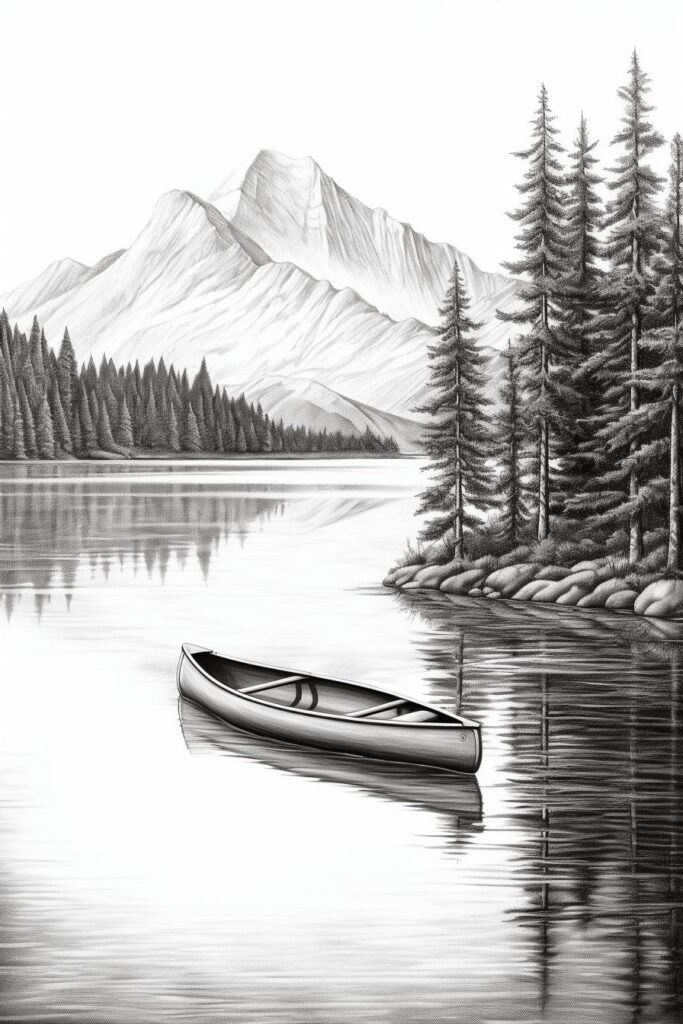
Reflections are one of the most beautiful and challenging aspects of drawing water. They add incredible depth and realism. 1. Vertical stretch: Reflections are essentially stretched-out, distorted images of what’s above the water. A tall tree will appear as a long, often wavy, vertical streak of its color or tone in the water. 2. Distortion by movement: The more turbulent the water, the more distorted and broken the reflections will be. Calm water will show clearer, more complete reflections. 3. Darker and softer: Reflections are almost always darker and softer than the actual objects they reflect. They also tend to have less detail. 4. Angle of view: The angle from which you view the river dramatically impacts reflections. From a higher vantage point, you’ll see more of the riverbed; from a lower one, more reflections. 5. Color shift: Reflections often take on a slightly cooler or bluer tint due to the water itself and the sky.
Adding Detail: Textures and Surroundings
A river doesn’t exist in a vacuum. Its surroundings are just as important in telling its story and grounding it in your artwork.
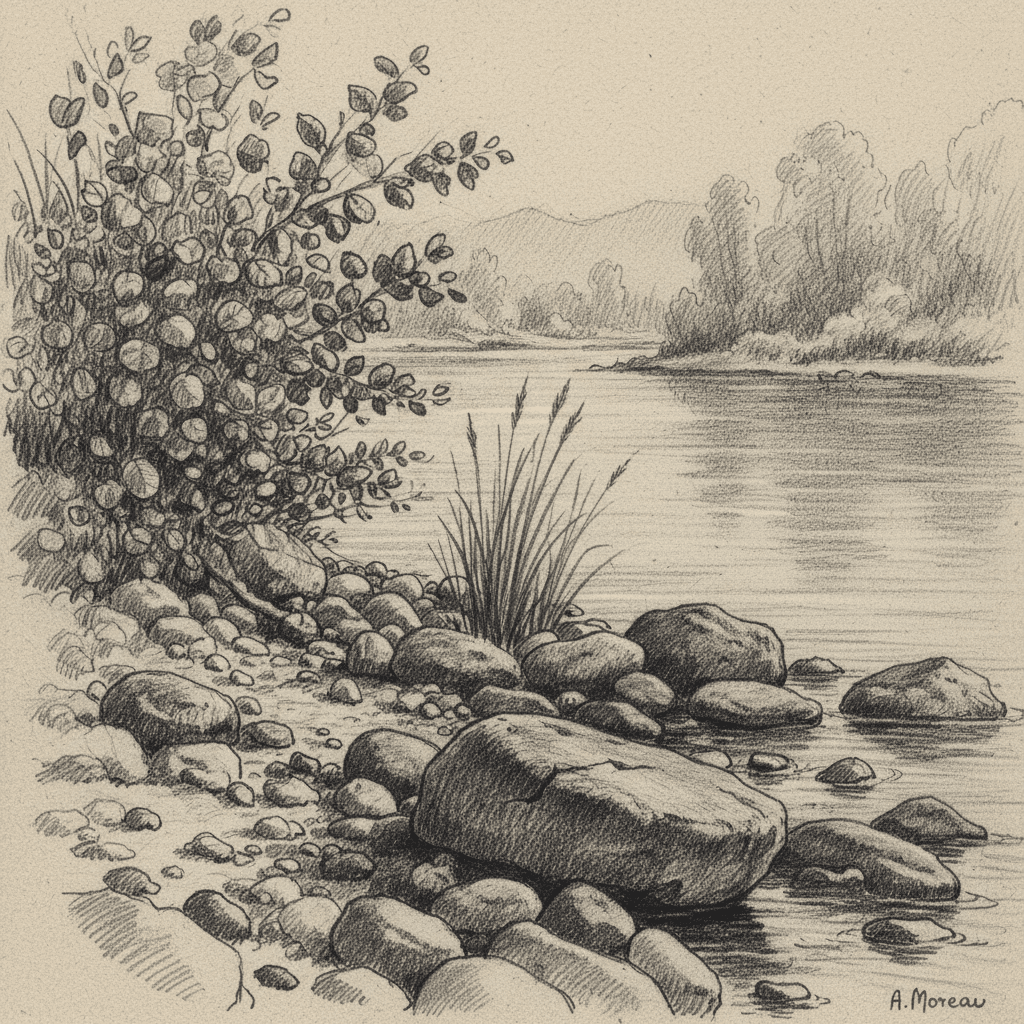
Rocks, Pebbles, and Sand
These elements provide visual interest and help define the river’s edge and bed. 1. Vary shapes and sizes: Don’t draw identical rocks. Some should be smooth and rounded, others jagged and angular. Some large, some small. 2. Submerged vs. Exposed: Rocks under the water will appear darker, softer, and potentially greenish or brownish due to algae and water depth. Exposed rocks will have sharper edges, more defined textures, and cast clearer shadows. 3. Texture: Use short, choppy strokes for rough rock surfaces. Smooth pebbles might just be indicated by their outline and a subtle change in tone. 4. Riverbed: For sandy or pebbly riverbeds, use subtle dotting or small, irregular marks to suggest texture, again varying in darkness based on water depth.
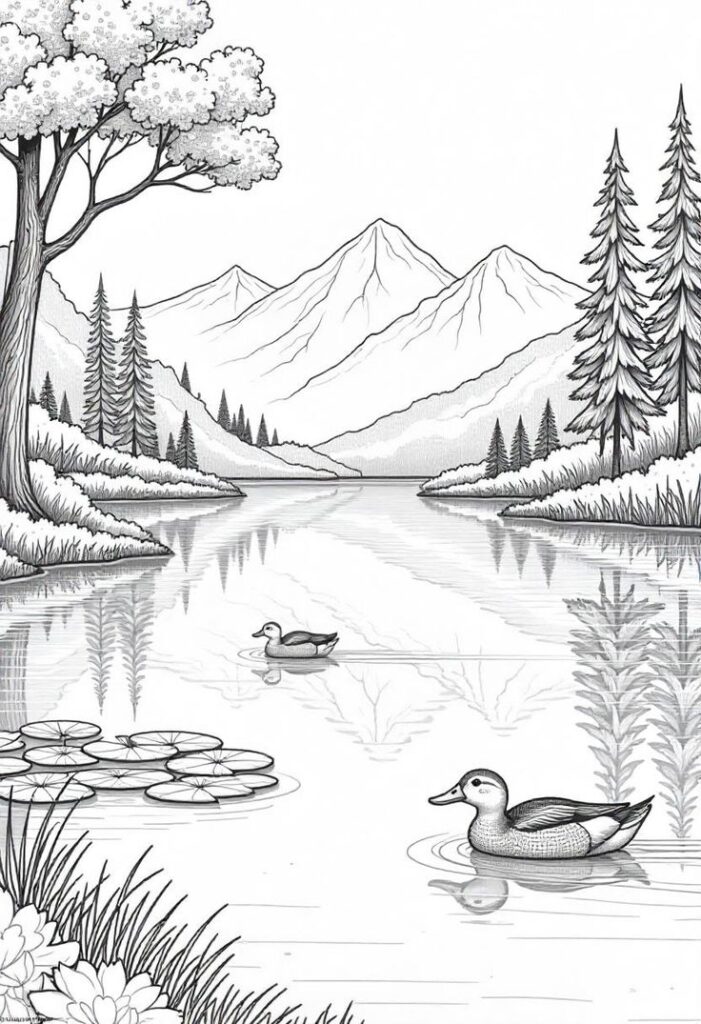
Vegetation: Trees, Shrubs, and Grass
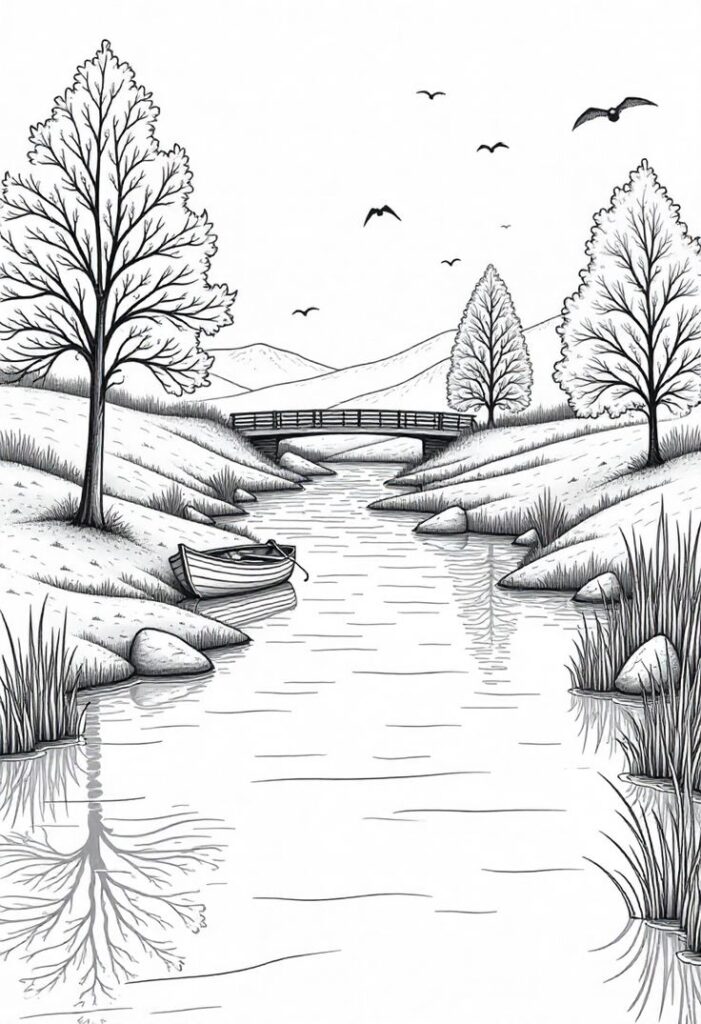
The plants around a river are essential for context and mood. 1. Trees along the banks: Sketch trees and bushes that follow the contours of the river. Their roots might even be visible, clinging to the bank. 2. Varied foliage: Use different types of foliage to add interest. Densely packed leaves for bushes, individual leaves or needles for specific trees. 3. Reflections from greenery: Remember to include the reflections of this vegetation in the water! They will appear as blurred green or brown shapes. 4. Grasses and Reeds: Along the immediate edge of the river, draw individual blades of grass or reeds. These can be depicted with fine, upward-curving strokes. They add a touch of delicate detail and help transition from land to water. If you enjoy drawing various natural elements, you might find inspiration in fall drawings easy guides that focus on seasonal flora.
Bridges, Boats, and Wildlife (Optional Elements)
These elements can add narrative and focal points to your river scene.
- Bridges: A bridge can dramatically change the composition. Consider its material (stone, wood, metal) and how it interacts with the water. Don’t forget its reflection!
- Boats: A small rowboat or canoe adds a human element and suggests activity. Pay attention to its position relative to the current and its shadow on the water.
- Wildlife: A bird perched on a branch, fish subtly hinted at below the surface, or even animal tracks on the bank can bring your scene to life. These small details create a sense of story and invite the viewer to linger.
Playing with Light and Shadow: Bringing Your River to Life
Light and shadow are what transform a flat drawing into a vibrant, three-dimensional scene. They are absolutely critical for giving your river depth, mood, and realism.
Direction of Light
Decide where your light source is coming from. Is it a bright overhead sun, a soft morning glow, or an evening sunset? 1. Consistency: Once you’ve chosen your light source, be consistent. All shadows should fall in the same direction. 2. Highlights: The areas directly hit by light will be the brightest. On water, these appear as shimmering highlights. 3. Shadows: Areas away from the light source will be in shadow. Shadows give objects form and make them appear grounded.
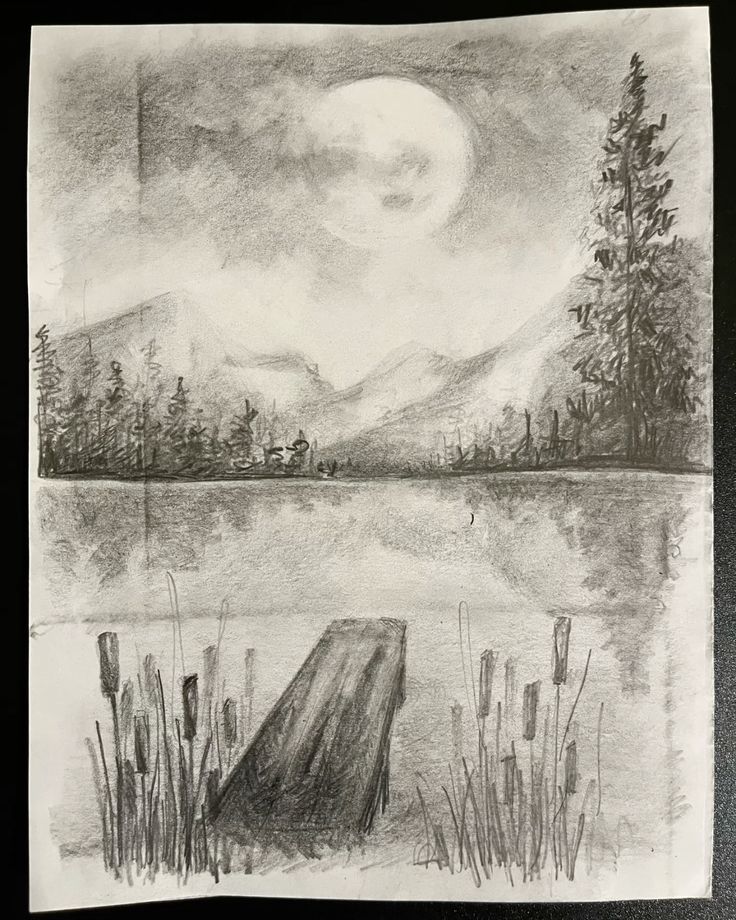
Shading Techniques for Water
Shading water effectively is about subtlety and variation. 1. Gradual Tones: Water isn’t one flat tone. Deeper areas will be darker, shallower areas lighter. This is often a gradual transition. 2. Ripples and Highlights: Ripples catch the light, creating thin, bright highlights against darker water. Use your kneaded eraser to gently lift graphite for these shimmers. 3. Underlying elements: If you have rocks or a riverbed visible, their shadows and textures will be subdued by the water’s depth. 4. Reflections as shadows: Reflections of dark objects (like trees) will appear as darker areas in the water, acting almost like shadows themselves. 5. Cross-hatching or circular strokes: Use light, layered strokes, perhaps small circular motions or gentle cross-hatching, to build up the darker tones of the water. Avoid harsh, straight lines.
Shadows on Banks and Objects
Don’t forget the shadows cast by the banks and any objects (trees, rocks) onto the water. 1. Soft Edges: Shadows on water tend to have softer, more diffused edges than shadows on solid ground due to the water’s movement and reflective properties. 2. Follow the contours: The shape of a shadow on the water will be dictated by the object casting it, but also by the ripples and currents on the water’s surface, causing it to distort and undulate. 3. Darker tones: These shadows will be among the darkest tones in your water, grounding the elements around the river and enhancing the sense of depth.

Coloring Your Creation: A Splash of Life
If you’re moving beyond graphite, adding color can truly make your river sing. Water offers a fantastic opportunity to play with various hues and blends.
Choosing Your Palette (Blues, Greens, Browns)
Water isn’t just blue. It’s a complex mix of colors influenced by depth, sky, and surrounding landscape.
- Blues: From deep navy to vibrant sky blue. Lighter blues for highlights, deeper blues for deeper water.
- Greens: Algae, reflected trees, and even pollutants can add hints of green. Emerald green for clear, shallow water; olive green for murky depths.
- Browns/Grays: For sandy or muddy riverbeds, or reflections of earthy banks.
- Unexpected Hues: Don’t be afraid to add tiny touches of purple, orange, or pink, especially in reflections during sunrise or sunset.
Layering Colors for Depth
Layering is crucial for achieving rich, natural-looking water. 1. Lightest first: Start with light washes of your base blue or green. Build up color gradually. 2. Glazes: Apply thin, transparent layers (glazes) of color over previous ones. This creates depth and allows colors to mix optically. For example, a light blue glaze over a pale brown can create a nuanced greenish-gray. 3. Darker for depth: Use darker, more concentrated colors for deeper water, shadows, and the undersides of ripples. 4. Reflections: Layer the colors of reflected objects over your base water colors, remembering to keep them slightly desaturated and softer.
Highlighting and Blending
These techniques bring out the shimmer and movement.
- Highlights: For watercolor, leave areas of paper white or use opaque white paint/gouache sparingly for crisp highlights. For digital art, use light-colored brushes on a new layer.
- Blending: Use soft brushes or blending tools to create smooth transitions between colors. For watercolors, keep your brush damp to allow colors to flow into each other.
- Texture with color: Use broken brushstrokes or stippling to suggest ripples or turbulent water. The texture of your paper can also play a role here, especially with dry brush techniques.
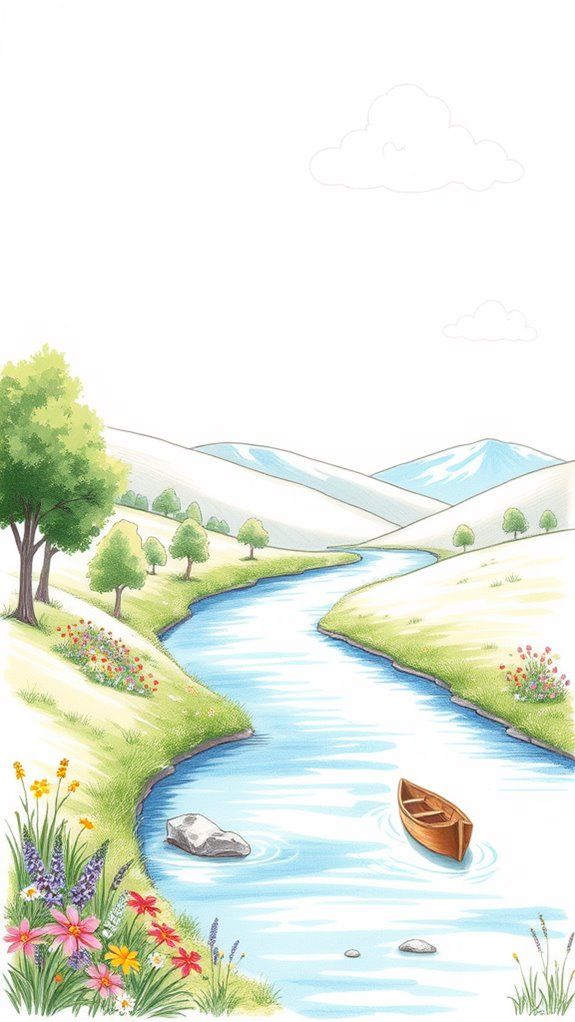
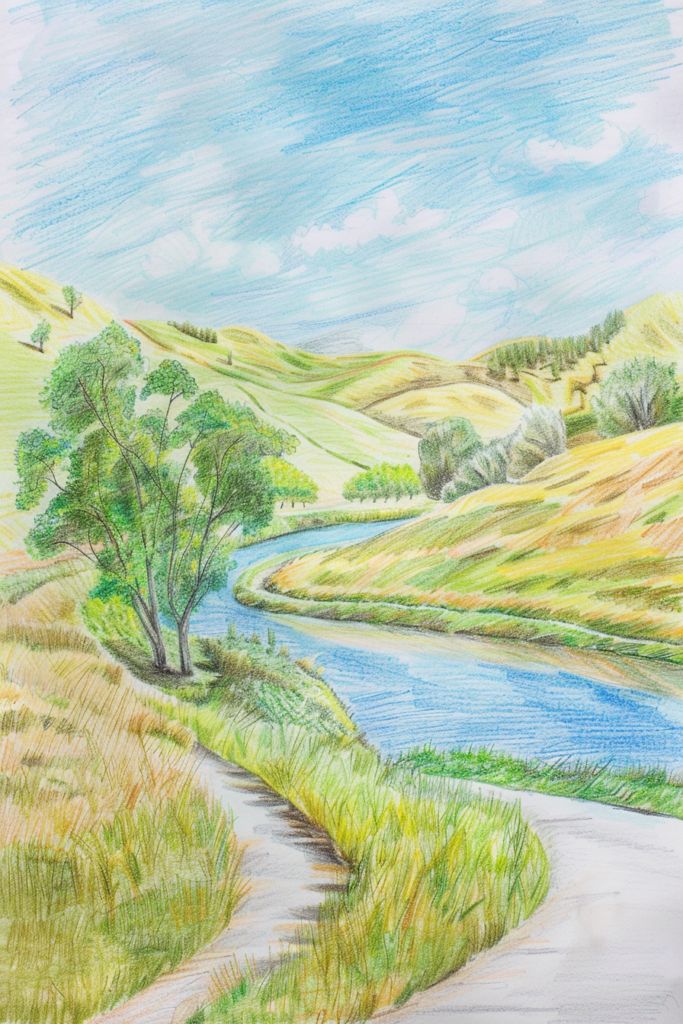
Advanced Techniques for a Realistic River
Once you’ve mastered the basics, you can push your river drawings to the next level with more sophisticated approaches.
Incorporating Atmospheric Perspective
We touched on this earlier, but it’s worth a deeper dive. Atmospheric perspective describes how the atmosphere affects the appearance of objects as they recede into the distance. 1. Less Detail: Distant parts of the river and its surroundings will have less intricate detail. 2. Lighter Tones: Everything further away will appear lighter, with less contrast between light and shadow. 3. Cooler Hues: Colors will tend to shift towards cooler, bluer, or grayer tones as they recede, as if viewed through a slight haze. Applying this means the foreground of your river will be sharp, detailed, and vibrant, while the background will be softer, lighter, and cooler, enhancing the illusion of immense depth.
Mastering Complex Reflections
Moving beyond simple reflections, consider the nuances. 1. Multiple light sources: What if there’s more than just the sun? Streetlights at night, or a campfire by the river, will create intricate light patterns and reflections. 2. Refraction: When you can see into the water, light bends (refracts), causing submerged objects to appear distorted or in a slightly different position than they actually are. This is a subtle effect but adds immense realism. 3. Wind and waves: A windy day creates choppy water, breaking reflections into countless fragmented pieces. Practice drawing these broken, shimmering patterns.
Drawing Different River Types (Mountain Streams, Wide Deltas)
Not all rivers are the same, and your drawing should reflect their unique characteristics.
- Mountain Streams: Characterized by fast-moving water, many rocks and boulders, rapids, and often steep, rocky banks. The water tends to be clearer and colder, with strong highlights and shadows.
- Wide, Slow Rivers: These often have gentler banks, more vegetation, and calmer, more reflective surfaces. The colors might be muddier due to sediment.
- Deltas: Where a river meets a larger body of water, it spreads out into many smaller channels. This requires drawing intricate branching patterns, sandbars, and often marshy vegetation.
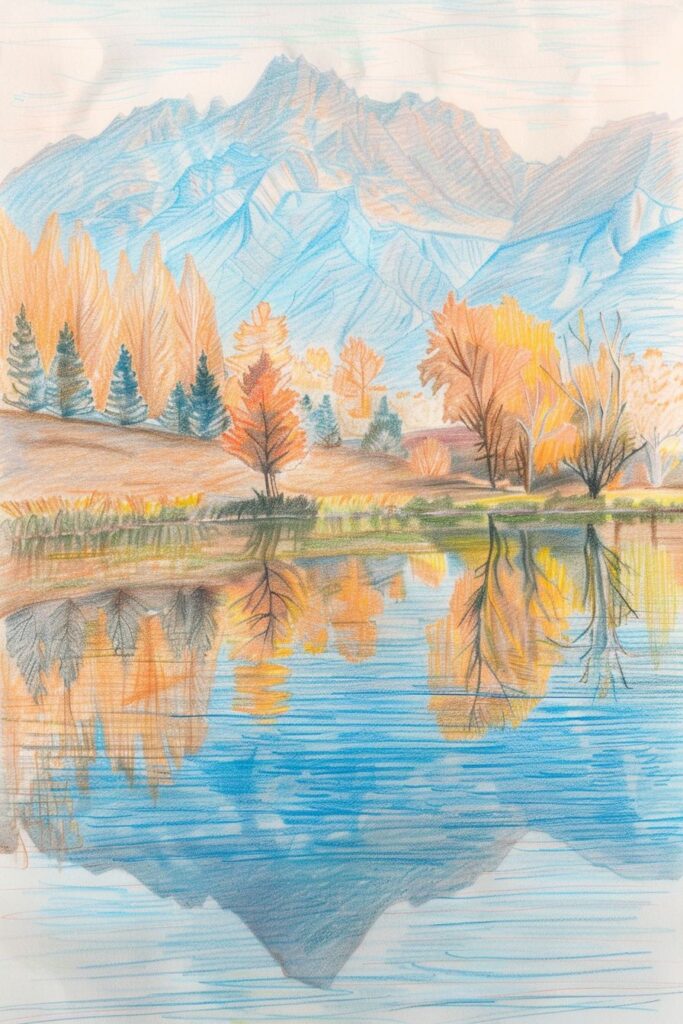
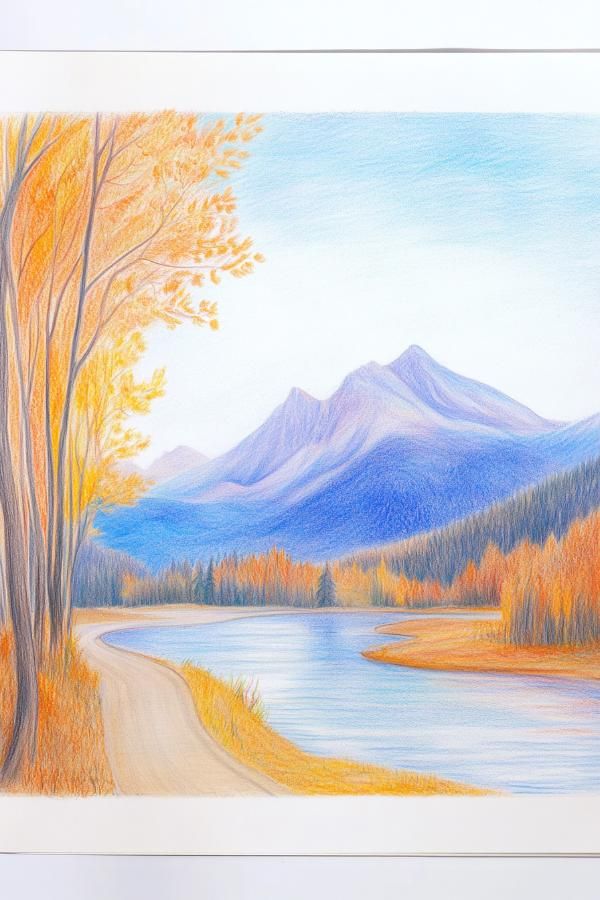
Common Mistakes to Avoid and How to Fix Them
Even experienced artists make mistakes. Knowing what to watch out for can save you a lot of frustration!
Flat Water Syndrome
This happens when your water looks like a static blue slab rather than a dynamic, flowing liquid.
- The Fix: Incorporate those flow lines, ripples, and subtle variations in tone. Show the interaction with banks and obstacles. Remember reflections and shadows. Water is rarely uniform.
Uniformity in Details
Drawing every rock, blade of grass, or ripple exactly the same size, shape, or shade. This makes your drawing look artificial and monotonous.
- The Fix: Embrace imperfection and variety! Vary the size, shape, and texture of every element. Some rocks are smooth, some jagged; some grass is tall, some short. Randomness is your friend.
Ignoring the Environment
A river doesn’t exist in a void. If you only draw the water and nothing else, it will feel isolated and incomplete.
- The Fix: Always consider the river’s surroundings. What kind of landscape is it in? What season is it? Add elements like trees, bushes, distant mountains, or even a cloudy sky. These details provide context and make your river part of a larger, believable scene.

Practice Makes Perfect: Tips for Continuous Improvement
Drawing is a skill that grows with consistent effort. The more you practice, the more intuitive and natural it becomes.
Sketching from Life
Nothing beats drawing what you see.
- Go Outdoors: If possible, take your sketchpad to a local river, stream, or even a pond. Observe the water directly. How does the light hit it? How do the reflections change?
- Quick Studies: Don’t aim for perfection. Do quick, five-minute sketches focusing on one aspect – just the ripples, just the reflections, or just the curve of the bank. This trains your eye and hand.
- Photo References: If getting outside isn’t an option, use high-quality photographs as references. Look for images with clear light, interesting textures, and varied environments.
Learning from Other Artists
There’s a vast world of art out there, and learning from others is a great way to grow.
- Study Masters: Look at how famous landscape artists (like Claude Monet or Albert Bierstadt) depicted water. What techniques did they use?
- Contemporary Artists: Explore artists on social media or art platforms. Find styles that inspire you and analyze their approach to drawing rivers.
- Tutorials: Watch drawing tutorials on YouTube or other platforms. Seeing someone else’s process can unlock new ideas.
Experimenting with Styles
Don’t feel limited to realistic depiction. Once you understand the fundamentals, you can bend the rules.
- Cartoony Rivers: Exaggerate ripples, use bolder outlines, or simplify shapes.
- Stylized Rivers: Use patterns, abstract shapes, or unusual color palettes to create a unique interpretation.
- Mixed Media: Combine your river drawing with other art forms. Maybe a river illustration for a children’s book, or a serene river scene as a backdrop for a digital painting. Don’t be afraid to try different things, like exploring drawing your day: creating a visual diary to integrate everyday observations into your artistic practice. The more you experiment, the more you’ll discover your own unique artistic voice.
Conclusion
You’ve now embarked on an exciting artistic journey, learning how to draw a river that truly flows. From sketching the initial winding banks to capturing the dance of light on turbulent water, you’ve discovered that creating a convincing river is all about observation, patience, and a bit of artistic magic. Remember, every ripple and reflection you draw tells a part of your river’s story.
The beauty of drawing a river lies in its endless possibilities. Each one is unique, just like every stroke of your pencil. Don’t be afraid to experiment, make mistakes, and most importantly, enjoy the process. So, what are you waiting for? Grab your tools, find your inspiration, and let your artistic current carry you to create stunning river scenes. Your masterpiece is just waiting to flow onto the page!
- 0shares
- Facebook0
- Pinterest0
- Twitter0
- Reddit0

