As the crisp air descends and leaves begin their vibrant transformation, a shift occurs in our living spaces. We naturally gravitate towards warmth, comfort, and the evocative scents that define the autumn season. While store-bought candles offer convenience, there is an unparalleled satisfaction, and indeed a profound artistry, in crafting your own autumn aromas. This professional guide delves into the intricate world of DIY fall candles, empowering you to create exquisite, personalized fragrances that elevate your home environment and capture the very essence of the season. Beyond mere illumination, these candles become a sensory experience, a bespoke element of your decor, and a testament to your creative skill.
The Allure of Bespoke Autumn Aromas
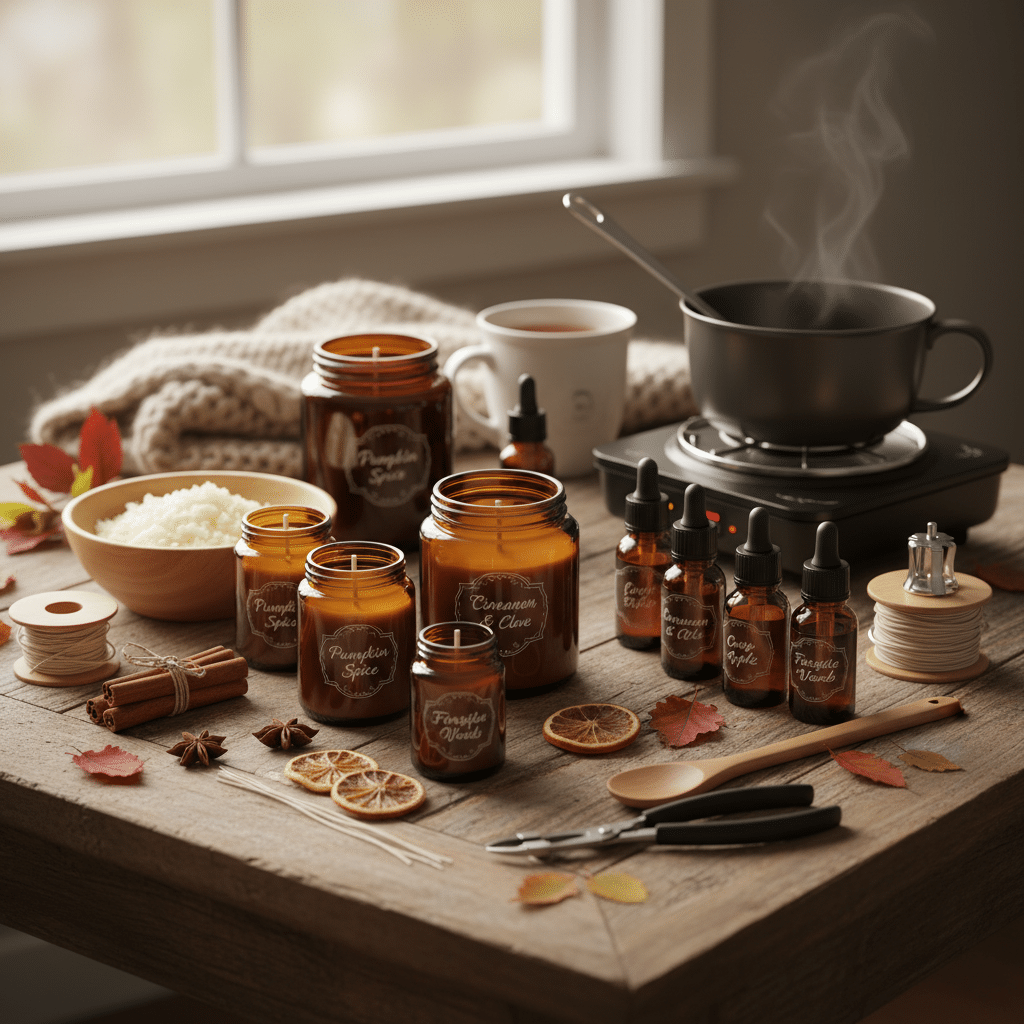
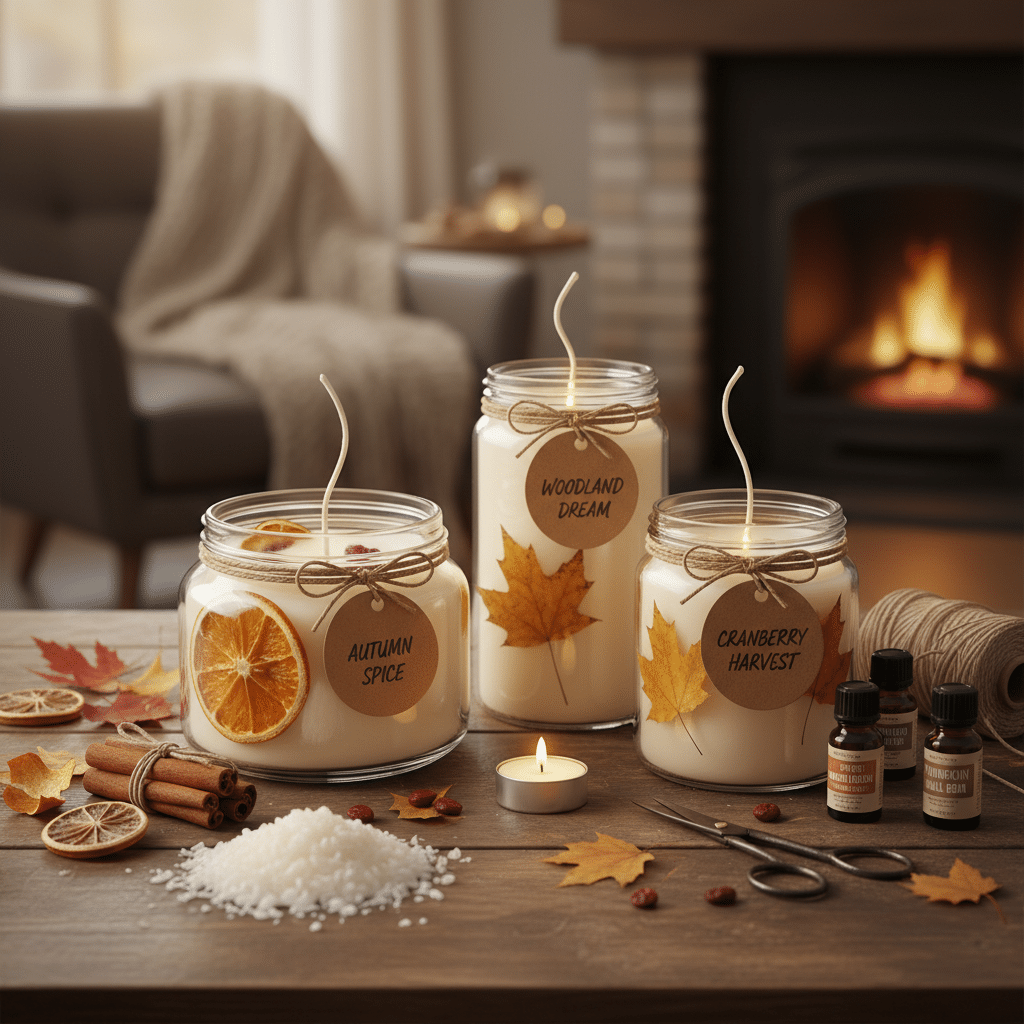
The appeal of DIY fall candles extends far beyond simple aesthetics. It’s about intentional creation, quality control, and the therapeutic engagement with scent. Commercial candles, while plentiful, often rely on synthetic fragrances and paraffin waxes, which can diminish both the purity of the scent and the quality of the burn. By taking the reins, you gain complete command over every ingredient and nuance.
Personalization and Creative Expression
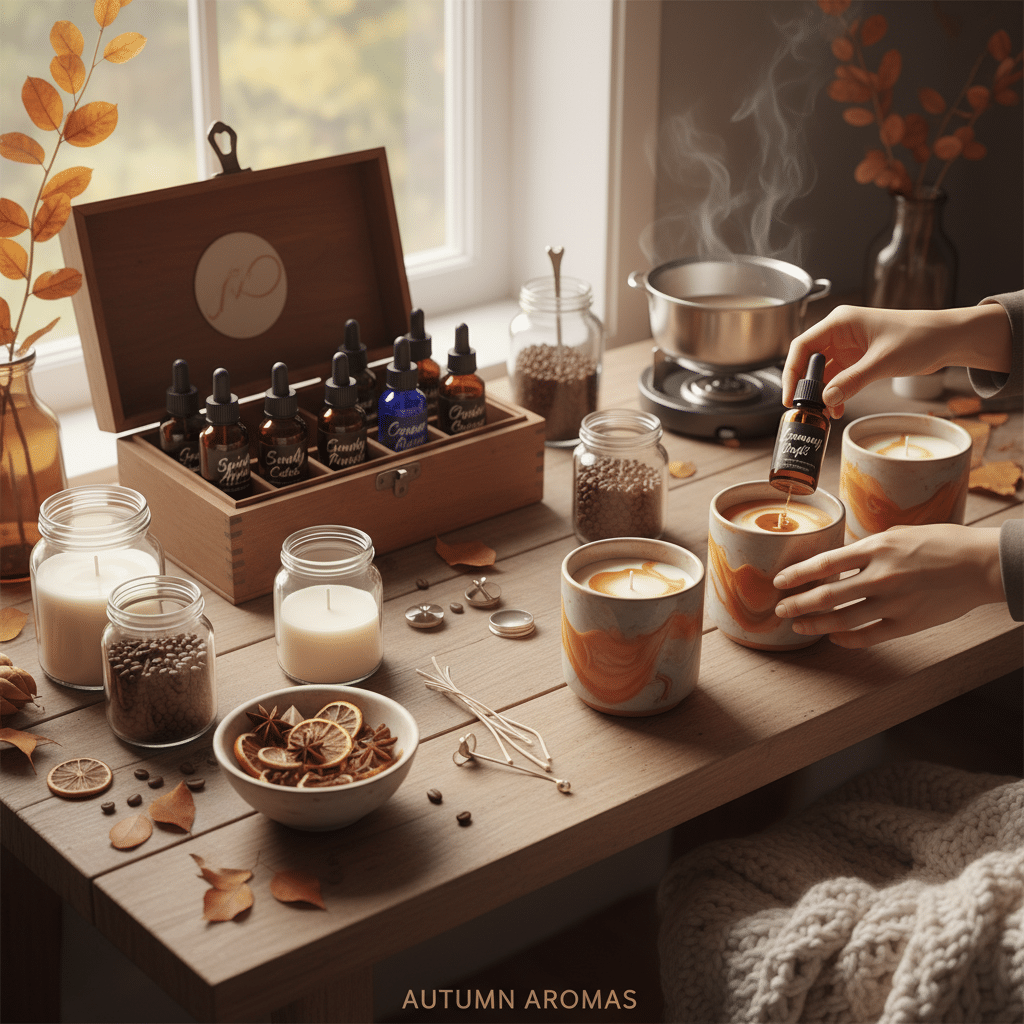
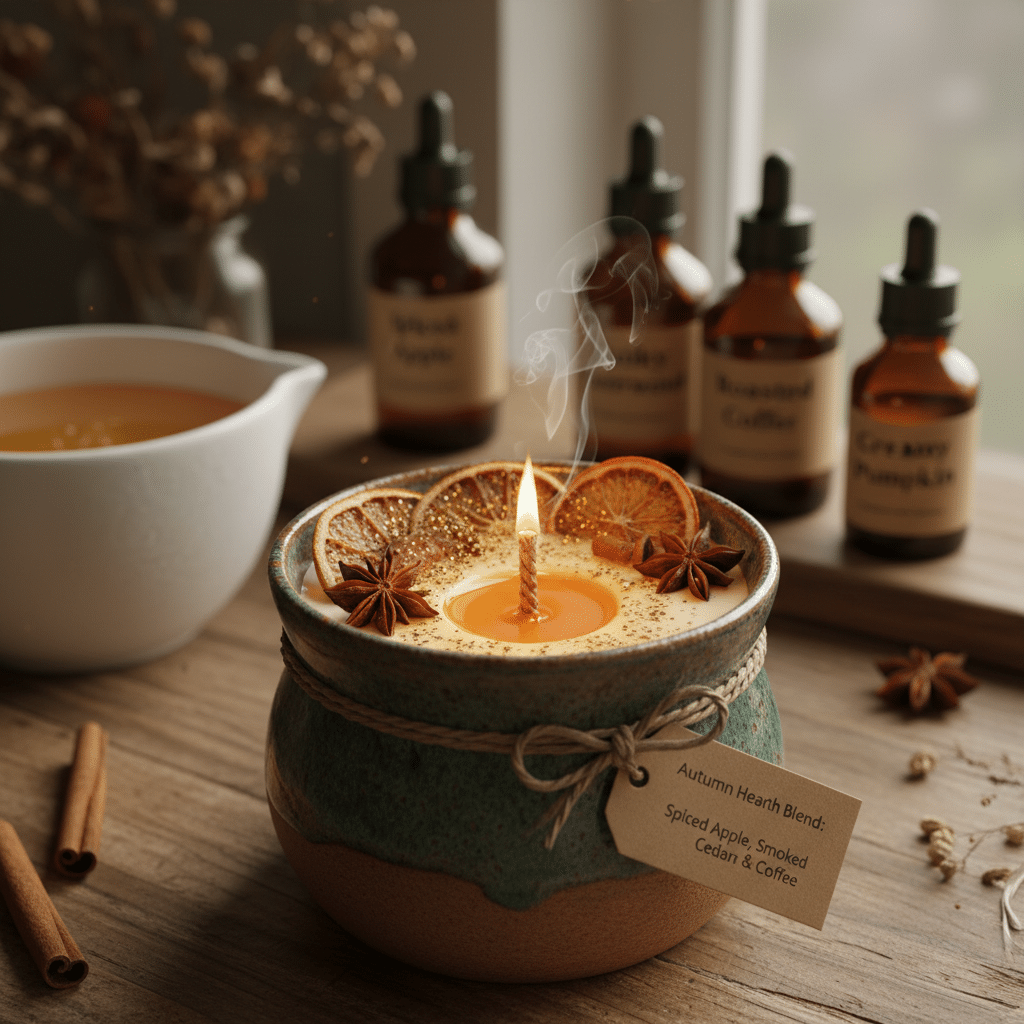
One of the most compelling reasons to craft your own candles is the limitless potential for personalization. You are not bound by market trends or limited selections. Imagine a unique blend of spiced apple with a hint of smoky cedar, or a creamy pumpkin infused with subtle notes of coffee. These are not merely candles; they are olfactory narratives tailored precisely to your preferences. This creative freedom allows you to experiment with various waxes, wicks, and, most importantly, an expansive palette of fragrance and essential oils to compose truly distinctive autumn aromas that resonate with your personal style.
Quality Control and Ingredient Transparency
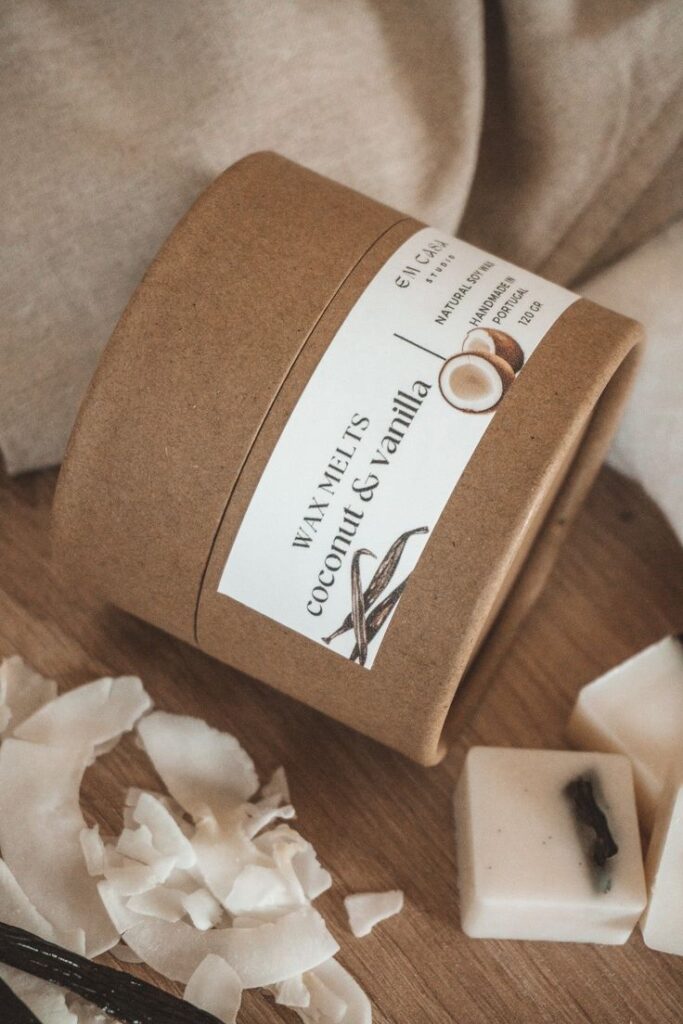
When you create your own candles, you become the quality assurance expert. You choose the wax, opting for natural, renewable sources like soy or coconut wax, which burn cleaner and longer than traditional paraffin. You select high-quality, phthalate-free fragrance oils or pure essential oils, ensuring a healthier and more authentic scent experience. This transparency allows you to avoid unknown additives and control the intensity of the scent, crafting candles that are both delightful and safe for your home.
Cost-Effectiveness and Sustainability
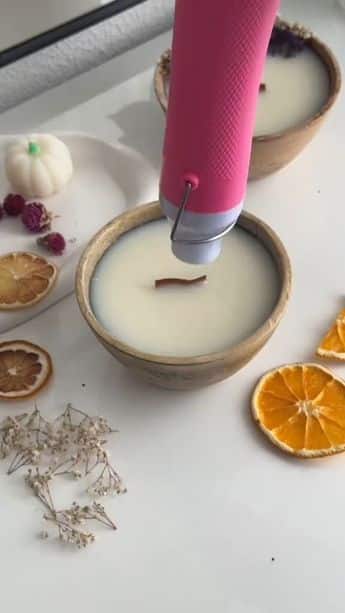
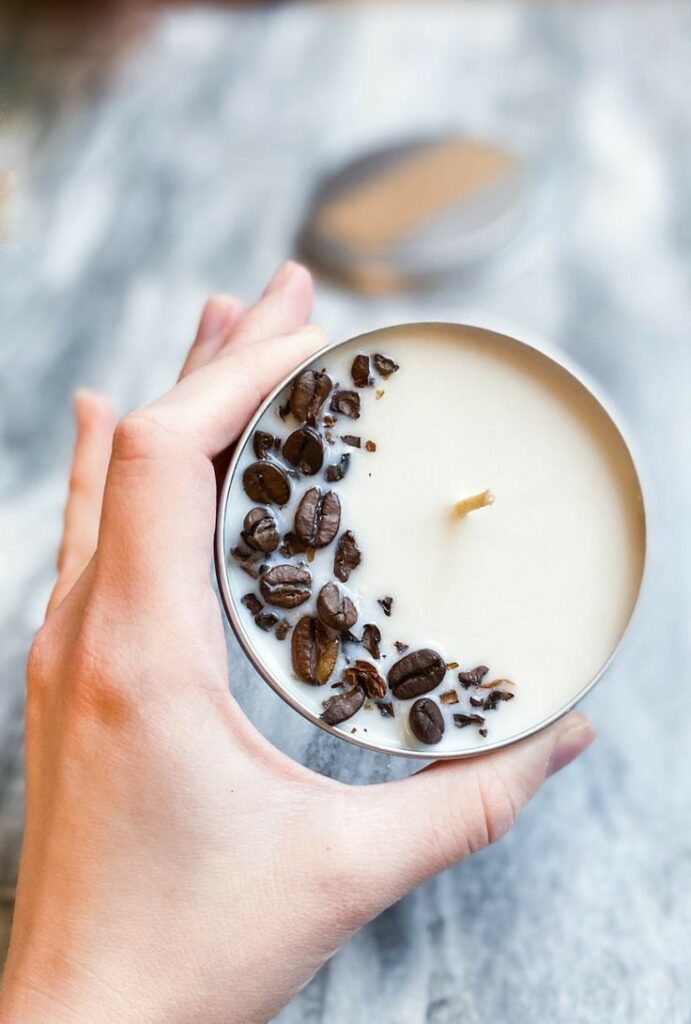
While the initial investment in tools might seem significant, crafting candles in batches proves to be remarkably cost-effective in the long run. The raw materials are generally more affordable than purchasing premium pre-made candles. Furthermore, DIY candle making promotes sustainability. You can reuse containers, minimize packaging waste, and select eco-friendly waxes and wicks, aligning your creative pursuits with a conscious lifestyle.
The Therapeutic and Ambiance-Enhancing Benefits
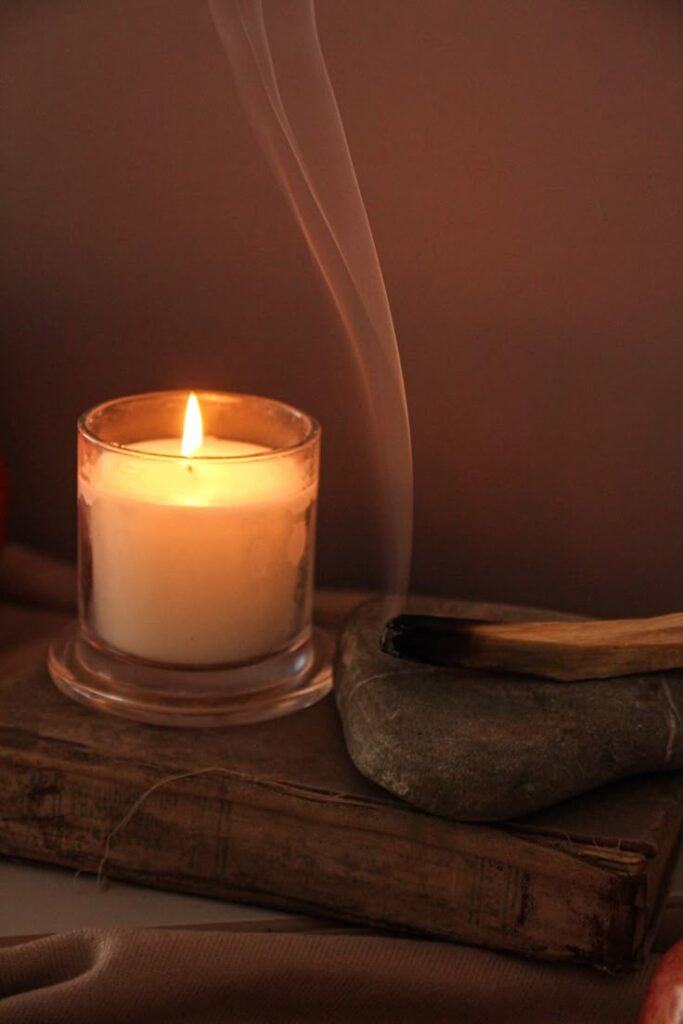
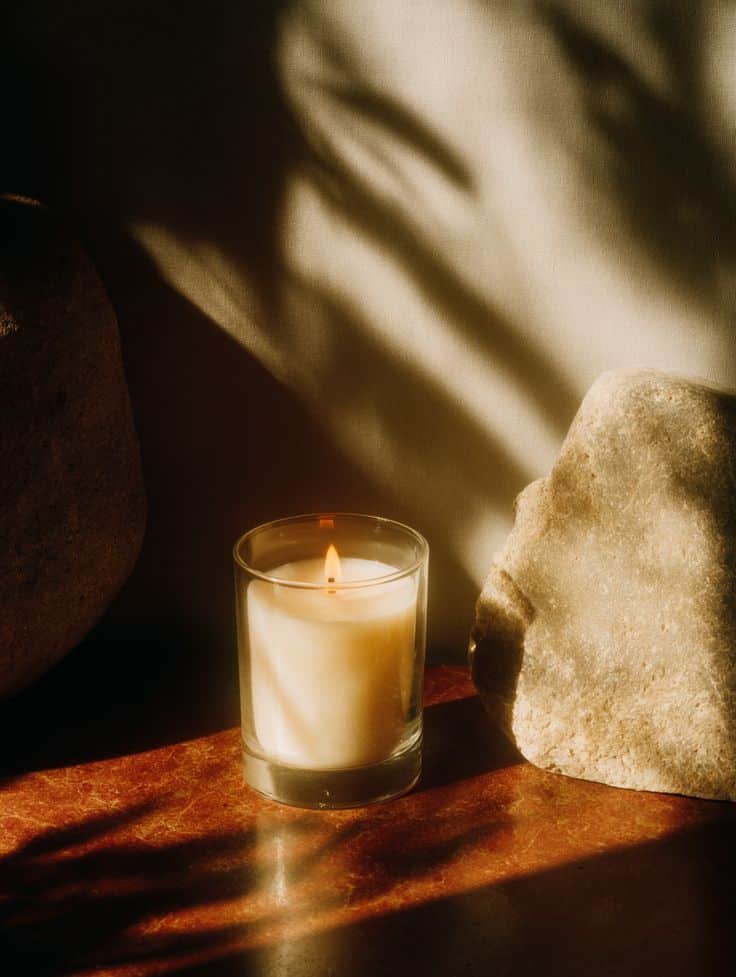
There is an undeniable connection between scent and emotion. Autumn aromas evoke feelings of comfort, nostalgia, and warmth. Crafting these scents yourself allows for a deeper engagement with the process, offering a meditative and rewarding experience. The gentle flicker and inviting aroma of a homemade candle contribute significantly to a cozy atmosphere, transforming any space into a sanctuary. Indeed, the soothing power of aromatherapy: understanding soy scented candles highlights how intentionally chosen scents can profoundly impact mood and well-being, making your DIY creations even more impactful for creating a truly inviting and personalized home environment.
Foundational Elements: Understanding Your Candle Components
Before embarking on your candle-making journey, a thorough understanding of each component is essential. Professional-grade candles are a result of informed choices regarding wax, wicks, and fragrance.
Wax: The Heart of Your Candle
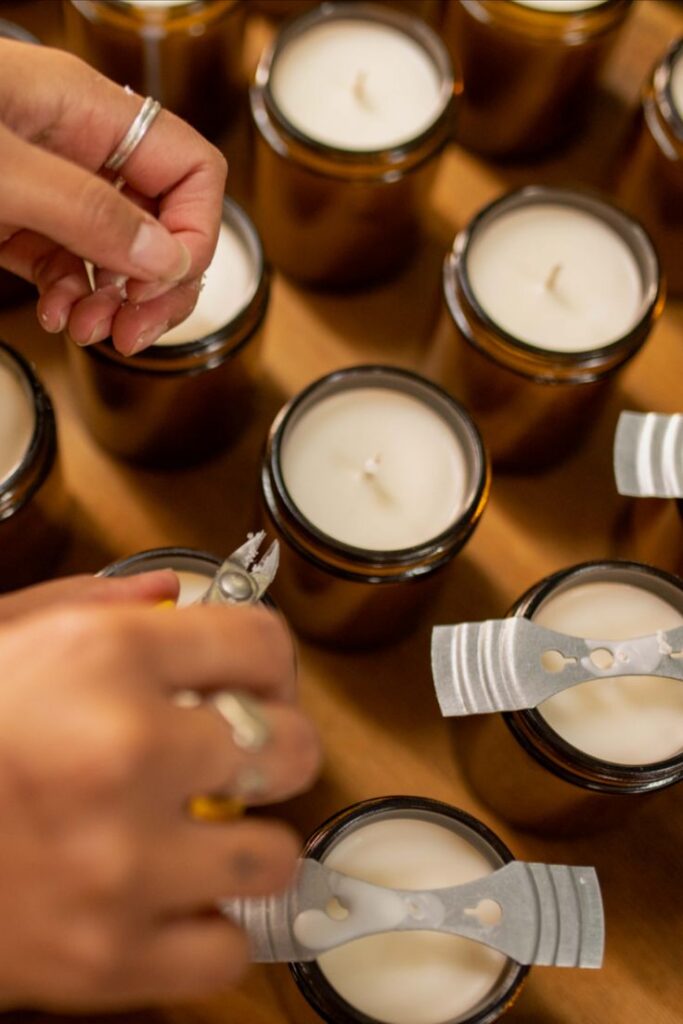
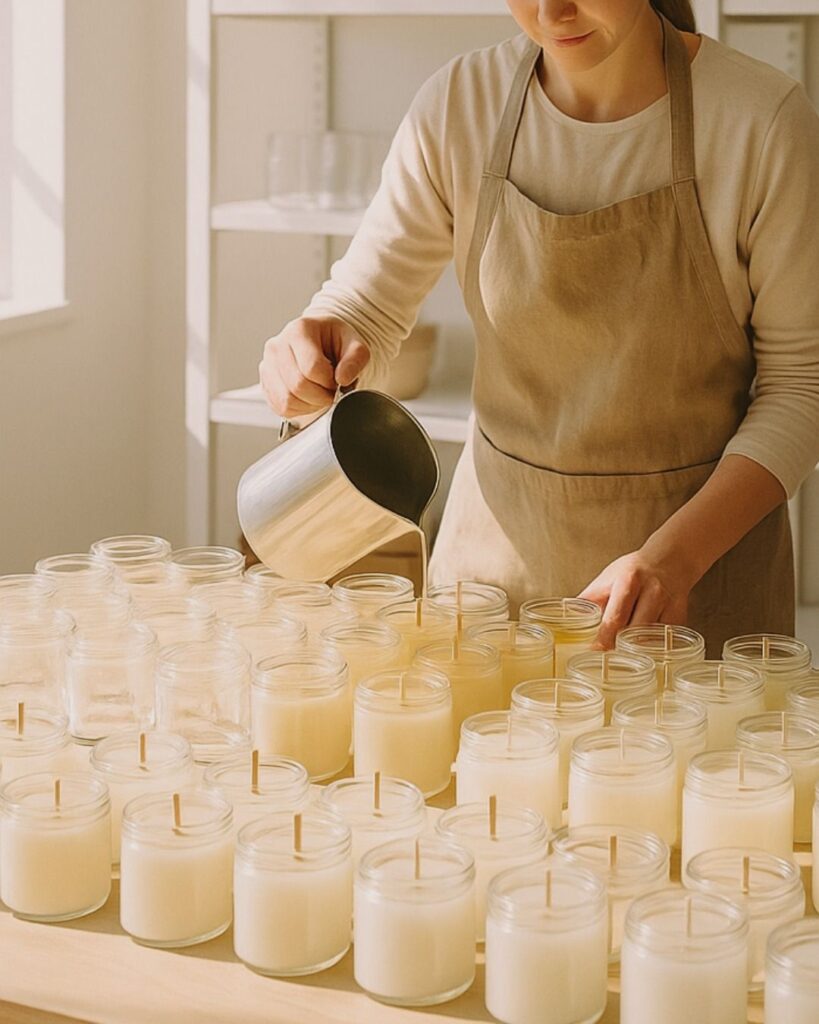
The type of wax you choose dictates burn quality, scent throw, and overall performance.
- Soy Wax: Highly recommended for DIY enthusiasts. Soy wax is a natural, renewable resource, biodegradable, and burns cleaner and longer than paraffin. It offers excellent fragrance retention and produces less soot. It’s generally easier to work with, though it can be prone to “frosting” or “wet spots,” which are largely cosmetic and do not affect performance.
- Beeswax: Another natural option, beeswax burns very slowly and cleanly, emitting a subtle, natural honey scent. It can be more challenging to work with due to its higher melting point and stiffness, often requiring specific wicks and larger fragrance loads to compete with its inherent aroma.
- Coconut Wax: A luxurious and sustainable choice, coconut wax offers a clean burn and excellent scent throw. It has a smooth, creamy appearance and can be blended with other waxes like soy for enhanced properties.
- Paraffin Wax: While widely used commercially due to its low cost and good scent throw, paraffin is a petroleum byproduct. For a professional and health-conscious DIY approach, natural waxes are generally preferred.
Wicks: The Lifeline of Your Flame
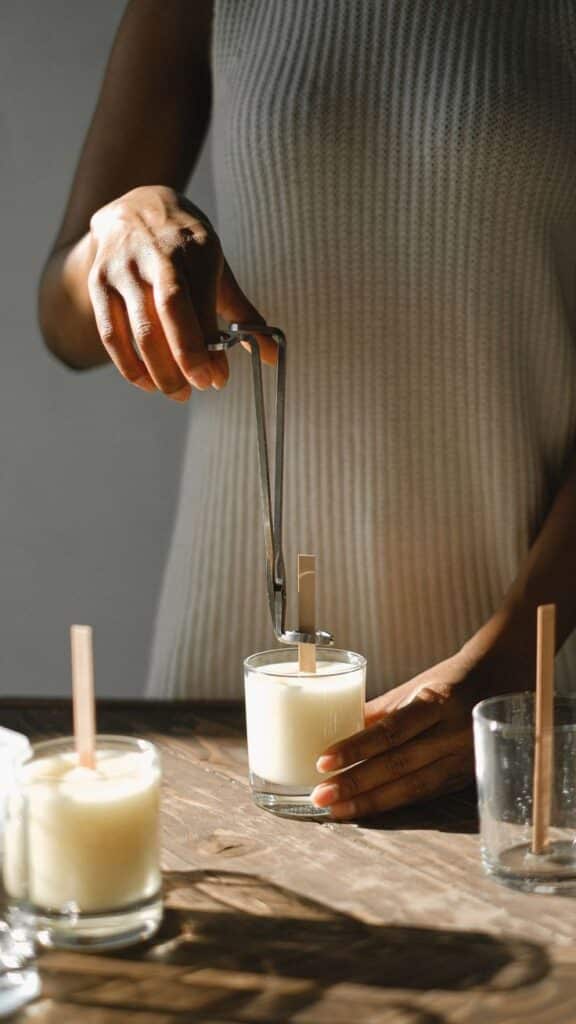
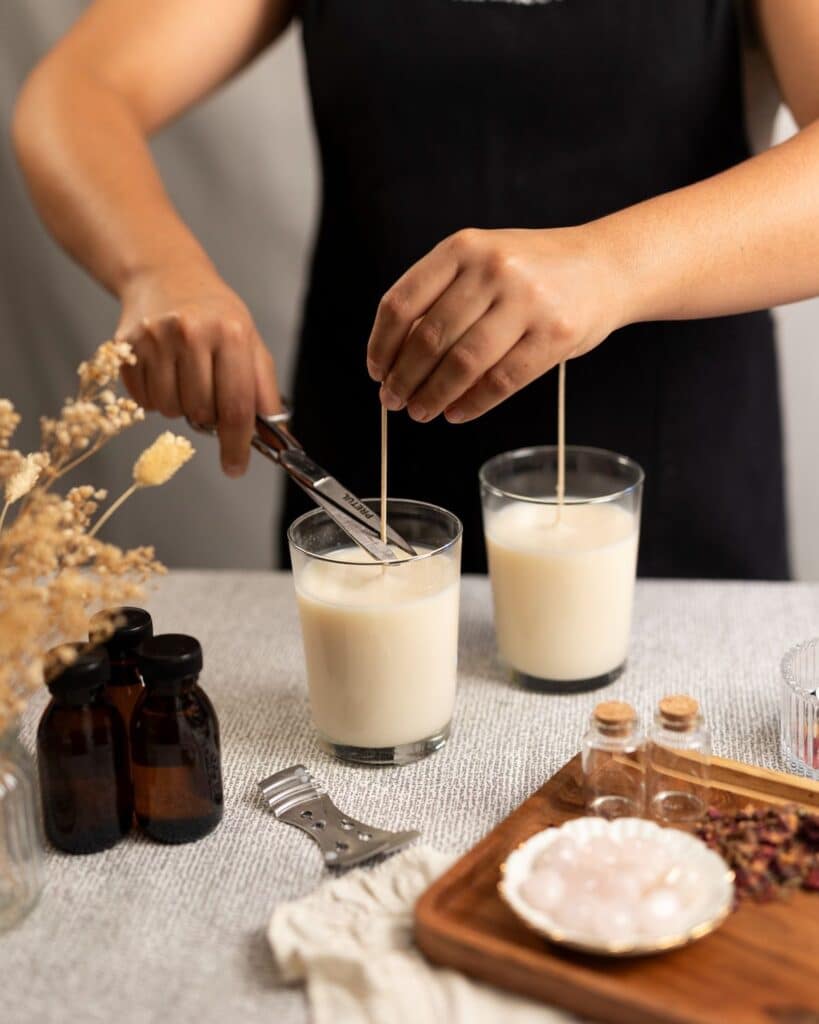
The wick is critical for a proper, even burn. An incorrectly sized wick can lead to tunneling, excessive soot, or a weak flame.
- Cotton Wicks: The most common type, often featuring a paper or zinc core for rigidity. Ensure they are pre-tabbed for easy placement.
- Wood Wicks: Offer a charming crackling sound, reminiscent of a fireplace. They require specific holders and can be slightly trickier to work with, but the aesthetic and auditory experience is unique.
- Wick Sizing: This is paramount. Wick size is determined by the diameter of your container and the type of wax. Too small, and the candle will tunnel; too large, and it will burn too quickly with a large flame and excessive soot. Always consult wick manufacturer guidelines and conduct burn tests.
Fragrance: The Soul of Your Autumn Aroma
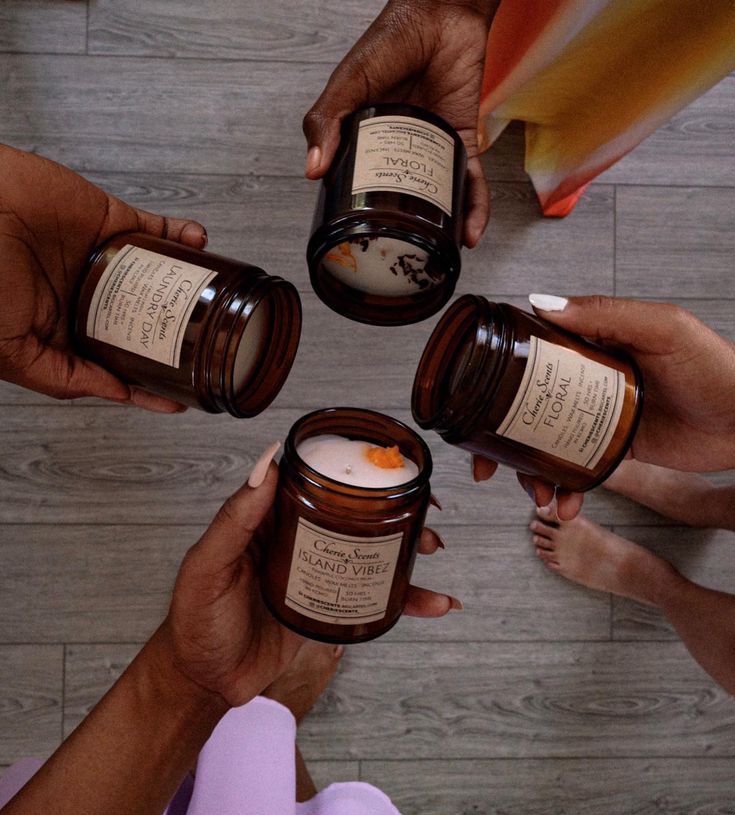
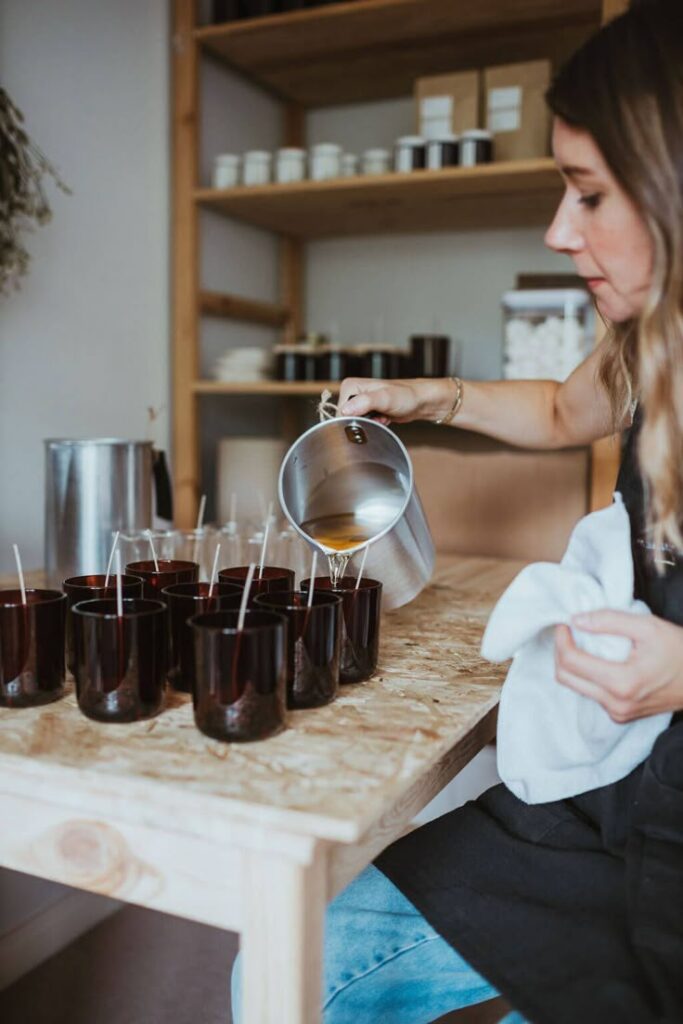
Choosing between fragrance oils and essential oils is a key decision, each offering distinct characteristics.
- Fragrance Oils: Specifically designed for candles, these are synthetically created or a blend of natural and synthetic compounds. They offer a vast array of scents, including complex autumn blends like “Pumpkin Spice Latte” or “Autumn Leaves,” and generally provide a stronger “hot throw” (scent released when burning). Ensure you choose high-quality, phthalate-free fragrance oils from reputable suppliers.
- Essential Oils: Derived directly from plants, essential oils offer natural, therapeutic benefits. Scents like cinnamon, clove, sweet orange, cedarwood, and ginger are perfect for autumn. However, essential oils can be more volatile, less stable at high temperatures, and may not provide as strong a hot throw as fragrance oils. Their purity and therapeutic properties associated with home comforts that feel like a warm hug make them excellent for a subtle, natural ambiance. Always research flash points and safe usage rates for specific essential oils in candles.
Containers: The Vessel for Your Creation
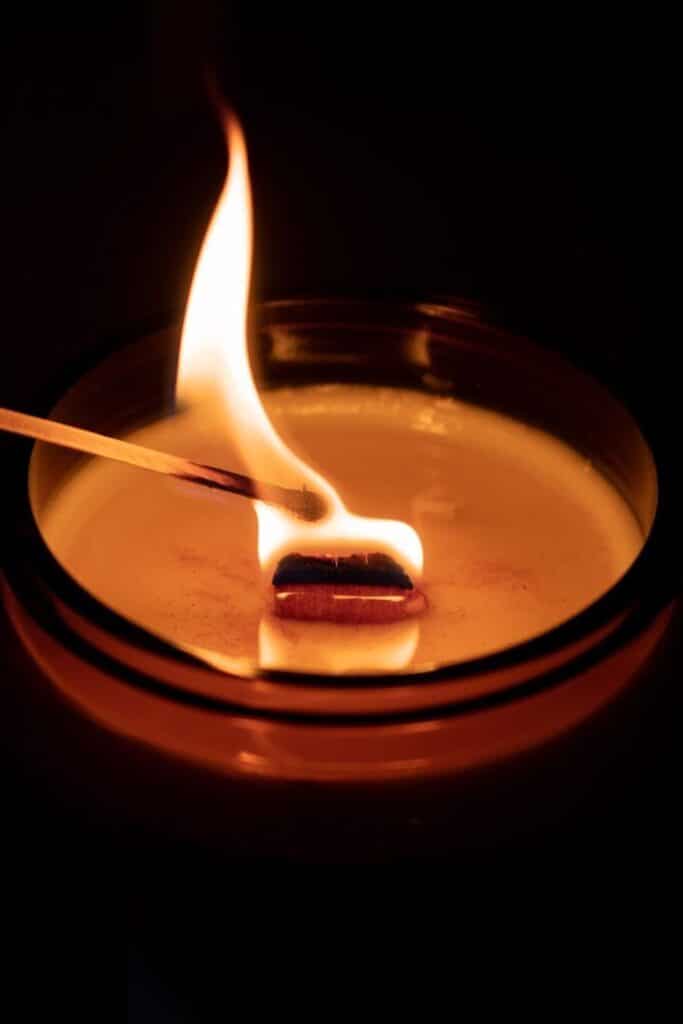
The container is not just for aesthetics; it’s a functional element impacting burn safety and performance.
- Material: Glass jars, ceramic crocks, or metal tins are popular choices. Ensure they are heat-safe and able to withstand the temperatures of melted wax and the heat from the flame.
- Shape and Size: Choose containers with a wide enough opening to allow for an even melt pool. The diameter directly influences wick size.
- Cleaning: Thoroughly clean and dry all containers before use to ensure proper wax adhesion.
Dyes (Optional): Adding Visual Depth
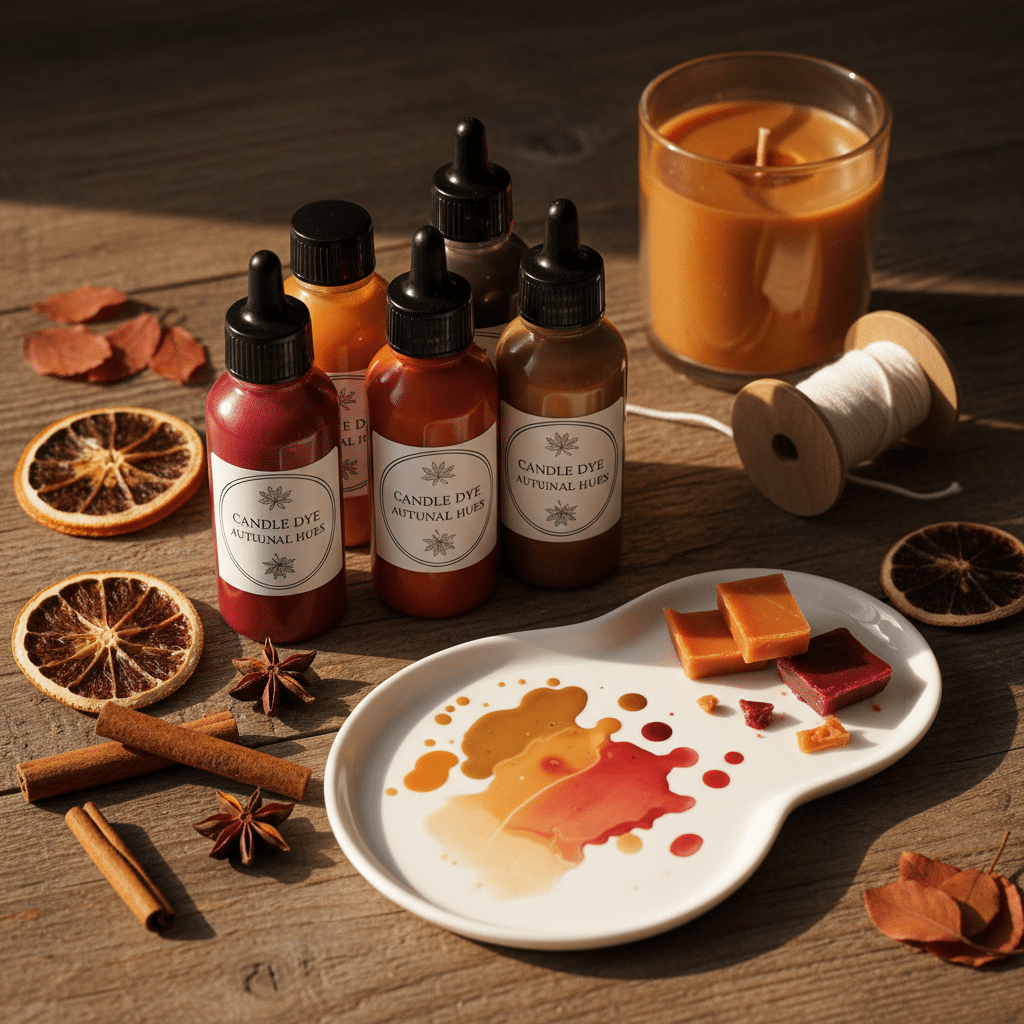
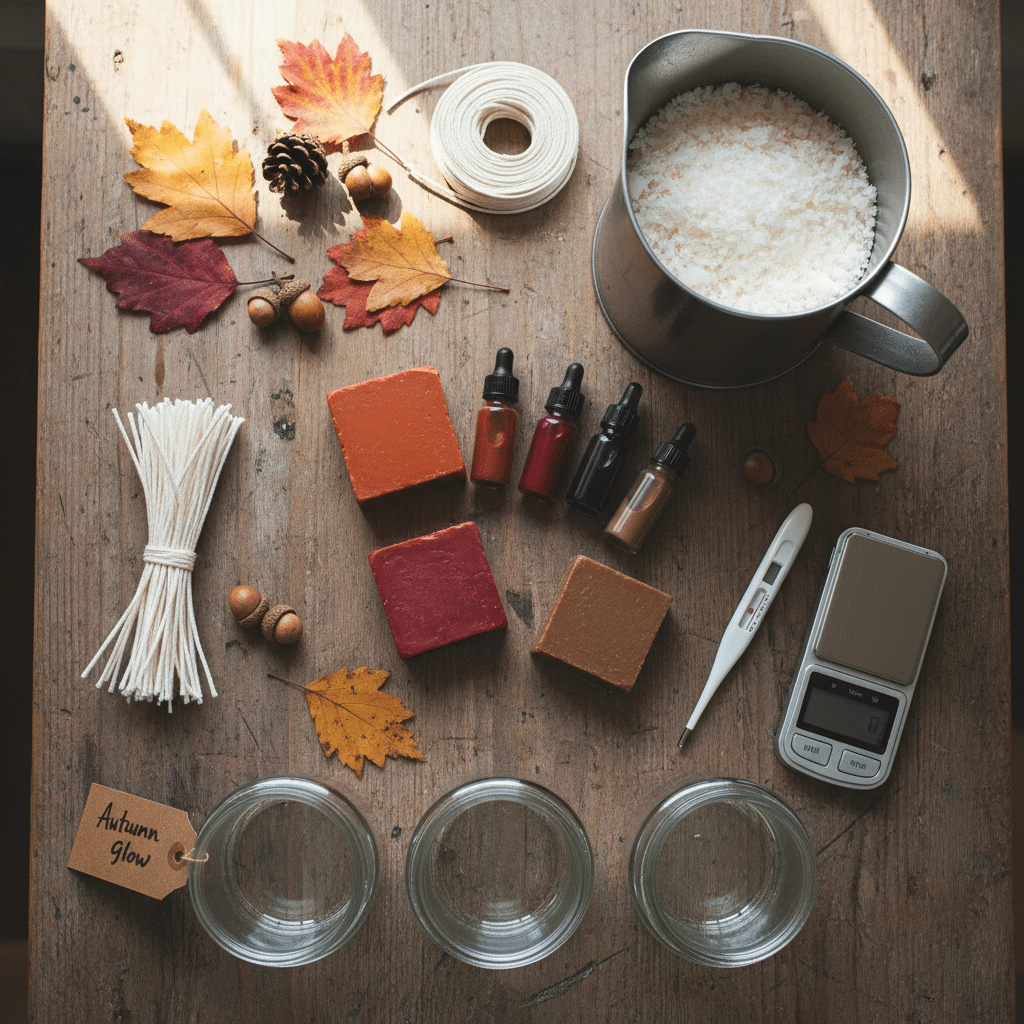
If you wish to add color, candle dyes come in liquid or block forms. Use them sparingly, as too much dye can interfere with the wax’s ability to hold fragrance and burn cleanly. Autumnal hues like deep orange, rich red, or muted brown can enhance the seasonal theme.
Essential Tooling for Professional-Grade Candle Making
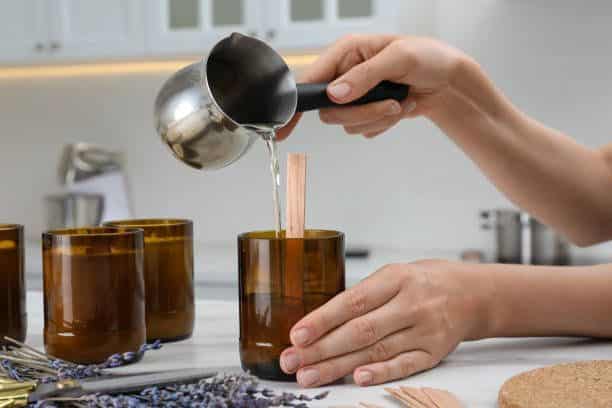
Achieving professional-quality results requires the right equipment. Investing in these essential tools will streamline your process and ensure consistency. Just as specialized equipment is vital in various crafts, from intricate electronics to what tools do you need for professional quality nail art?, precision tools are paramount in candle making to ensure safety, accuracy, and a superior end product.
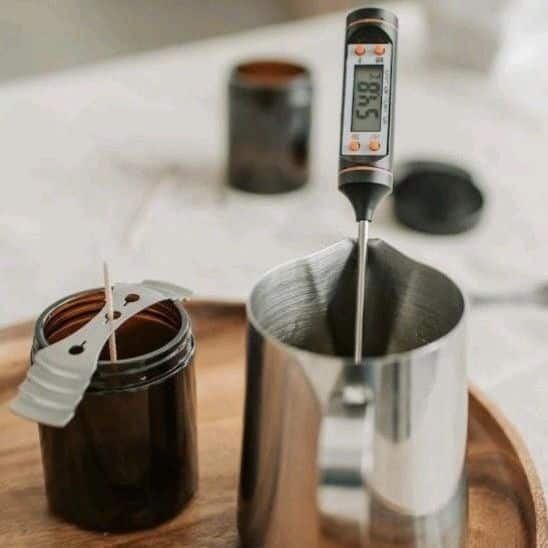
- Double Boiler or Wax Melter: A dedicated wax melter offers consistent temperature control. Alternatively, a double boiler setup (a heat-safe pitcher placed in a pot of simmering water) works effectively for smaller batches. Never melt wax directly over high heat.
- Heat-Resistant Thermometer: Absolutely crucial. Wax must be heated to specific temperatures for melting, adding fragrance, and pouring to achieve optimal scent throw and appearance. A candy or meat thermometer works well.
- Digital Scale: Precision is key in candle making. A scale allows you to accurately measure wax, fragrance oil, and essential oils by weight, ensuring consistent ratios and repeatable results.
- Pouring Pitcher: A sturdy, heat-resistant pitcher with a spout simplifies pouring hot wax into containers, minimizing spills.
- Wick Centering Tools/Clips: These devices hold the wick straight and centered while the wax cools and hardens, preventing lopsided burns.
- Stirring Utensils: Dedicated stirring rods or heat-resistant spatulas are needed to gently incorporate fragrance oils into the melted wax.
- Safety Glasses and Heat-Resistant Gloves: Protect yourself from hot wax and potential splashes.
- Clean-up Supplies: Paper towels, rubbing alcohol, and a designated workspace make for easy clean-up.
Mastering Autumn Scent Blends: A Palette of Seasonal Aromas
The art of scent blending is where your DIY candles truly shine. Autumn offers a rich tapestry of aromas, from crisp orchard fruits to warm spices and earthy undertones. Understanding fragrance notes will help you compose harmonious and evocative blends.
Understanding Fragrance Notes
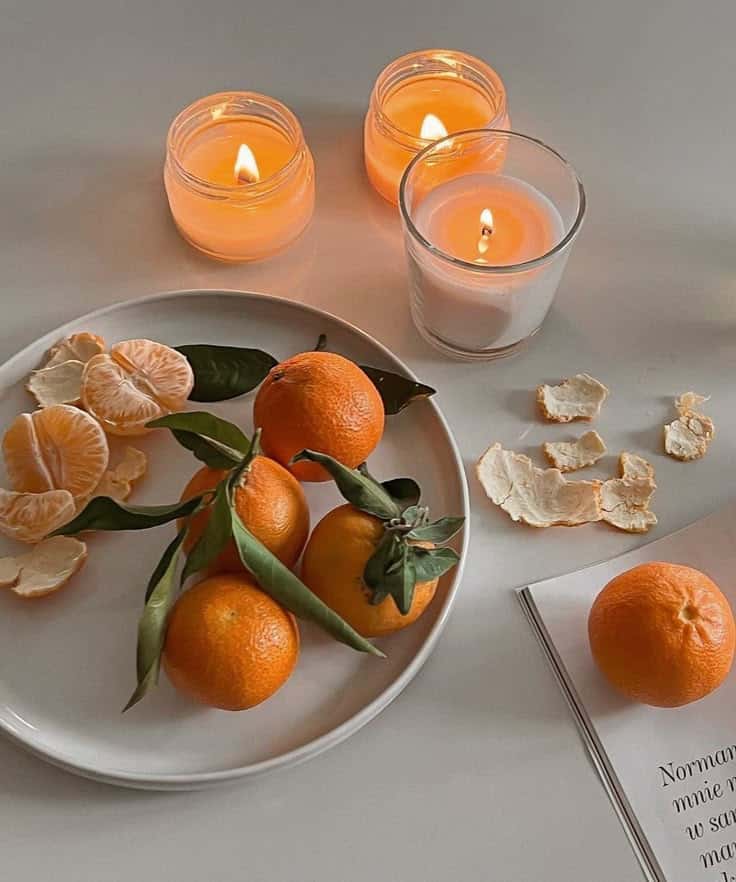
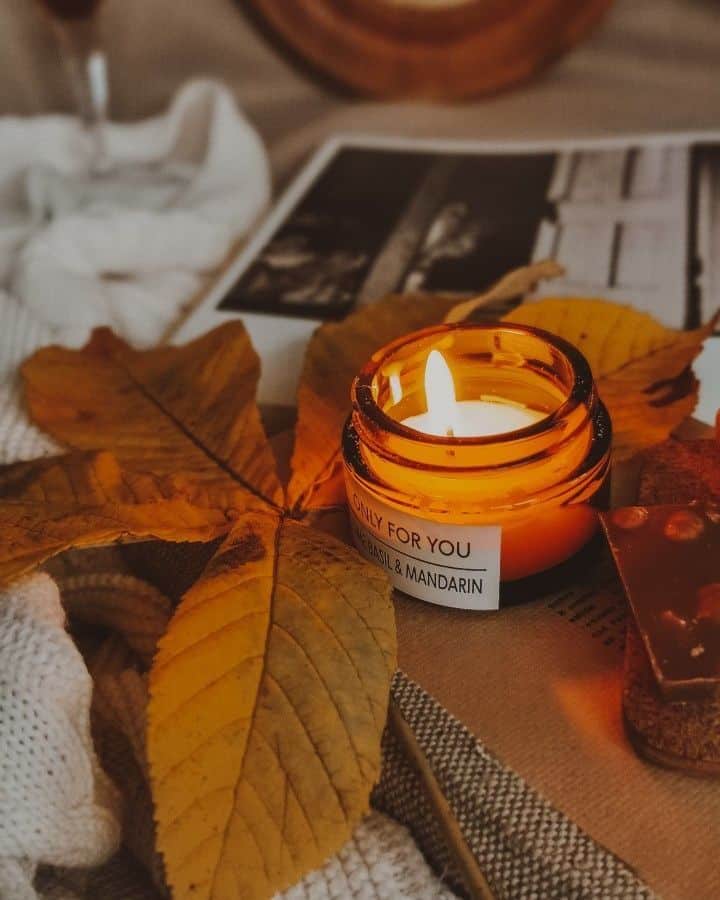
Much like perfumery, candle scents are often composed of top, middle, and base notes.
- Top Notes: The first impression, usually light and quick to evaporate. Think citrus (sweet orange, bergamot), green notes (pine, eucalyptus), or bright fruits (apple, cranberry).
- Middle Notes (Heart Notes): The main body of the scent, emerging after the top notes fade. These are often warm spices (cinnamon, clove, nutmeg, ginger), florals (jasmine, rose – used sparingly for autumn), or comforting gourmand scents (pumpkin, caramel).
- Base Notes: The lingering foundation of the scent, deep and long-lasting. Earthy tones (patchouli, vetiver), woody notes (cedarwood, sandalwood), or rich gourmands (vanilla, amber, tonka bean, brown sugar) often form the base.
Classic Autumnal Scents and Their Blending Potential
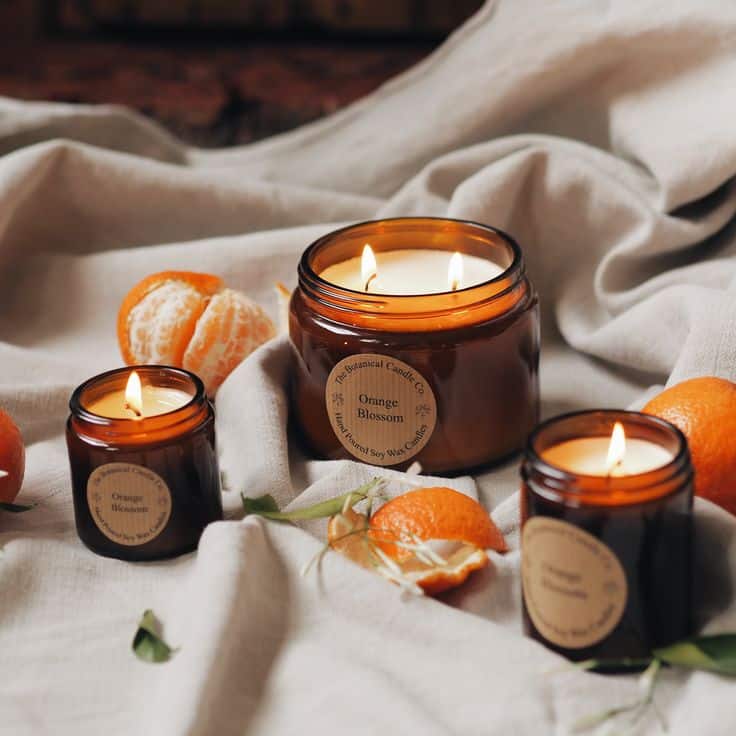
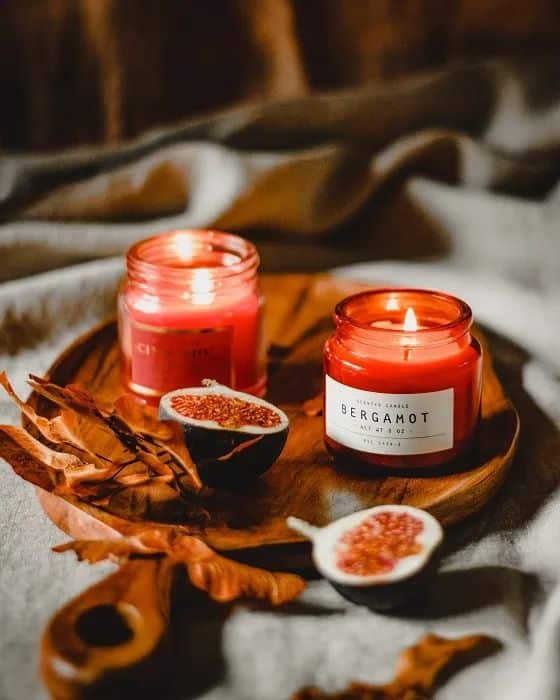
- Pumpkin Spice: A quintessential fall aroma. Combine pumpkin puree fragrance oil with cinnamon, clove, nutmeg, and a touch of ginger essential oil. For depth, add a hint of vanilla or a very subtle woody note like cedarwood.
- Apple Orchard: Crisp and inviting. Blend apple fragrance oil with cinnamon, a touch of brown sugar, and a hint of a fresh green note or even a subtle cedarwood for an “apple wood” effect.
- Cozy Hearth: Evokes warmth and comfort. Combine smoky notes (fireplace fragrance oil) with patchouli, sandalwood, and a touch of amber or vanilla for sweetness.
- Spiced Cranberry: Tart and festive. Cranberry fragrance oil pairs beautifully with cinnamon, orange zest, and a subtle hint of pine or frankincense for a sophisticated twist.
- Autumn Leaves: Capture the essence of an outdoor stroll. Blend earthy notes like patchouli and vetiver with subtle woody notes (cedarwood, oakmoss) and a hint of a crisp, fresh scent.
- Vanilla Bean Dream: Rich and comforting. Vanilla bean fragrance oil combined with a touch of caramel, marshmallow, or even a very subtle coffee note creates a decadent experience. Add a touch of tonka bean for added warmth.
Creating Your Own Harmonious Blends
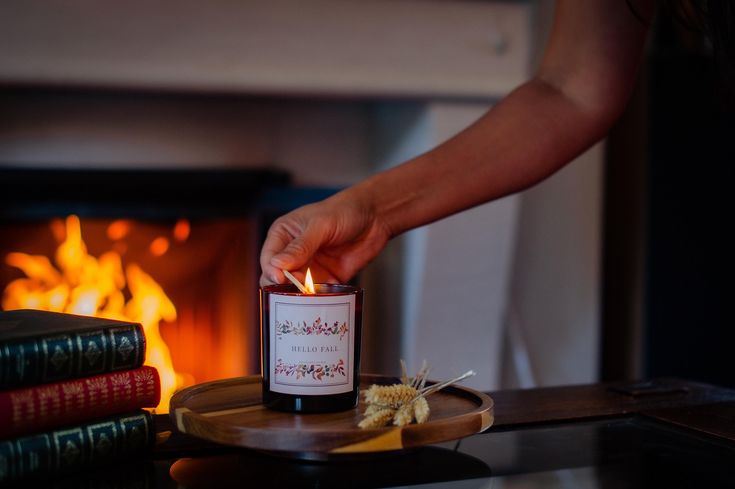
- Start Simple: Begin with 2-3 complementary scents. A common ratio is 30% top, 40% middle, 30% base, but this is highly flexible for candles.
- Test on Scent Strips: Before committing to a large batch, place drops of essential or fragrance oils on scent strips (or even coffee filters) and let them sit for a few hours to see how they evolve together.
- Consider Intensity: Some oils are much stronger than others. Use potent oils like clove or cinnamon sparingly, building up the blend gradually.
- Keep Records: Document every blend you create, noting the exact ratios by weight. This is crucial for replicating successful aromas and refining unsuccessful ones.
Step-by-Step Professional Candle Crafting Process
Precision and patience are your greatest allies in crafting high-quality candles. Follow these steps meticulously for optimal results.
1. Preparation and Wick Placement
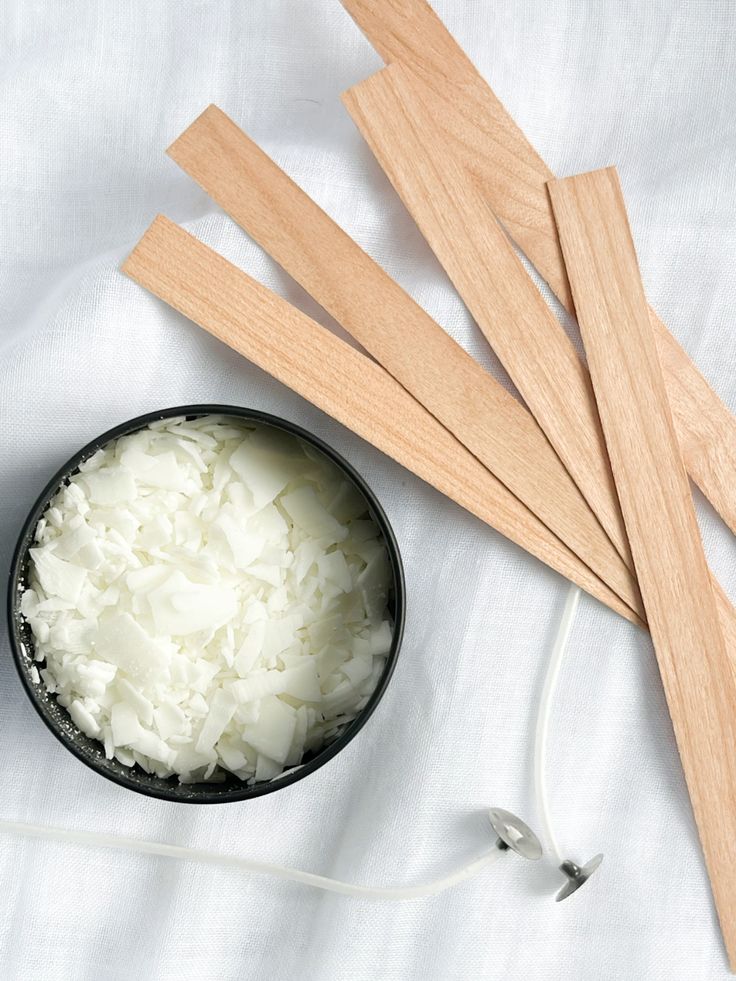
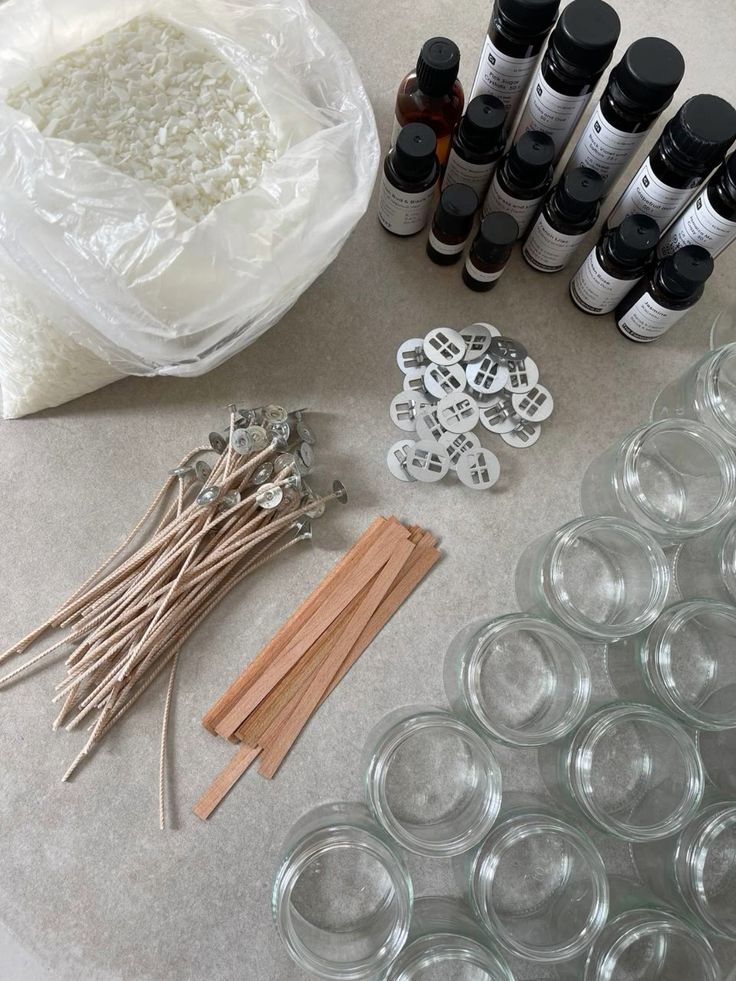
- Clean Containers: Ensure your containers are spotless and completely dry. Any moisture can cause issues.
- Wick Securing: Using a hot glue gun or specialized wick stickers, firmly secure the wick tab to the center bottom of your container.
- Wick Centering: Use a wick centering tool or clothespins to hold the wick perfectly upright and centered at the top of the container. This prevents the wick from moving as the wax cools.
2. Wax Melting
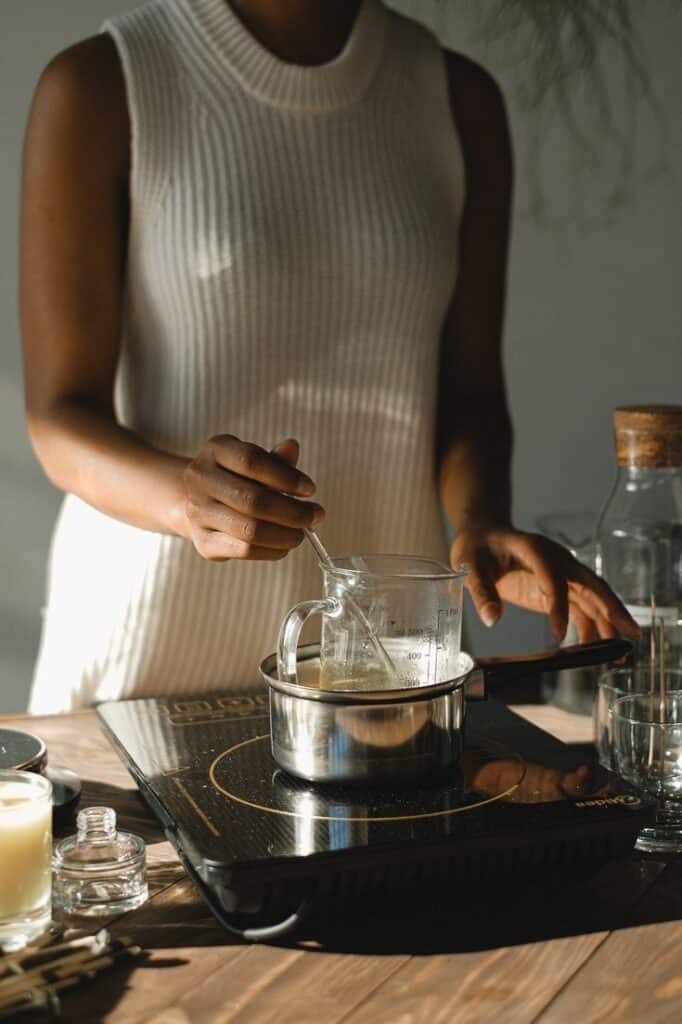
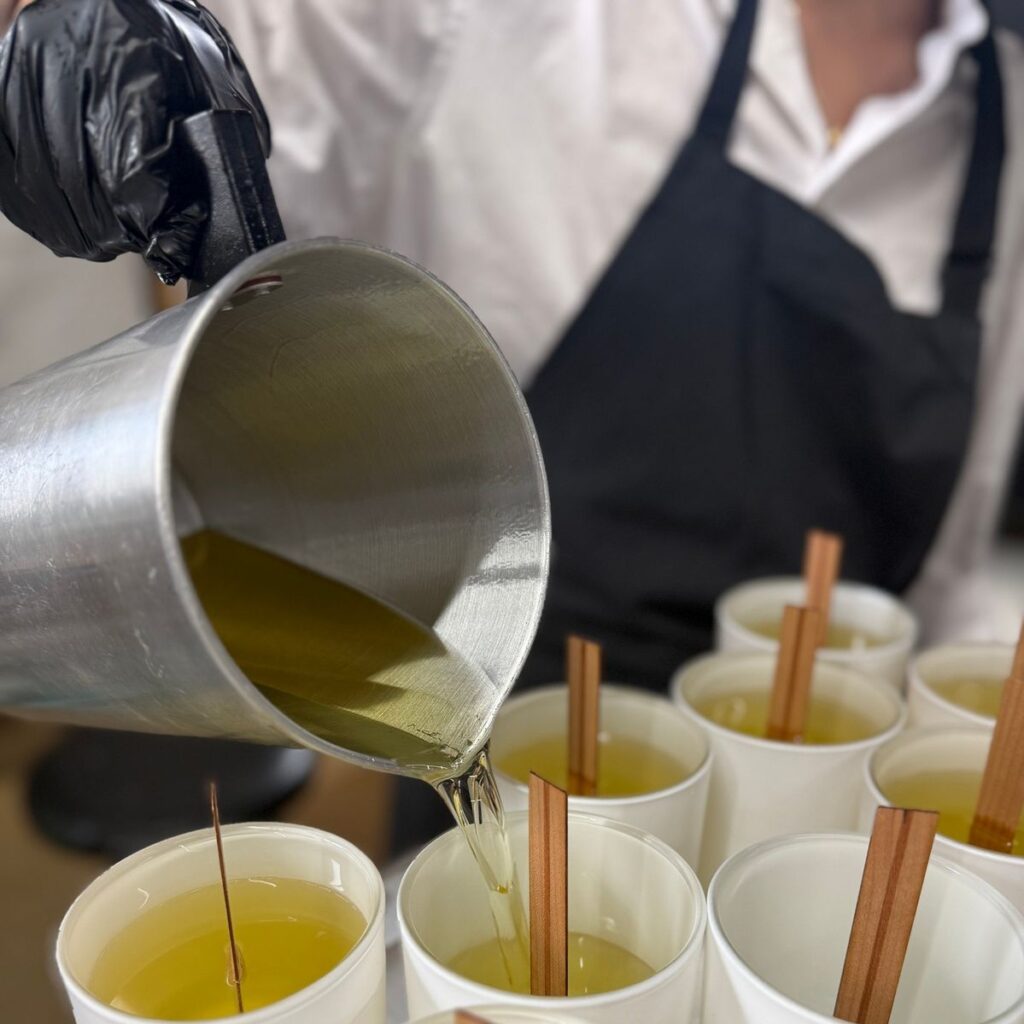
- Weigh Your Wax: Using your digital scale, weigh out the desired amount of wax based on your container volume.
- Melt Slowly: Place your wax in a double boiler or wax melter. Heat gradually, stirring occasionally, until the wax is fully melted and smooth. Avoid high heat, which can degrade the wax.
- Monitor Temperature: Use your thermometer to track the wax temperature. Most waxes have a specific “pour temperature” and a “fragrance incorporation temperature.” For soy wax, aim for around 185°F (85°C) to fully melt.
3. Fragrance Incorporation

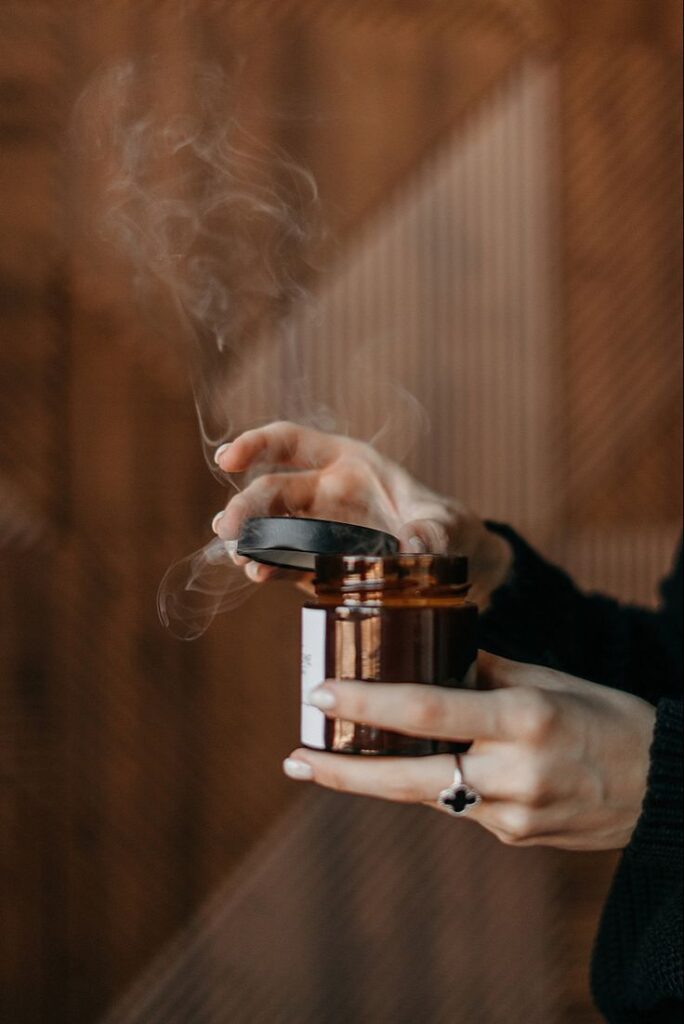
- Cool Down: Once melted, remove the wax from the heat source and allow it to cool down to the ideal fragrance incorporation temperature. For most natural waxes, this is typically between 175-185°F (80-85°C). Adding fragrance when the wax is too hot can cause it to burn off; too cool, and it won’t bind properly.
- Weigh Fragrance Oil: Accurately measure your chosen fragrance or essential oils by weight using your digital scale. The standard “fragrance load” for candles is typically 6-10% of the wax weight. For a 1lb (454g) candle, 6% would be 27g of fragrance.
- Stir Thoroughly: Add the fragrance oil to the cooled wax and stir gently but continuously for 2-3 minutes. This ensures the fragrance molecules bond properly with the wax, leading to a strong, even scent throw.
4. The Pour
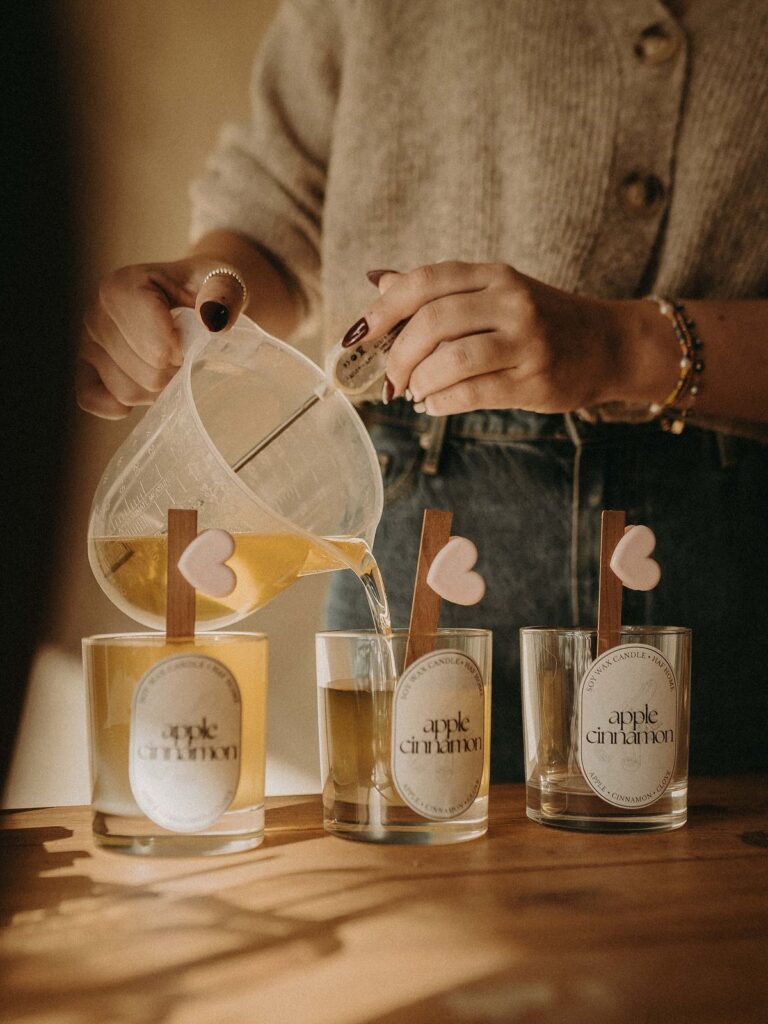
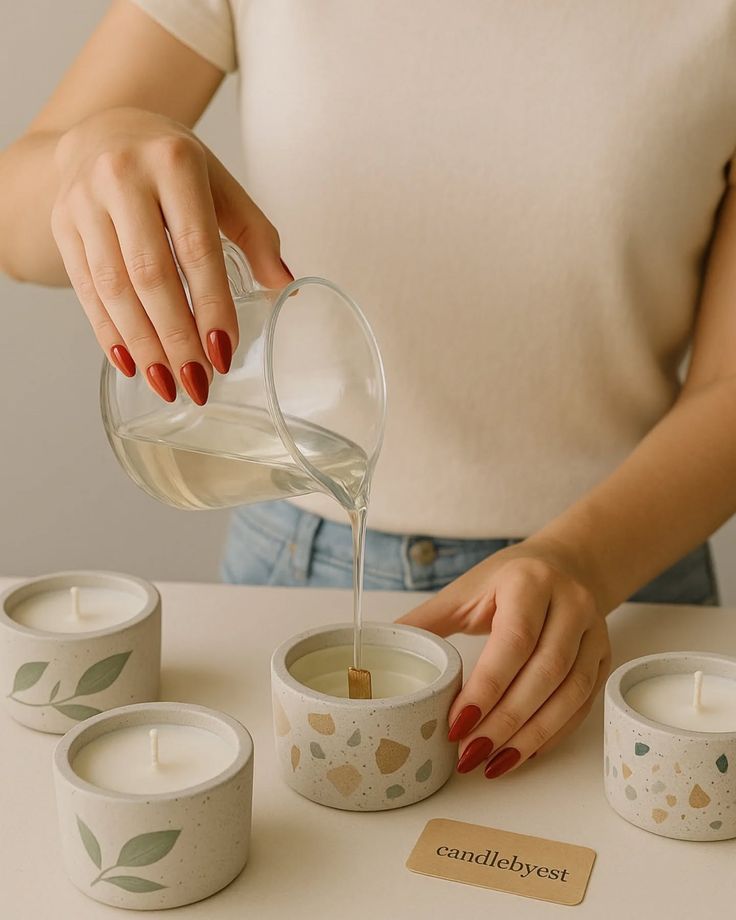
- Cool to Pour Temperature: Allow the fragranced wax to cool further to its optimal pour temperature. For soy wax, this is often between 135-150°F (57-65°C), depending on the specific wax blend and desired finish. Pouring too hot can lead to “wet spots” (detachment from the container sides) or rough tops. Pouring too cool can create an uneven surface.
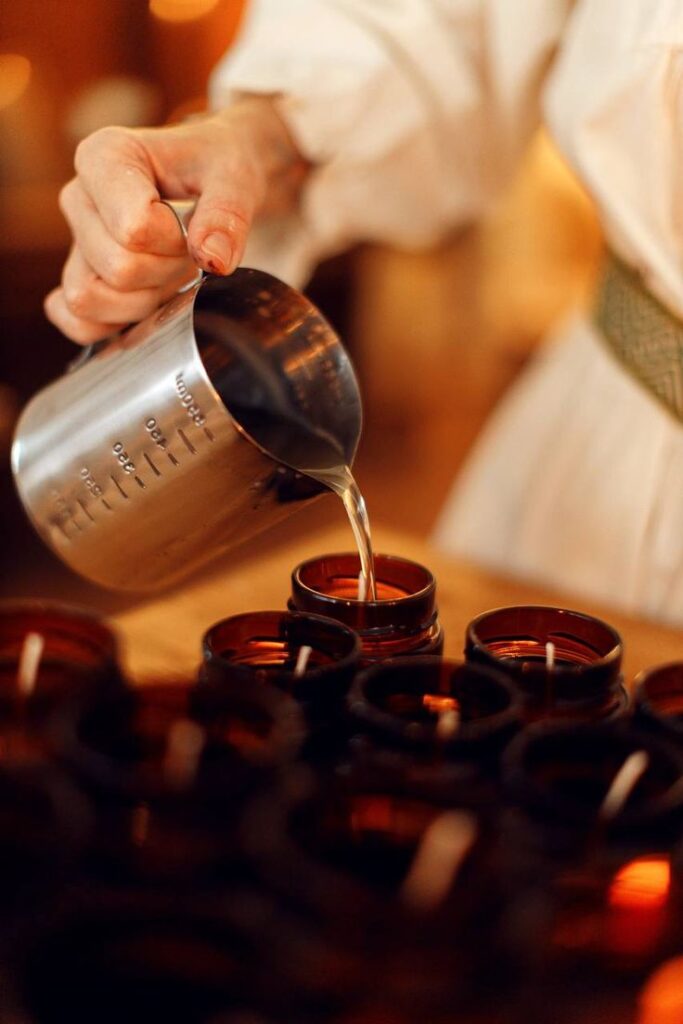
- Slow and Steady: Gently pour the wax into your prepared containers, filling them to your desired level, leaving about half an inch from the rim. Pouring slowly minimizes air bubbles.
- Maintain Wick Position: Double-check that your wicks remain centered and upright during and after the pour.
5. Curing: The Secret to Scent Throw
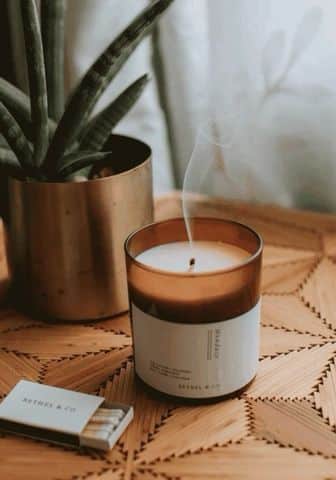
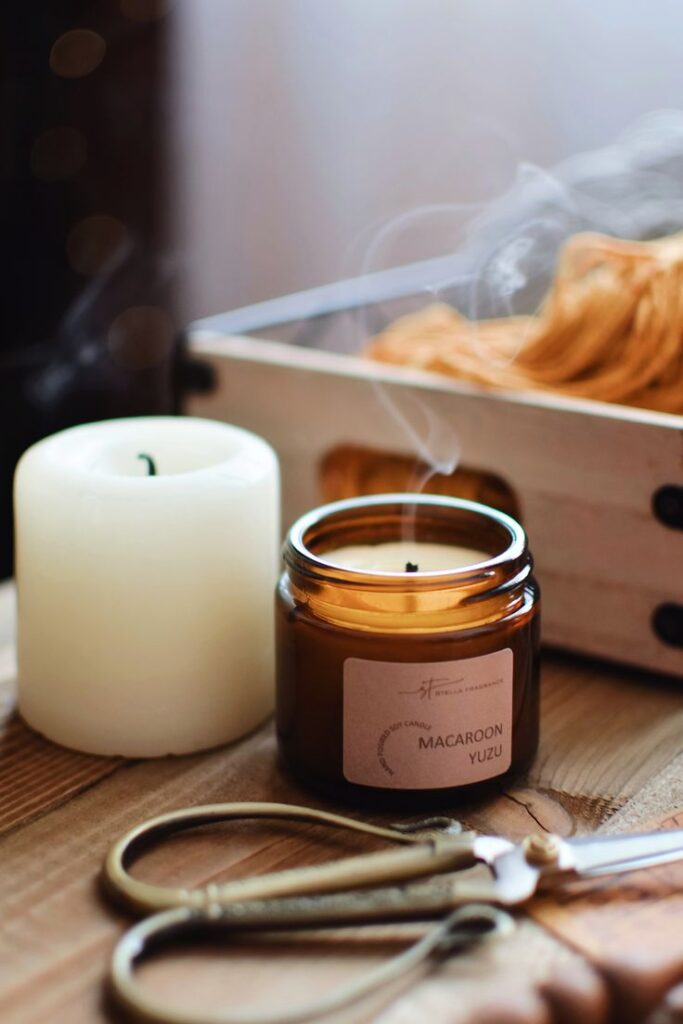
- The Waiting Game: This is perhaps the most crucial, yet often overlooked, step. Once poured, allow your candles to cool and harden completely at room temperature, undisturbed. Avoid moving them or placing them in a cold environment, which can cause cracking or frosting.
- The Curing Process: After hardening, candles need a minimum of 3-7 days to “cure.” During this time, the fragrance molecules continue to bind with the wax, strengthening the scent throw. For best results, many professional candle makers cure soy candles for 1-2 weeks. Store them in a cool, dark place during this period.
6. Wick Trimming
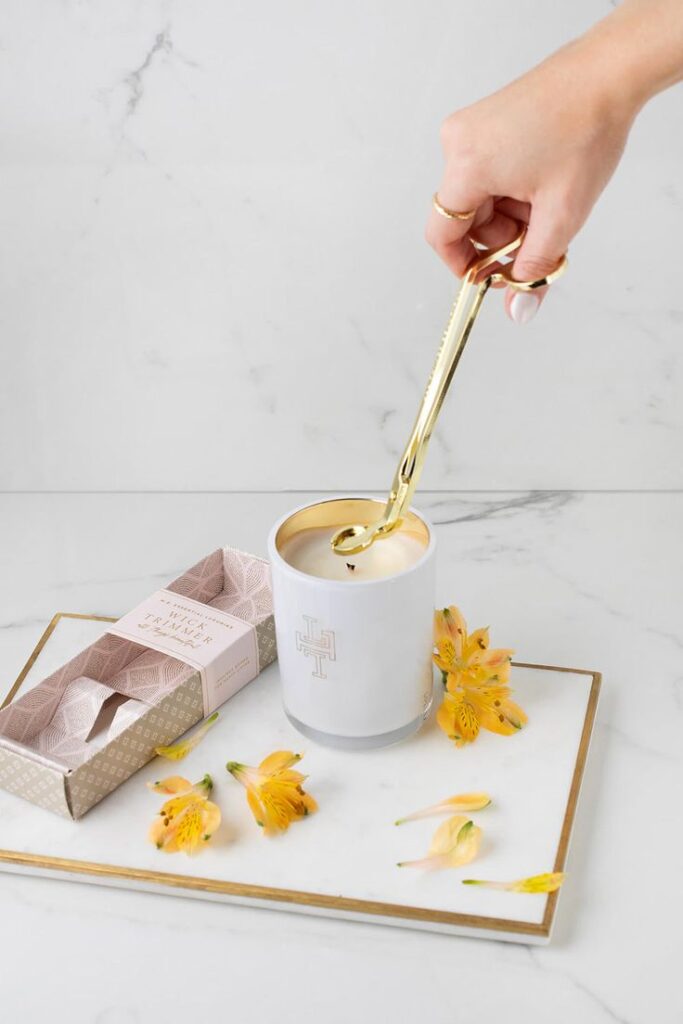
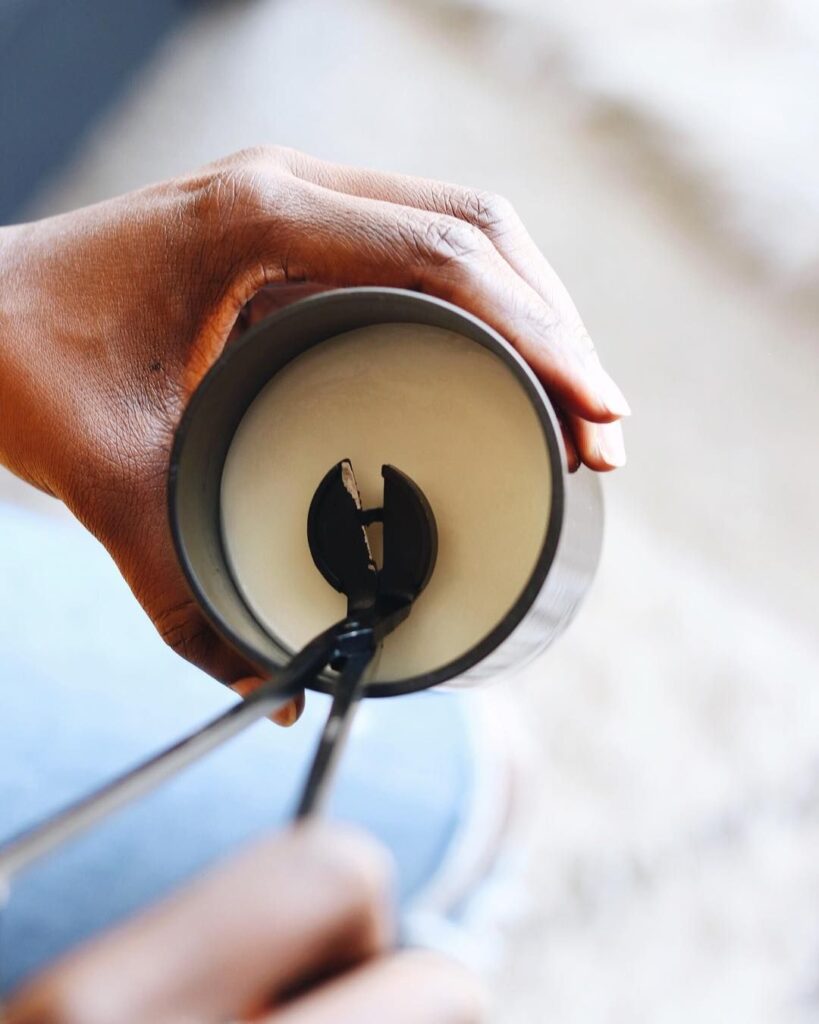
- Post-Cure Trim: Once fully cured, trim your wicks to approximately ¼ inch (0.6 cm) before the first burn. This prevents excessive flame, soot, and ensures an even melt pool.
- Before Each Burn: Always trim the wick to ¼ inch before relighting your candle. This is a vital part of candle maintenance and safety.
Advanced Techniques and Troubleshooting for Flawless Candles
Even with meticulous care, challenges can arise. Understanding how to troubleshoot common issues will elevate your candle-making prowess.
Common Issues and Their Solutions
- Wet Spots: These are areas where the wax has pulled away from the container, appearing as translucent patches. They are often caused by pouring wax when it’s too hot, temperature fluctuations during cooling, or cold containers. Solutions include ensuring containers are at room temperature, pouring at the lowest recommended temperature, and allowing candles to cool slowly and undisturbed.
- Frosting (Polymorphism): A common characteristic of natural waxes, especially soy. It appears as white, crystalline patches on the surface or sides. It’s purely cosmetic and doesn’t affect burn quality or scent throw. It’s caused by natural wax crystallization. Minimizing temperature fluctuations during cooling and using certain wax additives can reduce it, but often, it’s embraced as a sign of natural wax.
- Poor Scent Throw (Hot or Cold):
- Cold Throw (unlit scent) is weak: Insufficient fragrance oil, poor quality fragrance, or insufficient curing time.
- Hot Throw (lit scent) is weak: Fragrance added at too high a temperature (burned off), insufficient fragrance load, short curing time, or incorrect wick size (melt pool not large enough to diffuse scent).
- Solutions: Increase fragrance load (within safe limits), ensure correct fragrance incorporation temperature, extend curing time, and verify proper wick size for your container and wax.
- Tunneling: This occurs when the candle burns down the center, leaving a ring of un-melted wax around the edges. It’s almost always due to an undersized wick. The wick isn’t generating enough heat to create a full melt pool.
- Solution: Use a larger wick size in your next batch. For existing candles, try placing them in a warm oven (turned off, but residual heat) for a short period to level the wax, or use a candle topper to trap heat.
- Rough/Bumpy Tops After Cooling: This can be caused by pouring too cool, cooling too quickly, or certain wax characteristics.
- Solutions: Pour at a slightly warmer temperature, ensure a slow cooling process, or use a heat gun on a low setting for a few seconds after the candle has fully hardened to gently smooth the surface.
- Sooting: Excessive black smoke indicates an oversized wick, an un-trimmed wick, or a drafty location.
- Solutions: Ensure wicks are trimmed to ¼ inch before each burn, use a smaller wick size if it’s a consistent problem, and burn candles away from drafts.
The Importance of Testing and Iteration
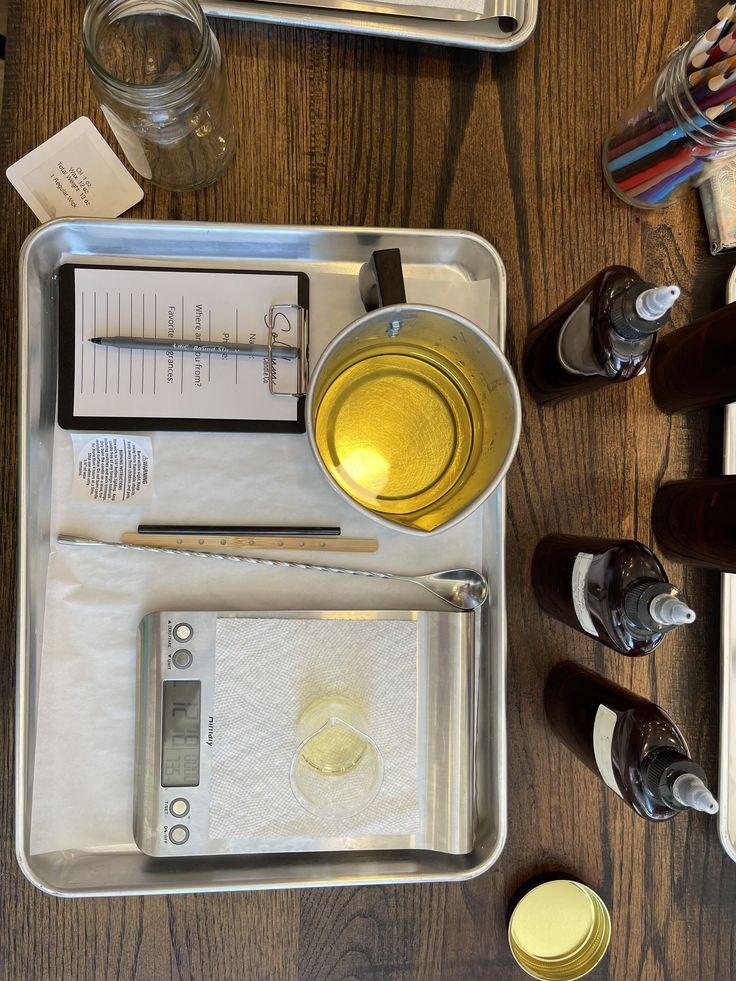
Professional candle makers understand that perfect candles rarely happen on the first try.
- Small Batch Testing: Always create a small test batch (1-2 candles) when trying new waxes, wicks, fragrance oils, or scent blends.
- Burn Testing: Conduct a thorough burn test:
- Note the time for the first burn to reach a full melt pool (edge-to-edge). This should be approximately 1 hour per inch of container diameter.
- Observe the flame height and behavior (should be steady, not flickering wildly).
- Check for soot.
- Evaluate the hot throw after several hours.
- Record any issues like tunneling or wet spots.
- Detailed Records: Maintain meticulous notes for every batch, including wax type, supplier, wick size, container dimensions, fragrance name, fragrance load (by weight), pour temperature, and cure time, along with burn test results. This data is invaluable for refining your process and achieving consistent, high-quality results.
Safety First: Paramount Practices for Candle Makers and Users
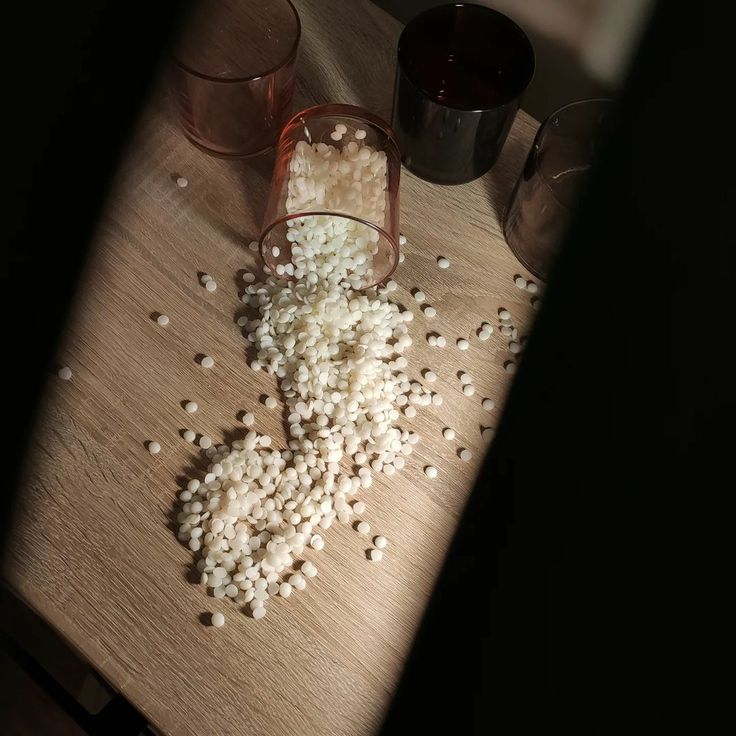
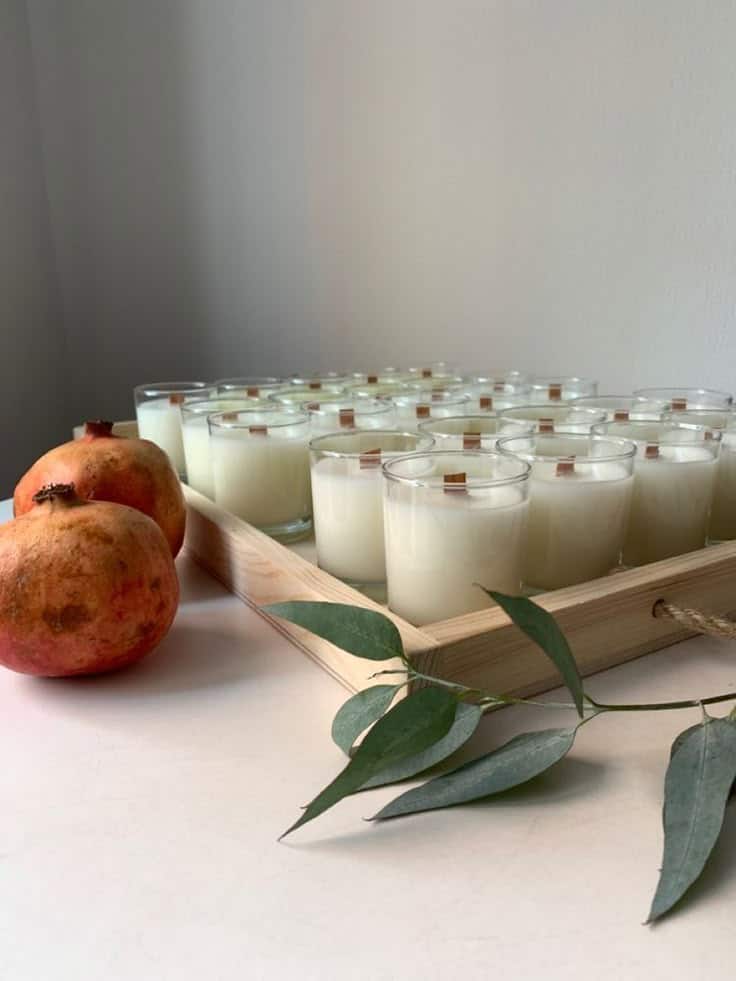
Safety is non-negotiable in candle making and burning. Adhering to strict safety protocols protects both the creator and the end-user. Just as preventive home care saves more than just money by addressing small issues before they become major problems, preventive safety measures in candle making prevent hazards.
Safety for the Maker
- Ventilation: Work in a well-ventilated area, especially when melting wax or adding fragrance oils.
- Protective Gear: Wear safety glasses and heat-resistant gloves when handling hot wax.
- Avoid Overheating Wax: Never leave melting wax unattended. Use a thermometer to prevent wax from exceeding its flash point, which could lead to combustion.
- Clean Spills Immediately: Hot wax spills can be slippery and hazardous.
- Proper Storage: Store raw materials (waxes, oils) in a cool, dark place away from children and pets.
Safety for the User (Candle Care Instructions)
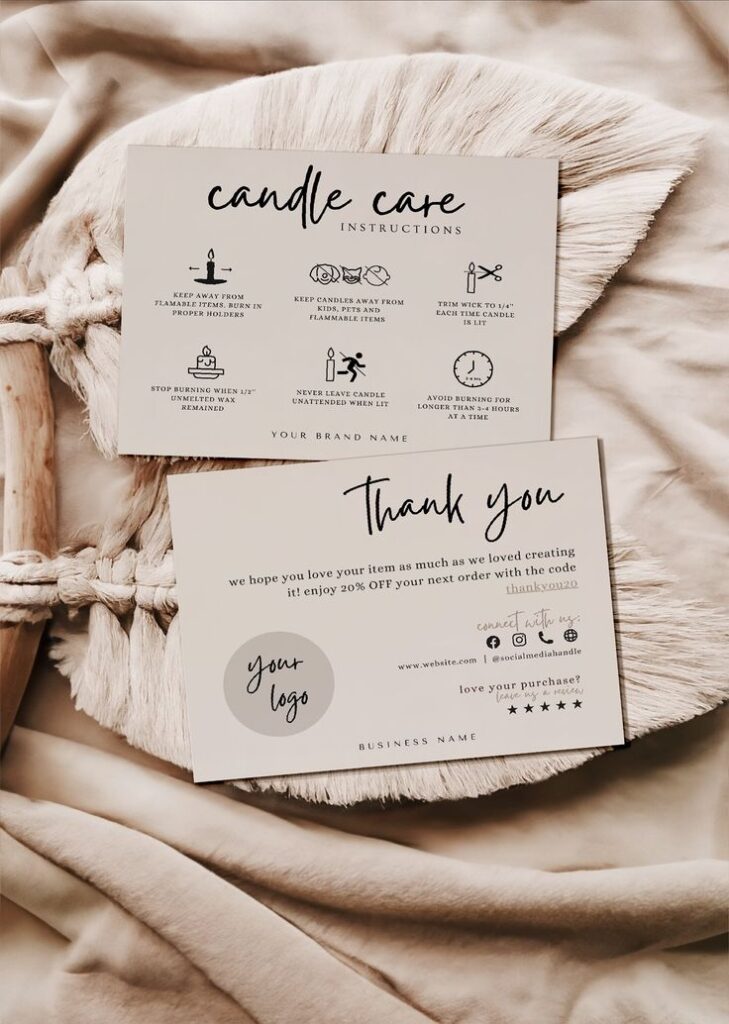
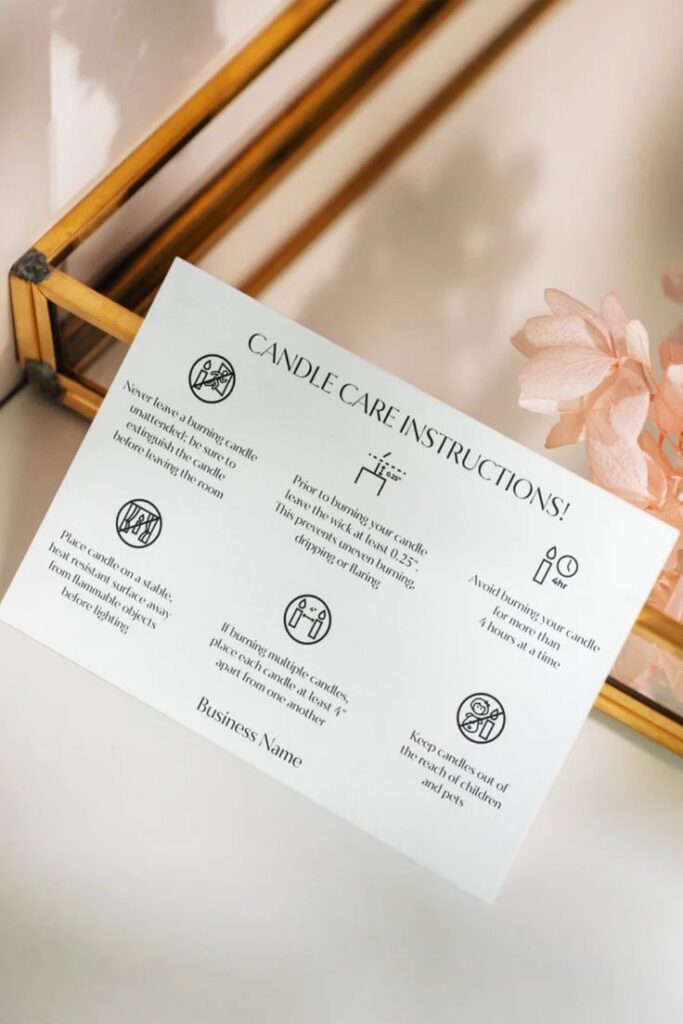
Every candle you create, especially if gifting or selling, should come with clear safety instructions.
- Trim Wick: Always trim the wick to ¼ inch (0.6 cm) before each burn.
- First Burn: Allow the wax to melt to the edges of the container on the first burn (creating a full melt pool). This prevents tunneling and ensures an even burn for subsequent uses.
- Burn Time: Do not burn candles for more than 4 hours at a time. This prevents the container from overheating and excessive wick mushrooming.
- Supervision: Never leave a burning candle unattended.
- Placement: Burn candles on a heat-resistant surface, away from drafts, flammable materials, children, and pets.
- Extinguish Safely: Extinguish a candle with a snuffer. Do not use water.
- Stop Burning: Discontinue use when ¼ inch of wax remains in the container to prevent the container from cracking due to excessive heat at the bottom.
Elevating Your Autumn Aesthetic: Presentation and Gifting
Once your exquisite autumn candles are crafted, their presentation becomes an extension of your artistry. A beautifully finished candle enhances its perceived value, whether for personal enjoyment or as a thoughtful gift. When integrating these creations into your living space, consider how they complement your existing elegant decoration ideas for a luxury apartment.
Thoughtful Labeling
Design elegant labels that reflect the professional quality of your candles. Include:
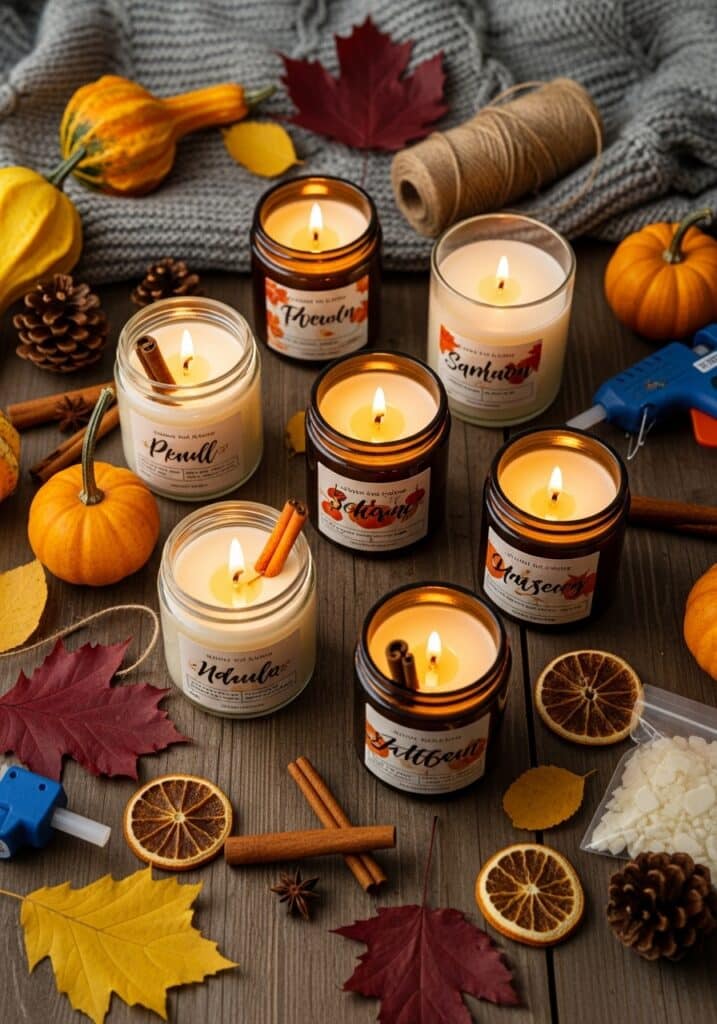
- Scent Name: A creative and evocative name for your autumn blend (e.g., “Fireside Amber,” “Spiced Apple Harvest”).
- Key Scent Notes: Briefly list the primary fragrance components.
- Wax Type: “100% Soy Wax” or “Soy & Coconut Blend.”
- Net Weight: In ounces or grams.
- Burn Time (Approximate): Based on your testing.
- Safety Instructions: These are mandatory and should be clearly visible.
- Your Brand/Name: A personal touch.
Creative Packaging
Packaging adds to the unboxing experience, particularly for gifts.
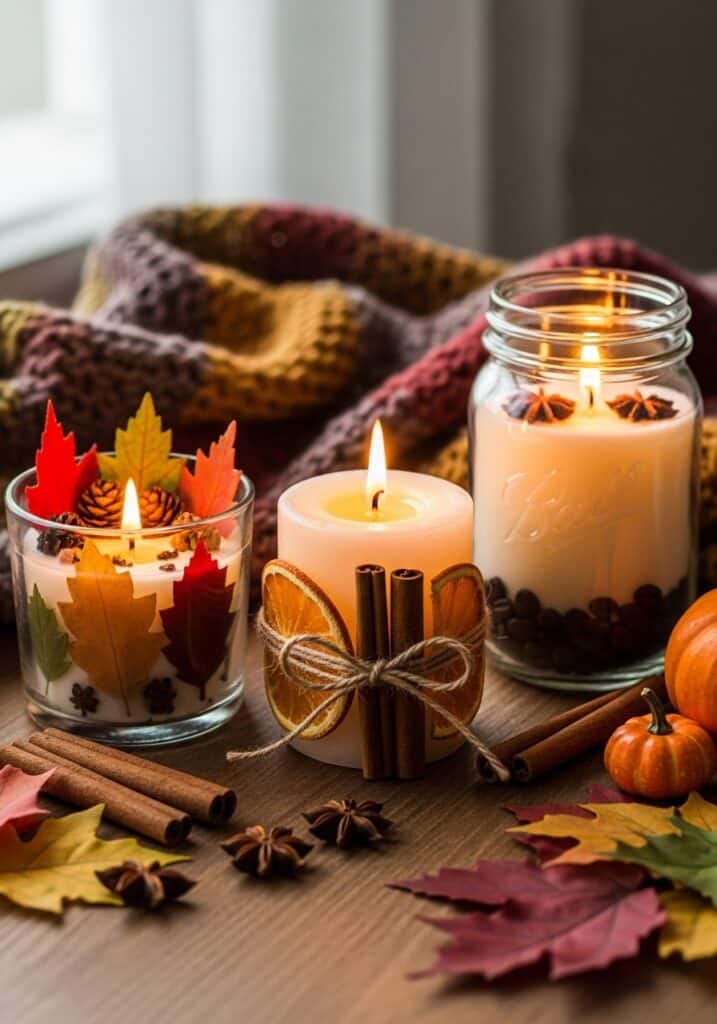
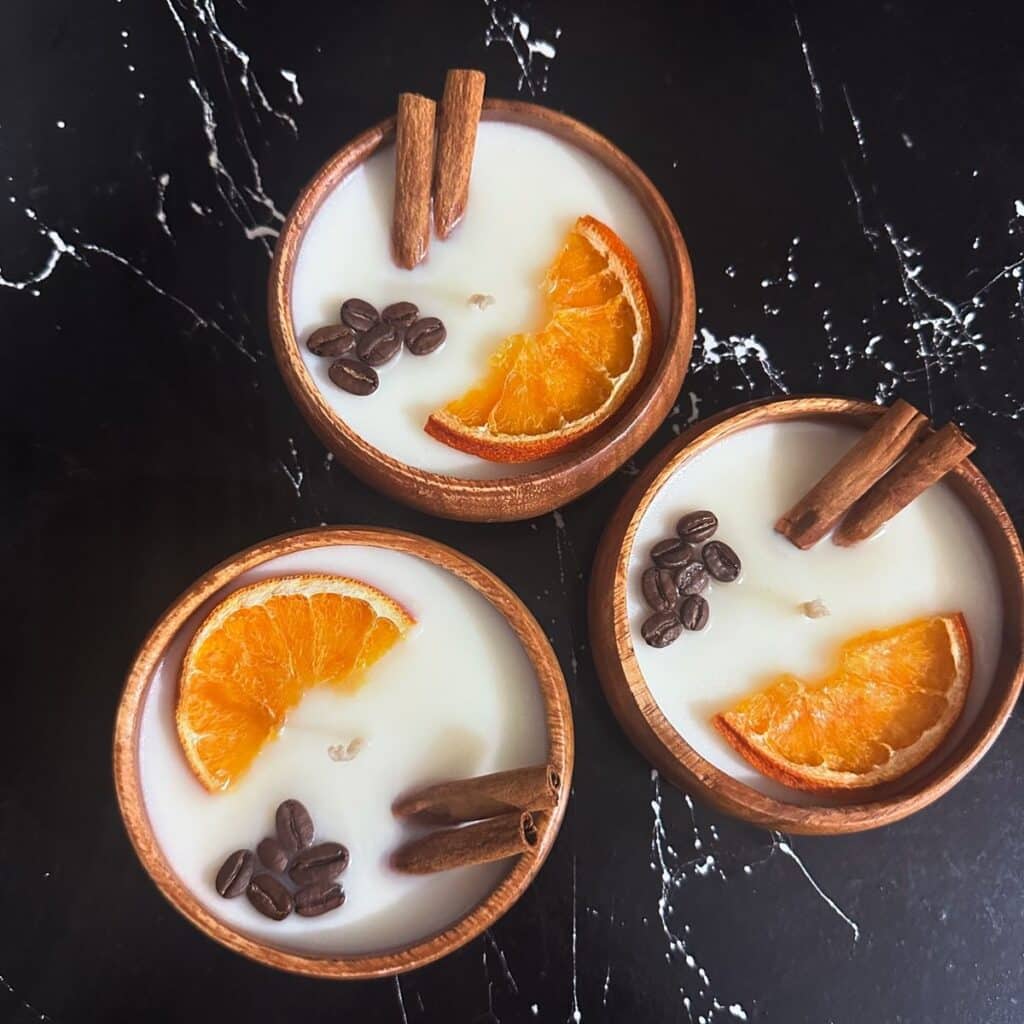
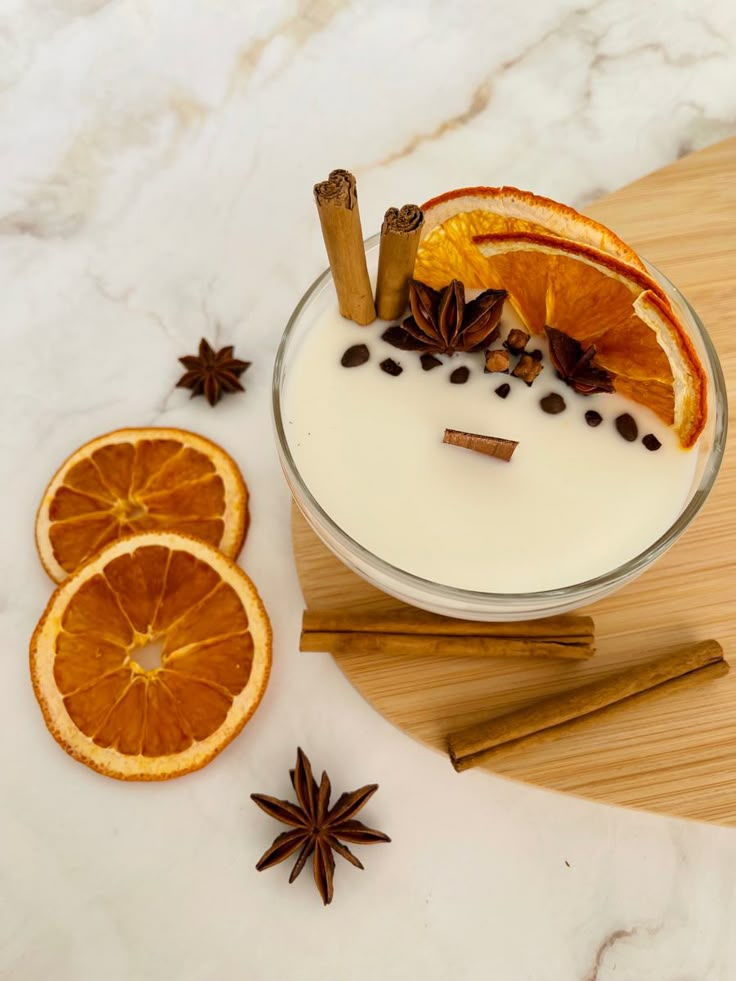
- Simple Box: A custom-sized Kraft box can be dressed up with twine, dried autumn leaves, or a small cinnamon stick.
- Ribbons and Tags: Use natural jute twine or velvet ribbons in fall colors (deep orange, burgundy, forest green).
- Protective Elements: Tissue paper or shredded paper provides cushioning and an elegant touch.
Integrating Candles into Autumn Decor
Your handmade candles are more than just scent providers; they are integral elements of your fall decor.
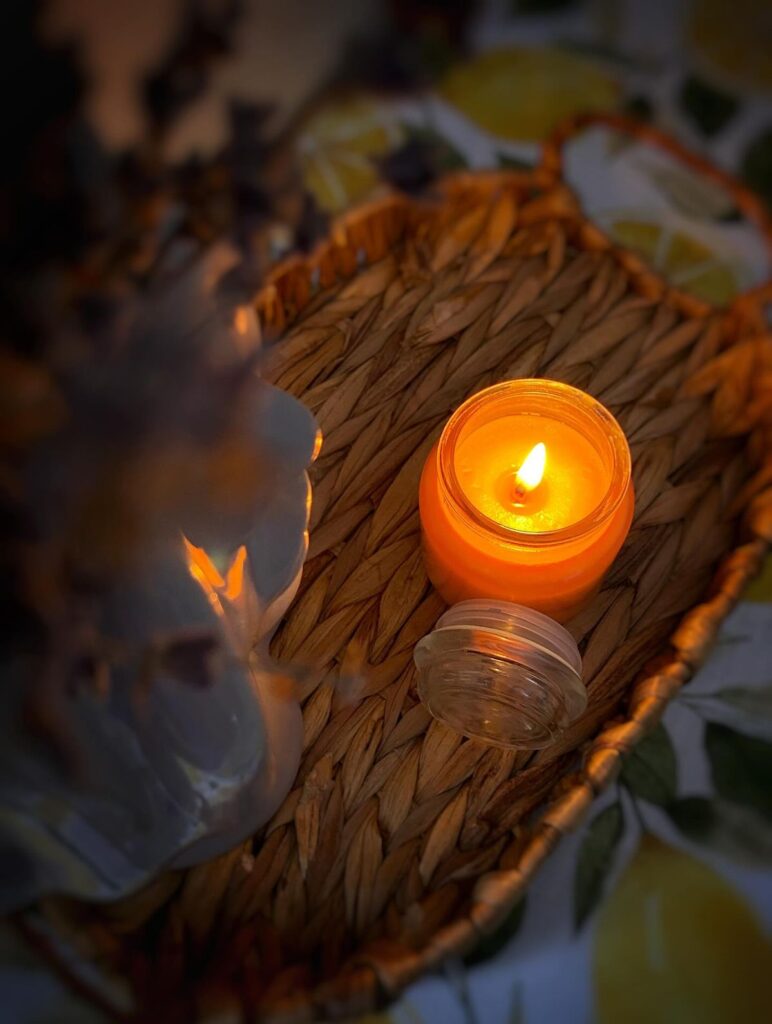
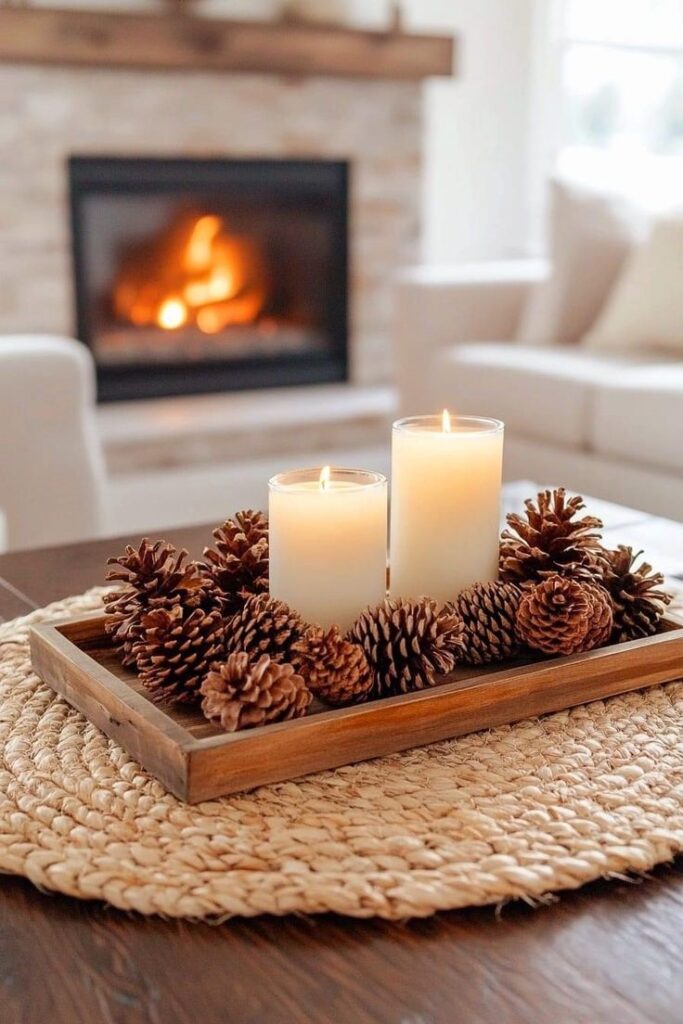
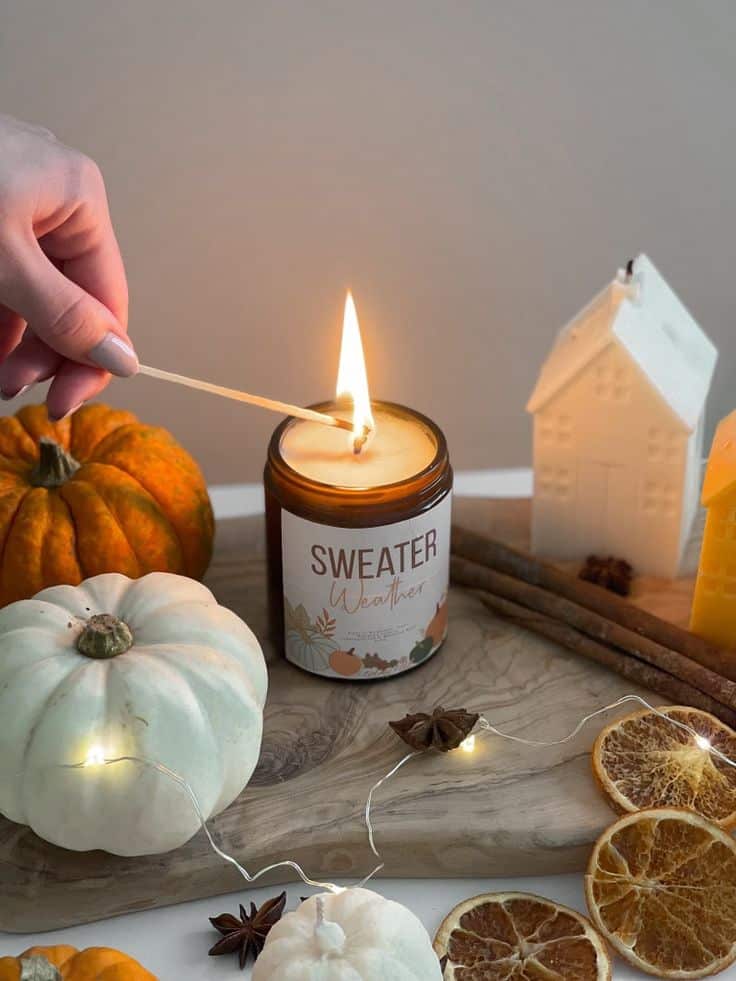
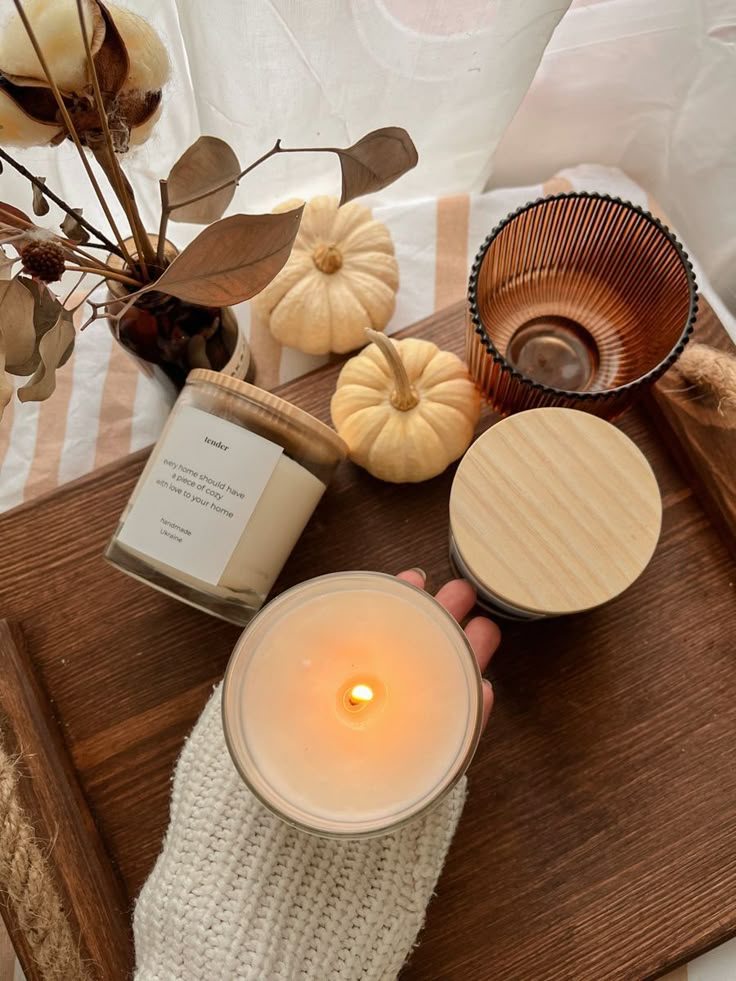
- Centerpieces: Arrange candles on a rustic wooden tray with pinecones, mini pumpkins, and gourds.
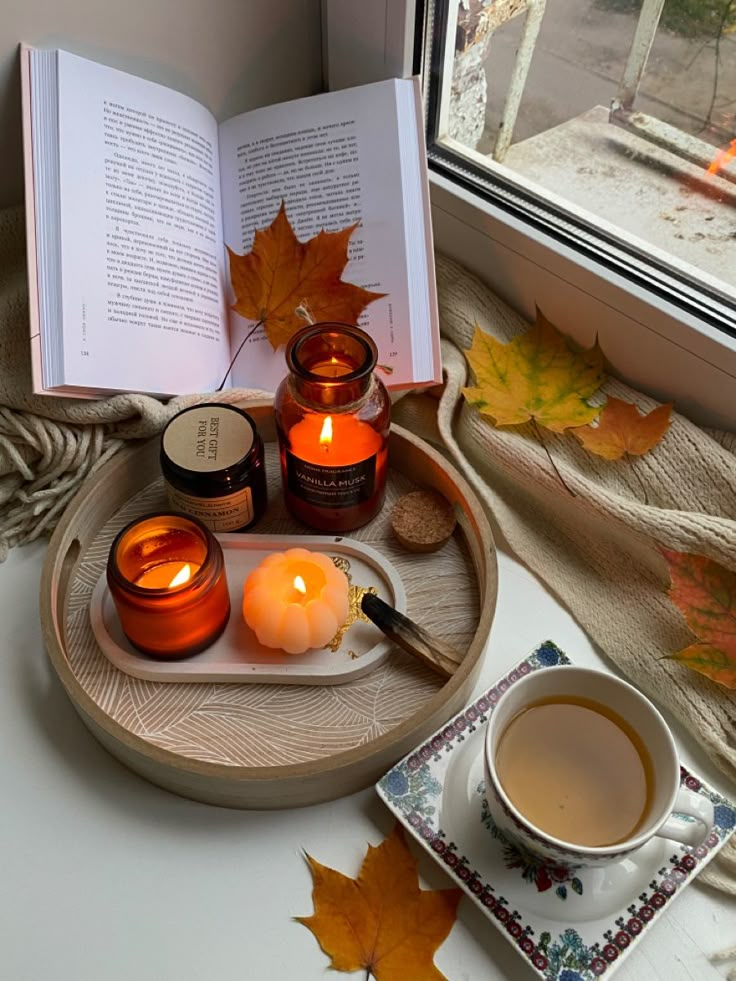
- Cozy Nooks: Place a candle on a side table next to your favorite reading chair, perhaps with a soft blanket and a warm mug, creating a truly inviting atmosphere.
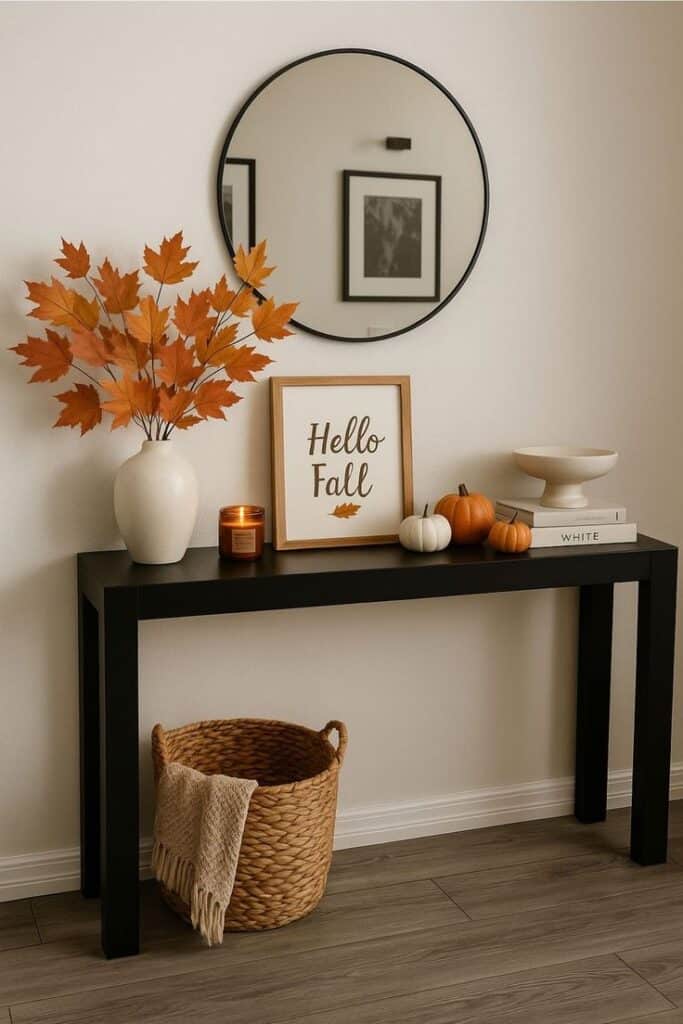
- Entryway Welcome: A subtle autumn candle in your entryway offers a warm greeting to guests.
- Layering Scents: Consider using different, complementary autumn candles in various rooms to create a layered sensory experience throughout your home.
Conclusion
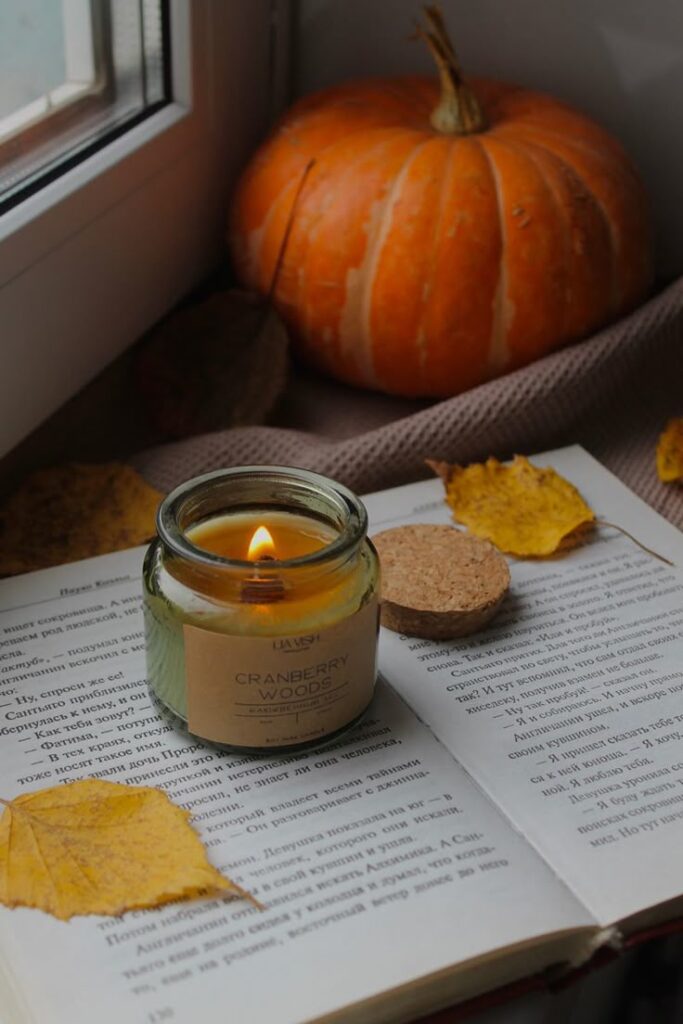
Crafting your own autumn candles is a journey of creativity, precision, and sensory delight. From understanding the nuanced properties of different waxes and wicks to mastering the delicate art of scent blending, each step contributes to a final product that is uniquely yours. This professional guide has equipped you with the knowledge and techniques required to move beyond basic candle making, enabling you to produce exquisite, high-quality, and safe candles that embody the very spirit of autumn.
The satisfaction of lighting a candle you personally crafted, filling your home with a bespoke aroma, is truly unparalleled. It’s an act of self-expression, a commitment to quality, and a deeply rewarding pursuit. Embrace the process, experiment with confidence, and allow the evocative power of your handmade autumn aromas to transform your living space into a haven of warmth and comfort.
Embark on Your Autumn Aroma Journey
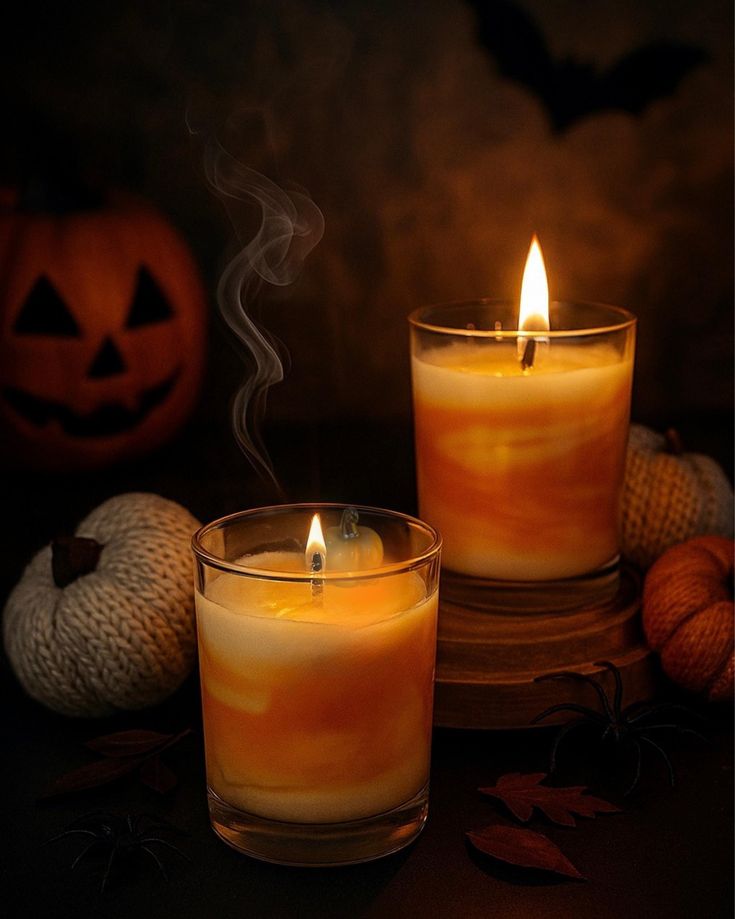
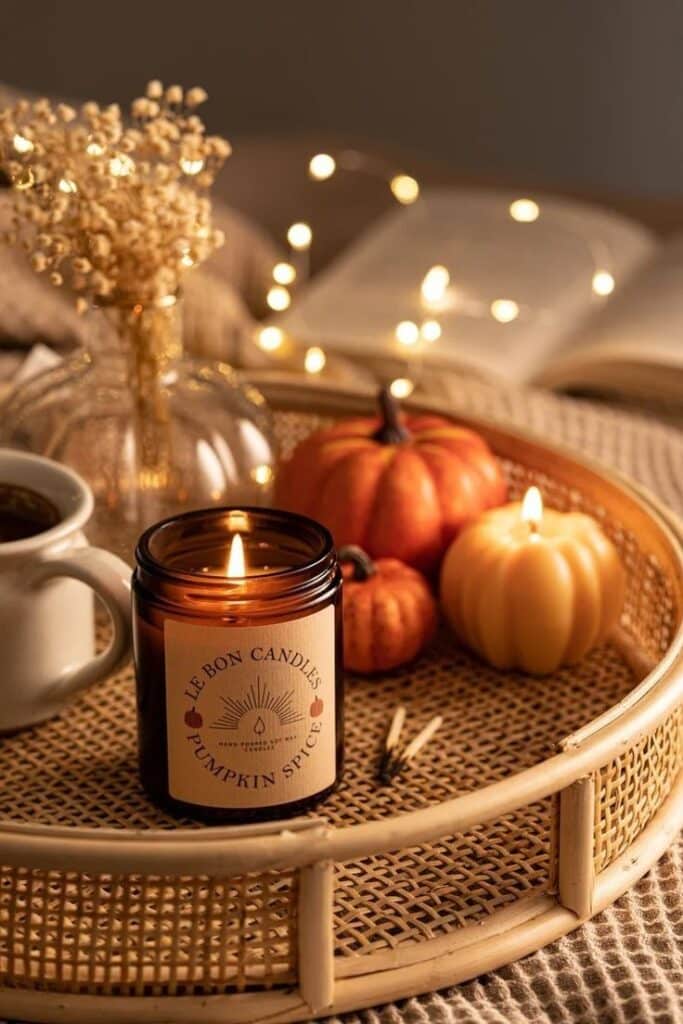
Now is the opportune moment to translate knowledge into action. Gather your materials, select your favorite autumn scent profiles, and begin crafting your signature fall candles. Share your creations, experiment with new blends, and savor the unique ambiance only a handmade candle can provide. Your home awaits its bespoke autumn fragrance.
- 200shares
- Facebook0
- Pinterest197
- Twitter3
- Reddit0


