There’s a unique kind of joy that comes from sharing your home with a furry, feathered, or scaled friend. Our pets aren’t just animals; they’re family, bringing endless laughter, comfort, and sometimes, a little bit of playful chaos into our lives. As pet parents, we’re always looking for ways to show them how much we care, whether it’s through extra cuddles, gourmet treats, or that perfect squeaky toy. But what if you could take that affection a step further by creating something truly special and personal for them with your own two hands?
That’s where the wonderful world of DIY pet projects comes in! Imagine crafting a cozy bed, a stimulating toy, or even a custom feeding station that perfectly suits your pet’s needs and personality. Not only does it allow you to express your creativity, but it also offers a fantastic way to save money, repurpose materials, and ensure everything is made with love and safety in mind. Forget generic store-bought items; it’s time to unleash your inner crafter and build something truly awesome for your beloved companion.
Why DIY for Your Pet? It’s More Than Just a Project!
Before we dive into the nitty-gritty of specific projects, let’s chat about why rolling up your sleeves for a pet DIY is such a fantastic idea. It’s not just about saving a few bucks – though that’s definitely a perk!
The Personal Touch
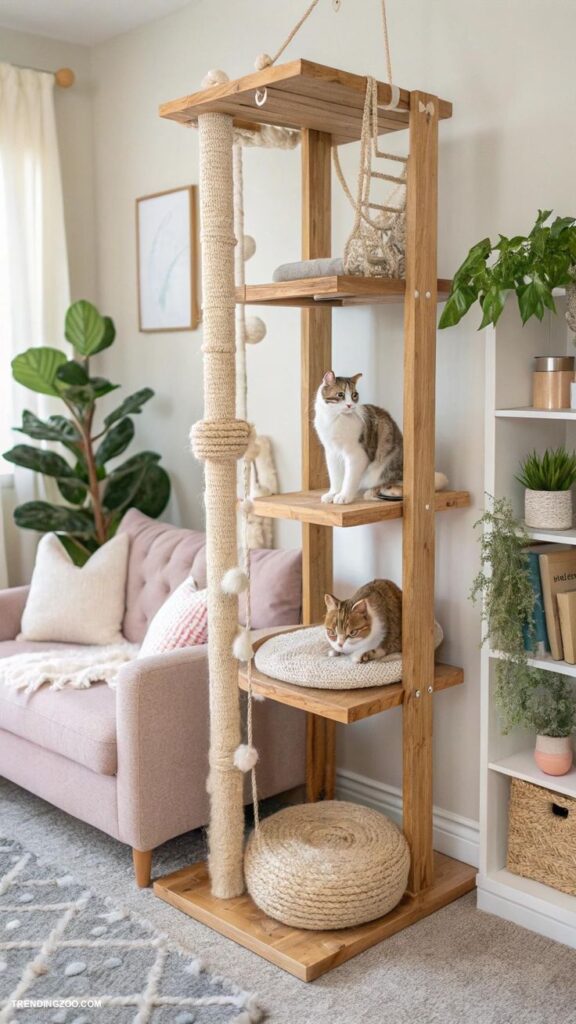
Just like you might personalize your own living space, creating something for your pet allows you to tailor it exactly to their preferences. Does your cat love to hide in small spaces? Build them a multi-level cat condo with secret compartments. Does your dog chew through toys in minutes? Craft a super-durable tug toy from old denim. This level of customization ensures comfort, engagement, and a perfect fit for their unique quirks.
Budget-Friendly Bliss
Let’s be real, pet supplies can add up quickly. From stylish beds to interactive toys, the costs can put a dent in your wallet. DIY projects often utilize materials you already have lying around – old blankets, cardboard boxes, PVC pipes, or even worn-out sweaters. This means you can create high-quality, functional items without breaking the bank, leaving more room in your budget for quality pet food or vet visits. Thinking about budget-friendly home makeovers might inspire you with even more ways to refresh your pet’s space without overspending!
Quality Control & Safety
When you DIY, you’re in charge of the materials. This is a huge advantage, especially for pets who might have allergies or who love to chew on everything. You can consciously choose non-toxic fabrics, paints, and glues, ensuring that whatever you create is safe for your furry friend. No mysterious chemicals or flimsy construction here – just good, honest, pet-safe craftsmanship.
Eco-Friendly & Sustainable
Repurposing old items is a win for the environment. Instead of tossing that old T-shirt or those empty cereal boxes, you can transform them into something valuable for your pet. This reduces waste and gives everyday objects a second life, aligning perfectly with a more sustainable lifestyle.
Bonding Time
Perhaps one of the most underrated benefits is the bonding experience. While your pet might not be able to wield a hot glue gun, simply being in your presence as you create something for them can strengthen your connection. Plus, seeing them enjoy something you made specifically for them is an incredibly rewarding feeling.
Safety First! Essential Considerations for Pet DIY Projects
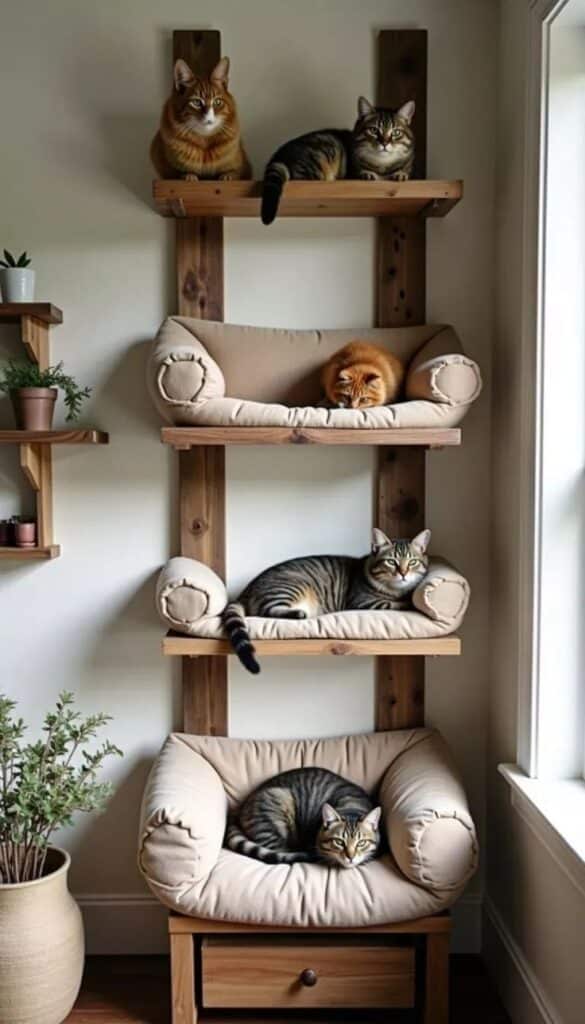
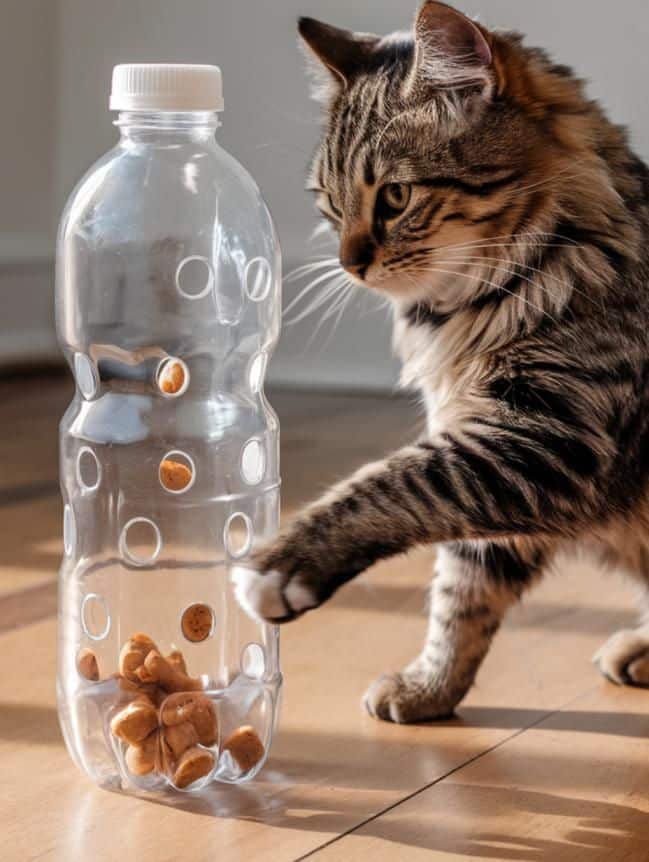
Before you grab your tools and get crafting, safety must be your absolute priority. Pets can be surprisingly resourceful (and destructive!), so always think a few steps ahead to ensure your DIY creations are durable, appropriate, and hazard-free.
Choose Non-Toxic Materials
This is paramount. Many craft supplies contain chemicals harmful to pets if ingested.
- Paints and Glues: Opt for pet-safe, non-toxic, water-based paints (like acrylics once fully cured) and glues (e.g., Elmer’s School Glue is generally safe once dry, but check labels). Avoid strong adhesives, super glue, or industrial-strength products.
- Fabrics: Use natural fibers like cotton, fleece, or wool. Avoid heavily dyed or chemically treated fabrics.
- Wood: Stick to untreated wood. Some treated woods contain chemicals toxic to animals.
- Finishes: If using wood sealants, ensure they are food-grade or specifically labeled as pet-safe when dry.
Avoid Choking Hazards
Small parts are a big no-no.
- Small Buttons, Beads, Eyes: If making a plush toy, embroider features or use pet-safe fabric markers instead of small plastic parts that could be chewed off and swallowed.
- Loose Strings/Ribbons: These can cause intestinal blockages if ingested by cats or dogs. Ensure all seams are tight and any embellishments are securely attached.
- Stuffing: Use non-toxic polyester fiberfill. Avoid beans, rice, or other small materials that could spill out and become a choking hazard.
Durability is Key
Pets can be rough on their belongings!
- Sturdy Construction: Securely fasten all components. Use strong stitches for fabric projects, and reinforce joints for wood or cardboard creations.
- Chew-Proofing: If your pet is a heavy chewer, consider using materials like thick PVC pipe, dense wood, or heavy-duty fabrics. Supervise initial play with any new DIY toy to assess its durability.
Appropriate Size and Design
- For Beds/Clothing: Ensure a comfortable, non-restricting fit. Too tight can cause discomfort; too loose can be a tripping hazard or easily destroyed.
- For Toys: Match the toy size to your pet’s mouth. A toy too small is a choking hazard, one too large might be ignored.
- For Furniture: Ensure stability. A wobbly cat tree or a flimsy feeding station could scare your pet or cause injury.
Consider Your Pet’s Habits
- Chewers: Anything fabric-based might not last long. Focus on more robust materials or items that aren’t meant for chewing.
- Scratchers: For cats, integrate scratching surfaces (sisal rope, corrugated cardboard) into their furniture.
- Anxiety: For anxious pets, a snug, enclosed bed might be more comforting than an open one.
- Mobility: For older or less mobile pets, ramps or low-entry beds are thoughtful additions.
By keeping these safety tips in mind, you can craft with confidence, knowing you’re creating something not just fun, but genuinely good for your beloved pet.
Cozy Comforts: DIY Beds & Lounging Spots
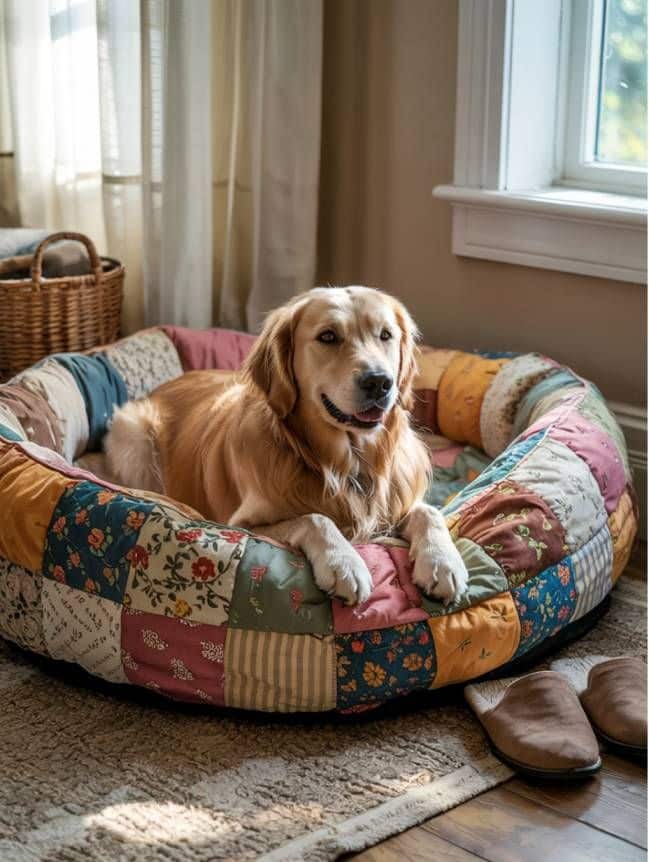
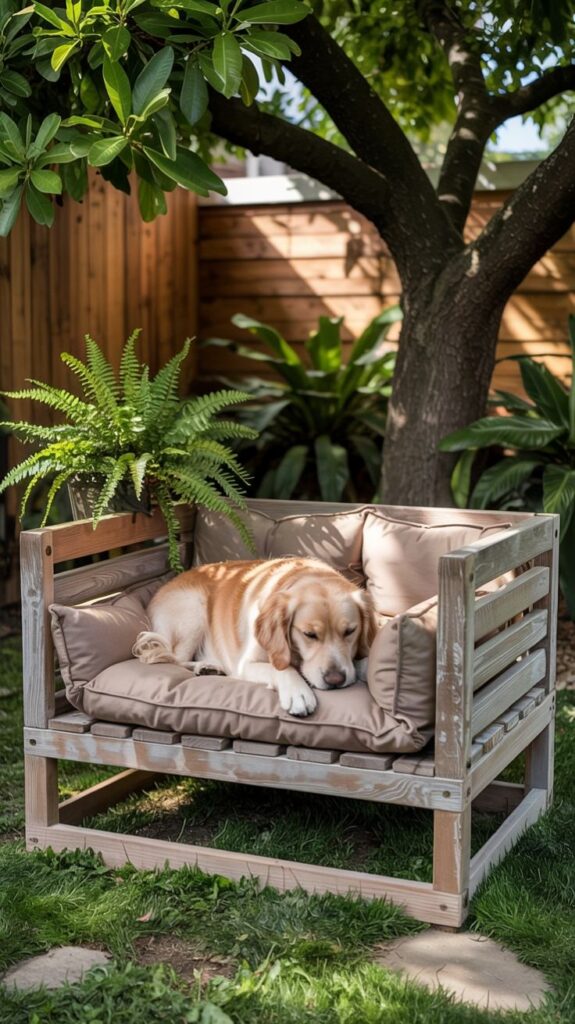
Every pet deserves a comfy spot to snooze, and creating one yourself means you can match it to your home decor while ensuring maximum coziness for your furball.
Upcycled Sweater Pet Bed
This project is fantastic for small dogs and cats, turning an old, beloved sweater into a warm, cuddly haven.
Materials:
- An old sweater (wool or fleece works best for coziness)
- Scissors
- Needle and thread (or a sewing machine)
- Stuffing (polyester fiberfill, old towels, or fabric scraps)
Steps:
- Prepare the Sweater: Lay your sweater flat. Cut off the sleeves and the neckband.
- Sew the Bottom: Fold the bottom hem of the sweater up about 4-6 inches and sew it across to create a channel. This will be the casing for the “bolster” of the bed.
- Create the Bolster Channel: Take the sleeves you cut off. Stuff them with fiberfill or fabric scraps until they’re firm but still pliable. Sew the ends of the sleeves closed.
- Insert the Bolster: Thread one stuffed sleeve through the channel you made at the bottom of the sweater. Overlap the ends of the sleeve slightly and sew them together to form a continuous circle. This creates the raised edge of the bed.
- Stuff the Middle: Fill the main body of the sweater (the chest area) with more stuffing until it’s plush and comfortable.
- Close It Up: Carefully fold the top of the sweater down over the stuffed middle and hand-stitch it closed, blending it into the bolster. You might need to gather some fabric to make it neat.
- Final Touches: Give it a good fluff! Your pet now has a bed that smells like you (which many pets love!) and is wonderfully soft.
Now, if you don’t have the time to make the whole thing from scratch with stuffing, you can always purchase a pet bed and create a cover with the sweaters using the same steps. While you won’t be able to say you stuffed it yourself, it will be much easier to remove the sweater cover for cleaning and replace the bed as it wears over time!
Playtime Fun: DIY Toys & Enrichment
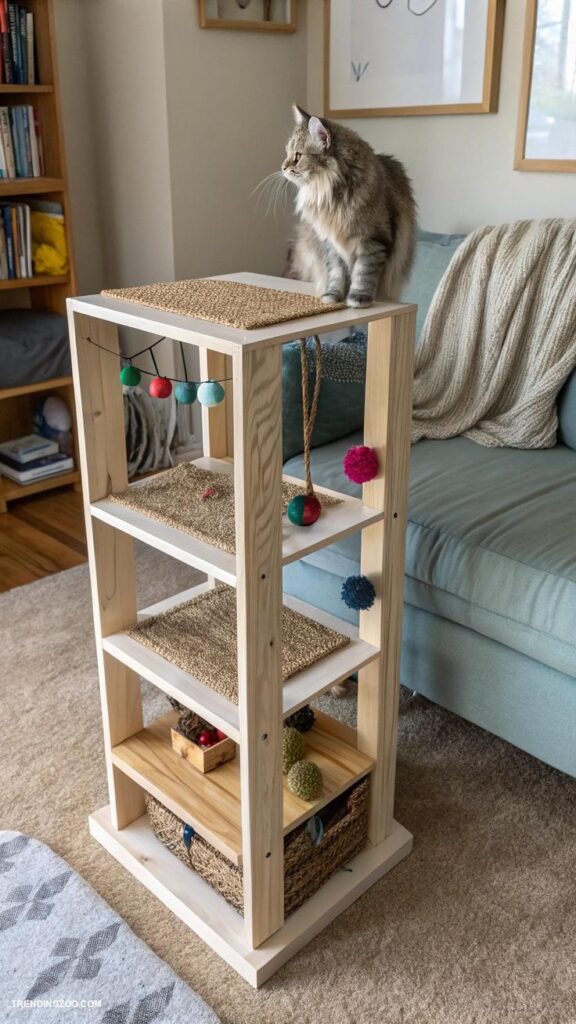
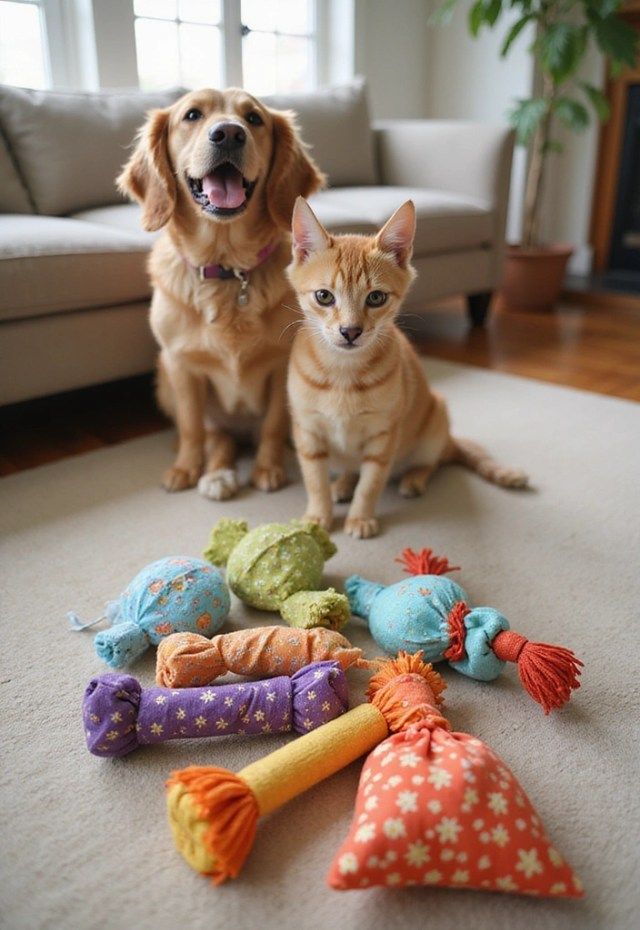
Pets need mental and physical stimulation, and toys are a huge part of that. These DIY toy projects are easy to make and will keep your pet entertained for hours.
T-Shirt Tug Toy
A classic for dogs, this project turns old T-shirts into a durable tug toy perfect for enthusiastic chewers and tug-of-war enthusiasts.
Materials:
- Several old T-shirts (cotton works best)
- Scissors
Steps:
- Cut into Strips: Lay a T-shirt flat. Cut off the bottom hem and the top (under the arms). Now, cut the remaining fabric into long strips, about 1-2 inches wide. You’ll need at least 6-9 strips for a good-sized toy.
- Gather and Braid: Gather 3-5 strips together. Tie a knot at one end, leaving a small “tail.” Divide the strips into three equal sections.
- Start Braiding: Braid the sections tightly, just as you would braid hair.
- Finish the Braid: Once you reach the end, tie another tight knot, leaving a small tail.
- Make it Stronger (Optional): For a super strong toy, you can braid multiple braids together or even knot a simple loop at one end for easier gripping during tug-of-war.
- Safety Check: Ensure there are no loose strings that could be ingested.
Cardboard Puzzle Feeder
Engage your pet’s problem-solving skills and slow down their eating with a homemade puzzle feeder, great for both dogs and cats.
Materials:
- A sturdy cardboard box (e.g., shoe box, cereal box)
- Toilet paper or paper towel rolls
- Non-toxic glue (optional, if you want more permanence)
- Scissors
Steps:
- Prepare the Box: If using a larger box, you might want to cut it down to a suitable size.
- Cut the Rolls: Cut the toilet paper or paper towel rolls into various lengths. Some can be full length, others cut in half or thirds.
- Arrange and Secure: Stand the cardboard rolls upright inside the box. Arrange them in a way that creates a maze or grid, leaving spaces for treats to fall into. You can glue them down if you wish, but for a quick, reusable option, simply fitting them snugly works.
- Add Treats: Sprinkle your pet’s dry food or small treats into the box, letting them fall into the rolls and open spaces.
- Present to Pet: Let your pet sniff out and “hunt” for their food, using their paws and nose to dislodge the treats. Supervise to ensure they don’t eat the cardboard!
Felt Fishing Rod Toy (for cats)
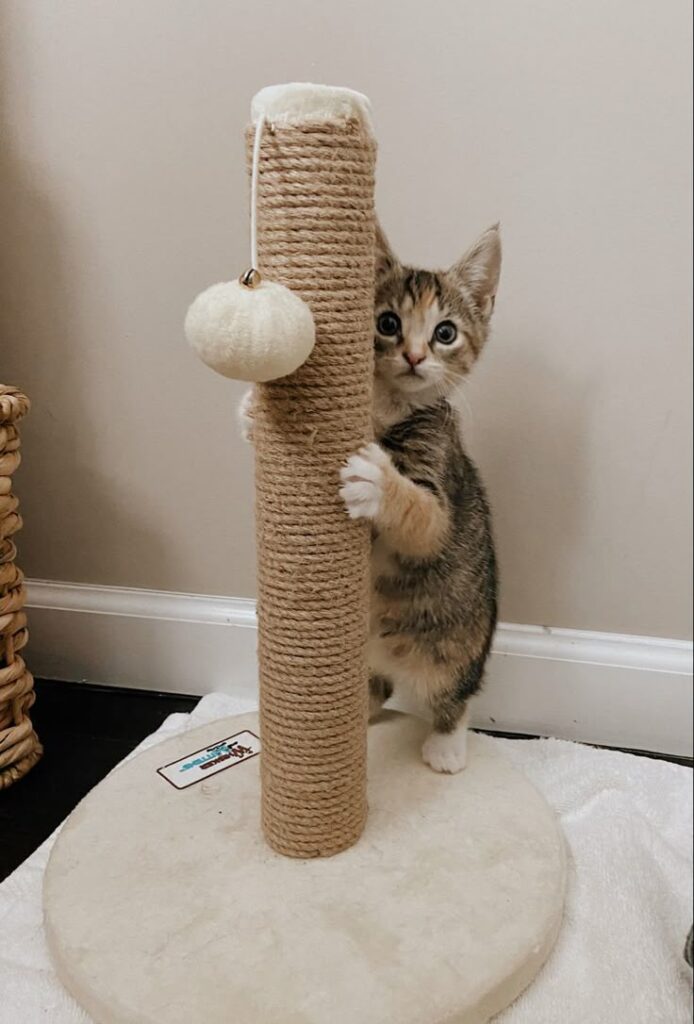
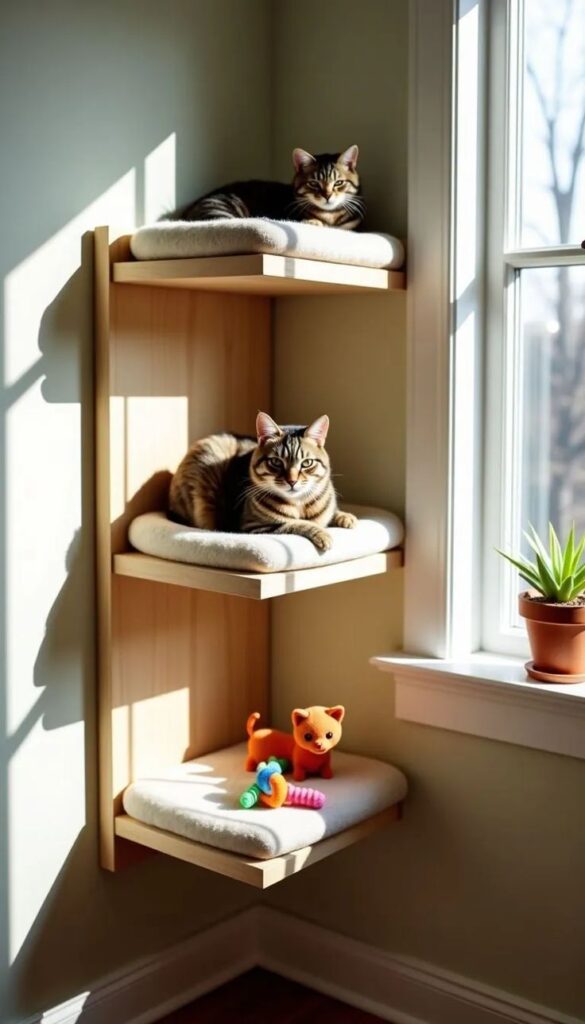
Cats love to hunt and pounce, and a handmade “fishing rod” toy provides endless fun.
Materials:
- A wooden dowel or sturdy stick (about 1-2 feet long)
- Twine or strong string (2-3 feet long)
- Various colors of felt scraps
- Scissors
- Needle and thread or fabric glue (non-toxic)
- Optional: Catnip
Steps:
- Prepare the Lure: Cut felt scraps into shapes that would appeal to a cat – fish, birds, mice, or just strips of varying lengths. You can layer different colors for visual appeal.
- Assemble the Lure: Stack a few felt shapes together. Stitch them securely or use fabric glue to bond them. You can stuff them with a tiny bit of catnip before sealing for extra allure.
- Attach to String: Securely tie one end of the twine to your felt lure. Use a very strong knot.
- Attach to Dowel: Tie the other end of the twine to one end of the wooden dowel. Again, use a secure knot.
- Playtime: Wave the “fishing rod” for your cat, letting them chase, pounce, and bat at the felt lure. Always supervise play and put the toy away when not in use to prevent entanglement.
Wine Cork Chew Toy
For dogs who love to chew, wine corks can be a surprisingly durable and engaging toy, especially when combined.
Materials:
- Several natural corks (ensure they are natural cork, not synthetic, and haven’t been soaked in wine for too long)
- Sturdy twine or strong rope
- Drill with a small bit (optional, for easier threading)
- Pet-safe non-toxic glue (optional, for extra security)
Steps:
- Clean Corks: Rinse the corks thoroughly to remove any wine residue and let them dry completely.
- Thread the Corks: Using a drill with a small bit, carefully drill a hole through the center of each cork. Alternatively, you can use a strong needle to push through.
- String Them Up: Thread the corks onto the sturdy twine or rope. You can create a simple string of corks, or even tie knots between them for added texture.
- Secure Ends: Tie a large, secure knot at both ends of the string of corks to prevent them from slipping off. You can also tie loops for hanging or easy gripping.
- Supervise Play: Always supervise your dog when they play with cork toys to ensure they don’t chew off and ingest large pieces. While natural cork is generally safe in small amounts, large ingestions could be problematic. Replace if the corks start to break down significantly.
Outdoor Adventures & Potty Solutions: DIY Gear
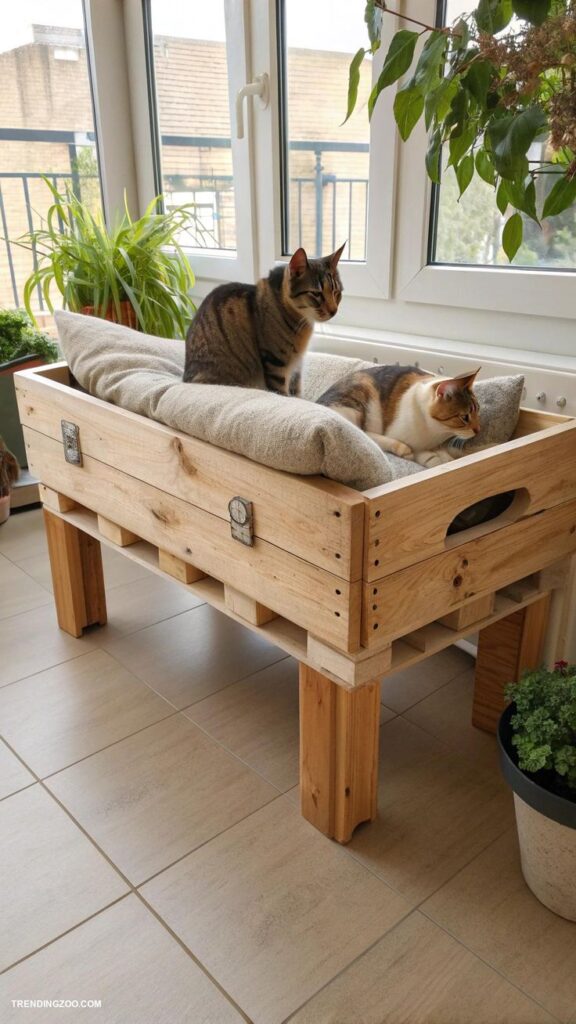
Even if your pet spends most of its time indoors, there are plenty of DIY projects to make their outdoor experiences better or to help manage their needs inside.
DIY Leash Holder/Organizer
Keep all your walkies essentials – leashes, collars, waste bags – tidy and easily accessible by the door.
Materials:
- A piece of wood (reclaimed wood looks great!)
- Hooks (cup hooks, coat hooks)
- Optional: Paint, stain, decorative stencils
- Screws and screwdriver/drill
- Wall anchors (if mounting to drywall)
Steps:
- Prepare Wood: Cut your wood to the desired length. Sand it smooth. If painting or staining, do so now and let it dry.
- Mark Hook Placement: Decide where you want your hooks and mark the spots.
- Attach Hooks: Screw the hooks into the wood.
- Mount to Wall: Find a suitable spot near your door. Use a level to ensure it’s straight. Drill pilot holes in the wall, insert anchors if needed, and screw your new leash holder securely to the wall.
This simple organizer can significantly reduce clutter, similar to how top 9 affordable wall decor ideas for small spaces can help declutter and beautify compact areas.
“Potty Patch” for Small Spaces
For apartment dwellers or during bad weather, a small, indoor “potty patch” can be a lifesaver for small dogs.
Materials:
- A shallow plastic storage bin or litter box with a low entry
- A roll of artificial grass (pet-friendly, with drainage holes)
- Optional: Pea gravel or absorbent material for drainage layer
Steps:
- Prepare the Base: Ensure your plastic bin is clean and dry. If it doesn’t have drainage holes, you might want to drill a few small ones at the bottom, especially if using a drainage layer.
- Add Drainage (Optional): If desired, add a layer of pea gravel or other absorbent material to the bottom of the bin. This helps with odor control and drainage.
- Cut Artificial Grass: Measure the inside dimensions of your bin and cut the artificial grass to fit snugly.
- Place Grass: Lay the artificial grass on top of the drainage layer (or directly in the bin if not using drainage).
- Train Your Pet: Introduce your pet to the patch with positive reinforcement. Clean regularly to prevent odors.
Pet Ramp for Cars/Couches
Help older pets or those with short legs access cars, beds, or couches safely, preventing injuries from jumping.
Materials:
- Plywood (suitable thickness for your pet’s weight)
- Wood glue and screws
- Hinges (if making it foldable)
- Carpet remnants or non-slip matting
- Sandpaper
- Optional: Non-toxic wood stain or paint
Steps:
- Determine Dimensions: Measure the height of the surface your pet needs to reach. Determine the desired length of the ramp for a comfortable incline.
- Cut Plywood: Cut a piece of plywood for the ramp base. If making it foldable, cut two shorter pieces and attach them with hinges.
- Create Support (Optional): For very long ramps or heavy pets, you might want to add support legs or a central brace underneath.
- Attach Non-Slip Surface: Cut carpet remnants or non-slip matting to fit the ramp. Secure it firmly with heavy-duty staples or pet-safe adhesive. This provides traction.
- Sand and Finish: Sand all edges smooth to prevent splinters. If using paint or stain, apply it now and let it cure completely.
- Test: Before your pet uses it, test the ramp’s stability with some weight to ensure it can safely support your pet.
Beyond the Basics: Advanced DIY Projects
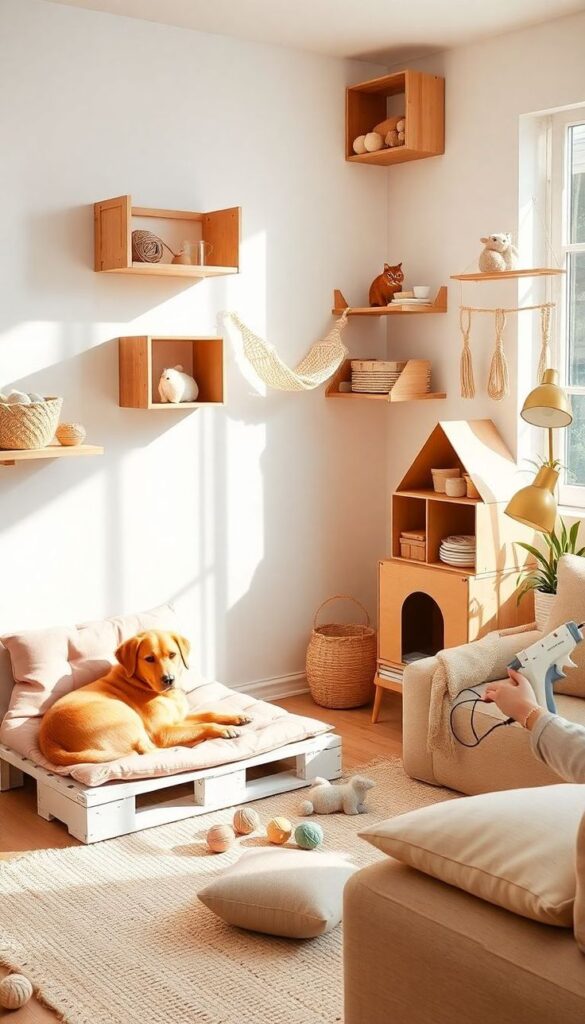
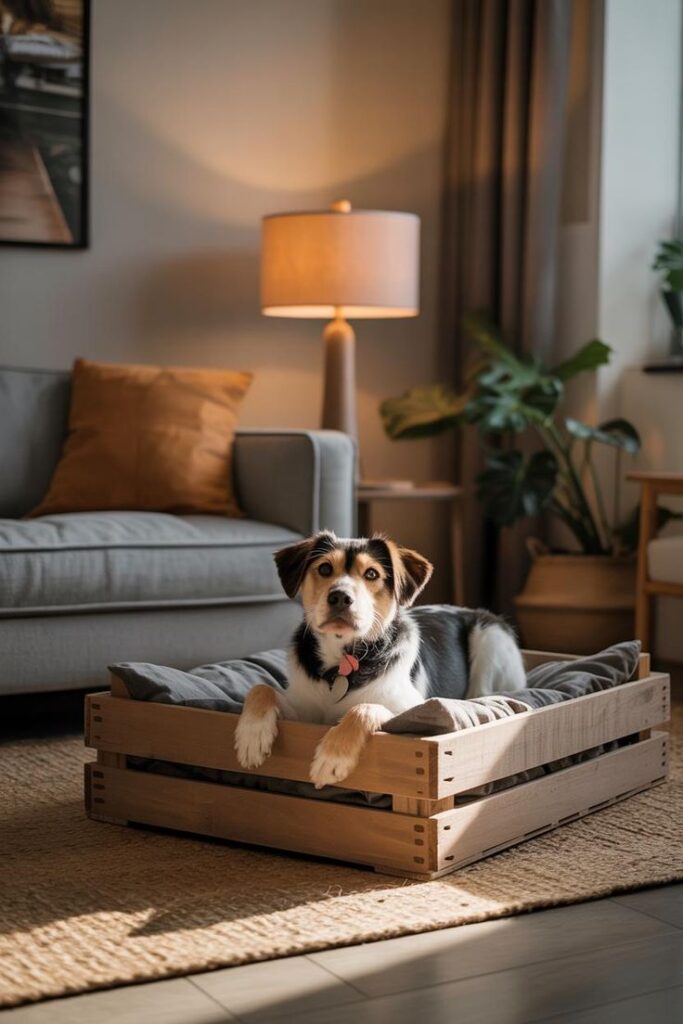
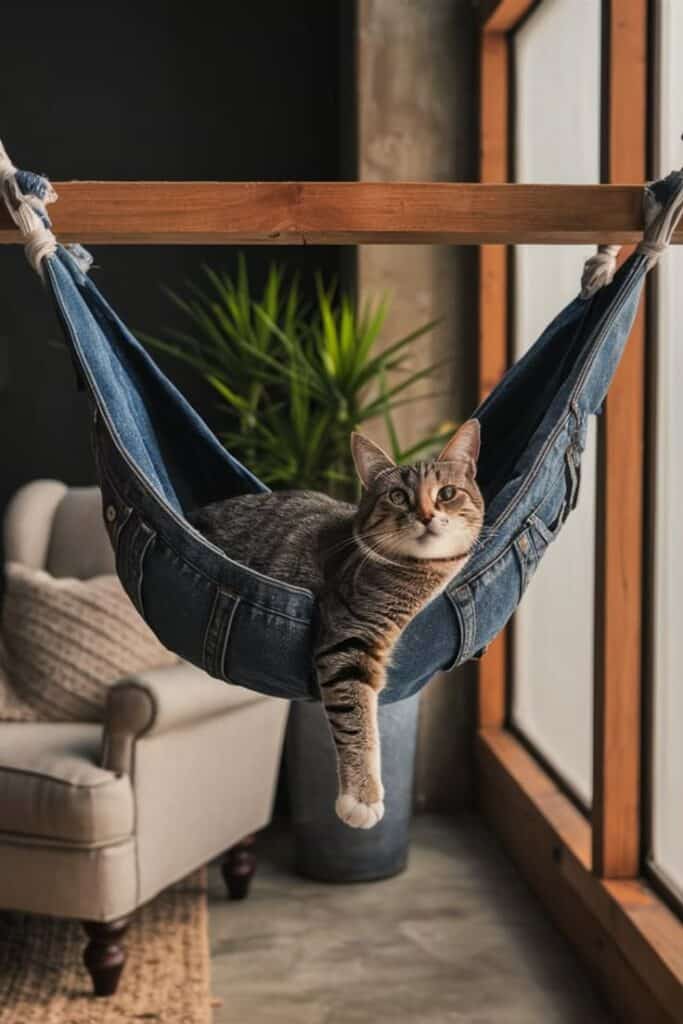
Ready to take your pet crafting to the next level? These projects require a bit more skill and time but offer incredible rewards.
Custom Pet Gate
Store-bought pet gates often don’t match your home’s aesthetic. A custom-built gate can blend seamlessly with your decor while keeping your pet safely contained.
Materials:
- Wood planks (e.g., pine, poplar)
- Wood glue and screws
- Hinges
- Latch/hardware
- Wood router (for decorative edges, optional)
- Saw (miter saw for precise cuts)
- Sandpaper, paint/stain
Steps:
- Measure Opening: Precisely measure the width and height of the doorway or opening where the gate will go.
- Design Gate: Decide on your design – vertical slats, cross-braced, solid panel. Sketch it out.
- Cut Wood: Cut all your wood pieces to size according to your design.
- Assemble Frame: Build the outer frame of the gate using wood glue and screws.
- Add Slats/Panels: Securely attach the internal slats or panels to the frame.
- Sand & Finish: Sand the entire gate smooth. Paint or stain it to match your home’s trim or doors. Allow to dry and air out.
- Install Hinges & Latch: Attach hinges to one side of the gate and the door frame. Install a secure pet-proof latch on the other side.
- Test Security: Ensure the gate is sturdy, closes securely, and can withstand your pet’s attempts to push past it.
Outdoor Catio
A “cat patio” or catio provides a safe, enclosed outdoor space for your feline friend to enjoy fresh air and sunshine without the dangers of roaming free.
Materials:
- Wood framing (treated lumber for outdoor use)
- Heavy-duty pet-safe wire mesh or screen
- Screws, nails, staples
- Hinges for a door
- Shelves, ramps, perches (plywood, wooden planks)
- Roofing material (plexiglass, corrugated plastic, shade cloth)
Steps:
- Plan & Design: Decide on the size and location. Will it attach to a window, or be a freestanding structure? Sketch out multiple levels, ramps, and perching spots.
- Build Frame: Construct a sturdy wooden frame for the catio. Ensure the wood is treated for outdoor use.
- Add Mesh/Screen: Securely attach the wire mesh or screen to the frame, ensuring there are no gaps or sharp edges where a cat could escape or get hurt. Use heavy-duty staples or screws with washers.
- Install Door: Create a small door for access (for your cat or for cleaning) and install it with sturdy hinges and a latch.
- Interior Furnishings: Build and install shelves, ramps, and perches inside the catio to create an enriching multi-level environment.
- Add Roofing: Install a roof to provide shade and protection from rain. This could be plexiglass, corrugated plastic, or even a shade cloth.
- Secure to House (if applicable): If attaching to a window or wall, ensure it’s securely fastened to the house structure.
This project is an excellent way to maximize your home’s value by adding a unique and desirable feature for pet owners, especially those seeking to blend indoor comfort with outdoor safety for their cats.
Dog House Renovation
Got an old, sad-looking dog house? Give it a fantastic makeover, transforming it into a cozy, stylish retreat for your canine companion.
Materials:
- Existing dog house
- Wood filler, sandpaper
- Pet-safe exterior paint
- Roofing shingles or a small piece of corrugated plastic
- Insulation (optional, e.g., rigid foam board)
- New pet bed/cushion
- Optional: Decorations, window box, personalized sign
Steps:
- Inspect & Repair: Thoroughly inspect the dog house for any damage. Fill cracks with wood filler, tighten loose screws, and replace any rotten wood.
- Clean & Sand: Give the dog house a good scrub. Once dry, sand all surfaces smooth, especially if you’re repainting.
- Paint/Stain: Apply pet-safe exterior paint or stain. Choose colors that complement your outdoor space. Allow multiple coats to dry completely.
- Upgrade the Roof: Remove old roofing. Install new shingles or a piece of corrugated plastic, ensuring it’s waterproof.
- Insulate (Optional): Cut rigid foam insulation to fit snugly inside the walls, floor, and ceiling of the dog house. Cover with thin plywood or plastic sheeting to prevent your dog from chewing it.
- Add Comfort: Place a warm, comfortable pet bed inside.
- Decorate: Add fun touches like a miniature window box with artificial flowers, a personalized nameplate above the door, or some paw print decals.
Tips for Successful Pet DIY
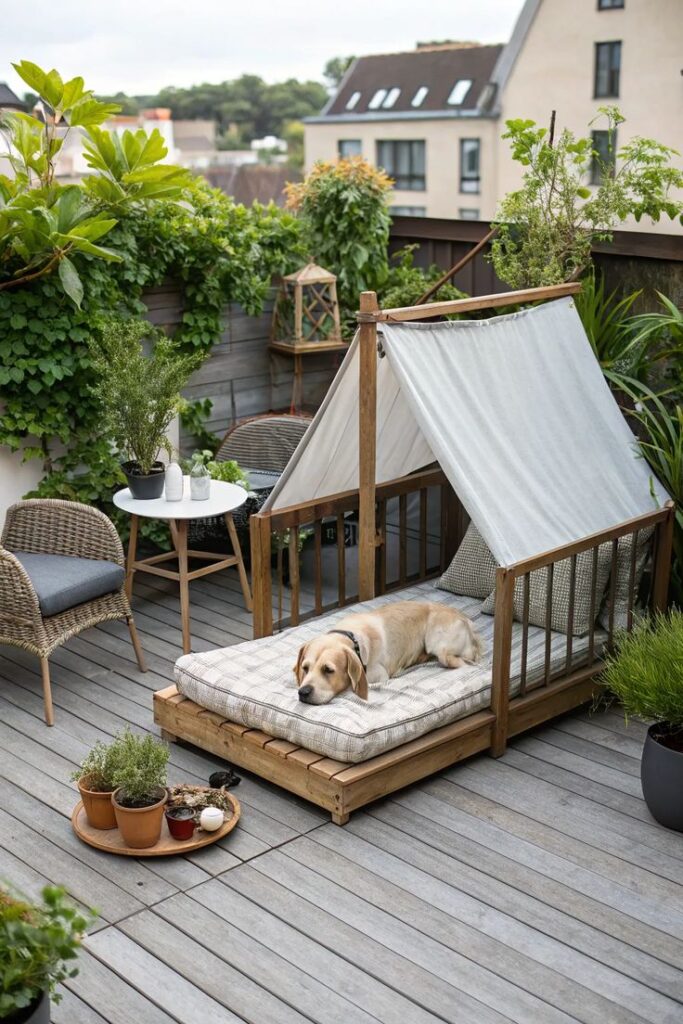
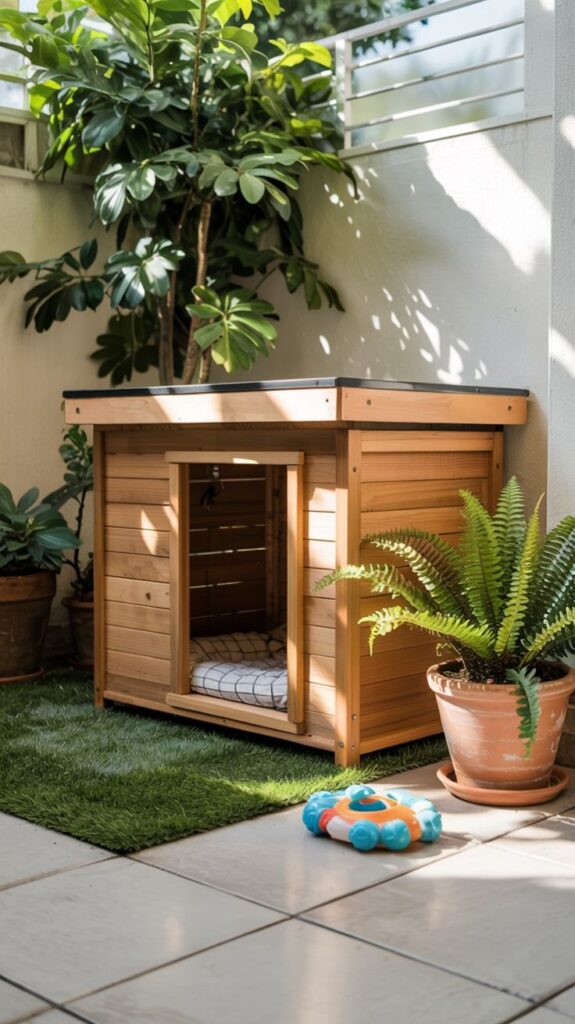
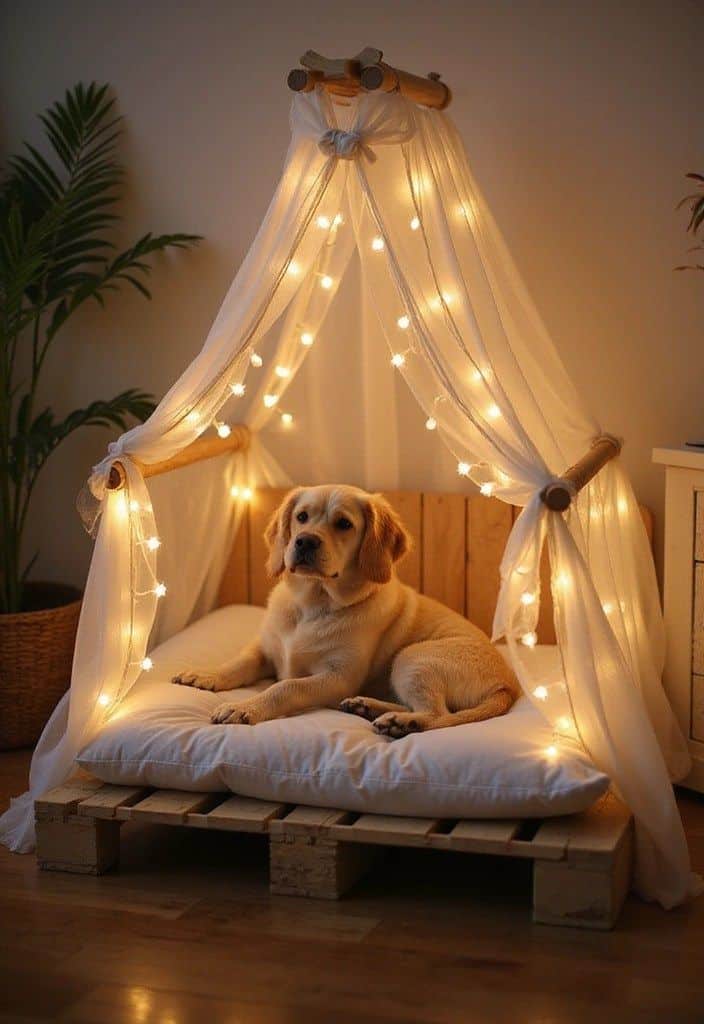
You’re armed with ideas, now here are a few pro tips to make your DIY journey smooth and enjoyable:
- Start Simple: Don’t tackle a complex catio as your first project. Begin with something easy like a T-shirt tug toy or a no-sew bed to build your confidence.
- Involve Your Pet (Safely): Let your pet “supervise” from a safe distance. Their presence might inspire you, and they’ll associate the project with positive feelings. Just make sure they don’t ingest materials!
- Gather All Materials First: Nothing derails a DIY project faster than realizing you’re missing a crucial item. Have everything laid out before you begin.
- Don’t Be Afraid to Experiment: DIY is all about creativity. If an idea doesn’t work out, learn from it and try something new. There are no “failures,” only learning experiences!
- Prioritize Safety and Durability: We mentioned it before, but it bears repeating. Always double-check materials for toxicity and construction for sturdiness. Your pet’s well-being is paramount.
- Clean Up Thoroughly: After each project, make sure to clean up all scraps, tools, and any lingering dust or debris. Small pieces can be tempting for pets to investigate (and chew!).
Unleash Your Inner Crafter and Spoil Your Pet!
From snuggly beds to stimulating toys and stylish furniture, the possibilities for DIY pet projects are truly endless. Not only do these creations offer practical benefits like cost savings and personalized comfort, but they also provide a wonderful opportunity to express your love and creativity. There’s something incredibly satisfying about watching your beloved companion enjoy something you made specifically for them.
So, gather your materials, clear your workspace, and get ready to unleash your inner crafter. Your pets will thank you with purrs, wagging tails, and endless affection. Who knows, you might even discover a new passion for crafting along the way! What awesome DIY pet project will you embark on today?
FAQ
Why should I consider DIY projects for my pet?
DIY pet projects allow you to create personalized, comfortable, and safe items for your pet while also saving money and reducing waste through repurposing materials.
What safety precautions should I take when making DIY pet products?
Always choose non-toxic, pet-safe materials, avoid small parts that pose choking hazards, and ensure all constructions are sturdy and durable to prevent accidents or injuries.
How can I ensure that my DIY pet items are safe and suitable for my pet’s needs?
Select appropriate sizes for toys and furniture, consider your pet’s habits, and incorporate safety features such as secure fastenings and non-slip surfaces to make items safe and functional.
What are some popular DIY projects for pets that I can try at home?
Common DIY projects include homemade pet beds, enrichment toys like tug toys or puzzle feeders, outdoor gear such as ramps or leashes, and even custom pet furniture like gates and catios.
How do I start with pet DIY projects if I am a beginner?
Begin with simple projects like a T-shirt tug toy or no-sew beds, gather all necessary materials beforehand, and gradually work up to more complex items as you gain confidence and skills.
- 192shares
- Facebook0
- Pinterest189
- Twitter3
- Reddit0


