There’s something incredibly satisfying about transforming a room with a fresh coat of paint. That vibrant new color on the walls, the crisp lines along the trim, the way it instantly brightens and modernizes a space – it’s a powerful feeling of accomplishment. But let’s be honest, the thought of actually doing it yourself can feel a bit daunting. We’ve all seen those DIY painting fails: drips, uneven patches, streaky finishes. It’s enough to make anyone reach for the phone to call a professional.
Here’s the good news: achieving a flawless, professional-looking paint job isn’t some secret art reserved for the pros. It’s totally within your reach! With the right preparation, tools, and a few smart techniques, you can tackle any painting project and be proud of the results. Think of it as a creative adventure, a chance to infuse your personality into your home without breaking the bank. This guide is your friendly companion, designed to walk you through every step, ensuring your next DIY painting project goes smoothly, beautifully, and leaves you with that perfect finish you’ve been dreaming of. Ready to grab your brush and make some magic? Let’s dive in!
Getting Started: The Foundation of a Flawless Finish



Before you even think about cracking open a paint can, laying the groundwork is absolutely crucial. Skipping these initial steps is like trying to build a house without a solid foundation – it simply won’t hold up. This is where most DIY painting projects go wrong, so pay close attention!
Planning Your Project
First things first, what are you painting? A whole room? An accent wall? Some old furniture? The scope of your project will dictate your planning.
- Choose the Right Paint Type: This is more important than you might think.
- Latex (Water-Based): The most common choice for interior walls. It dries quickly, cleans up easily with water, and has low odor. It’s durable and flexible.
- Oil-Based: Offers a harder, more durable finish, especially good for trim, doors, and cabinets. However, it takes longer to dry, requires mineral spirits for cleanup, and has a stronger odor. Modern advancements have made latex paints almost as durable, so oil-based is less frequently used for general interior walls these days.
- Sheen Matters: The “finish” or “sheen” refers to how shiny the paint is.
- Flat/Matte: Hides imperfections well, has a rich, non-reflective look. Best for low-traffic areas like dining rooms or ceilings. Not very washable.
- Eggshell/Satin: A slight sheen, more durable and washable than flat. Great for living rooms, bedrooms, and hallways. Eggshell has a softer glow, satin is a bit shinier.
- Semi-Gloss: Noticeable sheen, very durable and easy to clean. Perfect for kitchens, bathrooms, trim, and doors.
- High-Gloss: The most reflective and durable, ideal for furniture, doors, and areas you want to highlight with a mirror-like finish. Shows imperfections easily.
- Estimate Paint Quantity: Don’t guess! Measure the height and width of your walls, multiply them to get the square footage, then add all wall areas together. Don’t forget to subtract areas for windows and doors (unless you’re painting them too!). Most paint cans list their coverage per gallon (usually around 350-400 square feet per coat). Factor in two coats for best results. It’s always better to buy a little extra than to run out mid-project.
- Color Psychology and Selection: Color sets the mood! Light colors make a room feel larger and brighter, while dark colors create coziness and drama. Grab some paint swatches, tape them to your walls, and observe them at different times of day. Natural and artificial light can drastically change how a color appears. Consider the existing furniture and decor in the room to ensure a cohesive look.
Essential Tools and Supplies
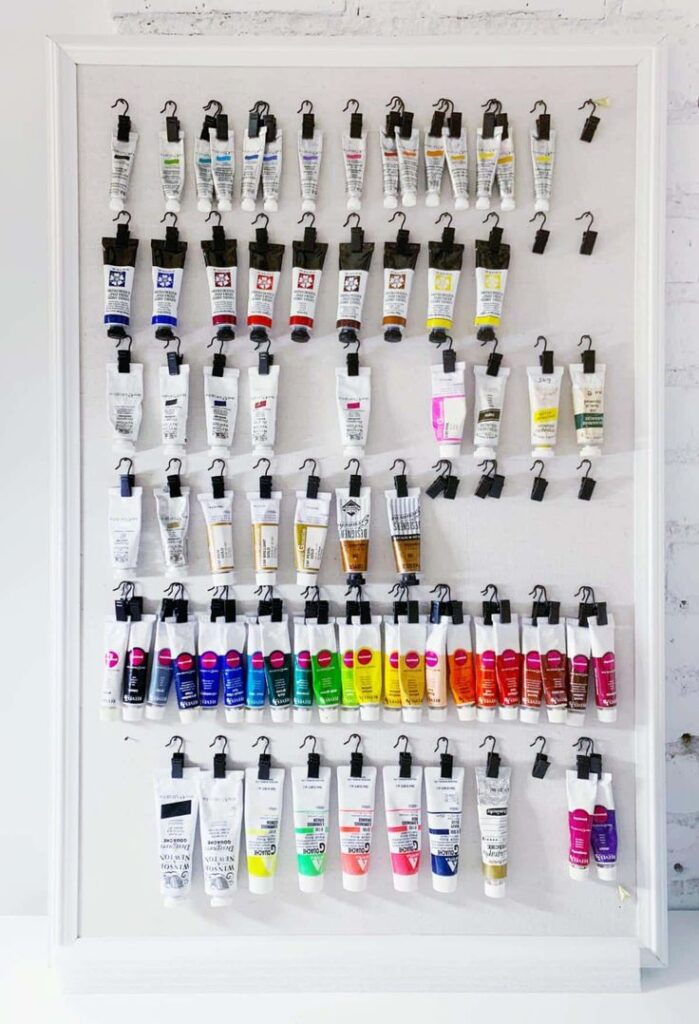
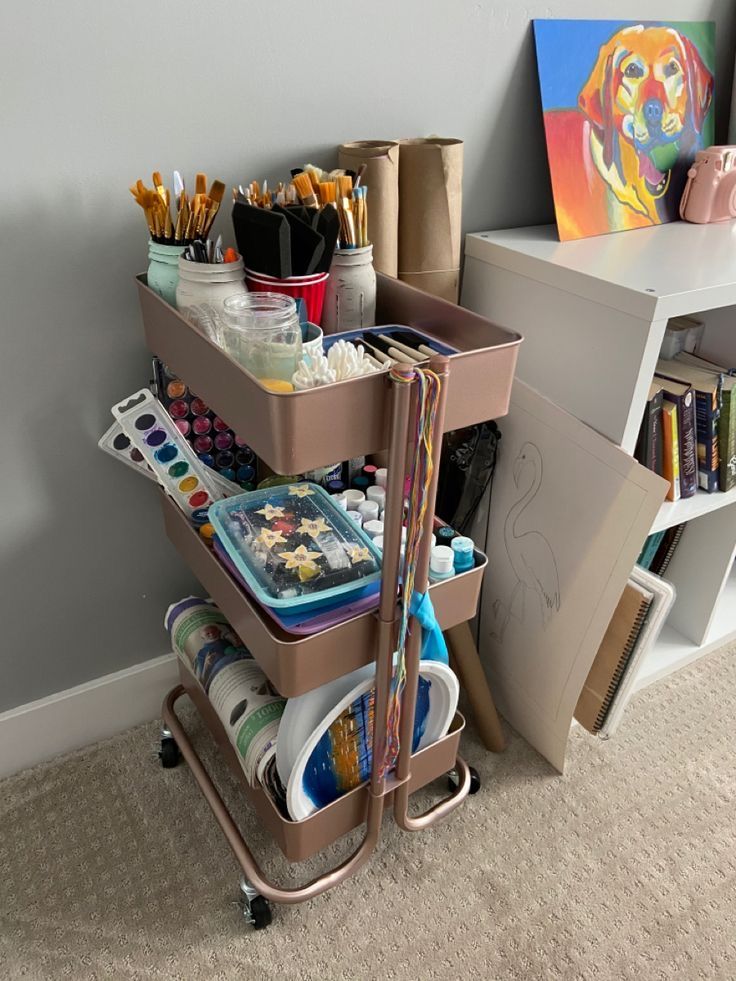
Having the right gear makes all the difference. Don’t skimp on quality here; good tools last longer and deliver a better finish.
- Brushes:
- Angled Sash Brush (2-2.5 inches): Your best friend for “cutting in” (painting edges along ceilings, trim, and corners). The angle gives you precision.
- Flat Brush (various sizes): Useful for wider trim or furniture.
- Natural Bristle (animal hair): Best for oil-based paints.
- Synthetic Bristle (nylon/polyester): Ideal for latex paints, as they won’t absorb water and lose their shape.
- Rollers:
- Roller Frame: A sturdy, comfortable frame is essential.
- Roller Covers (Naps): The “nap” refers to the thickness of the roller’s fibers.
- Short Nap (1/4 – 3/8 inch): For smooth surfaces like drywall, plaster, or wood. Delivers a very smooth finish.
- Medium Nap (1/2 inch): Versatile, good for slightly textured walls.
- Long Nap (3/4 inch or more): For heavily textured surfaces like stucco or masonry.
- Drop Cloths: Protect your floors and furniture. Canvas drop cloths are durable and reusable; plastic sheets are cheaper but can be slippery.
- Painter’s Tape: Low-tack painter’s tape is critical for creating clean lines. Don’t use masking tape – it can pull off existing paint or leave residue. Look for tape specifically designed for delicate surfaces or long-term adhesion if needed.
- Sandpaper/Sanding Blocks: Fine-grit (120-220) for smoothing patched areas and scuffing surfaces for better paint adhesion.
- Spackle/Patching Compound: For filling nail holes and minor cracks.
- Primer: A must-have for unpainted surfaces, dark-to-light color changes, or stain blocking.
- Cleaning Supplies: Sponges, buckets, mild detergent, rags.
- Stir Stick: To thoroughly mix your paint.
- Paint Tray & Liners: For loading your roller. Liners make cleanup a breeze.
- Step Ladder/Stepladder: For reaching high spots safely.
The Power of Preparation: Don’t Skip This Step!
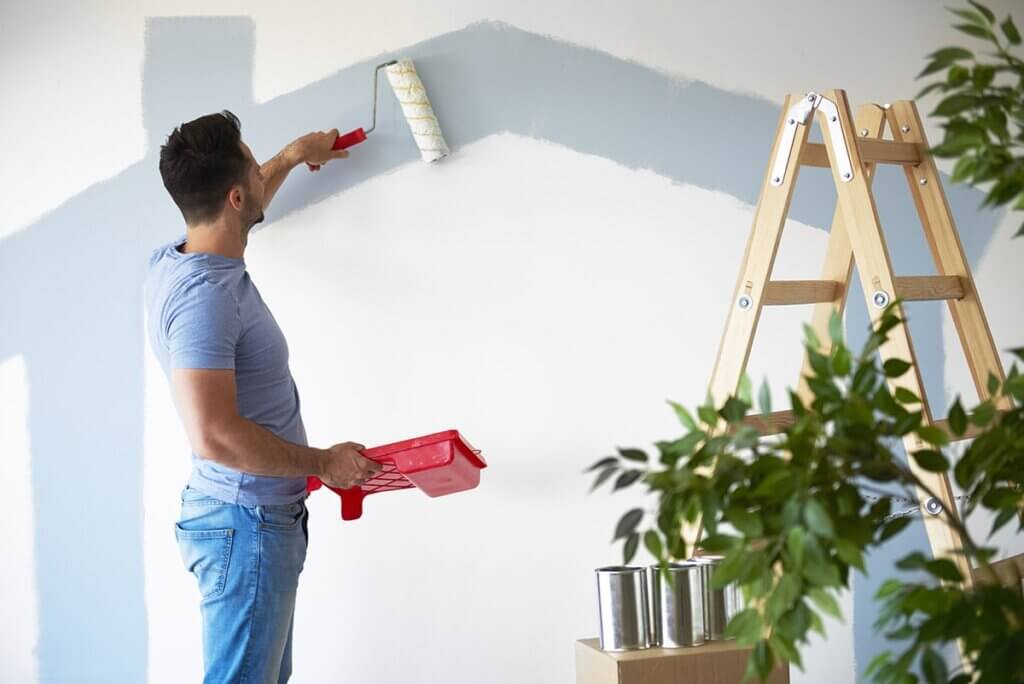
This is where the magic (or disaster) happens. Proper preparation often takes longer than the actual painting, but it’s non-negotiable for a flawless finish. Many homeowners often overlook crucial steps, leading to issues later on, much like some of the preventative repairs every homeowner should budget for before it’s too late.
- Empty the Room (or Clear it Out): Move all furniture out of the room if possible. If not, push it to the center and cover it completely with plastic sheeting. Remove all wall hangings, outlet covers, switch plates, and light fixtures.
- Clean Surfaces Thoroughly: Dust, grease, grime, and cobwebs are enemies of good paint adhesion. Wipe down walls with a damp cloth and mild detergent (like TSP substitute) or a specialized degreaser, especially in kitchens and bathrooms. Rinse with clean water and allow to dry completely.
- Repair Imperfections: This is vital.
- Fill Holes and Cracks: Use spackle or patching compound for nail holes, small cracks, and dings. Apply with a putty knife, let it dry, then sand smooth until it’s flush with the wall.
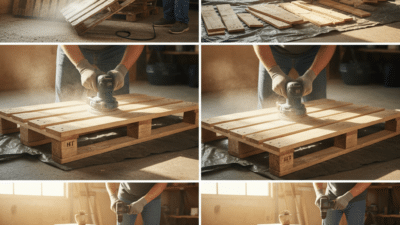
- Sand Rough Spots: Lightly sand any bumpy areas, old drips, or glossy surfaces. This creates a “tooth” for the new paint to grip onto. After sanding, wipe away all dust.
- Tape and Mask: Precision taping is key to sharp lines.
- Apply painter’s tape along the edge of trim, baseboards, window frames, and where walls meet the ceiling. Press firmly to create a tight seal, especially along the edge that meets the wall. A credit card or putty knife can help ensure a crisp line.
- Use plastic sheeting or additional drop cloths to cover anything you absolutely don’t want paint on, like built-ins or large windows.
- Prime Time: Primer isn’t always necessary, but it’s a game-changer for certain situations.
- Unpainted Drywall/New Plaster: Primer seals the porous surface, allowing paint to adhere evenly and prevents it from being absorbed inconsistently.
- Dark to Light Color Changes: Primer helps cover the old color, ensuring your new light color doesn’t look streaky or require endless coats.
- Stain Blocking: If you have water stains, crayon marks, or smoke damage, a stain-blocking primer is a must.
- Glossy Surfaces: Primer helps paint stick to slick surfaces like old oil-based paint or laminates.
- One-Coat Wonders: While some paints promise “paint and primer in one,” for best results, especially with significant color changes or unprimed surfaces, a dedicated primer is often still beneficial.
Mastering the Application: Techniques for a Smooth Coat
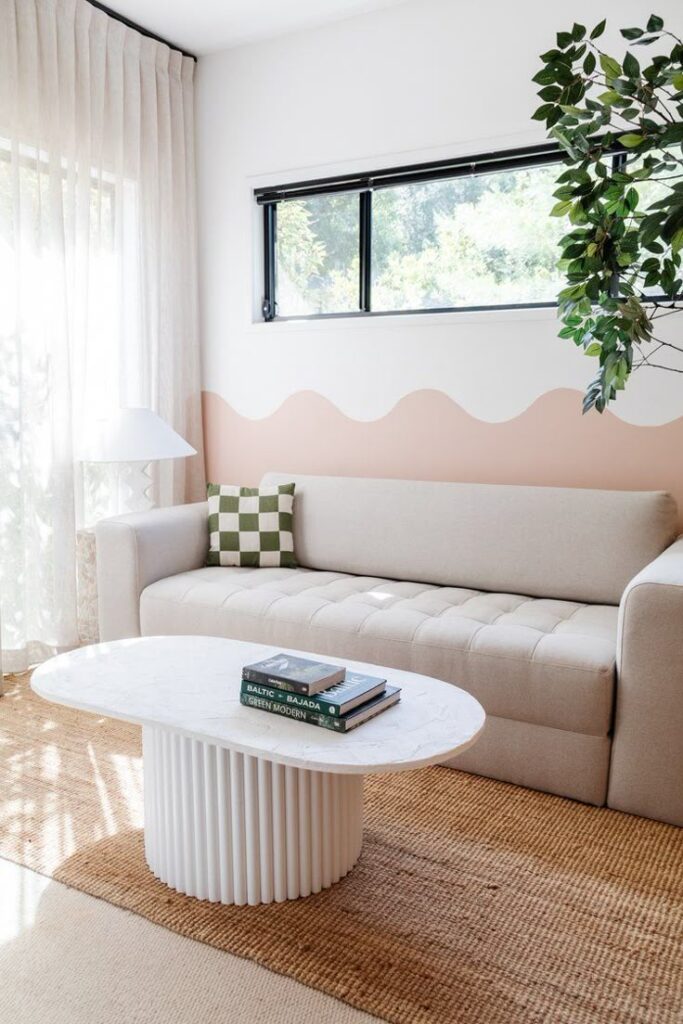
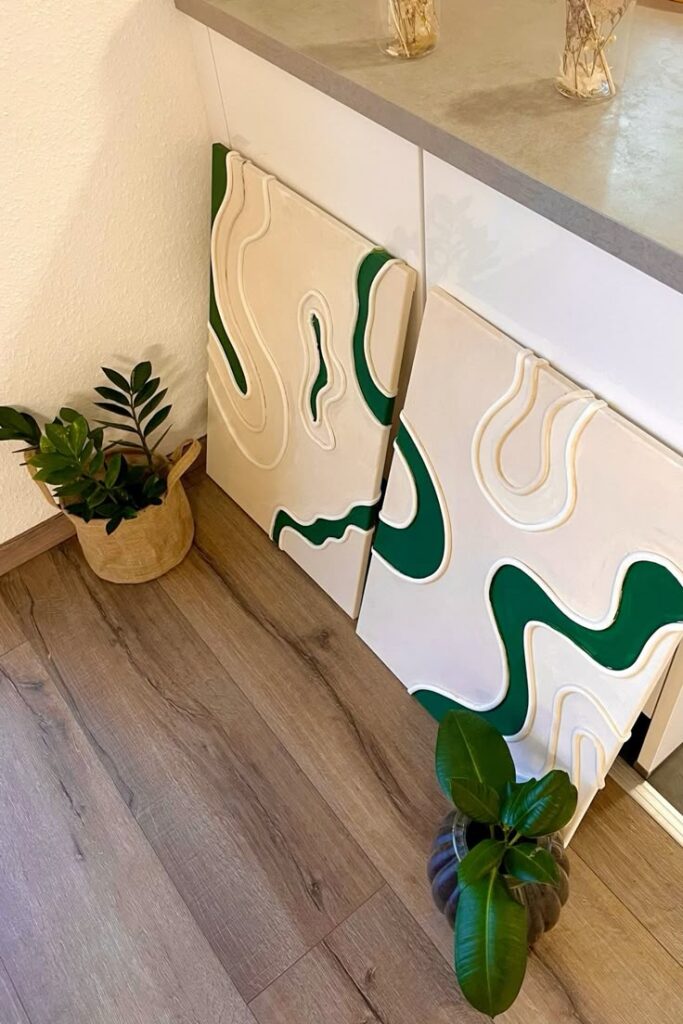
You’ve planned, you’ve prepped, now it’s time for the fun part: applying the paint! With good technique, you’ll be amazed at how smoothly it goes.
Brushing Up: Achieving Clean Lines and Details
Brushes are for precision work – edges, corners, and trim.
- Load the Brush Correctly: Dip about one-third of the bristles into the paint. Tap off excess on the side of the can, don’t wipe it completely, or you’ll remove too much paint. You want a good amount, but not dripping.
- Cutting In: This is arguably the most critical brush technique.
- Start by painting a strip about 2-3 inches wide along the ceiling line, corners, and baseboards.
- Use your angled sash brush with the bristles facing the edge. Apply light, steady pressure, letting the brush fan out slightly to create a clean line. Don’t overload the brush, and reload frequently.
- Work in sections, maintaining a “wet edge” – meaning you overlap your brush strokes before the paint dries, preventing lap marks.
- Long, Even Strokes: When painting trim or doors, use long, smooth, even strokes, always brushing in the direction of the wood grain (if applicable) or the length of the surface. Avoid short, choppy strokes that leave marks.
Rolling with Confidence: Covering Large Areas
Rollers are your go-to for speed and even coverage on walls.
- Load the Roller Evenly: Pour paint into your roller tray (use a liner for easy cleanup!). Roll the roller back and forth in the shallow end of the tray, picking up paint. Then, roll it on the ribbed part of the tray to distribute the paint evenly around the nap and remove excess. You want the roller to be saturated but not dripping.
- The “W” or “M” Technique: This is the pro secret for seamless wall coverage.
- Start about 6-12 inches from a corner or edge. Roll a diagonal stroke upwards, then another diagonal stroke downwards to form a “W” or “M” shape.
- Without lifting the roller, fill in the “W” or “M” by making vertical strokes, slightly overlapping each one.
- Work in 3×3 or 4×4 foot sections.
- Maintain a Wet Edge: Just like with brushing, always make sure your new roller strokes overlap with the still-wet paint from the previous section. This prevents visible “lap marks” where dry paint meets wet paint. Move efficiently across the wall.
- Avoid Drips and Roller Marks: Don’t press too hard on the roller; let the paint do the work. Excessive pressure can squeeze paint out the sides, leading to drips, or leave heavy roller marks. Use consistent, moderate pressure.
The Importance of Thin Coats
This is a golden rule of painting. Seriously, do not try to get away with one thick coat.
- Why Thin is In: Multiple thin coats (typically two, sometimes three for drastic color changes) provide a much smoother, more durable, and more professional-looking finish than one heavy coat. Thick coats are prone to drips, uneven drying, and an “orange peel” texture.
- Drying Times: Always follow the manufacturer’s recommendations for drying time between coats. Rushing this step can cause the second coat to lift the first, creating streaks and peeling. “Dry to touch” is not the same as “ready for recoat.” Patience is a virtue here.
Tackling Tricky Areas
Some spots require a little extra finesse.
- Doors and Windows: Paint recessed panels first, then the horizontal rails, followed by the vertical stiles. For windows, paint the muntins (the strips holding the glass) first, then the sash, and finally the frame. Use painter’s tape on glass if you’re not confident in your steady hand.
- Ceilings: If painting ceilings, do them first before the walls. This allows any drips or splatters to fall on unpainted walls. Use a roller with a long extension pole and “cut in” along the edges.
- Corners and Edges: After cutting in with a brush, use a smaller roller or a mini-roller to get close to the edges of the wall, blending the brushed area with the rolled area.
Troubleshooting Common Painting Pitfalls

Even with the best preparation, things can sometimes go awry. Don’t panic! Most common painting problems have straightforward solutions. Identifying top 10 common mistakes when laying laminate flooring and how to avoid them often involves similar principles of understanding materials and careful application – the same applies to paint!
Drips and Runs: How to Fix Them
These are usually caused by applying too much paint or not distributing it evenly.
- Prevention: Don’t overload your brush or roller. Tap off excess paint. Use thinner coats.
- Immediate Fix (Wet Paint): If you spot a drip while the paint is still wet, gently smooth it out with your brush or roller. Blend it into the surrounding area.
- Dried Drips: Once dry, drips are harder to fix. Use a putty knife or fine-grit sandpaper (220-grit) to carefully scrape or sand down the drip. Be gentle not to damage the underlying paint. Wipe away dust and then lightly touch up the area. You might need to repaint the whole section to blend seamlessly.
Brush Marks and Roller Laps: Smoothing Things Out
These occur when paint dries too quickly or isn’t applied smoothly.
- Causes: Applying paint too slowly, not maintaining a wet edge, using a poor quality roller cover, or paint being too thick.
- Solutions:
- For Brush Marks: Use an angled brush, apply medium pressure, and use longer, more consistent strokes. If dry, lightly sand and recoat.
- For Roller Laps: Work quickly and systematically in sections, ensuring each new pass slightly overlaps the wet paint. Avoid pressing too hard. If dry, sand down the raised edges of the lap marks and apply another thin coat. Sometimes adding a paint extender (flow improver) to latex paint can increase drying time and improve flow, reducing marks.
Uneven Coverage: Getting Consistent Color
Patchy or streaky results usually come from inconsistent application.
- Causes: Not stirring paint thoroughly, applying too-thin coats (or too few coats), not priming properly, or inconsistent roller pressure.
- Solutions:
- Stir Paint: Always stir your paint thoroughly before and during use. Pigments can settle at the bottom.
- More Coats: Don’t be afraid to apply a third thin coat if necessary, especially with drastic color changes or highly porous surfaces.
- Consistent Application: Ensure your roller is evenly loaded and you’re applying consistent pressure across the entire surface.
- Proper Lighting: Paint in good light to spot inconsistencies as you go.
Paint Peeling or Blistering: Addressing Surface Issues

These are often signs of improper surface preparation or moisture problems.
- Causes: Painting over dirty, greasy, or glossy surfaces without proper cleaning or sanding; painting over a damp surface; moisture seeping through the wall from behind.
- Solutions:
- Peeling: Scrape off all loose and peeling paint. Sand the edges smooth. Clean the surface thoroughly. Prime with a high-quality primer (especially a bonding primer if you suspect adhesion issues) before repainting.
- Blistering: If blisters are small and appear soon after painting, it might be solvent entrapment (paint drying too quickly on the surface, trapping solvent underneath). If larger and occurring later, it’s likely moisture. Address the moisture source first (e.g., roof leak, plumbing issue). Scrape off blisters, sand, prime, and repaint.
Dust and Debris: Keeping it Clean
Nothing ruins a fresh coat like specks of dust or stray hairs.
- Prevention: Vacuum the room thoroughly before painting. Wipe down surfaces. Use high-quality, lint-free roller covers. If sanding between coats, clean up all dust completely before applying the next coat.
- Removal (Wet Paint): If you spot a tiny piece of lint or a hair in wet paint, gently lift it out with tweezers or the tip of your brush. Don’t dig or smear.
- Removal (Dry Paint): If it’s dried into the paint, you can often gently scrape it off with a razor blade or fine-grit sandpaper, then lightly touch up the area.
Finishing Strong: Clean-Up and Maintenance

You’ve done the hard work, now for the less glamorous but equally important final steps. Proper cleanup ensures your tools last and your paint stays fresh for touch-ups.
Cleaning Your Tools
Don’t let your good tools become rock-hard relics of a past project.
- Brushes: For latex paint, rinse brushes thoroughly under warm running water, working the paint out from the bristles. Use a brush comb to separate bristles and remove stubborn paint. For oil-based paint, clean with mineral spirits or a paint thinner, then wash with soap and water. Reshape bristles before drying.
- Rollers: Scrape off excess paint from the roller cover with a 5-in-1 tool or putty knife. Then, wash thoroughly with warm water (for latex) or mineral spirits (for oil-based). Squeeze out water/thinner. You can spin them dry with a roller spinner or simply hang them to air dry.
- Paint Trays: If you used tray liners, simply discard them! Otherwise, scrape out excess paint and wash with warm water and soap.
- Storage: Store clean, dry brushes in their original cardboard sleeves or wrapped in paper to maintain their shape.
Storing Leftover Paint
You’ll definitely want to save some paint for future touch-ups.
- Air-Tight is Key: Ensure the lid is securely fastened. You can place a piece of plastic wrap over the opening before putting the lid on to create an extra seal. Tap the lid down gently with a rubber mallet.
- Labeling: Write the date, room name, and color name/code directly on the can with a permanent marker. This saves you headaches later.
- Location: Store paint in a cool, dry place, away from direct sunlight and extreme temperatures (heat or freezing can ruin paint). A utility closet or basement is usually ideal.
Curing Time and Ongoing Care
Your paint might be dry to the touch, but it’s not fully cured.
- Curing: Paint typically takes several days to several weeks (depending on humidity and temperature) to fully cure and achieve its maximum hardness and durability. During this time, be gentle with your newly painted surfaces. Avoid scrubbing or placing heavy objects against them.
- Gentle Cleaning: Once cured, clean painted walls with a soft cloth, warm water, and a mild, non-abrasive cleaner. Avoid harsh chemicals or abrasive sponges, especially on lower-sheen paints.
- Touch-Ups: For small dings or marks, use your stored leftover paint. Apply sparingly with a small artist’s brush. If the paint is old or the damage is extensive, you might need to repaint a larger section or the whole wall to blend it seamlessly.
Conclusion
There you have it! Painting a room doesn’t have to be a source of stress or an expensive endeavor. With careful planning, quality tools, and a patient approach to preparation and application, you can achieve results that rival a professional job. Remember, the secret sauce is always in the prep work – cleaning, patching, and priming lay the foundation for a stunning finish. Don’t rush, enjoy the process, and take pride in transforming your space with your own hands.
So, what are you waiting for? Grab your brush, pick out that perfect color, and embark on your next DIY painting adventure. Your home, and your sense of accomplishment, will thank you!
- 3shares
- Facebook0
- Pinterest0
- Twitter3
- Reddit0

