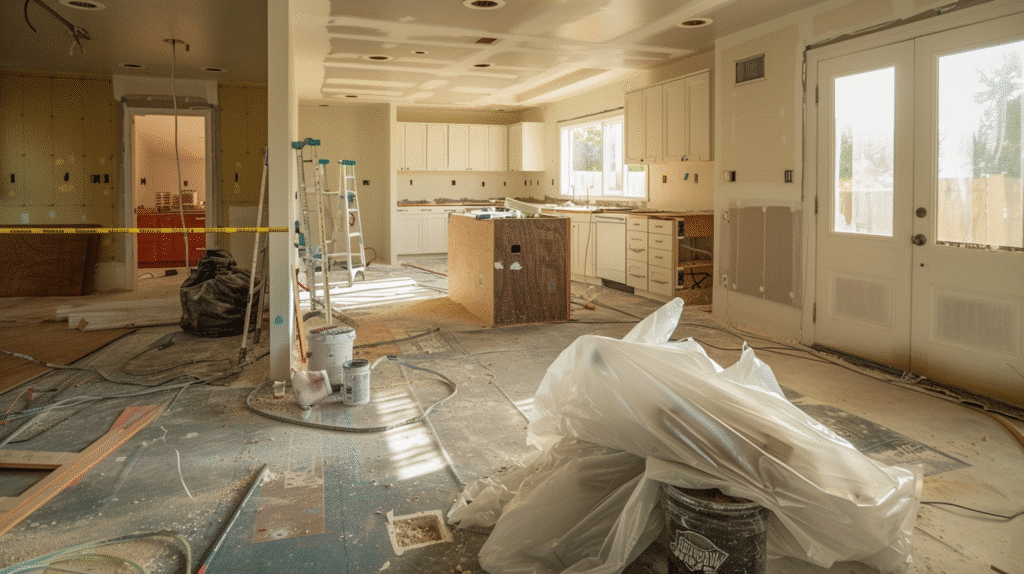
Anyone who has lived through a kitchen remodel will tell you: it’s not the dust or the noise that wears you down. It’s the disruption to your daily rhythm. Your kitchen is where coffee gets made before the day starts. It’s where school lunches are packed, where family gathers to eat and talk. Suddenly, that center of your home is covered in plastic sheets and filled with sawdust. Water shut-offs stretch into hours. The fridge sits awkwardly in the living room.
The good news? There are proven ways to make the process easier. This kitchen remodel survival guide walks you through how to set up a temporary kitchen, contain the mess, stay on budget, and keep your family life running while construction takes over. Think of it as your survival plan, one that helps you keep your sanity until the final backsplash tile clicks into place.
Survival Planning in 60 Minutes: The Pre-Demo Checklist
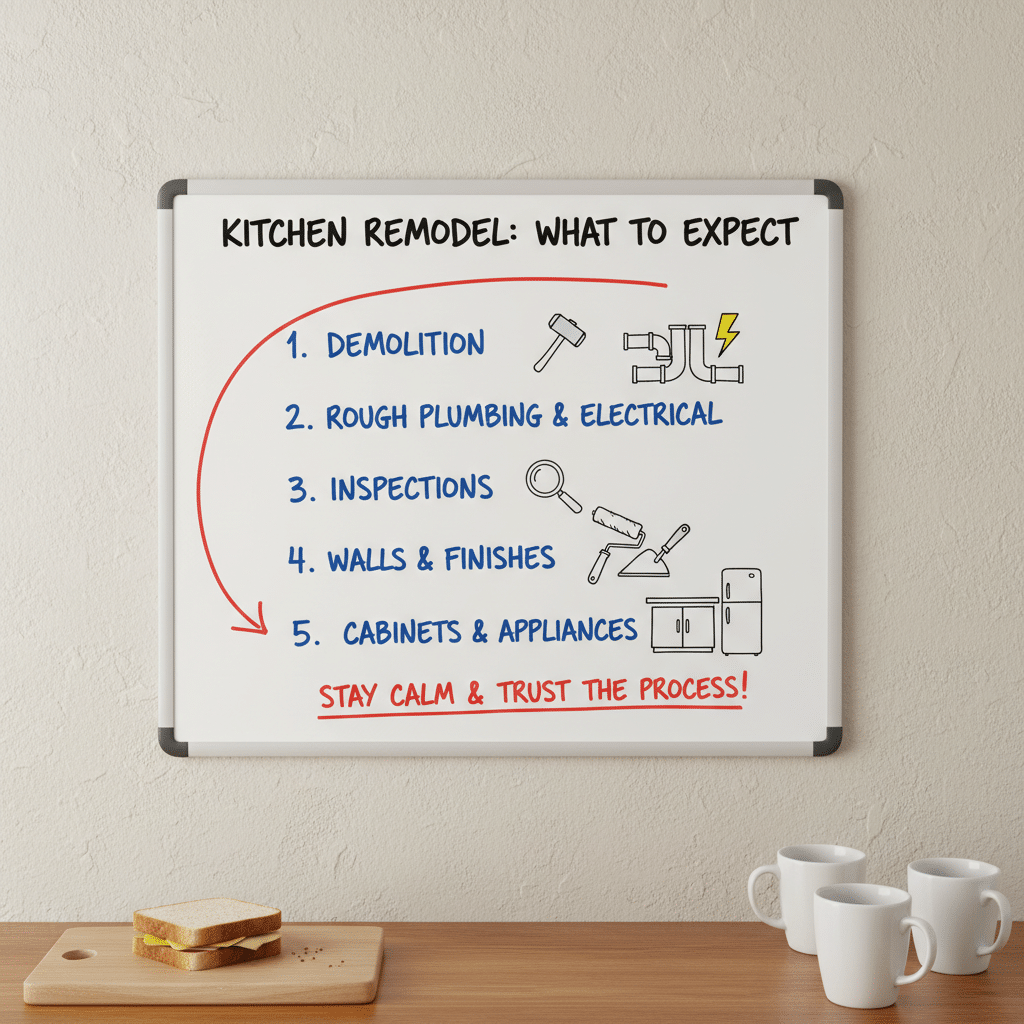
Confirm the Order of Operations
Every remodel follows a sequence: demolition, rough plumbing and electrical work, inspections, walls and finishes, then cabinets and appliances. If you know what happens when, you won’t be blindsided by the chaos. Write these steps out on a whiteboard so the whole household understands the flow.
Mark Critical Dates
Cabinet deliveries, countertop templates, and inspection appointments should all be on your calendar from the start. Missing just one of these can set the entire project back a week or more.
Set Ground Rules
Decide which entry doors workers can use, what areas are off-limits, and when quiet hours are. Post these rules on a visible board to prevent awkward conversations later.
Insurance and Permits
Don’t forget the paperwork. Before demo day, confirm with your contractor that all permits are in hand and your home insurance covers renovation work. If you’re unsure about coverage, the U.S. Department of Housing and Urban Development (HUD) has a clear homeowner guide on renovation risks and insurance that you can check out.
Build a Temporary Kitchen You’ll Actually Use
Pick the Right Spot
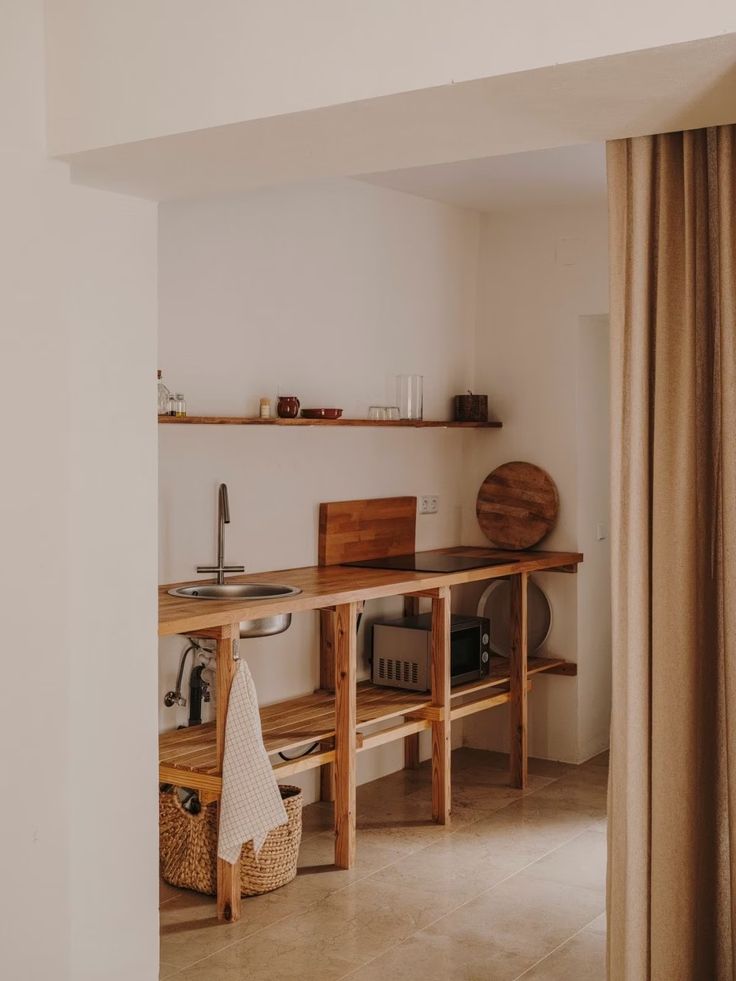
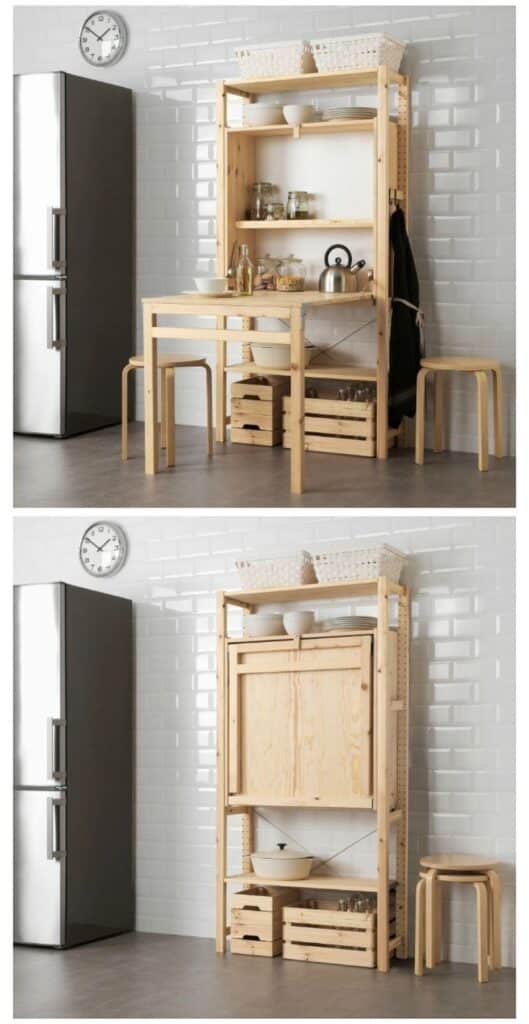
Choose a space with nearby outlets and water access, like a laundry room, basement corner, or even a cleared-out dining area. The goal is to create a “mini work triangle” for prep, cooking, and cleaning.
Your Minimal Survival Kit
You don’t need your full appliance lineup. A microwave, toaster oven or air fryer, induction hot plate, and electric kettle will cover most meals. Add a cutting board, a sharp knife, and dishpans for washing, and you’ve got the essentials.
Water and Cleanup
This is where things get tricky. If your kitchen sink is out, you’ll rely on a bathroom or laundry sink for washing. Some families set up a utility sink with temporary hookups. Planning ahead is vital here. Coordinate with your contractor so water shut-offs are short and predictable, not day-long surprises.
Food and Pantry Strategy
Stock shelf-stable items like pasta, rice, canned beans, and sauces. Prep freezer meals before demo day, and keep snacks visible for quick grabs. Paper plates and compostable cutlery can reduce stress when dishwashing feels impossible.
Dust, Odor, and Noise: Contain the Chaos

Dust Control
Remodel dust creeps everywhere if you let it. Plastic sheeting with zipper doors, taped seams, and floor protection help keep it in check. Close off HVAC vents in the remodel zone and change filters often.
Managing Odors
Adhesives, paints, and finishes release strong fumes. Choose low-VOC products when possible (the EPA’s guide to indoor air quality explains why this matters), run fans for ventilation, and schedule fume-heavy work on days you can be out of the house.
Dealing with Noise
Hammer drills and saws don’t make for peaceful mornings. Noise-canceling headphones, clear work-from-home schedules, and a few planned off-site breaks can help you stay sane.

Scheduling Around Real Life: Work, Kids, and Pets

Segment Your Space
Mark your home into “clean zones” and “construction zones.” Protect the clean areas at all costs, and create a daily reset routine where you tidy your temp kitchen and sweep pathways at night.
Reliable septic tank services Coffs Harbour residents can trust are essential for keeping wastewater systems running smoothly. From regular maintenance and inspections to repairs and full system replacements, professional technicians in Coffs Harbour ensure your septic system operates efficiently and safely. With expert care, you can prevent blockages, unpleasant odors, and costly damage, keeping your property and the environment in top condition. Choosing trusted septic tank services Coffs Harbour means peace of mind and long-term reliability.
Family and Pet Logistics
Morning coffee should be accessible without stepping over drop cloths. Kids need easy snack stations, and pets should have a safe place away from tools and dust. Boarding pets during demolition or tile-cutting days might be the most stress-free choice for everyone.
Don’t Forget Yourself
Plan small escapes. Even one night of dinner out during drywall sanding can reset your patience.
The Money Reality: Budgets, Buffers, and Smart Choices

Add a Cushion
Unexpected plumbing corrosion or uneven subfloors are common. Add at least 15% contingency to your budget so these don’t derail your project.
Spend Where It Counts
Durable fixtures, proper lighting, and strong ventilation are investments that pay off. Save money on finishes that may go out of style quickly.
Keep It Transparent
Track expenses in a shared spreadsheet. When every family member can see the numbers, it reduces stress and finger-pointing later.
The Plumbing Reality: Why This Can’t Wait
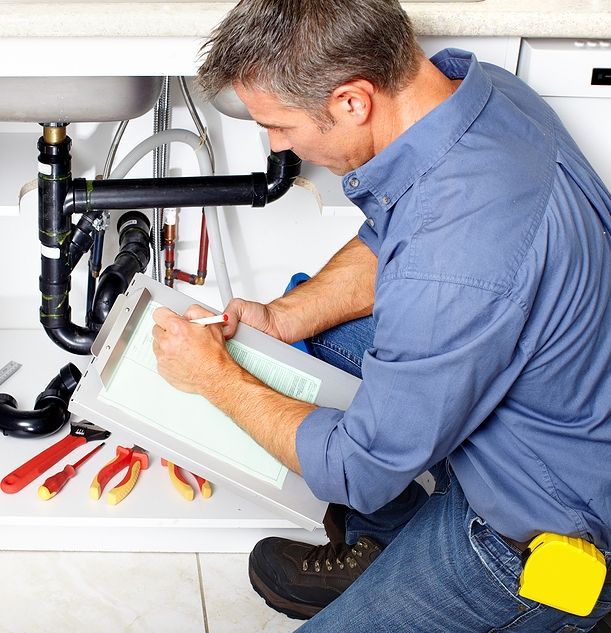
This is where most kitchen remodel survival guides gloss over critical details. Plumbing rough-ins determine your entire layout. Sink placement, dishwasher hookups, and water line locations all get locked in before walls close. Get these wrong and you’re tearing out brand-new drywall.
Rough-Ins and Shut-Offs
Plumbing rough-ins happen before walls are closed. If these aren’t done right, inspections fail, and walls get reopened. Schedule them early and make sure valves are labeled and accessible.
Fixture Strategy
Your sink depth must match cabinet clearance, and faucet reach should suit your counter layout. Dishwashers need air gaps in many jurisdictions, and refrigerators often require dedicated water lines.
Why Professional Expertise Matters Here

Complex rough-ins and code compliance work require expert plumbers who understand remodel-specific challenges. Supply line relocations, proper drain slopes, and fixture hookups aren’t DIY territory. One incorrect angle on a drain line means failed inspections and costly rework. Qualified professionals prevent the timeline disasters that turn a six-week project into a three-month ordeal.
Design Decisions That Reduce Daily Friction
Materials That Work Hard
Select counters and flooring that can withstand the dust and traffic of installation and still look good later. Easy-to-clean finishes reduce stress when construction grime lingers.
Storage Access
Pull-out drawers, lazy Susans, and open shelving near your temporary setup make life easier during the remodel and afterwards.
Watch the Trends
Avoid flashy materials that might look dated by the time the remodel is done. Choose styles that balance beauty with long-term comfort.
Communication That Keeps Things Moving

Daily Check-Ins
Ten minutes each morning with your contractor can prevent costly misunderstandings. Use a whiteboard for notes, questions, and milestone updates.
Set Expectations Early
Agree on delivery times, parking zones, and quiet hours early. Clear communication avoids tension later.
Your Week-by-Week Survival Roadmap

- Week 0 (Prep): Pack nonessentials, set up temp kitchen, install dust barriers, label everything.
- Week 1 (Demo): Expect heavy noise and dust. Plan off-site meals.
- Weeks 2–3 (Rough-Ins): Plumbing and electrical work happen here. Coordinate inspection dates and keep your backup water options ready.
- Weeks 4–5 (Finishes): Walls close, paint dries, counters are templated, and appliances are prepped.
- Week 6+: Punch list. Test every faucet, drain, and appliance to make sure the space works as designed.
Key Takeaways: What Saves Your Sanity

Following this kitchen remodel survival guide means you’ll actually make it through with your sanity intact. Here’s what matters most:
- Dust barriers and filter changes keep the rest of your house livable.
- A thought-out temporary kitchen prevents endless takeout bills.
- Daily check-ins with your contractor stop small problems from becoming major delays.
- Budget cushions are non-negotiable.
- Professional plumbing work protects your timeline and prevents inspection failures.
The chaos is temporary. Your beautiful new kitchen is permanent. With the right preparation and realistic expectations, you’ll wonder why you didn’t remodel sooner.
- 0shares
- Facebook0
- Pinterest0
- Twitter0


