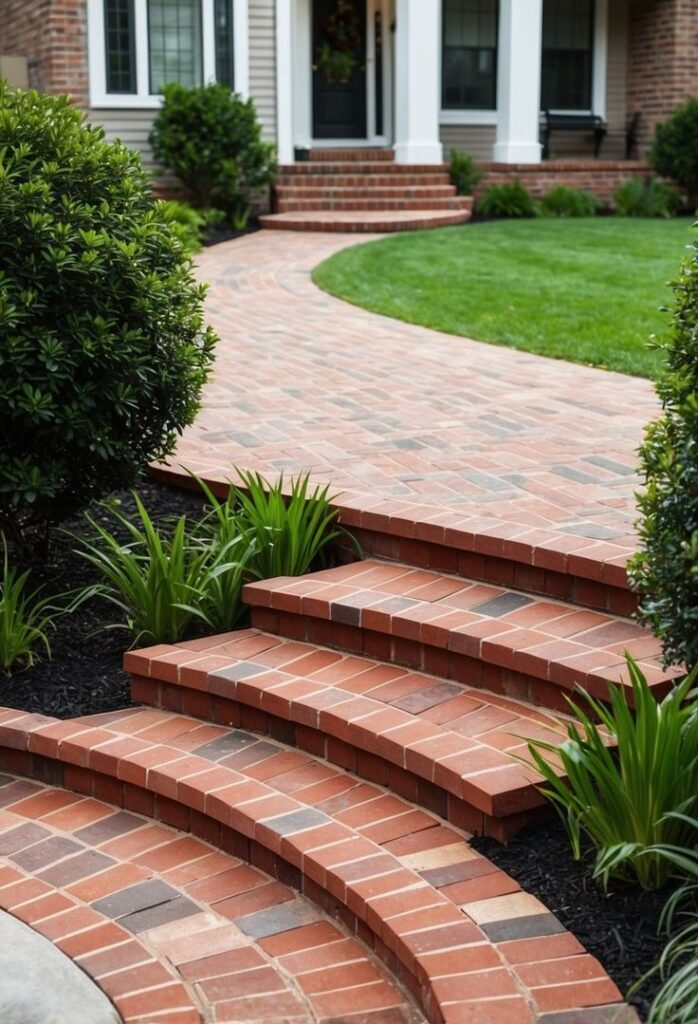
Want to learn how to fit brick steps without landing in A&E?
Outdoor brick steps can seriously level up your outdoor home space and improve your property’s kerb appeal. The problem is, DIY construction work has got thousands of people ending up in the emergency room every year.
DIY step fitting and construction is actually more dangerous than most people realize. A shocking 40% of construction worker deaths are due to falls, many of them during home projects like this.
That’s why you need to keep safety at the front of your mind.
What We’ll Cover
- DIY Step Risks
- Essential Safety Gear
- Setting Up Your Work Area Safely
- Safe Bricklaying Methods
- Safety Mistakes to Avoid
DIY Step Construction: Understanding the Risks

Most people underestimate how dangerous construction really is.
You are dealing with heavy materials, using power tools, and working on the ground, bent over or on your knees for hours at a time. If you don’t feel like that’s your idea of fun, why not find a garden step installer to come and do the job. They have the skills and safety equipment to avoid the most common DIY hazards.
But if you do decide to fit the steps yourself, you should know the risks involved so you can work safely.
Statistics from construction sites show roughly 150,000 people suffer an injury at work every year, and many of these take place on residential jobs. Typical injuries and incidents include:
- Back and spine injuries
- Hand and finger injuries
- Knee injuries
- Falls from height and uneven ground
- Eye injuries
Here’s what you need to know:
Each brick weighs between 4-5 pounds (on average). When fitting steps, you’ll be handling hundreds, maybe thousands of them. Combine bad lifting technique and repeated movement and you’ve got a recipe for disaster.
Bricklaying Safety Equipment You Need
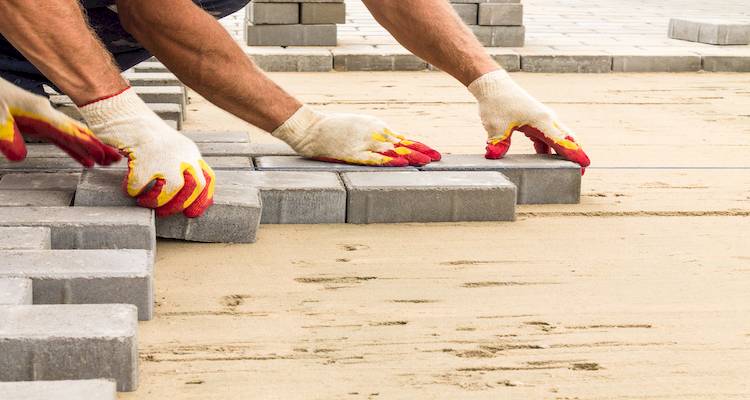
The second safety item is to wear the right protection.
It’s not an option to skip over. Professionals wear PPE for a reason. It works. Good quality equipment will protect you during your project.
Personal Protection Equipment (PPE)
Your must-have safety kit should include the following:
- Safety glasses with side shields — Brick dust and mortar will be going everywhere during your work. Protecting your eyes is a must.
- Heavy-duty gloves with good grip — You’ll be handling sharp edges and using a range of tools. Heavy-duty work gloves will protect your hands without losing dexterity.
- Steel-toed boots — It hurts when you drop a brick on your foot. It doesn’t hurt when you drop one on steel-toe boots.
- Knee pads — Laying bricks involves a lot of kneeling. Good quality knee pads will keep you from injuring your joints and make the work more comfortable.
- Dust mask or respirator — Cutting bricks produces silica dust that damages your lungs. A dust mask will protect your breathing, especially if you’re using a saw or power drill.
Easy enough to understand, right?
But most DIYers skip at least one of these. Don’t be that person.
Plan Your Work Space For Safety
Preparation is the key to safe DIY work.
How you set up your workspace is a massive factor in how easily (and safely) your project goes. If you take the time to get this bit right, you can avoid most common accidents.
Clear the Area
Trip hazards are the most common cause of DIY injuries.
So before you do anything, clear the work area:
- Hoses
- Tools and materials not in use
- Toys, lawn mower, etc
- Loose rocks or garden debris
Leave plenty of room for yourself to move about. Three feet on all sides of your work area is a minimum.
Organize Your Materials
Put your piles of bricks within easy reach of where you will be working, but not in the way.
Stack them on level ground — never more than 4 feet high. Unstable brick piles are surprisingly dangerous.
Your mortar mixing area needs to be on solid, flat ground. An uneven mixing area means spills and wasted materials, and could cause injury.
Check the Ground
Is the soil stable? Good drainage?
If you’re building your steps on shifting, loose soil, that is dangerous. It’s not just your risk of falling over, but your ability to build good steps. Is the ground soft or moves when you step on it? You need to fix this before you start.
Bricklaying Tips for Safe Working
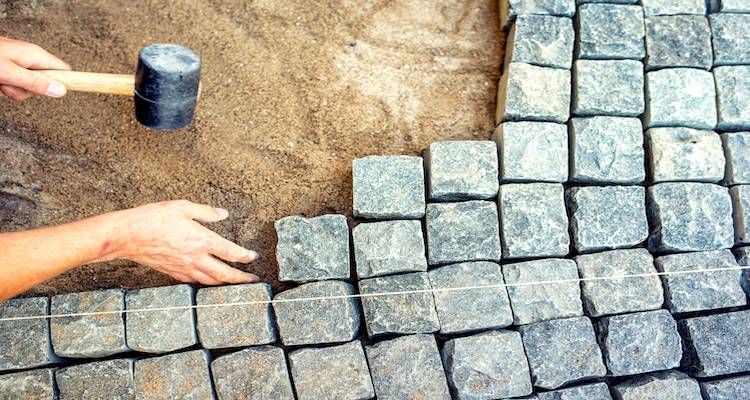
Safety is also in how you do your work.
Proper Lifting Techniques
This cannot be overstated:
Bend at your knees, not your waist. Keep the brick close to your body. Don’t twist when you’re carrying something heavy.
If something is too heavy for you, it probably is. Don’t be a hero and try to carry too much. Multiple trips are better than injury.
Prevent Repetitive Stress
You should be taking a break every 30 minutes. Stretch your back, shoulders, and knees. Alternate between tasks to give muscles a break.
You will feel better for it the next day.
Work Safely at Heights
If you are working on higher steps, never overreach to place bricks. Move your feet instead of stretching for a spot. Overreaching affects your balance and strains your back.
Use a stable platform if you need to work up high. A well-built scaffold is a safer choice than a rickety ladder.
Bricklaying Safety Mistakes to Avoid
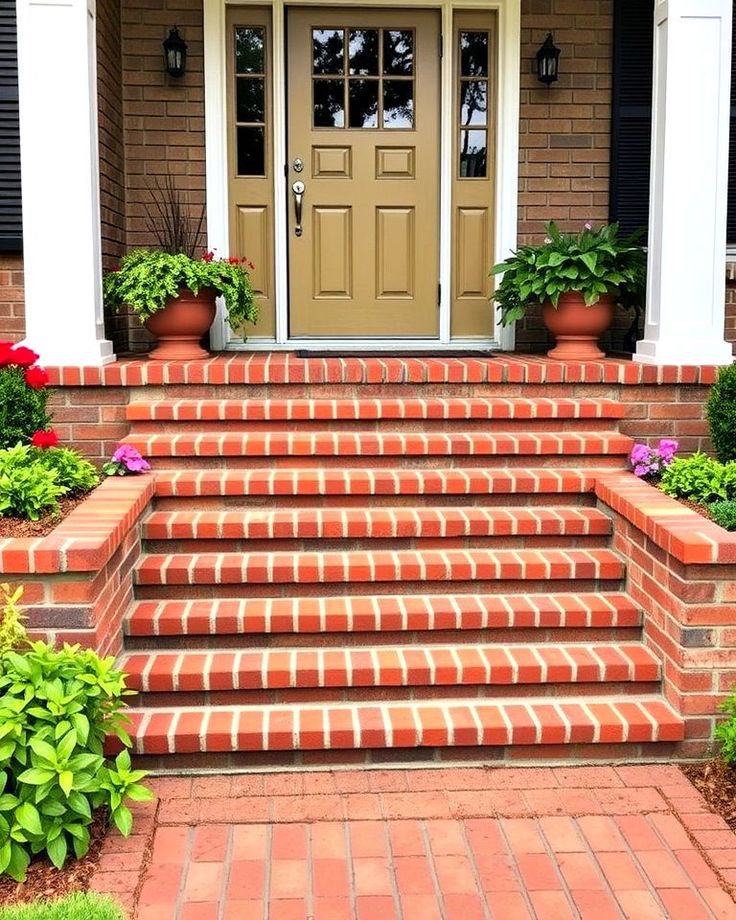

There are plenty of common errors even pros make. Don’t be that person.
Avoid Working Without Safety Gear
The number one mistake people make? Thinking they’ll “just do one small task without my gloves/glasses/mask”.
That’s when you’ll get injured. Suit up in your PPE before you start, and don’t take it off until you’re done.
Don’t Work in Bad Conditions
Rain makes bricks slippery and mortar hard to use. Direct sun can make mortar dry too quickly, and cause fatigue. Wind blows dust into your eyes and makes mixing hard.
Wait for a good day to work. Seriously.
Don’t Rush
Taking a deadline on yourself is how you get sloppy work and injuries. Be realistic in the time you give yourself to complete the work. Better to take a second day than cut corners and risk safety.
Don’t Use Damaged Tools
Check your tools before use each day. Damaged tools are accidents waiting to happen. Replace or fix broken or worn-out equipment.
Don’t Skimp on Mortar Mixing Safety
Mortar has lime and cement in it, both of which burn your skin. Gloves are a must when mixing and applying mortar. If mortar gets on your skin, wash it off with water immediately.
When To Call a Professional


Some steps are better left to professionals.
If your steps involve any of the following:
- Heights greater than 3 feet
- Curved or complex designs
- Structural walls or support
- Drainage issues
…seriously consider bringing in a professional to do the job. Professional costs are often less than the medical bills from a serious injury.
DIY Brick Steps Safety Checklist
Before you start work on your steps, make sure you can answer yes to all these questions:
- Do you have all necessary safety equipment?
- Is your work area clear and level?
- Are your materials well-organized?
- Have you checked the weather forecast?
- Are your tools all in good condition?
- Do you have a first aid kit close by?
- Has someone got your home number, just in case?
If you have answered no to any of these questions, fix it before you begin work.
The Bottom Line
Brick steps can be a great DIY project, but only if you take safety seriously throughout the process. The right equipment, good preparation, and safe working methods are the difference between a project that goes well and one that turns into a disaster.
Take your time, use good form, and wear the right safety gear. And remember, there’s no shame in calling in a professional if you feel the project is outside your abilities.
You want to create great steps for your outdoor home space. But it’s not worth putting your health at risk to do it.
- 0shares
- Facebook0
- Pinterest0
- Twitter0
- Reddit0


