Paper crafts offer an accessible and rewarding creative outlet that requires minimal materials while delivering maximum satisfaction. Whether you’re looking to spend quality time with children or explore your own artistic side, working with paper provides endless possibilities for expression and learning.
These seven carefully selected projects range from traditional origami techniques to modern decorative applications, ensuring you’ll find something that matches your skill level and interests. From creating elegant room decorations to crafting personalized gifts, each project builds foundational skills while producing beautiful results you can display or share with others.
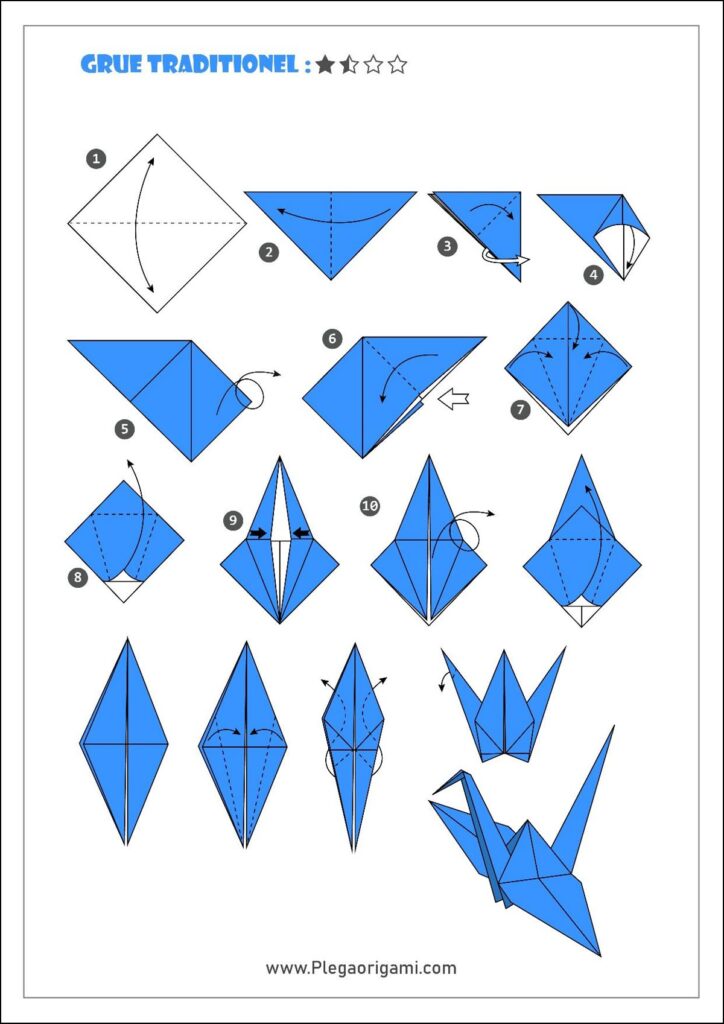
1) Origami animals such as cranes and frogs
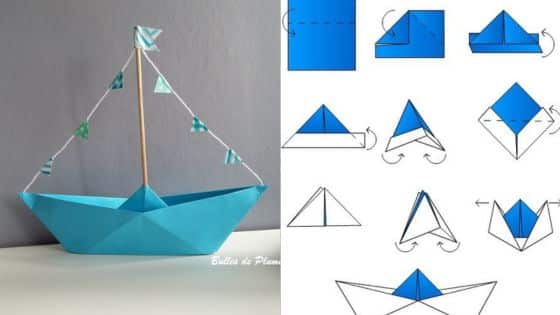
Origami animals make excellent paper crafts for beginners and children. You can create impressive creatures using just a single square sheet of paper and basic folding techniques.
The origami crane stands as one of the most iconic designs in paper folding. While it requires more steps than simpler projects, you can master this classic with practice. The crane uses fundamental folds that will help you tackle other origami animals.
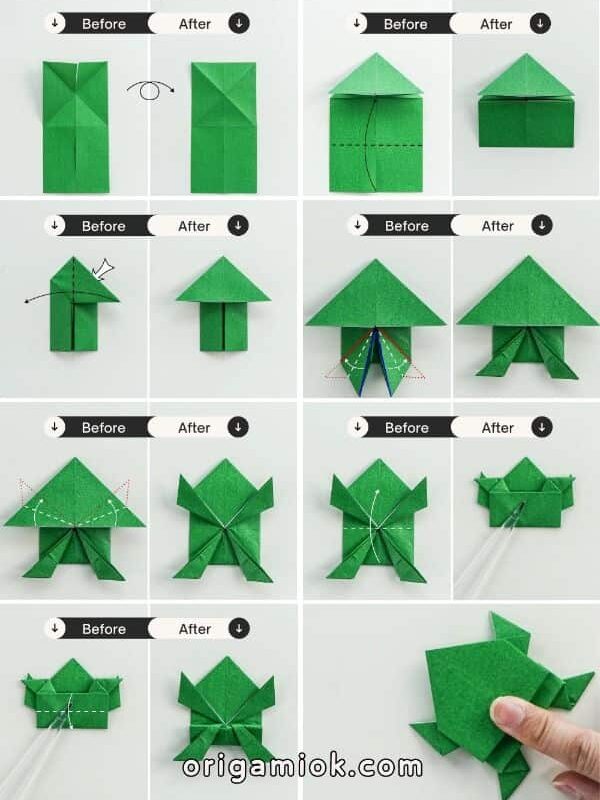
Paper frogs offer a fun alternative that’s easier for beginners. You can fold a jumping frog that actually hops when you press its back. This interactive element makes frogs particularly engaging for kids.
Both cranes and frogs use similar basic techniques like valley folds, mountain folds, and reverse folds. You’ll start with a square piece of paper and work through sequential steps to transform it into your chosen animal.
These projects require no cutting or gluing, following traditional origami principles. You only need paper and your hands to create these delightful creatures.
Start with simpler frog designs before attempting the more complex crane. Both animals will teach you essential origami skills while producing charming results you can display or give as gifts.
2) Paper flowers using colored tissue paper
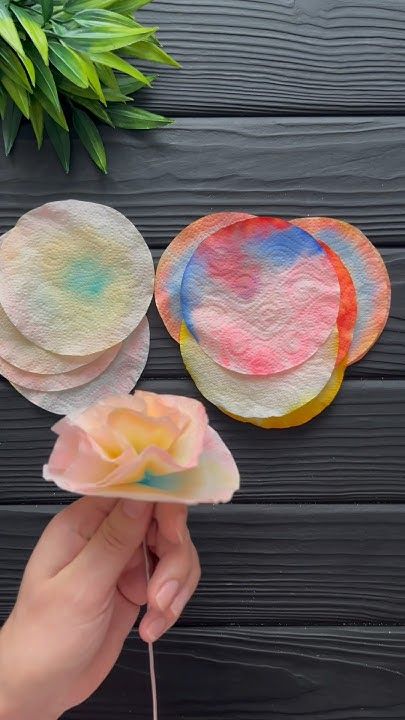
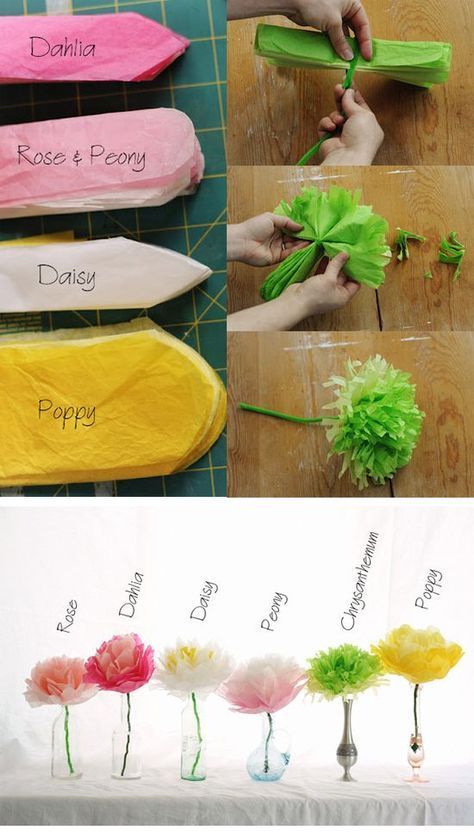
Tissue paper flowers are one of the simplest and most affordable paper crafts you can make. You only need colored tissue paper, pipe cleaners or wire, and scissors to create beautiful blooms.
Start by stacking 6-8 sheets of tissue paper on top of each other. Choose colors that complement each other or stick to a single color for a classic look.
Fold the stacked papers accordion-style, making each fold about one inch wide. Once folded completely, secure the center with a pipe cleaner or twist tie.
Cut the ends of your folded paper into rounded or pointed shapes. Rounded cuts create softer petals, while pointed cuts give a more dramatic look.
Carefully separate each layer of tissue paper, pulling them up and toward the center. Work gently to avoid tearing the delicate paper.
Fluff and shape your petals until you achieve the desired fullness. The more layers you use, the fuller your flower will appear.
These tissue paper flowers work perfectly for party decorations, gift toppers, or home decor. You can make them in various sizes by adjusting the dimensions of your initial paper stack.
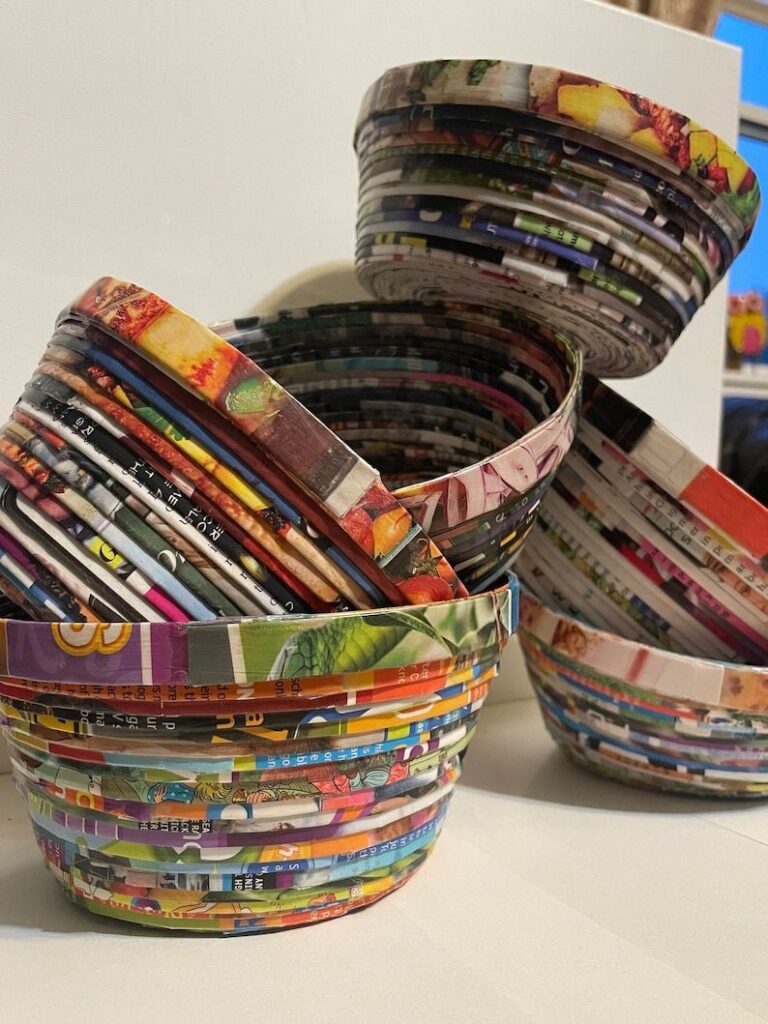
3) Paper mâché bowls from recycled newspaper
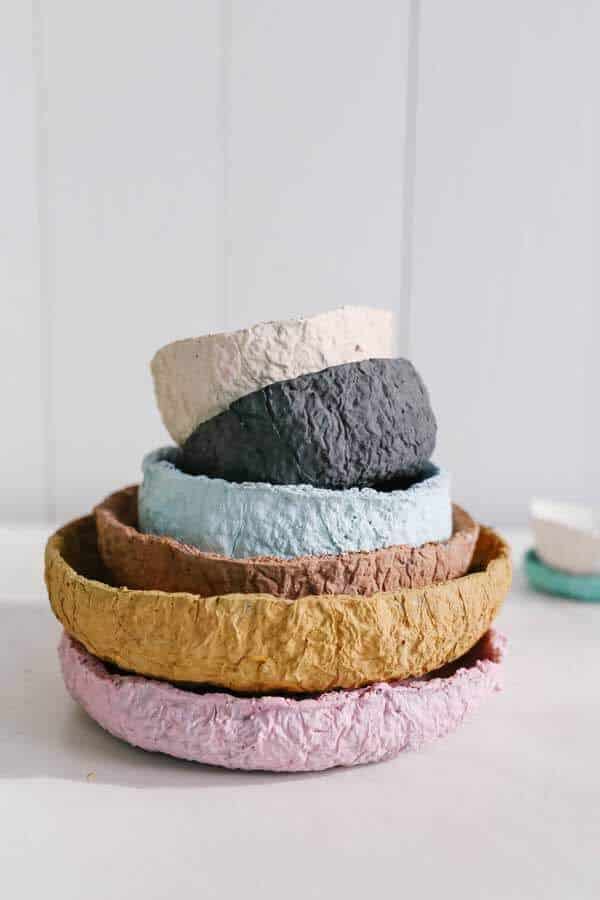
Paper mâché bowls transform old newspapers into functional home decor. This eco-friendly craft requires basic materials you likely have at home.
You’ll need newspapers, Mod Podge or flour-water paste, and a balloon or existing bowl as a mold. Tear newspaper into strips about one inch wide.
Blow up a balloon to your desired bowl size. Mix equal parts flour and water to create paste, or use Mod Podge for easier application.
Dip newspaper strips into the paste and layer them over the balloon. Cover the bottom half completely, overlapping strips for strength.
Let each layer dry before adding the next. Apply three to four layers for durability.
Once completely dry, pop the balloon and remove it carefully. Sand rough edges smooth if needed.
Paint your bowl in any color or pattern you prefer. Acrylic paints work best for this project.
These bowls work well for holding lightweight items like keys, jewelry, or decorative objects. They make excellent gifts and help reduce newspaper waste effectively.
4) Handmade greeting cards with decorative accents
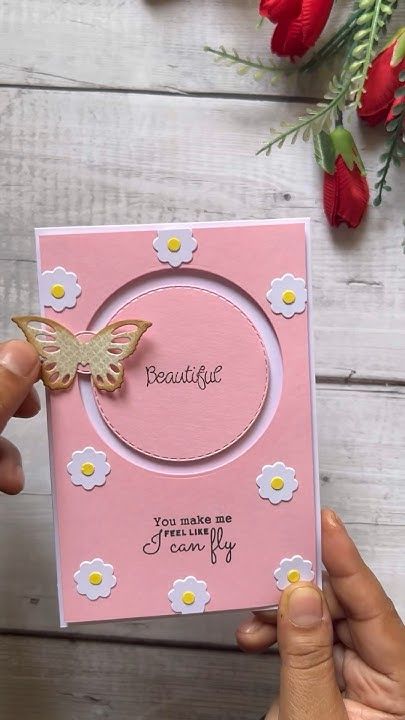
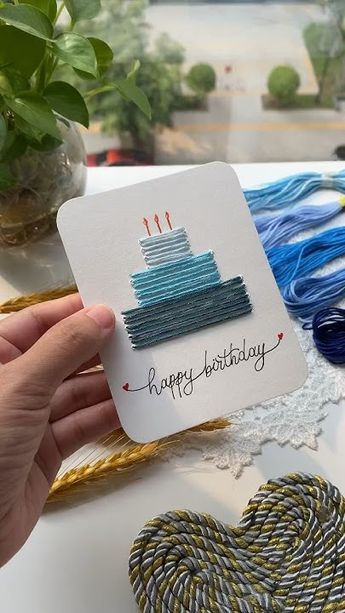
Creating handmade greeting cards becomes more impressive when you add decorative accents. These finishing touches transform simple paper crafts into memorable keepsakes.
Start with quality cardstock as your base. Choose colors that complement your message or occasion. Designer paper works well for quick backgrounds and patterns.
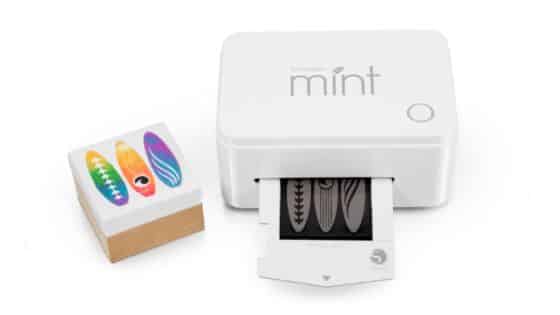
Wax seals create an elegant, classic finish for your cards. You can purchase decorative wax seal kits that include stamps and colored wax. Press the warm wax gently for clean impressions.
Paper cutting tools help you create intricate borders and shapes. Decorative scissors or craft punches add professional-looking details without requiring advanced skills.
Layering different paper textures adds visual interest. Combine smooth cardstock with textured handmade paper or patterned scrapbook paper. Keep layers thin to maintain proper folding.
Embossing creates raised designs that feel luxurious. You can use embossing folders with a manual machine or create simple raised effects by drawing on the back of your paper.
Small embellishments like ribbons, buttons, or dried flowers complete your design. Attach these elements with craft glue or double-sided tape for secure placement.
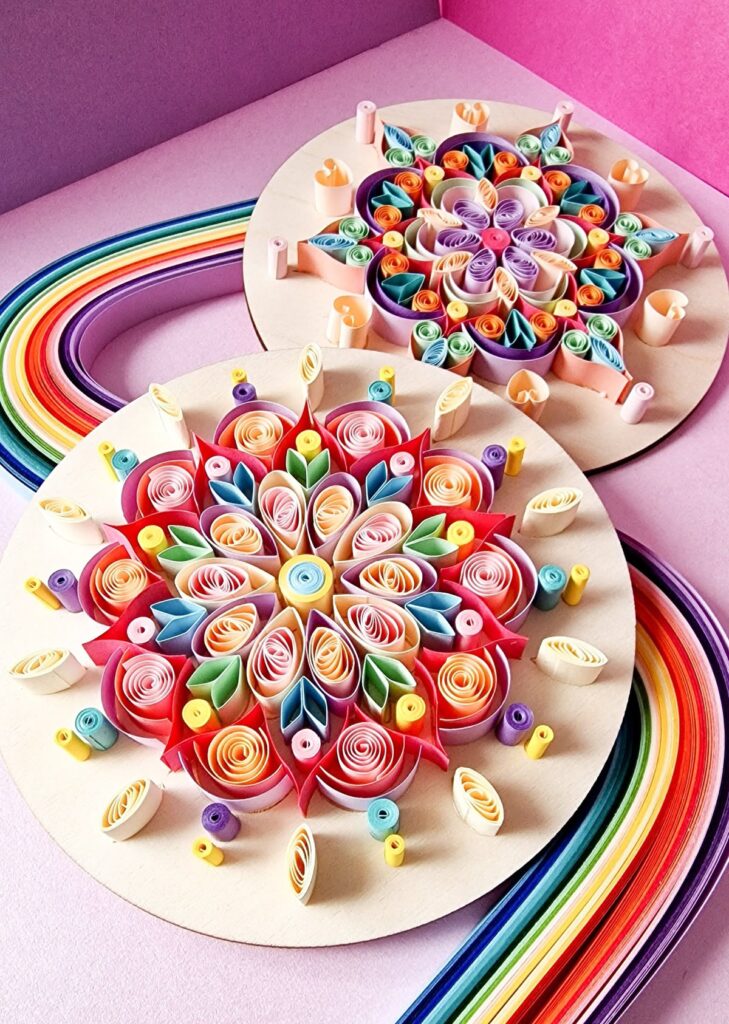
5) Quilling art creating intricate paper designs
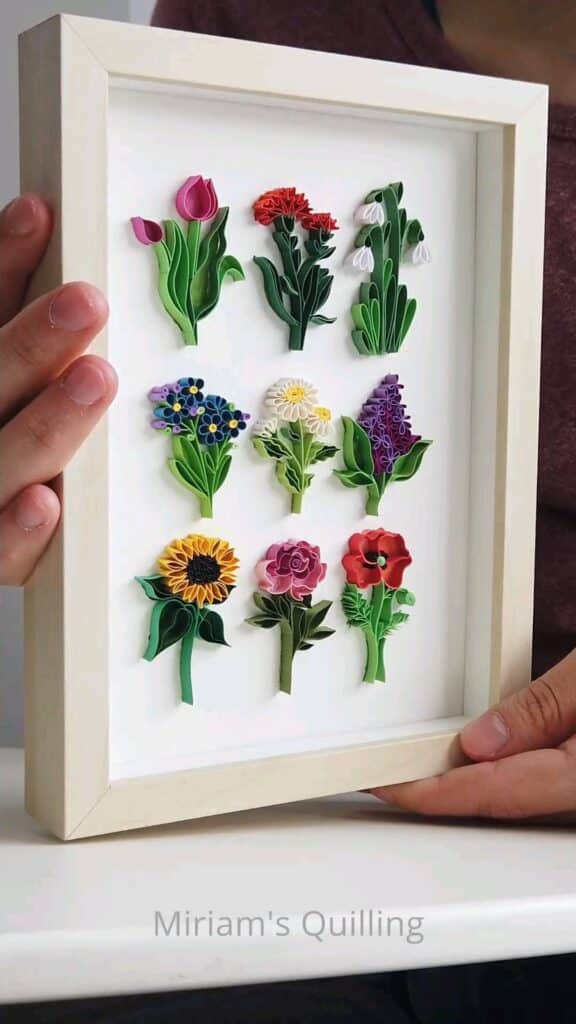
Paper quilling transforms simple paper strips into elegant decorative pieces. You roll and shape thin strips of paper to form coils, teardrops, and other basic shapes.
This ancient craft, also called paper filigree, requires minimal supplies. You need paper strips, a quilling tool, and glue to get started.
Begin with basic shapes like tight coils and loose coils. These form the foundation for more complex designs. Practice making teardrops by pinching one end of a loose coil.
You can create greeting cards, wall art, or gift tags using quilling techniques. The craft works well for adding personal touches to handmade items.
Start with simple patterns before attempting detailed designs. Flowers and geometric shapes make excellent beginner projects. You arrange the individual quilled pieces to form larger compositions.
The key is patience and steady hands. Each coil should be uniform in size for professional-looking results. You glue pieces together once you’re satisfied with the arrangement.
Quilling offers endless creative possibilities once you master the basic techniques. The delicate appearance of finished pieces makes them perfect for decorative purposes or thoughtful gifts.
6) Folded paper stars for room decoration
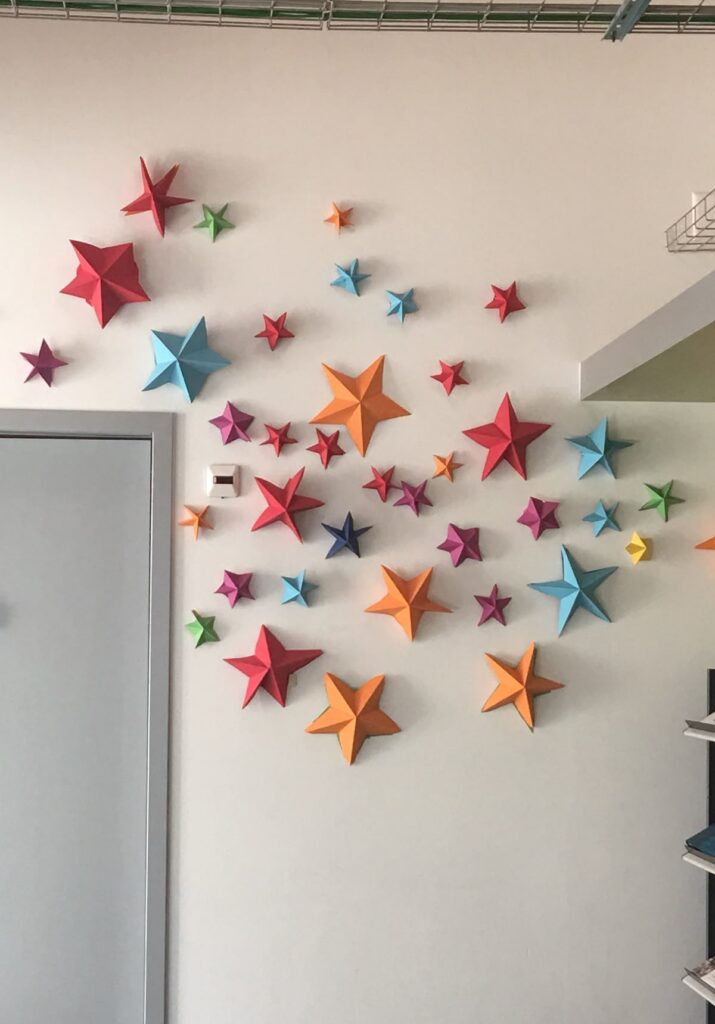
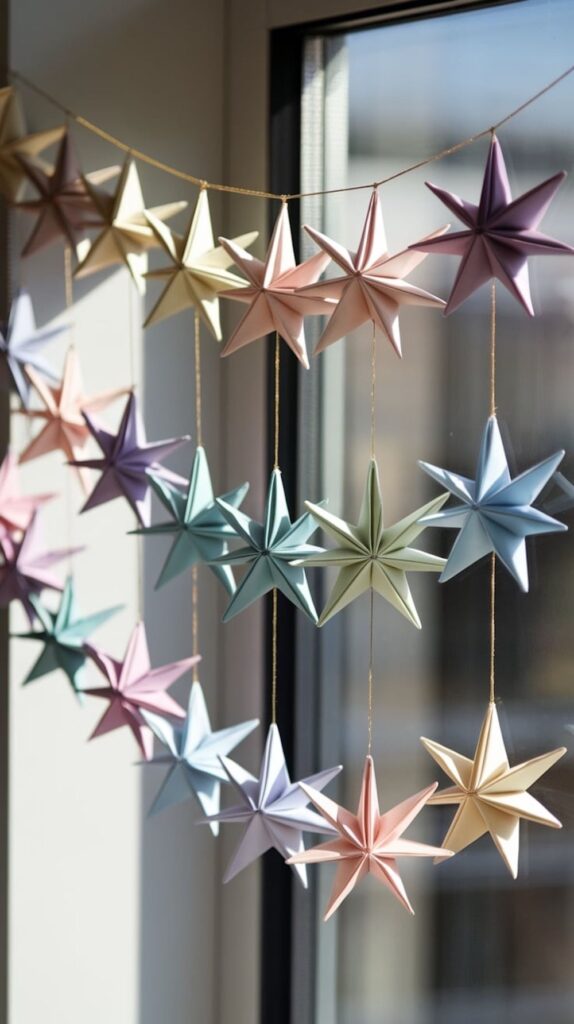
Folded paper stars create beautiful decorations that instantly brighten any space. You can make these versatile ornaments using simple strips of paper cut 10 to 11 inches long and about 3/4 inch wide.
These origami stars work perfectly when scattered across tables for parties. You can also string them together to create unique garlands for your walls or windows.
Clear glass jars filled with colorful paper stars make attractive displays on shelves or desks. The stars add visual interest without taking up much space.
You can hang individual stars from your ceiling at different heights to create a floating effect. This technique works especially well in children’s bedrooms or craft rooms.
Letter-size paper works fine for larger stars, while smaller strips create delicate miniature versions. Choose colors that match your existing room decor or seasonal themes.
The folding process is straightforward once you learn the basic technique. Each star takes only a few minutes to complete, making it easy to create dozens for bigger decorating projects.
These paper stars cost very little to make and store flat when not in use. You can prepare them ahead of time for parties or special occasions.
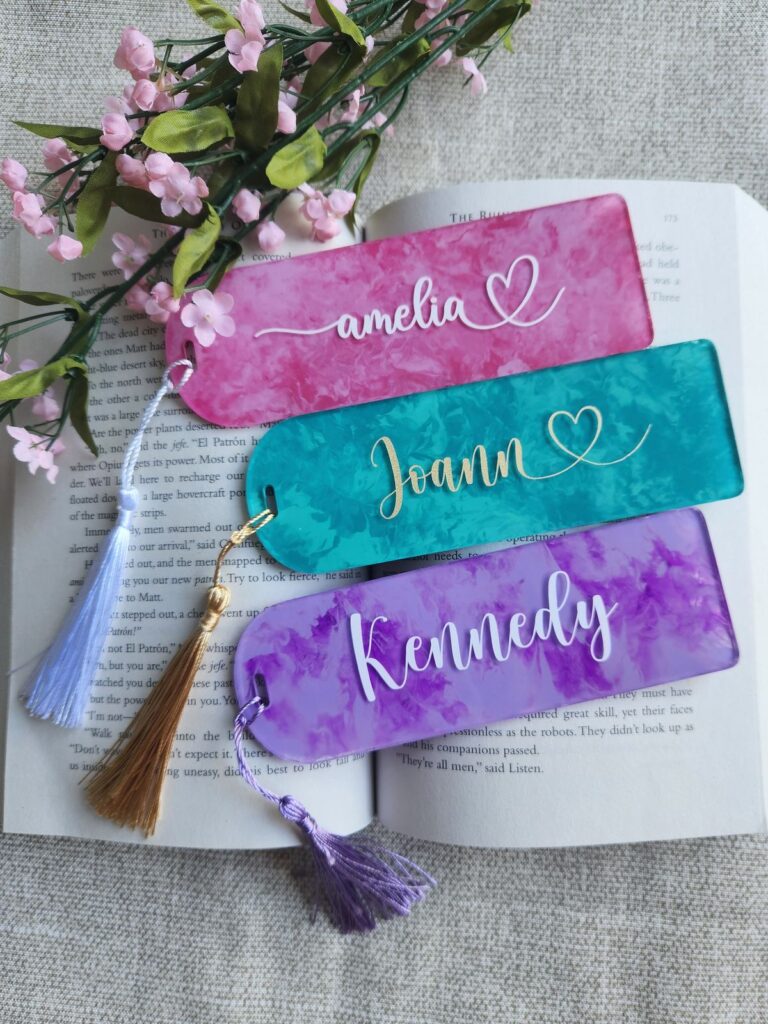
7) Paper bookmarks with personalized designs
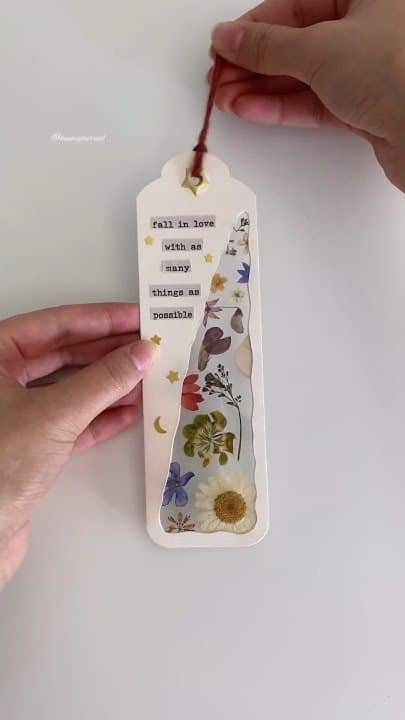
Creating personalized paper bookmarks allows you to express your unique style while crafting something functional. You can customize them with names, favorite quotes, or meaningful messages that reflect your personality.
Start with cardstock or thick paper for durability. Cut your paper into rectangular strips, typically 2-3 inches wide and 6-7 inches long.
Add personal touches using colored pencils, markers, or watercolors. You can draw patterns, write inspirational quotes, or create themed designs based on your favorite books or hobbies.
Consider incorporating your favorite colors or color schemes that match your reading space. Geometric patterns, floral designs, or simple doodles work well for beginners.
For added personalization, write the recipient’s name at the top or bottom of the bookmark. This makes them perfect gifts for teachers, friends, or family members who love reading.
Punch a hole at the top and thread ribbon or yarn through it for a finishing touch. Choose ribbon colors that complement your design.
Laminate your finished bookmark to protect it from wear and tear. This ensures your personalized creation will last through many reading sessions.
Essential Tools And Materials
Success in paper crafting depends on having quality materials and the right tools for cutting, adhering, and shaping. Child safety becomes paramount when sharp tools and adhesives are involved in family crafting sessions.
Recommended Paper Types
Cardstock serves as your foundation material for most projects. Choose 65-80 lb weight cardstock for cards and structural elements that need durability.
Construction paper works well for simple crafts and children’s projects. It cuts easily and comes in vibrant colors, though it tears more readily than cardstock.
Patterned scrapbook paper adds visual interest to your creations. Select 12×12 inch sheets for larger projects or 6×6 inch pads for smaller accents.
| Paper Type | Weight | Best For |
|---|---|---|
| Cardstock | 65-80 lb | Cards, bases, sturdy elements |
| Construction Paper | 20-24 lb | Kids’ crafts, simple projects |
| Scrapbook Paper | 25-40 lb | Decorative elements, backgrounds |
Tissue paper creates delicate flowers and layered effects. Origami paper provides precise squares for folding projects.
Must-Have Crafting Tools
Sharp scissors are essential for clean cuts. Invest in dedicated craft scissors and keep them separate from household scissors to maintain their edge.
Craft knives with replaceable blades handle detailed cutting work. Always use them with a cutting mat to protect your work surface.
Glue sticks provide clean, repositionable adhesion for most paper projects. Double-sided tape offers stronger, permanent bonds without moisture.
Metal rulers ensure straight lines and protect against craft knife cuts. A bone folder creates crisp creases in folded projects.
Paper punches in basic shapes like circles and stars add decorative elements quickly. A basic hole punch creates perfect rounds for confetti or accents.
Tips For Safe Crafting With Kids
Store sharp tools in locked drawers or high cabinets when not in use. Children under 8 should use safety scissors with rounded tips exclusively.
Designate adult-only tools like craft knives and rotary cutters. Mark these clearly so children understand the boundaries.
Choose washable adhesives when possible. Water-based glue sticks clean up easily from hands and surfaces compared to permanent adhesives.
Provide individual cutting mats for each child to establish clear work boundaries. This prevents accidents when multiple hands reach for tools.
Teach proper tool handling before starting projects. Show children how to carry scissors with points down and pass them handle-first to others.

Creative Applications For Paper Crafts
Paper crafts transform everyday spaces into personalized environments through decorative elements and thoughtful handmade gifts. These projects serve practical purposes while adding artistic touches to your home and relationships.
Home Decor Ideas
Paper crafts offer affordable solutions for refreshing your living spaces without major renovations. Wall art made from layered paper creates dimensional focal points in any room.
Paper flowers serve as permanent alternatives to fresh blooms. Create roses, peonies, or cherry blossoms using crepe paper or tissue paper. Mount them in shadow boxes or arrange in vases.
Geometric wall sculptures add modern appeal to blank walls. Cut triangular or hexagonal shapes from cardstock and layer them for depth.
Paper garlands work well for seasonal decorating. String together cut-out leaves for autumn or snowflakes for winter themes.
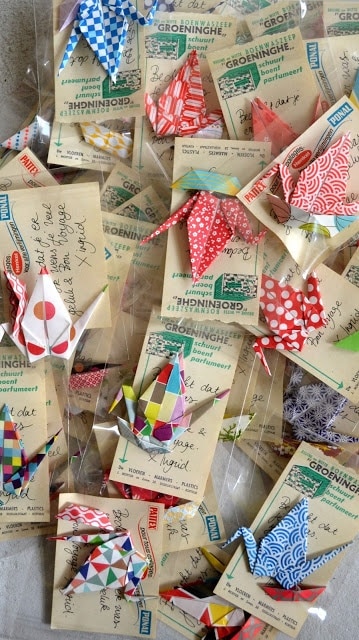
Origami displays bring sophisticated touches to shelves and mantels. Fold cranes, butterflies, or kusudama balls in coordinating colors that match your existing decor.
Handmade Gift Inspiration
Handcrafted paper gifts demonstrate thoughtfulness while staying within budget constraints. Greeting cards remain the most versatile option for any occasion.
Custom photo albums preserve memories in personalized formats. Create accordion-style books or bound journals with decorative paper covers.
Gift tags and wrapping paper made from craft paper add special touches to presents. Use stamps, stencils, or hand-drawn designs for unique patterns.
Paper gift boxes eliminate the need for store-bought containers. Fold masu boxes for small items or create larger versions for bigger gifts.
Bookmarks crafted from cardstock serve readers well. Add pressed flowers, calligraphy, or watercolor designs for personal touches.
- 33shares
- Facebook0
- Pinterest30
- Twitter3
- Reddit0


