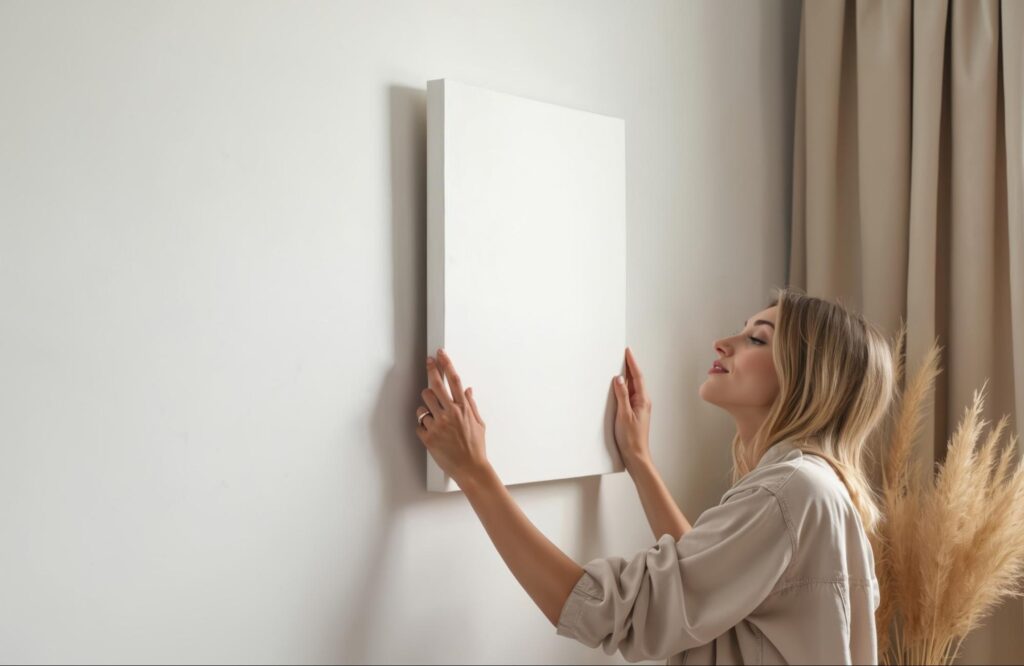
Canvas prints can add color and character to any room like a wall art. But if they’re not framed or hung the right way, they can look out of place. In this guide, you’ll learn how to handle hanging canvas prints step by step. We’ll keep it simple so you can get it right, even if it’s your first time.
1. Choosing the Right Frame (If Needed)
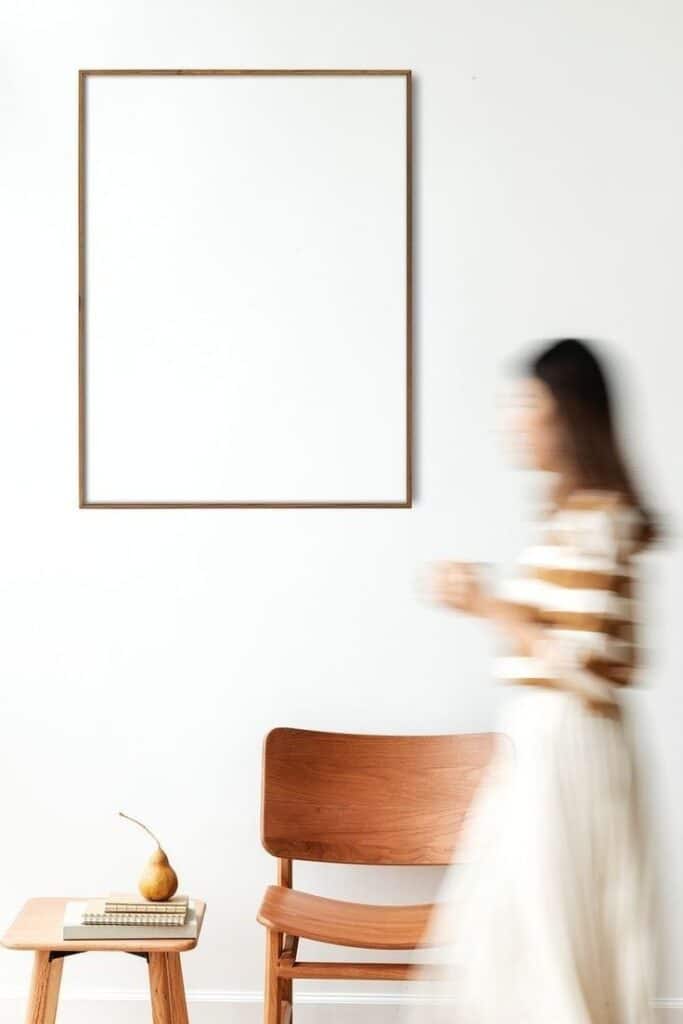
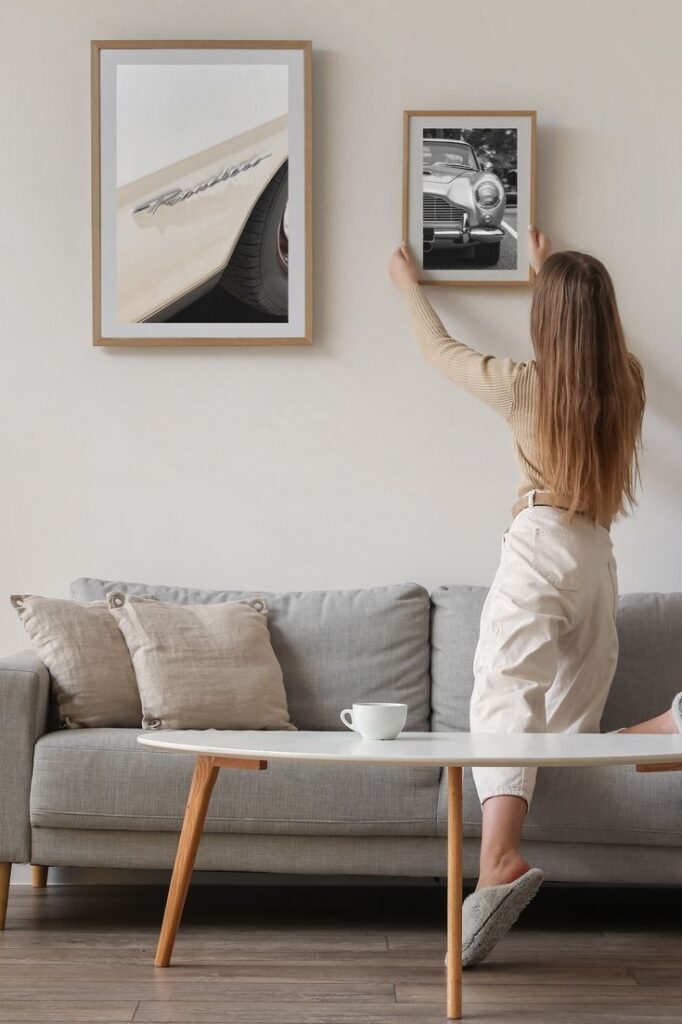
Let’s start by deciding whether your canvas print needs a frame. Then, we’ll go over how to choose one that works with your wall art and space.
When and Why to Frame a Canvas
Some high-quality canvas prints are made to be displayed without a frame. These are called gallery-wrapped prints. The canvas wraps neatly around the edges, giving it a clean, modern look. But not all prints come that way.
If your canvas has visible staples or the edges look unfinished, framing can give it a more complete feel. A frame also adds a layer of protection, especially if your print hangs in a hallway or busy room.
Picking the Right Frame Style
Now that you’ve decided to frame your print, the next step is choosing a style. Try to match the frame with the tone of your artwork and the rest of the room.
Here are a few good options:
- Wood frames are warm and classic. They work well in cozy or traditional spaces, especially when paired with wooden hanging rails.
- Metal frames feel sleek and modern. These are great for minimal or industrial-style rooms.
- Floating frames leave a small gap between the canvas and the outer frame. They give your print a gallery-style finish.
Your goal is to highlight the art through your premium canvas not distract from it.
2. Prepping the Canvas for Hanging
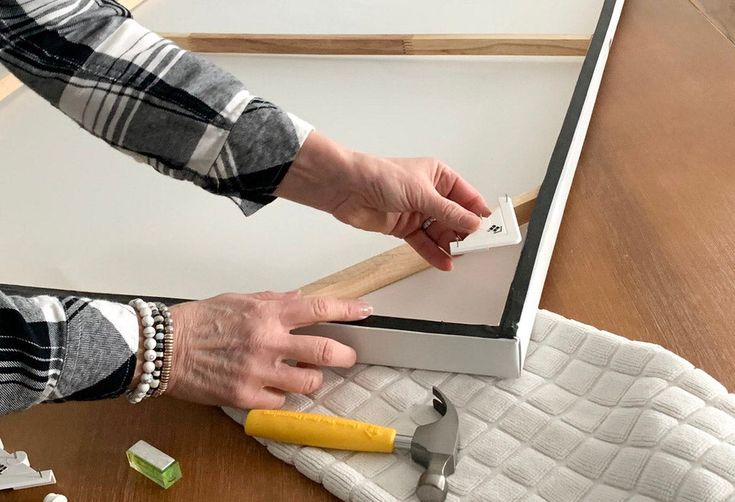
Before putting anything on the wall, make sure your canvas is ready to go. This will help you avoid problems later.
Inspect and Measure
Start by checking your canvas for any damage. If you notice issues like sagging, poor color, or warped corners, it might be worth starting fresh with a more dependable source like CanvasDiscount.com that offers affordable but durable, American-made canvas prints.
Then, measure its height and width. Knowing the exact size helps you choose the best spot on the wall. Don’t forget to check the weight too. Heavier prints need stronger hardware.
Add Hanging Hardware (If Not Included)
Some prints come with built-in hardware. If yours doesn’t, no worries. You can easily add it yourself. Here are some common types:
- Sawtooth hangers are great for lightweight prints.
- D-rings offer strong support and help keep the print flat.
- Picture wire gives more flexibility. It works well with larger or heavier canvases.
Make sure the hardware and hanging rails are secure so the print stays in place.
3. Finding the Perfect Spot
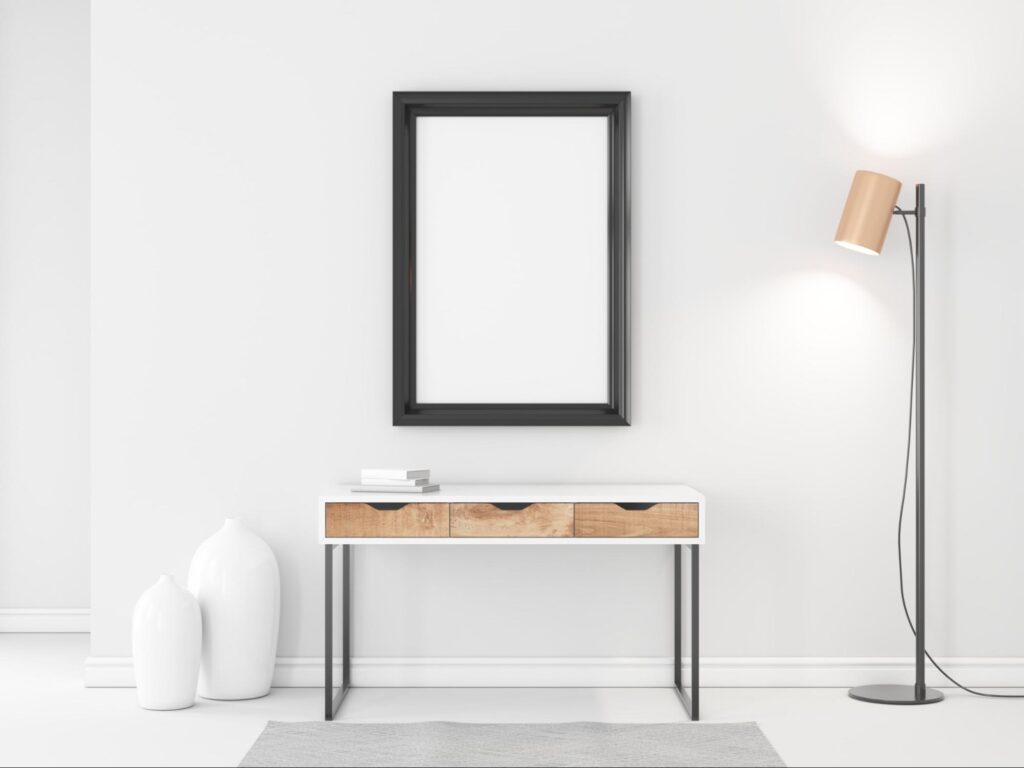
Now that your canvas is prepped, it’s time to find where it will look best. Let’s go over how to choose a wall and plan your layout.
Pick the Right Wall
First, look for a spot with good lighting but no direct sun. Too much sunlight can fade the colors. Next, think about what’s around the wall. Are there furniture, windows, or other artwork?
As a rule of thumb, the center of your canvas should be about 57 to 60 inches from the floor. This is roughly eye level for most people and keeps the art balanced in the room.
If you’re still deciding on the art itself, check out a collection of cute wall art ideas online to get a feel for what works best with your decor.
Plan Before You Hammer
Don’t rush to make holes. It’s better to plan first. Use painter’s tape or paper cutouts that match the size of your print. Tape them to the wall to test how things will look.
Once you’ve found the perfect spot, lightly mark it with a pencil. This makes hanging much easier.
4. Hanging Canvas Prints the Right Way
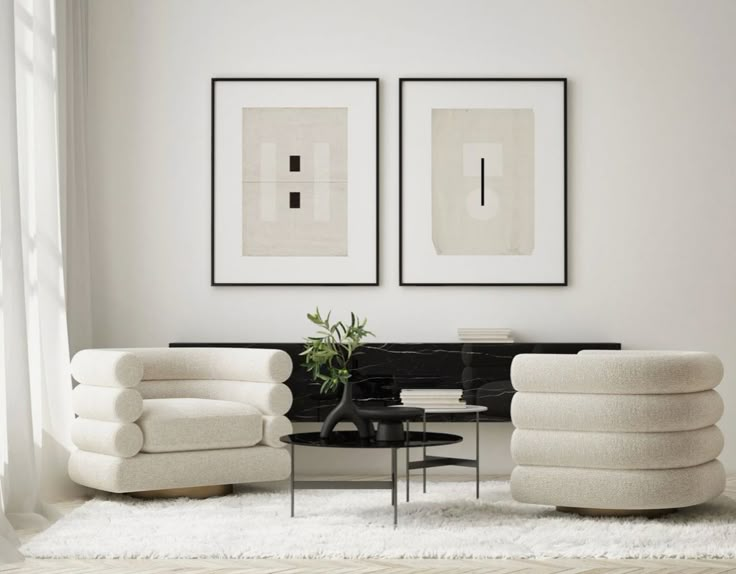
You’ve prepped your print and picked the wall. Now it’s time to hang it. Here’s what you’ll need and how to do it right.
Use the Right Tools
Using the correct tools makes the job smoother. A hammer works well for nails and light hooks, while a drill is better for heavy-duty anchors or tougher walls. Wall anchors and screws help support heavier prints, especially on drywall. Picture hooks are also a simple and reliable option for most situations. Always choose your tools based on the type of wall you have and how much the canvas weighs.
Step-by-Step Hanging Guide
Follow these steps for a clean and straight result.
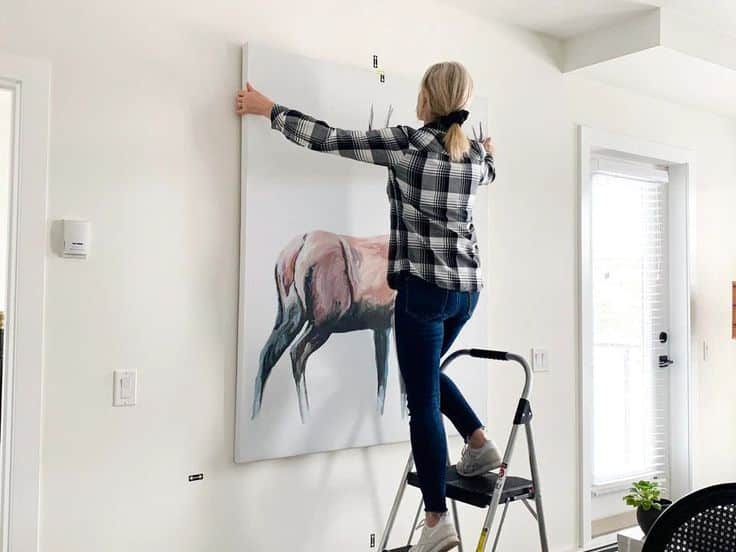
Start by marking the wall where you want to place the hardware. Then, use a level to make sure everything is straight before adding your hook, nail, or anchor. Once that’s in place, hang the canvas and check for any tilt.
If you’re hanging more than one print, be sure to measure equal spacing between them. Always use the level again to keep the layout neat and balanced.
5. Avoiding Common Mistakes
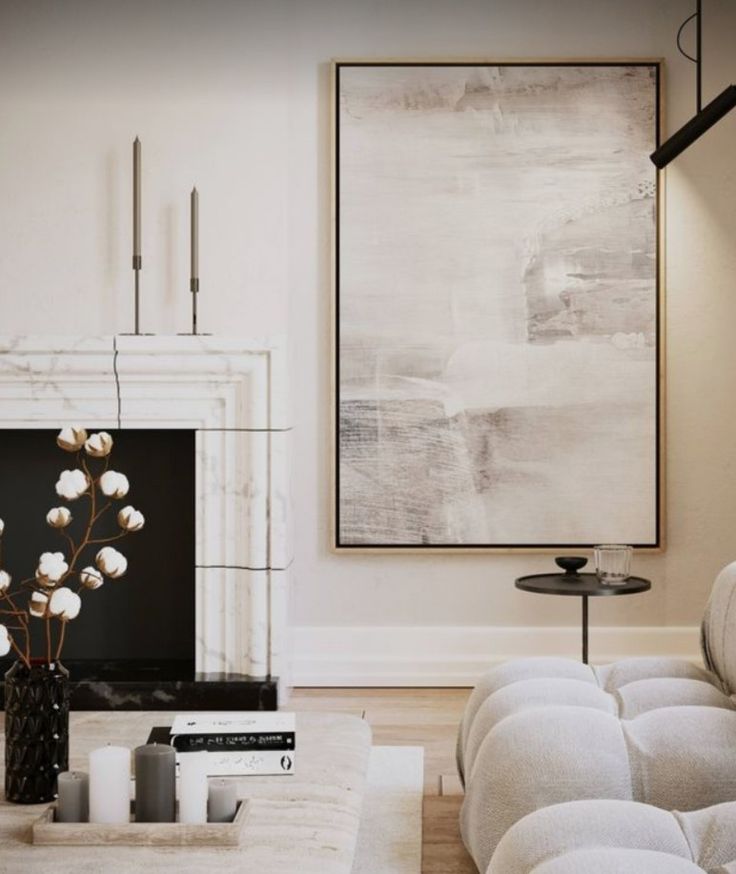

Even small errors can make your canvas look off.
Some common mistakes to avoid include hanging the canvas too high or too low, using the wrong hardware, forgetting to check if it’s level, and rushing the setup without measuring.
6. Caring for Your Canvas After Hanging
Once the print is up, you’ll want it to stay looking nice, and a few simple habits can help.
Dust the canvas with a dry cloth or soft brush every few weeks to keep it clean. Avoid hanging it in rooms with high moisture, like bathrooms, since humidity can cause damage over time. Also, keep it out of direct sunlight to prevent fading.
Display It Like You Mean It
Framing and hanging canvas prints is something you can do on your own. It just requires a little patience and planning. From choosing the right frame to using the right tools, every step adds to the final look. A well-placed canvas can change the feel of a room, so take your time and enjoy the process.
- 63shares
- Facebook0
- Pinterest63
- Twitter0
- Reddit0


