If you’ve been dreaming of a backyard makeover but find yourself overwhelmed by the work involved, a mini excavator might be your new best friend. These small but powerful machines allow you to tackle landscaping projects with ease and efficiency, saving you both time and money compared to traditional methods. Whether you’re looking to add a garden bed, create a fire pit, or install a retaining wall, a mini excavator can help you achieve professional-quality results on your own. In this article, we’ll walk through 7 DIY backyard projects that are perfect for using a mini excavator. Let’s dive in!
Project 1: Creating a Garden Bed
A garden bed is the heart of any backyard, and with a mini excavator, you can create a garden oasis even if your soil is compacted or rocky. Here’s how to get started:
Step-by-Step Guide:
- Mark the Area: Use stakes and string to outline the shape and size of your garden bed.
- Excavate the Soil: Use the mini excavator to dig down to the desired depth, removing the topsoil and any rocks or debris.
- Level the Surface: Ensure the bottom of the bed is level to promote proper drainage for your plants.
Pro Tip:
To give your plants the best chance to thrive, amend the soil with compost or organic matter. This will improve soil structure and provide the nutrients your plants need to grow strong.
Project 2: Installing a Retaining Wall
Retaining walls serve both a functional and aesthetic purpose. They prevent soil erosion, level out sloped areas, and create an attractive feature in your yard. Here’s how to build one with the help of a mini excavator:
Step-by-Step Guide:
- Excavate the Foundation: Use your mini excavator to dig a trench for the first row of blocks. The trench should be deep enough to hold the base layer securely.
- Lay the Blocks: Start by placing the first row of retaining wall blocks. Ensure each block is level and firmly placed.
- Backfill and Compact: Once your first row is set, backfill with gravel or soil and compact it to stabilize the wall.
Pro Tip:
Choose durable materials like concrete or natural stone for long-lasting results. A well-constructed retaining wall can not only enhance your backyard’s appearance but also increase your property’s value.
Project 3: Digging a Fire Pit Area
A fire pit brings warmth and ambiance to any backyard, perfect for evening gatherings with friends and family. With a mini excavator, you can easily dig out the pit area and create a safe, functional fire feature.
Step-by-Step Guide:
- Choose the Location: Pick a spot that’s away from any structures or overhanging trees. Ensure it’s on level ground for safety.
- Excavate the Pit: Use the mini excavator to dig the fire pit to your desired depth, usually about 18–24 inches.
- Add Gravel: Line the bottom of the pit with gravel to promote drainage and prevent the buildup of moisture.
Pro Tip:
When selecting fire pit materials, opt for fire-resistant options such as stone, brick, or steel. This ensures safety while providing a visually appealing finish.
Project 4: Installing a Pathway
A well-placed pathway adds charm and structure to your backyard while also improving accessibility. Whether you’re creating a garden path or a route to a seating area, a mini excavator can help you achieve the perfect design.
Step-by-Step Guide:
- Mark and Excavate: Outline your pathway with string or spray paint, then use the mini excavator to dig out the area to a depth of about 3-4 inches.
- Create a Level Base: Compact the soil or gravel to form a solid base for your pathway.
- Lay Your Paving Materials: Choose between natural stone, pavers, or brick, depending on the look you’re going for. Lay them down, leaving small gaps for a natural aesthetic.
Pro Tip:
Ensure the path has a slight slope to promote drainage and prevent water pooling. A well-designed pathway not only improves the look of your yard but also serves a practical purpose by guiding people through the space.
Project 5: Building a Pond or Water Feature
Adding a pond fountain or water feature can create a tranquil environment in your backyard. The soothing sound of running water and the aesthetic of a pond can completely transform your outdoor space.
Step-by-Step Guide:
- Plan the Size and Shape: Decide on the location and size of your pond. Use spray paint or string to outline the shape.
- Excavate the Pond: Dig out the area, creating varying depths for different plant species and water features.
- Install the Liner and Equipment: Place a pond liner to prevent water loss, then set up the pump and filtration system.
Pro Tip:
To maintain water clarity, consider adding aquatic plants like lilies, which help absorb excess nutrients and keep the water clean. Be sure to clean the pond regularly to avoid algae buildup.
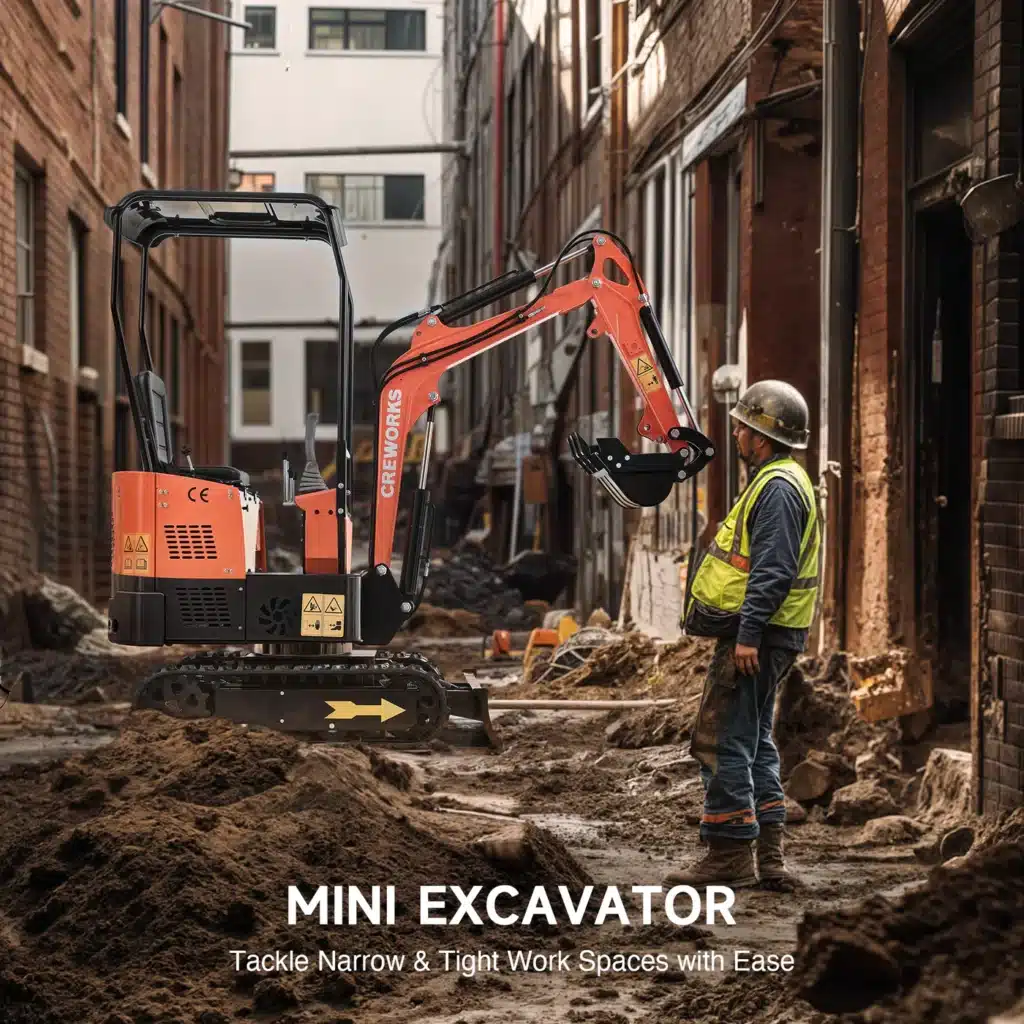
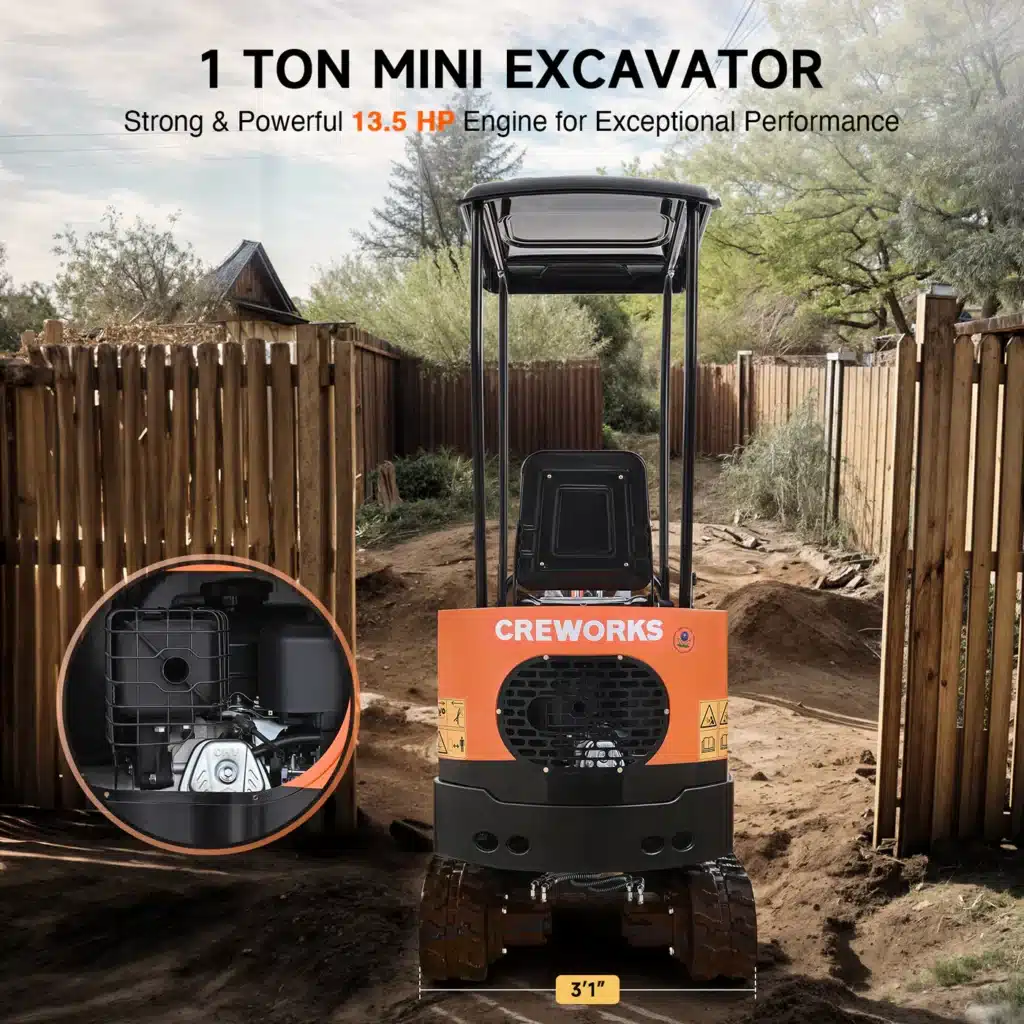
Project 6: Leveling the Ground for a New Lawn or Patio
Whether you’re installing a new lawn or a patio, level ground is essential for a smooth, even surface. A mini excavator makes leveling the ground an easy, time-saving task.
Step-by-Step Guide:
- Assess the Area: Check the space for any high or low spots.
- Excavate the Area: Use the mini excavator to remove any uneven soil or debris and dig down to the required depth for a patio or lawn.
- Level and Compact: Use the excavator to ensure the area is level, then compact the soil to prevent settling.
Pro Tip:
Before laying a patio, spread a layer of crushed gravel to improve drainage. For a new lawn, spread a thin layer of topsoil over the compacted ground to help grass establish roots.
Project 7: Digging a Drainage System
Proper drainage is essential for preventing water pooling and soil erosion in your backyard. A mini excavator can make installing a drainage system much quicker and more efficient.
Step-by-Step Guide:
- Identify Problem Areas: Look for spots where water tends to pool or flow incorrectly.
- Excavate Trenches: Dig trenches along the areas where drainage is needed. Ensure the trenches slope downward to direct water away from your property.
- Install Drainage Pipes: Lay perforated pipes inside the trenches, covering them with gravel before filling the trench with soil.
Pro Tip:
For the best results, install a French drain system, which helps divert water away from problem areas. Regularly check the drainage system to ensure it remains clear and effective.
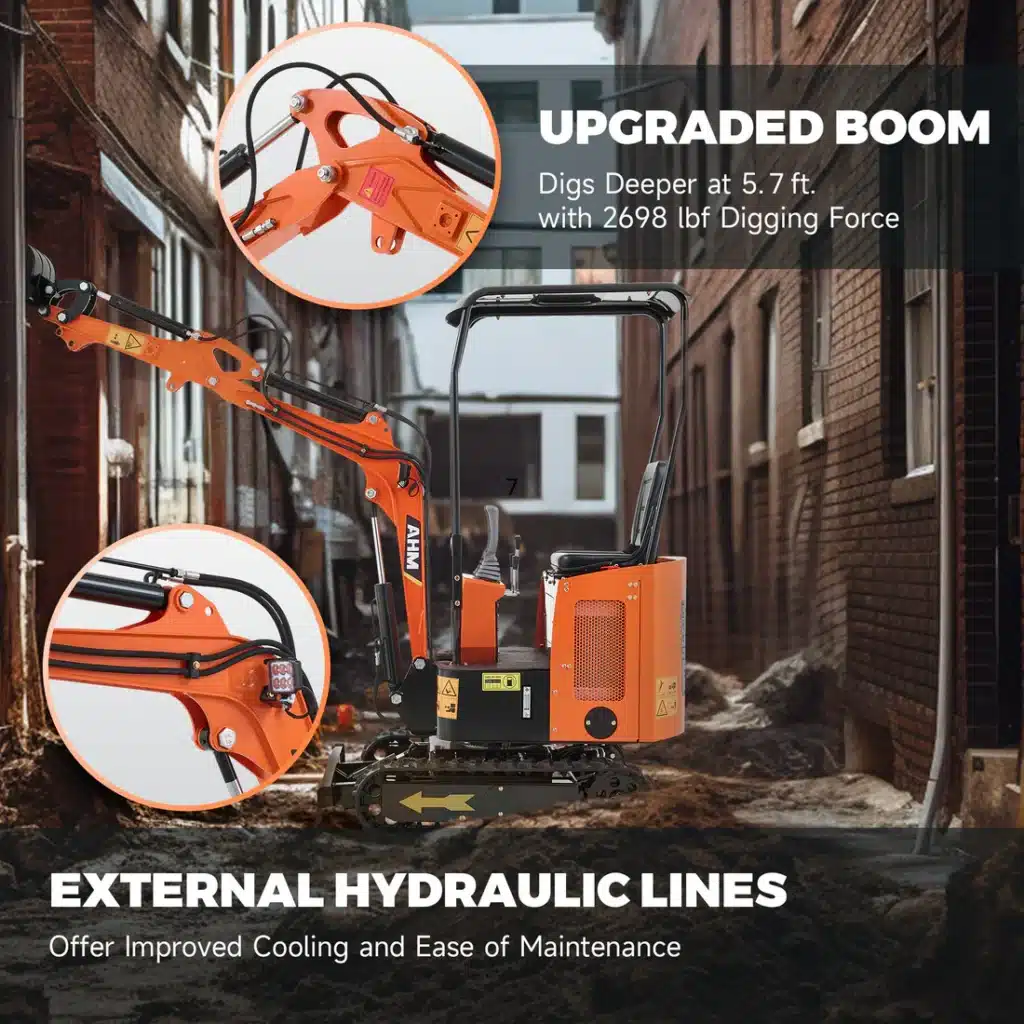

Why Choose the Kubota Engine Mini Excavator for Your Backyard Projects?
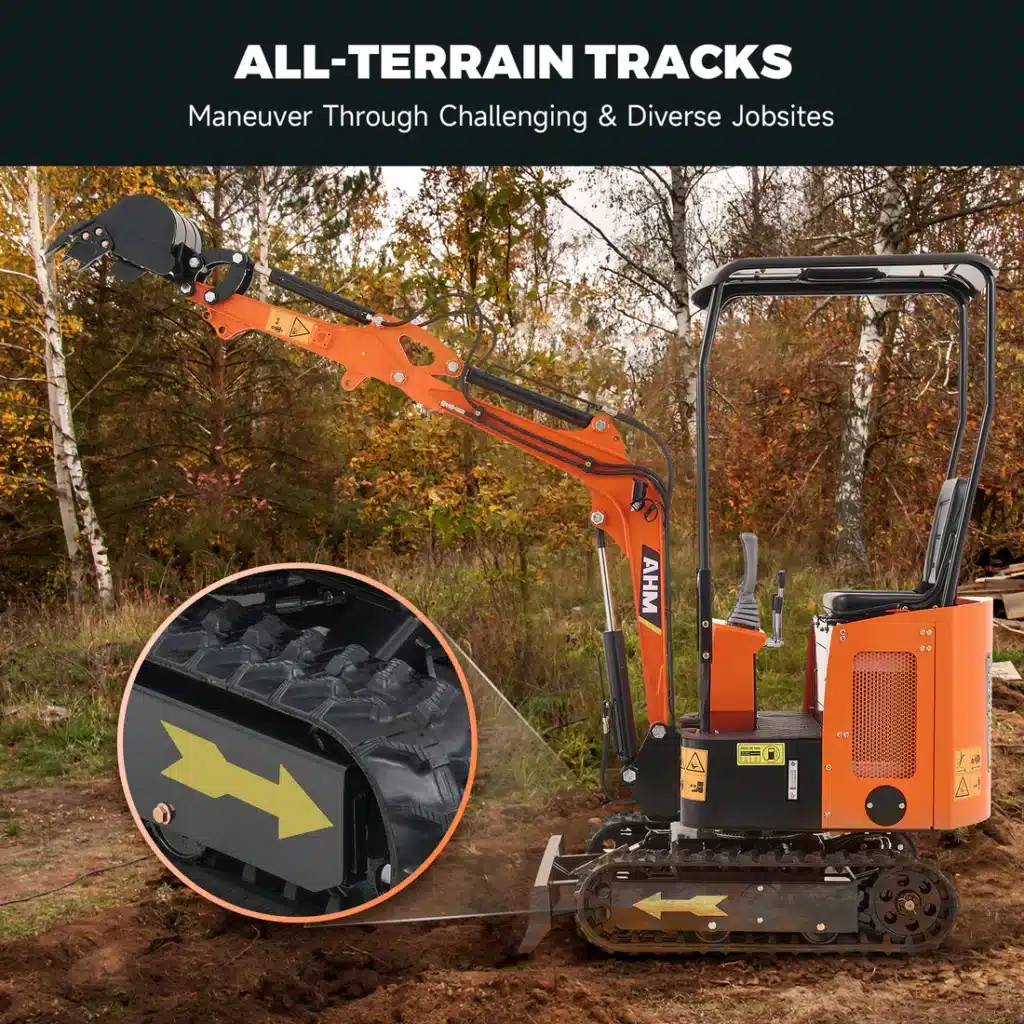
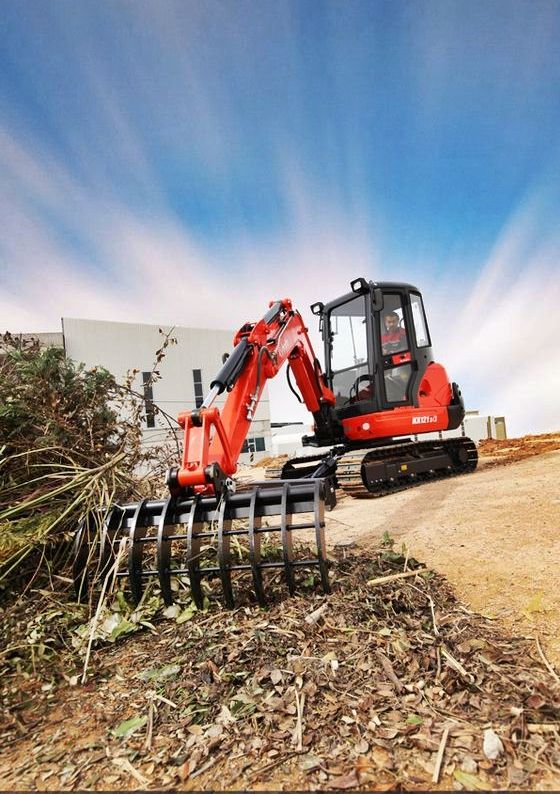
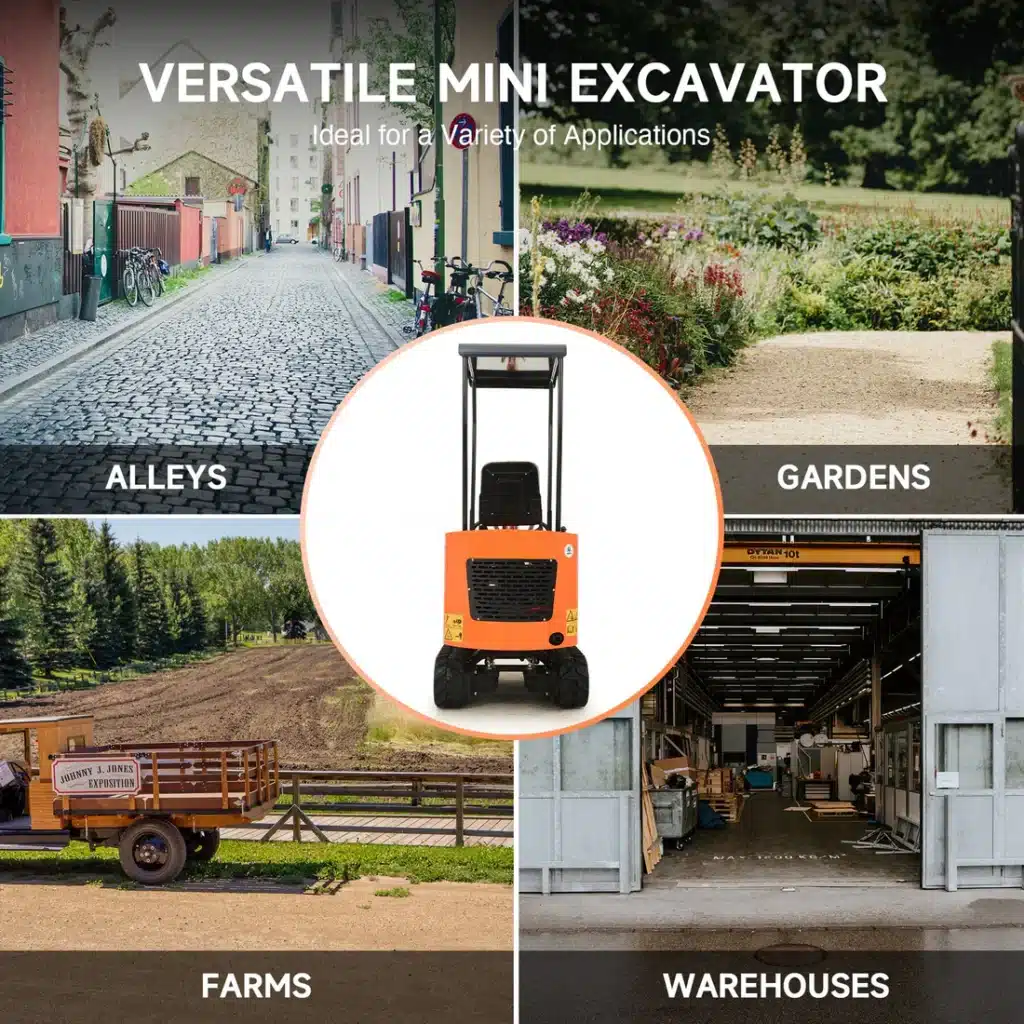
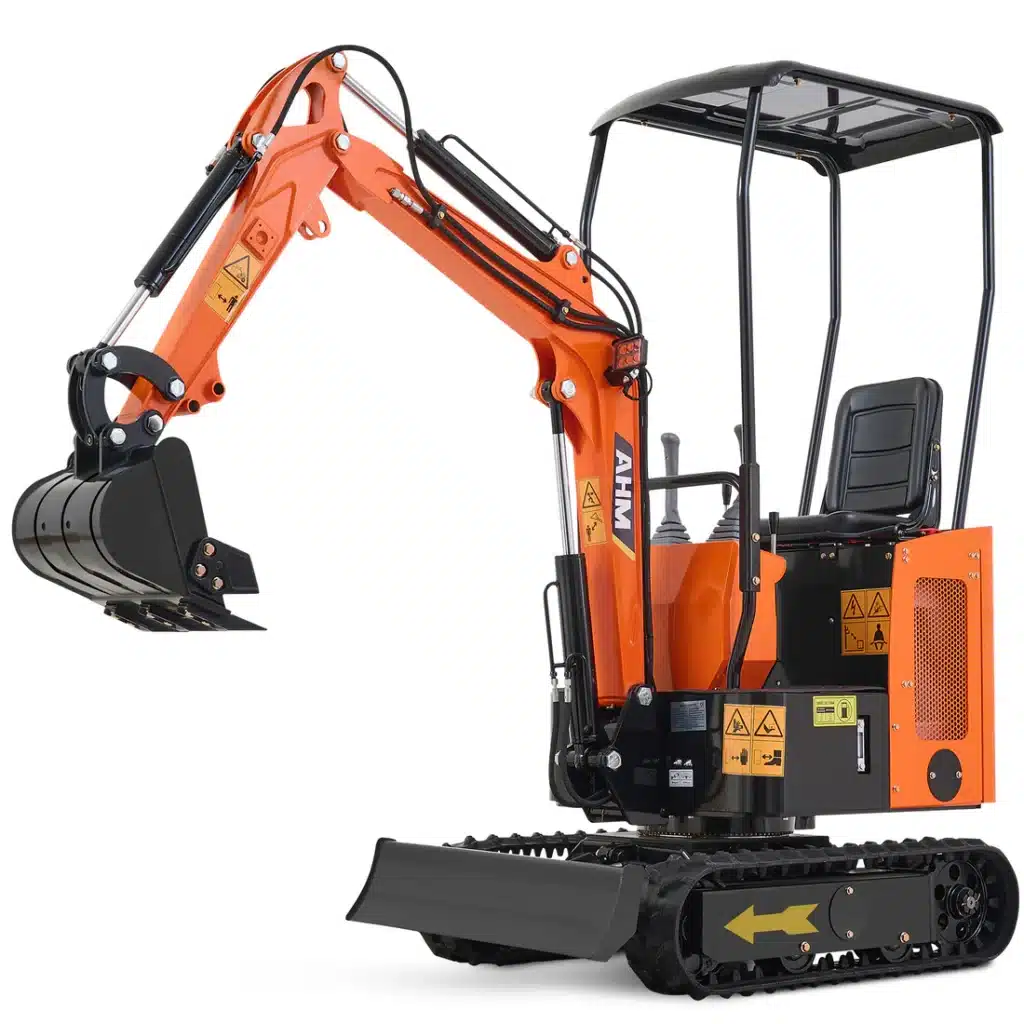
If you are looking for a new mini excavator, it’s worth considering the Kubota Engine Mini Excavator from AHM. Known for its reliability, fuel efficiency, and powerful performance, this mini excavator is an excellent choice for DIY landscaping. Whether you’re digging a garden bed or leveling ground for a patio, AHM’s mini excavator offers the precision and ease needed to get the job done right. Plus, its compact size ensures you can maneuver easily through tight spaces, making it perfect for backyard projects of all sizes.
Conclusion
A mini excavator is a game-changer for DIY landscaping projects, offering power and precision to help you achieve impressive results with ease. From creating garden beds to building retaining walls and fire pits, the possibilities are endless. With the right planning and a mini excavator at your side, you can transform your backyard into a beautiful and functional outdoor space.
- 6shares
- Facebook0
- Pinterest3
- Twitter3
- Reddit0


